The Park taxi in CONTROL Resonant hands you the one Threshold that is not a light puzzle. Instead of picking the odd cab out of a lineup, you rebuild a single wrecked taxi across three rounds by clearing Mold and bolting on the correct parts. Getting there means climbing to the top of a parking garage first, then working down to the lower level where the cab is parked.
Quick answer: Enter the garage taxi, answer Mila’s payphone, then complete three repair rounds — clear the Mold around the cab, attach only the correct panels and wheels, and skip the decoy parts. Entering the finished taxi returns you to the city.
Where to find The Park taxi
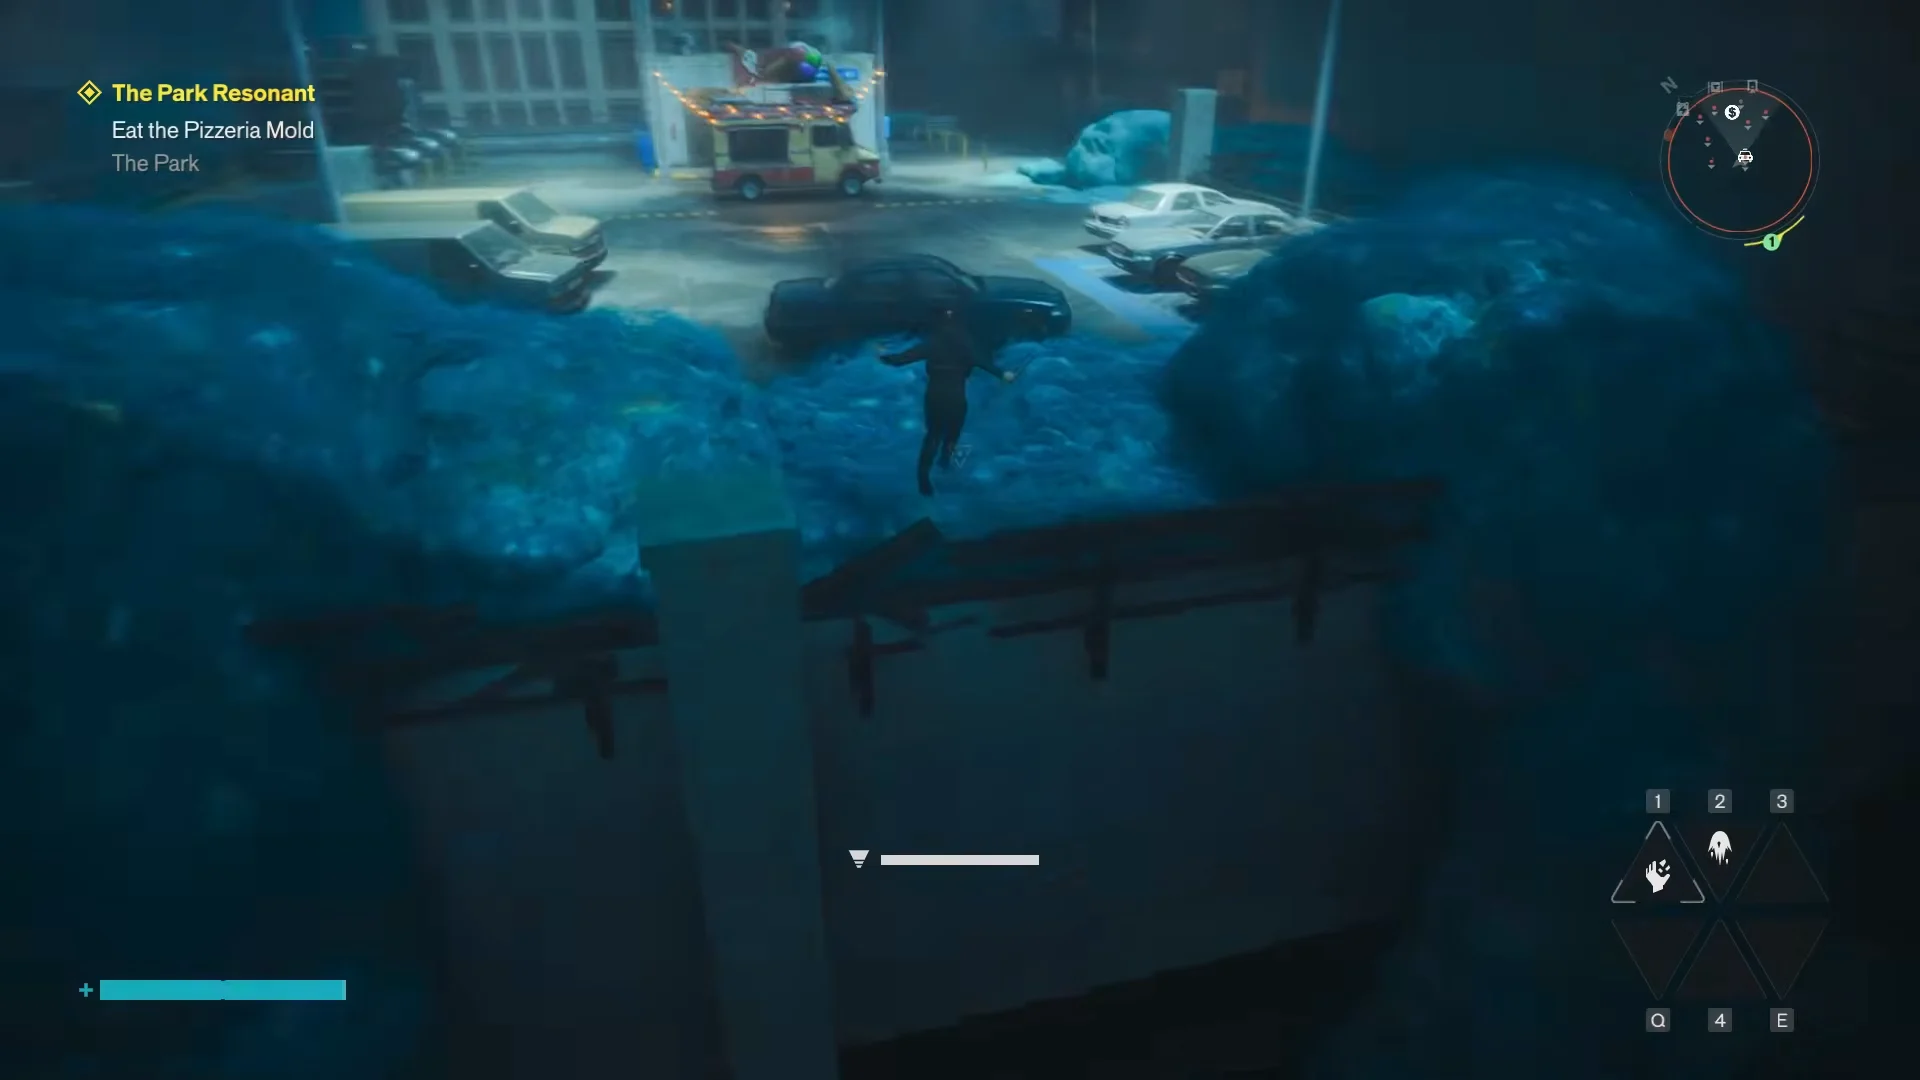
The cab sits on a lower level of the central parking garage north of the FBC Base. Walking straight through the garage will not lead you to it, so the route runs over the roof and back down. You need the Mold wall climb to make it up.
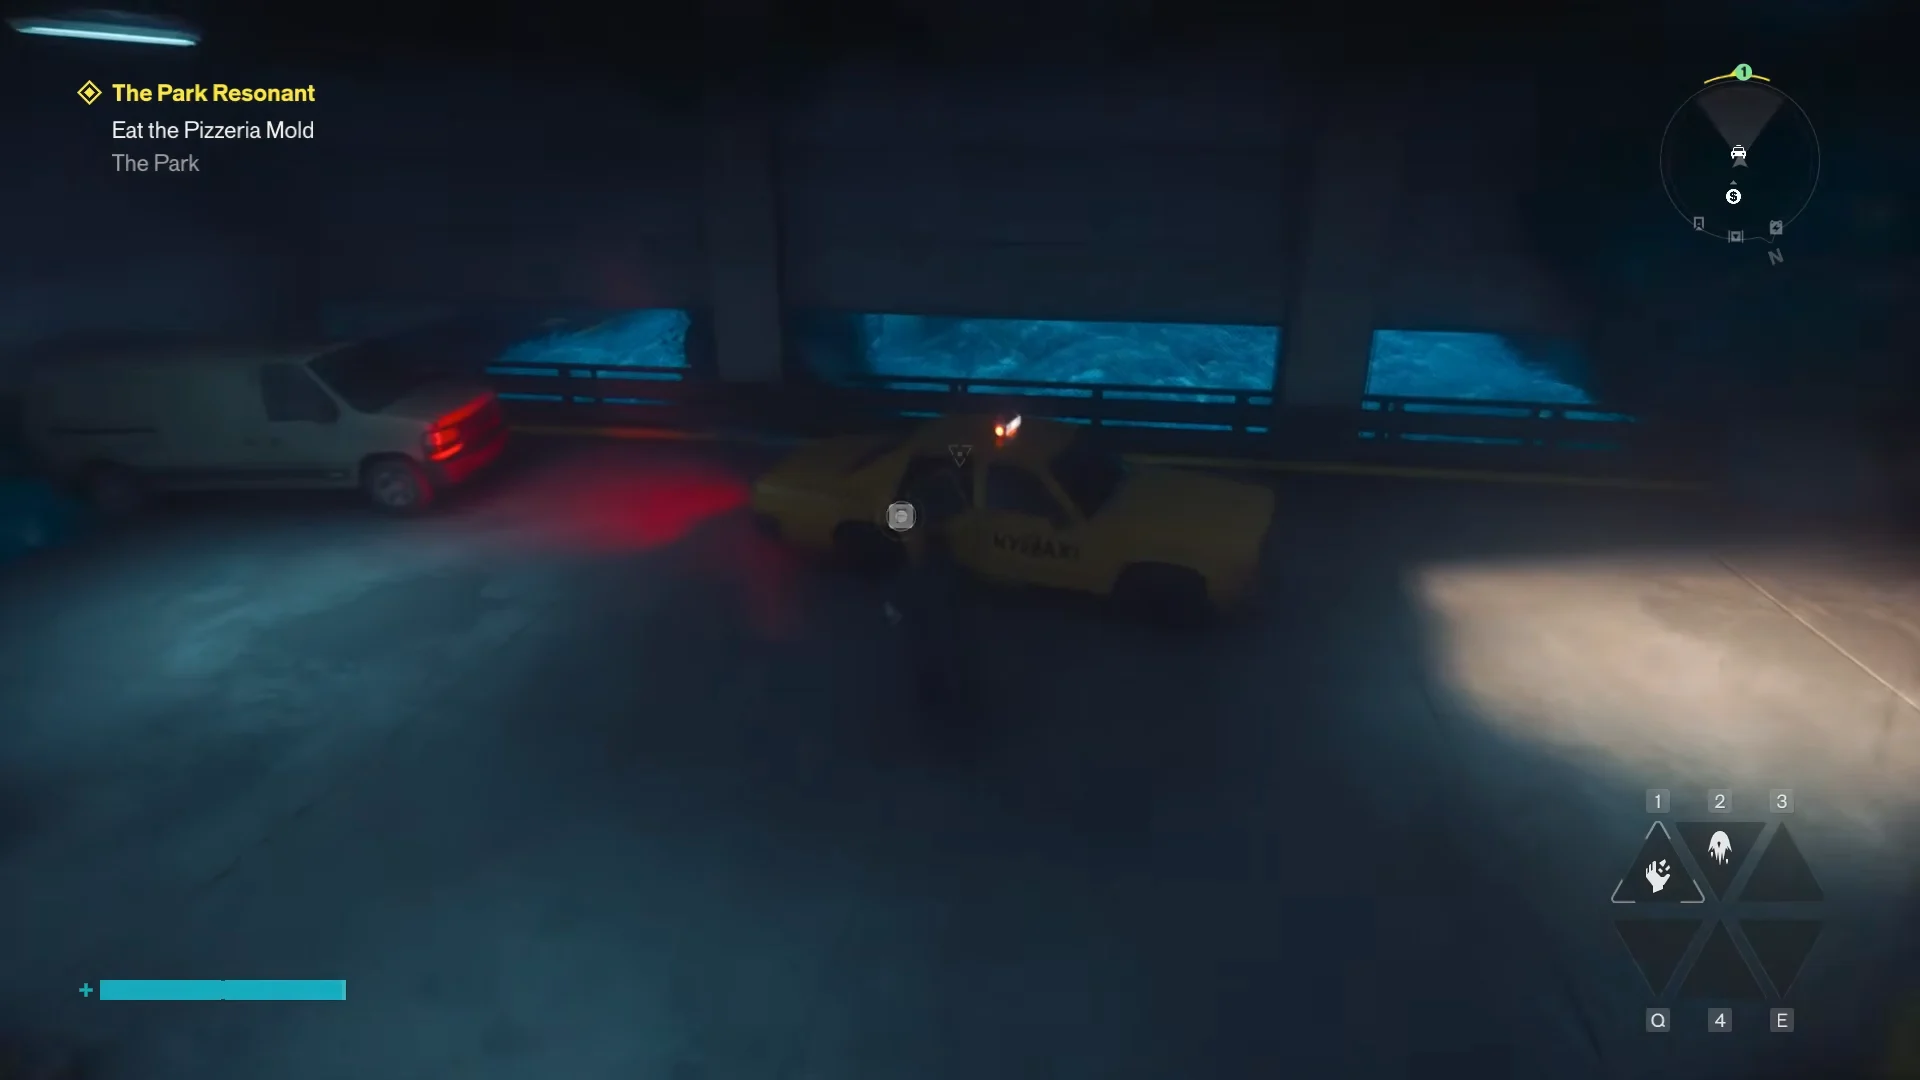
Answer Mila’s call to start the puzzle
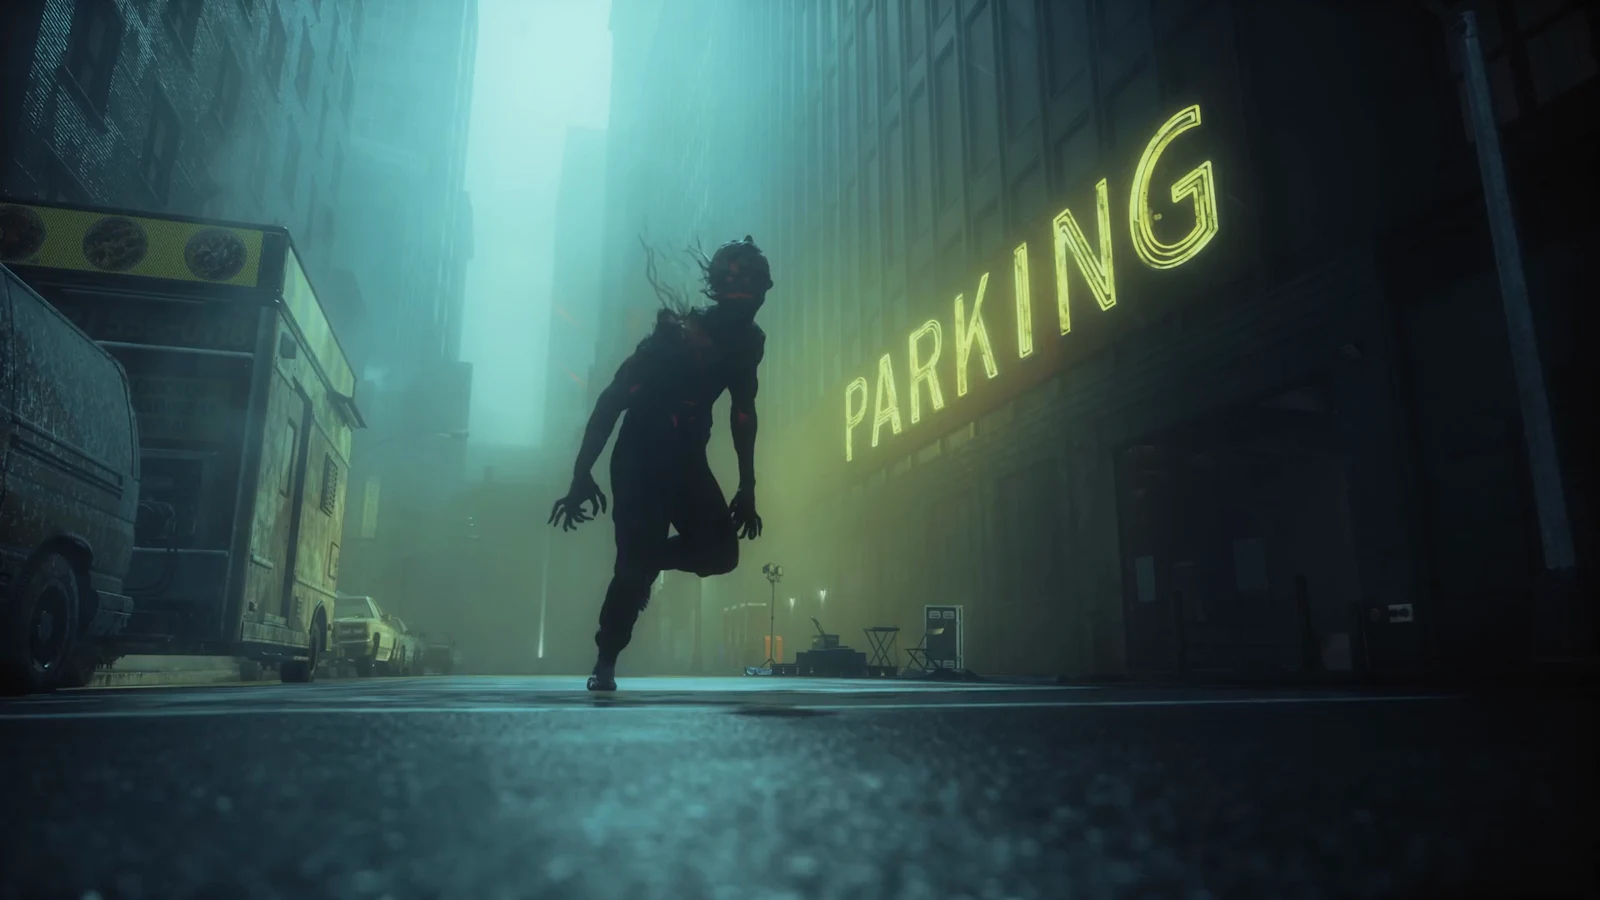
Boarding the cab shifts you to a deserted street shrouded in fog. Turn off the main road and head toward the ringing down the alley on your left; the green payphone is there. During Mila’s call, select “We’re in a Threshold” to keep the conversation moving. The taxis stay inactive while the call is underway, so finish answering before attempting anything else.
The Park repair puzzle: three rounds
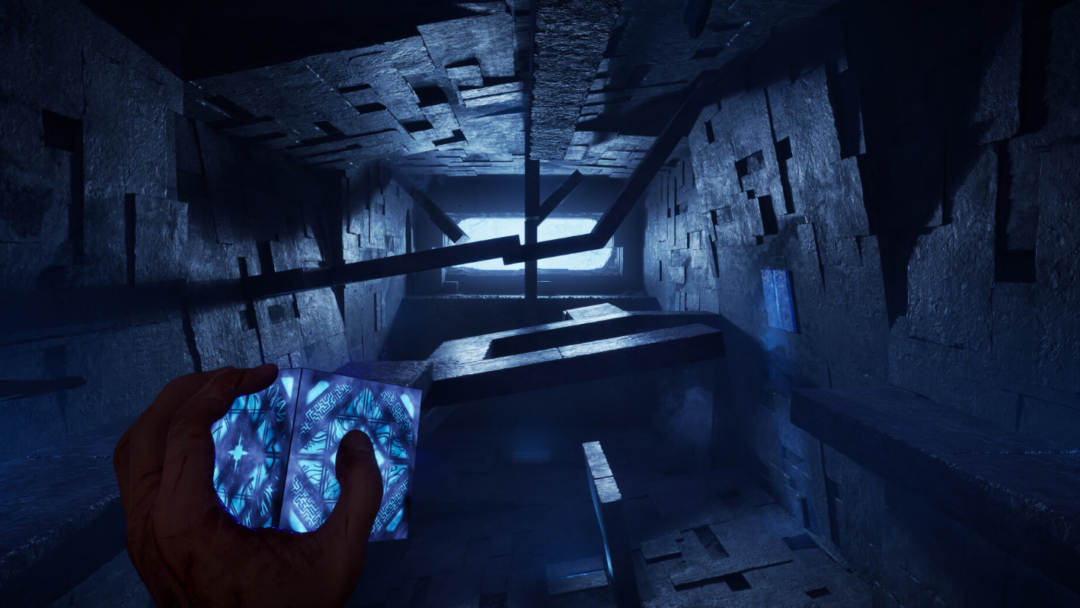
The Last Taxi has a single assembly challenge: clear Mold, attach the correct pieces to the cab, then climb inside to proceed. Other parts lie scattered on the ground, but they don’t belong on the taxi. Before picking one up, compare its shape and color with the pieces already installed.
Round 1: clear the Mold, then refit the hood and trunk
Destroy the Mold clumps around the taxi with weapon attacks. Once they are gone, pick up the loose hood and trunk lid from the road and attach both to the cab, then get in to move to the next area.
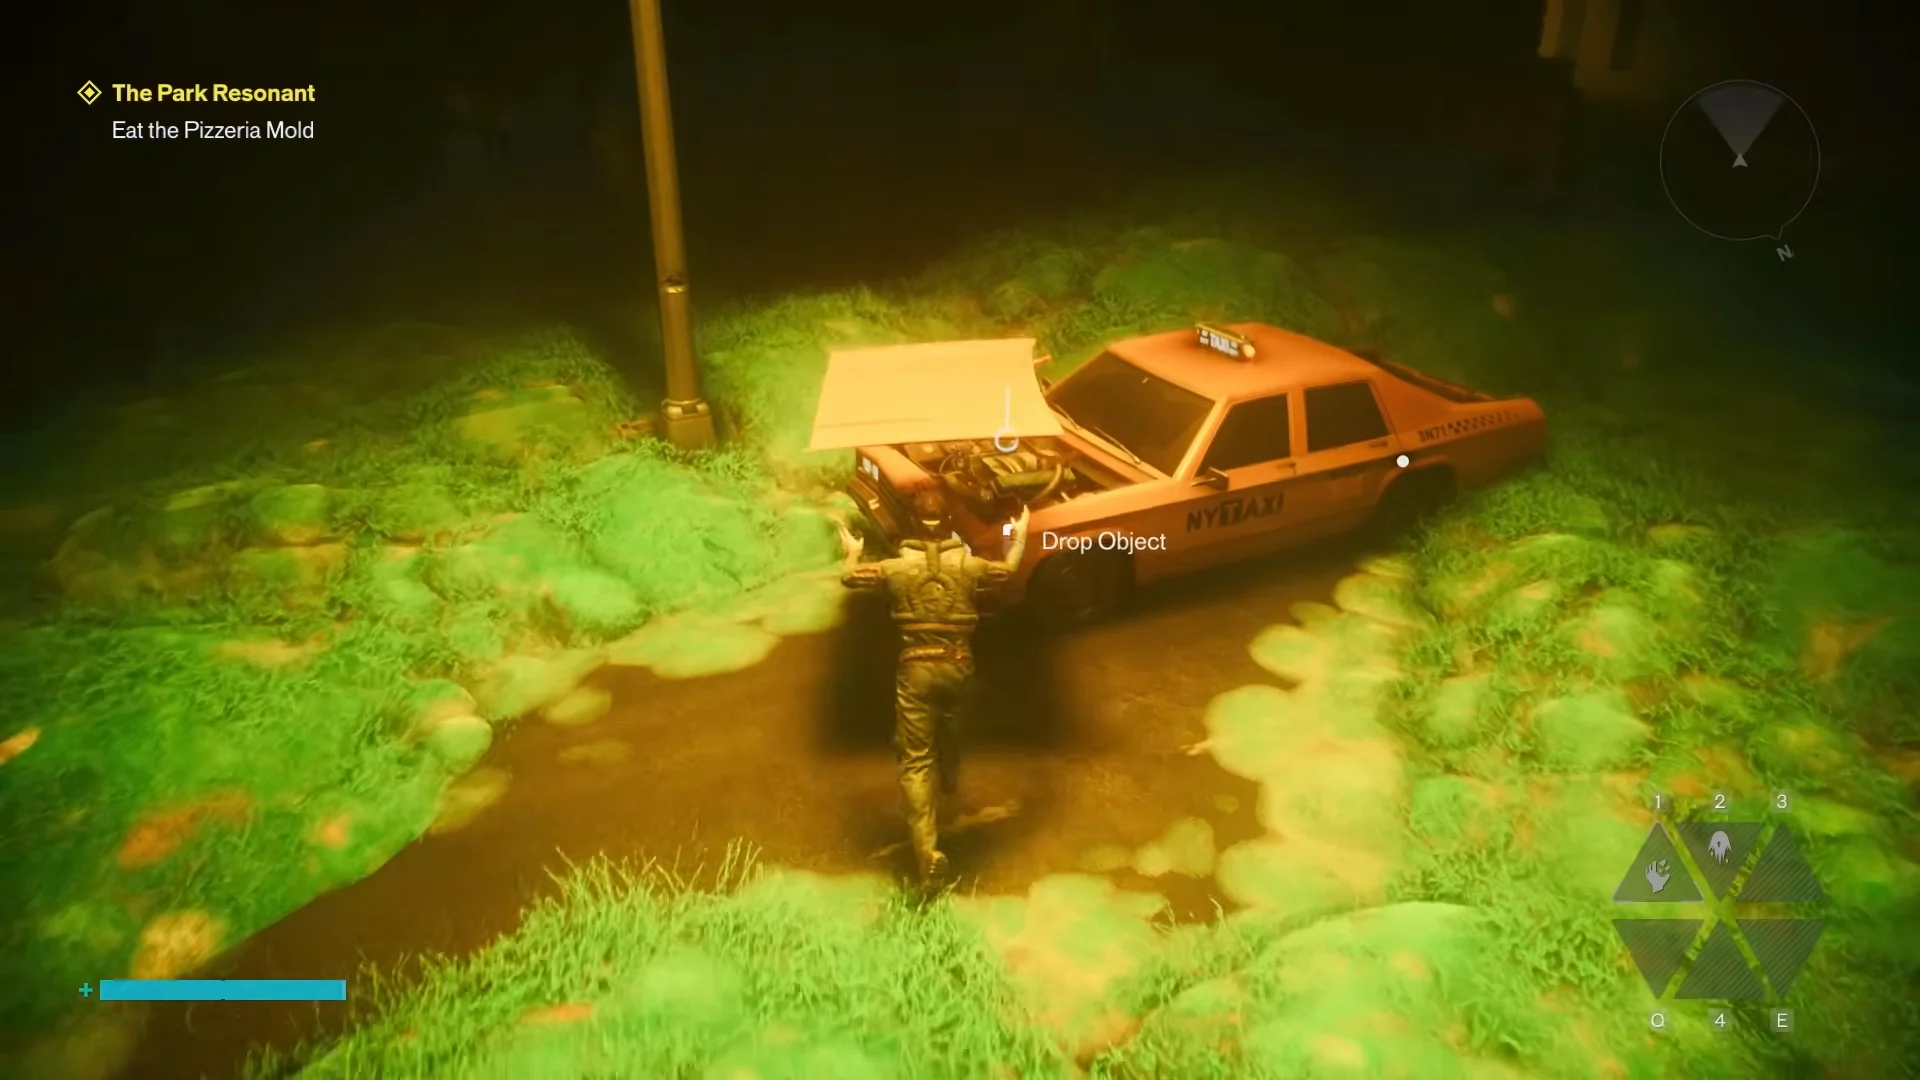
Round 2: add the yellow hood and both wheels
This round needs three parts from the road. Fit the yellow hood — not the blue one — plus two wheels, then climb in. The blue hood is a decoy and will not lock into place.
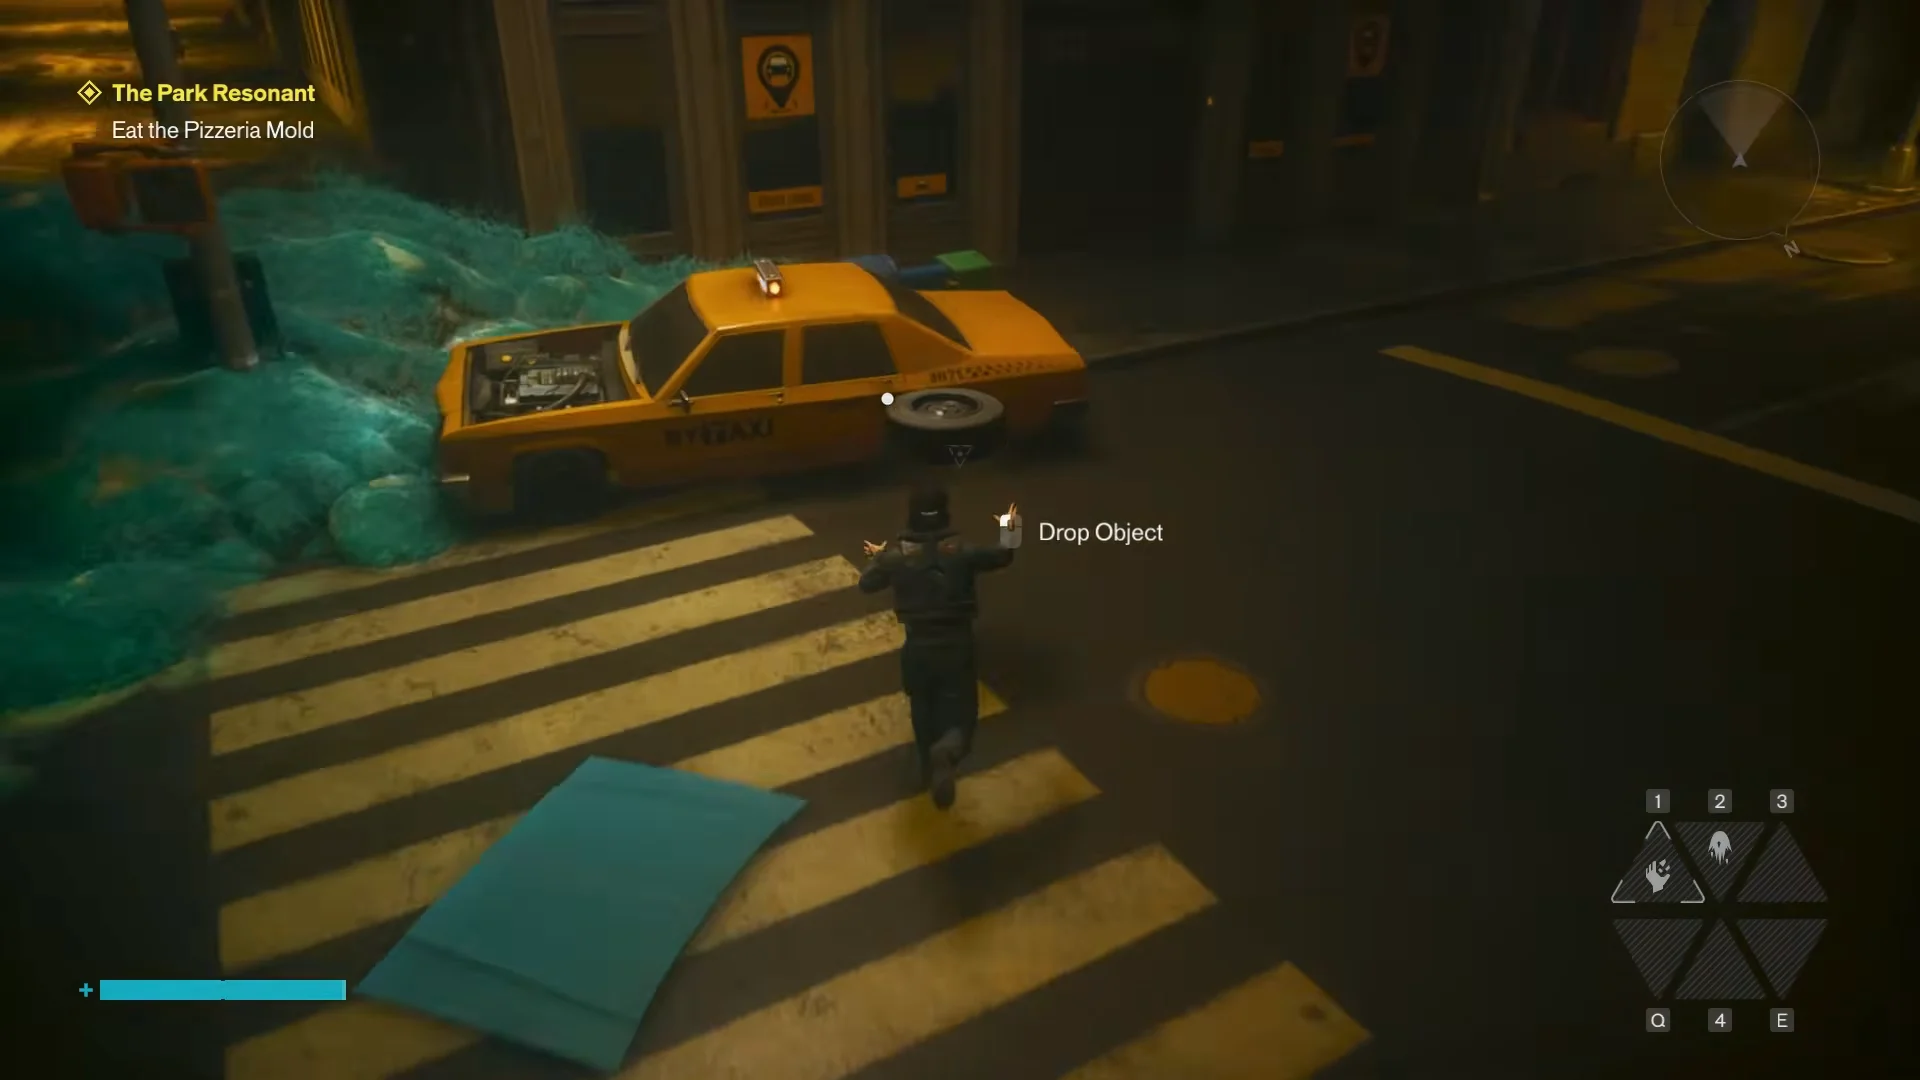
With the wheels and yellow hood attached, use the Enter Taxi prompt to teleport to the final repair area.
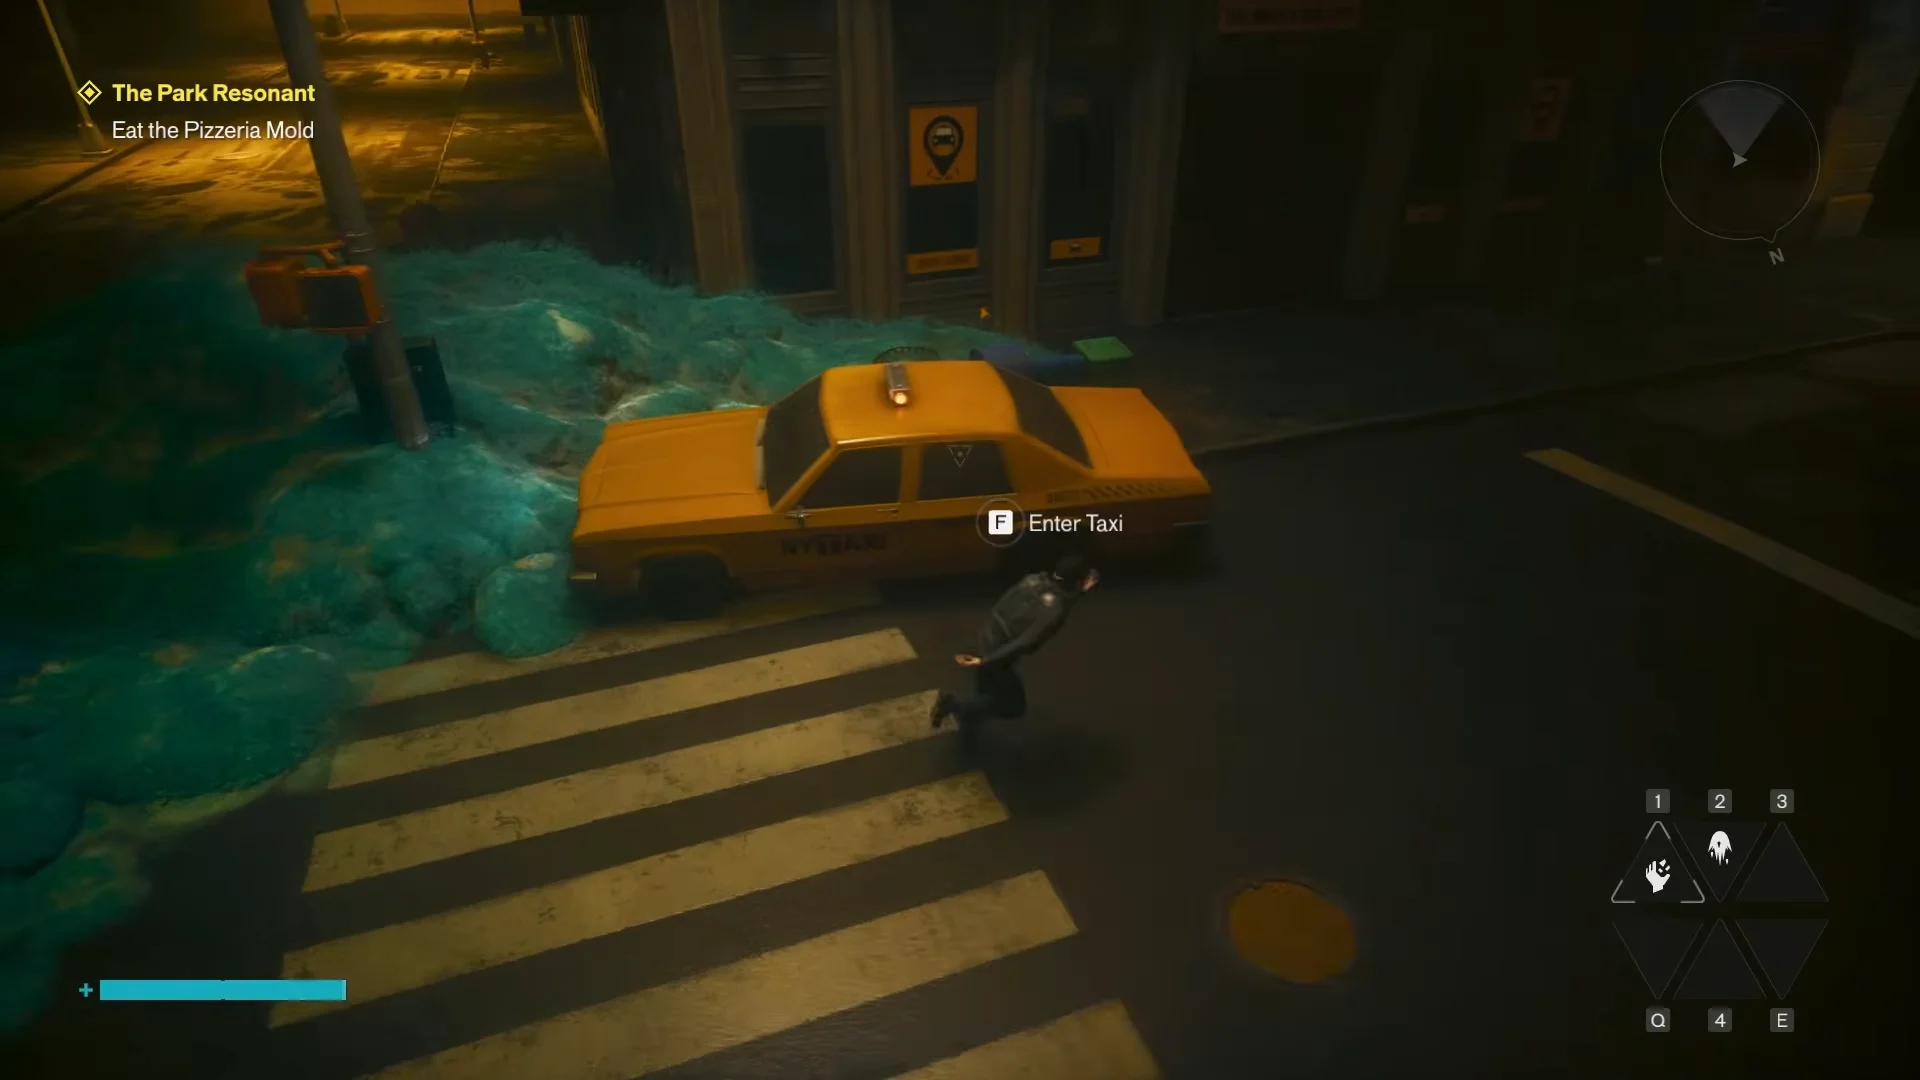
Round 3: break the Mold cluster, then fit five parts
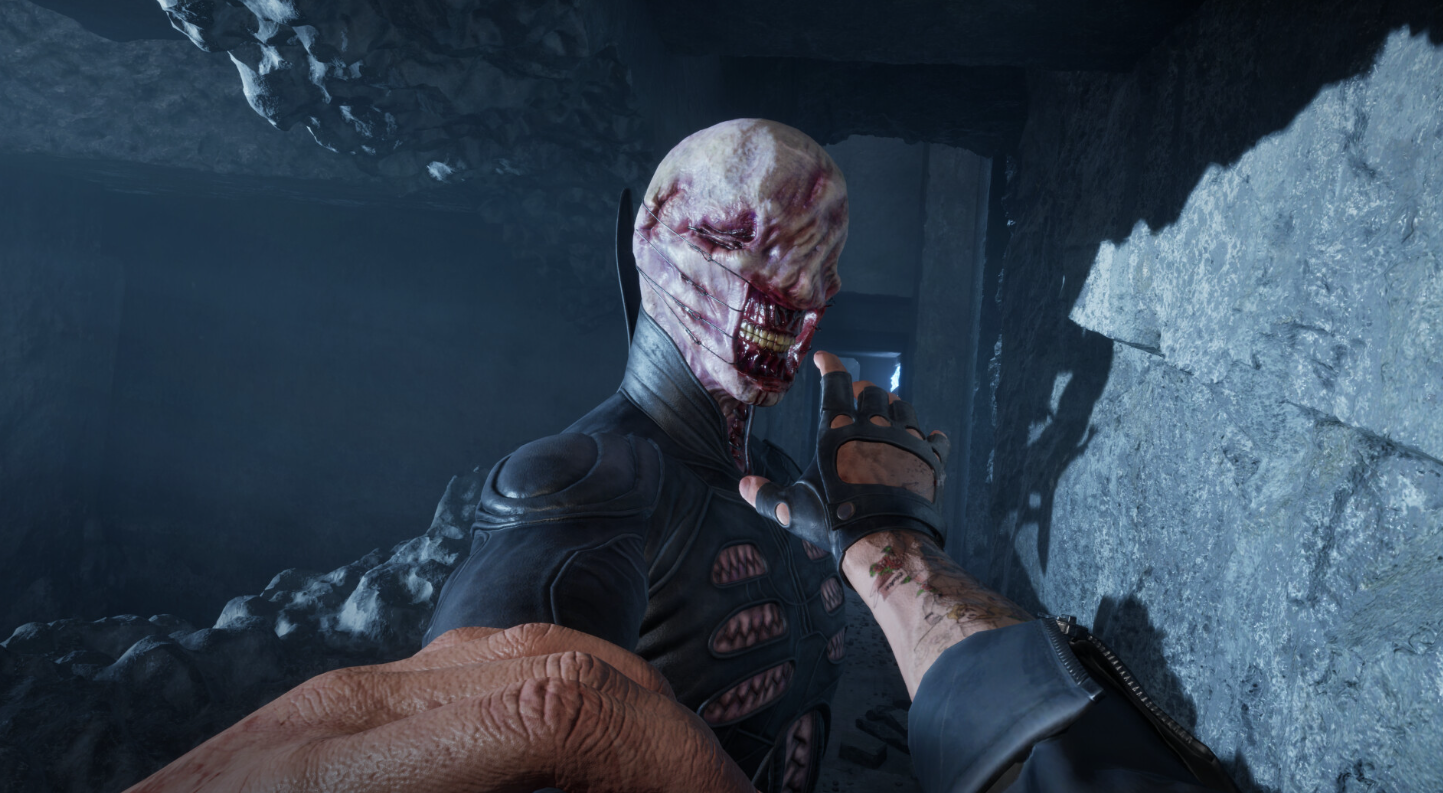
The final cab is buried under a large Mold growth, and there is a big Mold plant enemy to deal with here too. Destroy the three smaller Mold growths connected to the taxi by strands, along with the hidden bulbs inside them, before you touch the central mass. Skipping the outer clusters lets the Mold on the taxi regenerate.
Once the central Mold is cleared, gather and attach these five pieces: the yellow hood, taxi roof sign light, yellow front-side body panel, dark-yellow trunk cover, and rear grille (bumper). Two nearby objects are decoys and must not go on the cab — the police lights and the light-yellow hood. Fit the correct parts and enter the taxi to leave.
How to know the puzzle is solved
Each part gives a distinct click when it seats correctly, so a missing click means a piece is still off or you grabbed a decoy. When every round is done, entering the fully rebuilt cab teleports Dylan back to the real city street, and The Park taxi is marked as complete toward The Last Taxi side story.
Puzzle types are not locked to a zone. The Park most often gives this repair variant, but the cab you find here can hand you a different puzzle on another playthrough — if so, the solution for that type still works the same way wherever it appears.