Control Resonant: Recursions and Iterations Walkthrough
Everything you need to descend into the Underpass, unlock Reach, restore power, and place the final probe relay.
Everything you need to descend into the Underpass, unlock Reach, restore power, and place the final probe relay.
by AllThingsHow Staff · Edited by Pallav Pathak
Image: Remedy Entertainment
Recursions and Iterations picks up right after Enemy of My Enemy, sending Dylan Faden beneath the Sinkhole on Emily Pope’s orders to search for survivors from the missing research team. The route runs through the Subway Fault, where you pick up the Reach ability, and ends deep in the Underpass with a probe relay that has to be planted at the right spot.
Quick answer: Descend through the Sinkhole into the Underpass, complete the Subway Fault to gain Reach, restore the research site’s power with three charges, then place the final probe relay by the small tree to finish.
Image credit: Remedy Entertainment via YouTube/@Trophy Tom
What you need before you start
The mission cannot be finished on the first pass. A large chasm past the Halfway Trail Fast Travel Door blocks the way forward, and only the Reach ability lets you cross it. Reach is a grapple that pulls Dylan to transparent orbs in the environment and lets you shift gravity onto walls and ceilings. You unlock it partway through by breaking off to complete the Subway Fault, then return to the Underpass to continue.
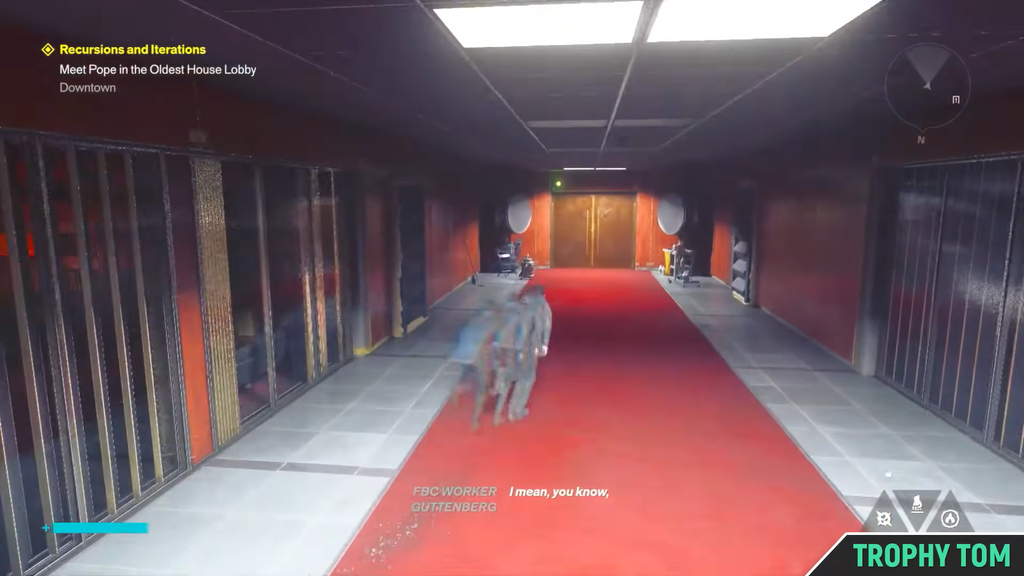
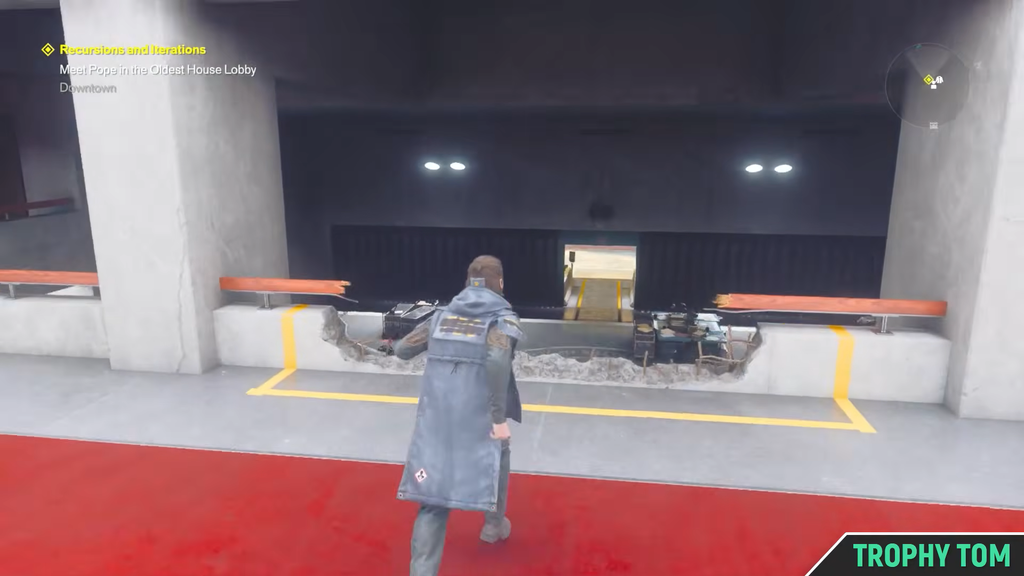
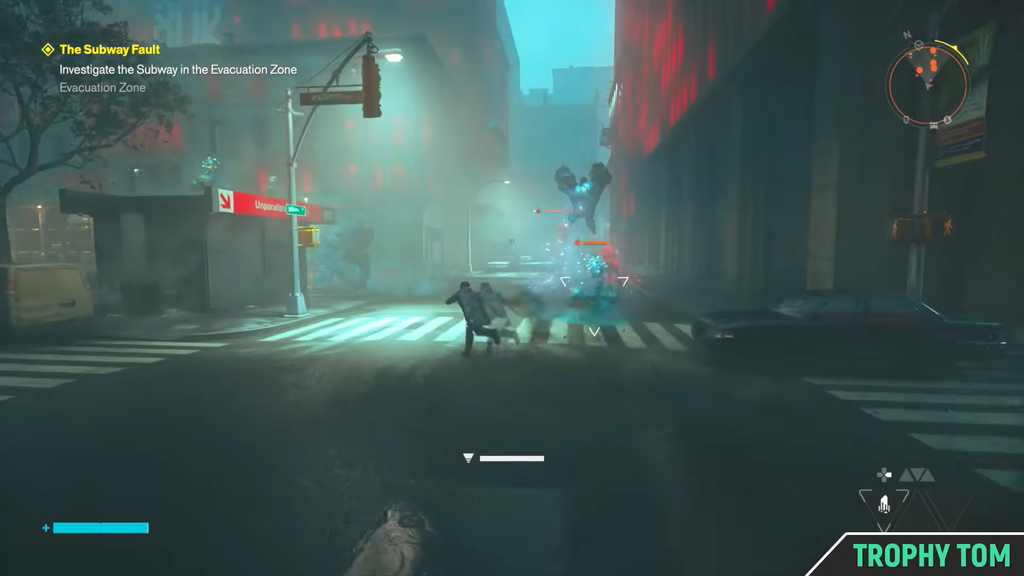
Return to Pope in the Oldest House lobby and talk to her. This starts the Into the Valley of Death side quest and pushes the main objective toward Central’s Evacuation Zone.
Image credit: Remedy Entertainment via YouTube/@Trophy Tom
Head to the laundromat near Main Street. Grab the Power Upgrade Point from the chest in the left corner, then go through the double doors and follow the linear path downstairs.
At the labyrinth of rooms, drop at the checkpoint and follow the yellow tape arrows. When you reach the CHASM AHEAD marking on the floor, jump into the hole in the ground.
Descend the platforms past the Diving Bell until you land on a cross-shaped platform. This is the Sinkhole. Reach solid ground, activate the Sinkhole Fast Travel Door, then drop down again from the center.
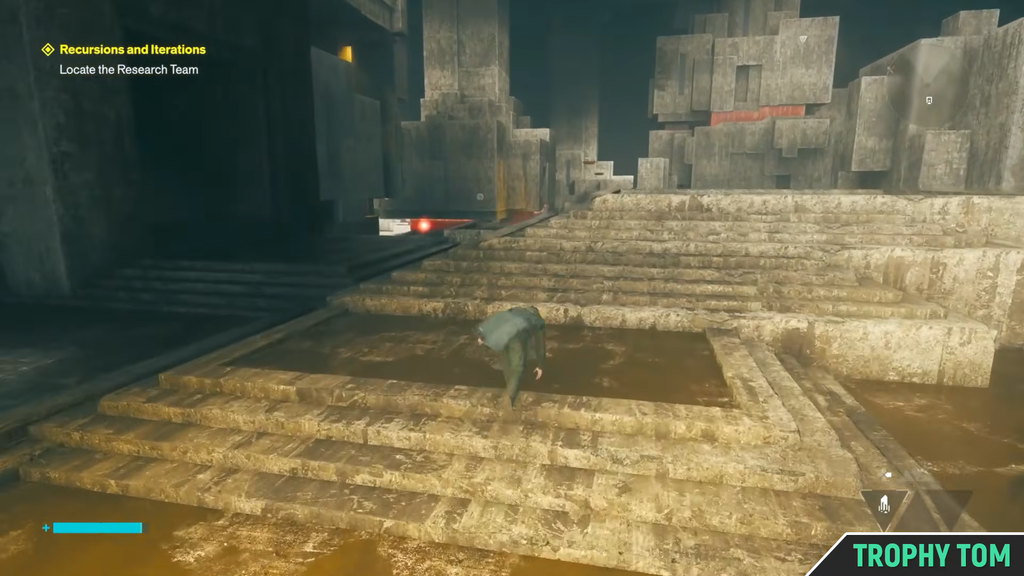
At the base, collect the Power Upgrade Chest beside the double doors on your left. Pass through them, turn left, and continue downward. At the white spotlight, take the stairs on your right to reach The Underpass.
Follow the white rope lights left by Pope’s research team. Clear the enemies you drop into, keep tracing the ropes, and cross the shifting floating platforms quickly, since each one disappears the moment you step on it.
In the room past the platforms, look up and use Shift on the ceiling, then drop into the ceiling hole. Jump and Shift again to latch on, follow the ropes, and continue to the research team’s outpost.
At the outpost, activate The Spire Fast Travel Door and pick up the Physicist’s Log #1 to start the Underpass Resonant quest. Return to the tables and use Shift to climb down the wall, following the ropes.
Turn on the map beacon to reveal the Underpass map. Go through the office and corridor until you reach the Halfway Trail Fast Travel Door. The route to its left leads to a huge chasm that you cannot cross yet.
Image credit: Remedy Entertainment via YouTube/@Trophy Tom
Fast travel to the Excavation Zone now to tackle the Subway Fault, then come back to the Halfway Trail door to resume from the chasm.
Travel to the Excavation Zone subway tunnels. You will know you are in the right place once you see Moss growth everywhere. Clear the enemies and move down the corridor toward the subway, marked by Jesse’s silhouette.
Image credit: Remedy Entertainment via YouTube/@Trophy Tom
Grab the chest on the right before the open area, return to the main path, and take the stairway on the left down to the underground tunnels. Cross the train gaps carefully, as trains rush through the chasm below.
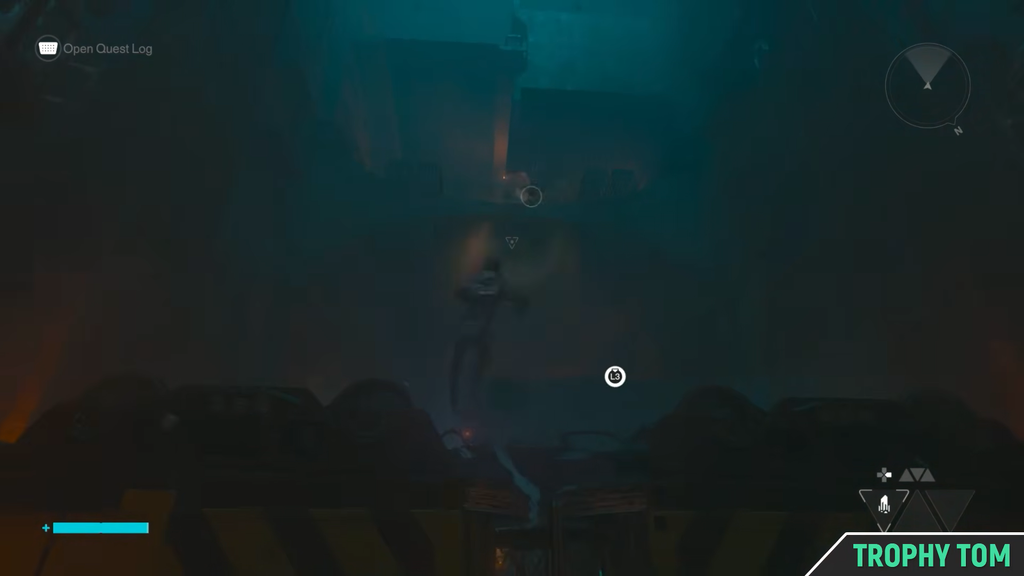
At the dead end, use Shift to walk the wall and head “down” through the blue tunnels. Do not enter the pitch-black endless tunnel ahead. Instead, go through the Mold-blocked doorway on the right.
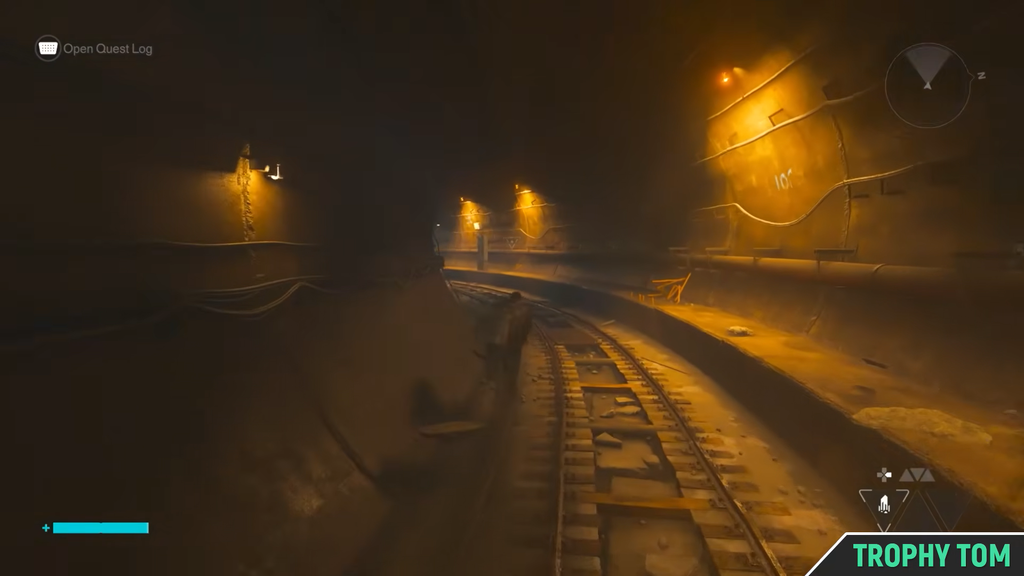
Use Shift to walk the left wall, drop onto the yellow-lit tunnel on the right, and wait on the side ledges for trains to pass. Push through the Mold opening and follow the orange-lit corridor to the Mold-infested subway.
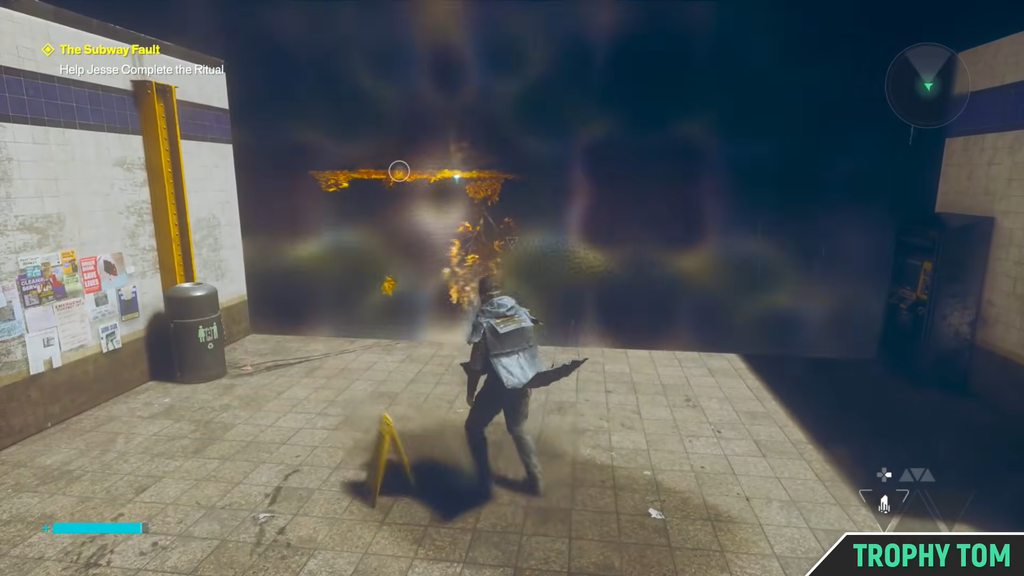
At the junction of looping trains, descend into the pit using the stationary trains as platforms. Reach the moldy platform with enemies, clear them, and follow the tunnel to the Subway Fault. Interact with the TV to enter and begin earning Reach.
Follow the appearing platforms to Jesse and talk to her to receive Reach. Use it on grapple points, chain glides and dashes across the gaps, and interact with each TV to summon the next set of platforms until the final cutscene ends the Fault.
Once you’re back in the Moldy tunnels, grapple upward with Reach and retrace your route to the tunnel where you battled enemies beyond the pitch-black shaft. Shift across the wall tracks, move past the train car at the tunnel’s end, then Shift once more to reach the Patterned Metro Tunnels Fast Travel Door. Take the Halfway Trail door back to the Underpass.
Image credit: Remedy Entertainment via YouTube/@Trophy Tom
At the chasm past Halfway Trail, glide and dash across, then grapple when the prompt appears. On solid ground, turn right and follow the ropes winding around the structure, then turn right into the corridor of enemies.
Image credit: Remedy Entertainment via YouTube/@Trophy Tom
Use Reach on the ceiling at the end. Watch for the red growth on the path, which are delayed spikes. Follow the path down and around to the right until you spot a red beacon across the chasm.
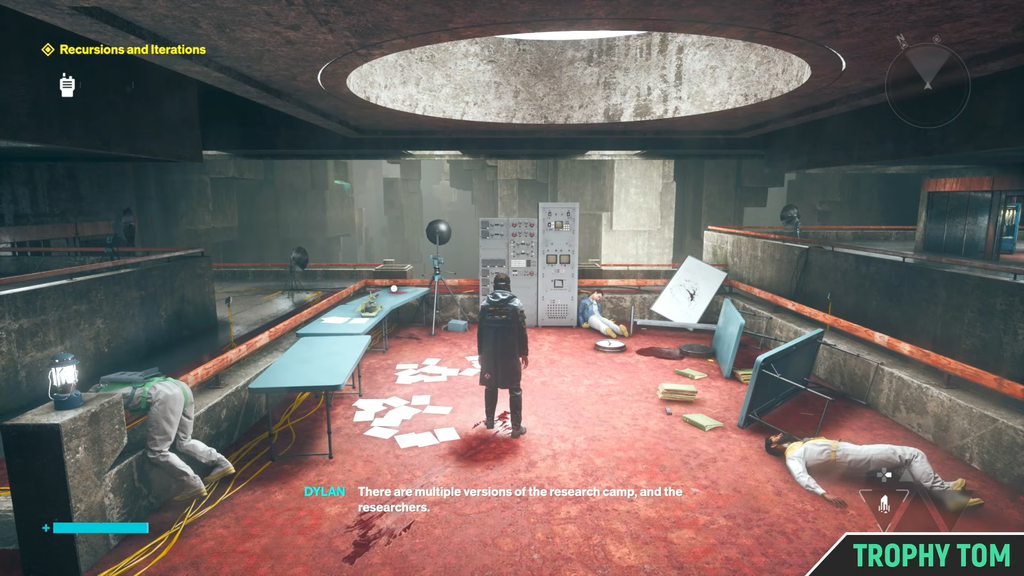
Turn right at the beacon, follow the corridor to the checkpoint, and inspect the bodies in the center of the next room to update Zoe. The marker now sends you to search the southern Underpass, including the Cable Car marked on your map.
At the research lab, talk to the man named Schultz. He and the group vanish. Report the anomaly, then head left of where they stood to the next structure and Shift down to it.
Clear the enemies, reach the two lit braziers, and grapple up to the checkpoint. Another Schultz group appears and disappears, leaving behind Grist. She explains she has been trapped in a loop before vanishing. Pick up the device she drops.
Image credit: Remedy Entertainment via YouTube/@Trophy Tom
Restore power at the research site
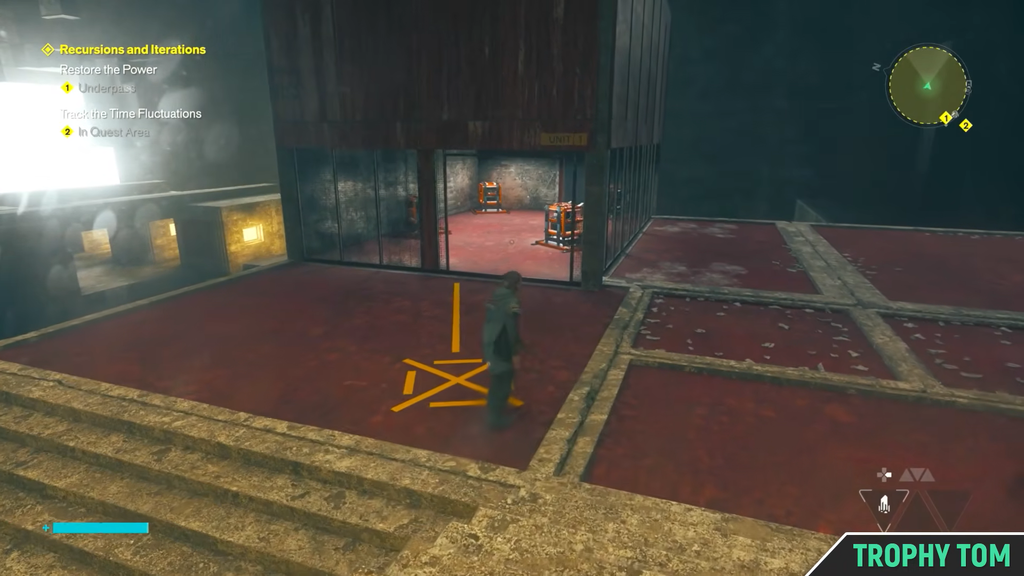
While tracking the Time Fluctuations, you meet Ayad, who tells you the power is down and points out the markings on the ground. Ignore the tape at first and follow the yellow cables to a small room with four Charge Cubes. One is already active; the other three are dead and need charges carried in from elsewhere.
The catch is that Dylan can only hold a charge for a limited time, and the rooms holding the active cores shift position. Follow the yellow floor tape one route at a time to reach an active core, grab its charge, and retrace the same tape straight back to the room where the cables converge. Do not carry a charge into any other room.
Charge
Where to go
Charge 1
Follow the tape in front of Ayad downward, Shift onto the surface, and grab the charge from the room with the green relay.
Charge 2
Head behind Ayad, turn left, look up for the Reach grapple point, and take the charge from the room above.
Charge 3
Head behind Ayad, turn right, jump onto the neighboring structure, and climb to the top for the charge.
The charges can be returned in any order. Several routes rely on Reach, which alters the surroundings and can make the layout look confusing, so keep using the yellow tape as your reference rather than landmarks. Once all three dead cubes are powered, return to Ayad and the scene shifts again, sending you after more Time Fluctuations.
Image credit: Remedy Entertainment via YouTube/@Trophy Tom
Return to the first research lab you visited to find the next anomaly. The map updates with a smaller search area in the southeast, where Grist is waiting at the edge. Talk to her to learn more.
Head for the Transmission Tower in the distance, picking up the Grist Hiss Recording on the way. When you arrive, Hiss forces pour in, so clear the waves to trigger the next Time Fluctuation.
Go to the Cable Car to find Grist. After speaking with her, flip the switch inside the carriage to ride across the chasm. On the far side, grab the Power Upgrade Crate on the left.
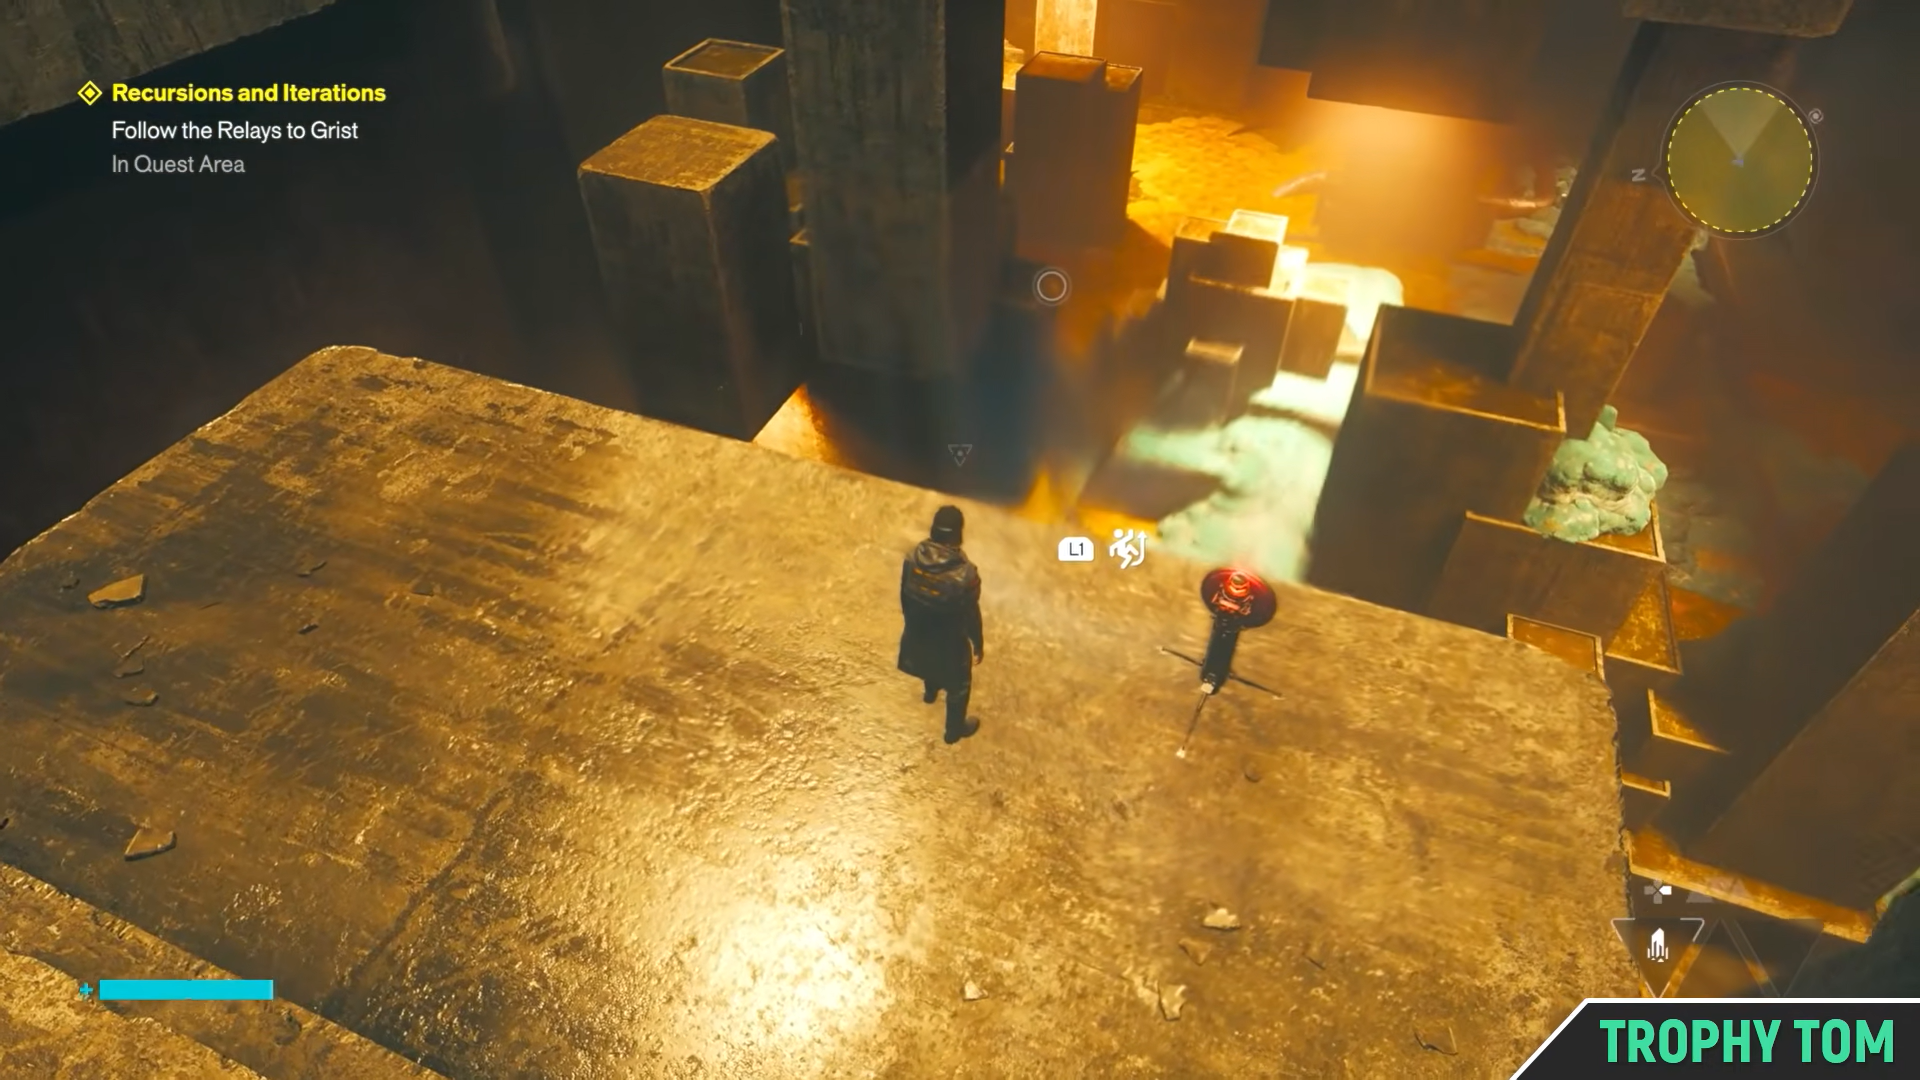
Follow the red relays forward, taking the second one left past a checkpoint into an area with Moldy enemies. Drop down, follow the relay to the next checkpoint, and turn the corner to reach another anomaly.
Once the areas merge, veer right and Shift up the red blocks. Grist is beside the final relay, but another scene transition occurs, so you must place the last relay yourself.
Image credit: Remedy Entertainment via YouTube/@Trophy Tom
Stay on the linear route until it opens into a space with a small tree. Near the tree, the relay will blink and turn green. Put it down and activate it to start the cutscene.
Image credit: Remedy Entertainment via YouTube/@Trophy Tom
You know the mission is done when Pope contacts you after the final cutscene and Recursions and Iterations closes out. Completing it rewards the Prime Candidate Restraint outfit and a Living Shard, and leaves you free to return for the Underpass Resonant and Underpass Fault side objectives you picked up along the way.