Mini Emergency is a tycoon game from the EMERGENCY ASAP group where you build a rescue operation, dispatch units to incidents around the map, and reinvest the cash into bigger facilities and more land. The early game teaches the full loop in a few minutes, and once you understand it, scaling up is mostly a matter of keeping your depots, factories, and land all growing at once.
Quick answer: Place a Basic Ambulance Depot, press E at a mission to deploy the required units, collect and sell goods from a Supply Warehouse, then press F to buy adjacent land. Repeat and reinvest to grow.
How the core gameplay loop works
Everything in Mini Emergency feeds back into itself. You earn money two ways, and you spend it to earn more. Keep this cycle running and your base grows on its own.
- Build response depots (like the Ambulance Depot) that train units for missions.
- Deploy those units to spawned incidents on the map to earn cash rewards.
- Build supply factories that produce goods over time.
- Collect the goods and sell them at the central market stall.
- Spend the profit on new land and new facilities, then scale everything up.
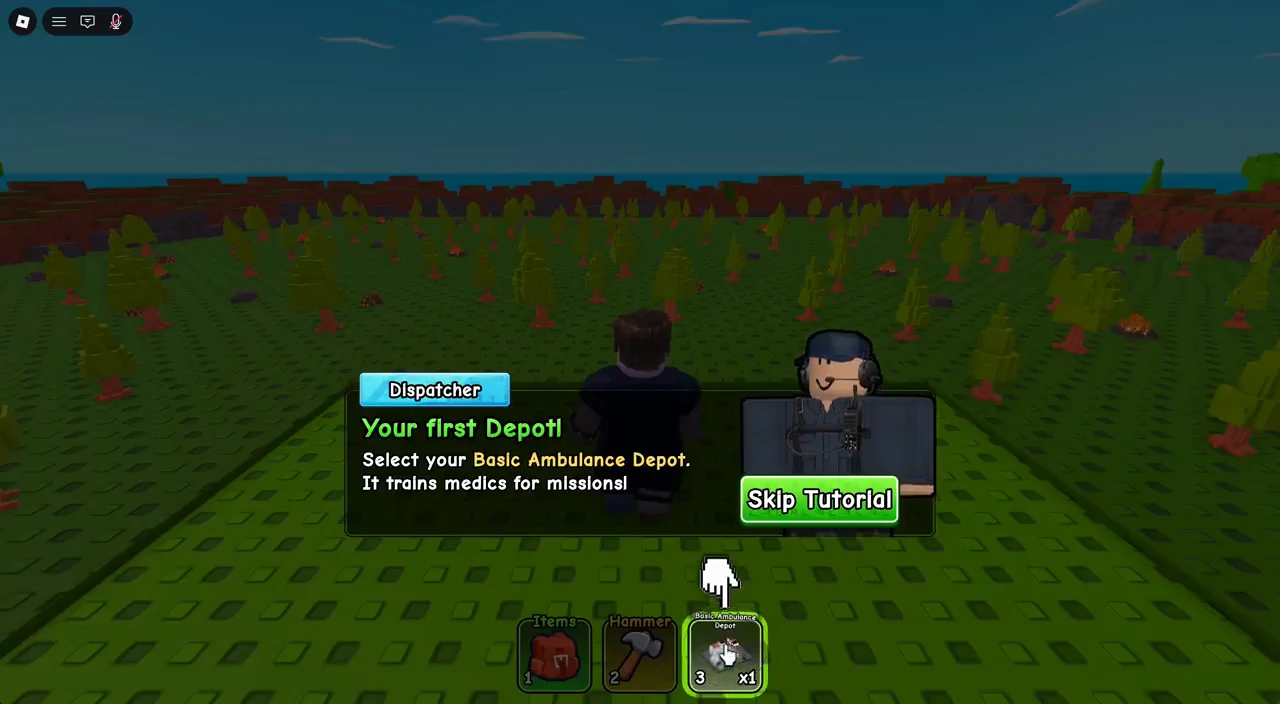
Your hotbar holds the tools you need for this. Slot 1 is Items (your placeable buildings), slot 2 is the Hammer, and slot 3 holds whatever building you are placing next, starting with the Basic Ambulance Depot and later the Supply Warehouse.
Build your first Ambulance Depot and run a mission
The Dispatcher tutorial walks you through your first rescue. Follow the glowing white arrows and floating prompts, and you will finish it in under two minutes while earning your first chunk of cash.
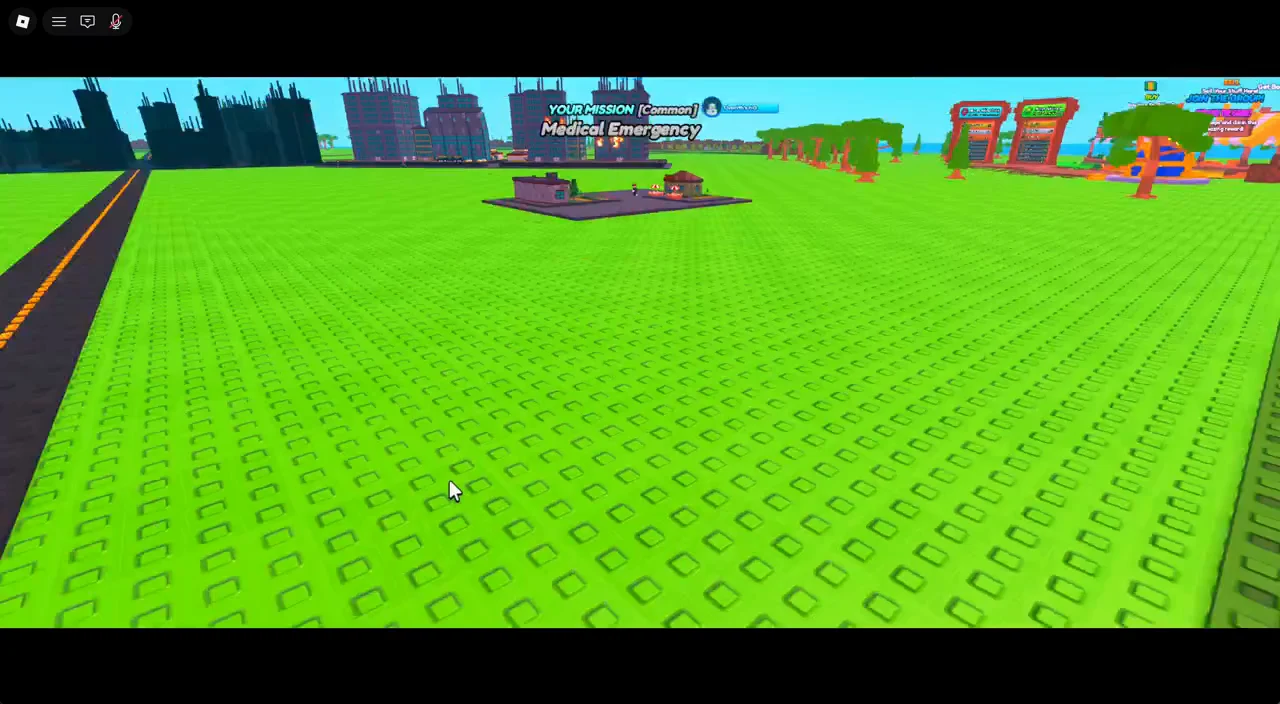
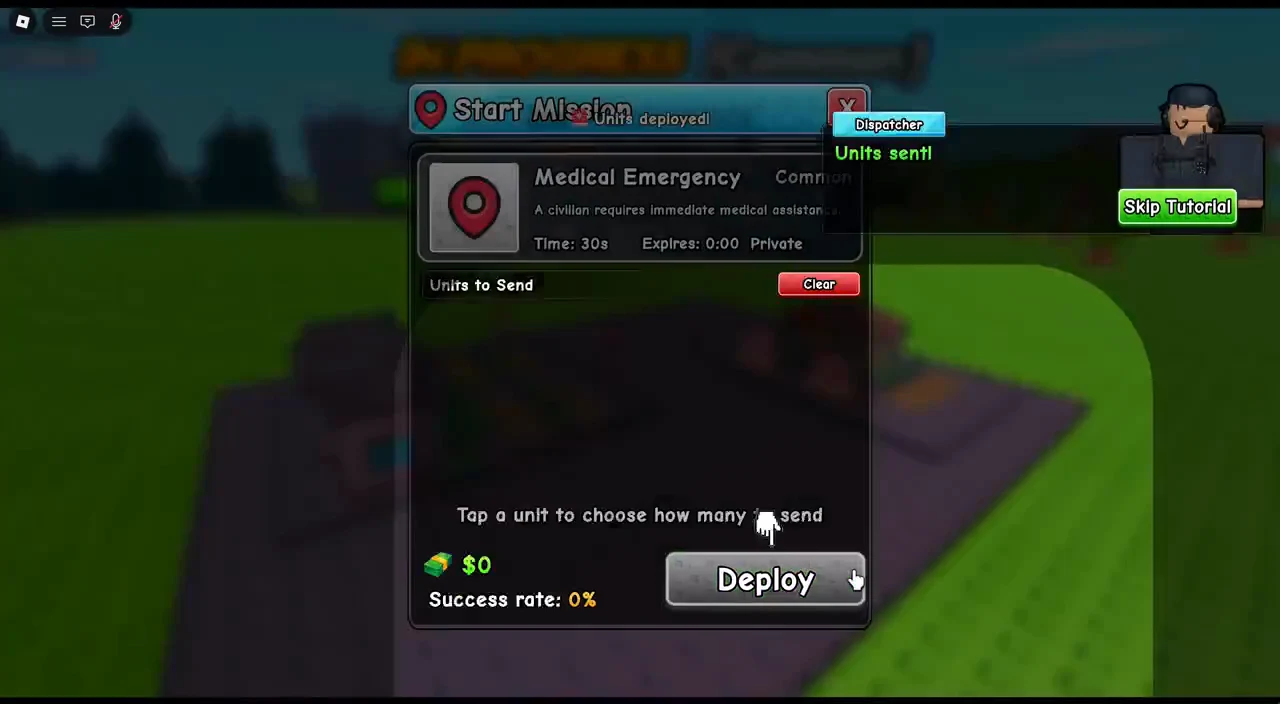
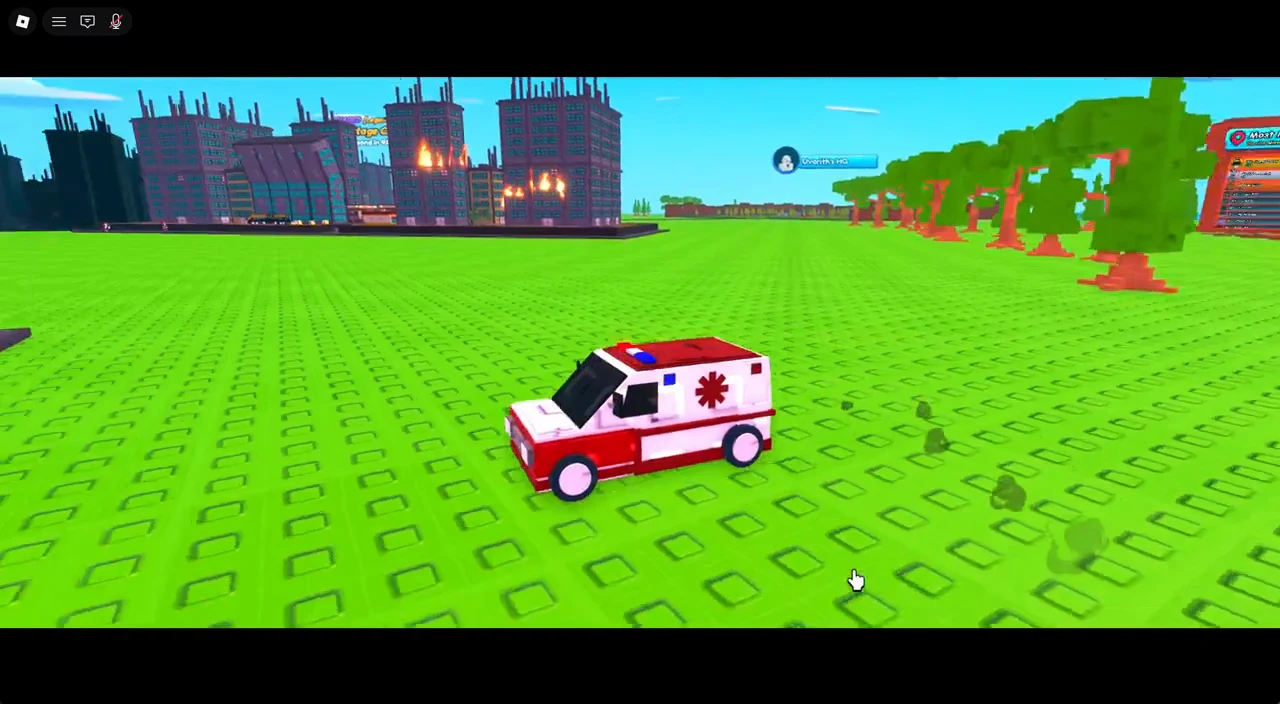
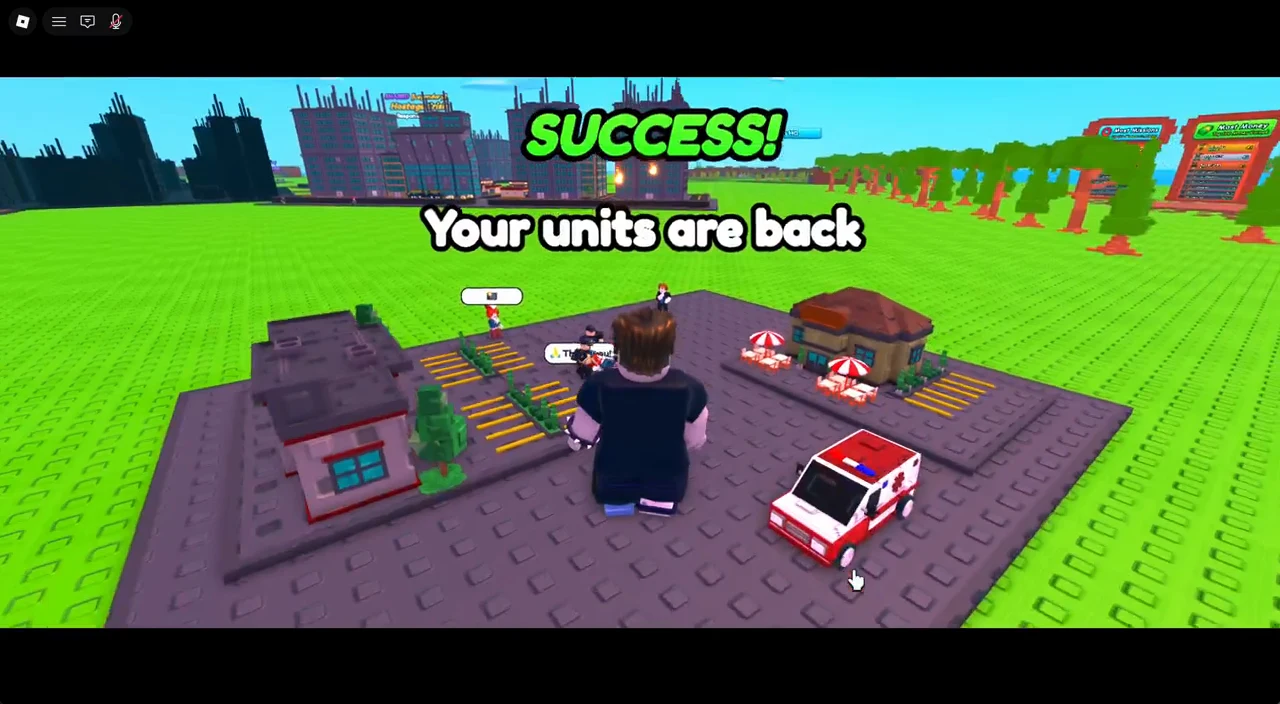
When the mission clears, you get a +$2.5K reward and the units return to base. A “SUCCESS! Your units are back” message confirms the mission paid out.
Set up supply production and sell goods
Missions are one income stream. The second is passive, and it comes from factories that produce goods you then sell. The Supply Warehouse is your first one.
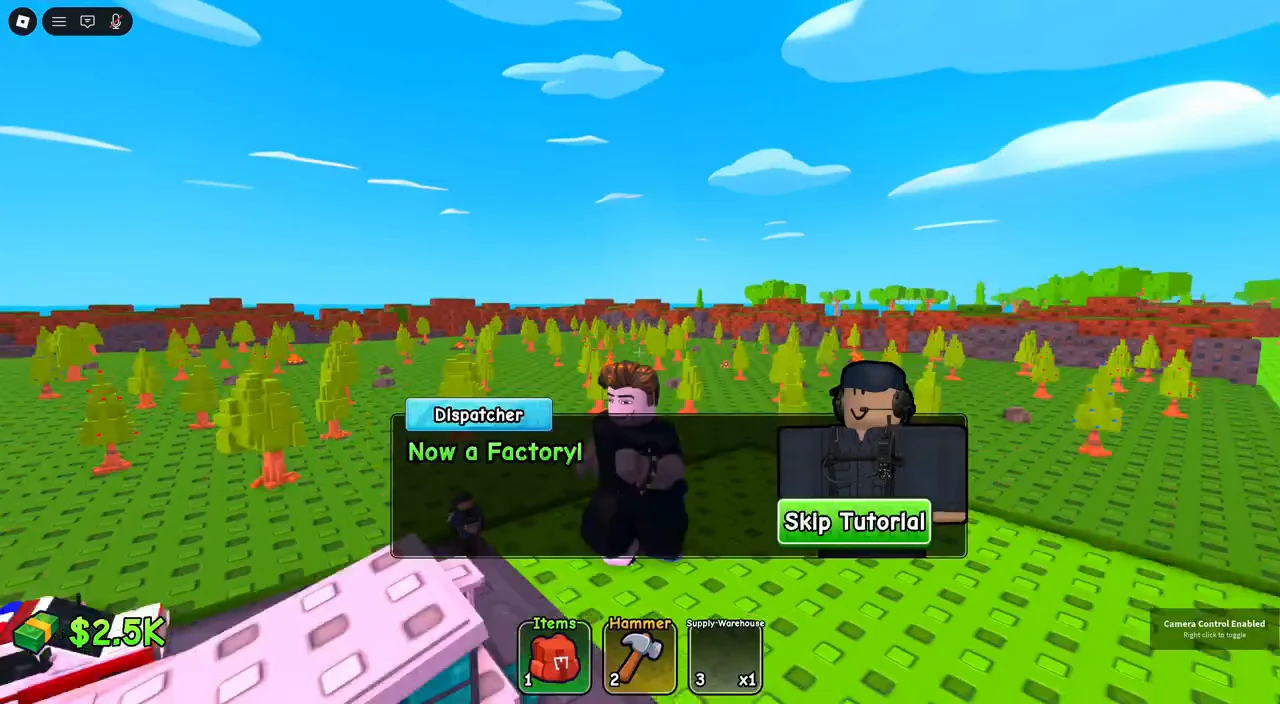
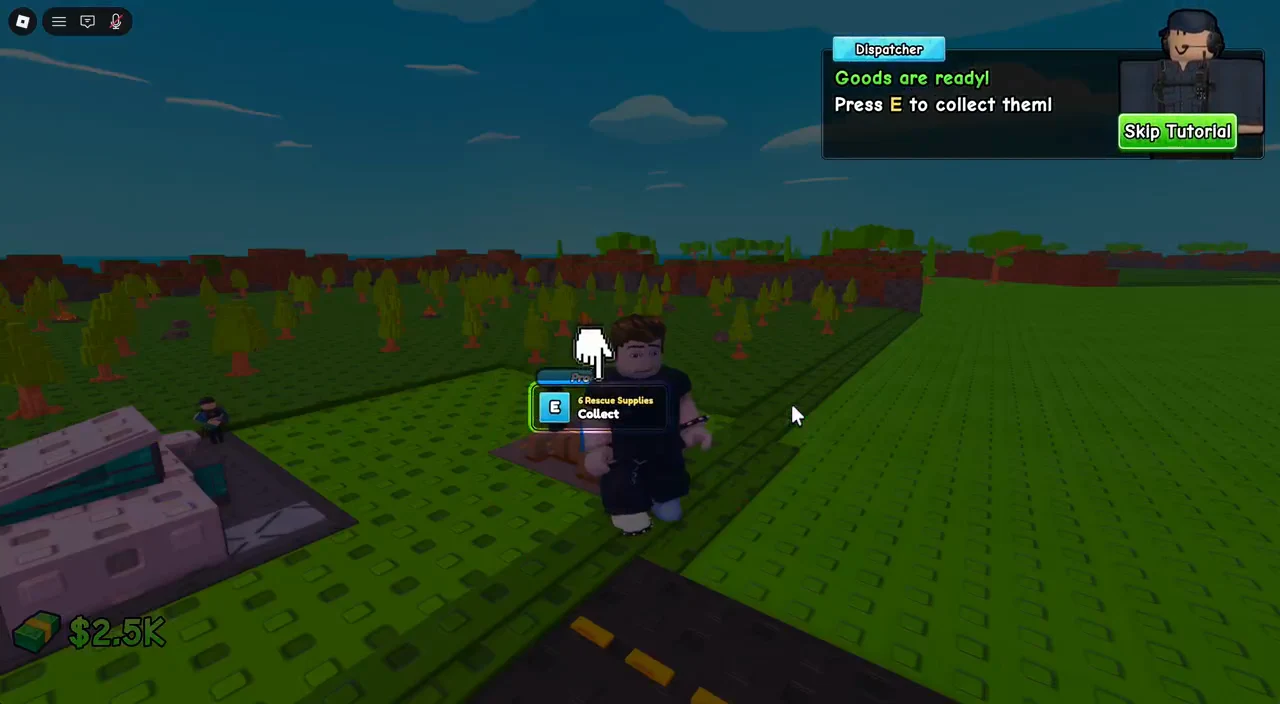
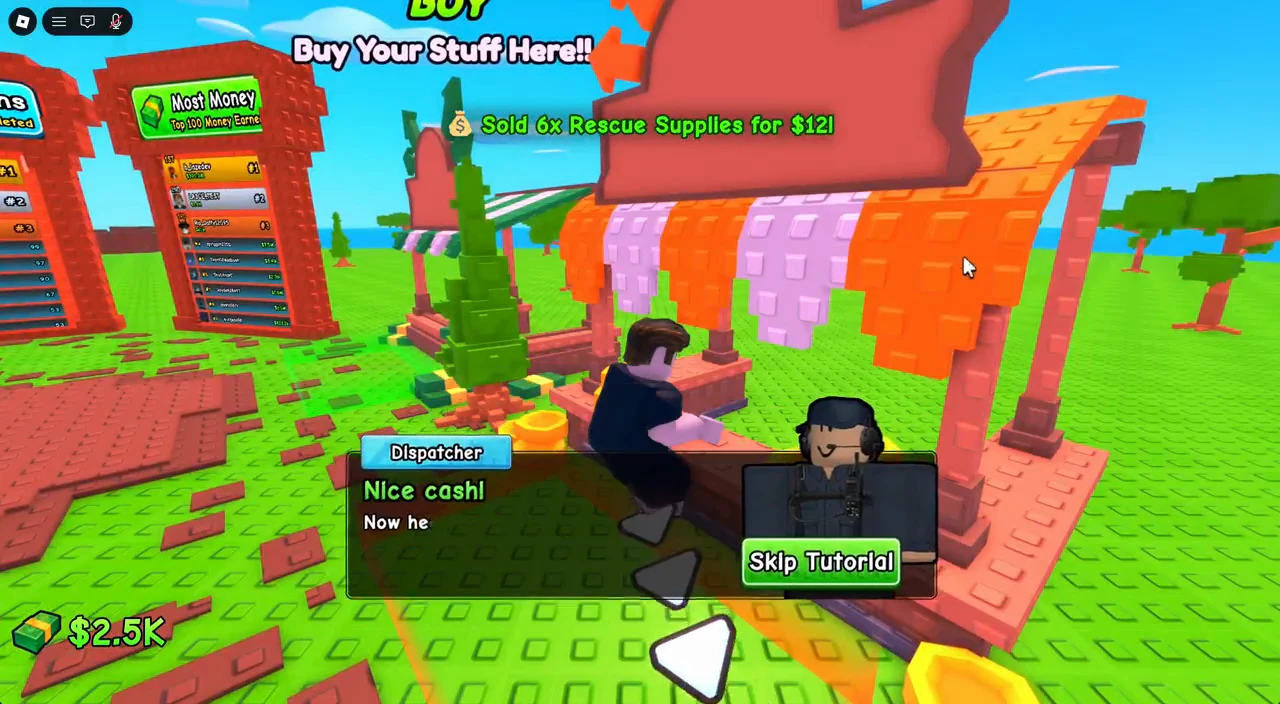
The per-sale value is small early on, but production runs while you focus on missions. Build and upgrade factories so there is always a batch waiting to collect.
Buy land to expand your base
More buildings need more room. To finish the tutorial, walk up to an unowned plot on your border and press F to buy it. The first adjacent plot costs $100, and the price climbs as you expand outward.
Once you buy that first plot, the tutorial completes with a “Tutorial complete! You are ready to save the city!” message. From here, your loop is set, and expanding land is how you unlock space for depots like the Engineer Depot, the Hazmat & Bio-Containment Lab, and the Anomaly Crisis Facility.
Daily login rewards and what each day unlocks
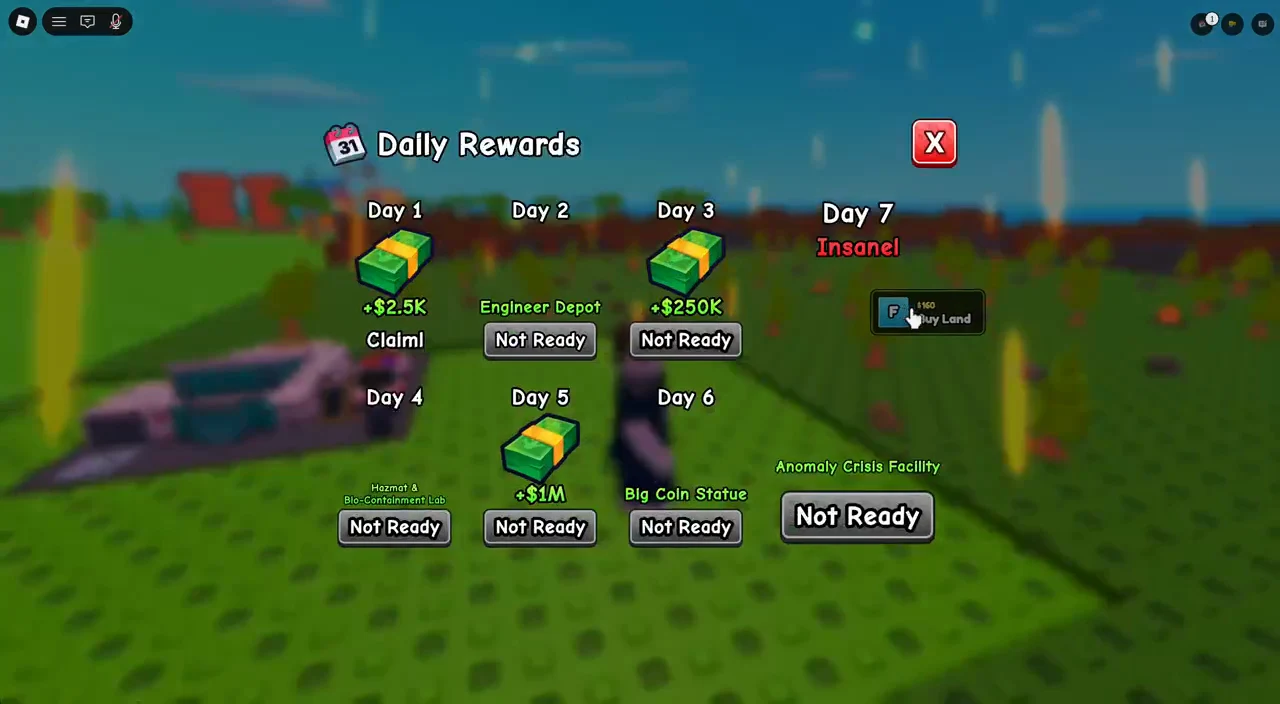
Logging in each day advances a 7-day reward calendar. The payouts mix large cash bonuses with unique facilities you cannot easily get otherwise, so keeping the streak going is one of the fastest ways to pick up end-game buildings for free.
| Day | Reward |
|---|---|
| 1 | +$2.5K cash |
| 2 | Engineer Depot |
| 3 | +$250K cash |
| 4 | Hazmat & Bio-Containment Lab |
| 5 | +$1M cash |
| 6 | Big Coin Statue |
| 7 | Anomaly Crisis Facility (Insane!) |
Claim Day 1 right after the tutorial for a quick +$2.5K, which brings your early balance to around $4.9K. The bigger cash rewards and the Day 7 facility make the full week well worth the return visits.
Shop upgrades that speed up progress
The Exclusive Shop holds Robux-based boosts, cash packs, and gamepasses. The automation and multiplier passes matter most for pace, since they cut out the manual steps in the loop and double your output. Everything here is optional, and you can progress without spending.
| Upgrade | Price (Robux) | Effect |
|---|---|---|
| Starter Pack | 29 | Ambulance Depot, Hazmat Lab, $25K |
| Auto Collect | 49 | Collects goods automatically |
| x2 Units | 69 | Doubles deployable units |
| Auto Sell | 99 | Sells goods automatically |
| x2 Build Speed | 179 | Doubles build speed |
| x2 Research | 199 | Doubles research speed |
| x2 Money | 399 | Doubles money earned |
| Super Pack | 1999 | $10M cash |
Separate cash packs are also sold if you just want a balance jump. The Tiny Pack ($12K) is 49 Robux, the Medium Pack ($139K) is 99 Robux, and the Large Pack ($2M) is 399 Robux.
If you want faster growth without spending, prioritize expanding land for more factories, run every mission that spawns, and claim your daily reward. The combination of passive goods income and mission payouts compounds quickly once you have several buildings running at once.
How to redeem codes in Mini Emergency
Codes are entered through the Exclusive Shop. Open the Shop and scroll down to the Codes section, where you will find a “Type code…” field and a Redeem button. A working code gives free cash and sometimes a bonus building, which is a quick head start on top of the daily rewards.
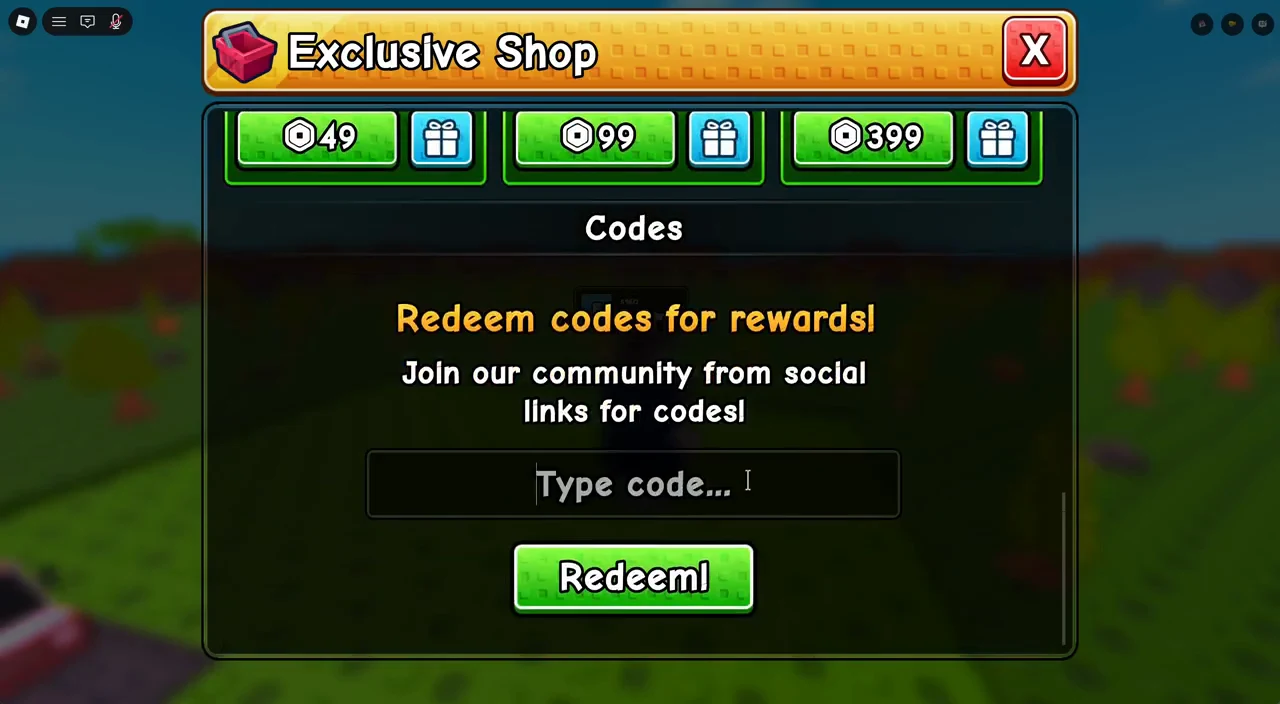

Release grants $2,500 Cash and a Police Car Depot. You can confirm the reward worked when the cash and the depot are added to your account; the current working list is maintained on the Mini Emergency codes page.If you see a “That code does not exist” message, double-check the spelling and capitalization, since codes are case-sensitive. Typos and expired codes are the usual reasons a redemption fails, so copy the code exactly rather than retyping from memory.
With the loop in place, your routine each session is simple. Clear missions as they spawn, collect and sell goods, buy land whenever you can afford it, claim your daily reward, and redeem any new codes. Do that consistently and you will be running a full emergency network across the city before long.