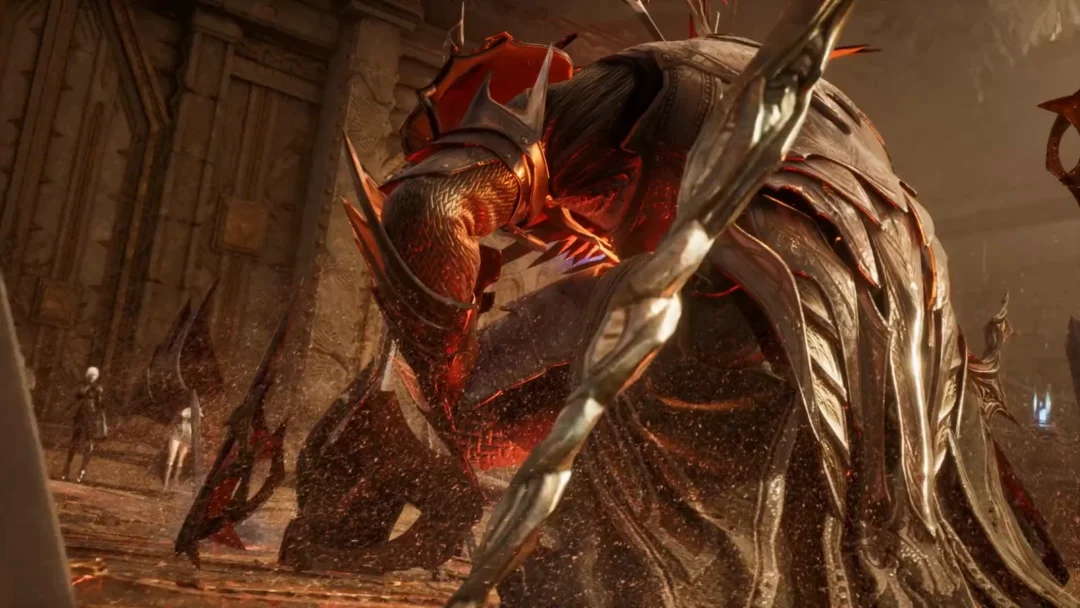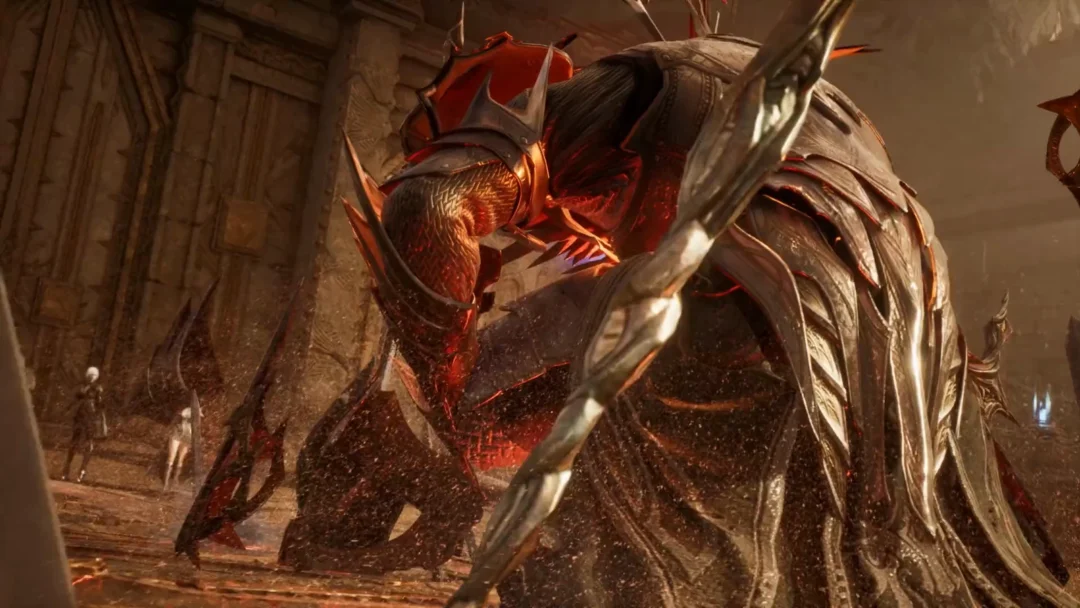
Character level in Aion 2 stops mattering almost as soon as you hit it. The campaign carries you to the level 45 cap with an item level somewhere around 900 to 1,000, and from that point the only number that moves your character forward is item level, often shown as Gear Score. It gates every dungeon, Expedition, and raid, and it is built from far more than the gear in your slots. Enhancement, stones, the Daevanion Board, Clash Runes, Arcana cards, and your belt and amulet all pour into the same total.
Quick answer: Equip the rarest gear available for each slot, enhance Unique pieces you plan to keep, and add Manastones and Soulstones. Build more item level with the Daevanion Board, Clash Runes, Arcana cards, and a fully upgraded belt and amulet. The endgame minimum is item level 1,000.
Item level and Combat Power: the two numbers that gate content
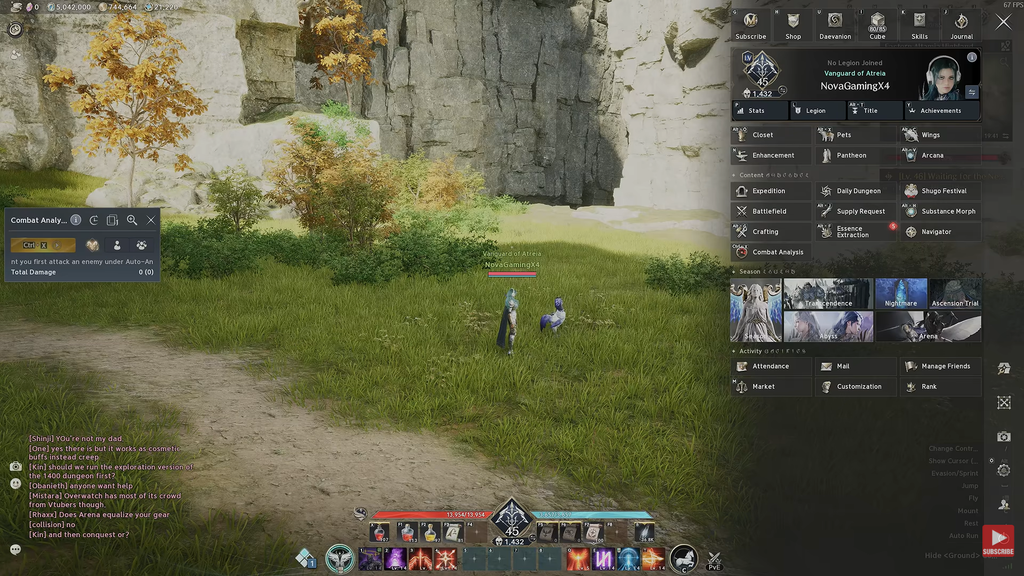
Two values decide what you can do at endgame. Item level is tied directly to your equipment and sets the minimum requirement for entering an activity. Combat Power, shown in blue, is a broader character-strength rating that covers skills, Stigmas, and stats, and it determines whether you actually survive and clear a boss once you are inside. You can meet an item-level gate and still fail an enrage or die to a raid-wide hit if your Combat Power is low.
Treat the number on the activity’s entry panel as the only threshold that matters. Both values climb together as you enhance gear and unlock passives, so the fastest route is to feed every system that adds to them rather than chasing a single stat line.
Gear rarities and what each tier allows
Global gear grades progress from Common through Rare and Epic to Unique. Although Heroic and Mythic appear in the client’s cost tables, Global has no weapons, armor, or accessories of those grades available yet. Items at the same level can differ substantially when their rarities don’t match. Rarer equipment comes with additional stat lines and Manastone slots, plus a higher enhancement limit; these advantages make rarity a much bigger factor in lasting power than base level alone.
| Rarity | Enhance cap | Manastone slots | Soul Binding lines |
|---|---|---|---|
| Common | +5 | 1 | 1 |
| Rare | +5 | 2 | 2 |
| Epic | +10 | 3 | 3 |
| Unique | +15 | 4 | 5 |
Soul Binding draws stat lines from a pool, and a progress bar fills as you improve it. At 100% the lines lock in, and at that point a Soul Binding slot opens. Belts and amulets are the exception to the rarity rule, covered in their own section below.
Enhancement: free levels, break risk, and the +15 wall
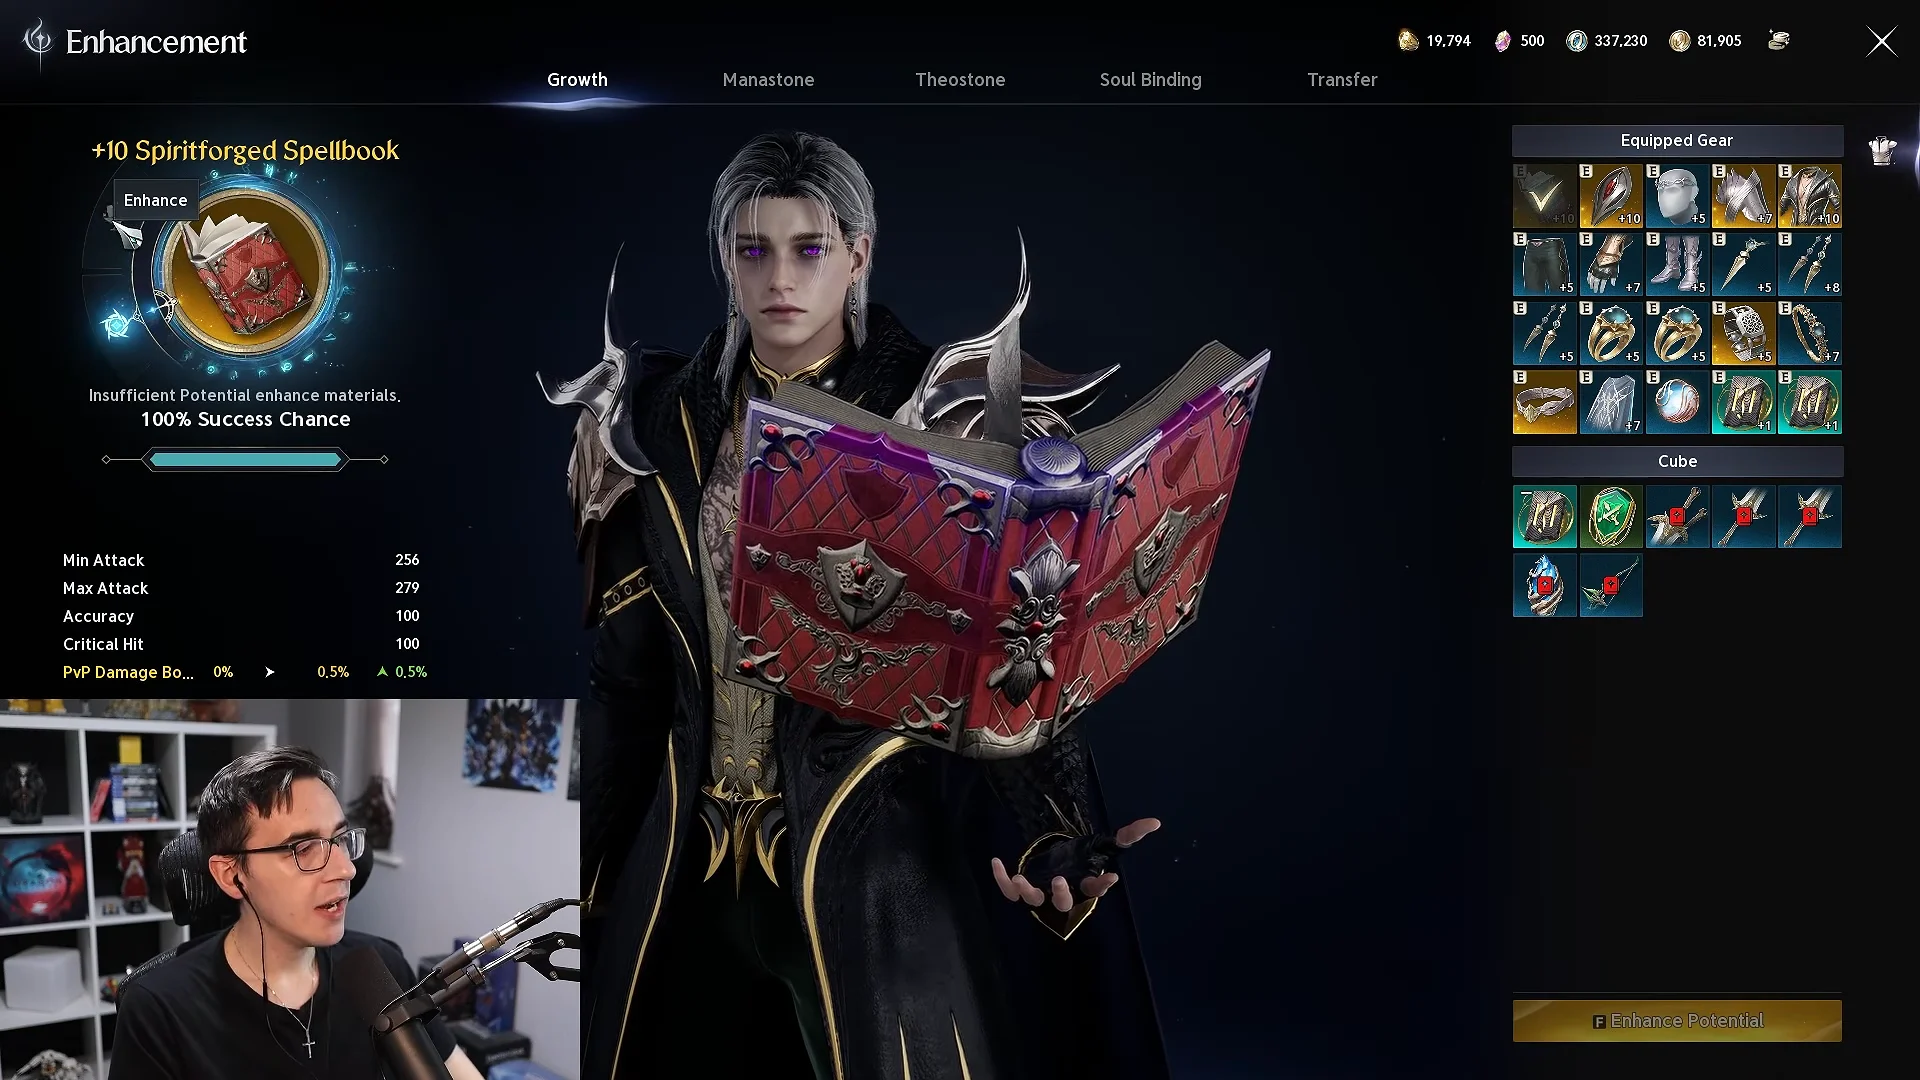
Open the enhancement menu with the N shortcut, pick a piece, and spend Kina plus Enhance Stones to raise its level. Each level adds item level and stats at a 1:1 rate. Early steps succeed every time. Common and Rare gear is guaranteed through +5, Epic through +10, and Unique through +10. Only the final five Unique steps, +10 to +15, can fail.
| Step | Base success | Pity per failure |
|---|---|---|
| +10 → +11 | 65% | +5% |
| +11 → +12 | 50% | +5% |
| +12 → +13 | 35% | +5% |
| +13 → +14 | 25% | +5% |
| +14 → +15 | 20% | +5% |
A failed attempt raises the chance of success on the next try at that step by 5%; a successful attempt clears the bonus. When enhancing weapons, armor, guards, or standard accessories, failure consumes only the materials. These pieces cannot lose a level or be destroyed, so standard gear has no break risk.
Enhance Stones are limited early on. Bring Epic equipment up to +10 while progressing, since those upgrades cost nothing, and save substantial investment for level 45 and Unique gear you intend to keep.
Reclaim your stones when you replace gear
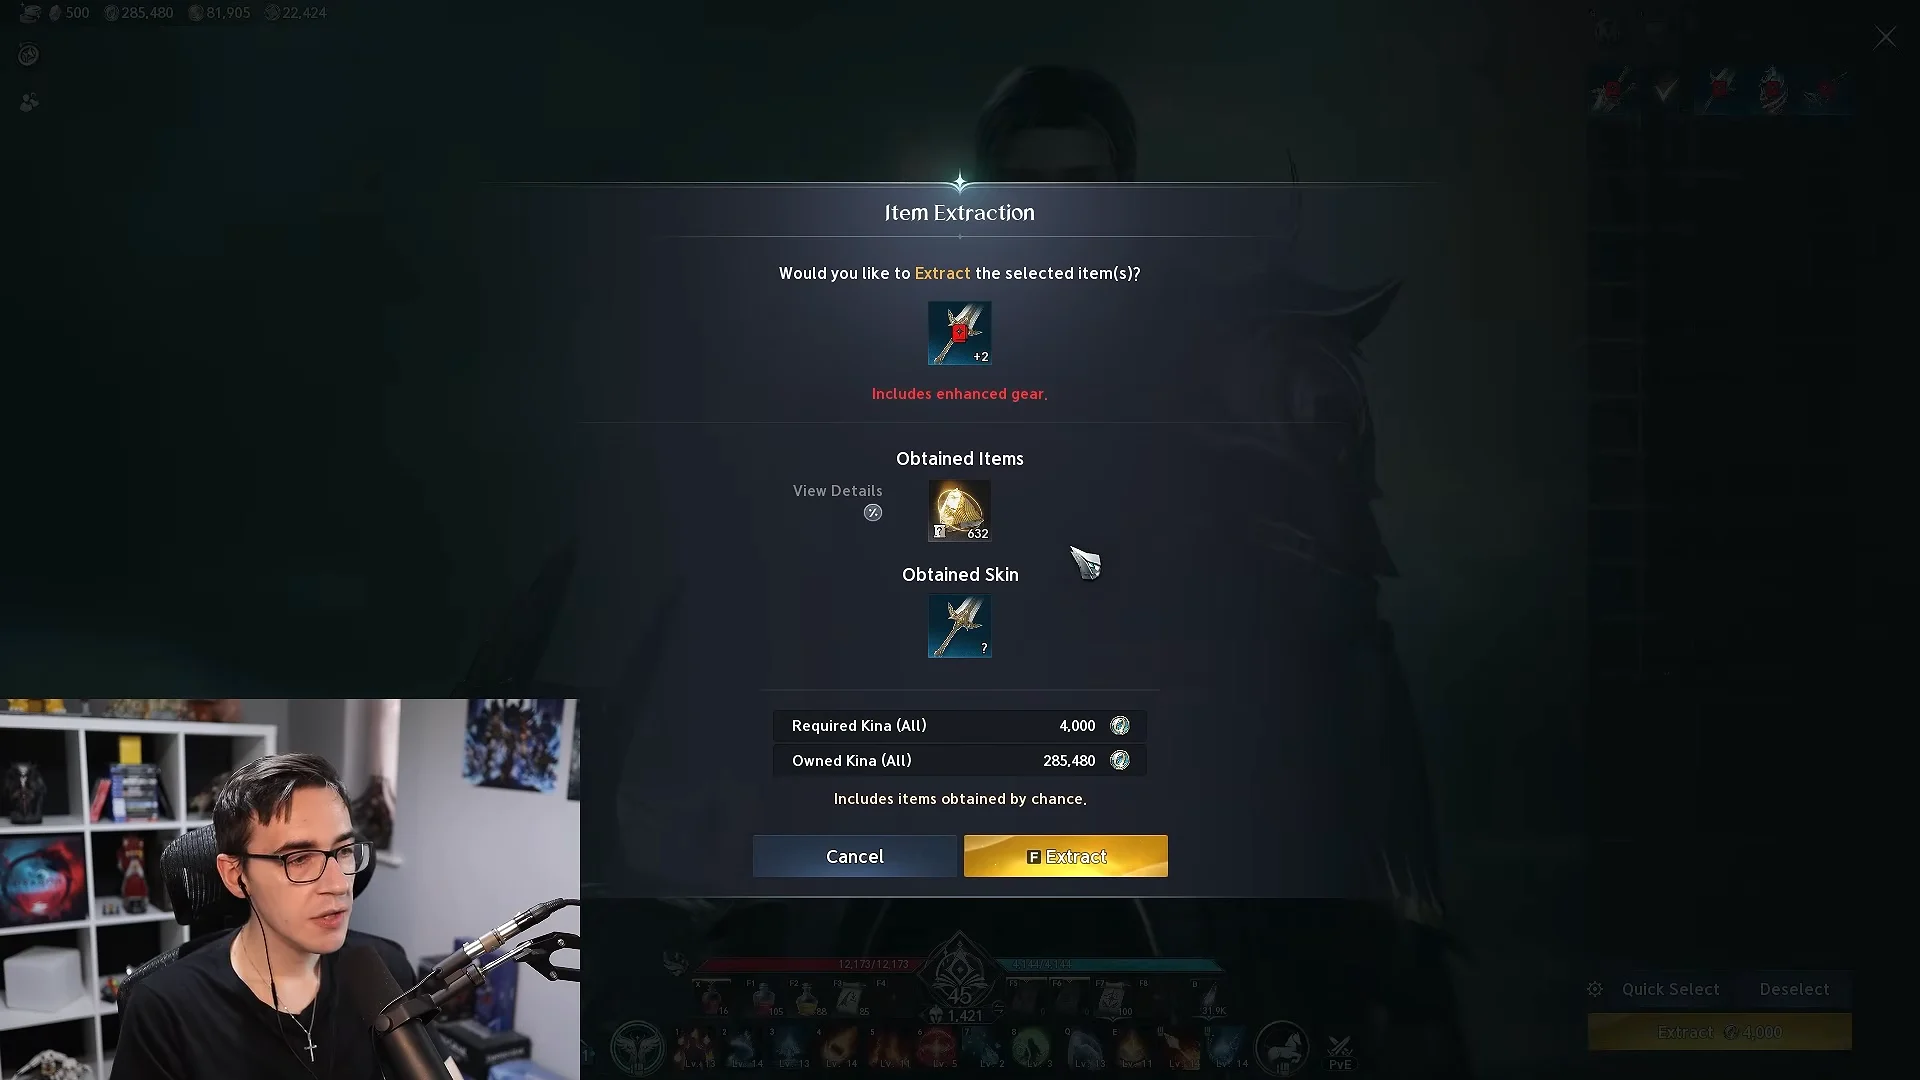
Replacing an enhanced piece does not waste the materials sunk into it. Extracting or salvaging gear refunds 100% of the Enhance Stones you invested, consuming only the Kina you spent. That makes it safe to enhance a transitional item for a gate you need now and recover everything when a better drop arrives.
Amplified Enhancement: pushing Unique gear past +15
After a Unique item reaches +15, Amplified Enhancement can take it five levels higher at most, consuming Amplify Stones rather than Enhance Stones. Success chances and the pity increase both diminish at higher steps, making the final upgrade the toughest hurdle.
| Amplified step | Success rate | Pity per failure |
|---|---|---|
| +1 | 66% | +5% |
| +2 | 50% | +4% |
| +3 | 33% | +3% |
| +4 | 25% | +2% |
| +5 | 20% | +1% |
Amplify Stone Fragments drop from Expedition content and raids, including Draupnir, Vakron Sky Island, Urugugu Canyon, Fire Temple, Ferocious Horn Den, and the Abyssal Forge: Ludra raid. Because these levels are expensive and risky, most players amplify their weapon first and leave secondary pieces lower.
Manastones, Soulstones, and Theostones
Three stone types add stats directly to gear, and each one raises your item level alongside your combat stats.
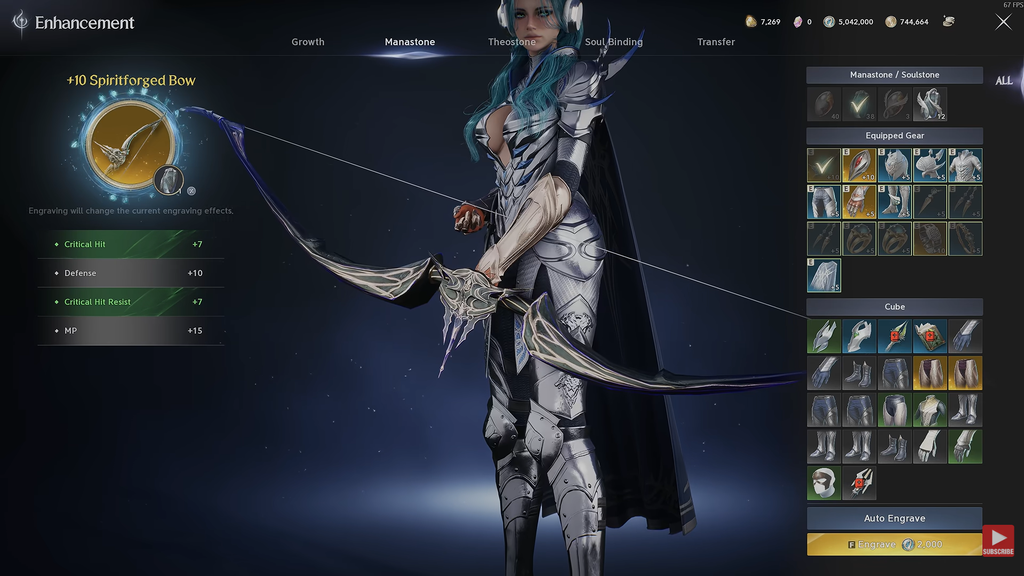
- Manastones and Soulstones fit into equipment slots, providing mostly attack or defense rolls. The number of slots depends on rarity: Unique gear has four. Replacing a weaker stone with one of higher rarity raises item level by +1 to +4.
- Theostones may activate effects like Blind or Stun. Only a weapon and a guard can hold them, allowing two equipped at most; equipping the same one in both slots will not increase its activation chance.
- Lesser stones combine into better ones through Substance Morph, so unwanted low-grade stones are never dead weight.
A failed Manastone upgrade can destroy the stone. Leave at least two stones socketed to preserve an active set bonus if an upgrade breaks, and have a spare stone ready before attempting a risky upgrade.
Belt and amulet: upgrade them, never replace them
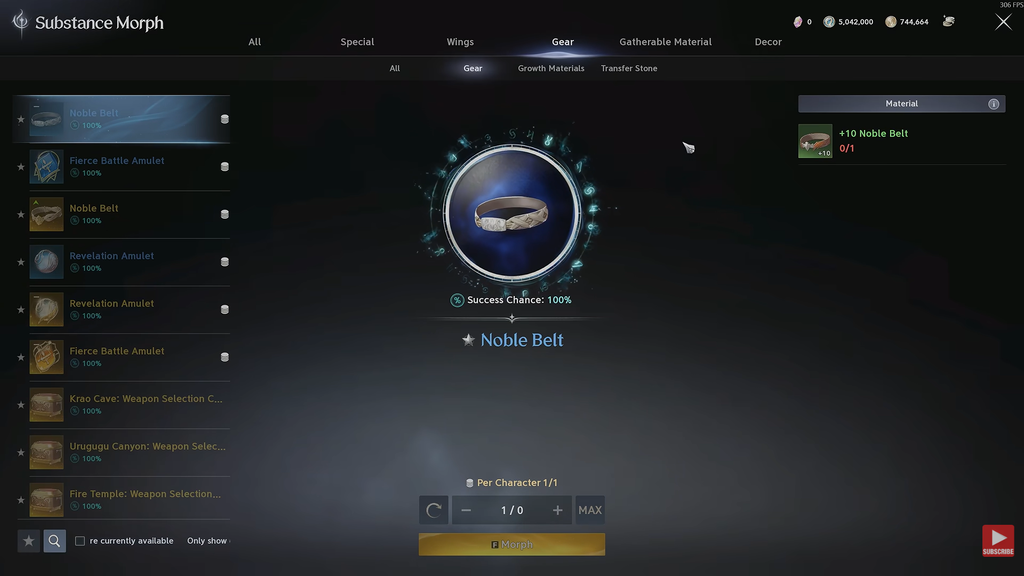
The Noble Belt and Revelation Amulet behave unlike every other slot. They do not drop at high levels, and they are the only pieces that can change rarity. Both start at green and are pushed up with zone-specific scrolls. Strongholds supply Noble Belt Enhance Scrolls, while Monoliths supply Revelation Amulet Enhance Scrolls.
Bring both pieces to +10, then open Substance Morph from the Gear tab to advance each to the next tier: green to blue, blue to yellow, and so on. Each rarity increase provides a substantial item-level boost, so invest in your belt and amulet and keep them instead of replacing them.
Clash Runes: strong item level, permanent break risk
Clash Runes fill two Rune slots and drop from story and regional quests. Even at base level they add a large boost, and each slot is worth roughly 40 item level, so filling both is one of the cheapest big gains available. They also contribute raw PvE damage and defensive stats.
Clash Runes are destroyed on a failed enhance. The first upgrade starts at only 80% success, and a failure wipes the rune entirely, costing you the full 40 item level for that slot. Equip them for the base boost, but do not enhance them unless you are willing to lose one.
Every system that raises item level
Gear enhancement is only part of your total. Several systems feed the same number, and some return a lot of item level for very little risk.
- Daevanion Board: Unlock nodes by spending Daevanion Crystals. White nodes provide +1 item level, blue nodes +3, and yellow nodes +4; every node also gives permanent stats and skill levels.
- Belt and amulet: +10 then a Substance Morph rarity jump each, for a large spike.
- Clash Runes: both slots filled, roughly 40 item level each.
- Manastones and Soulstones: +1 to +4 per slotted stone by rarity.
- Arcana cards: Complete Transcendence content to populate the five available slots. Every card you equip contributes to item level, with higher grades contributing more.
- Conquest gear: Clear the most difficult Conquest you can manage to earn Unique drops; a pity mechanic eventually ensures you receive a piece.
These upgrades all contribute to skill levels. Skills normally cap at level 10, while reaching 16 is necessary to unlock every slot; gear enhancement helps you get there. Levelling Daevanion boards adds skill levels beyond the cap, displayed in formats such as Lv. 10 (+4). This opens as many as three skill specialty passive slots, boosting damage and shortening cooldowns.
Clear the map first: Sealed Dungeons, Strongholds, and feathers
After the campaign, the map fills with content that pays permanent stats, not just gear. Work through it before spending any Odyle Energy on repeated dungeon runs.
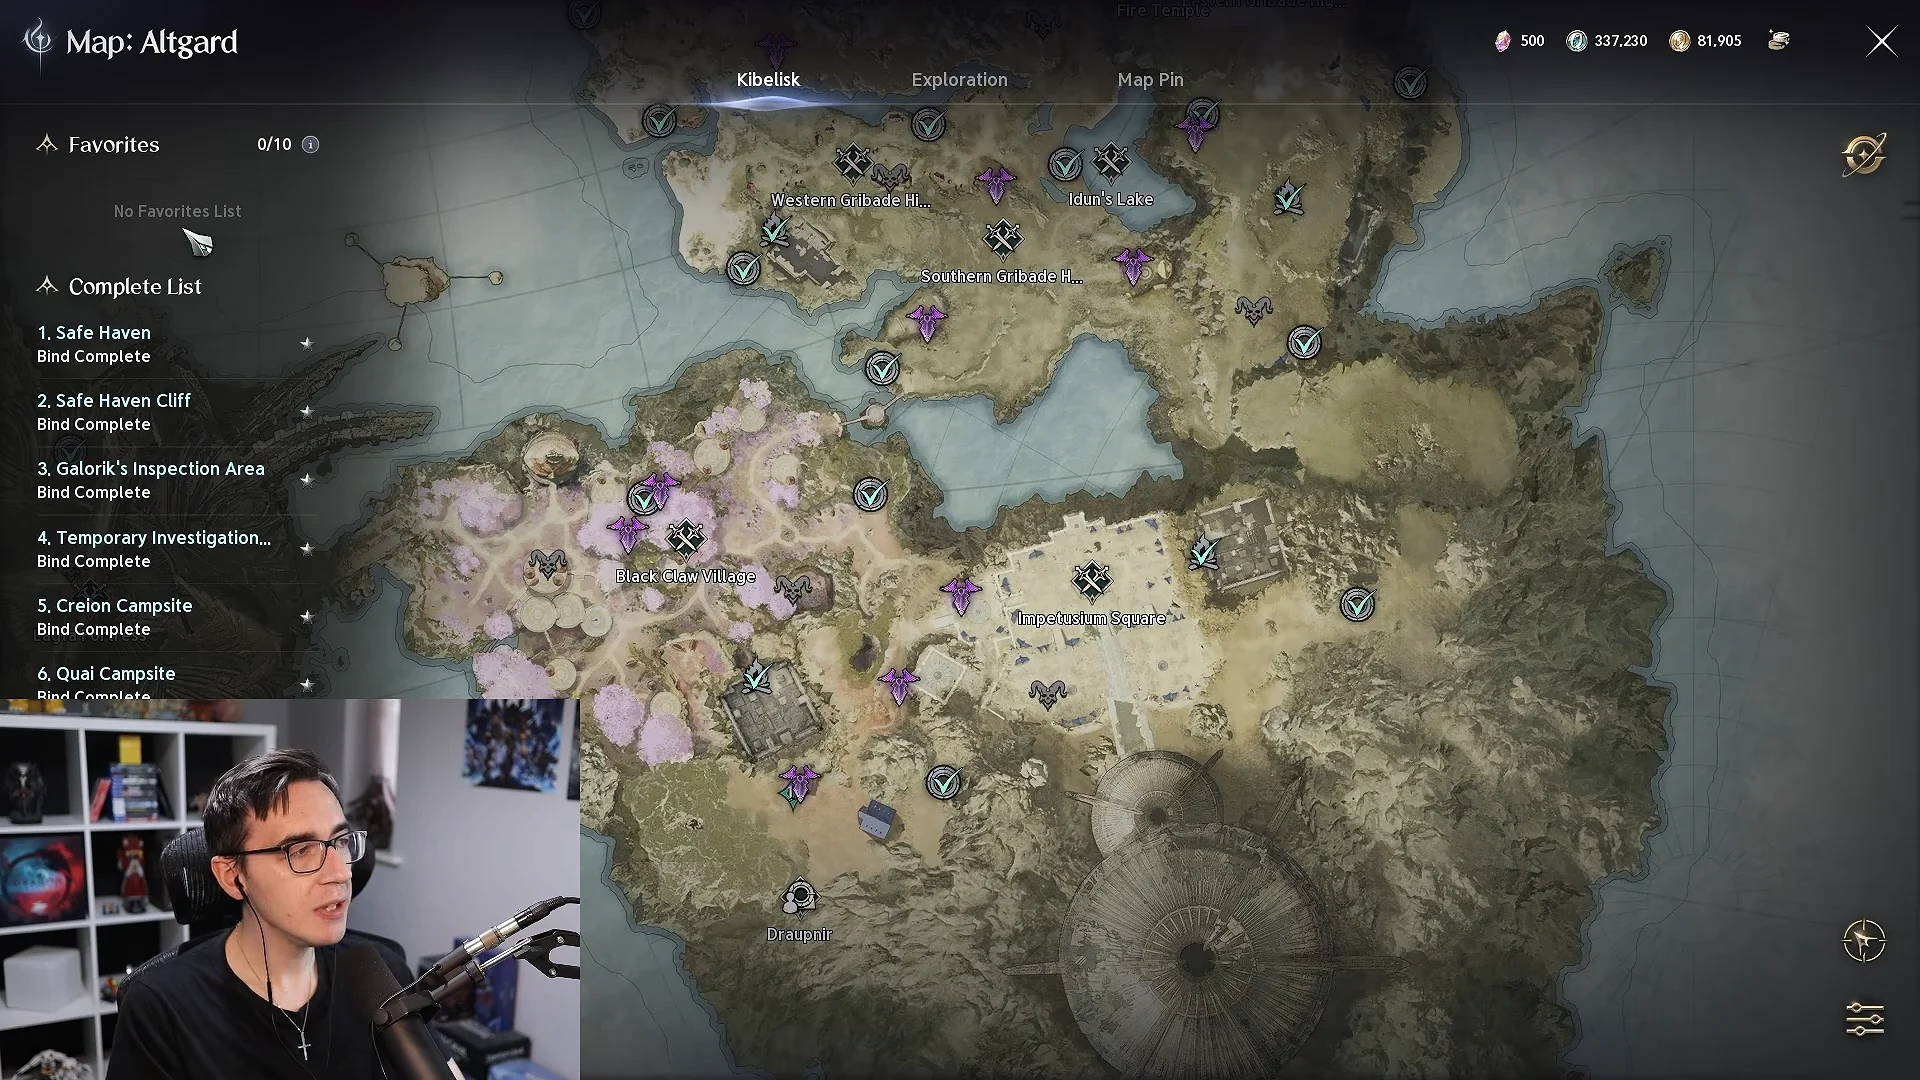
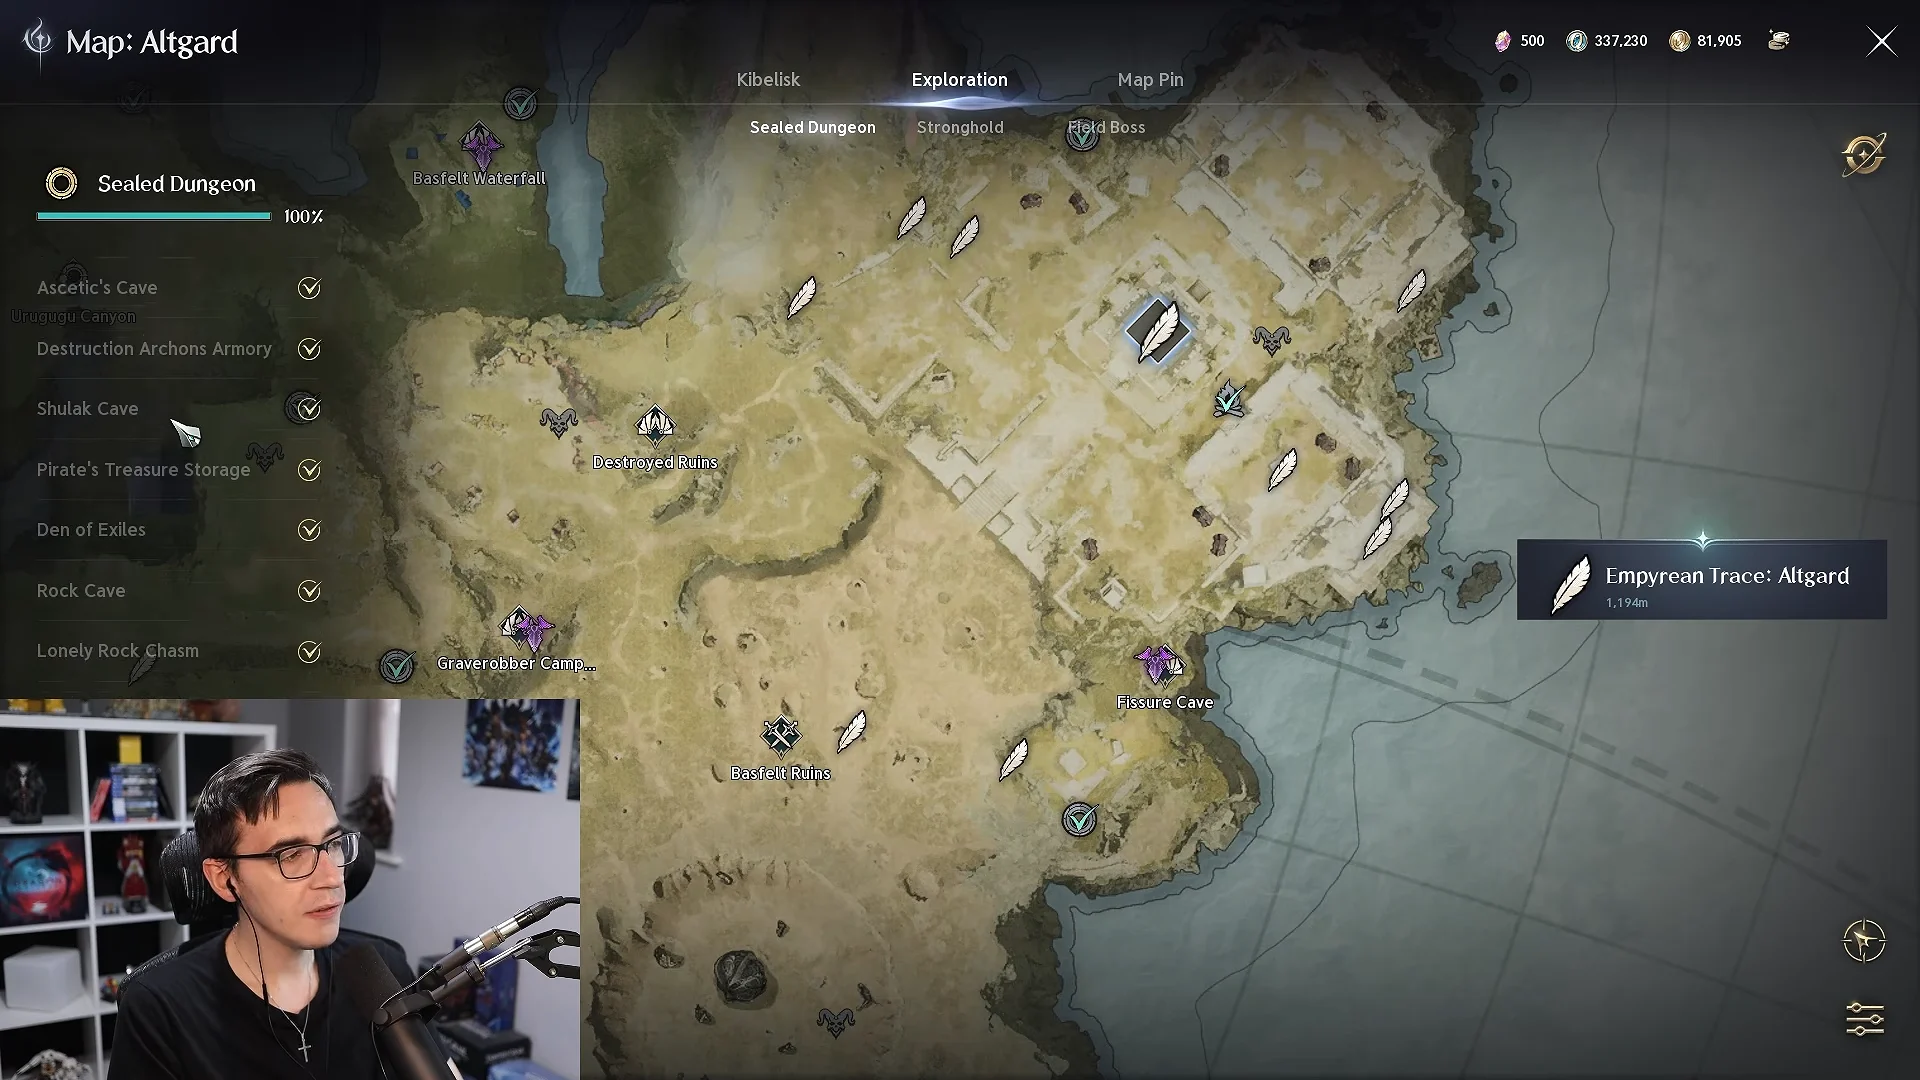
Early Expeditions cost Odyle Energy, roughly 10 to 40 per chest, and it regenerates slowly. Do not burn it repeatedly on low-level dungeons before you reach the tiers worth farming.
Farming Enhance Stones in bulk
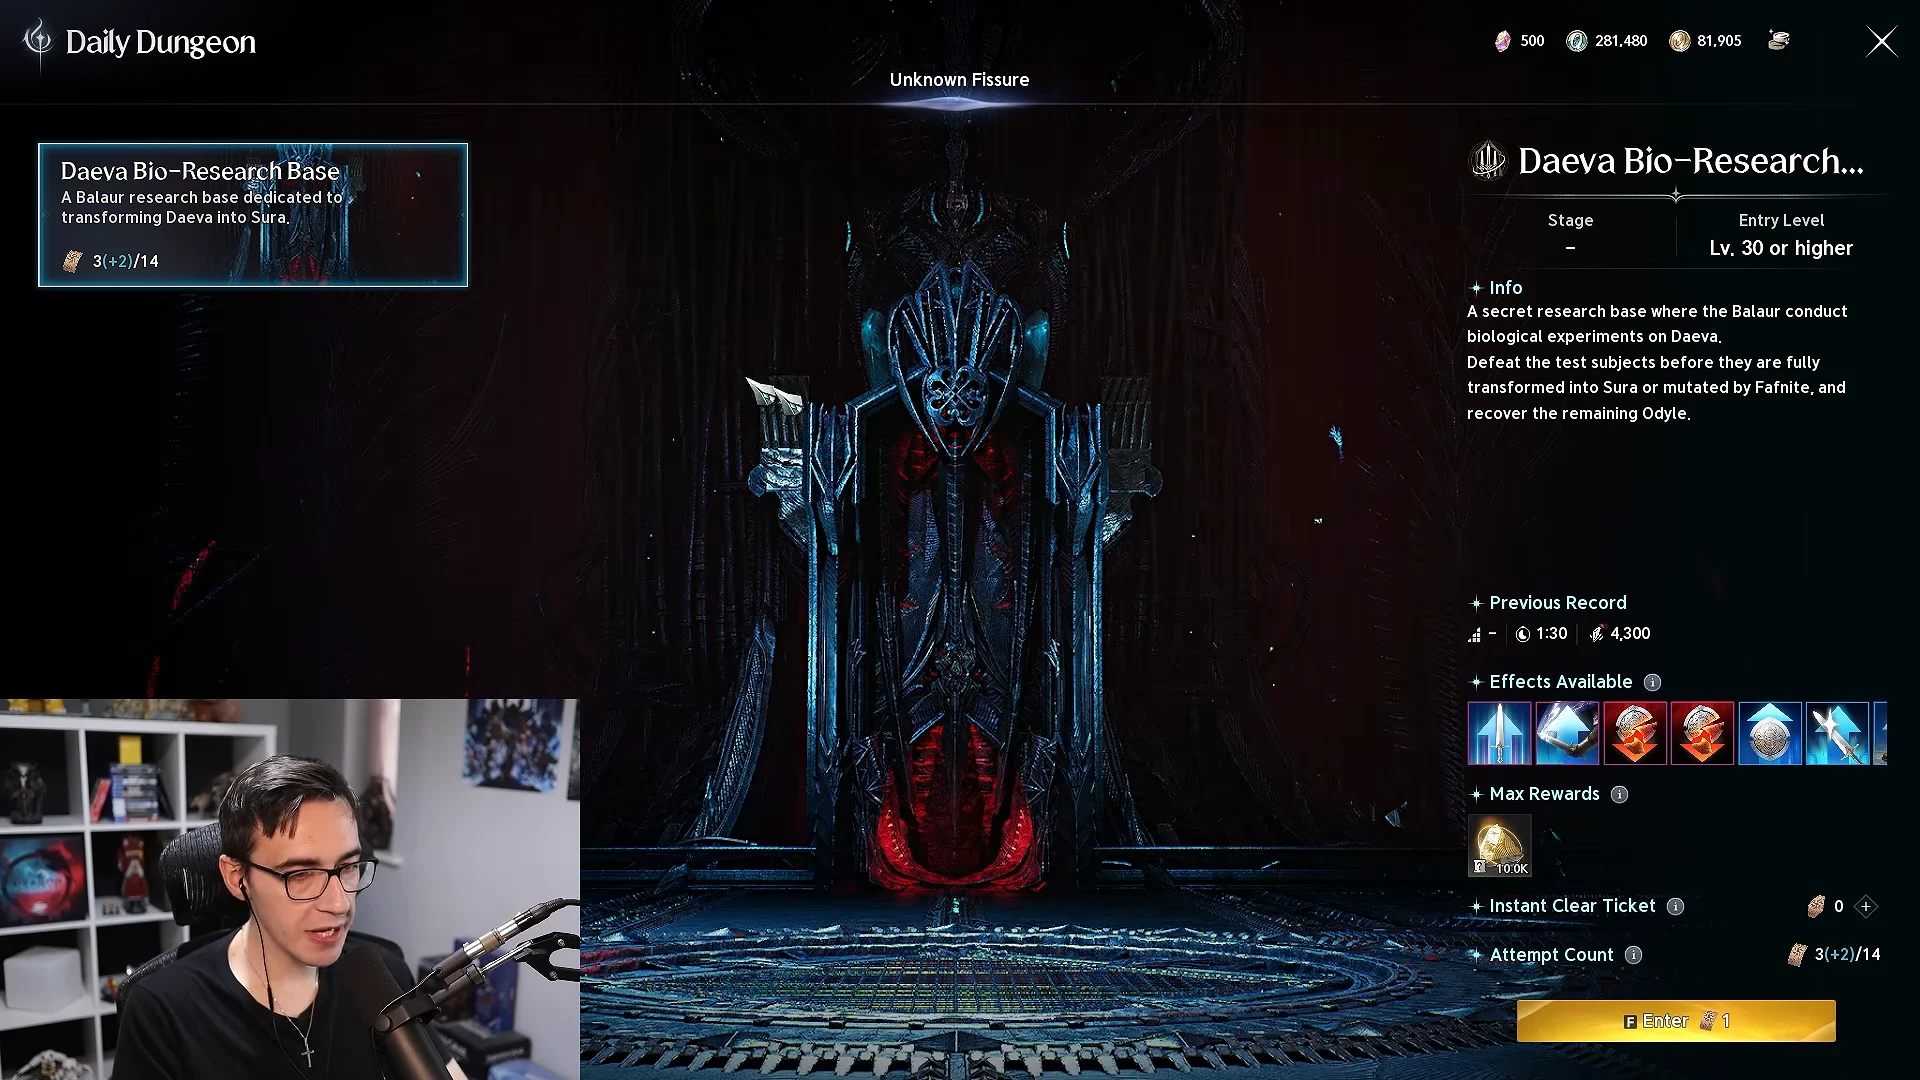
Enhancement rates drop at higher tiers, so you will need a steady stone supply. Sealed Dungeons give the largest single hauls, Strongholds add more, and open-world Rifts that spawn every few hours in enemy territory are another reliable source.
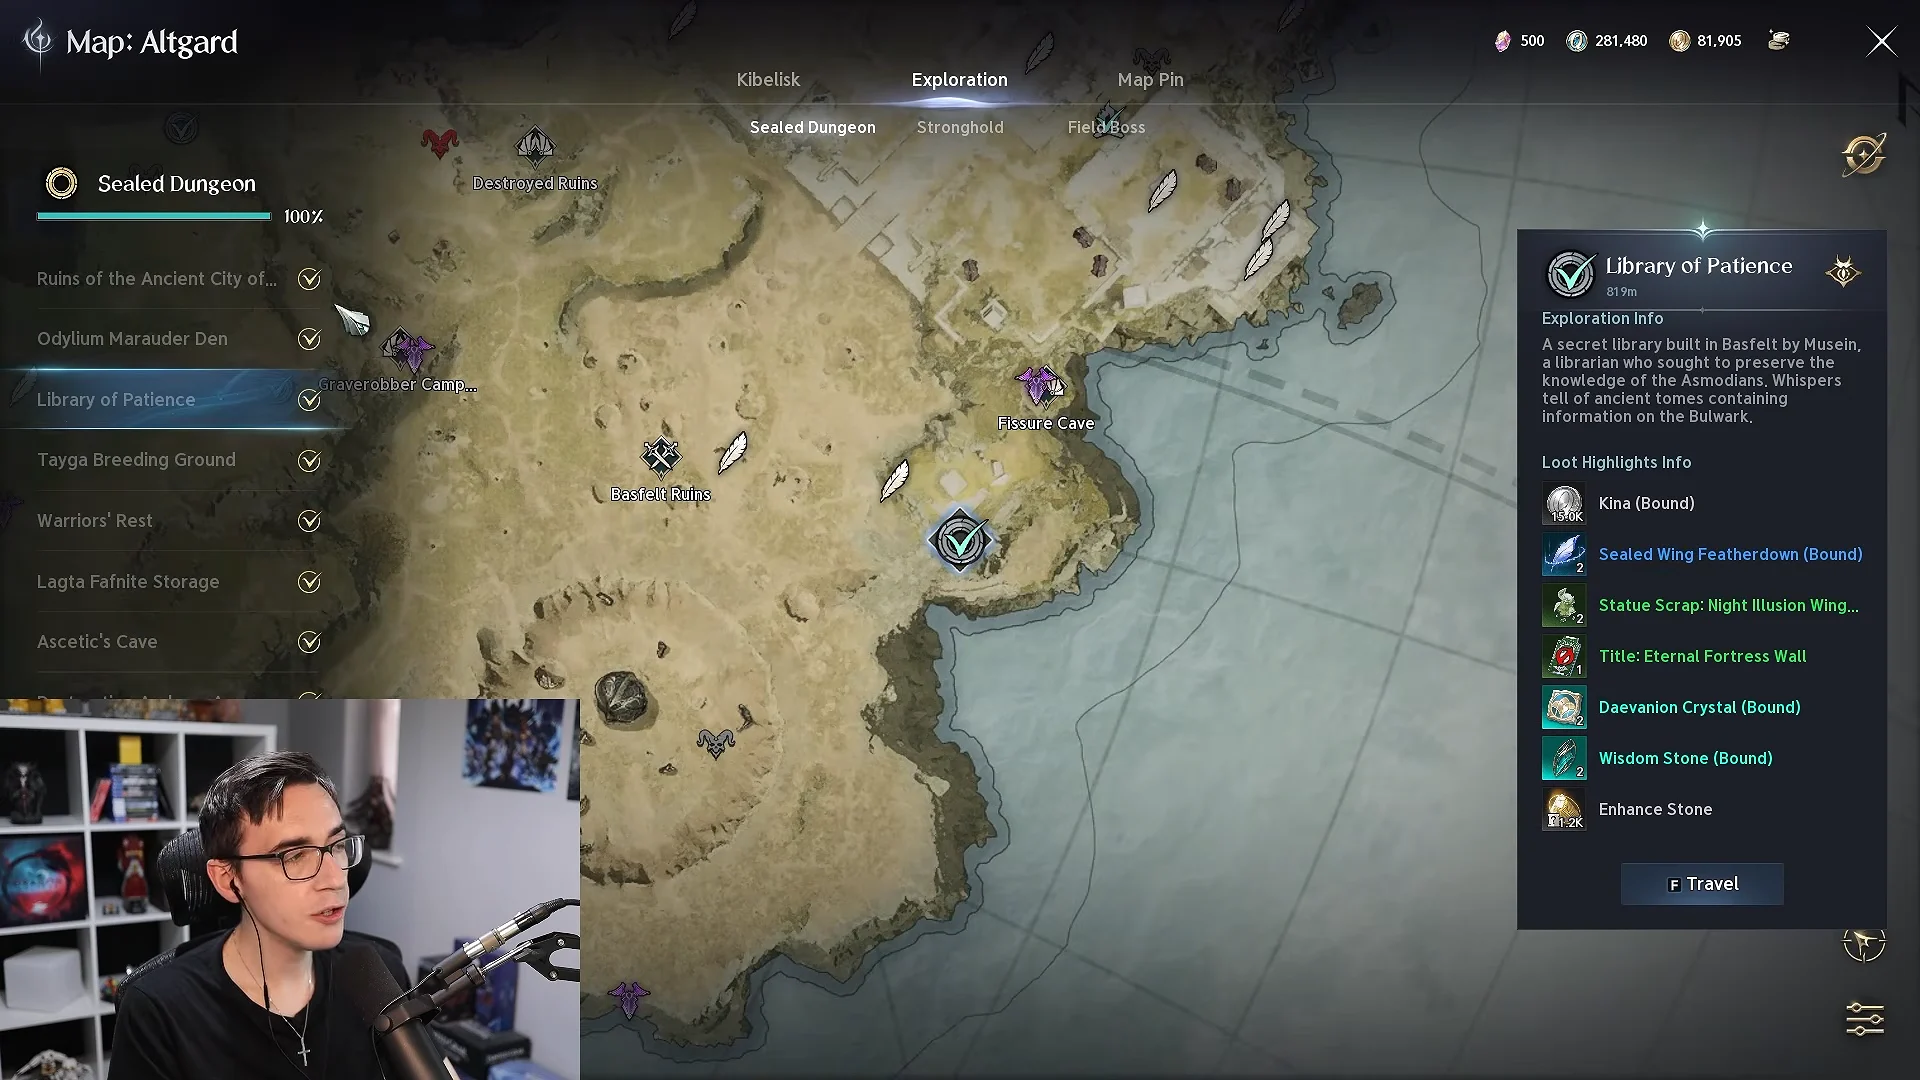
For repeatable materials, keep running the daily dungeon Daeva Bio-Research Base; each run can yield up to 10,000 Enhance Stones, depending on your mob-kill score. If you want to bypass the clears, purchase Instant Clear Tickets at the Wind Breeze Merchants shop for 30,000 Kina apiece, with a limit of seven weekly.
The Expedition route from 1,000 to 2,800
Unique gear is the baseline for endgame, and the cleanest first source is Draupnir. Running it three times under Expeditions guarantees a Unique from its pity box, such as a Bakarma piece. Completing the main story also hands you the Ascension Bracelet, a Unique bracelet worth enhancing to +5 early. A key rule throughout this climb is to invest Odyle Energy where the drops are strongest. Draupnir sits at item level 700 and mostly drops level 40 blues; Vakron Sky Island at 1,400 drops level 70 Unique gear, which is where heavy Energy spending pays off.
| Item level band | Primary source | Gear focus |
|---|---|---|
| To 1,000 | Draupnir pity box, MSQ Ascension Bracelet | First full Unique set |
| 1,000–1,400 | Gear enhancement, Rift farming | Weapon and guard to +10 |
| 1,400–1,600 | Urugugu Canyon, Vakron Sky Island | Weapons/accessories and armor to +5 to +10 |
| 1,600–1,900 | Shattered Arkanis, Deus Research Base | Fill five Arcana card slots |
| 1,900–2,100 | Transcendence Stage 2 Arcana | Upgrade green cards to blue |
| 2,100–2,800 | Ferocious Horn Den, Fire Temple, Ludra | Top Conquest gear to +20 |
Arcana cards unlock through Transcendence content and slot into five dedicated slots outside your 20 gear slots. Every card raises item level, so even mismatched grades help. Equip the highest rarity you have rather than chasing specific stat lines, since these cards are replaced as you climb. Deus Research Base and Shattered Arkanis gate their stages at item level 1,600, 1,900, 2,200, and 2,500, and higher stages drop upgraded cards that roughly double their item-level contribution.
Item level 2,800 opens the Abyssal Forge: Ludra raid, and Ferocious Horn Den and Fire Temple are the final Conquests on the way there. The raid is a 10-player Conquest with a 120-minute time limit and two revives. Beyond that point, the game’s highest-item-level gear is available only as Blacksmithing crafts through the Transfer Crafting ladder, where weapons can reach item level 102.
Side systems that keep the climb moving
Beyond dungeons, a few recurring activities top up the materials every tier needs. The hourly Shugo Festival runs minigames such as Jump Jump, Mysterious Track, and Up! Up! Up!, awarding tokens you spend in the Festival Shop on Daevanion Crystals, Soul Crystals, and Stigma Shards. Solo players can also push Nightmare boss challenges like Gatekeeper Pinopi, a tier 1 challenge in the Root Cellar with ten stages scaling from a recommended Combat Power of 1,000 up to 1,600, alongside Furious Feruk and the Ascension Trials.
You will know a gate has cleared the moment the activity panel stops blocking entry. Watch the item-level requirement on the panel rather than the number on your character sheet, because Arcana cards, a fresh Clash Rune, or a single Substance Morph on your belt can tip you over a threshold that gear enhancement alone would not. When the panel lets you in and your Combat Power carries the fight, the investment landed where it mattered.