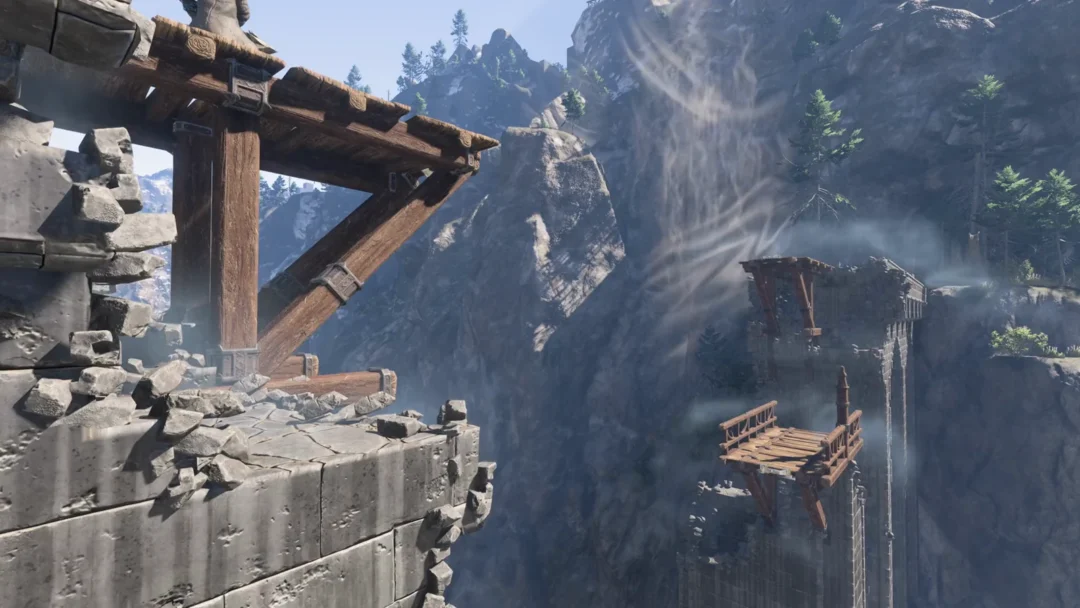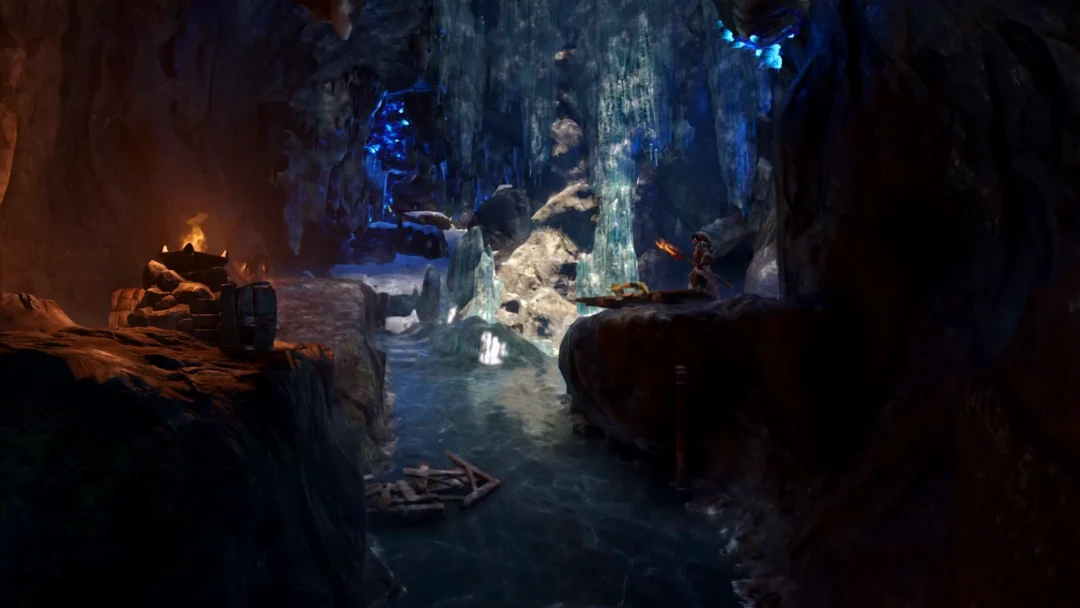
In AION 2’s Elyos Chapter 3, you follow the trail of Reda, the vanished High Priestess of Illusion, through the ruins of Verteron Fortress. The story comprises nine Episode quests, each taking place in Verteron, and brings together the Dawn Legion, the dispersed Illusion Cavaliers and two Shugo merchants with schemes of their own. You pose as a Kobold, infiltrate a Krall command post and discover what Reda was up to before she disappeared.
Quick answer: Complete all nine Episode quests in order, from A Gesture of Sincerity through Precious Minerals. They are recommended for levels 18–22 and pay out 3,018,705 total XP plus the full Facade armor set.
Every Chapter 3 reward
Each quest hands over XP, bound Kina and one piece of the Facade set, with a few consumables mixed in. Daeva in a Dream is the ascension gate in the middle of the run and carries no Episode reward of its own.
| Quest | XP | Kina (Bound) | Other rewards |
|---|---|---|---|
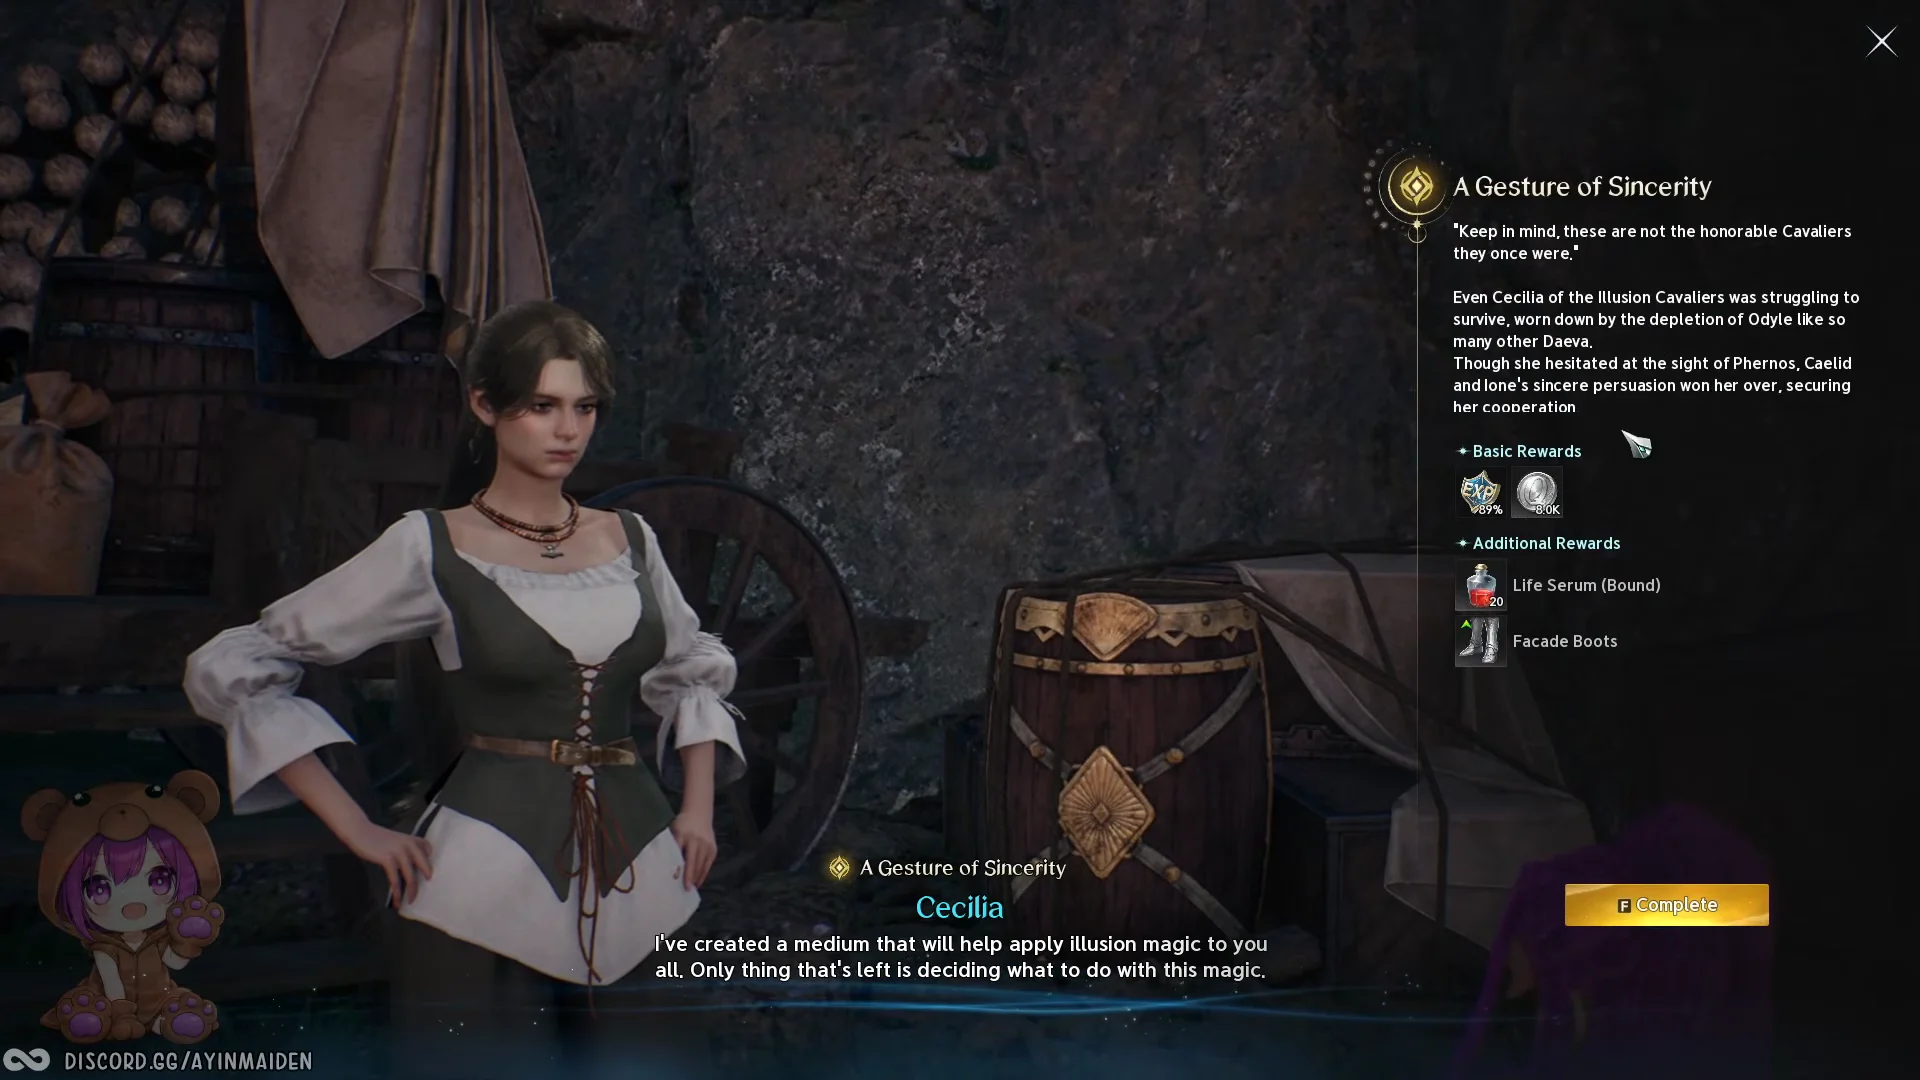
| A Gesture of Sincerity | 222,416 | 8,000 | Life Serum x20, Facade Boots x1 |
| Transformation Prep | 282,600 | 8,600 | Power Shard x1,000, Facade Greaves x1 |
| Fortress Ruins Infiltration | 359,068 | 9,100 | Kukuru Fried Meat x5, Facade Breastplate x1 |
| Kaisinel’s Seal | 456,228 | 9,800 | Courage Scroll x20, Facade Gloves x1 |
| Path to the Altar | 456,228 | 9,800 | Speed Scroll x20, Facade Cloak x1 |
| Illusion Oratory | 414,055 | 10,000 | Facade Pauldrons x1, Facade Helm x1 |
| Daeva in a Dream | — | — | Tied to the ascension quest |
| Wind Breeze Merchants | 414,055 | 10,000 | Battle Enhance Scroll x2, Facade Guard x1 |
| Precious Minerals | 414,055 | 10,000 | — |
A Gesture of Sincerity (level 18)
A Gesture of Sincerity begins at the Dawn Legion Base. Hepallin directs you to the sole illusion magic user still in the area. After Verteron Fortress fell, the Illusion Cavaliers scattered; those left behind are hungry and pursued by the Balaur. They agree to help in exchange for supplies, so bring them a gift before making a request. Hepallin gives you the quest, and Cecilia receives it at the hideout before the ruins.
Hepallin sets the tone for who you are dealing with: “Keep in mind, these are not the honorable Cavaliers they once were. They are being hunted by the Balaur and suffering from Odyle withdrawals.”
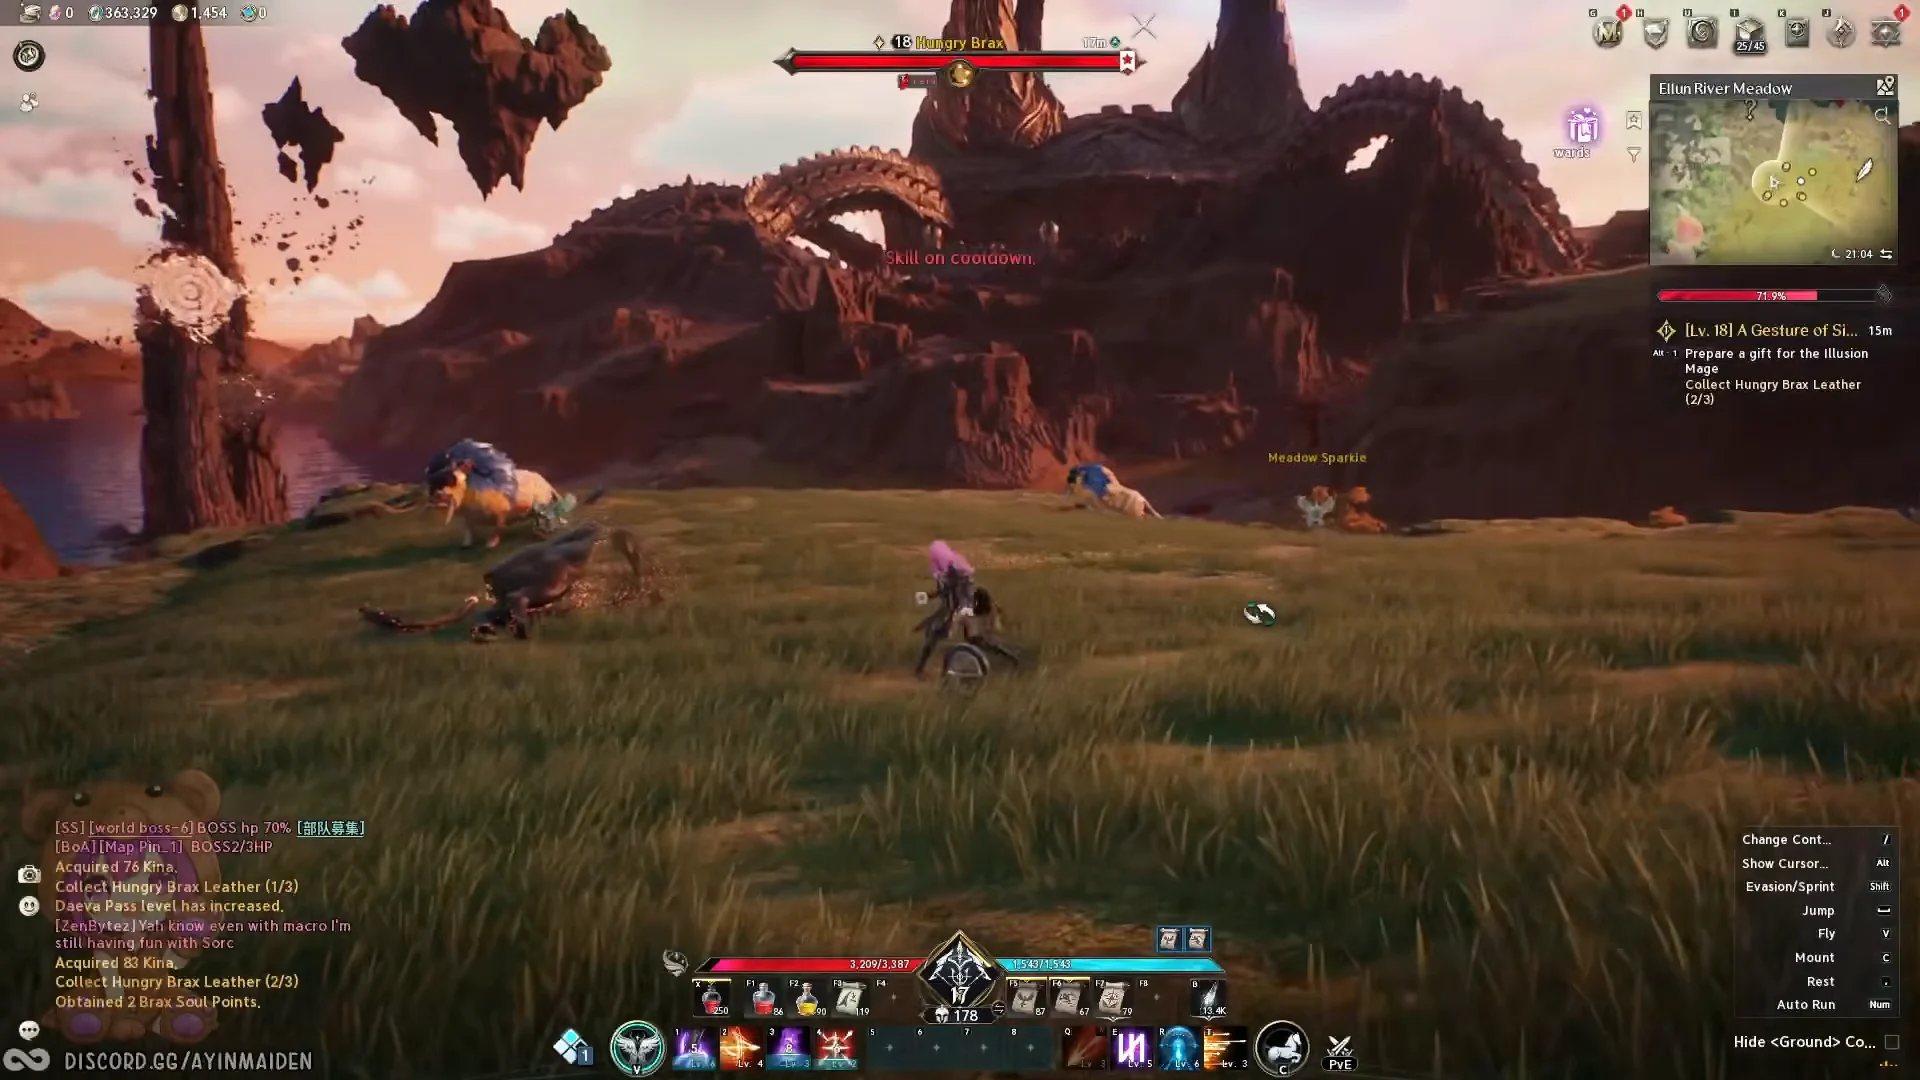
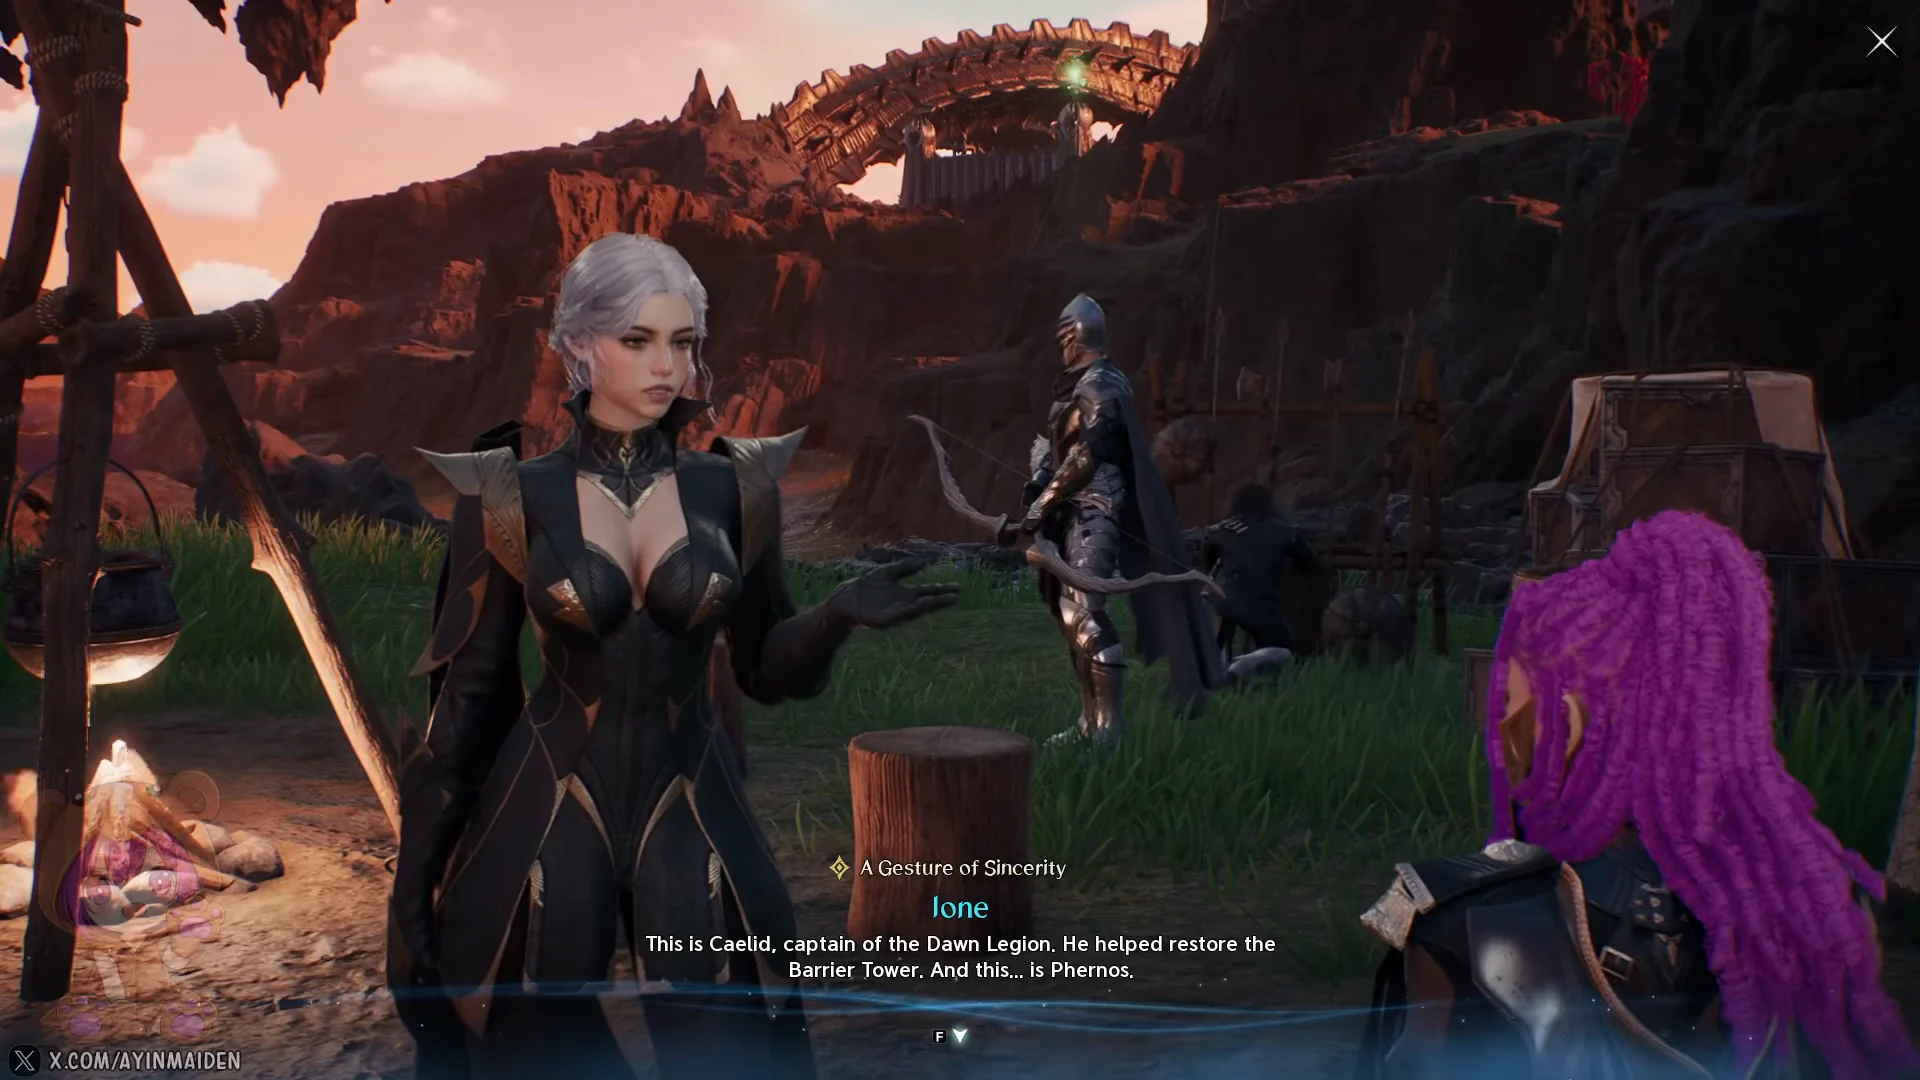

Return to Cecilia to close the quest and claim 222,416 XP, 8,000 bound Kina, 20 Life Serum and the Facade Boots.
Transformation Prep (level 19)
Transformation Prep sets up the disguise plan. Verteron Fortress is now a Balaur den crawling with Krall and Kobolds, so the group intends to slip in wearing Kobold faces rather than fight head-on. Cecilia both gives and receives this quest, moving from the hideout to the fortress ruins by the end. She explains the spell can transform several people at once, but it drains Odyle and breaks if you stray too far from where it was cast or take a hit.

Fortress Ruins Infiltration (level 20)
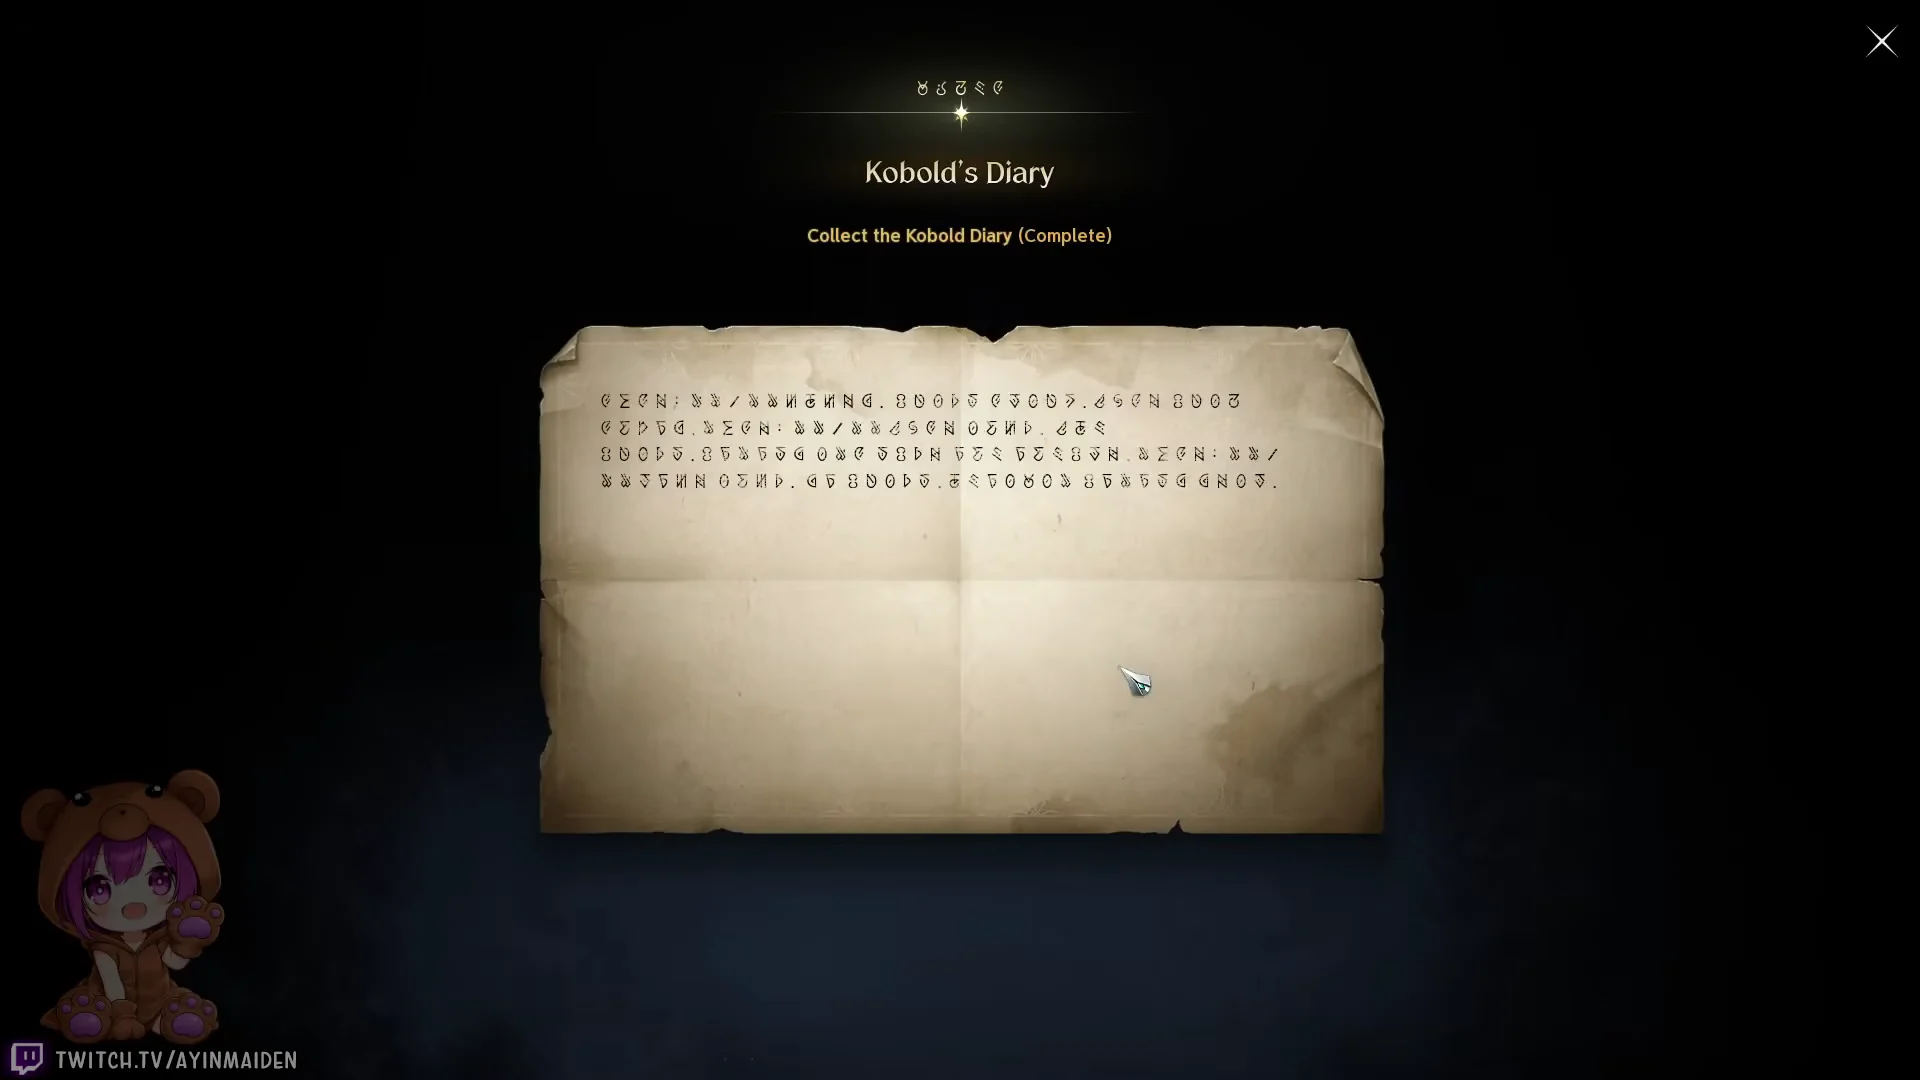
Fortress Ruins Infiltration is the long one. Cecilia casts the illusion, turning you into a Kobold, then stays behind to watch and slip away quietly. Once inside, it becomes clear the Krall are fixated on their command post because of Reda. Cecilia starts the quest from inside the ruins, and Caelid takes the turn-in at the Collapsed Pillar Hideout.
Kaisinel’s Seal (level 21)
Kaisinel’s Seal sends you to the Illusion Sanctum. A strange magic turned the Cavaliers into apparitions, but they remain there to protect their relics. Caelid cautions that the flooded interior requires swimming and that the defenses the Cavaliers activated during their resistance remain in place. Caelid gives you the quest, and Phernos accepts it at the Collapsed Pillar Hideout.
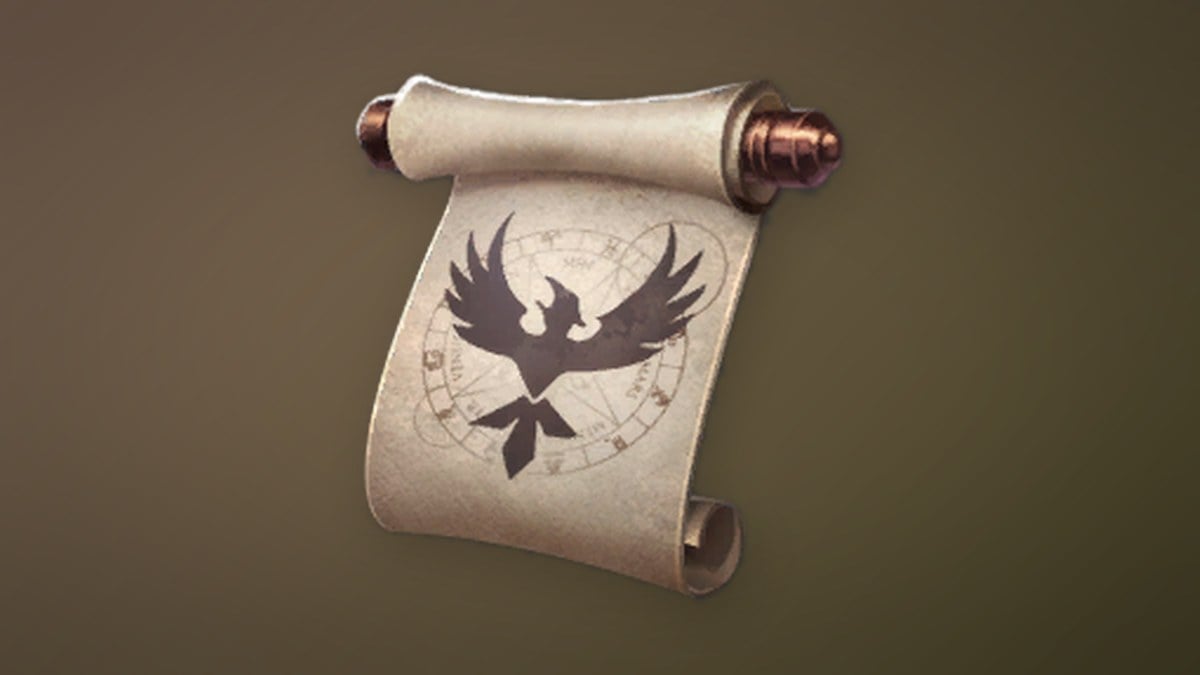
There is a single objective: open the Illusion Sanctum door and recover Kaisinel’s Seal. The Cavaliers’ refusal to yield kept the seal untouched, so it is found without a scratch. Turning in rewards 456,228 XP, 9,800 bound Kina, 20 Courage Scroll and the Facade Gloves.
Path to the Altar (level 21)
Path to the Altar opens the route to the Illusion Oratory. In response to the command post turmoil, the Krall have reinforced security; defeat their reinforcements before using the seal to remove the barrier. Phernos is both the quest giver and recipient, with the objective taking you from the hideout to the Oratory entrance.
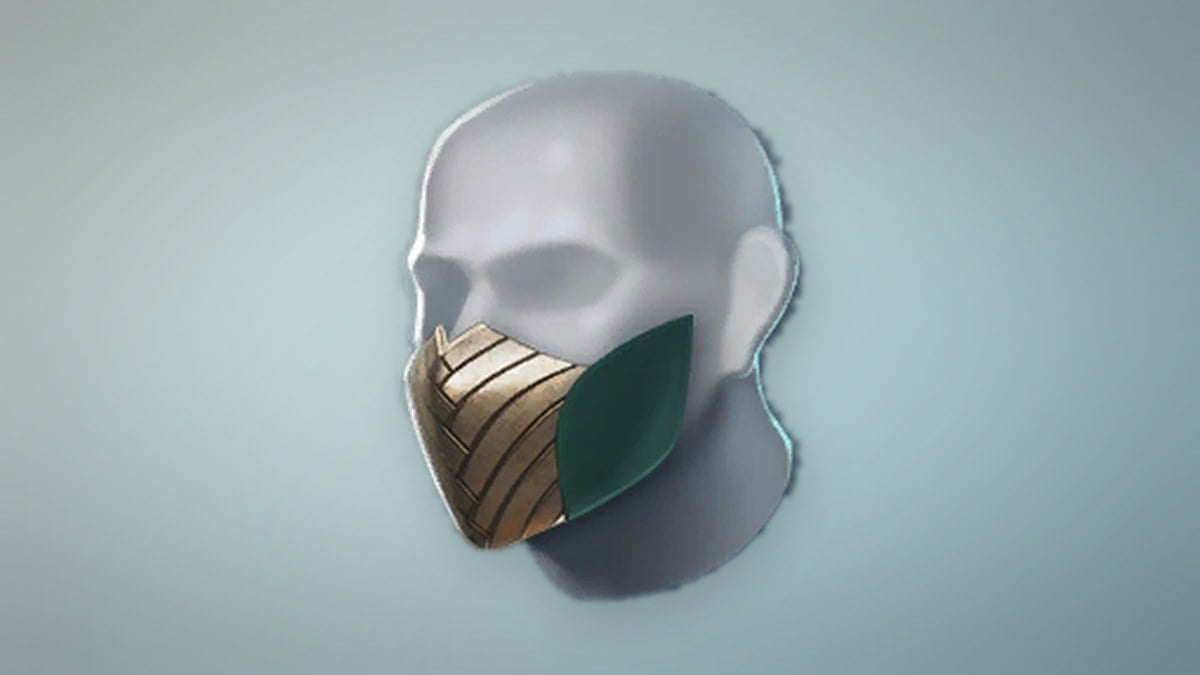
For the single objective, defeat 7 Enhanced Krall across the Combatant, Seeker, Supporter and Watcher types, then destroy the Weapon Rack three times to stop the Krall from following. Phernos confirms the seal is genuine and will open the barrier. Completion grants 456,228 XP, 9,800 bound Kina, 20 Speed Scroll and the Facade Cloak.
Illusion Oratory (level 22)
Illusion Oratory is where the mystery turns. Ione opts to wait outside while Phernos and Caelid go in with you. Phernos gives the quest and Caelid takes the turn-in, both at the Oratory entrance. The single objective is to open the Illusion Oratory door and search for traces of the High Priestess.
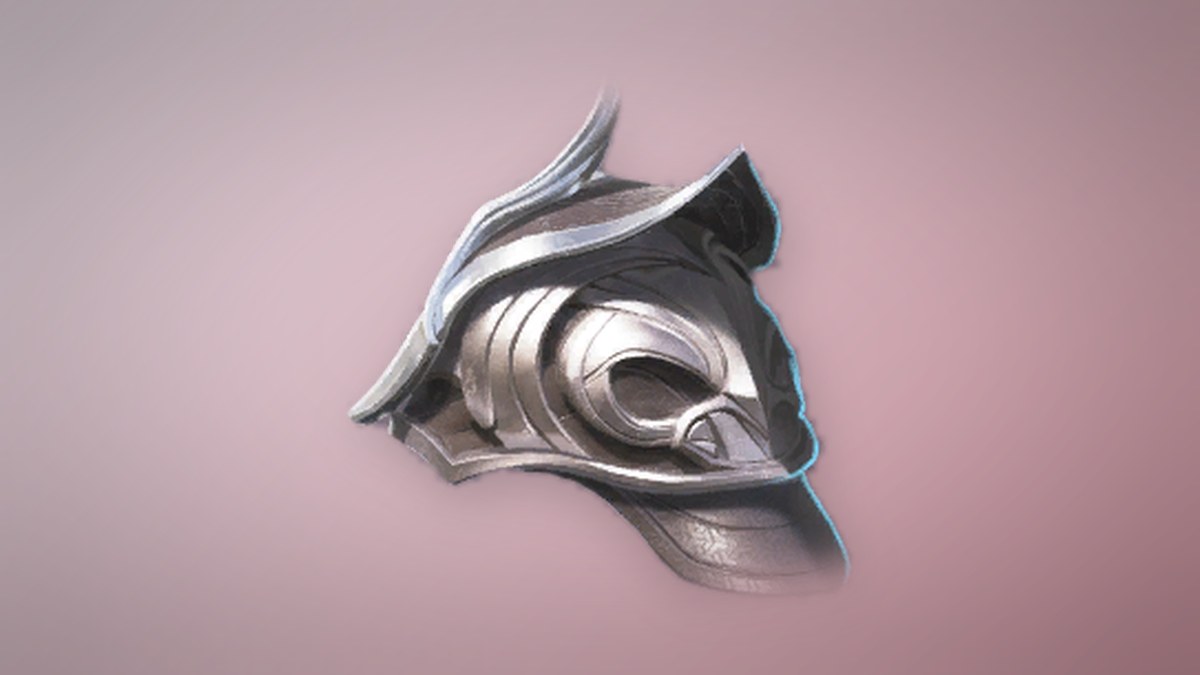
Reda is gone, but she left records of the forbidden black magic known as Scarlotus, along with evidence of a risky deal with a Shugo merchant. Afterward Caelid lays out the next lead: “The high priestess had some dealings with the Shugo. And it seems she practiced a dark magic known as Scarlotus.” The reward is 414,055 XP, 10,000 bound Kina, the Facade Pauldrons and the Facade Helm.
Daeva in a Dream (level 22)
Daeva in a Dream begins automatically. When it is complete, deliver it to Caelid, stationed outside the Illusion Oratory. Further progress requires the shared ascension quest The One Who Hears the Voice. Head to the Dream Crossroad, speak with Asahr, and finish that quest; you will resonate with the Dream of AION and ascend into a Nova Daeva. Afterward, return to Caelid, who asks if you are prepared to go to Tolbas Forest. This Episode quest has no separate reward; its payout comes from the ascension quest it directs you to.
You must have The One Who Hears the Voice available to clear this step, so finish any pending ascension progress before expecting Daeva in a Dream to complete.
Wind Breeze Merchants (level 22)
Wind Breeze Merchants takes the search to the Dawn Legion Base in Tolbas Forest. There, Shugo merchant Kochi once did business with Reda. The deserted post is in disarray as the Aullaeu assault the Shugo in a struggle to control the forest. Caelid offers the quest, and Shugo Bao accepts its completion at the Dawn Legion Temporary Outpost.

The single objective is to talk to Caelid and size up the situation at the outpost. After the Aullaeu are driven off and the Shugo rescued, they turn out to be Kochi’s employees, and Caelid agrees to hear out Bao’s demands to learn more. Completing it gives 414,055 XP, 10,000 bound Kina, 2 Battle Enhance Scroll and the Facade Guard.
Precious Minerals (level 22)
Precious Minerals closes the chapter by securing a gift to win over Kochi, who does not meet just anyone. Krao is a valuable mineral the Shugo trade regularly, often used in armor because it repels outside forces. Bao gives the quest and Caelid takes the turn-in at the Dawn Legion Temporary Outpost.

How to confirm the chapter is finished
Completing Precious Minerals brings the chapter to a close and awards Elyos players the Searching for High Priestess Reda Growth title. Equipping the title grants Evasion Bonus +9; adding it to your title collection gives Critical Hit +5 to the collection bonus. When it shows up in your achievements, the story advances toward Tolbas Forest and Episode 4, marking the chapter complete and awarding all 3,018,705 XP.
Fortress Ruins Infiltration: What Each NPC Tells You
Step 3 of Fortress Ruins Infiltration asks you to question four NPCs while disguised. Each has a short, fixed reply, so you can talk to them in any order.
| NPC | What they say |
|---|---|
| Kobold Servant | “Reda? Made Krall angry. Kobolds work so Krall not angry.” |
| Kobold Sentry | “Didn’t catch Reda. So Kobold got punished.” |
| Krall Watcher | Asks why you are so interested in “that Daeva” and points you to the Shift Instructions in the nearby tent. |
| Krall Combatant | Tells you to stick to your work and warns that failing to guard the Command Post camp again will cost you your life. |
Once you reach the Krall Supporter, he first calls you over, then accuses you of slacking, and finally smells that you are no Kobold. That sniff is a scripted beat and is not a sign that you did anything wrong.
When you get close to the Command Post, Caelid tells you he will start the distraction and adds that “the sentries should have keys.” That is his hint for the Command Post Key.
Wind Breeze Merchants: Start and Finish
Wind Breeze Merchants has a single listed step, talking to Caelid. You pick it up from him in front of the Illusion Oratory and turn it in to the Shugo Bao at the Dawn Legion Temporary Outpost. The recommended level is 22, and the quest leads directly into Precious Minerals. All of the Episode quests mentioned here unlock at level 10, so level is only a recommendation and you can start them early.