Order of the Sinking Star: Heroes and Water Walkthrough (All Puzzles)
Every screen, from the HxM gold room entrance to the final bottom puzzles, with exact moves for each cloak and crystal.
Every screen, from the HxM gold room entrance to the final bottom puzzles, with exact moves for each cloak and crystal.
by AllThingsHow Staff · Edited by Pallav Pathak
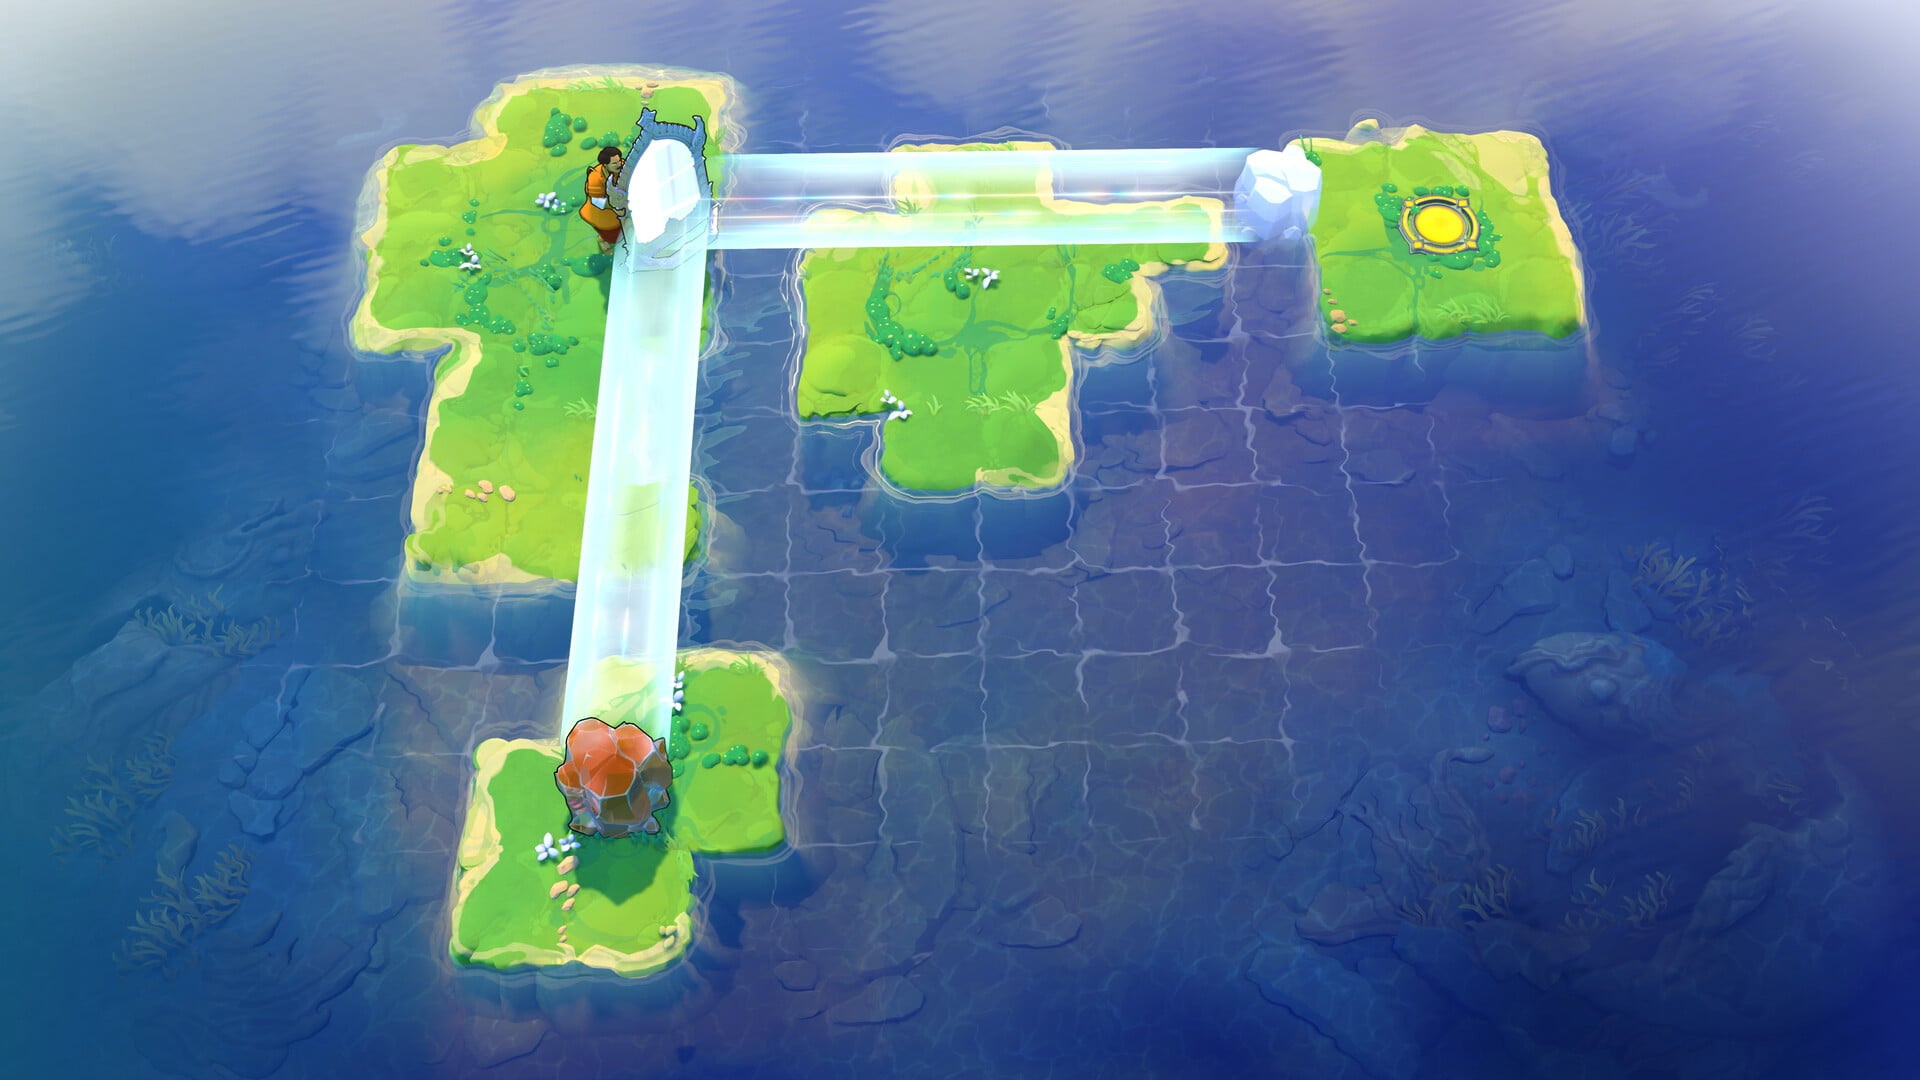
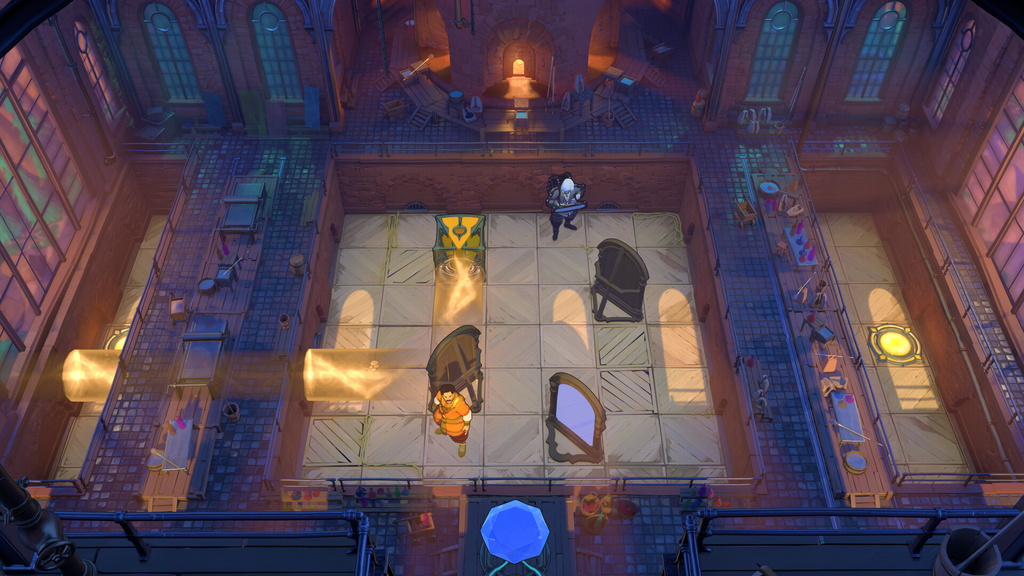
Heroes and Water is in the northeast section of Order of the Sinking Star, beyond the HxM gold room. To get there, unlock a golden mirror in The Mirror Isles, make your way through The Hearty Heroes of Hauling, and move a crystal to open a route to the map’s upper-right corner. Four screens of cloak, swap, and crystal challenges lead to the teleporters.
Quick answer: Open the HxM gold room, clear its puzzle series, then push the unlocked crystal left x4, down, right, up, all the way right, up to enter Heroes and Water. Solve Screen 1 through Screen 4 in order, returning to Screen 3’s bottom puzzles last.
Image credit: Arc Games, Gamirror Games
Movement notation used here
A plain direction (for example “move left”) means move one square that way.
A direction with a number (“left x4”) means move that many squares.
“All the way” means keep moving until a wall or barrier stops you.
How to reach Heroes and Water
First open the HxM gold room and finish the puzzle series inside it. A crystal then unlocks to the left of the two-puzzle series.
Push that crystal left x4, down, right, up, all the way right, up. This carves the path to the map in the top-right corner, which opens the way into Heroes and Water.
Image credit: Arc Games, Gamirror Games
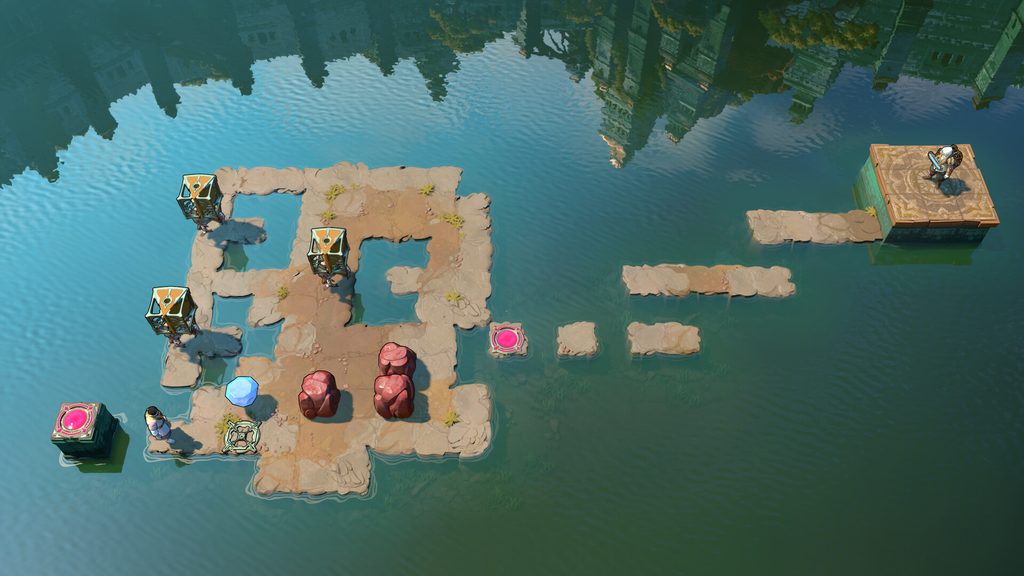
Screen 1: red and green cloak puzzles
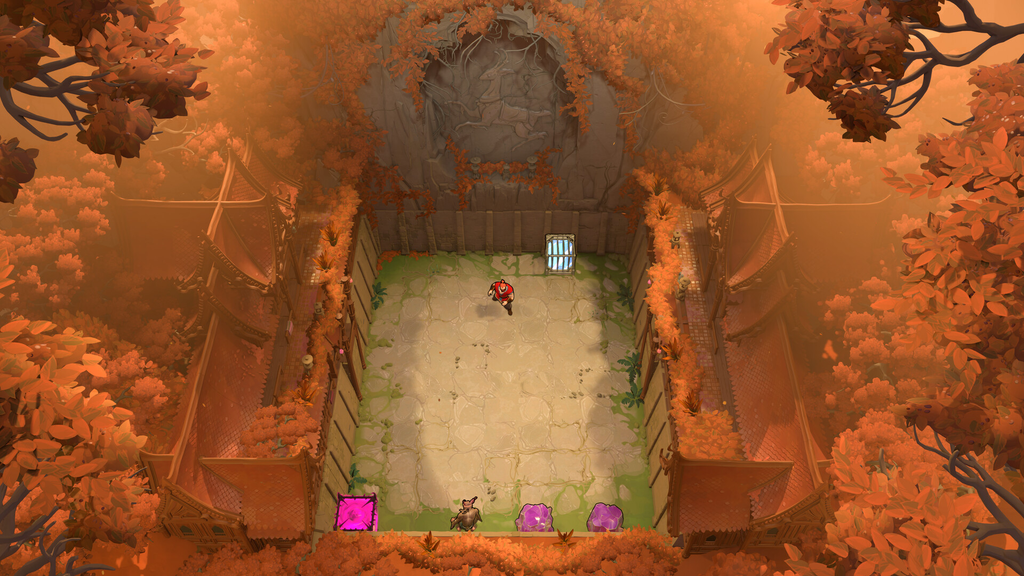
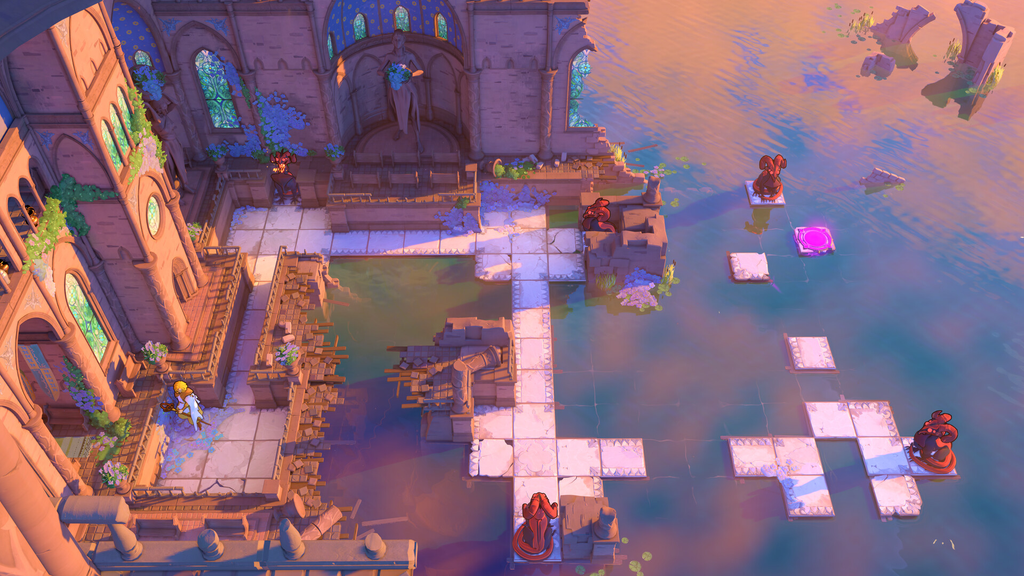
On Screen 1, the red cloak lets you push, while the green cloak lets you pull. Complete four puzzle series; each finished series makes another overworld crystal available. When instructed to reset the screen during a series, use the reset tile just right of the cloak entrances.
Equip green and draw the crystal to the right. Change to red, drive the crystal onto the central platform, and send it off the right edge to open a route to the single puzzle on the right.
As red, push the crystal down. Pull it right with green, move green up, then push the crystal right x2 with red to fill the gap to the right teleporter.
Drive the crystal left x2 with red to plug the gap beside the left teleporter. Completing the puzzle reveals a second overworld crystal.
Image credit: Arc Games, Gamirror Games
Reaching and solving the top-middle puzzle series
Begin by resetting the screen. As before, use red and the first crystal to take out the central-platform monster, then move that crystal up x2. With green, draw the second crystal to the column that leads to the central platform. Switch to red and push it upward past the submerged crystal to complete the route.
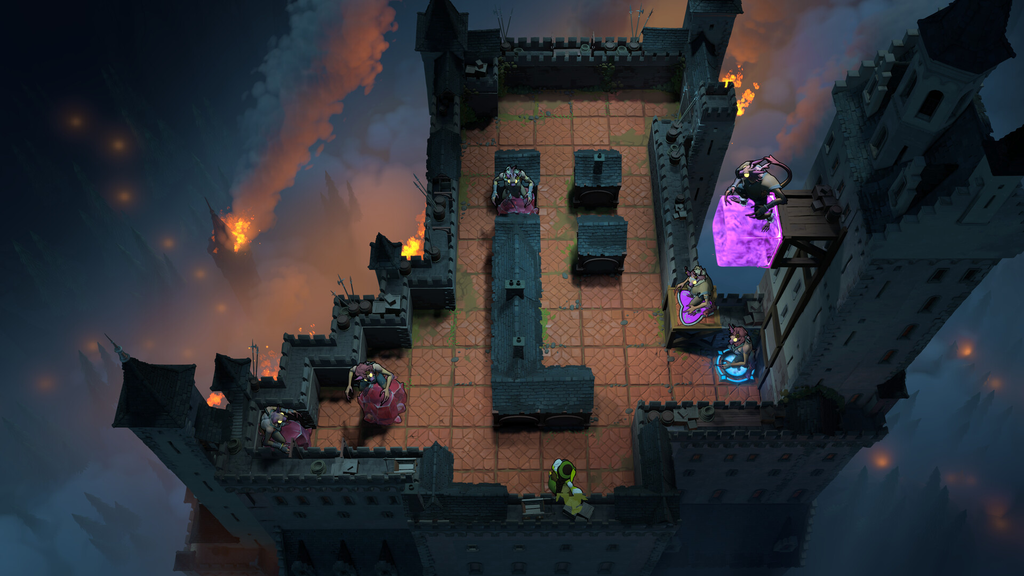
Puzzle #1: Push the right crystal left x3 to drive the right monster into the water. Push the top crystal all the way up to sink the top monster. Push the right crystal above the left monster (up, left x5), then push that crystal-monster column all the way down. Push the left crystal to the right of the bottom monster (up, right x4, down x4, left), then push the monster-crystal row all the way left so the monsters destroy each other and lift the teleporter barrier.
Puzzle #2, Step 1: Shift the monster facing left two spaces to the left.
Send the left-facing monster to the far left, then all the way down to remove the remaining monsters on that side. Finish by pushing it into the water.
Get the downward-facing monster beneath the upward-facing one. Send it right to eliminate the three monsters at the lower-right, then move it left to take out the last monster on the bottom. Finish by pushing it into the water.
Push the up-facing monster to clear the last top monster, then push it into the water to open the teleporter path. This unlocks a third overworld crystal.
Image credit: Arc Games, Gamirror Games
Reaching and solving the top-right puzzle series
Reset the screen, then use red with the first crystal to defeat the central monster. Draw that crystal right with green, and use red to push it over the right edge, opening the single puzzle there. One at a time, push the other two crystals up to the central platform, across to the right puzzle, and upward to access the top-right series.
Puzzle #1: Move green #1 onto the pink button. Use green #2 to pull the central-platform crystal left to the top of the active pink barrier, then move green #1 off the button to drop the crystal and make a permanent bridge between the first two platforms. Move green #1 onto the blue button. Pull the bottom crystal on the right platform left x5, up with green #2, then pull the remaining crystal to its left side (left x6, down) and move green #2 off the active blue barriers. Move green #1 off the blue button to form a permanent path to the teleporters.
Puzzle #2: Move purple down, left x2, then press down to swap with the crystal. Pull the crystal onto the pink button with green to raise the pink barriers. Move purple onto the yellow button to raise the yellow barriers. Move green one square down-right of the blue button. Move purple onto the blue button and press up to swap with the crystal. Pull the crystal onto the yellow button with green. Move purple onto the blue button and press right to swap with the crystal, which lets both reach the teleporters. This unlocks a fourth overworld crystal.
Image credit: Arc Games, Gamirror Games
Reaching and solving the top-left puzzles
Reset the screen. Use red to move the third crystal in the row of three up the middle wooden path. Take the left wooden path around to its far side, then push it right beneath the left monster. Do the same with the other crystals to create a route to the monster on the central platform. As green, pull the crystal beneath the left monster all the way left. Red can then push it above the middle wooden path; use green to draw it down that path, and red to place it to the right of the right monster. Push the monster-and-crystal row left so the monsters collide and clear the route.
Puzzle #1: Push the top crystal down x2, right x7, down, right x3, up, right. It now sits in the water at the deactivated pink barrier, so never step on the pink button from here on. Cross the submerged crystal, get behind the monster, and push it into the water to the left. Push the remaining crystal up x3, right x3, down, right, down, right x2, up x3, right, down x2, right x3, up, right x4 to drop it into the water and open the teleporter path.
Puzzle #2, Step 1: Move green onto the green button to raise the green barriers.
Move red off the green button, move green right to the teleporter platform, then pull the down-facing monster onto the blue-button platform with green.
Pull the crystal down with green, push it left x2 onto the blue barriers with red, then move red down to the blue-button platform without pressing the button.
With both red and green on the blue-button platform, press the blue button to destroy the crystal so the left-facing monster destroys the down-facing monster, opening both teleporters. Leave Screen 1 through the exit in its top-right corner.
Image credit: Arc Games, Gamirror Games
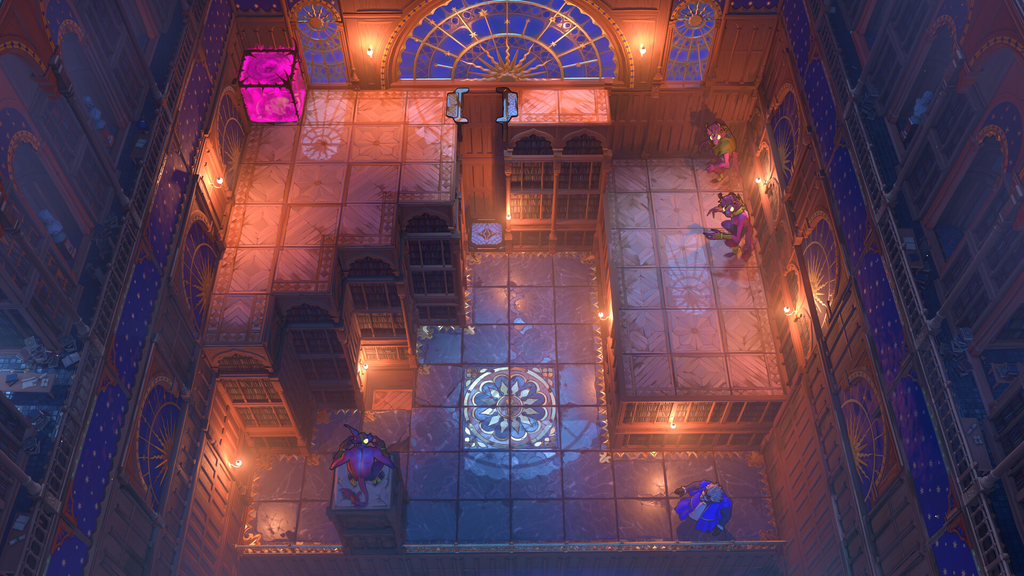
Screen 2: swap puzzles
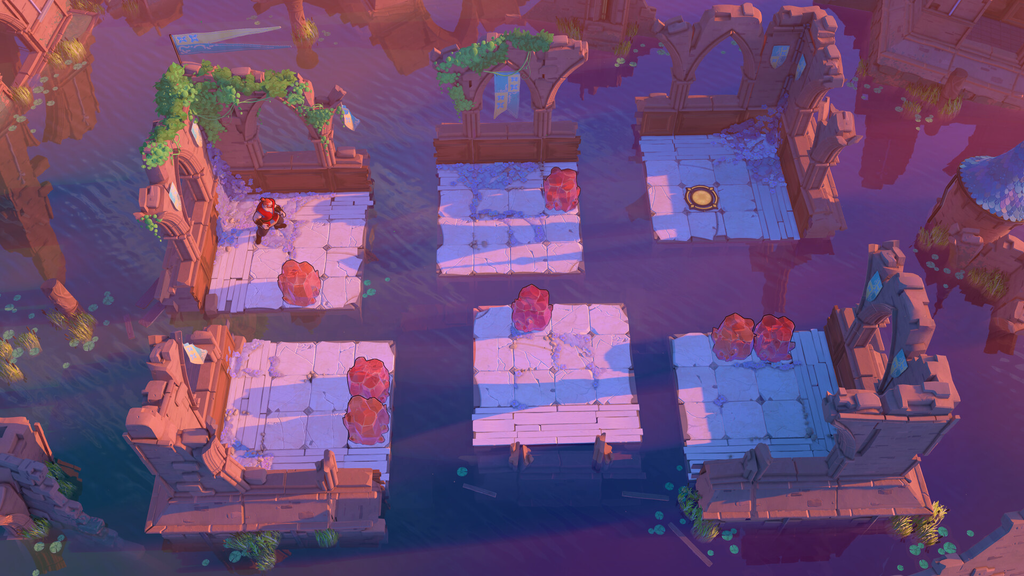
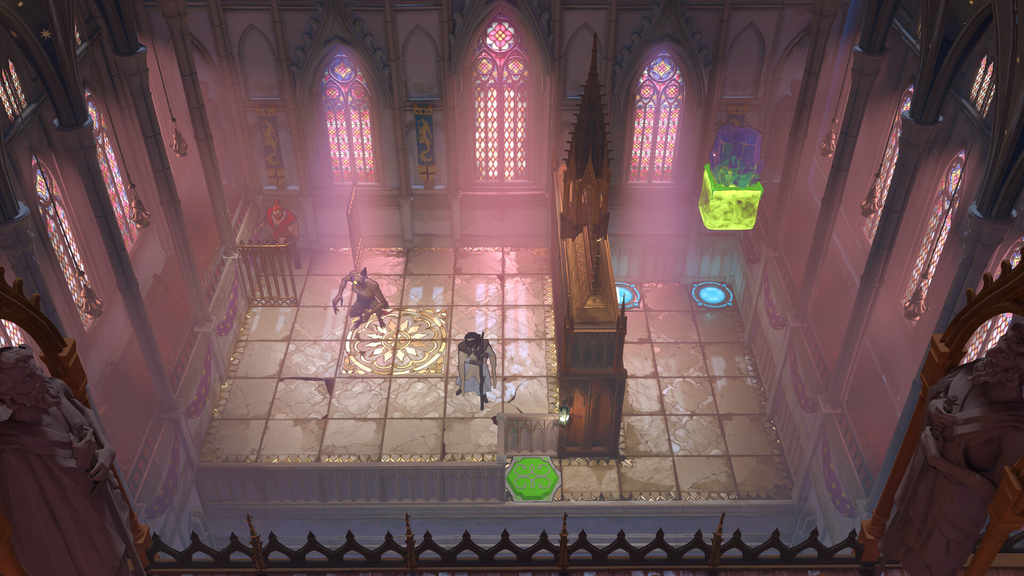
Screen 2 leans on the swap mechanic. You trade places with monsters and crystals to steer them onto buttons and into water. Three puzzles wait here, and each one you clear opens the route to the next.
Reaching and solving puzzle #1
Begin at the reset square. Go down, left x2, then press down to exchange places with monster #1. Continue down and press left to switch places with monster #2. Travel up x4, then use right to trade places with monster #1. Go up, left, down, and use left to exchange positions with monster #1. Move down x4, then press right to switch places with monster #2. Go up x2, left x3, up x2, then press down to trade places with monster #2. Move right x2 and press up to exchange places with monster #1. Continue right x2, down x2, left x4, down; then press up to put monster #2 on the left button. Go right x4, down x2, left x2, up, then press down to place monster #1 on the right button and lower the first yellow barrier.
Puzzle #1, Step 1: Go up two spaces, then continue right to the far edge, leaving two spaces between you and the crystal. Press up to switch places with it.
Move up, right, down, then press right to swap the crystal onto the button, opening the teleporter.
Image credit: Arc Games, Gamirror Games
Reaching and solving puzzle #2
Begin with puzzle #1. Press left to trade places with the monster standing on the right button. Go down, right x2, up, then press right to swap places with the monster and lower the middle barrier.
Move purple down x2, left x4, down x2, press left to swap. Then move purple up, right x2 and press down to swap again, pulling the crystal out of the corner so red can reach it.
Move purple left, all the way up, press right to swap with the crystal on the teleporter platform, opening both teleporters.
Image credit: Arc Games, Gamirror Games
Reaching and solving puzzle #3
Start on puzzle #2. Press left to swap with the monster on the left button. Move up, right x2, up, press right to swap the remaining monster onto the right button. Move to the left button without swaps, then press right to swap with the monster to open puzzle #3.
Move green off the button to destroy the monster and unlock the teleporters. Then, in the overworld, push the crystal at the top-right up to open the route to Screen 3’s top.
Image credit: Arc Games, Gamirror Games
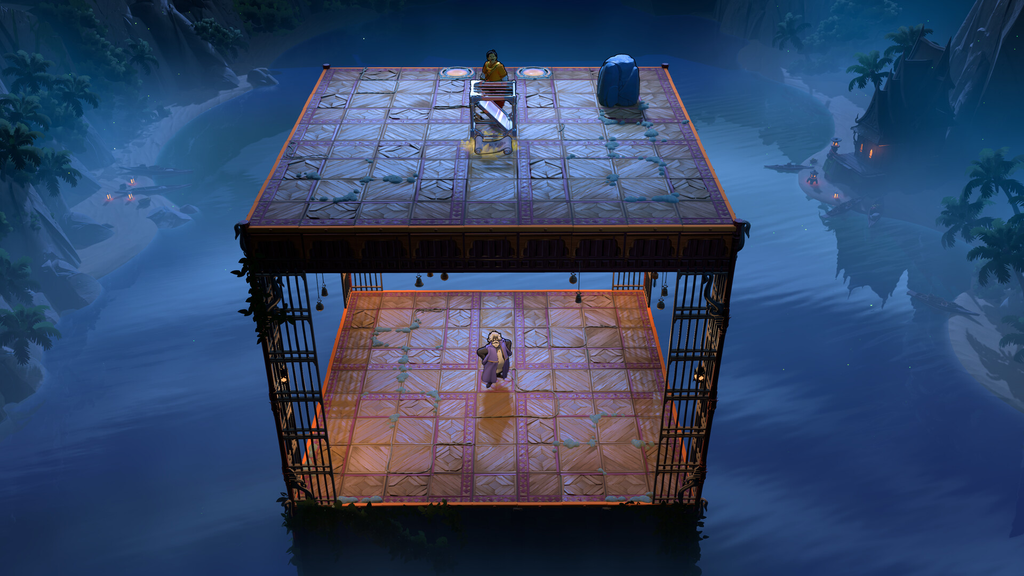
Screen 3 (top): gold cloak water-walking
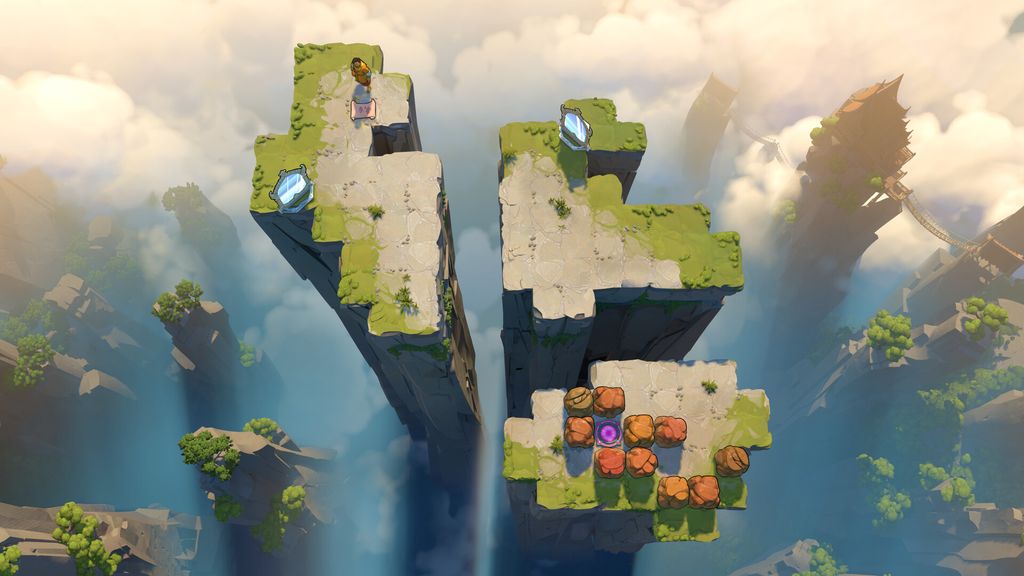
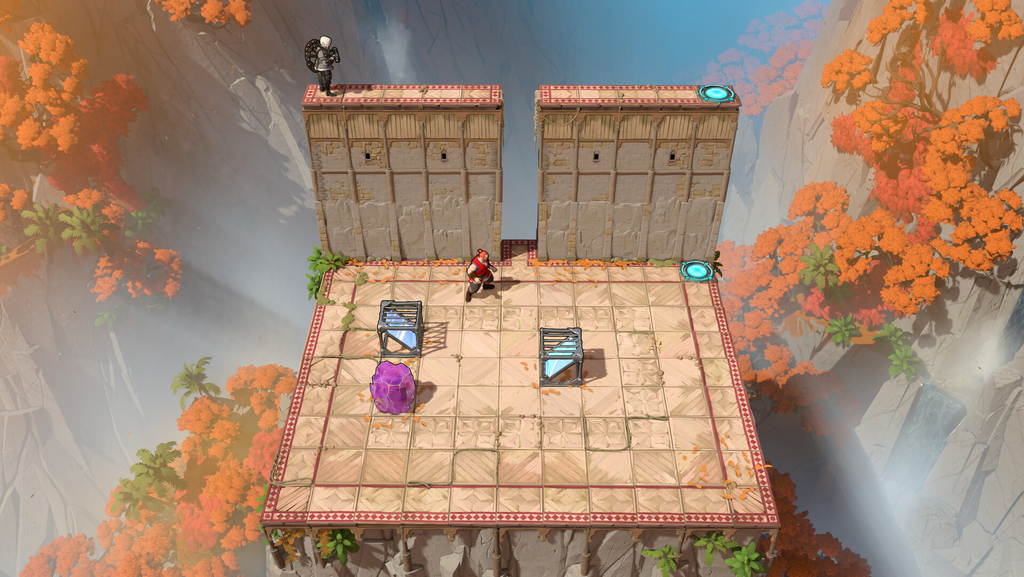
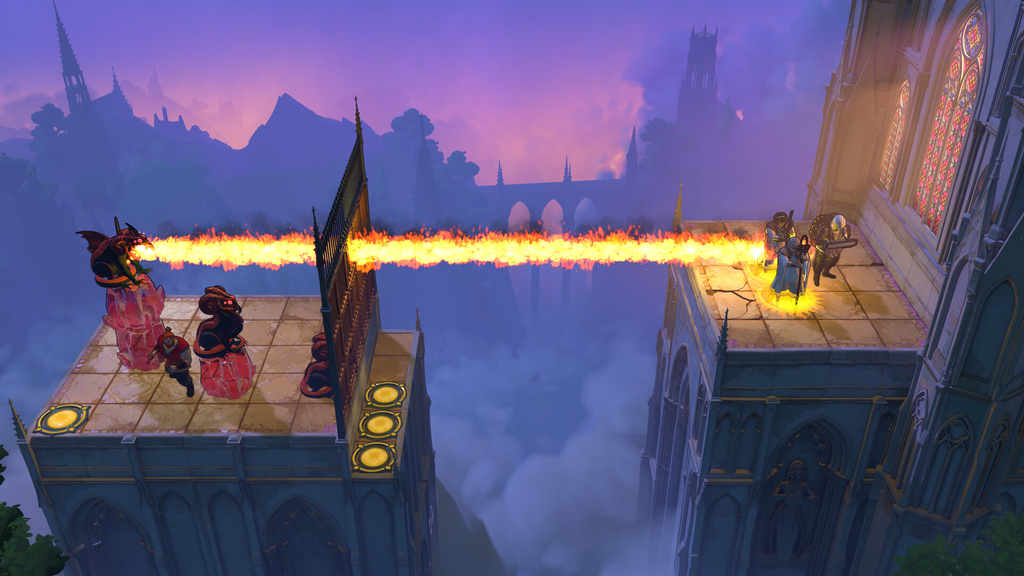
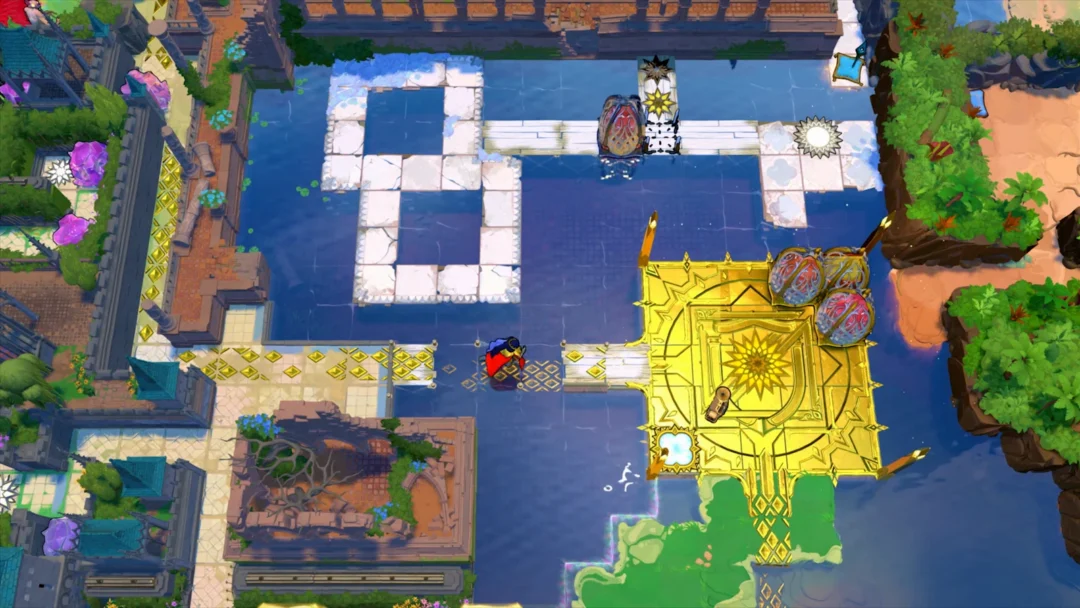
With the gold cloak, a character can walk on water as long as a monster is hitting them with its flame. That rule drives every puzzle on the top half of Screen 3, grouped in the top-left, top-right, middle, and bottom-right.
Top-left series
Puzzle #1: Walk straight to the teleporter. This one only shows that gold can cross water while taking a monster’s hit.
Puzzle #2: Reach the teleporter with this route: right x6, up x2, right, up, right x3, down, right x2, down, right x2, up, right x5, up x4, left x5, up x2, left x4, down, left x4, up, left, up, left x8, down x2, right x7, down, right.
Puzzle #3, Step 1: Get gold around to the monster’s right-hand side.
Move red between the monster and gold, push gold down x6, move left onto the top teleporter, then move gold down to the bottom teleporter.
Image credit: Arc Games, Gamirror Games
Top-right series
Puzzle #1: Move purple to the bottom-right of his platform, press left to swap with the monster. Move purple to the top-right, press up to swap with gold. Move gold to the monster’s left side. As purple, press down to swap with the monster, then left to swap with gold. Move gold all the way up through the monster’s fire to the monster’s left side. Swap purple with gold, then move gold back up the fire so both stand on the top platform. Move purple to the monster’s right with two spaces between, press left to swap. Move gold to the bottom-right platform through the fire. Swap purple with gold, then move gold back down the fire to purple’s left. As purple, press left to swap with gold, then up to swap with the monster, sinking it, clearing the barriers, and opening the teleporters.
Puzzle #2, Step 1: Pull the bottom monster all the way right with green.
Move green to the end of the left-teleporter path, move gold to her right, then move green left onto the teleporter, pulling gold. Move gold to the top teleporter.
Image credit: Arc Games, Gamirror Games
Middle series
Puzzle #1, Step 1: Move green all the way left, pulling gold.
Use the druid to turn the last monster into a crystal, dropping the barriers so all three characters reach the teleporters.
Puzzle #2, Step 1: Push the left-facing monster down the central blue-green path with red, stopping it in the row with the bottom blue barriers that trap the gold characters.
Move gold #2 to the right-facing monster’s right, return gold #1 to the blue button, then use the fire to send gold #2 onto the green button and leave them there.
Move red to the monster’s left, move gold #1 onto the blue button, push the monster up with red, move gold #1 off the blue button, then push the monster onto the blue button.
Move gold #1 and red out of the green-button cell, then move gold #2 up so the monsters destroy each other, activating the central path and opening all teleporters.
Puzzle #3, Step 1: Move purple right, up x2, all the way right, press down to swap with monster #1, then right to swap with monster #2.
Move purple down to monster #2’s row and swap positions so all four characters reach the teleporters. Then return to Screen 2 and head right to Screen 4.
Image credit: Arc Games, Gamirror Games
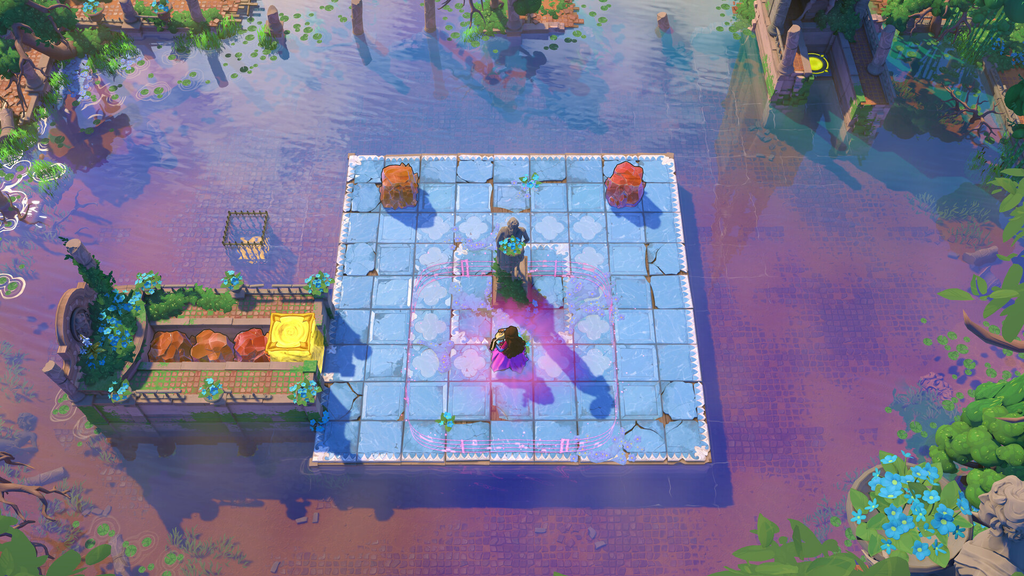
Screen 4: bard aura crystal puzzles
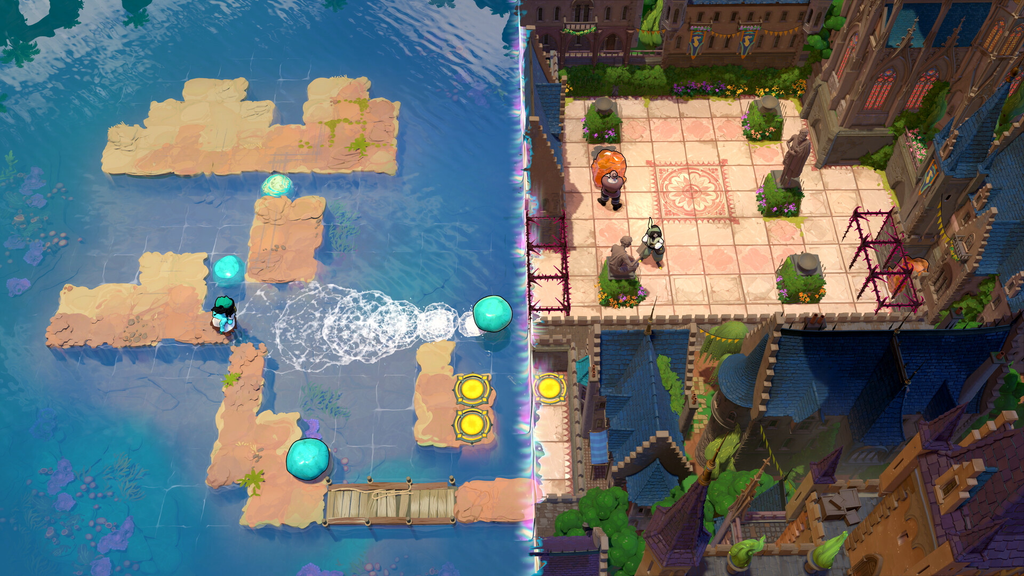
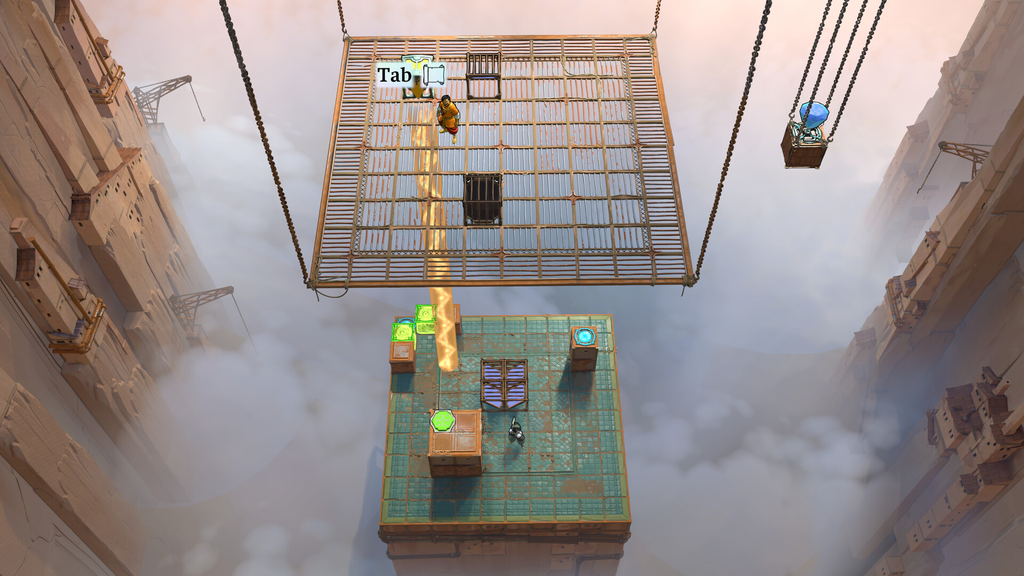
Screen 4 revolves around the bard, whose aura carries a crystal in whichever corner or side you position it, letting you drop it into gaps to cross water. Two puzzles sit here, and finishing the second unlocks a crystal that opens the way down to the bottom of Screen 3.
Reaching and solving puzzle #1
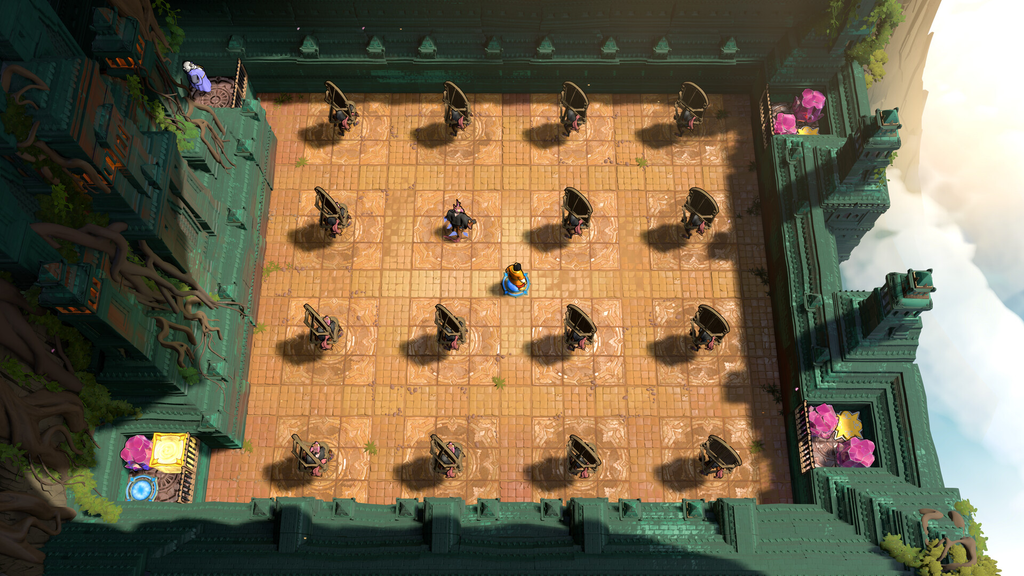
Enter through the bottom gate in the crystal’s row. Exit through the middle gate, leaving the crystal in the middle row. Enter again through the bottom gate so the crystal is above you, opening puzzle #1.
Move right, up, right, left, down, left x2, up x2, right x2, down x2, left x2, up x2, right x2, down x2, left x2, up x2, right x2, down x2, left x2, down, right x2, up x2, left x2, down x2 to put the crystal directly to your left and cross.
Move up, left x3, down, left x2, up, right, down, right, up to get the crystal directly above you, then go all the way right to cross to the teleporter.
Move red to the top teleporter and bard to the bottom teleporter. This unlocks a crystal to the right of the puzzle in the overworld.
Reaching the bottom of Screen 3
Push the newly unlocked crystal all the way left. Move left through the gate directly right of the crystal you moved on the way to puzzle #1, so that crystal sits on your left. Move all the way down to pull the new crystal into your row within your aura.
Move all the way up, left to drop the new crystal. Move down x2, right to grab it in the top-right of your aura. Move up, right through the gate, dropping the crystal directly below the water square blocking the way up, then push that crystal up to continue to the bottom puzzles of Screen 3.
Image credit: Arc Games, Gamirror Games
Screen 3 (bottom): final puzzles
The bottom of Screen 3 mixes the bard’s aura with gold’s water-walking and monster fire. Three puzzles close out Heroes and Water.
As purple, press left to swap with bard. Then move bard to the crystal’s right with one space between, using no swaps (left, up x3, all the way right, down), and press left to swap with the crystal.
Grab the crystal in the bottom-right of bard’s aura (right x2, up x4, right), then move all the way down, all the way right to drop the crystal in the water between the platforms.
Move bard left x3, up to grab the crystal again, then move right, up, right, down, left, up, right x2, down x2, left x2 to drop it left of the right teleporter.
Move bard down until you grab the up-facing monster in her aura, move up to drop it off the teleporter, then move down and left to place both characters on the teleporters.
With all three bottom puzzles cleared, every teleporter in Heroes and Water is open and the northeast gold-room region is complete. You know each stage is done when its barriers drop and both or all characters can step onto their teleporters.