Vault of the Beamcasters Level 2 Walkthrough: All 22 Gems in Order of the Sinking Star
Collect all 22 gems across two floors using the colored lasers and the lucite torc, then feed them to the creature to clear the west world's second level.
Collect all 22 gems across two floors using the colored lasers and the lucite torc, then feed them to the creature to clear the west world’s second level.
by AllThingsHow Staff · Edited by Pallav Pathak
Image: Thekla, Inc.
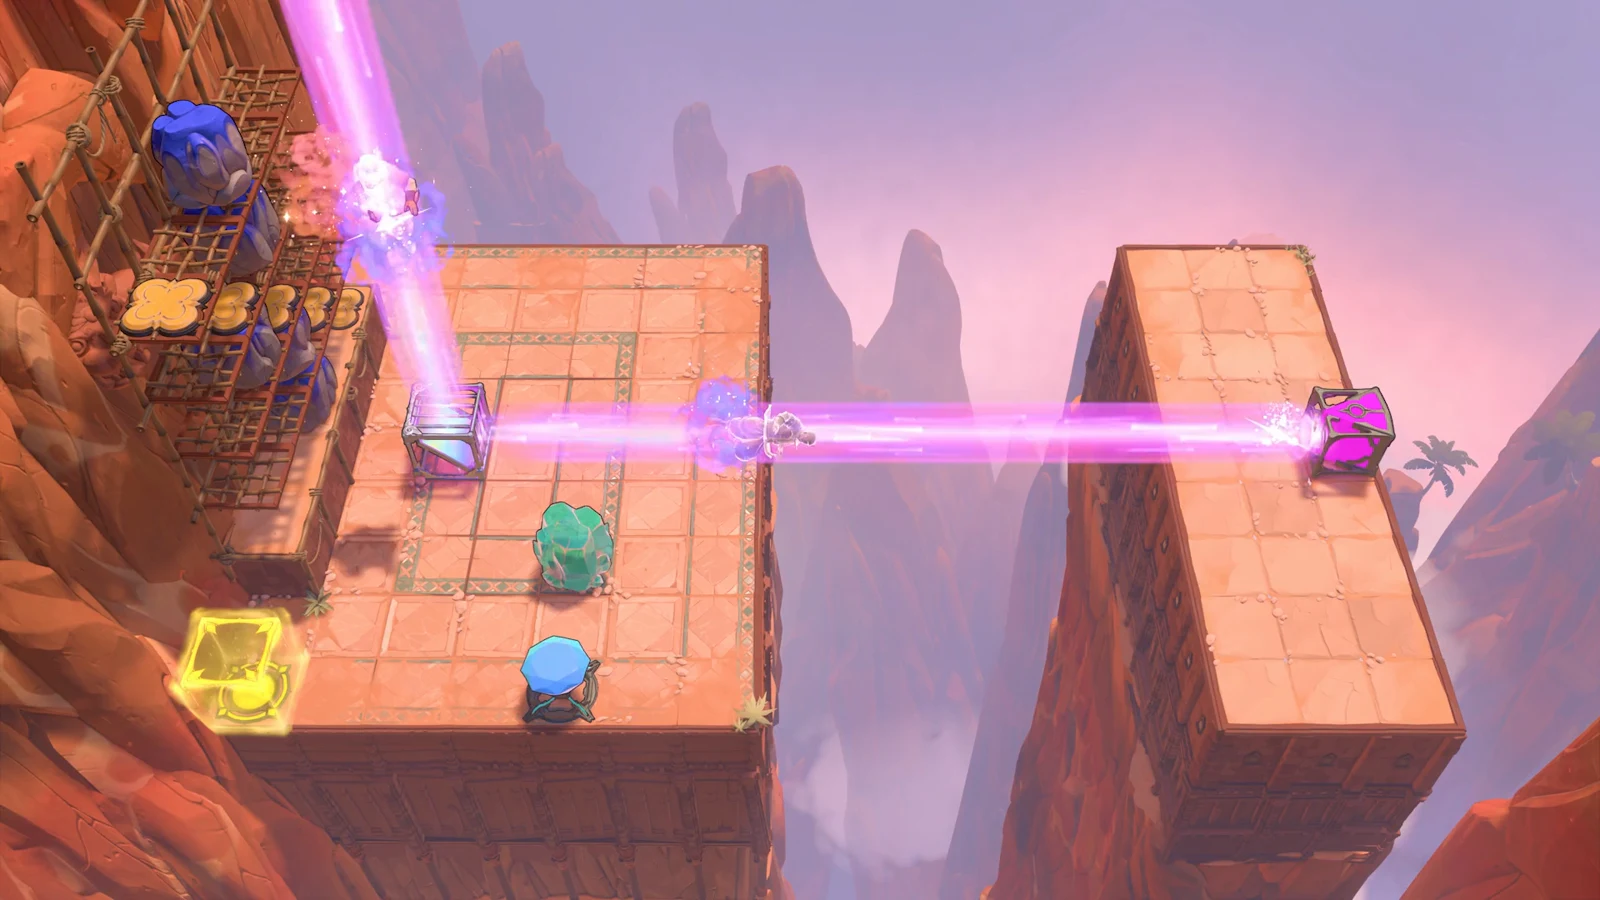
The second level of Vault of the Beamcasters, the west world in Order of the Sinking Star, asks you to gather 22 gems spread across two floors. You route colored laser beams to phase into alcoves, smash rocks, teleport past barriers, and eventually pick up a tool that lets you bend those beams in new directions.
Quick answer: Collect nine gems on the top floor, ride the elevator down and grab the lucite torc to rotate beams, gather eight more gems, then return upstairs for the final five. Drop all 22 gems into the holder in the lizard’s room to finish.
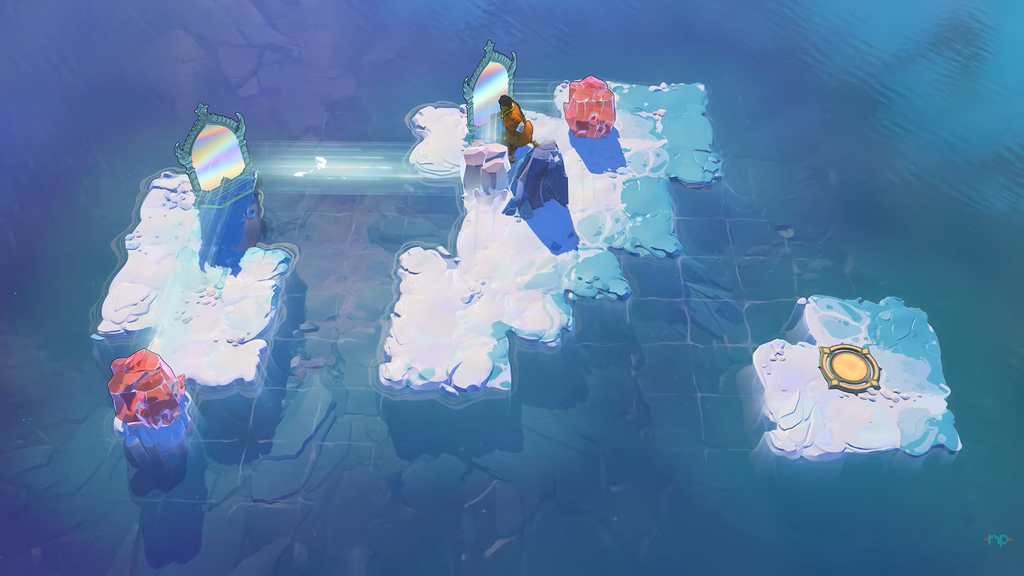
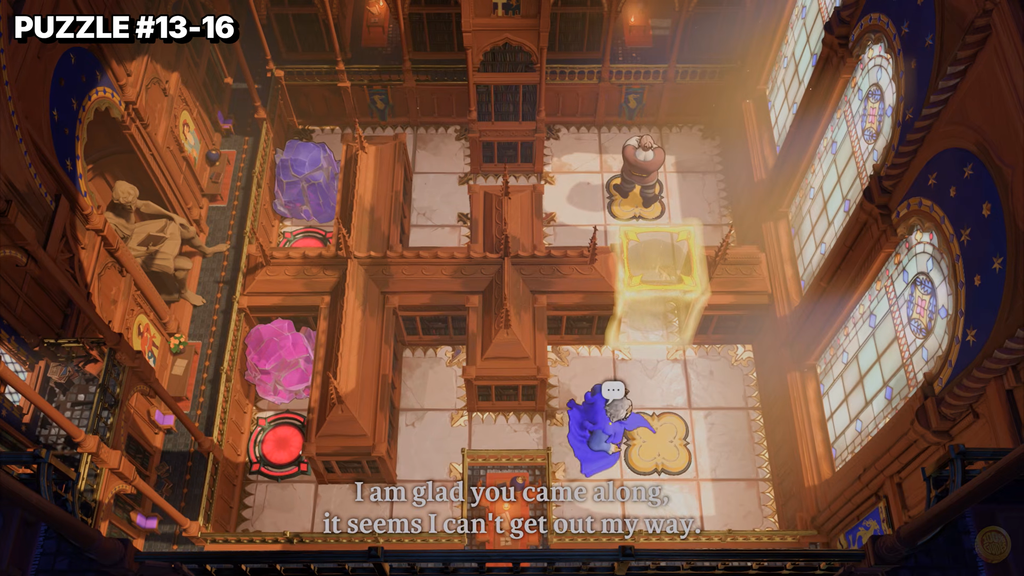
Once you have the lucite torc, a beam rotates toward whatever direction you are facing when you use it. Set your facing before activating the tool.
Image credit: Arc Games, Gamirror Games via YouTube/@Noisy Pixel
First floor: the opening nine gems
This floor has no beam rotation yet, so every puzzle is solved by placing gems in holders and standing in the resulting beams. You need all nine in hand before the elevator will take you down.
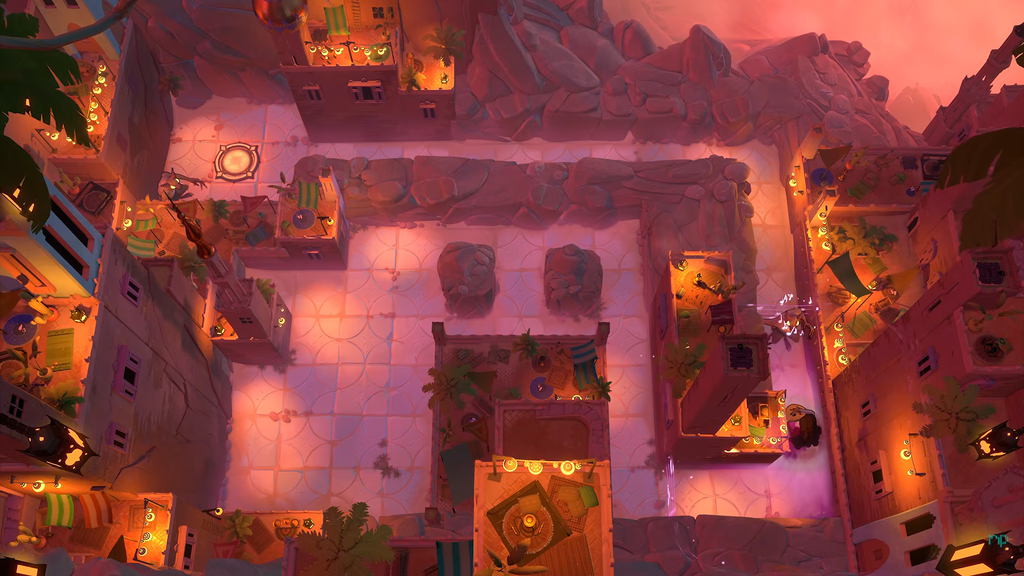
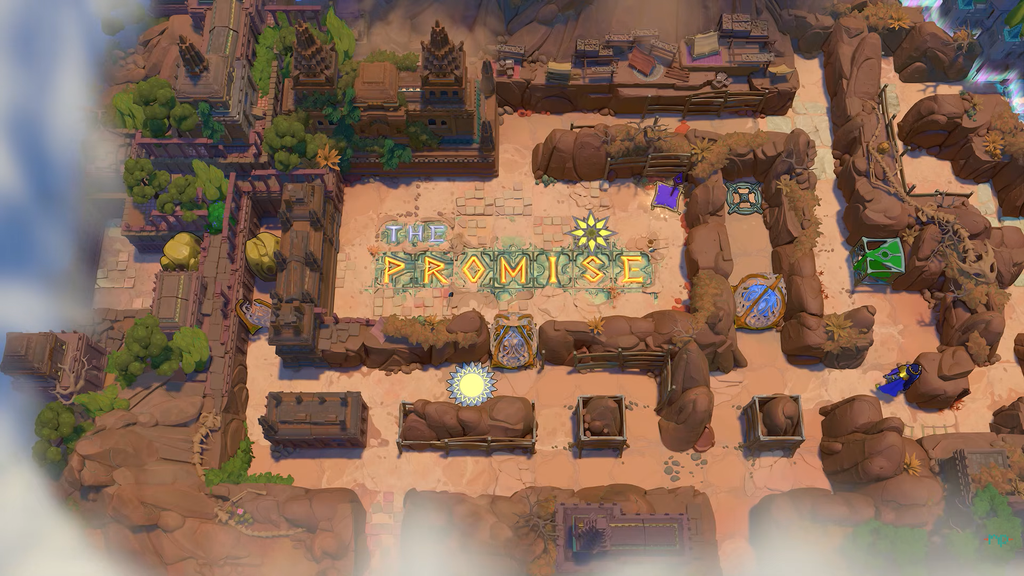
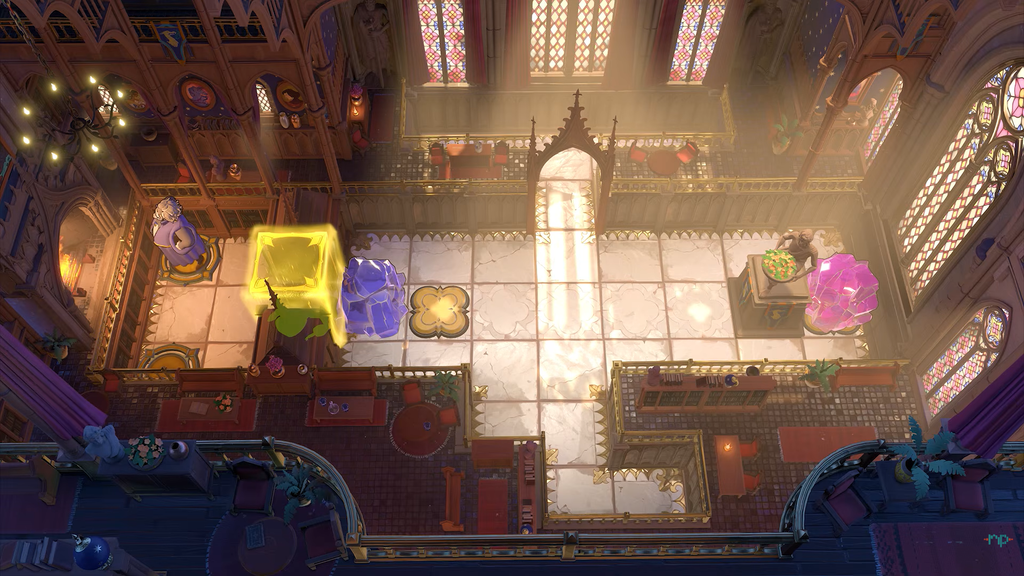
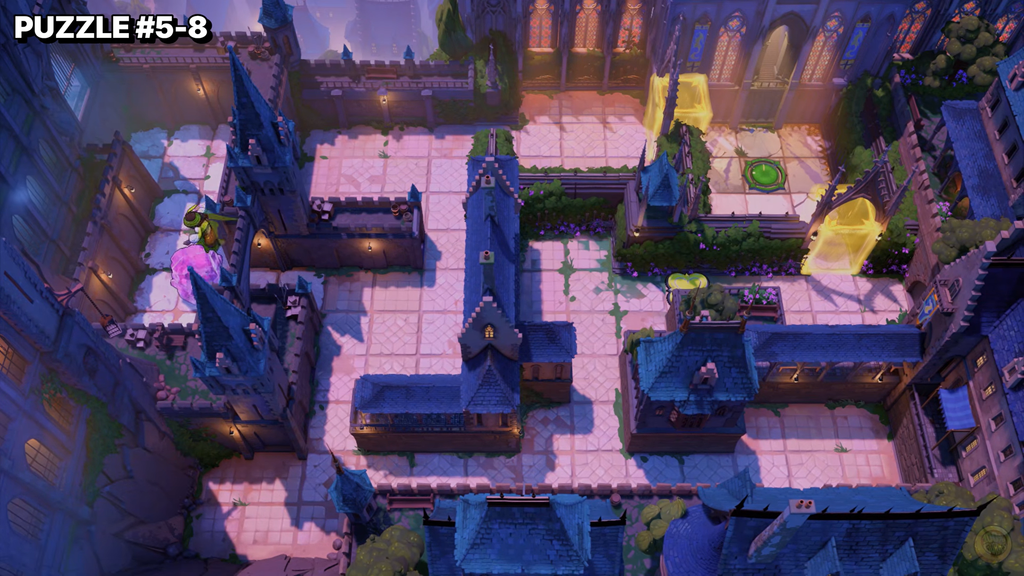
Move one screen to the right, then take the green laser into the map alcove. Follow it back out and pick up gem #1, the gem supplying power to the laser.
Image credit: Arc Games, Gamirror Games via YouTube/@Noisy Pixel
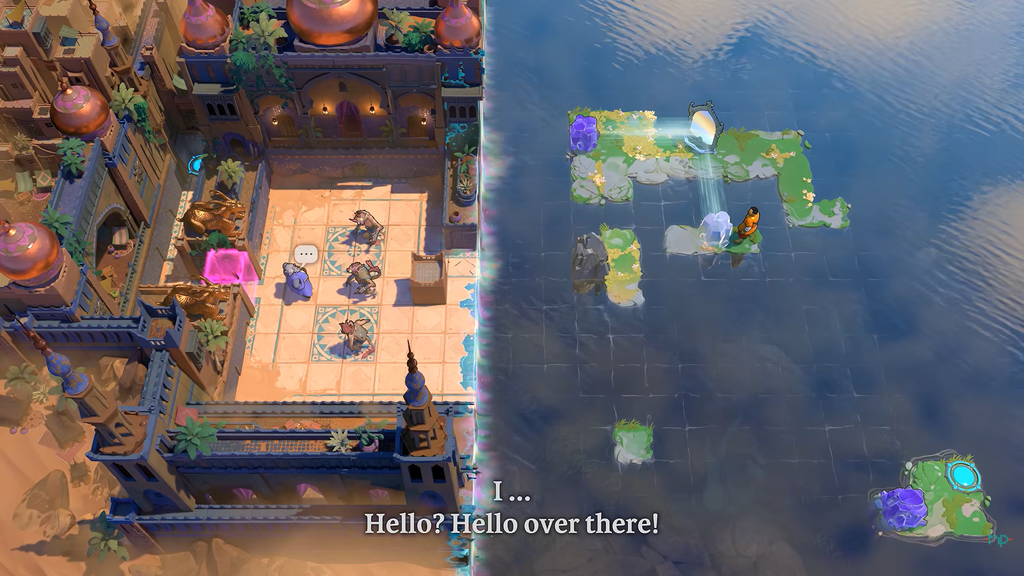
Head up one screen and set a gem in the holder, which starts the pink laser. Enter its beam and press up to reach the alcove containing gem #2. Ride the beam out and take the gem that powers it.
Stand to the right of the gem and press down to enter the horizontal orange beam, then press right to teleport to where the two orange beams cross. Press up into the alcove with gem #3, then use the vertical orange beam to teleport left and out.
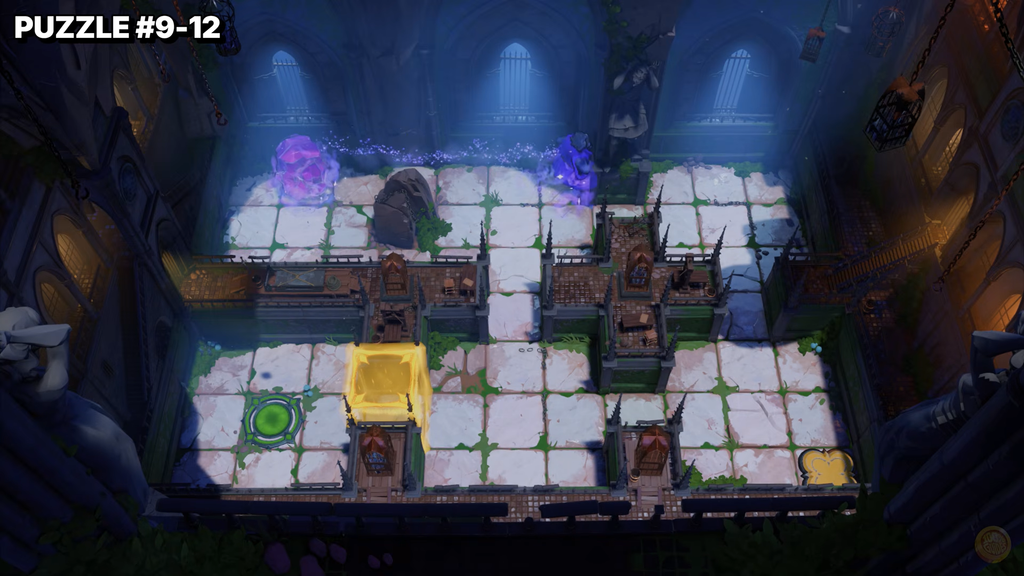
Go down one screen and place a gem to start a vertical pink laser. Stand in it and press down into the alcove with gem #4. Go right one screen, using the vertical red laser to clear a red barrier on the way.
Image credit: Arc Games, Gamirror Games via YouTube/@Noisy Pixel
Descend one screen and load the right holder with a gem to activate a horizontal green laser. Follow it into the left wall, then use the red beam to lower the red barrier and collect gem #5. Take the green beam back to the hallway and retrieve the gem powering it.
Load the left holder with a gem to activate a horizontal orange laser. Enter its beam and press right twice; then descend one screen, move right one screen, and go up one screen. Load a gem into the holder to activate a vertical red laser.
Image credit: Arc Games, Gamirror Games via YouTube/@Noisy Pixel
Re-enter the orange beam just left of a red barrier and press right to teleport past it into the alcove with gem #6. Stand in the red beam and press down to remove the barrier, then stand in the orange beam and press left twice to leave.
Go down one screen and left one screen, then use the horizontal pink beam to teleport right. Grab gem #7 from the alcove and use the red beam to clear the barrier.
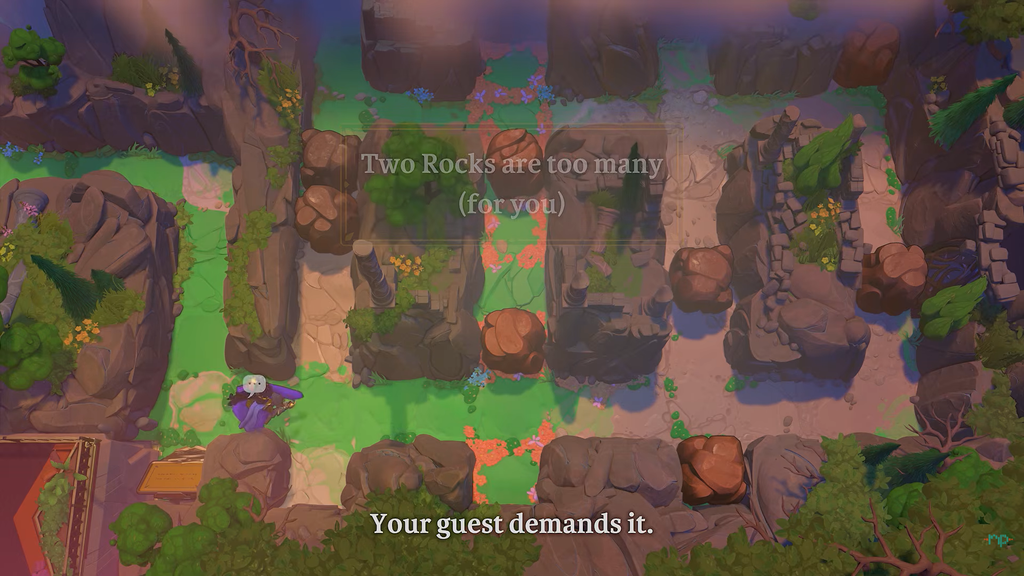
Move right one screen and enter the green beam. Follow it right to its junction with the yellow laser. Use the yellow beam to smash the two rocks and collect gem #8.
Image credit: Arc Games, Gamirror Games via YouTube/@Noisy Pixel
Enter the vertical pink beam to teleport down. Go up one screen, then right one screen into the elevator room, and put a gem in the holder for a vertical orange laser.
Go up two screens and stand in the vertical orange beam, just right of the trapped gem #9 on the left. Press left into the alcove, use the red beam to clear the barrier, the yellow beam to destroy a rock, and the pink beam to teleport down and out.
Collect the six gems still powering lasers. With all nine in your possession, take the elevator down.
Image credit: Arc Games, Gamirror Games via YouTube/@Noisy Pixel
Second floor: the lucite torc and eight more gems
The lower floor introduces the lucite torc, which rotates any beam you are standing in toward your current facing. You also pick up the orange orb here. Finish with 17 gems before heading back up.
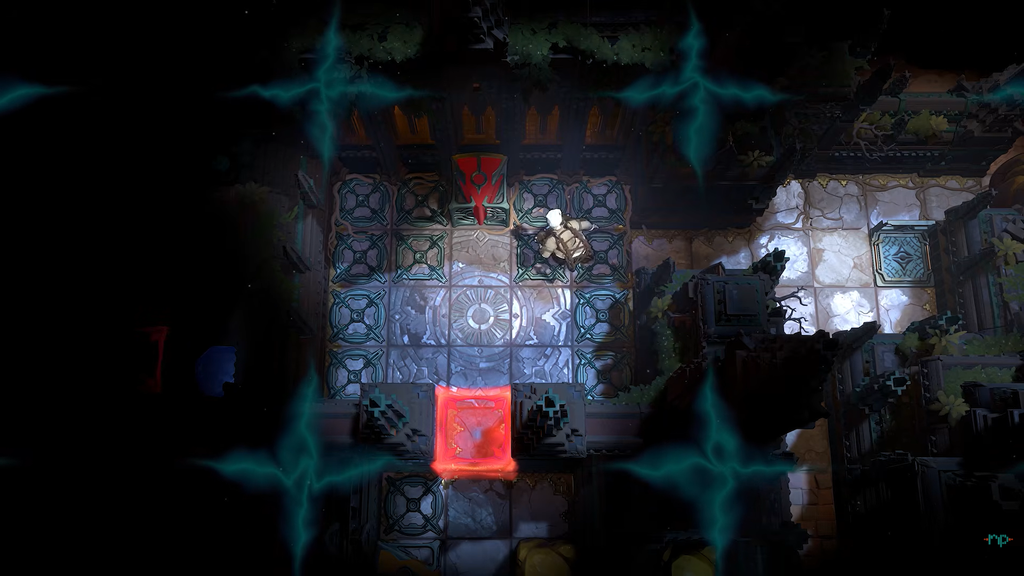
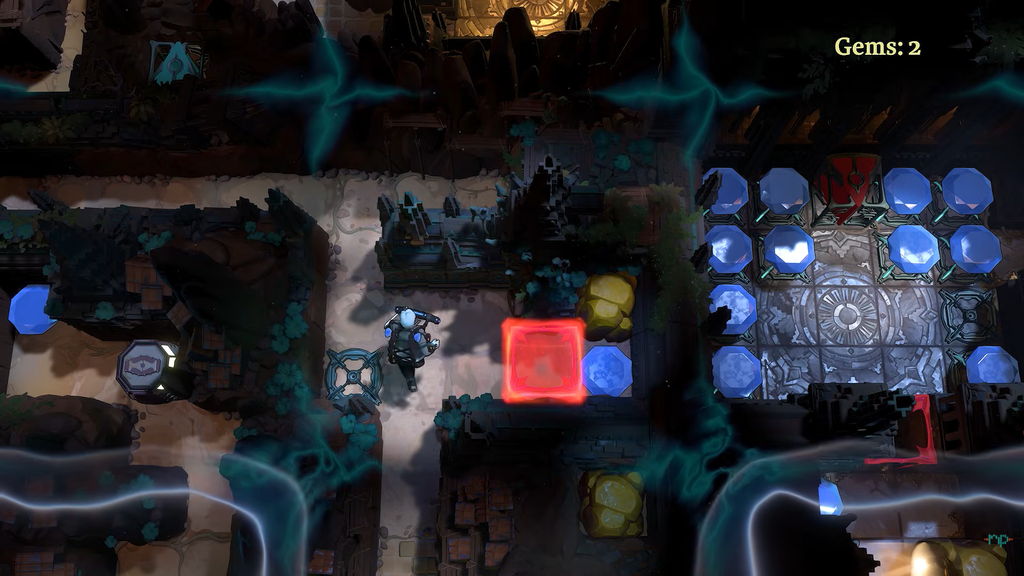
Go down one screen and insert all nine gems into the holders to light the red laser. Stand in the red beam, deactivate the barrier, and take one gem back before moving on.
Image credit: Arc Games, Gamirror Games via YouTube/@Noisy Pixel
Travel right one screen and place a gem in the holder to switch on the green laser. Take its beam through the wall to the checkpoint and pick up the lucite torc, which rotates beams.
Face left in the red beam and use the torc, then face up and use it again to drop the barrier at the top of the room. Grab the map just past the barrier and gem #1 in the bottom-right corner.
Image credit: Arc Games, Gamirror Games via YouTube/@Noisy Pixel
Move one screen to the left and load a gem into the holder to activate a pink laser. Continue left one more screen and use the torc to aim the pink beam upward. Return right one screen and ride the beam into the alcove containing gem #2. Turn the pink beam left to exit.
Go down one screen, then right one screen. Aim the green laser downward, as this is required for the final gem. Head left one screen and put a gem in the empty holder to reactivate the red laser.
While in the red beam, face upward and use the torc. Go up one screen, then use the red beam to lower the barrier on the left side of the room. Before moving on, retrieve all nine gems powering the red laser.
Image credit: Arc Games, Gamirror Games via YouTube/@Noisy Pixel
Go through the barrier and place a gem in the holder to start a yellow laser. Face down in its beam and use the torc, then destroy the rock at the room’s bottom.
Face up in the yellow beam, use the torc, go up one screen, and destroy the rock. Face left, use the torc again, and destroy the rock to the left. The beam now runs through the map to the right side of the floor.
Go right three screens and stand in the yellow beam. Destroy the moving device when it reaches you, go up one screen, and collect gem #3 and the orange orb.
Image credit: Arc Games, Gamirror Games via YouTube/@Noisy Pixel
Head back to the yellow laser room. Go up one room and place a gem in the holder to start an orange laser. Point the beam up first, then turn it to the right.
Go right one screen and place a gem in the holder to start a pink laser. Turn it right, then ride its beam into the alcove with gem #4. Leave by way of the orange beam.
Go up one screen and place gems in both holders to start two pink lasers. Turn the lower beam left and enter it. Press left to reach the alcove on the left, then press right to get out. Use the torc to turn the lower beam right.
Image credit: Arc Games, Gamirror Games via YouTube/@Noisy Pixel
Enter the upper beam and press right to reach the alcove on the right. Move down to the lower laser, then press left to get to gem #5. Enter the lower beam and turn it left to make an exit.
Go down one screen and rotate the orange beam down. Go left one screen, down two screens, and insert a gem for a second orange laser that runs through the map. Go up one screen into that beam and rotate it up, then go down one screen and use it to enter the alcove with gem #6. Rotate it down and use the first beam to exit.
Travel up two screens, right two screens, then up one screen. Put a gem in the holder to start a green laser. Turn it right—face right by entering the left wall and coming out of it—then travel one screen right.
Image credit: Arc Games, Gamirror Games via YouTube/@Noisy Pixel
Put a gem in the holder to start a red laser. At the green and red beams’ intersection, face right and turn the red beam right. Turn it left next, then leave the alcove via the green beam. Turn the red beam down to lower the barrier and collect gem #7.
Turn the green beam left; to face left, enter the right wall and exit it. At the green beams’ intersection, face down and turn the beam on the right downward. Use it to reach gem #8.
Head to the lizard’s room (left one screen, up one screen, right three screens, down one screen, left one screen). Turn the green beam left. Return to the screen where you lit the green laser, ride it to the green and red intersection, and drop the barrier to reach gem #1.
Go to the screen right of the lizard’s room and insert a gem for a green laser. Ride it right through the wall, then turn it up. Follow it up to the second green intersection, turn the yellow beam left, then follow the green beam left out of the wall.
Image credit: Arc Games, Gamirror Games via YouTube/@Noisy Pixel
Insert a gem for a pink laser. Ride it up into the alcove, turn it right so it overlaps the yellow beam, and teleport right into the yellow laser’s alcove. Destroy the rock below you so the vertical green beam keeps rising, then follow it up to gem #2.
Follow the green beam down to the square above the pink intersection and turn it down. Use the pink beam to teleport left, turn it left, and teleport out of the alcove.
Go up one screen and put gems in both holders to start an orange laser and a pink laser. Turn both beams downward. Take the orange beam down twice, then right into the alcove holding gem #3. Use the pink laser to exit.
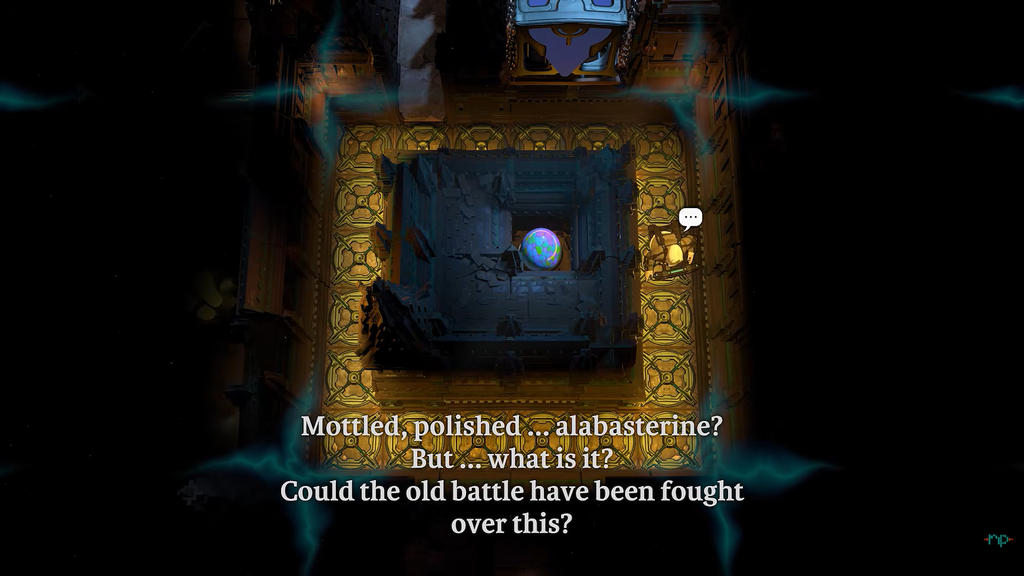
Retrieve every gem still powering a laser. In the lizard’s room, put all 22 gems in the holder to feed the creature.
Feeding all 22 gems to the creature closes the puzzle and completes Level 2 of Vault of the Beamcasters. If the holder will not accept them, you are missing at least one gem still powering a laser somewhere on either floor.