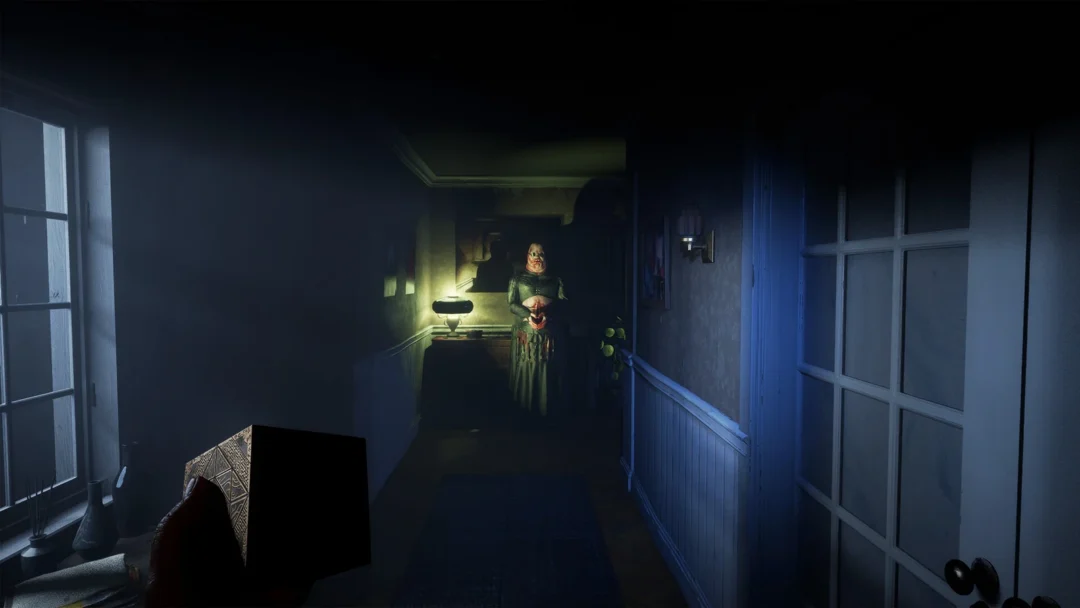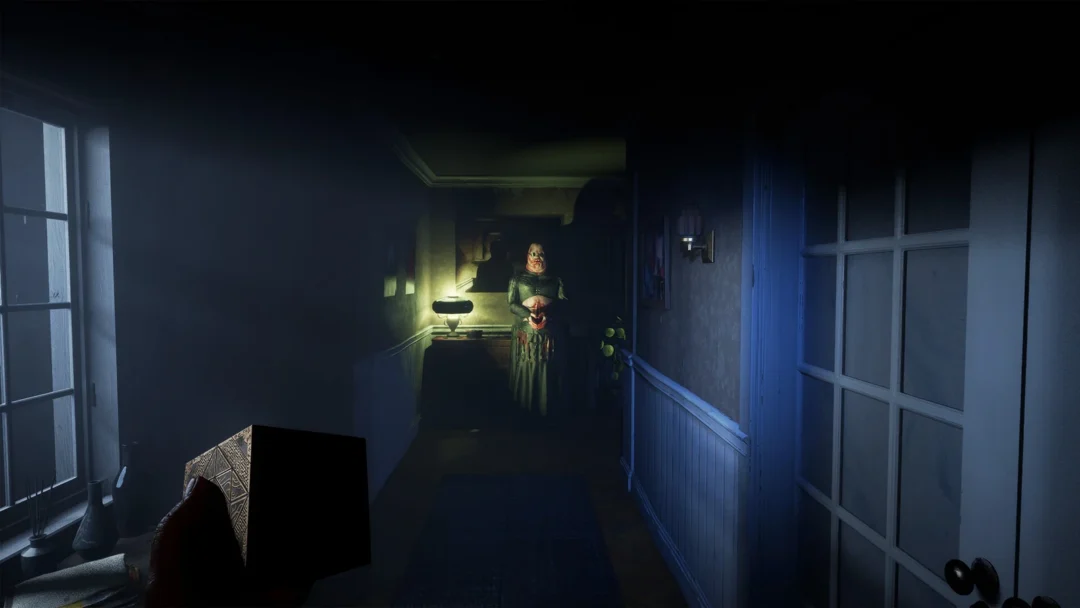
Door M359 is the first real lock you hit after Aidan Lynch wakes up inside the Scarlet Church compound in Clive Barker’s Hellraiser: Revival. It sits at the bottom of a short set of steps in the holding area, with a diamond-shaped receptacle on the wall to its right. The door will not budge until that diamond is whole, and completing it means reaching into two of the cult’s mutilated body exhibits for the pieces.
Quick answer: Pull the Blemished Fragment from the chained body in the first lit display booth and the Blemished Diamond from the conjoined body in the second exhibit, then use both on the slot beside M359 to complete the emblem and open the door.
Where Door M359 and the two pieces are
Everything you need sits along one corridor off the holding room where you start with the objective “Escape the cult.” There are no enemies before the door, so you can take your time. Both key items share the same description in your inventory, “Should fit into a slot somewhere,” which is the game telling you they belong on the wall plate.
| Piece | Where it is | Slot it fills |
|---|---|---|
| Blemished Fragment | Chained body in the first lit display booth | Top half |
| Blemished Diamond | Conjoined body hung before the painted wings | Bottom half |
The Fragment goes in the top of the diamond and the Diamond goes in the bottom. The order you collect them in does not matter for the door, but the Fragment is the nearer of the two pickups.
Unlock Door M359
Controls here are the PC prompts: F to interact, with your collected key items showing in the item bar during the lock interaction. Work through the steps in order and you will have the door open in a couple of minutes.
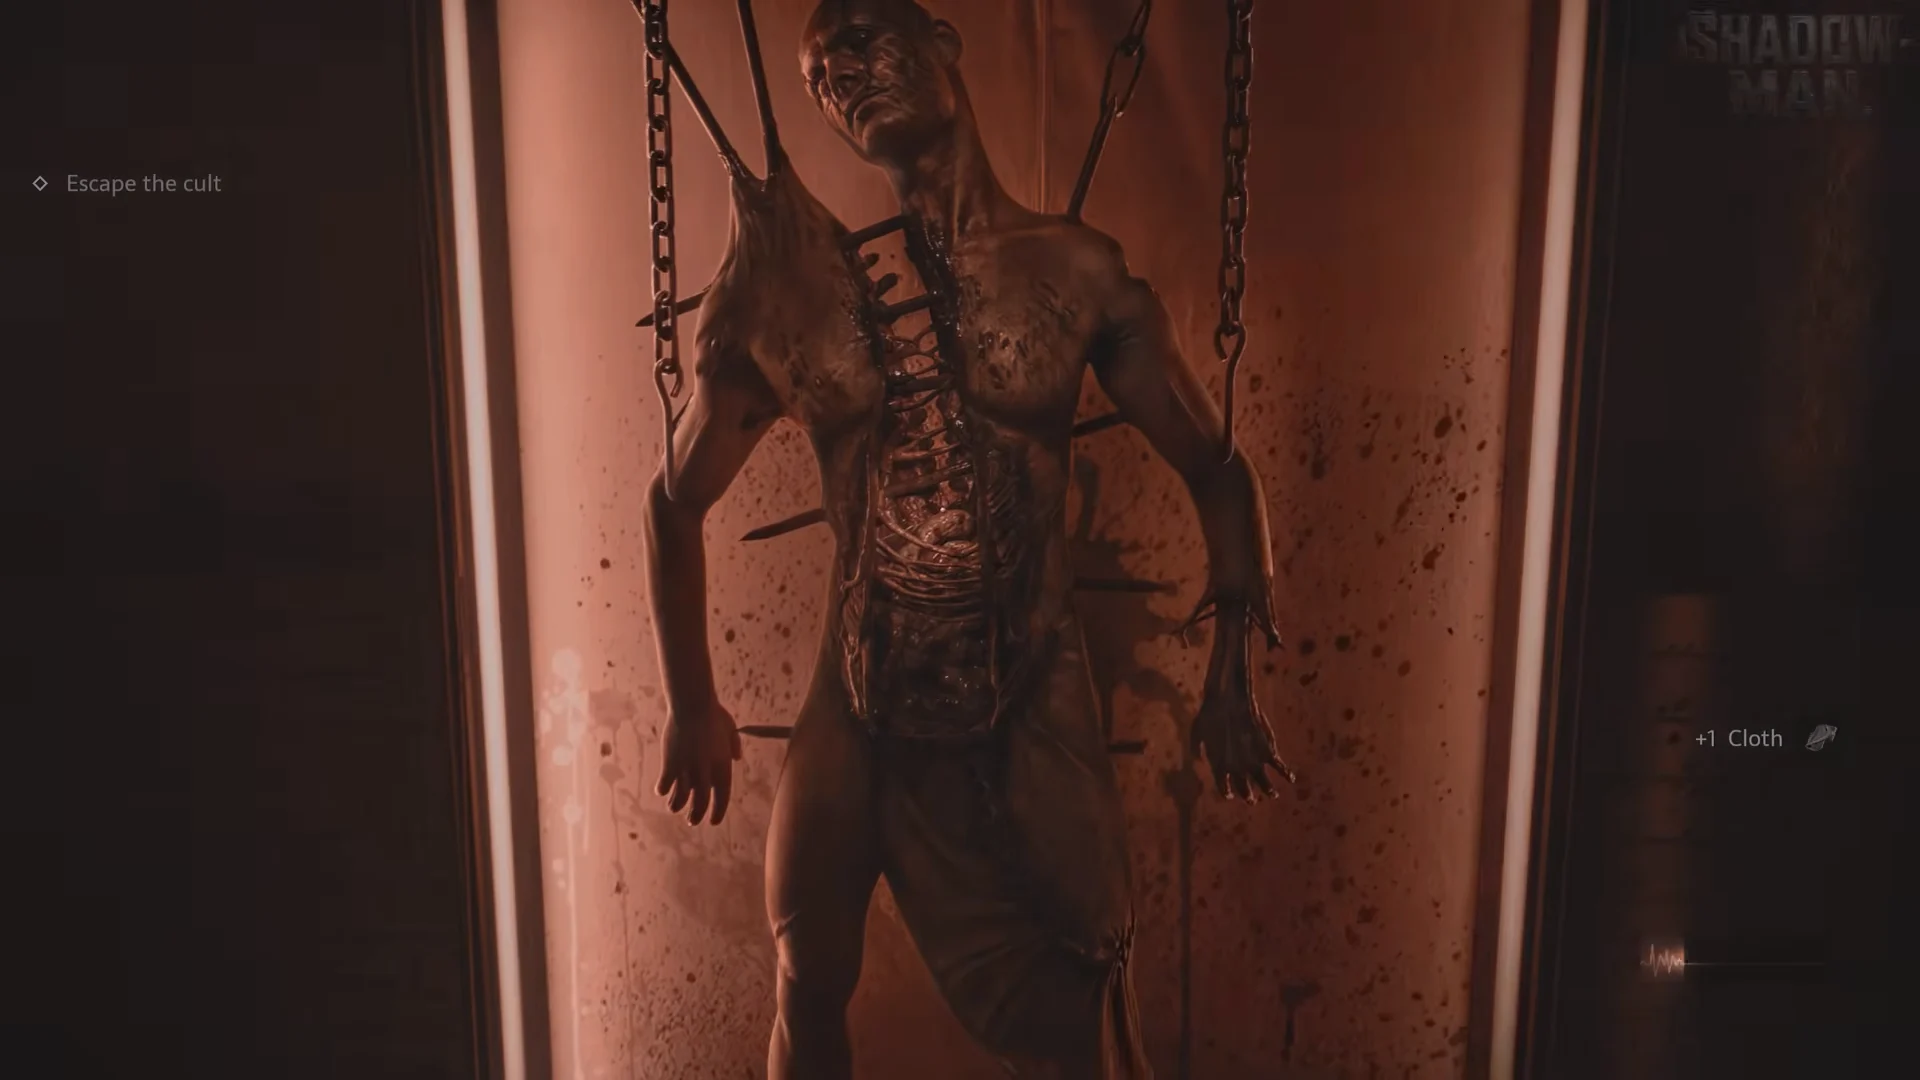
F to pick it up. If you like, collect a piece of Cloth from the little side table on the right.F, then fit the Blemished Fragment into its upper half. The objective changes to “Unlock the door.”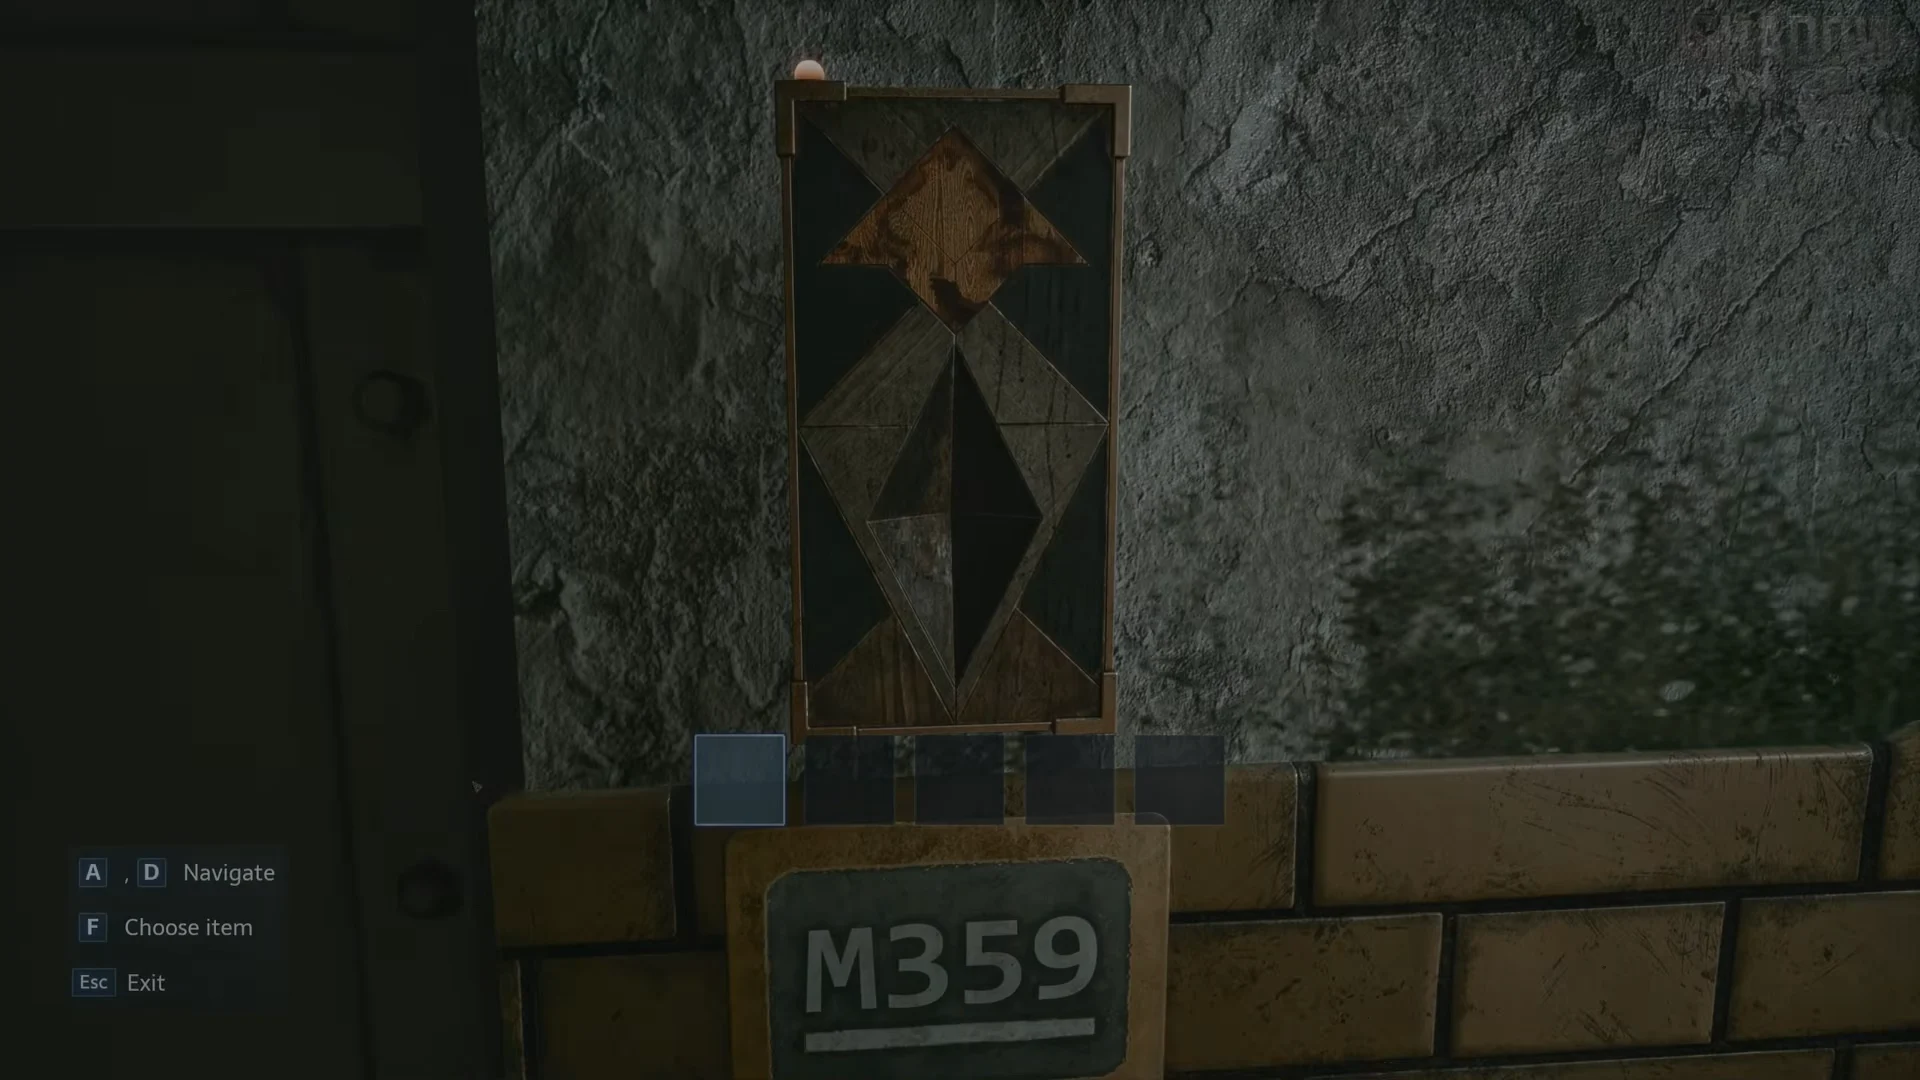
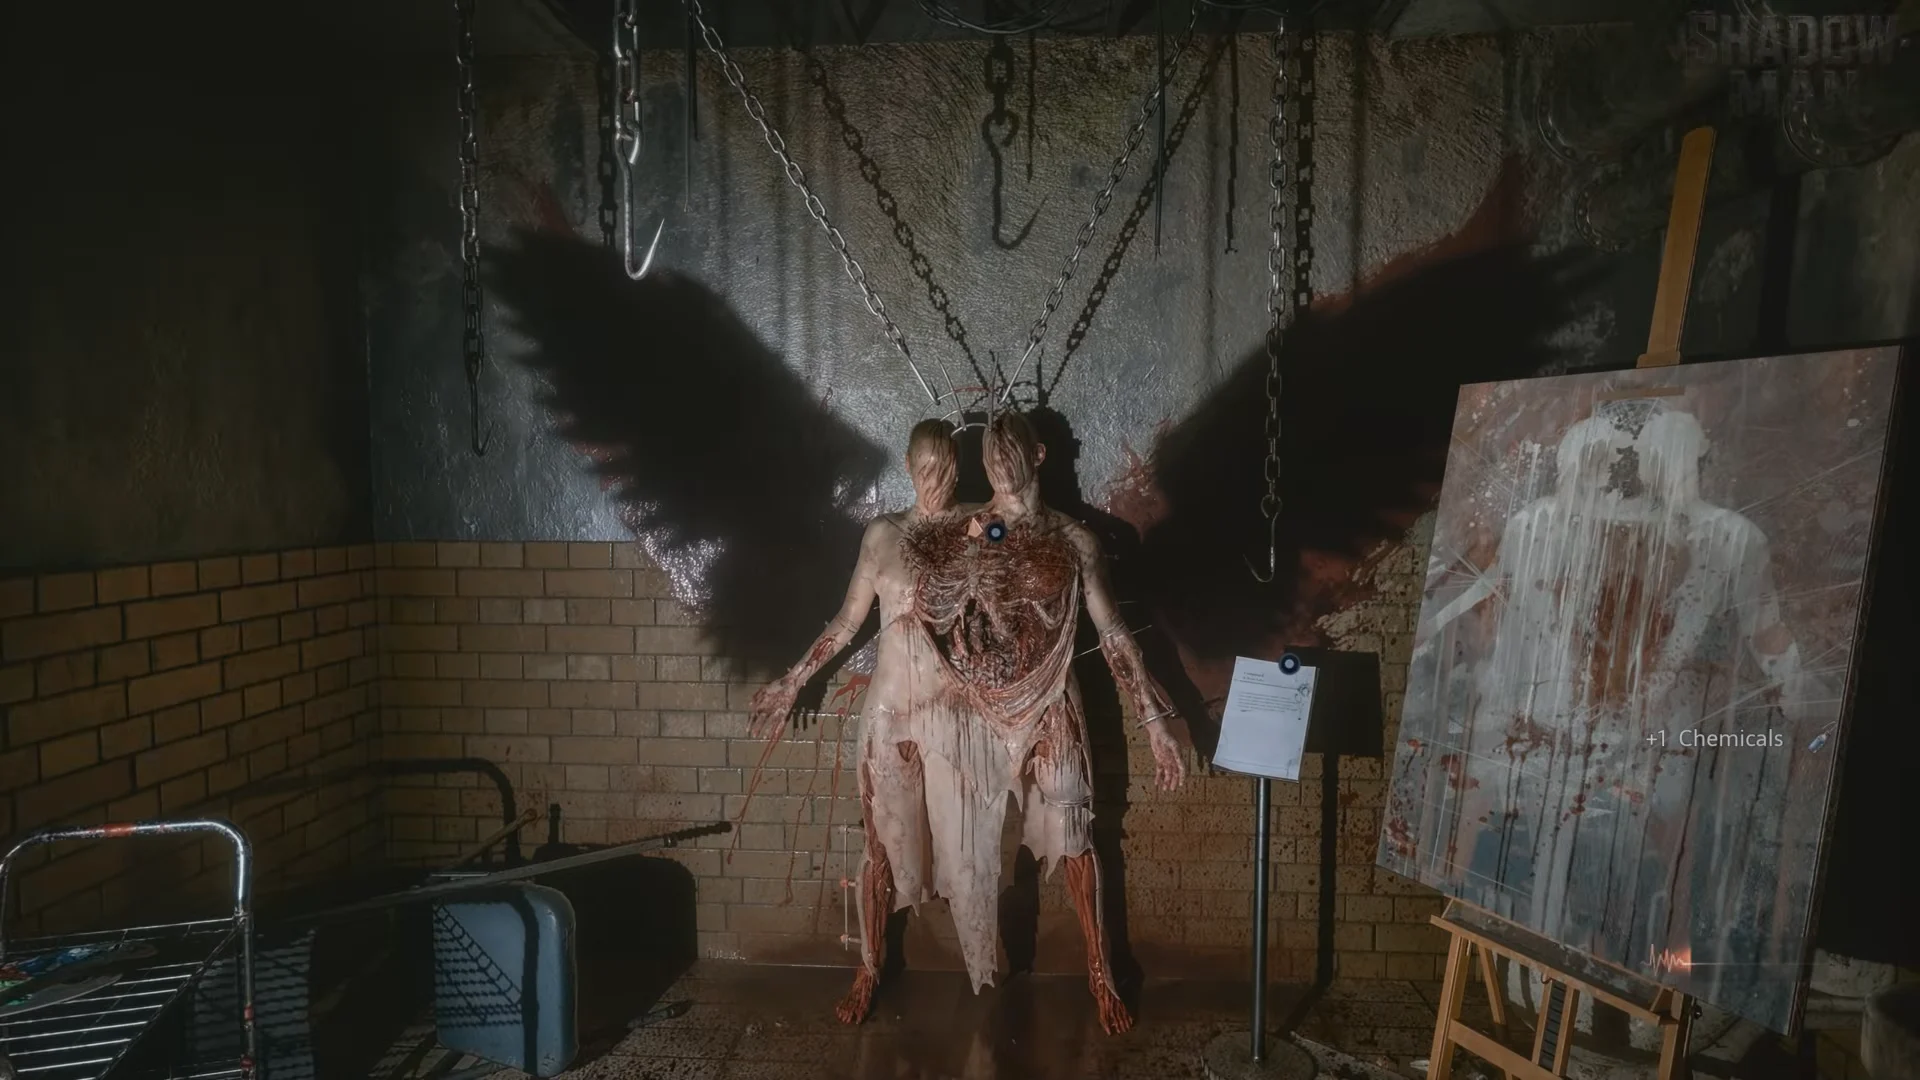
F to pick it up. You can also collect Chemicals from the metal cart on the left.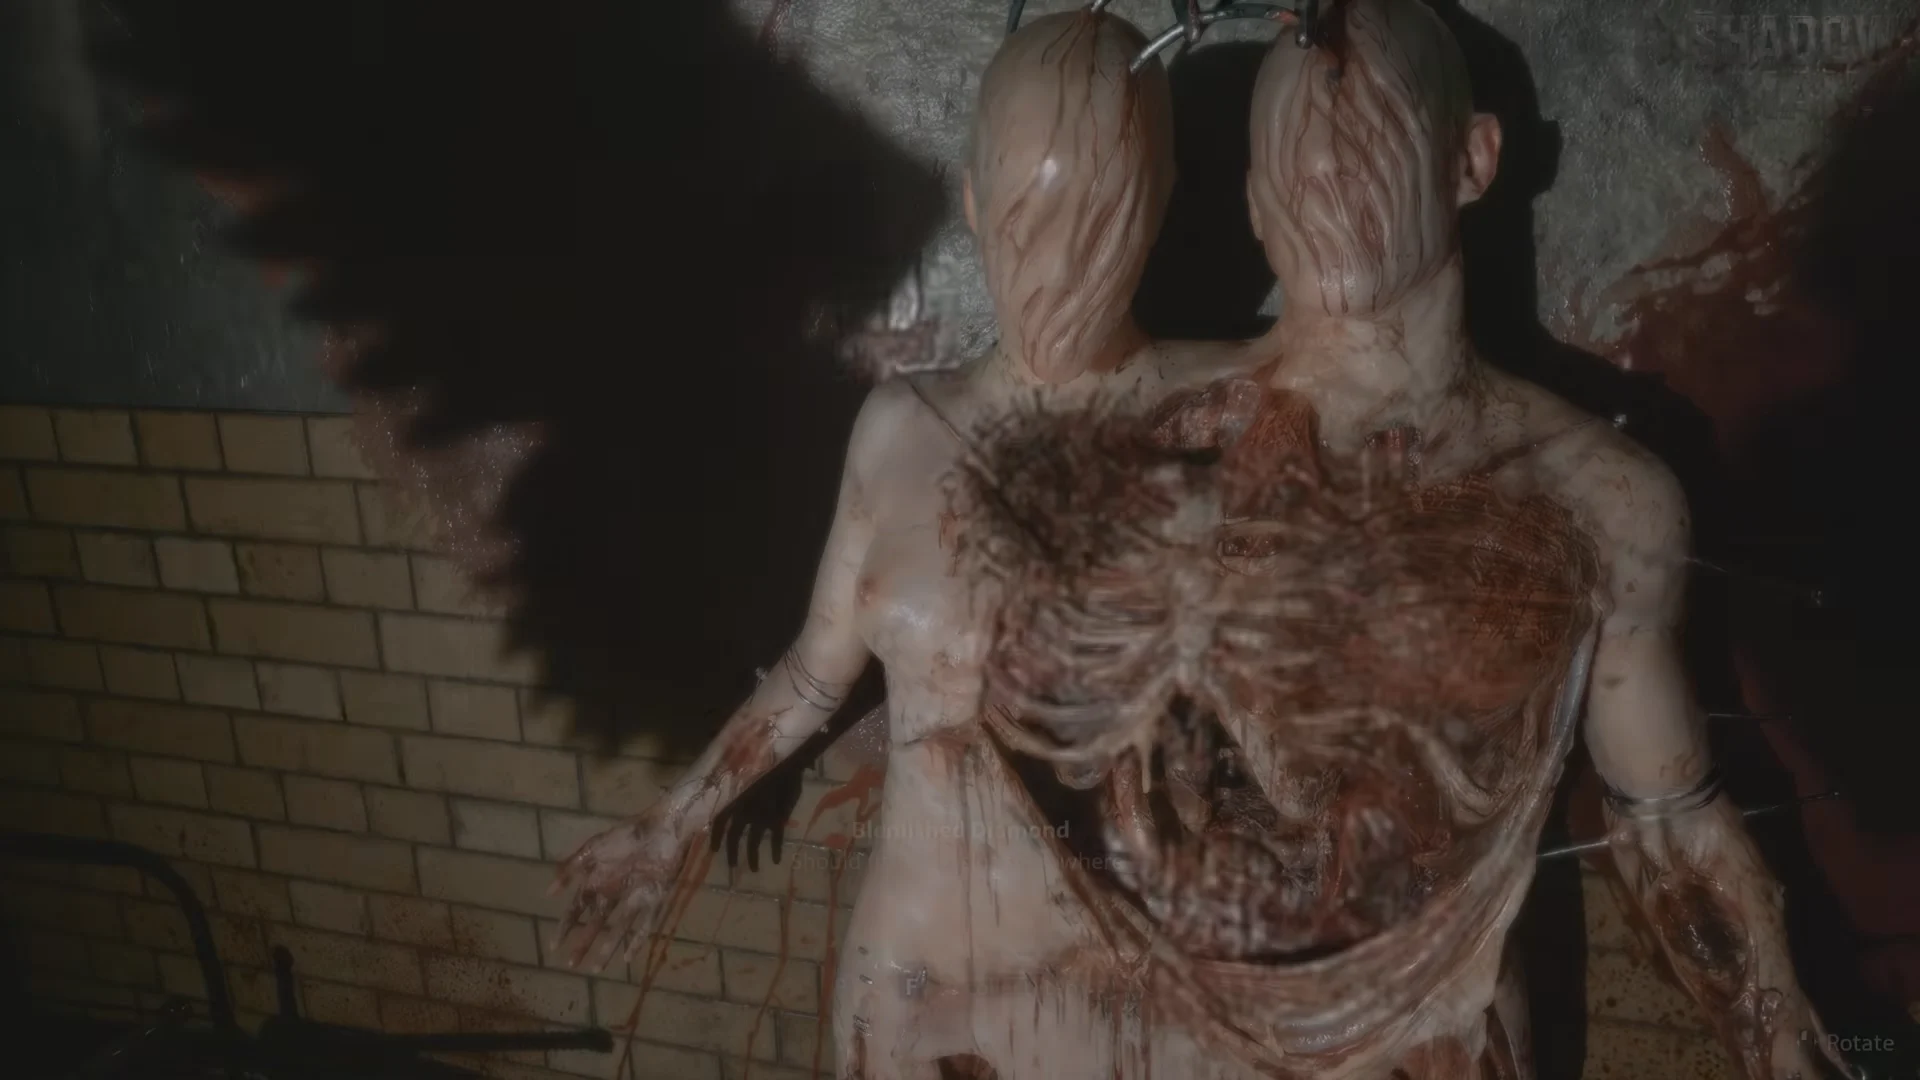
How to know it worked
When both pieces are in place, the diamond emblem fills out and the metal door opens automatically. Beyond it, a dark chamber holds another displayed body and a fridge where you can drink Soda and collect Chemicals. Farther on, a ward with a green couch has a brief crouch tutorial, followed by your first cultists, who are holding a prisoner behind bars.
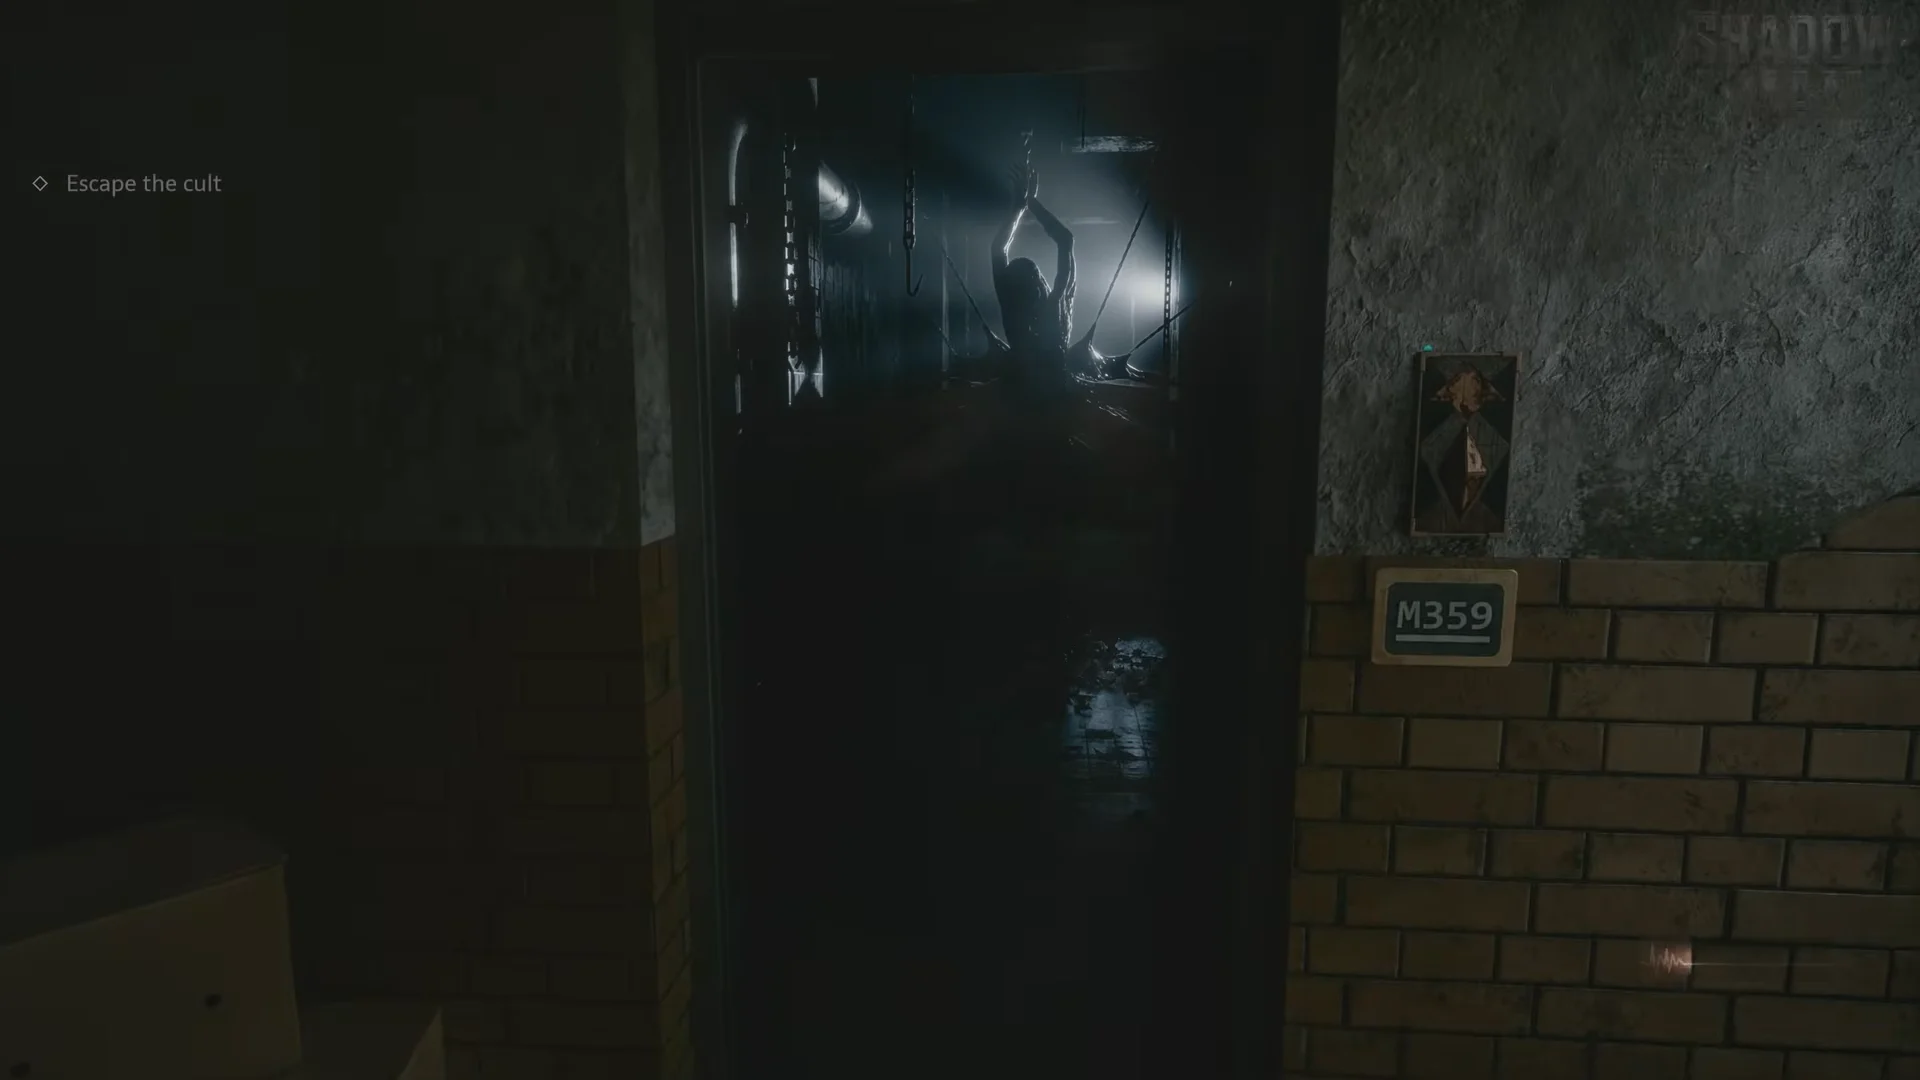
Grab the crafting materials on the way
The rooms near M359 contain what you need for your first Bandages, crafted in the Crafting tab using 1 Cloth and 1 Chemicals. The booth room and conjoined exhibit provide Cloth and Chemicals, while the fridge and the ward just beyond the door give you enough for two Bandages. Coins are scattered throughout these rooms and add to the currency counter in your inventory.
The wooden door near M359 stays locked and is not your route, so don’t waste time on it. With both halves of the diamond placed, the only way forward is through M359 itself.