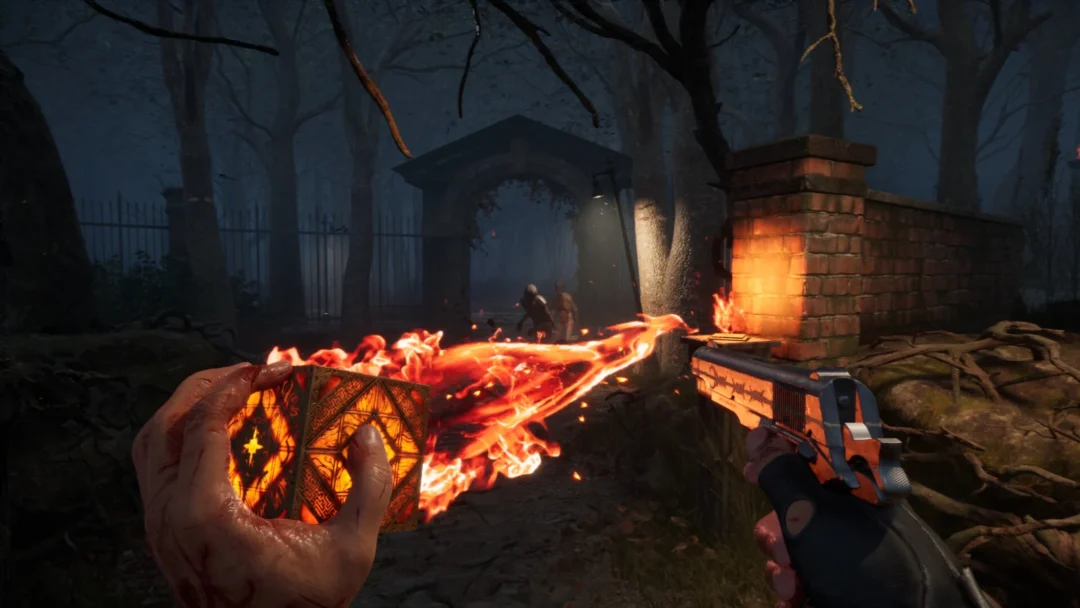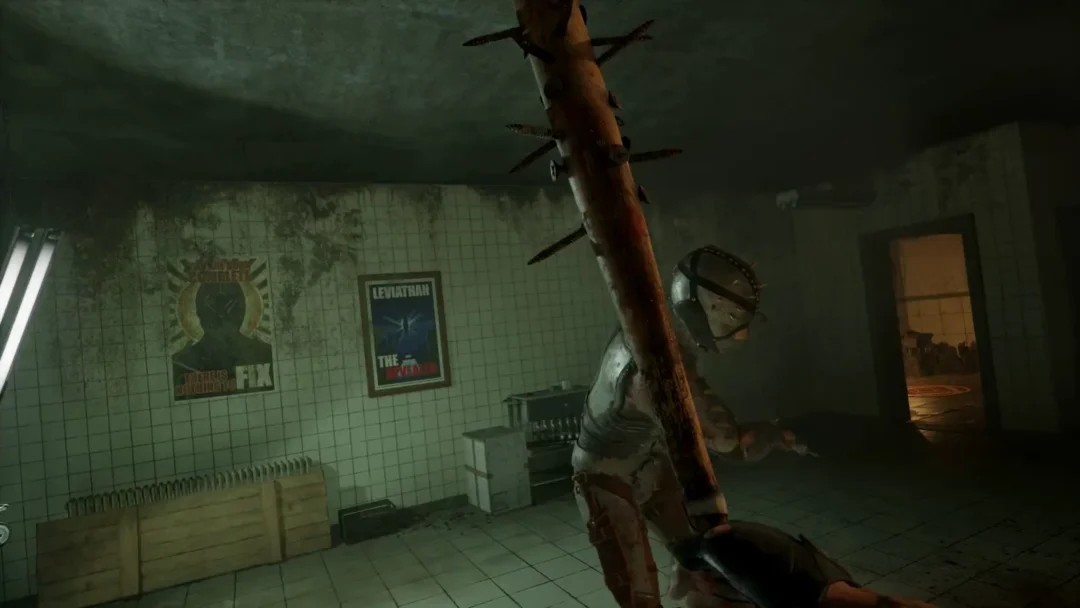
Locked cabinets in Clive Barker’s Hellraiser: Revival hide coins, herbs, and crafting scraps that you will want while escaping the Scarlet Church. Opening them needs a Lockpick and a short minigame built around finding a single position, not reacting to a timer. Get the angle right and the lock turns smoothly; force it at the wrong angle and the pick snaps.
Quick answer: Use the mouse to set the pin’s angle, then press W briefly to check it. After roughly a second at the correct angle, the lock completes its turn without any vibration. Your first pair of picks are in the artist’s studio: one rests on an easel, and the other is in a duffel bag inside the freight elevator.
How the lockpicking screen works
When you face a locked container, its prompt reads F Unlock. If you have a pick, starting the interaction brings up a close view of the lock: you can see the cylinder, the pin in the keyhole, and a counter below with a lockpick icon and your current supply. With keyboard and mouse, the instructions appear at bottom left: move the mouse to turn the pin, press W to turn the lock, or use Esc to leave without using a pick.
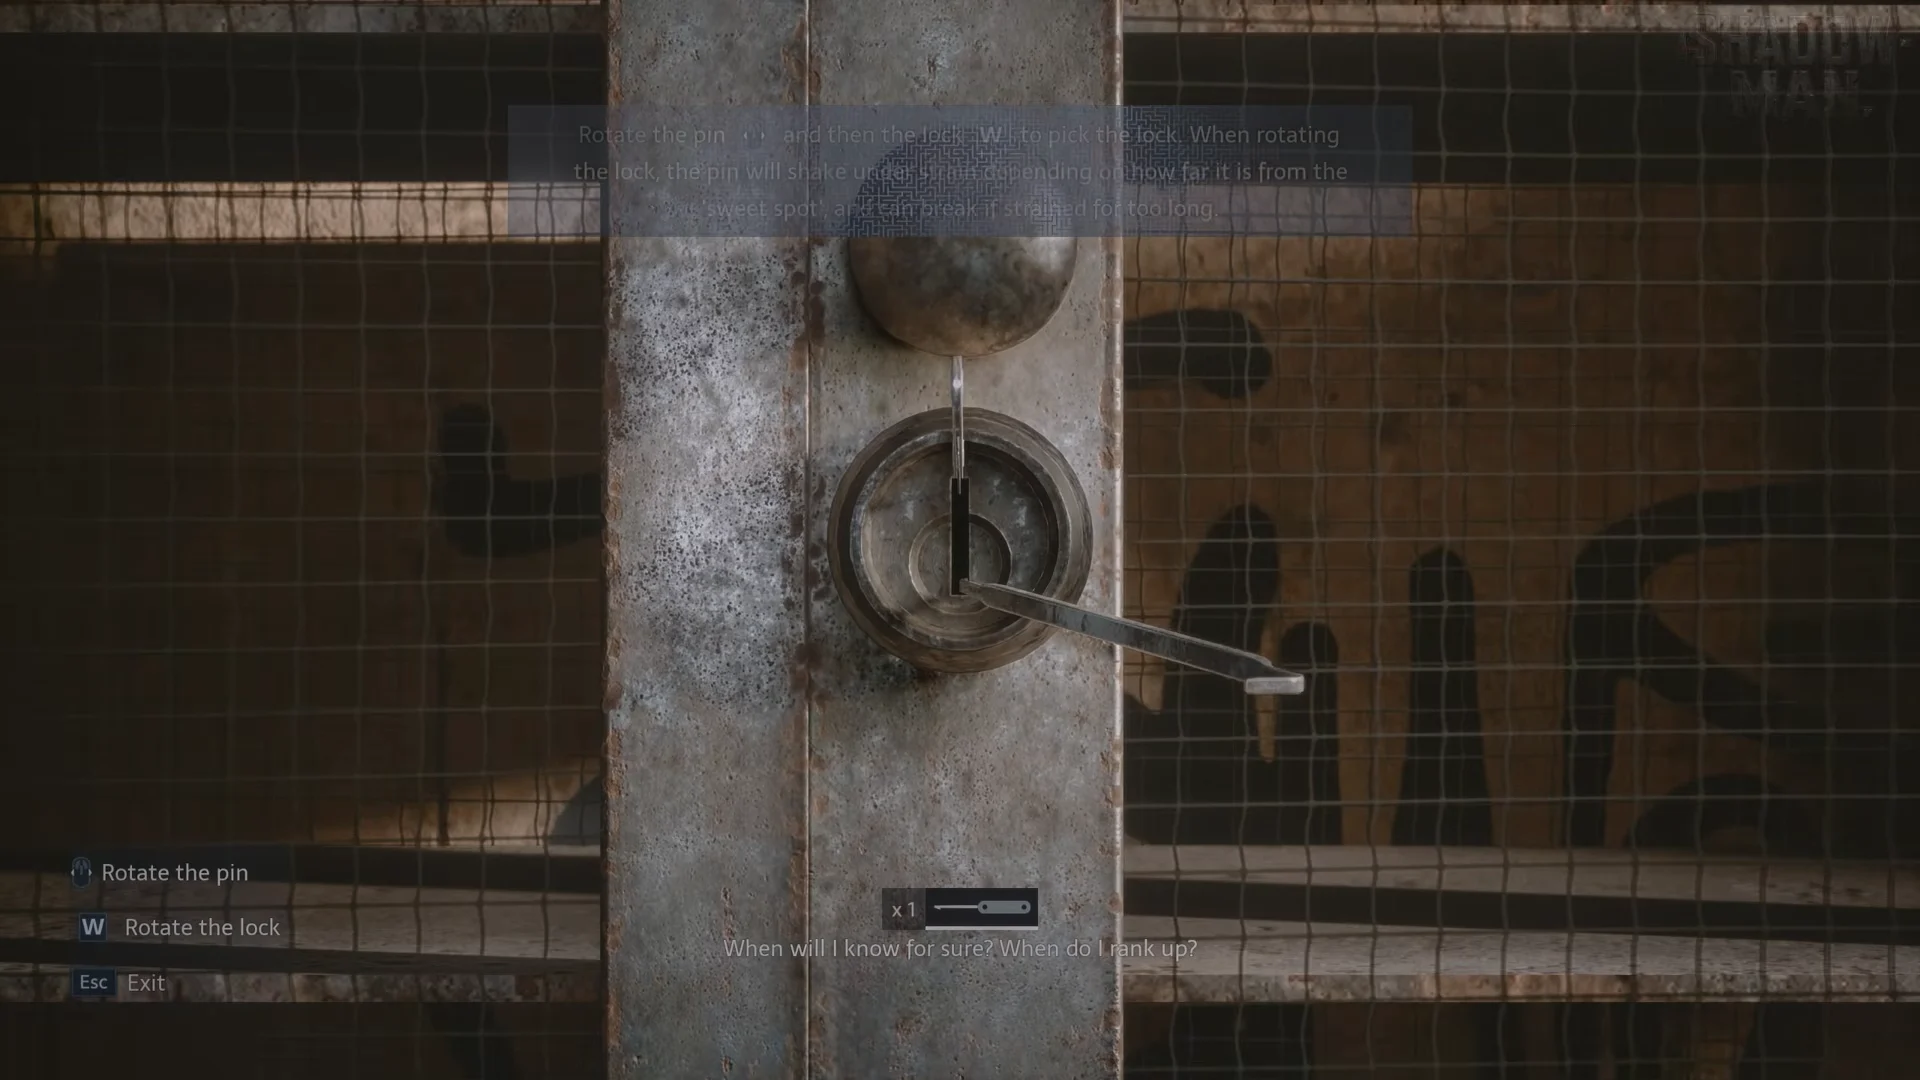
The in-game directions tell you to set the pin’s angle before turning the lock with W. As you apply pressure, the pin trembles according to how far its position is from the sweet spot; leave it under strain too long and it will snap. This challenge depends on finding the correct angle through trial and error, not on reaching a set number.
Keeping W down through the pin’s shaking is what snaps the pick. If you force the lock with the pin near the top, it breaks after about 20 seconds; the counter reaches zero, the screen closes, and the container returns to F Locked with a prompt to find more lockpicks. A broken pick cannot be recovered.
Where to find the first lockpicks
Lockpicks sit out in the open or tucked into bags and containers, just like other supplies. Inventory text reads “Lockpick — Helps to open certain locks,” and picking one up pops a +1 Lockpick notification. Two of them are within reach during the “Escape the cult” objective, both near the artist’s studio.
To get the first pick, reach the artist’s studio workshop by going through door M359 and the crawlspace below the room where cultists are holding a prisoner. Go through the barred metal door marked F Open; inside are easels and covered statues. The Lockpick rests on an easel’s tray beside the paint cans.
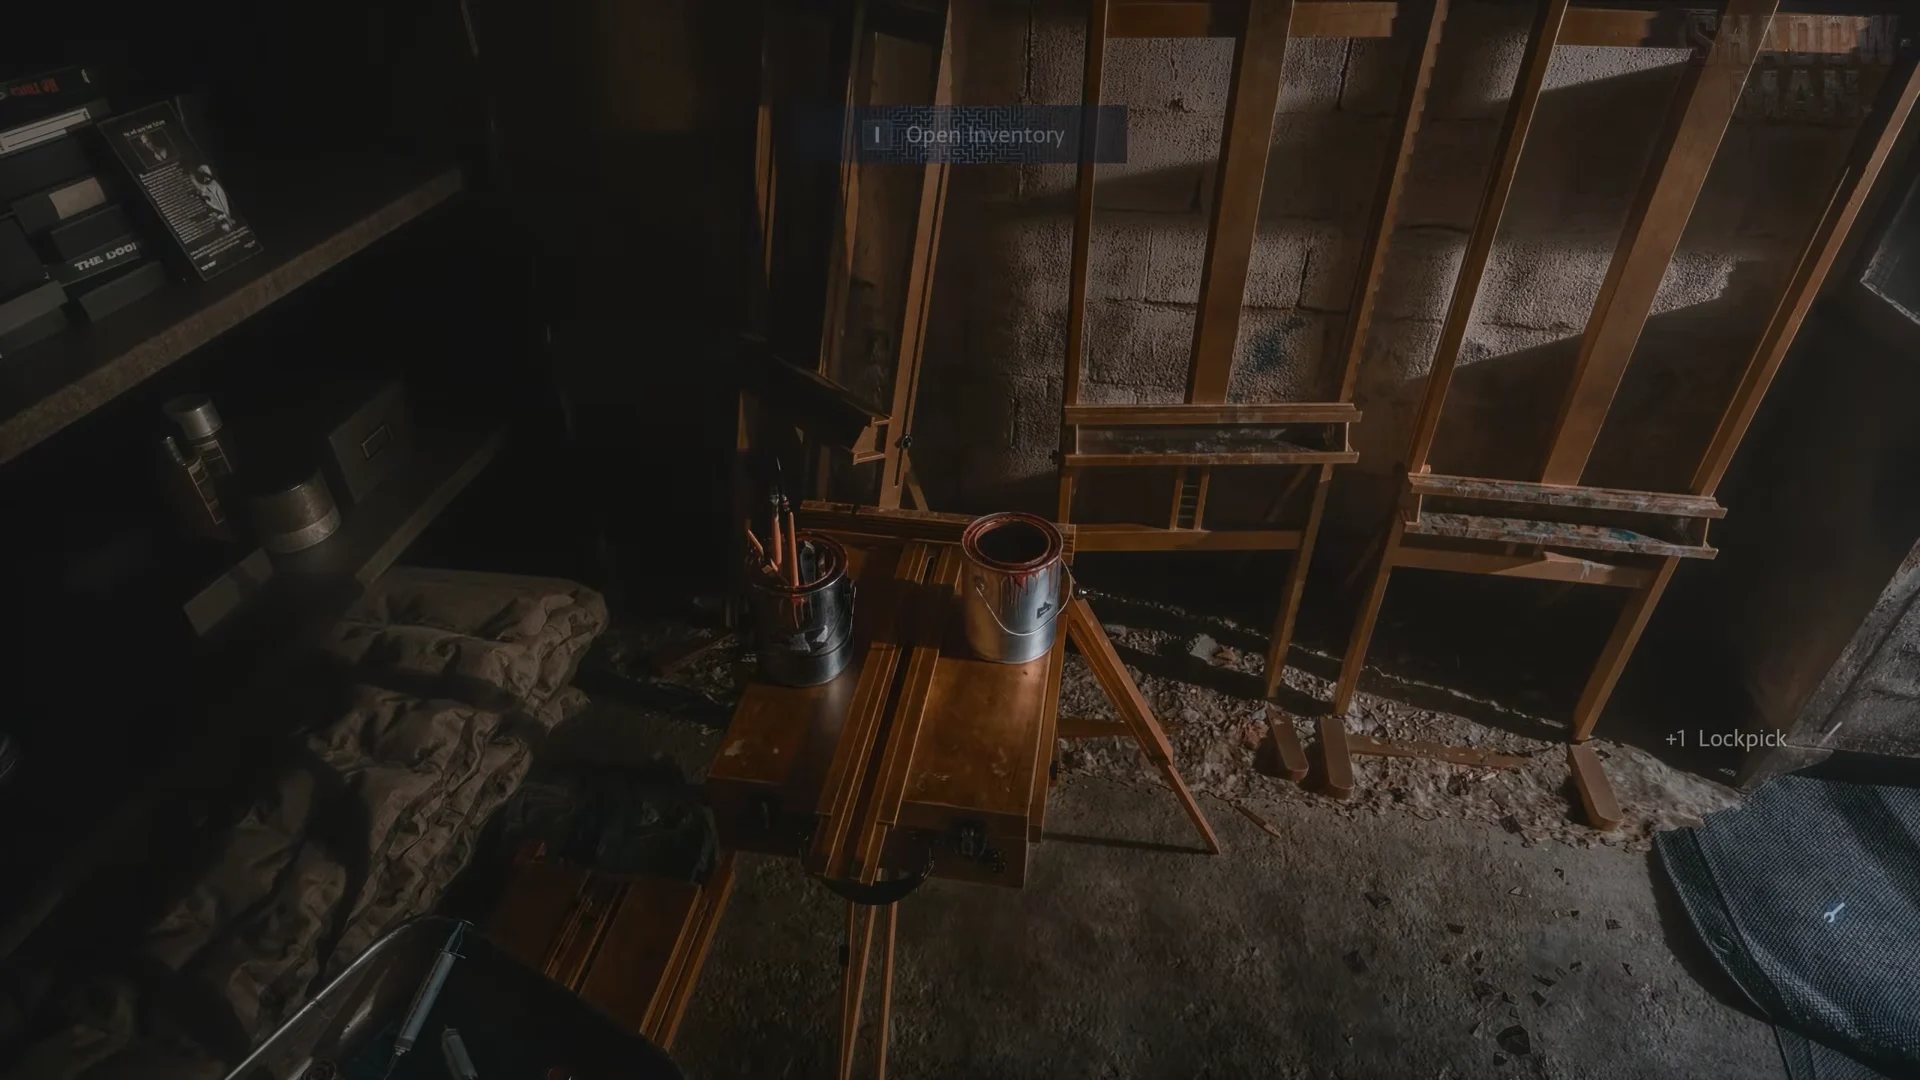
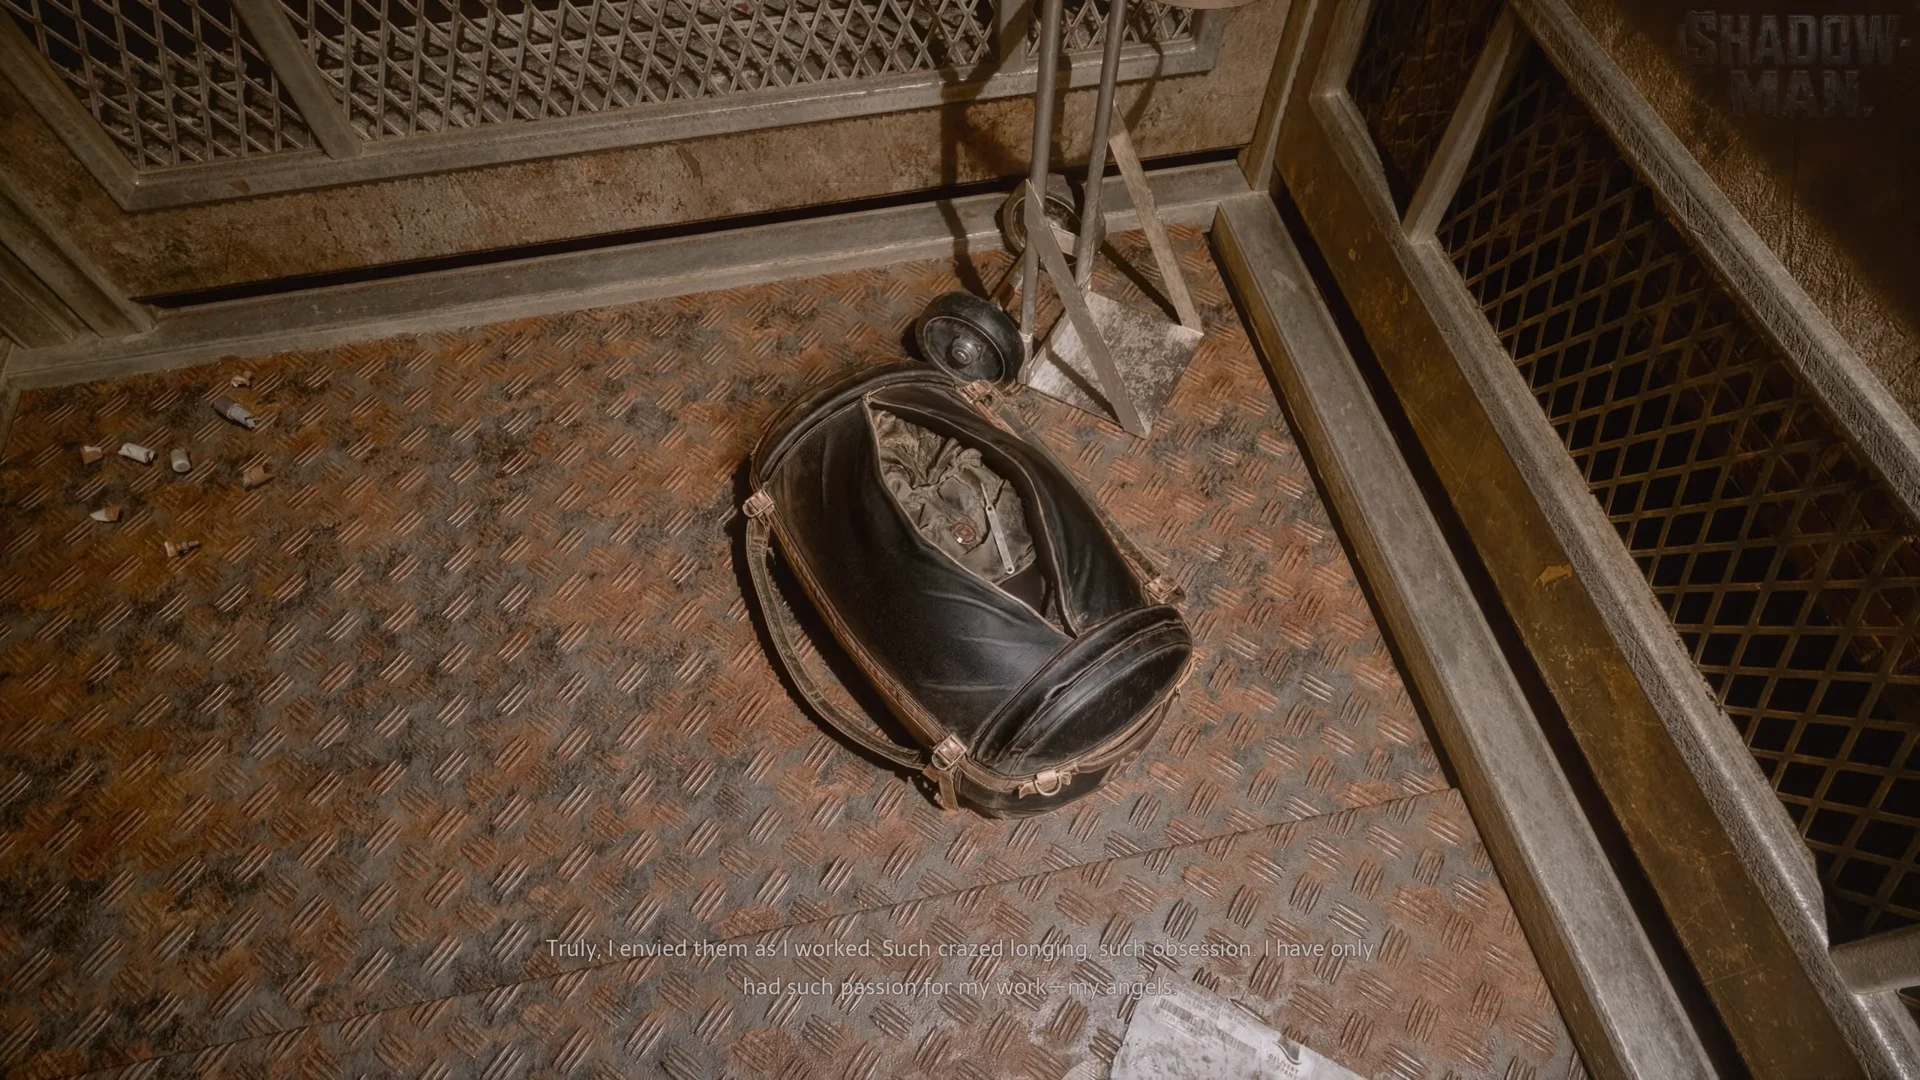
The next pick is nearby. Exit the studio, turn right into the dark hallway, pass the tape recorder on a gurney and the alcove with the pit and ladder, then head to the freight elevator at the far end. Use the button on the right wall to call it, then open the black duffel bag among the concrete bags inside. You’ll get +1 Lockpick and some coins.
While you are at the pit beside that elevator hallway, search the white bucket on the upper ledge for a handful of coins before you climb down the ladder, which is the way forward.
The first cabinet and what it holds
For a practice lock, use the tall metal cabinet in the studio. It has wire-mesh doors above and a padlock marked F Unlock. You can open its lower wooden drawers without a pick; the mesh doors trigger the minigame. Here, aim for an angle around the lower-left.
Opening it rewards 19 coins on the top shelf and a bundle of herbs on the middle shelf. Because you can reach the cabinet before the elevator, it is safest to grab the second pick first so you can afford one mistake. The container swinging open and the loot dropping into your inventory confirm the pick worked.
Other locked containers and what needs a pick
A pick won’t open every locked object. Keypad cabinets and safes call for a numeric code, while certain doors require a specific key, such as the Tongue Key or Bruno’s Keycard. A keypad lock cannot be opened with a pick, so follow the method indicated by its prompt.
| Container | Opens with | Holds |
|---|---|---|
| Studio metal cabinet | Lockpick (mesh doors) | 19 coins, herbs |
| Studio cabinet lower drawers | No pick needed | Opens normally |
| Room 206 medicine cabinet | Lockpick (mesh doors) | Herbs in bottom drawer without a pick |
The two-door wire-mesh medicine cabinet in Room 206, found after the lights go out and you reach the power override box, is another pick lock. Its bottom drawer opens without a pick and holds herbs, so you only risk a pin on the mesh doors above it.
Keeping your picks intact
During the compound’s first twenty minutes, there are just two picks, so use them carefully to avoid wasting one on a container. The crafting menu has no Lockpick recipe yet; it offers Bandage, followed later by Pistol Ammo. A snapped pin can’t be replaced through crafting.
- Never hold W to push through shaking — that is exactly how the first pick is lost.
- Use brief presses to test the lock, noting how far it moves before the pin begins to tremble.
- Move toward the side where the lock rotates further, then hold once it runs smooth.
- Pick the studio cabinet only after you hold the second pick, so one error is affordable.
Treat the lock as a dial you read rather than a bar you race, and the picks stretch much further. Grab both before you commit to any cabinet, keep W off whenever the pin shakes, and the early studio and Room 206 locks open with picks to spare for whatever the deeper compound throws at you.