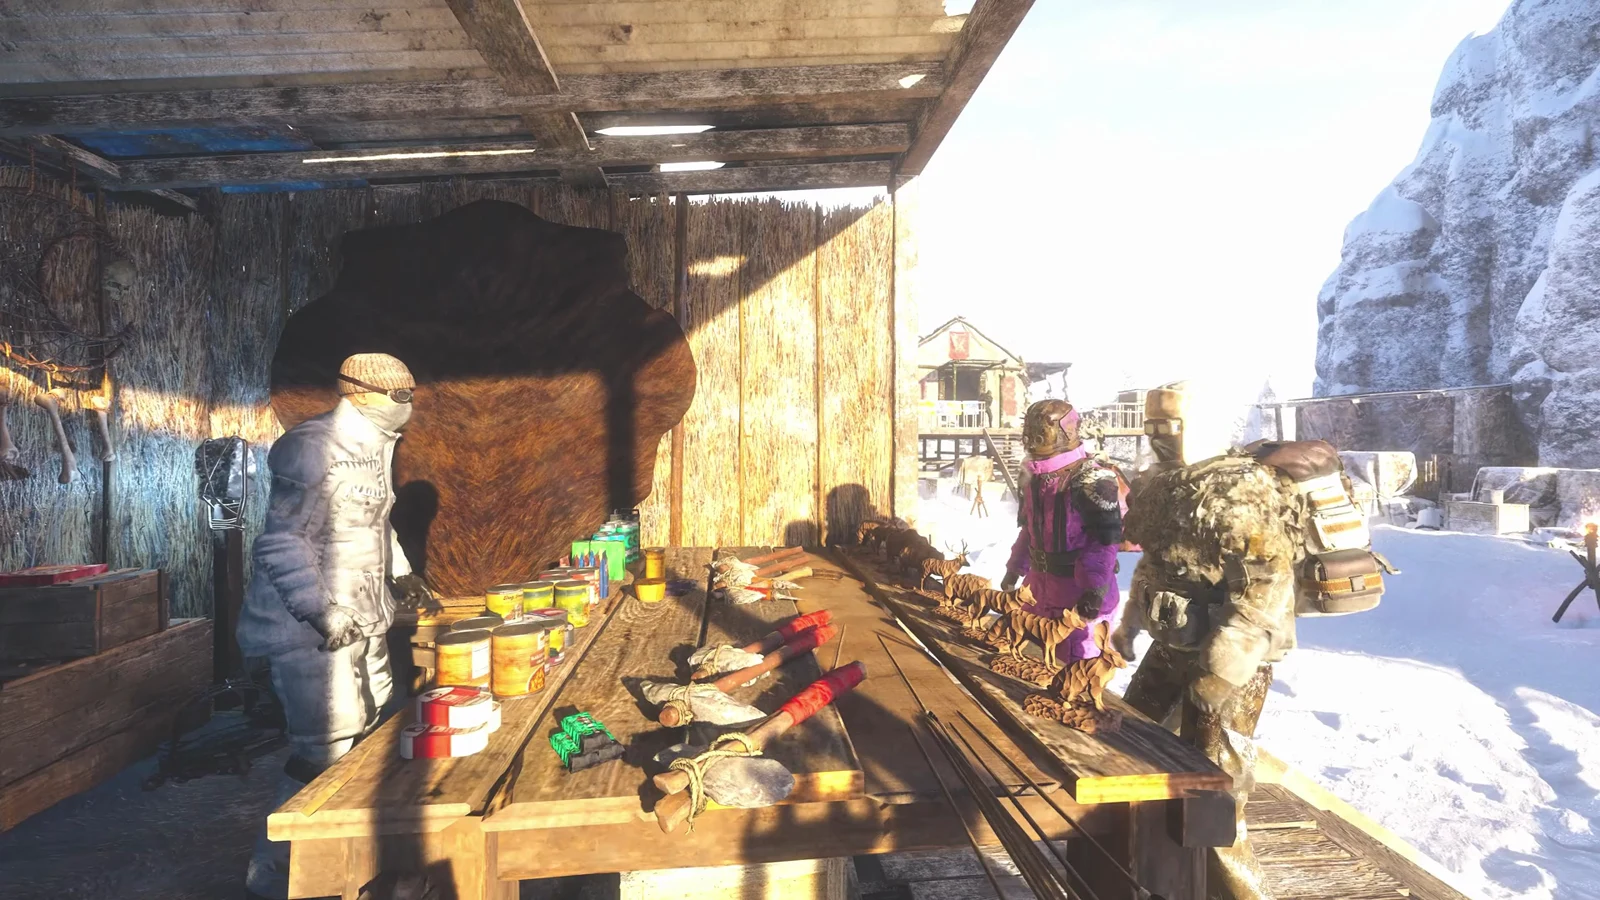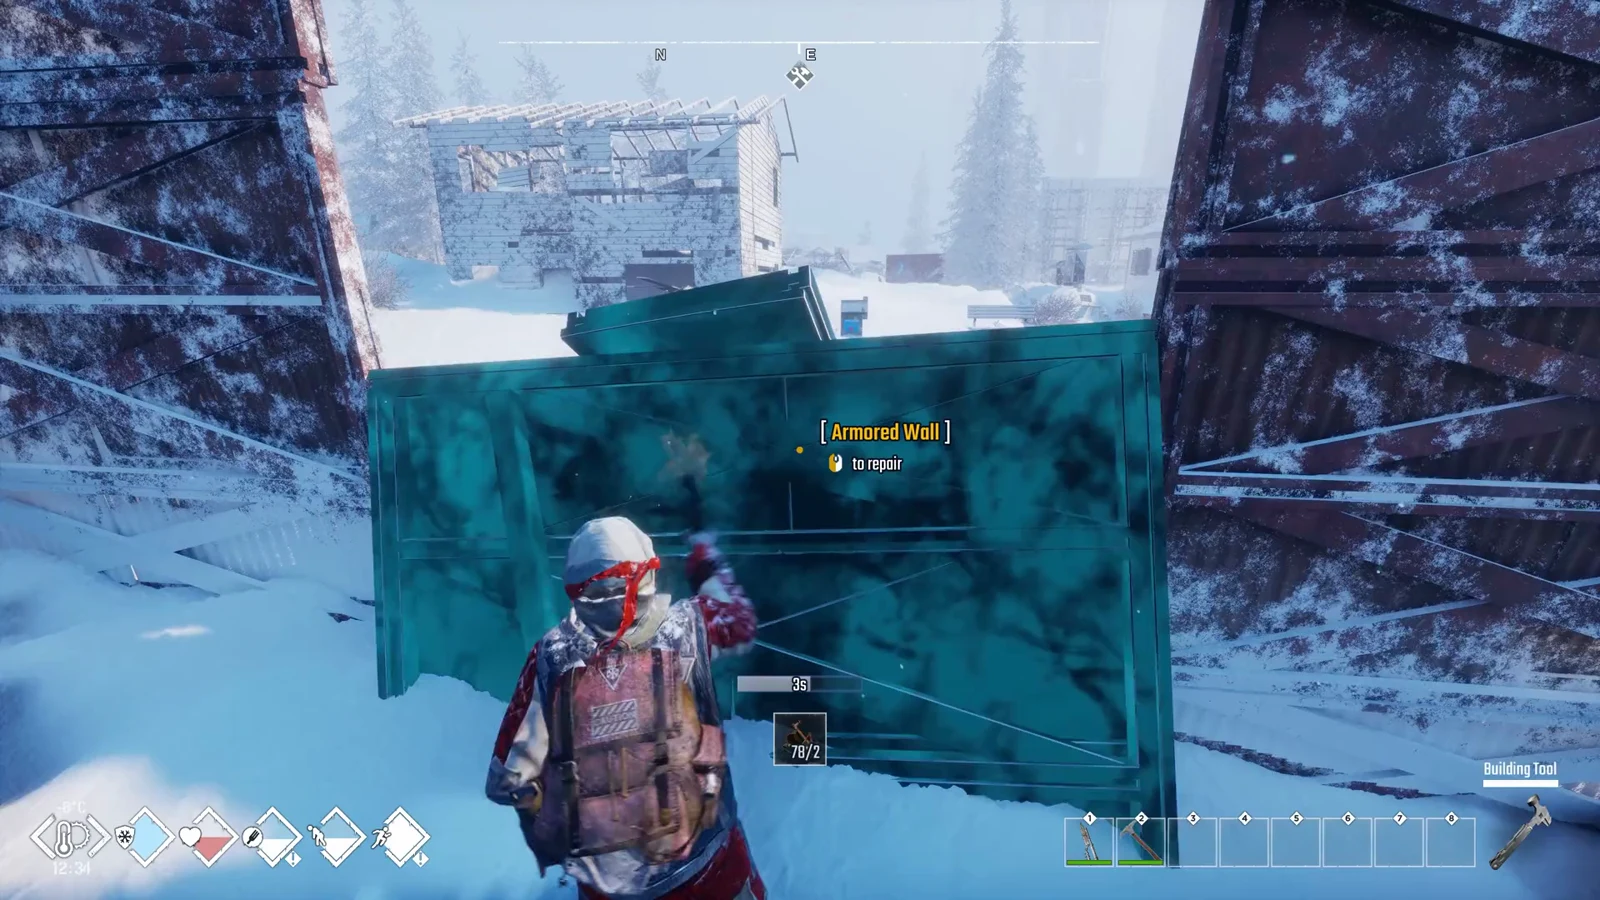
Building in Permafrost runs entirely through the Building Tool, a hammer you hold in your hand rather than a piece you place. Once it is out, you flick through tabs, drop a ghost of the piece you want, and lock it in when the outline turns green. Everything you can make in the first hours is cheap and almost all of it is Wood, so your first shelter is a matter of swinging an axe a few times, not grinding for rare parts.
Quick answer: Equip the Building Tool by tapping B or holding Q and selecting Construction. Bring up the tool menu, use Q and E to browse tabs, then target a spot; place the piece with LMB once its ghost turns green. Use R to rotate it.
How to open the build menu
Equipping the tool and opening its menu are two separate actions. Getting the tool into your hand does not open its menu; opening it is a separate action.
Every early building piece and its cost
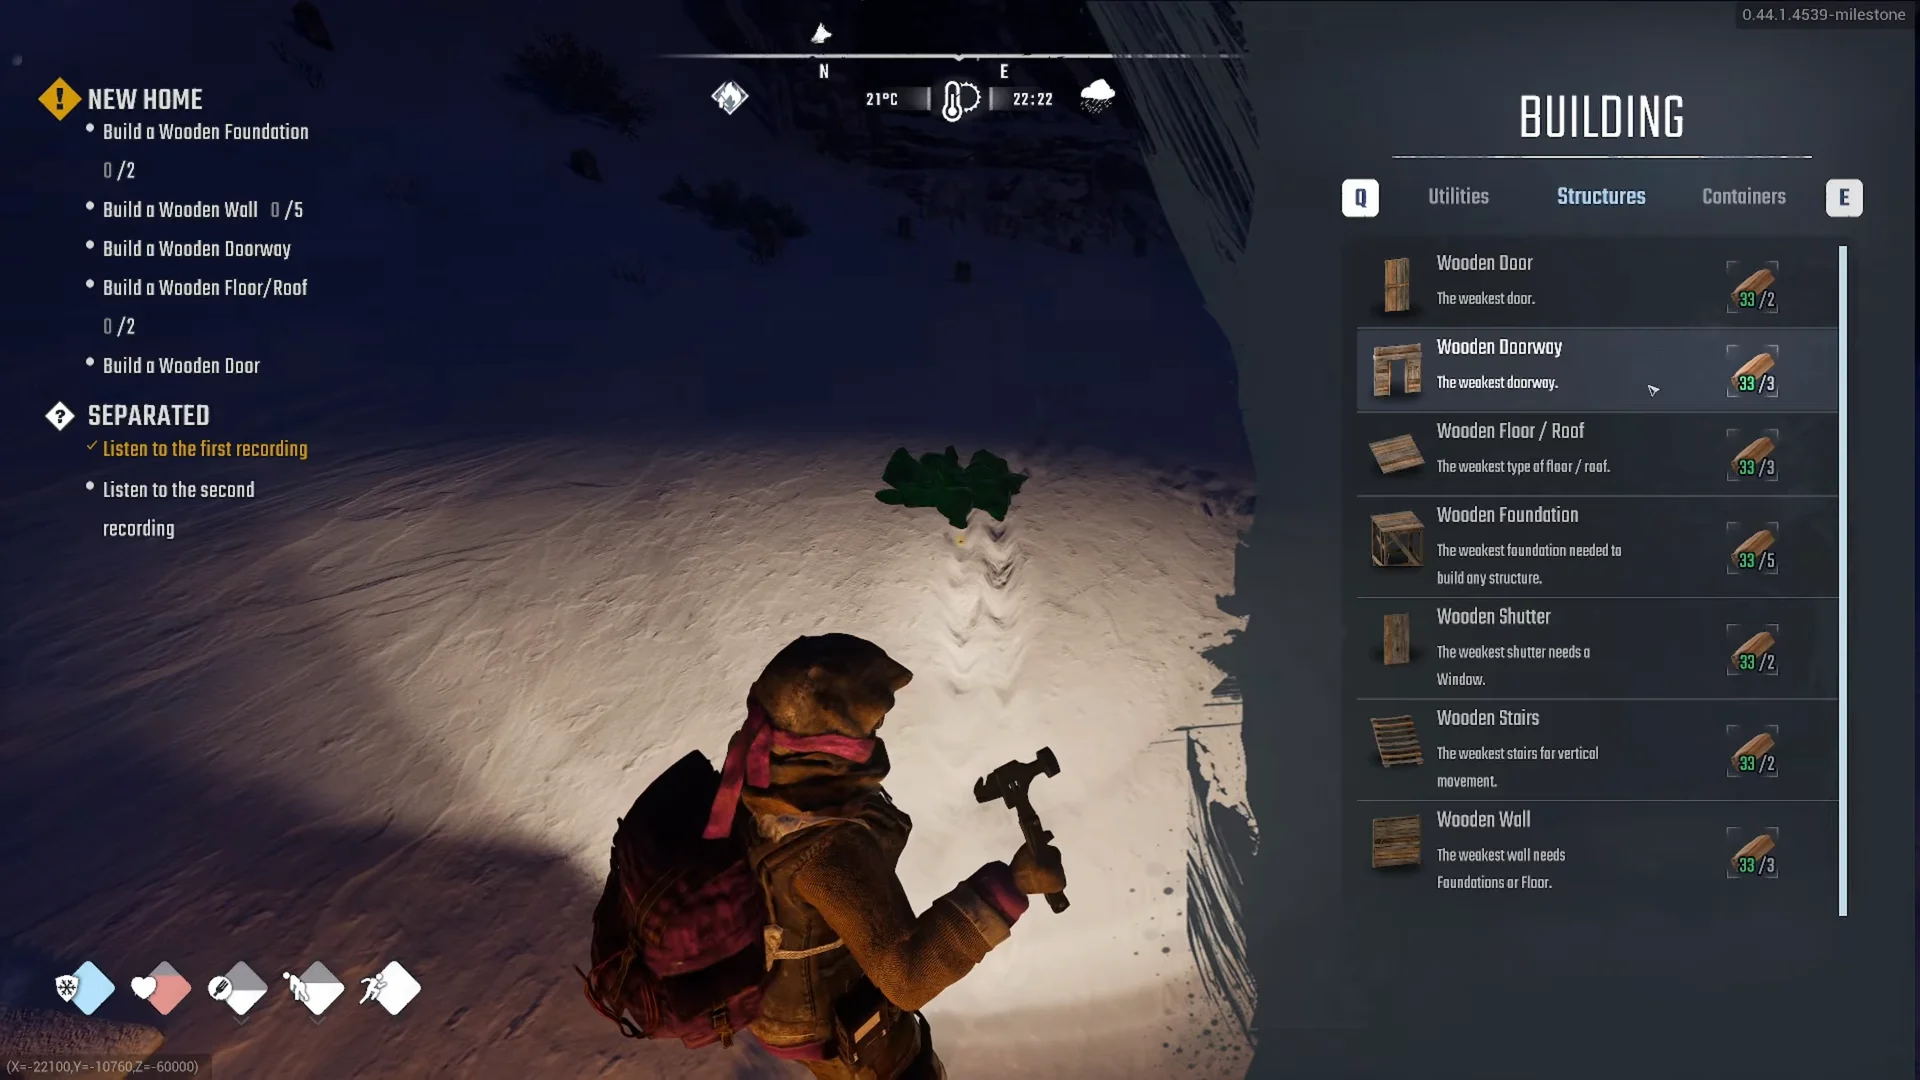
Costs appear next to each piece in the menu as the number you hold over the number you need. A two-foundation starter hut with a door and a roof runs you 36 Wood total, so there is no reason to delay your first walls.
Structures
| Piece | Cost | Notes |
|---|---|---|
| Wooden Foundation | 5 Wood | The base needed under any structure |
| Wooden Wall | 3 Wood | Needs a Foundation or Floor |
| Wooden Doorway | 3 Wood | Frames the Door |
| Wooden Door | 2 Wood | Snaps into a Doorway |
| Wooden Floor / Roof | 3 Wood | Spans across wall tops |
| Wooden Stairs | 2 Wood | For vertical movement |
| Wooden Shutter | 2 Wood | Needs a Window |
A Wooden Window Wall is part of the Wooden Structures Advanced Set.
Survival
| Piece | Cost | Notes |
|---|---|---|
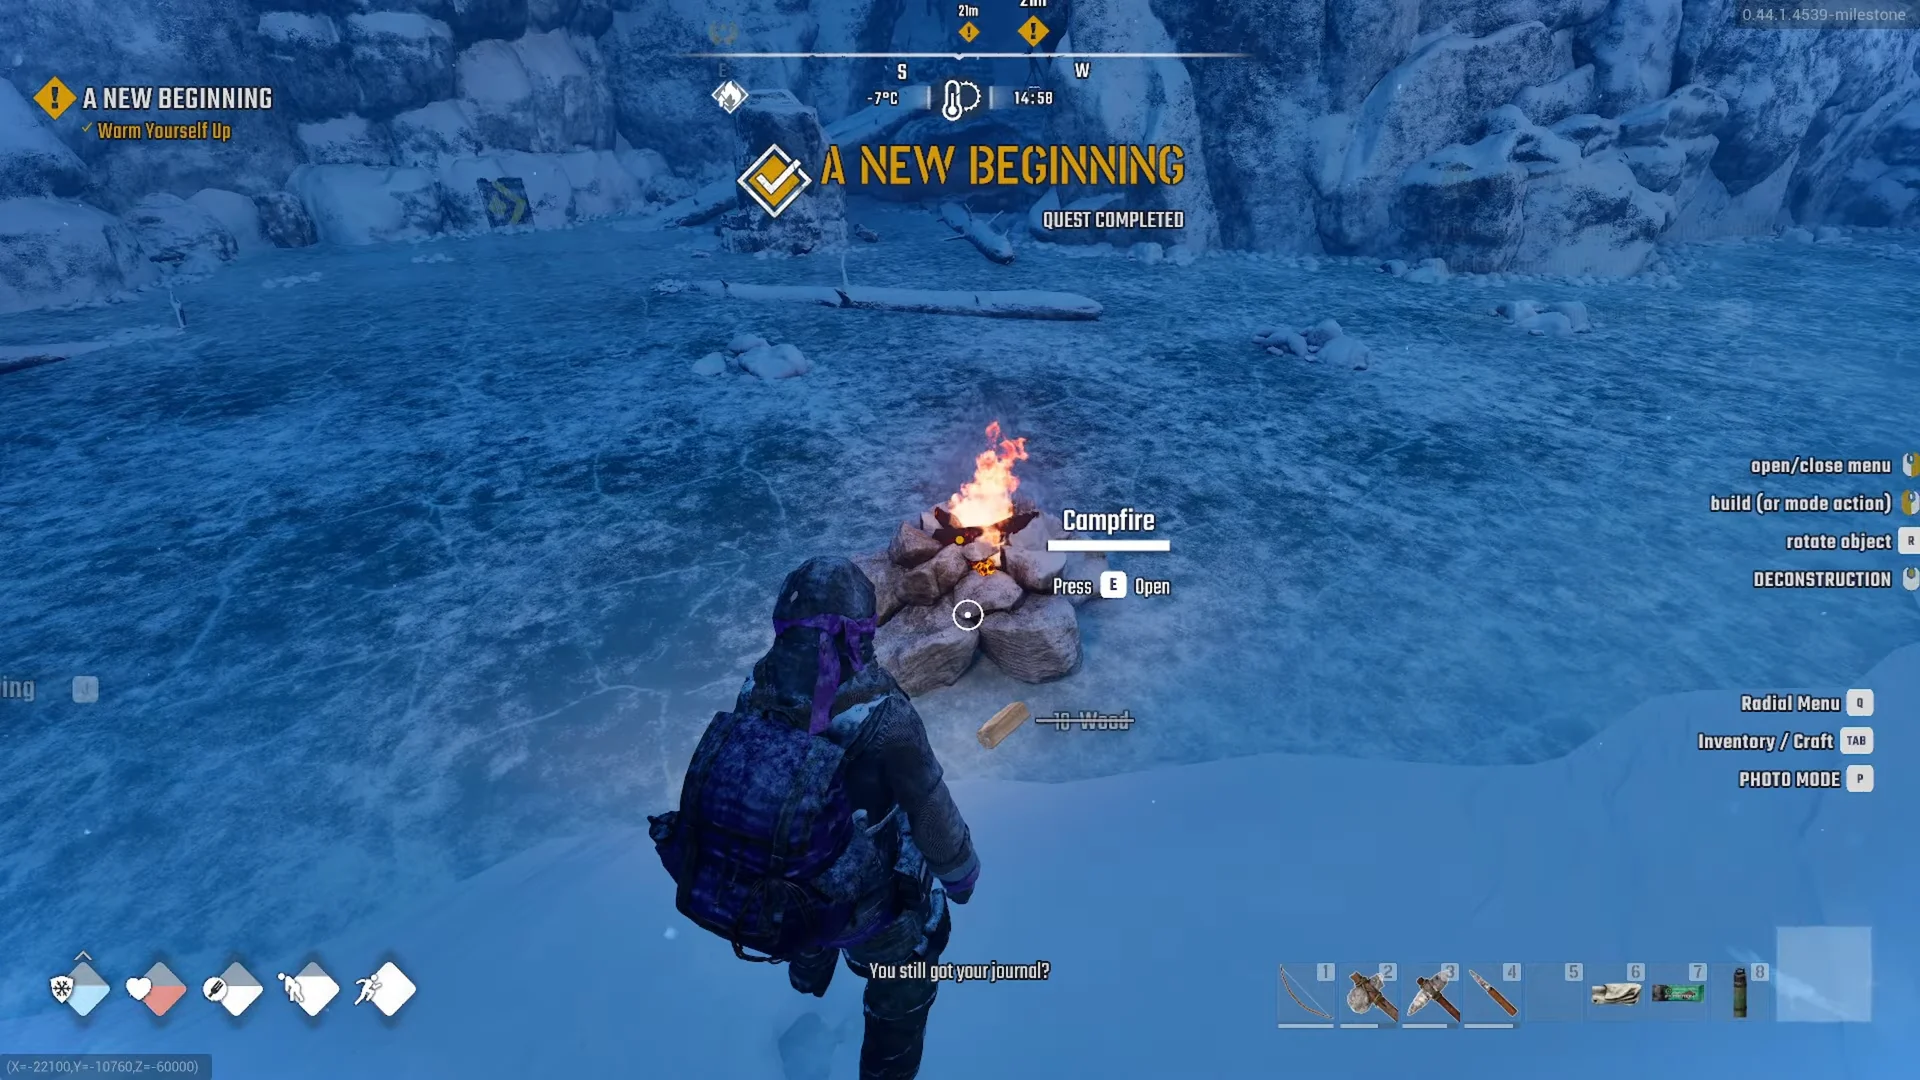
| Campfire | 2 Stone | Light and warmth; goes on open ground |
| Bed | 5 Cloth + 5 Wood | Comfy and safe; recovers energy most efficiently |
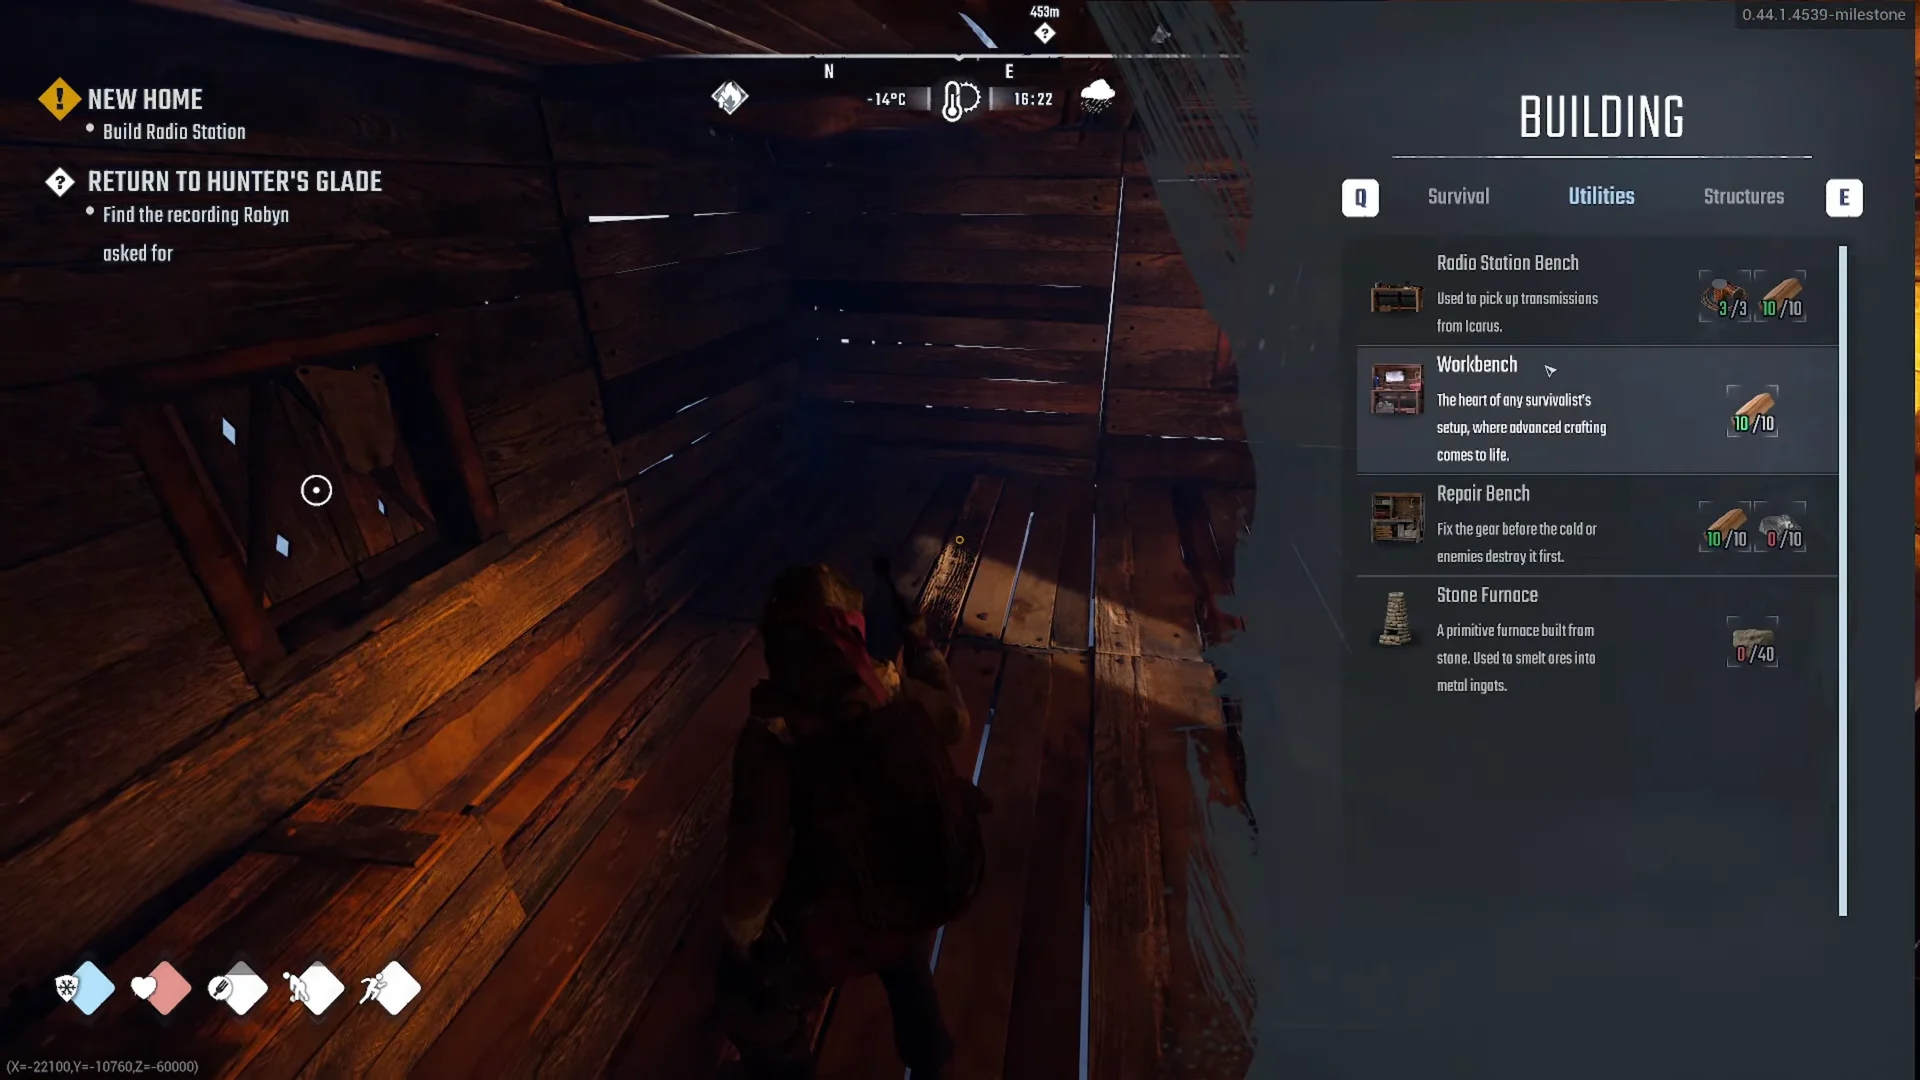
Utilities
| Piece | Cost | Notes |
|---|---|---|
| Workbench | 10 Wood | Where advanced crafting happens |
| Stone Furnace | 40 Stone | Blueprint: 2 points; smelts ores into ingots |
| Repair Bench | 10 Wood + 10 Flint | Blueprint: 1 point; fixes worn gear |
| Radio Station Bench | 3 Wire + 10 Wood | Picks up transmissions from Icarus |
Containers
| Piece | Cost | Notes |
|---|---|---|
| Small Wooden Chest | 2 Wood | Stores supplies |
| Wooden Chest | 5 Wood | Larger; recipe note found at Liam’s favorite spot |
Lights
| Piece | Cost | Notes |
|---|---|---|
| Wall Torch | 2 Cloth + 1 Wood | Recipe note in Horizon’s bunkhouse |
| Standing Torch | 2 Cloth + 1 Wood | Blueprint: 1 point |
| Barrel Brazier | 2 Scrap | Blueprint: 1 point |
Candles sit outside this tab. You craft one in your inventory from 3 Animal Fat, then place it by hand and light it with E.
The Farming tab exists but is empty at this stage, so there is nothing to build from it yet.
Several sets further down the BUILDING blueprint tree stay locked for now. Those include the Wooden Structures Advanced Set (decorative beams, balustrades and a window wall), a Furniture Set (bedside table, standing shelf, chair, stool and table), a Tanning Rack, and further down the Plastic Barrel and Tin Structures Set.
What the red placement messages mean
When the ghost refuses to turn green, the game tells you exactly why in red text on screen. Each message points to one problem, and once you fix that one thing the ghost clears.
- MISSING RESOURCES — your inventory does not cover the entire cost. The ghost displays owned and required amounts beside it, showing what you still need.
- UNSUPPORTED BUILD — the ghost has no contact with terrain or a foundation.
- AREA OBSTRUCTED — an object is intersecting the ghost, such as a rock, another piece, furniture, or your character.
- FOUNDATION REQUIRED! — place a Foundation or Floor under walls, doors, stairs, and the Radio Station Bench. The Campfire and Stone Furnace can sit directly on open ground.
- NO-BUILD ZONE — you are somewhere player pieces are not allowed (see below).
How pieces snap together
Join Foundations along their edges. Attach walls and the Doorway to foundation edges, fit the Door into the Doorway, then place Floor or Roof pieces over the wall tops. Following this sequence lets the ghosts snap into alignment.
The Stone Furnace is large. In a two-foundation hut it simply will not fit inside, so plan to set it on open ground against an outside wall rather than squeezing it indoors.
Once built, fires, torches, and benches can be opened by pressing E. Put Wood in the FUEL slot of torches and campfires, then use X to turn them on or off.
Deconstruction and moving pieces
To remove a misplaced wall or other piece, equip the Building Tool and enter deconstruction mode as indicated on the HUD, or select Deconstruction from the Radial Menu. Click the target piece. The in-game prompt notes that you get back some of the resources spent on it.
Deconstruction returns a portion of the Wood. To move a piece, deconstruct it and place it again. There is no separate reposition tool.
When a hut gets too cramped for something like the Radio Station Bench, do not tear the whole thing down. Add a couple of foundations and move two walls outward instead.
Where you can’t build: No-Build Zones
Some places reject player pieces outright. Settlements like Horizon, the road bridge, and the Hunter’s Glade tower are all No-Build Zones, and you will see banners reading “ENTERING No Build Zone” and “LEAVING” at their edges. Inside one, the ghost stays red with the NO-BUILD ZONE message no matter where you aim.
Renovation is a different system
Marked Renovation zones contain ruined structures represented by blue ghosts, and repairing them differs from placing new pieces. Equip the Building Tool and press LMB on a piece to fix it for a small cost.
Completing the Hunter’s Glade tower requires 13 repairs, as part of the “High Frequency” quest. Another Renovation zone is the road bridge near your first base; fixing it requires Wood and Rope.
These two activities feed separate skills: placing new pieces levels up Building, while repairing ruined ones levels up Renovating.
Tricks the build system allows
There are no ladders on the watchtowers along the route to Hunter’s Glade, leaving no built-in way to climb up. Make a wooden Foundation with Stairs, or put a Floor piece next to the tower to reach its deck. Remove your pieces afterward; deconstruction returns a portion of the Wood.
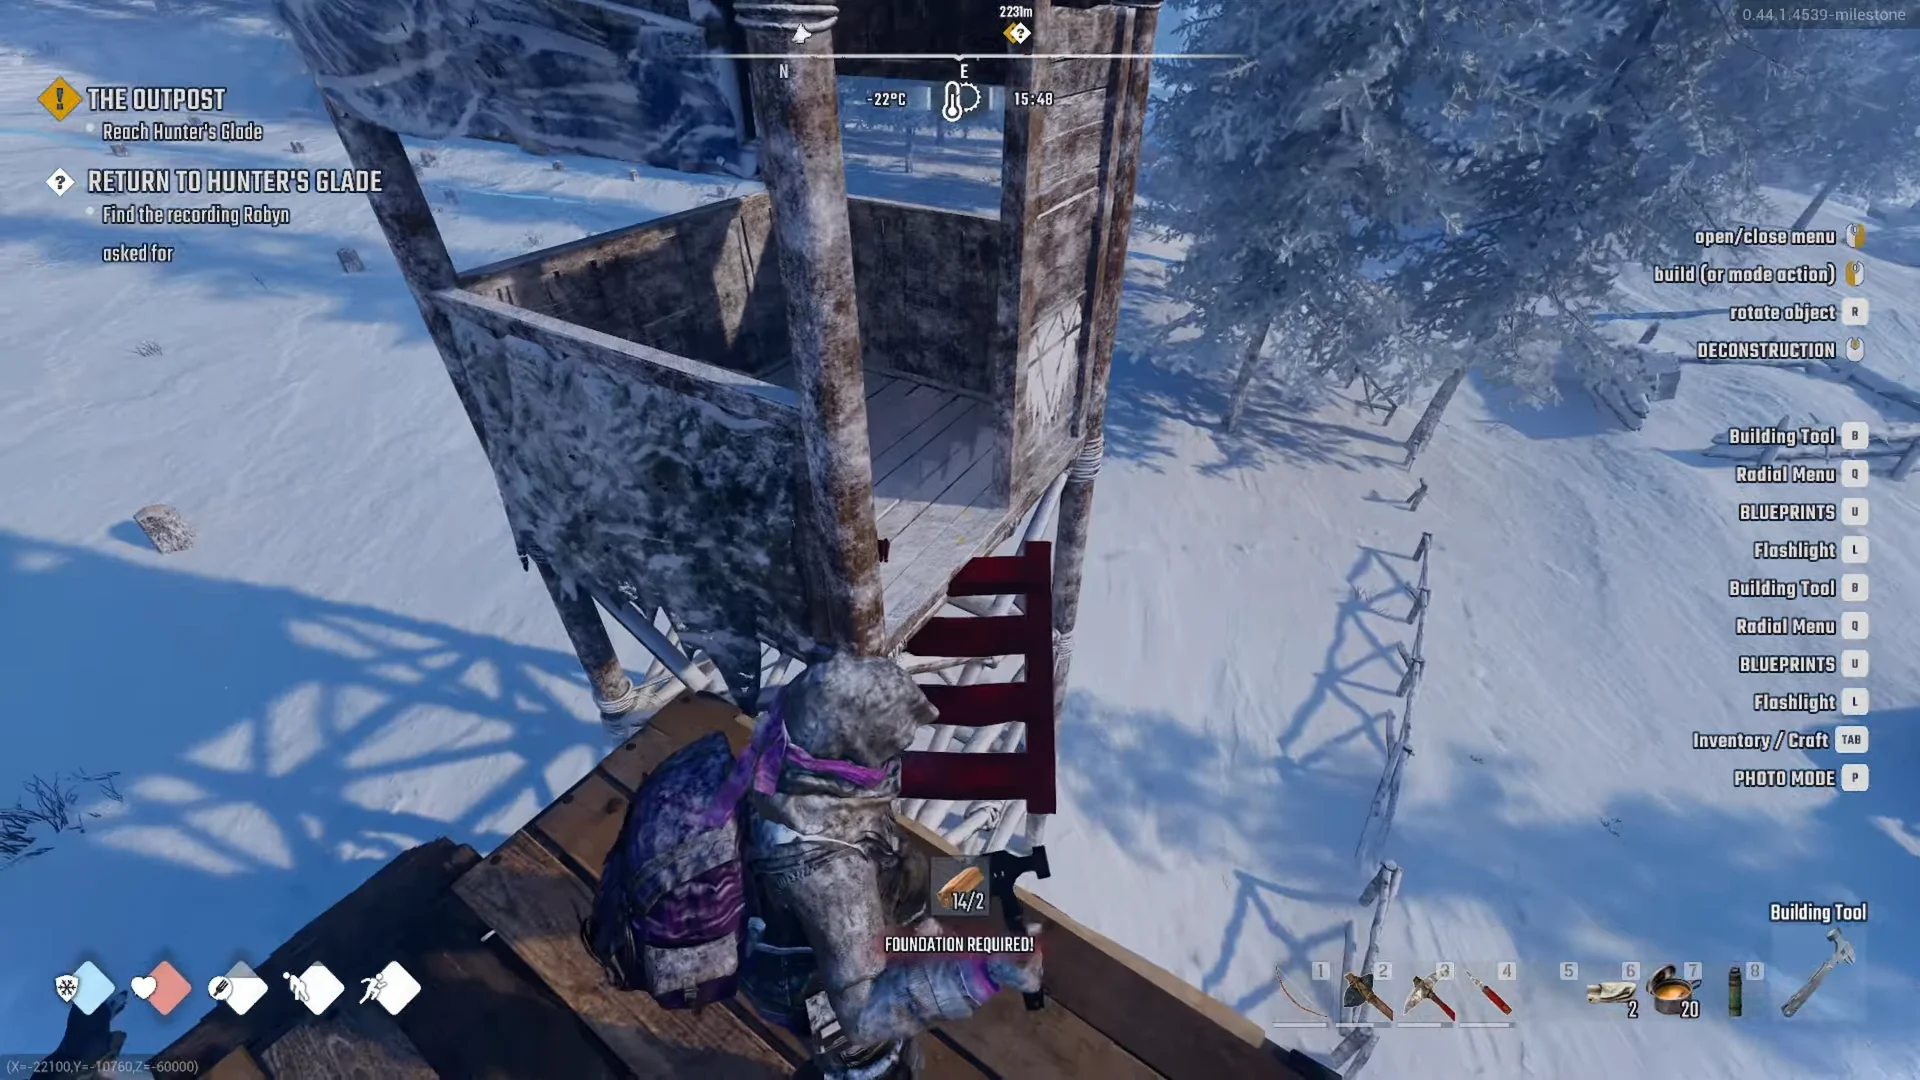
A raised doorway also keeps wildlife out. Boars cannot get into a hut supported by foundations, so lifting the shelter off the ground provides a quiet defense.
Questions you’ll ask next
- Are there stone or metal walls? At this point, the only visible options are wooden structures and the Tin Structures Set, which is still locked.
- Can pieces be moved? Deconstruct and place again; there is no drag-and-move.
- Do bases get attacked? No raid has been seen. A boar wandered up to the hut once, and that was the extent of it.
Permafrost is in early access, so costs, recipes and building rules can shift with updates. The piece list and prices above reflect how the system currently works, and the logic of holding the tool, reading the ghost’s color, and watching the red messages will carry you through whatever gets added later.