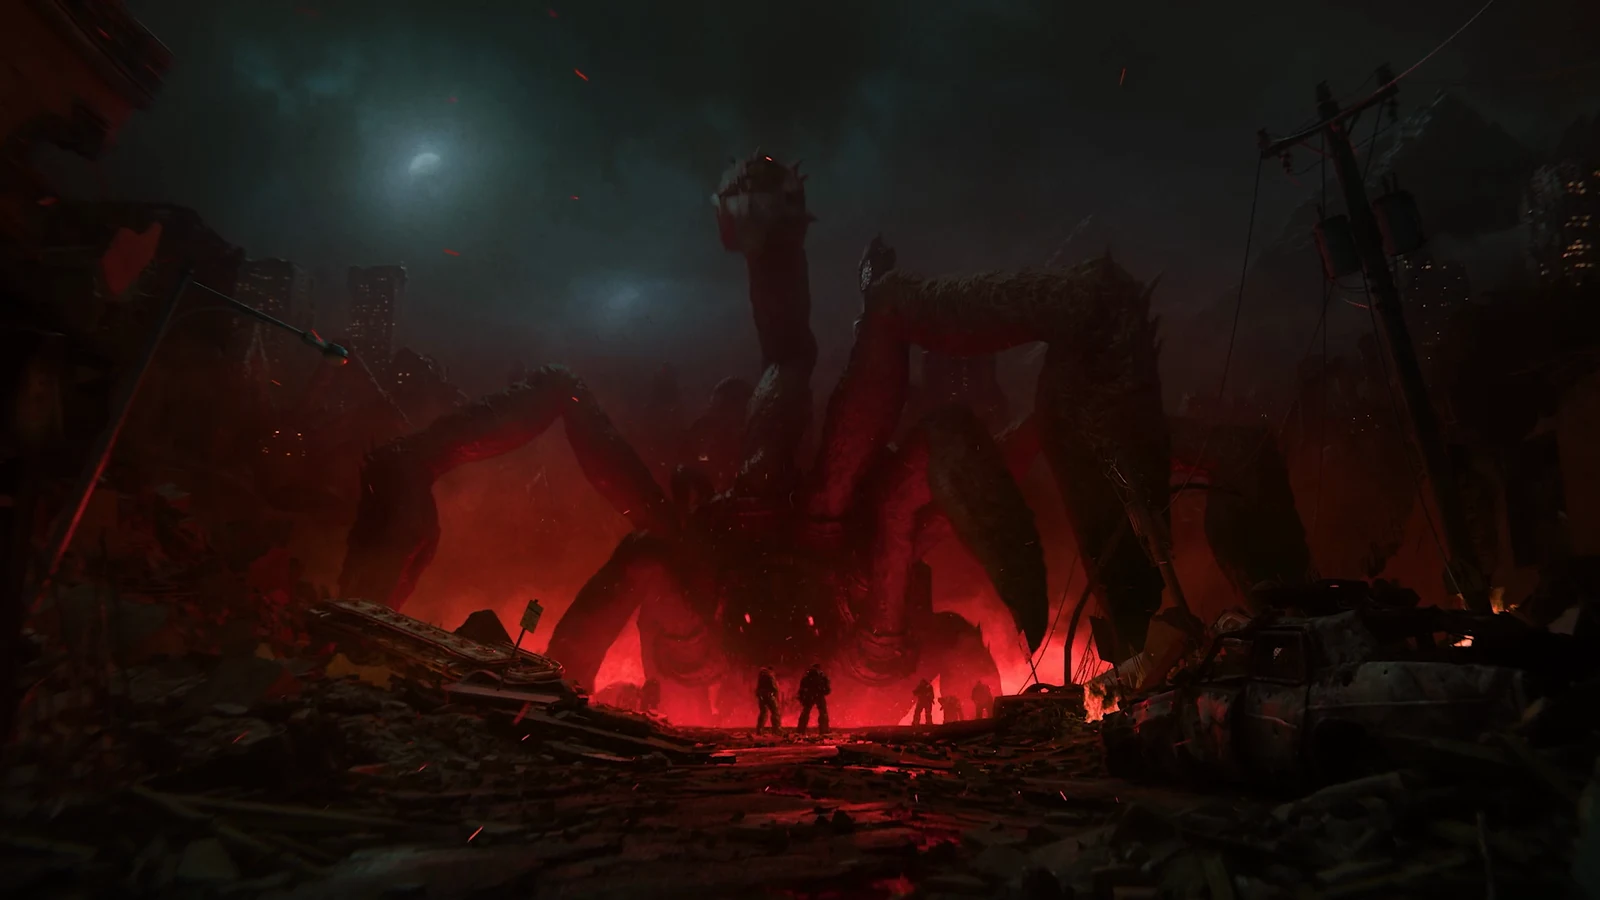
Reaching the Raven’s Nest in Act 5, Chapter 4: Resolute means scaling the dry-dock crane and fighting your way along the ship’s deck until the final Locust is dead. There is no boss health bar or finisher prompt.
Quick answer: Climb the crane stairs, cross its arm, and activate the two consoles marked with green lights. Ride the platform down to the deck and eliminate every Locust there. After the final enemy on foot falls, Help Tai clear the Raven’s Nest is crossed out.
What this fight actually is
The sequence starts with the objective “Find a way onto the Raven’s Nest” and a route up the dry-dock crane beside the ship’s red hull. Once you ride the platform down, the objective becomes “Help Tai clear the Raven’s Nest,” and the deck fight runs through four groups of enemies in order.
You face Scorched Drones and Elite Drones in two deck areas, then a floating gas-bag creature that drops spiked mines, then two tall walkers on long thin legs, and finally a few Locust on foot. Keep the Gut-Puncher in reserve for the walkers and use the Prototype Lancer for everything else.
Use the deck’s low steel barriers for cover. Marcus goes down twice during the on-foot rush shortly before the walkers show up, so holding cover is more important than advancing.
Climb the crane to reach the deck
Clear the first deck area
Among the pipes, crates, and steel barriers, fight the Scorched Drones and Elite Drones with Gut-Puncher grenades lobbed at groups behind cover. Finish off survivors with the Lancer. You can also pick up a second Incinerator here.
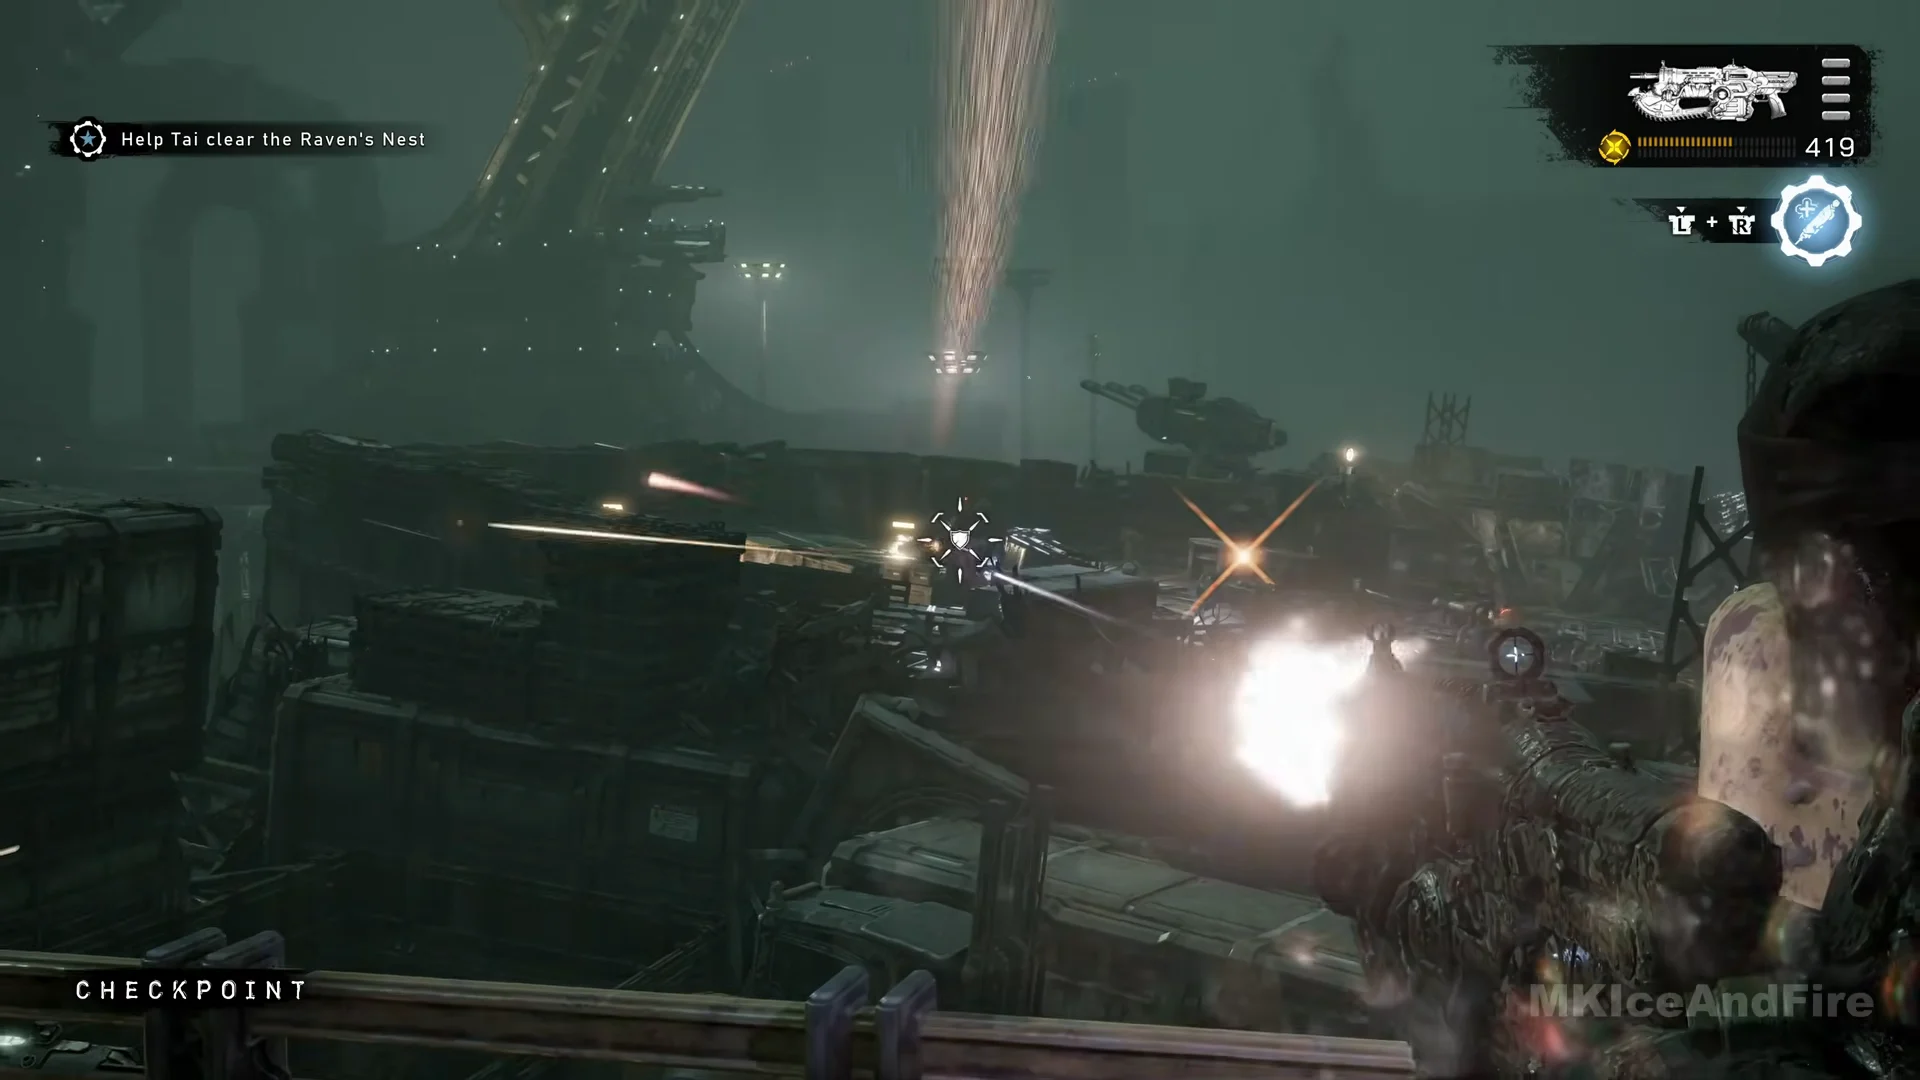
Once the area is clear, collect the ammo box beside the stacked crates and rejoin Tai and the other Gear. A checkpoint triggers, and the Lancer’s ammunition is restored to 600.
Push through the second deck area
Across this broad, open section stands a low deckhouse at the far end. Locust shoot from its roof and from the barriers in front. Use the large crates on your side as cover and fight with the Lancer.
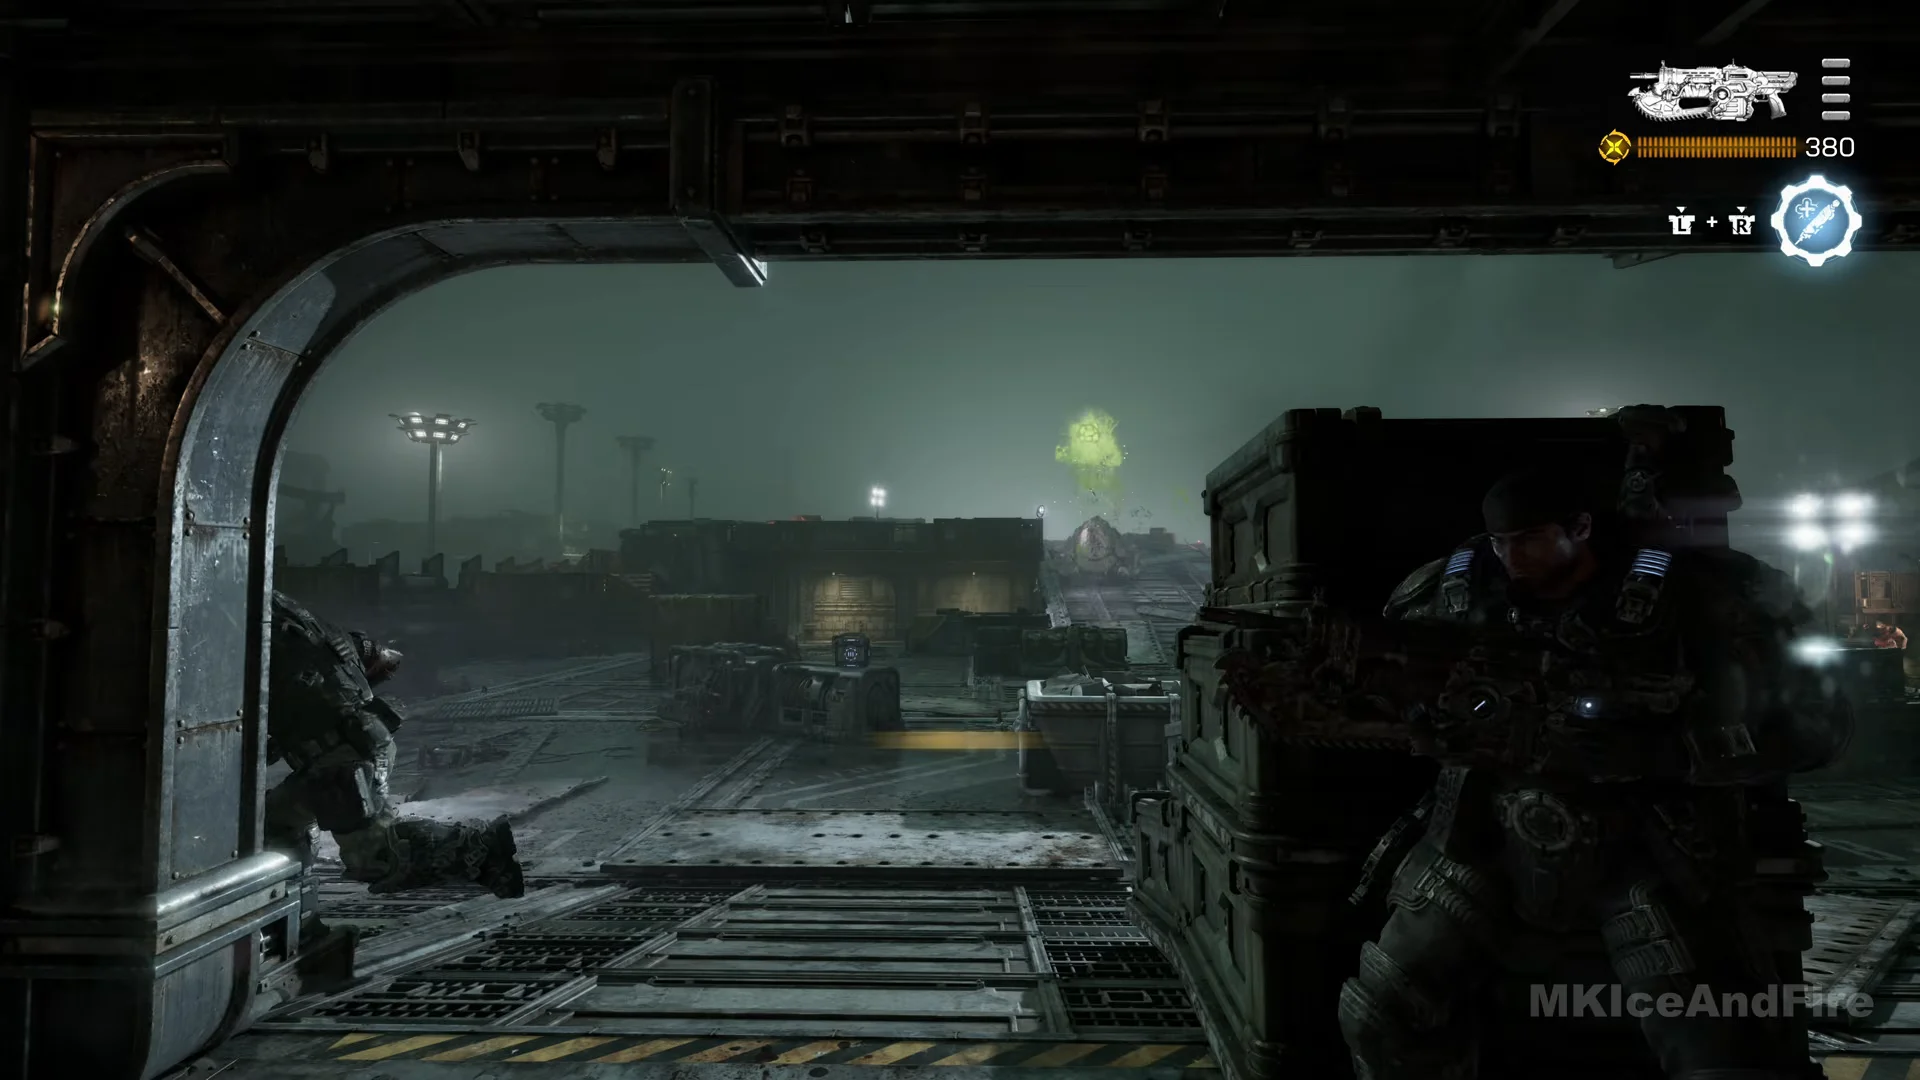
A green-glowing target on the roof’s right side spits acid that can splatter across your screen. Shoot it when it appears, and keep clear of the spots where acid hits. Two ammo boxes on your side restore Lancer ammunition before the final enemies show up.
Beat the floating creature and the walkers
The floating gas-bag creature
A grey, tentacled gas-bag rises above the deckhouse, with a red icon marking it. It sends dozens of small, spiked mines drifting over the deck. Fire the Lancer at the glowing center of its body; red splashes indicate hits. Shoot any mines that drift close. After about 280 rounds, it leaves the sky.
Locust on foot
While mines continue to fall, Elite Drones and Scorched Drones advance through the barriers, leaving Marcus particularly exposed. Take cover behind a steel barrier. You can expect to go down here, using up two of your four downs.
The two walkers
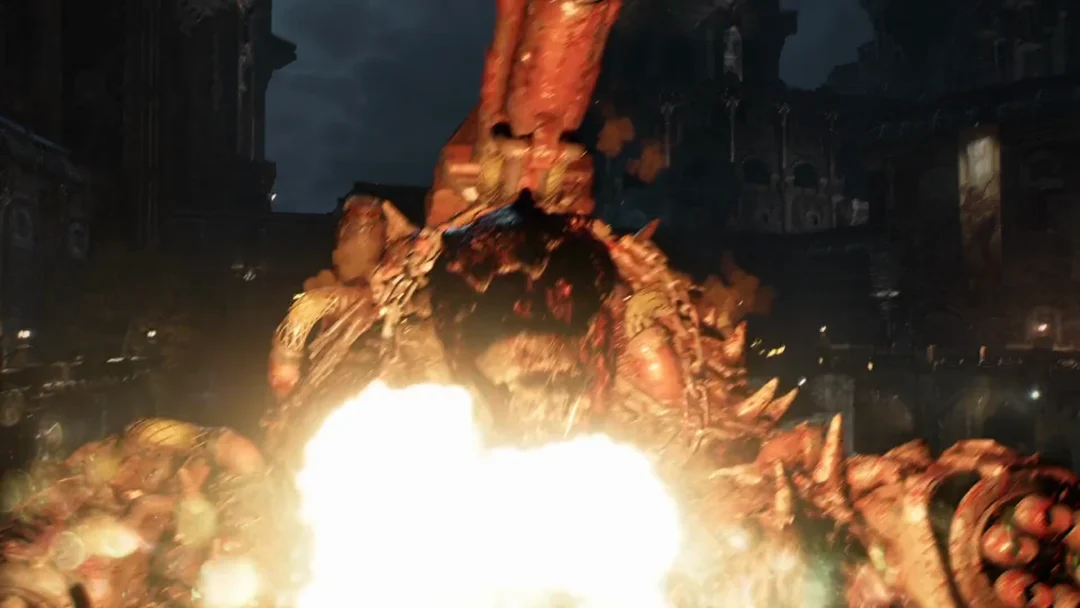
Beyond the arched doorway, a pair of tall machines strides onto the deck on long, thin, jointed legs. A body hangs at the center of each, glowing red underneath, while straight orange beams cut across the deck. Stay behind a steel barrier for cover, then lean out to fire.
Change to the Gut-Puncher and target the central body with grenades, finishing one walker before attacking the other. The ammo counter drops through 14, 12, 8, 6, and 5 before showing “NO AMMO” as fire burns beneath the last walker. Don’t divide your shots between them.
Clean-up
After both walkers fall, switch back to the Prototype Lancer. Kill the remaining Locust on foot by the far barriers, including the red-lit Scorched Drones. No walker appears during this final stretch.
How to know the deck is clear
When the last Locust on foot dies, “OBJECTIVE UPDATED” appears, the line “Help Tai clear the Raven’s Nest” is struck through, and “SUPPLY CACHE NEARBY” shows up. There is no cutscene kill and no finisher. The chapter simply carries on from the deck of the ship.
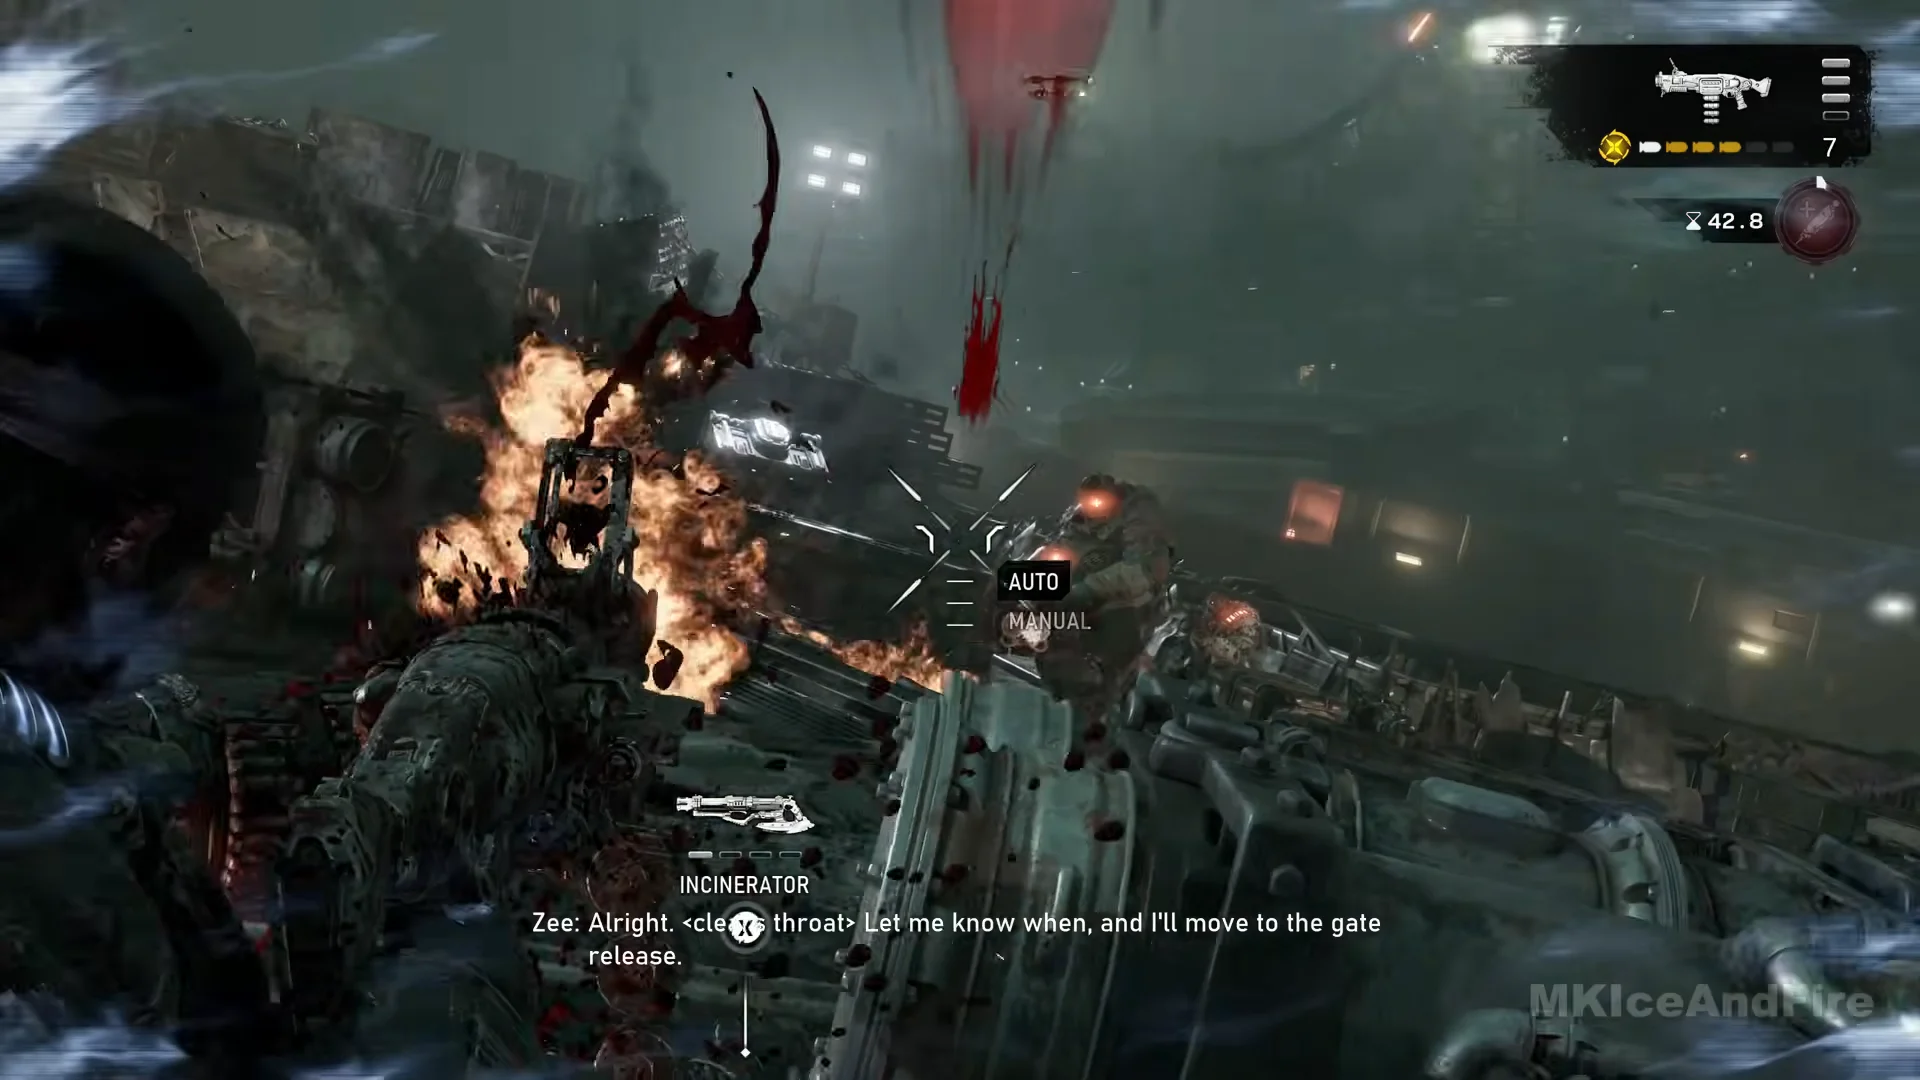
The seconds shown beside the icon in the top right track the Adrenaline Injector’s cooldown, not a wave timer. The number beside the Adrenaline Injector icon is its cooldown, not a wave timer.
Ammo and weapons to carry
Use the Prototype Lancer and Gut-Puncher throughout the crane and deck sections. The route has four ammo boxes, letting you fire freely and restock along the way.
| Resupply | Where it is |
|---|---|
| Ammo box | On the crane arm |
| Ammo box | After the first deck area |
| Two ammo boxes | Before the floating creature |
You pass a Ripper at the start and two Incinerators along the way, on the crane arm and in the first deck area. None of them are needed to finish the fight. The chapter holds five collectibles in total, but only two are picked up on this route, so clearing the deck is not a collectible run on its own.