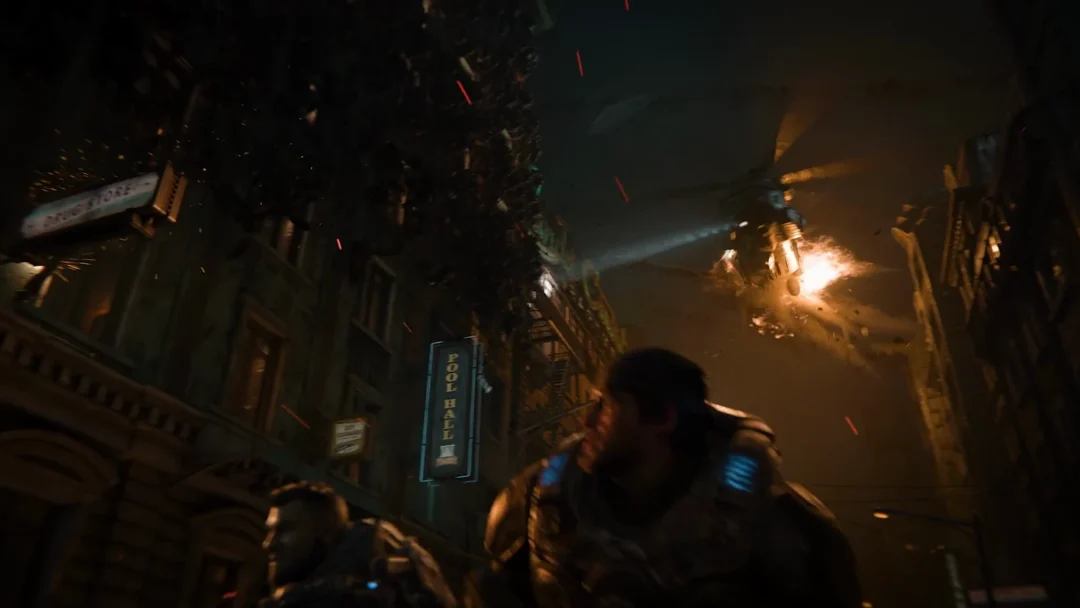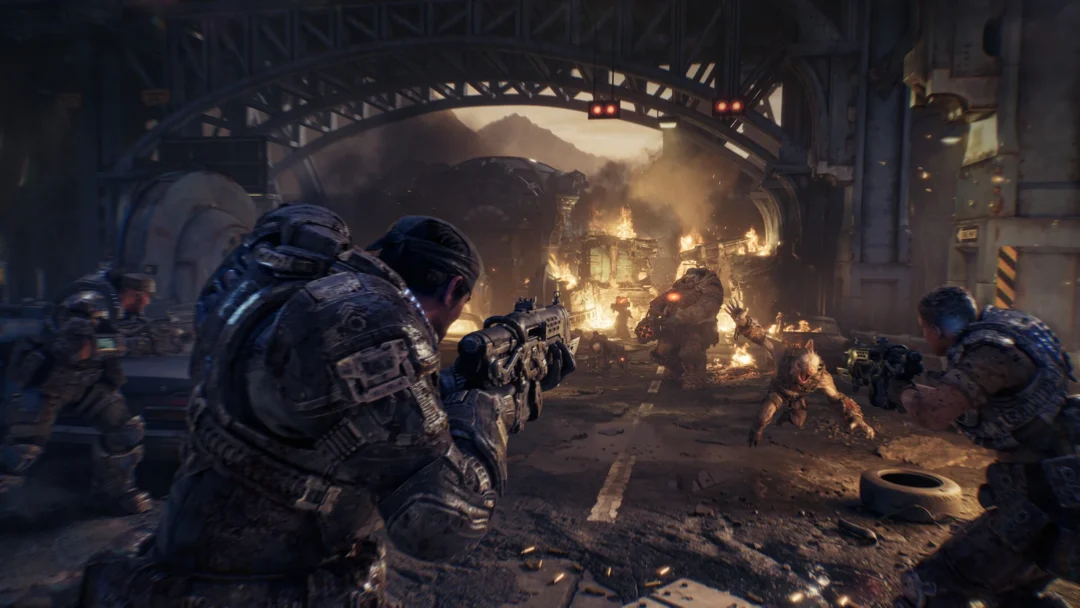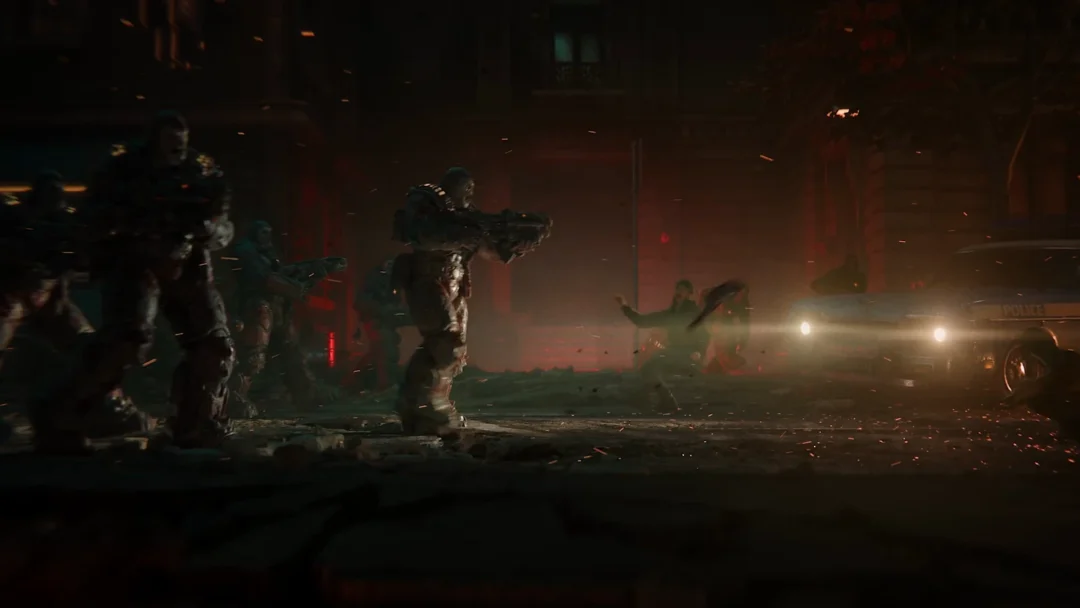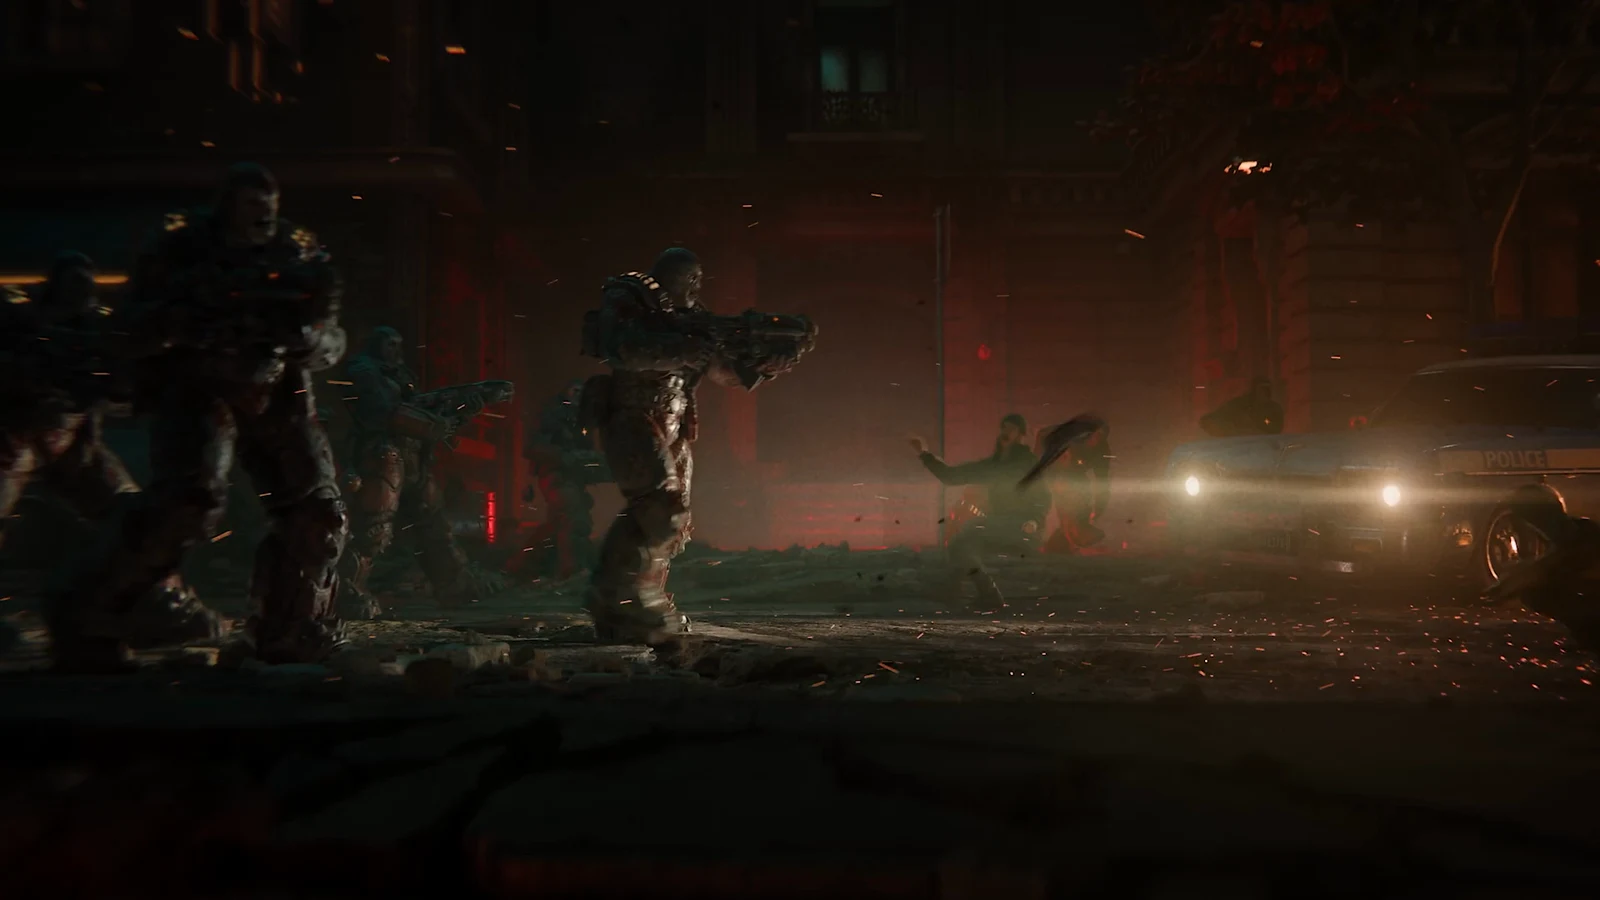
In Gears of War: E-Day, the Gut-Puncher serves as the COG’s grenade launcher. It becomes available early, occupies your secondary slot, and fires in two distinct ways from a single trigger. Its short grenade belt empties quickly in a large battle, so knowing whether to tap or hold RT matters.
Quick answer: In Act 1, Chapter 4: Back in the Fold, find the Gut-Puncher on the road next to the overturned police car. Tap RT to fire a timed grenade; hold RT, then release it to detonate the grenade yourself.
Where to find the Gut-Puncher in Act 1, Chapter 4
The launcher first appears in Act 1, Chapter 4: Back in the Fold, during the objective “Clear the way for Mayor Shaw” with the step “Speak with the Gears.” You reach it at night in the plaza in front of Kalona City Hall.
An upside-down police car burns in the middle of the road, with a second police car and a COG armored vehicle behind it. The Gut-Puncher lies on the asphalt just in front of the overturned car, on the side nearest the City Hall steps. Walk up and press X on the GUT-PUNCHER prompt with the yellow “!”.
Picking it up puts the launcher in your secondary slot and leaves the Gnasher on the ground with a GNASHER prompt. You can switch back on the spot if you prefer. On pickup, the HUD shows a short belt of grenade pips and 7 in reserve.
Auto and manual detonation on one trigger
RT controls both firing styles; there’s no mode toggle, since the game responds to how long you press the trigger. While aiming, look beside the reticle for AUTO above MANUAL. A bright box marks the active mode, and the inactive one appears dim.
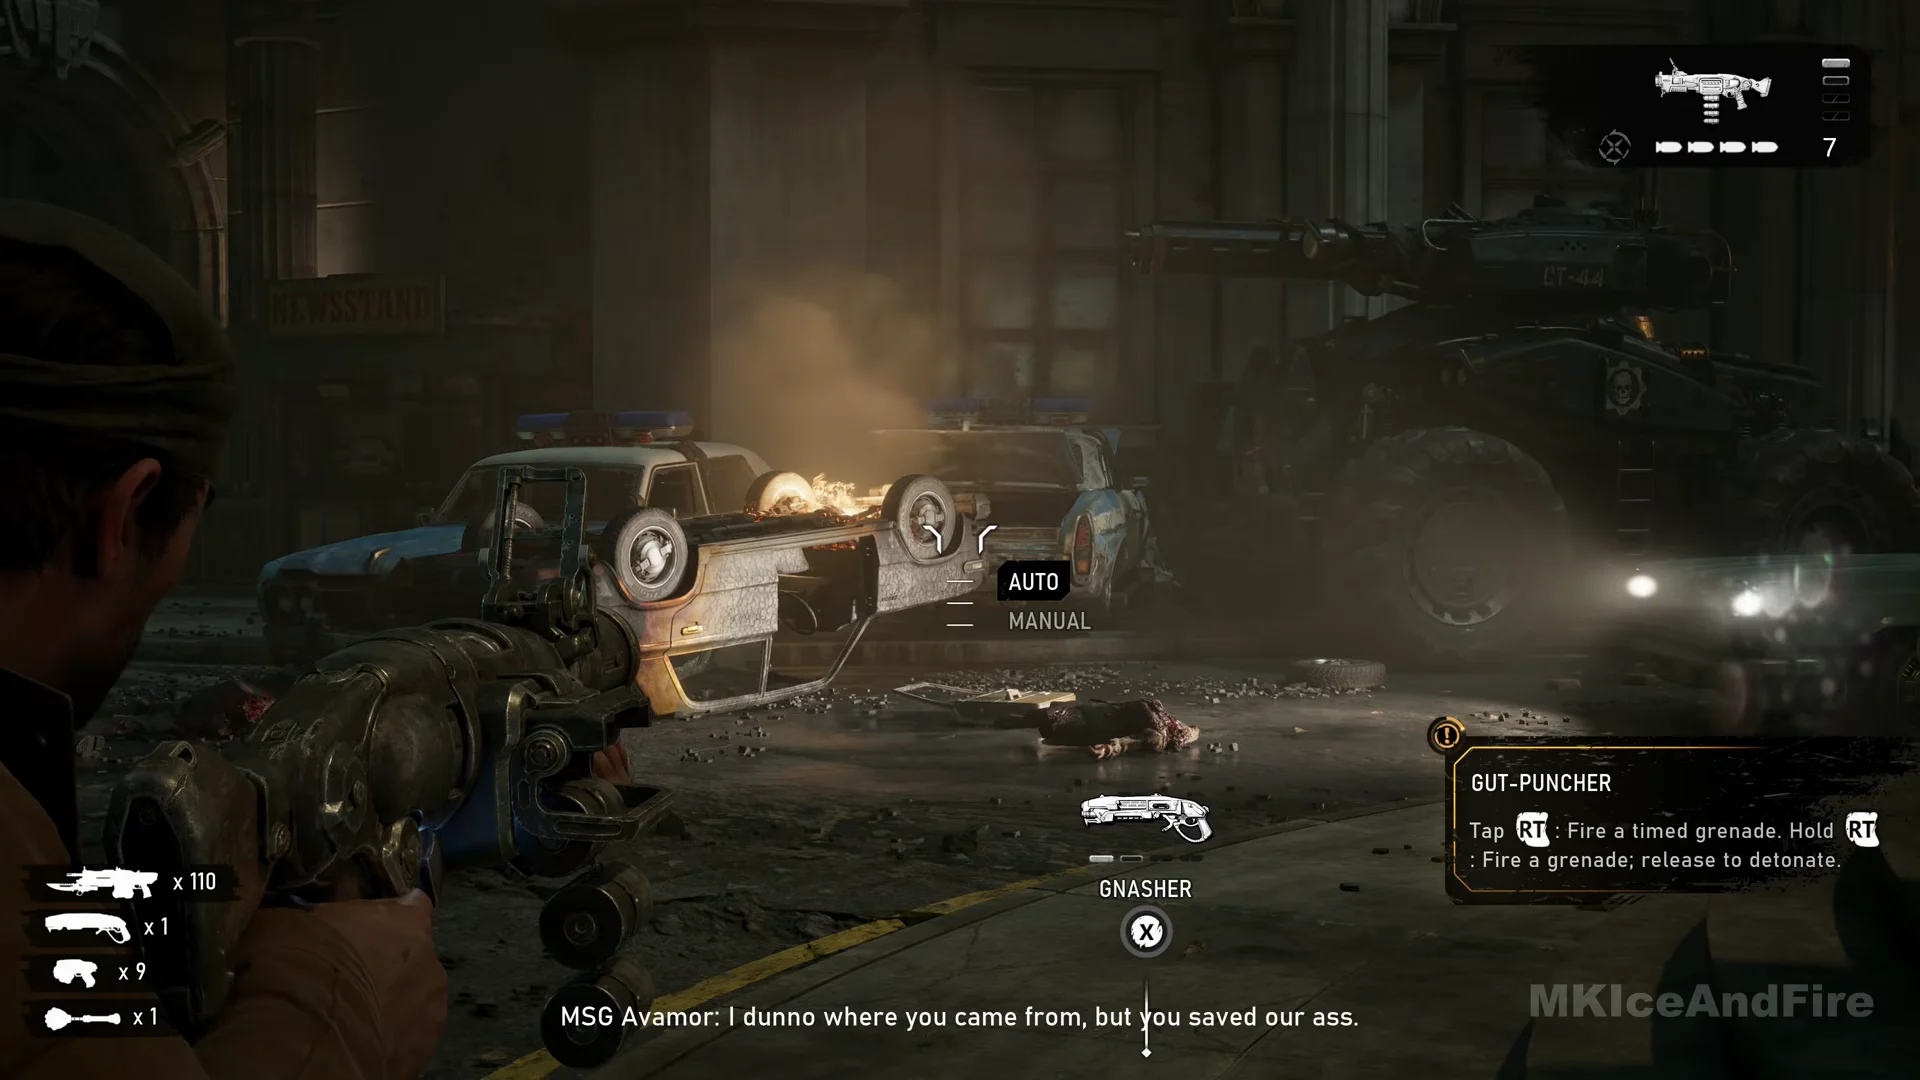
Tap RT (AUTO): A short press sends out a grenade that detonates after its fuse runs down. This works for fast shots at nearby targets or at groups that are mostly standing still.
Hold RT, release to detonate (MANUAL): Keep RT pressed while the grenade travels; letting go makes it explode immediately. Use this to place a blast near a foe behind cover, beyond a low wall, or right as the grenade reaches a mouth or hole.
Manual fire isn’t the right choice every time. You have to keep RT down until the grenade reaches its target, so a quick tap is faster against an enemy already close to you.
Ammo, reserves, and refills
At a Supply Cache, the launcher’s full capacity shows 12/12; with the Extended Belt mod installed, that becomes 14/14. Restock at Supply Caches or at glowing ammo boxes by pressing X when AMMO appears. The counters at bottom left show the amount each box supplies.
A 12- to 14-round supply can run out during a major encounter. The launcher empties during both the City Hall Brumak battle and the fight at the Seeder, leaving your rifle to finish things, so save grenades for targets that warrant them. Once the belt and reserve are empty, the HUD panel goes red and displays 0, while NO AMMO appears below the reticle.
Best targets for the Gut-Puncher
The launcher earns its slot against a handful of specific threats. Everything else is better handled by a rifle so you keep rounds in reserve.
- Emergence Holes: Use it for the first time a few minutes after collecting it. Send grenades into the red haze as Locust emerge, both around the sandbags at City Hall and along the road in the Brumak encounter.
- Open groups: Use it against Drones or Grenadiers moving across a street, as well as clusters of smaller Locust attacking a position.
- Foes at height or behind barriers: A Sniper on a balcony or scaffold, or Drones sheltering behind a barricade, are good targets for manual detonation.
- Big single targets: Boomers on the bridge in Act 2, Chapter 1, Grinders at the Fairlight Outpost gate, and the Flayer on the subway platform.
- Mouth targets: A grenade dropped into a Bilefrog’s open mouth makes it burst. The Seeder is vulnerable only at its mouth end, while you can hit the Corpser’s glowing face when its front legs open.
- Bosses with health bars: Aim at the City Hall Brumak’s head and chest, or at the Reaver that touches down on the bridge road.
Gut-Puncher mods found in the campaign and what they do
Mods turn up as rewards and are fitted at a Supply Cache. Select the weapon with X Modify, then A Change Mod on a slot, then A Equip Mod. Two mods change how the grenade detonates on a Perfect Reload, while the rest change what the round does when it lands.
Six general mods exist for the launcher. Five of them turn up over the course of the campaign and are covered below; the sixth is not named here.
Perfect Reload mods
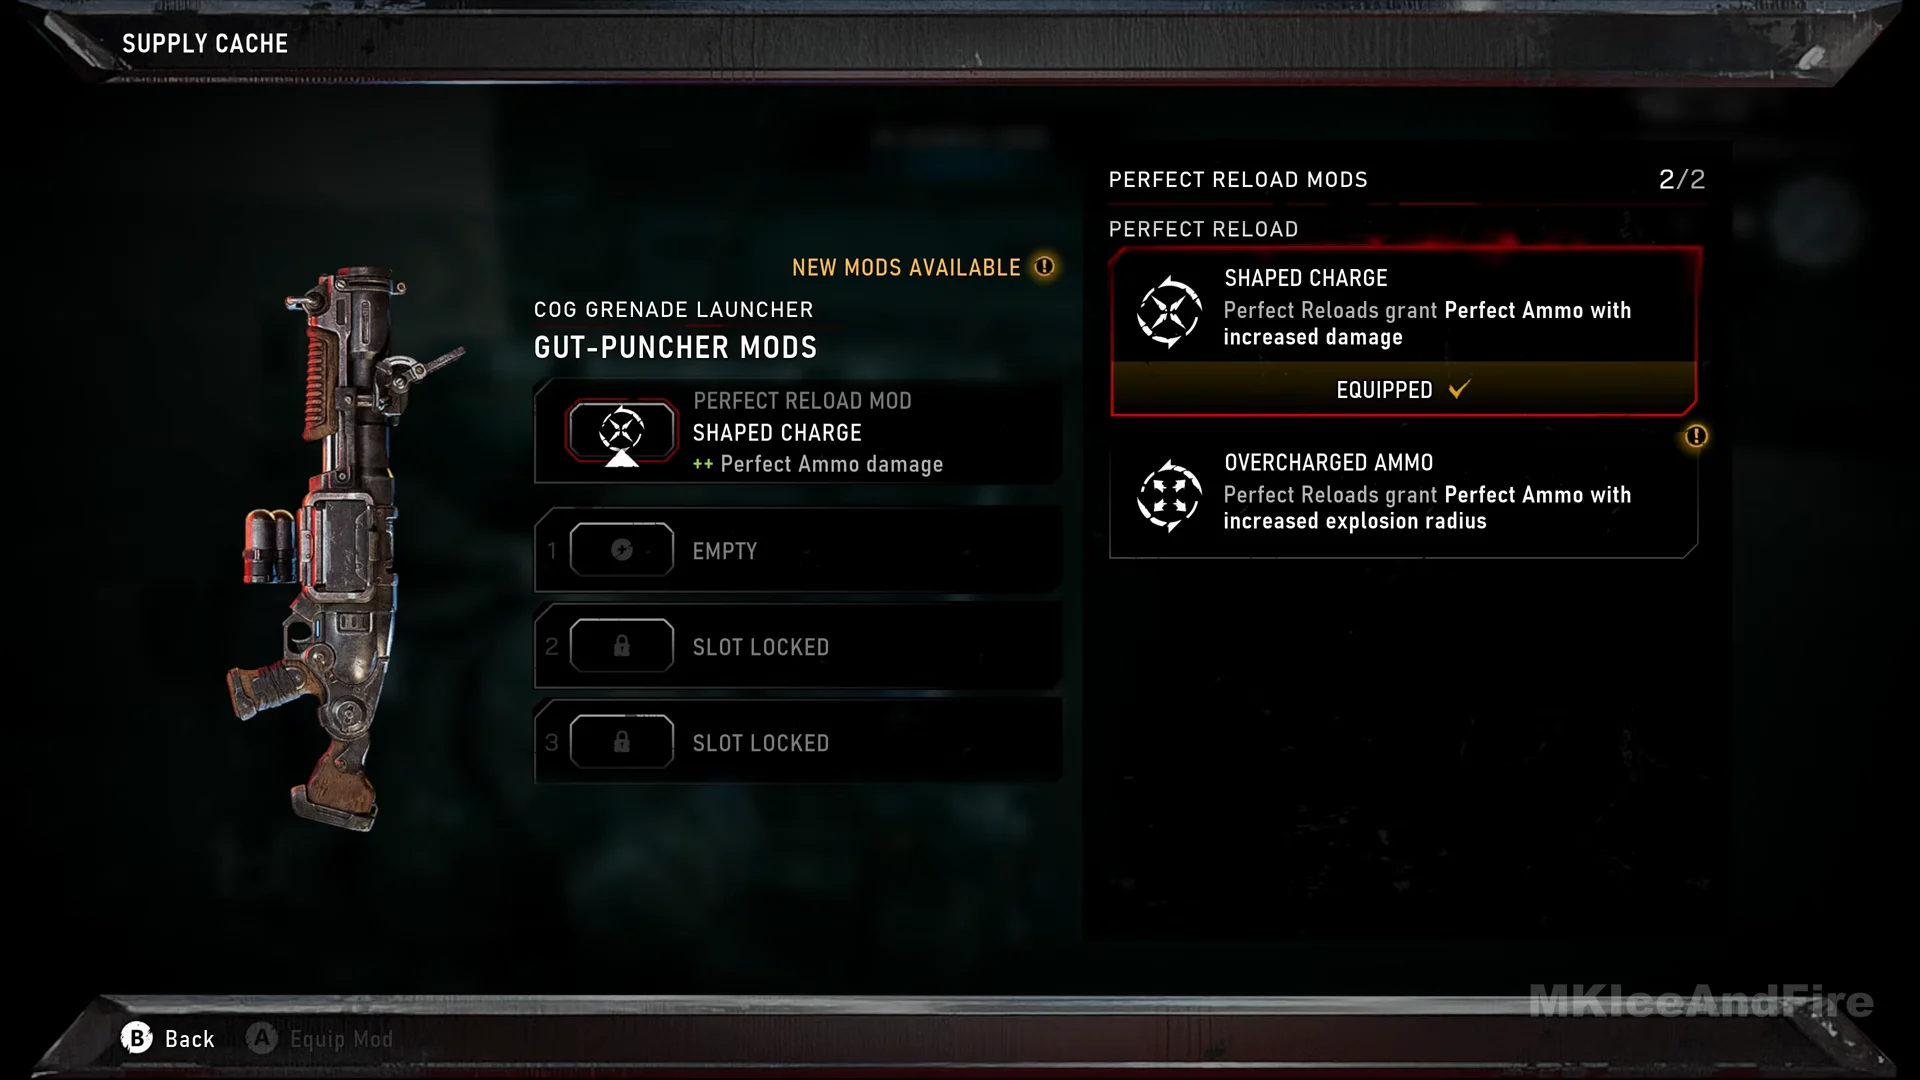
Shaped Charge is the Perfect Reload mod fitted to the launcher by default. It makes Perfect Ammo from Perfect Reloads deal more damage.
Overcharged Ammo is awarded in Act 2, Chapter 2: Hold the Line. With it, Perfect Reloads produce Perfect Ammo with a larger explosion radius instead. You can have only one Perfect Reload mod active at once; after collecting both, the list shows PERFECT RELOAD MODS 2/2.
Ammo, magazine, and fire mode mods
The remaining mods slot into the general slots, grouped under AMMO, MAGAZINE, and FIRE MODE headings.
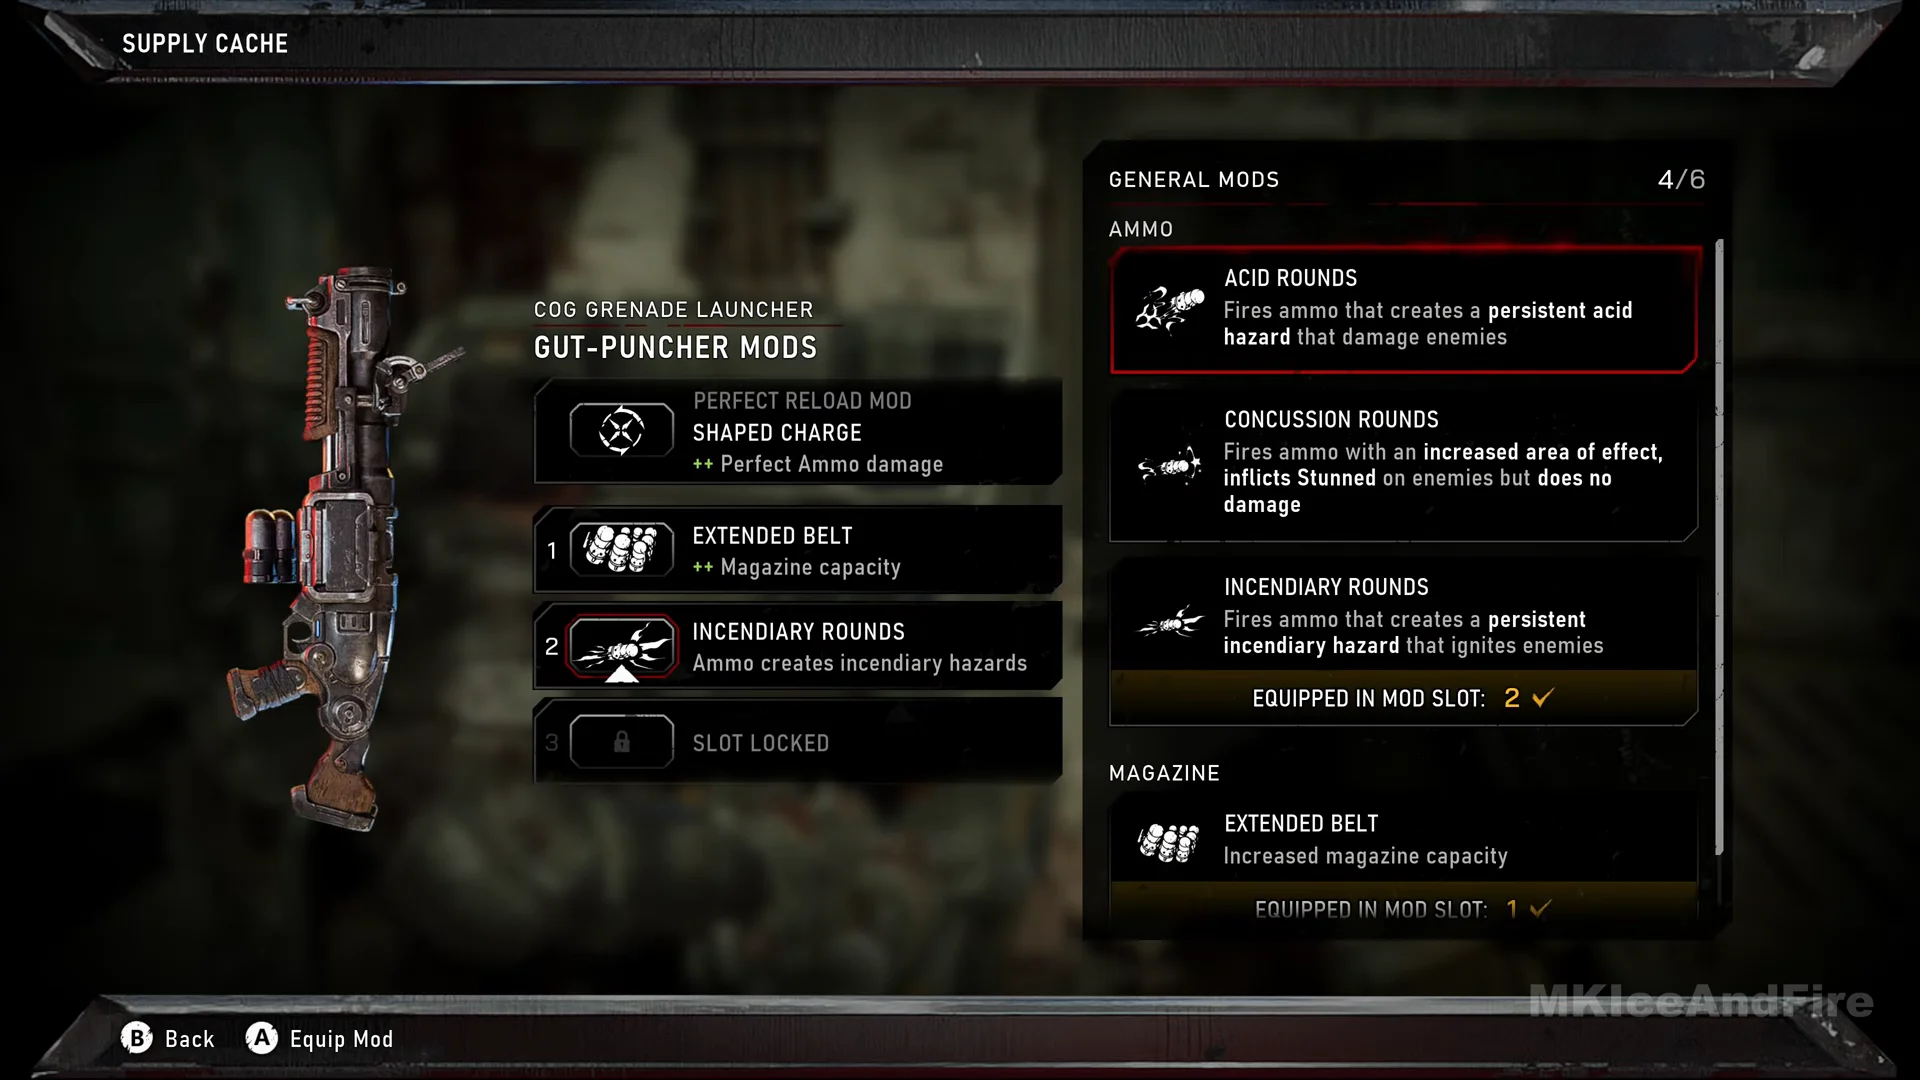
| Mod | Slot type | Effect |
|---|---|---|
| Concussion Rounds | Ammo | Larger area of effect, inflicts Stunned, does no damage |
| Incendiary Rounds | Ammo | Leaves a lasting incendiary hazard that sets enemies on fire. |
| Acid Rounds | Ammo | Creates a persistent acid hazard that damages enemies |
| Extended Belt | Magazine | Increased capacity, takes the load from 12/12 to 14/14 |
| Hard Launch | Fire Mode | Increased impact damage and velocity, reduced round control |
You’ll find Concussion Rounds in a Hard Case at the base of the giant statue scaffold in Act 2, Chapter 3: No Gear Left Behind. Incendiary Rounds are awarded in Act 4, Chapter 3: Tough As Nails. In Act 4, Chapter 5: Paths Diverge, Hard Launch is inside a Hard Case in a dark office; that case also unlocks one of the general mod slots.
Concussion Rounds sacrifice all damage to stun enemies, making them a crowd-control option rather than a way to increase damage.
Mod slots and a late-campaign setup
Slot 1 is open from the start. Slots 2 and 3 read SLOT LOCKED until you find a General Mod Slot reward for the Gut-Puncher. The first one comes from a Hard Case in the vehicle depot at the airfield, and a second comes from the same Act 4, Chapter 5 Hard Case that holds Hard Launch.
A late-game layout shown has Shaped Charge as the Perfect Reload, Extended Belt in slot 1, Incendiary Rounds in slot 2, and slot 3 empty, about to take Hard Launch. The Gut-Puncher stays in your secondary slot right through to the last boss, carrying 14 rounds with Extended Belt fitted.