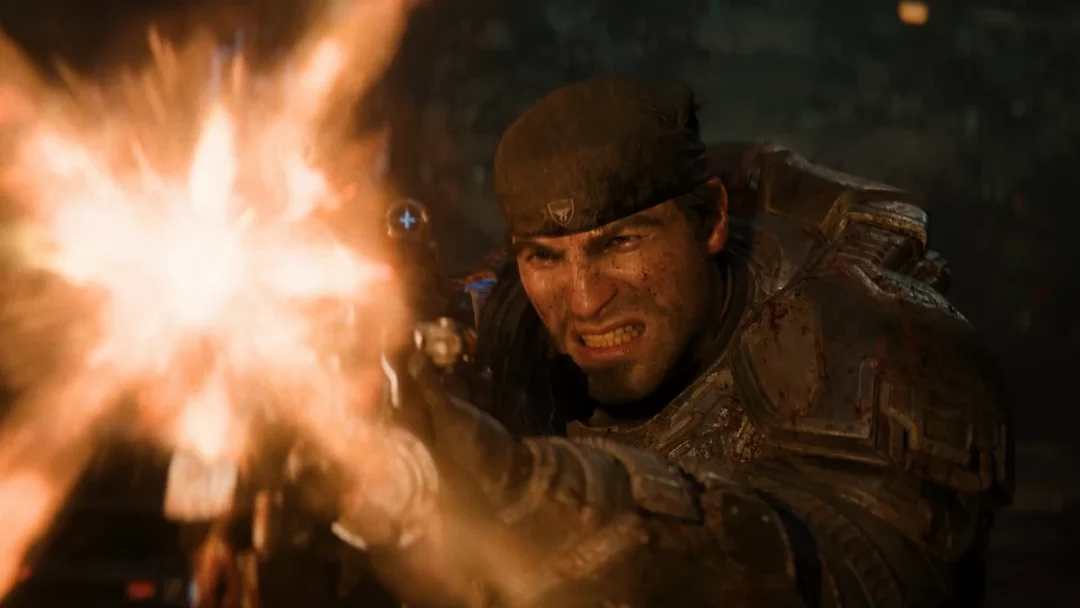
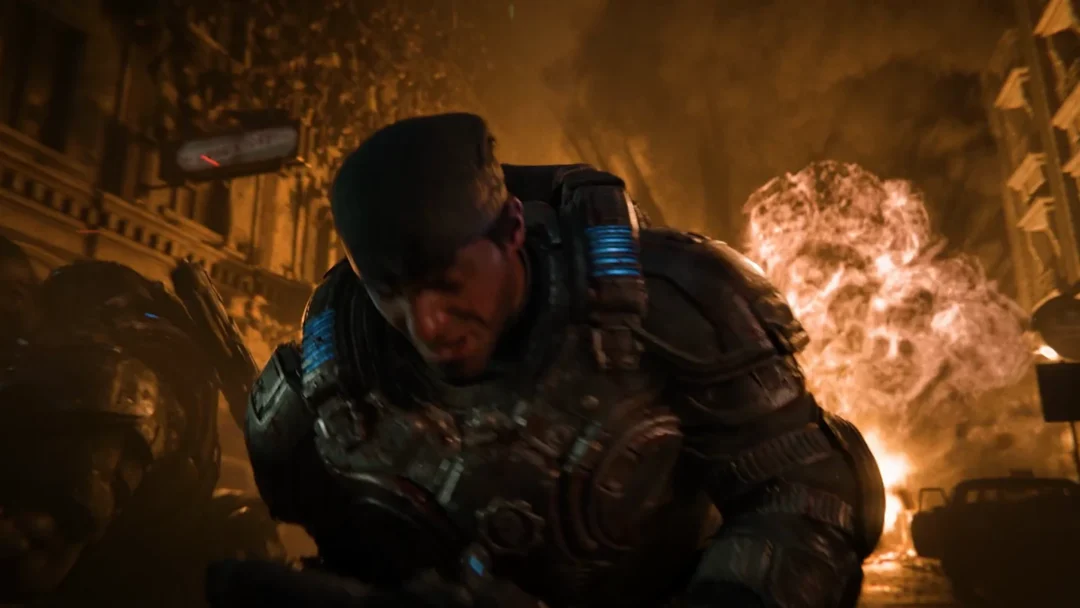
Hold the Line Part 3 Walkthrough in Gears of War: E-Day (Act 2 Chapter 2)
Work through the four objectives from the landing-zone gate to the park fight, with the optional Black Raven Down stop on the way.
Work through the four objectives from the landing-zone gate to the park fight, with the optional Black Raven Down stop on the way.
by AllThingsHow Staff
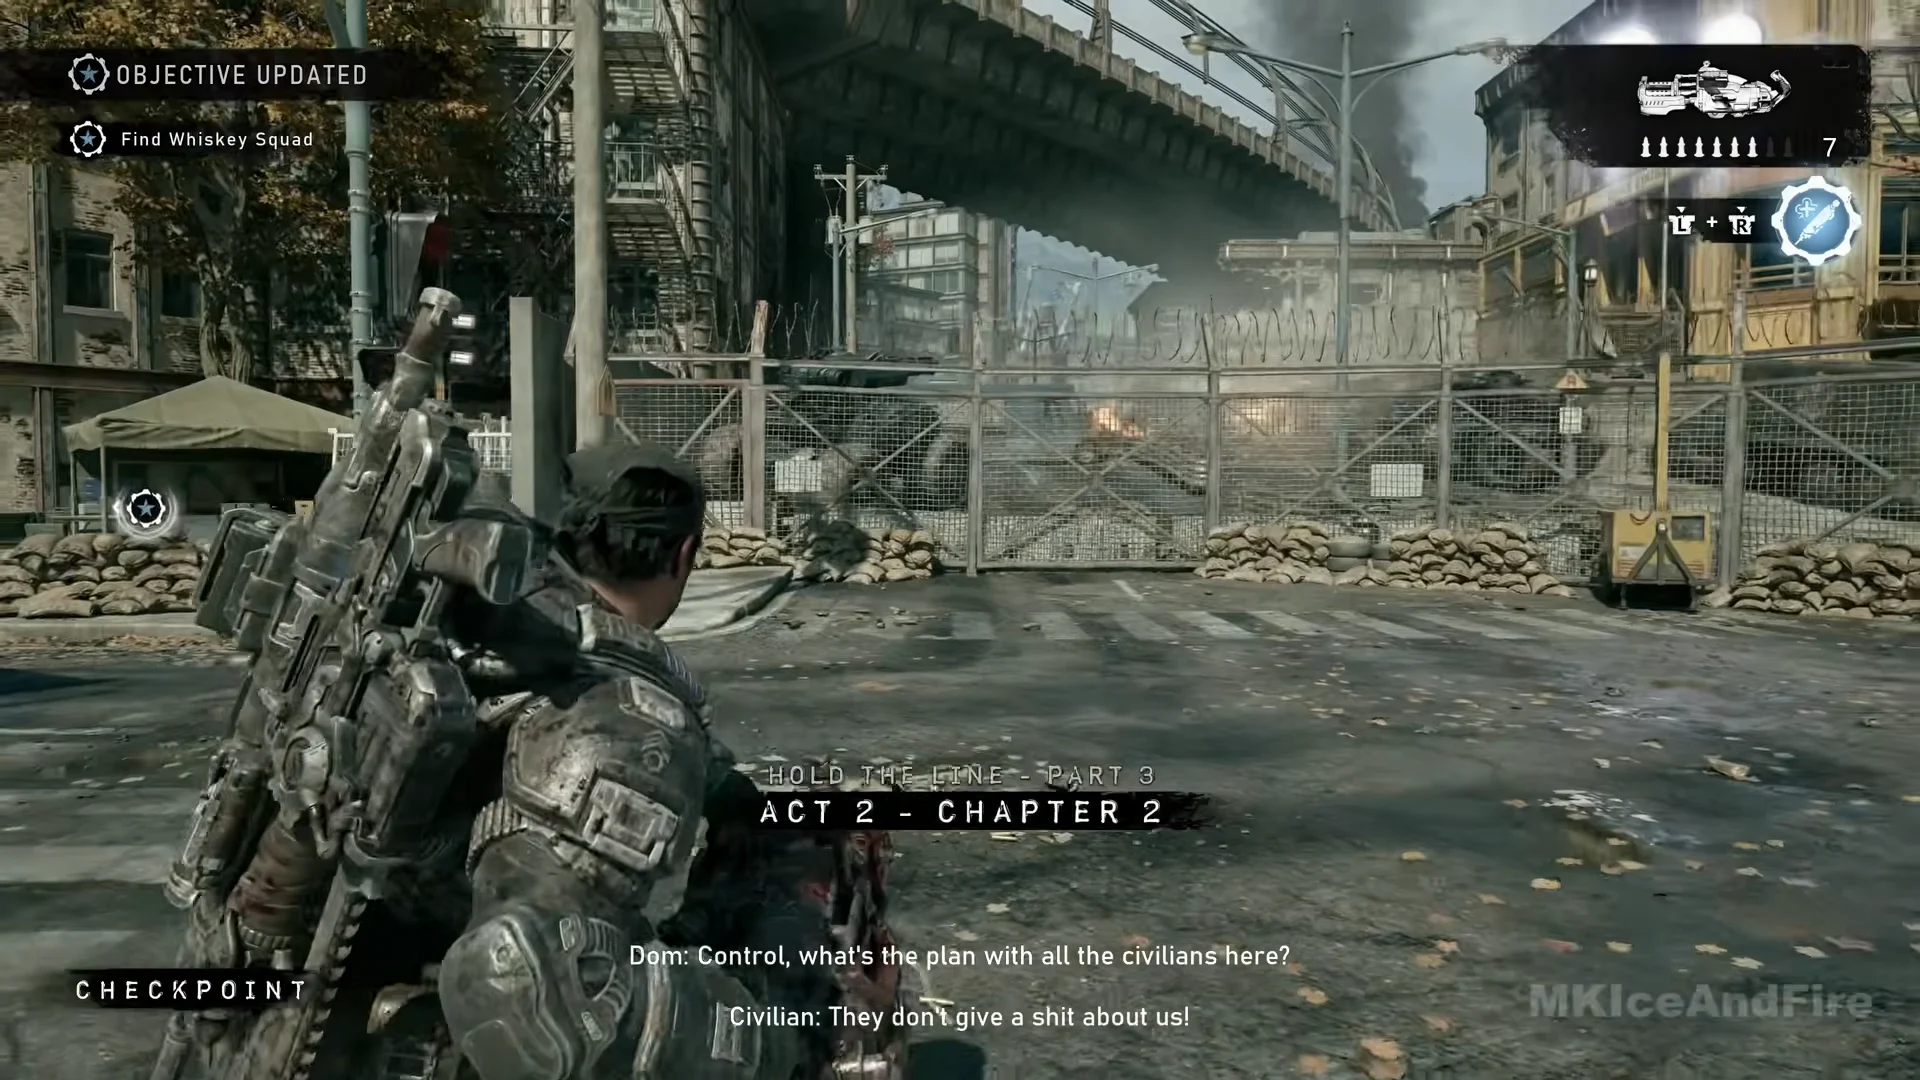
Part 3 is the final stretch of Hold the Line in Gears of War: E-Day. It opens on the card “HOLD THE LINE – PART 3 / ACT 2 – CHAPTER 2” at the landing-zone gate and runs about 22 minutes to the “ACT 2 – CHAPTER 3 / NO GEAR LEFT BEHIND” card on the broken street outside. You move through four objectives in a set order, with one optional rescue sitting on the direct path.
Quick answer: Part 3 runs about 22 minutes through four objectives, from the landing-zone gate to the Act 2 Chapter 3 card, with Black Raven Down as an optional stop on the way.
This is one way through Part 3. It is not a rundown of the chapter’s 27 collectibles, its Hard Cases or its other secondary objectives. The chapter has 27 collectibles in total, and three of them lie on this path. Five Hard Cases are opened here.
Leave the chain-link gate and head along the road between the green medical tents. When “HARD CASE NEARBY” appears, check the open grey shipping container beside the fence: the case is at its far end, behind a COG concrete barrier.
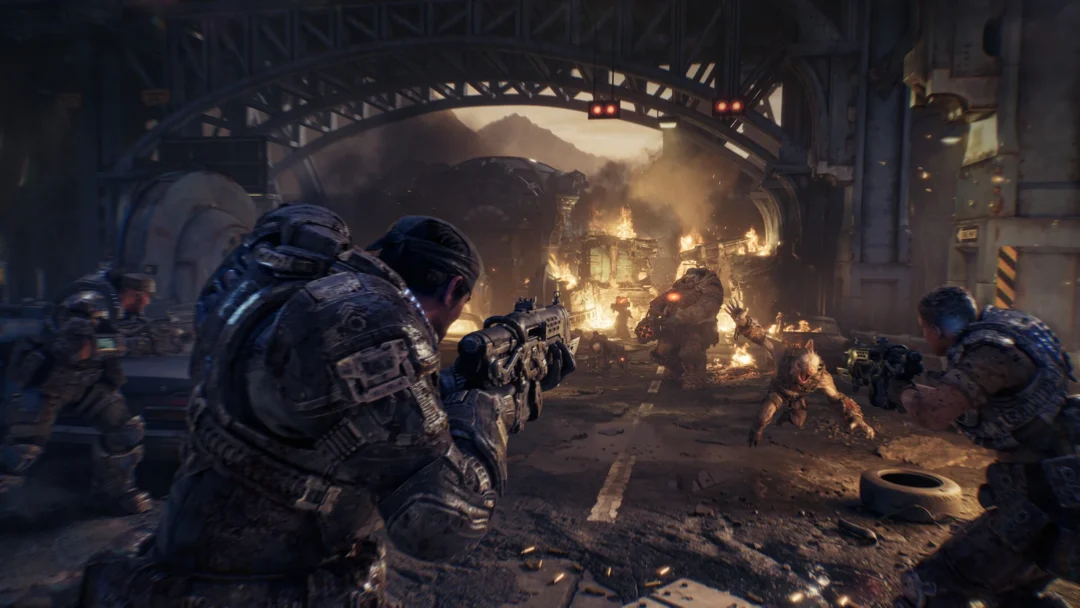
Follow the road beneath the elevated highway to a stately building lined with columns and broad stairs. Locust forces attack near the steps. Use the roadblocks marked with yellow-and-black stripes for cover. A Heavy Boomshot brought from the courthouse can quickly take out the group; if you don’t have one, switch to the Gut-Puncher. The last enemy is a tougher Locust that emerges from the columns, so hold behind the barrier and shoot during its pauses.
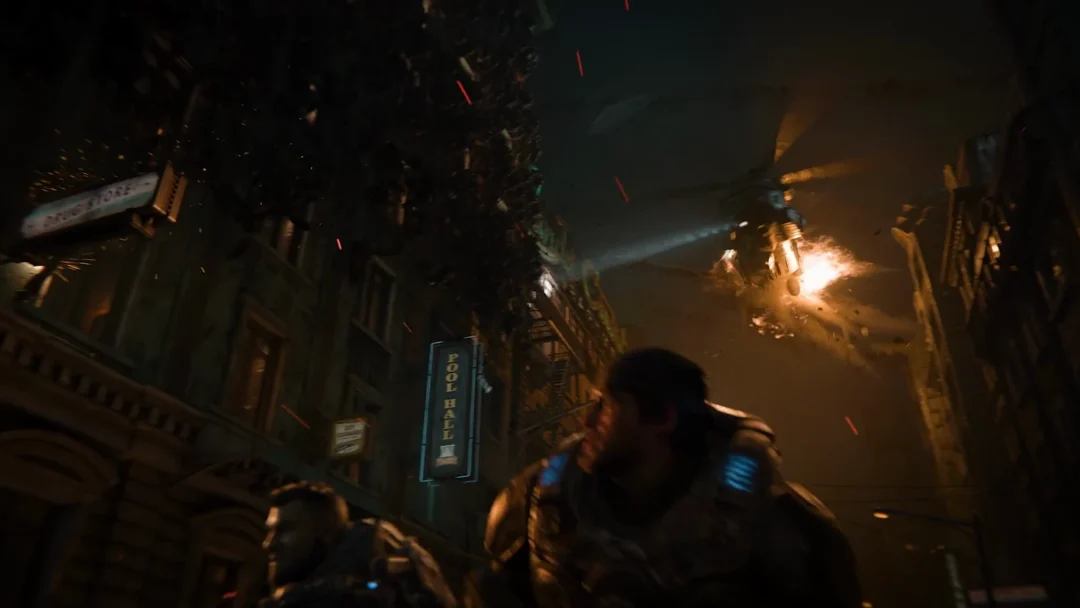
Climb the stone steps beside the building to the street above. A look prompt, “!” with X “Hold”, points at the smoke of a King Raven that has just gone down, and “SIDE OBJECTIVE DISCOVERED” slides in on the left. This only reveals the optional rescue.
Head toward the crash along the broad street beneath the yellow rail arches. Black Raven Down is directly on your route, so no detour is needed. To leave it optional, skip ahead to Step 5 below.
Optional: Black Raven Down
The rescue displays just one instruction, “Defend the diner with Sgt. Barnes”; the encounter under that instruction consists of two waves.
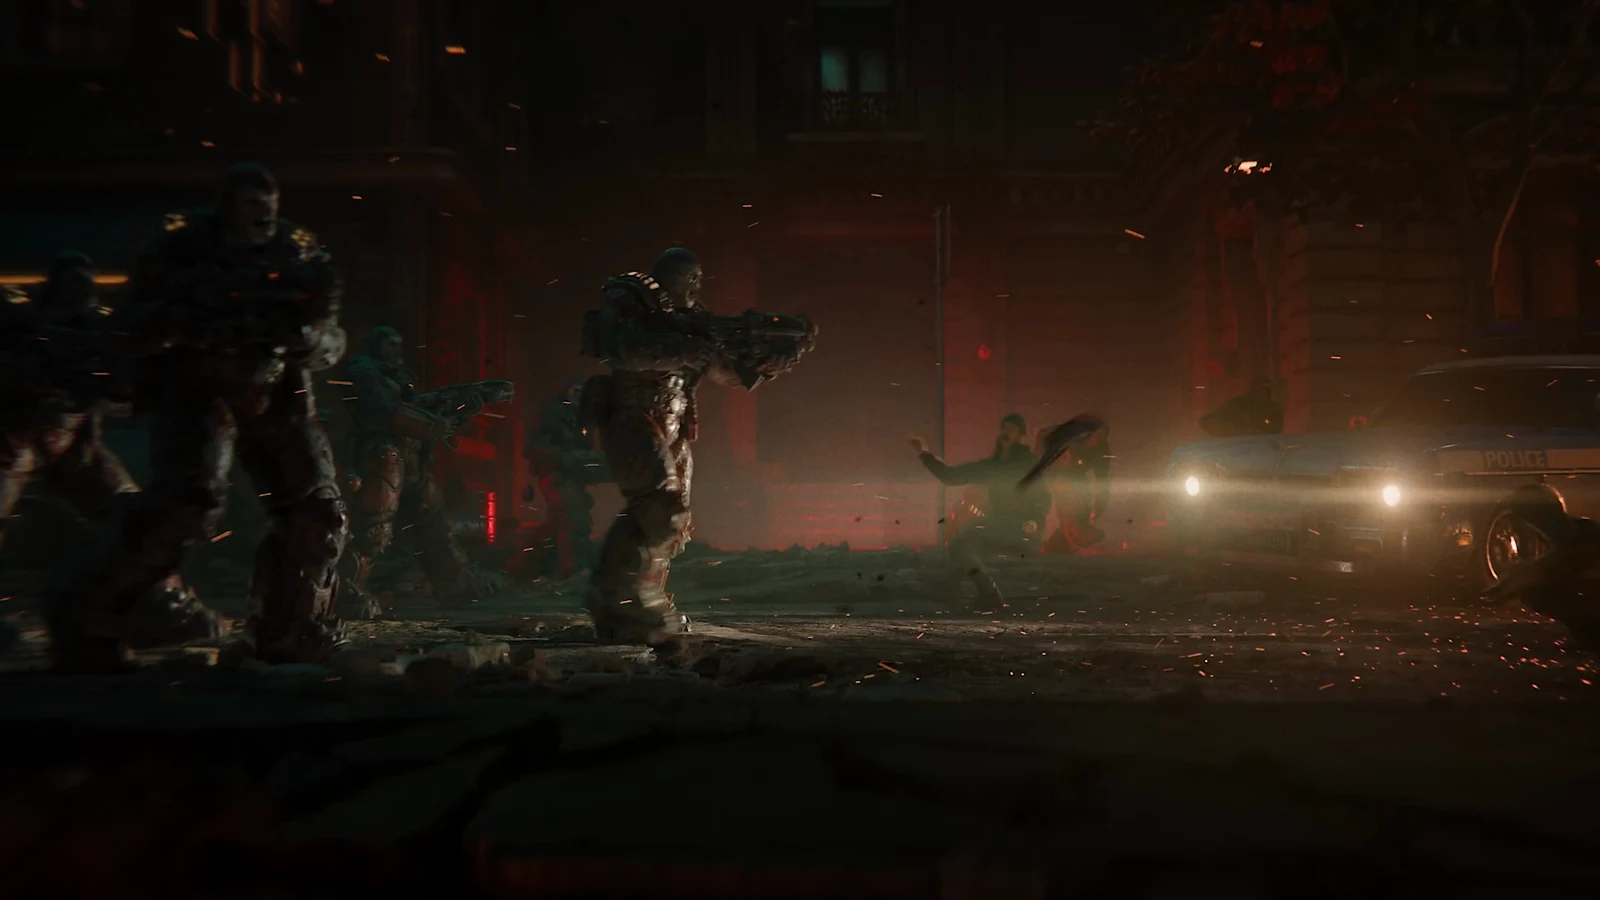
Move toward the burning King Raven at the junction outside the burger diner, identifiable by its neon canopy. SGT Barnes is holding the street from a wrecked car’s bonnet. Wretches charge as you approach; use melee or shoot them before they get close.
Head up the diner steps and inside. LT Martinez sits wounded against the front of the counter. The prompt reads “SECONDARY OBJECTIVE / BLACK RAVEN DOWN / HOLD X TO START”. Hold X until the ring fills.
Once “Defend the diner with Sgt. Barnes” appears, return to the street. Locust infantry form the first wave, including an Elite Drone; they emerge from red smoke beside the rail pillar on the opposite side of the junction. Take cover around the parked cars or the pillar bases.
The next attack continues under the same instruction. Red smoke marks where the road splits open, and squat four-legged creatures with wide mouths climb out. Their green acid lands on the road and remains as a glowing pool. Shoot into a creature’s mouth when it opens and glows green; that is its vulnerable spot, and the hit will make it burst. A Prototype Lancer or Gut-Puncher grenade can finish one. Avoid the acid pools.
The step is struck through and the gold “BLACK RAVEN DOWN” banner shows with a checkpoint. Rewards are PROXIMITY RELOAD (armor mod) and OVERCHARGED AMMO (Gut-Puncher mod).
Holiday Photos sits nearby, on the pavement beside the green NEWSSTAND kiosk down the street from the diner, at the foot of the wooden bench and square planter under the poster wall.
Back to “Find Whiskey Squad”: the Landa Court ambush
At the parked COG truck, use the Supply Cache beside it. Install both new mods and replenish the Gut-Puncher, your strongest option for the coming ambush.
Track the blood along the road until you reach an iron gate, tall and streaked with blood, set into a stone wall. Use the gate’s “!” X “Hold” prompt. The Landa Court Apartments plaza lies on the other side.
“Investigate the bodies” becomes the active step. Approach the plaza’s central tiered stone fountain, where blood runs over the structure and dead Gears have been impaled on it.
A sniper fires from overhead, triggering the fight and changing the step to “Survive the ambush”. Handle the enemies in this order:
The sniper is positioned on a fire-escape balcony overlooking the plaza, on the apartment block. Take cover behind a plaza wall or stone planter, then eliminate the sniper before anything else; a Gut-Puncher grenade thrown onto the balcony will kill it.
Locust ground troops advance over the paving from the far end, while Elite Grenadiers close in on the fountain and throw frags. Use the fountain rim, planters, or broken low walls for protection, keeping the rim between you and the attackers.
On the plaza’s street-facing side, an Emergence Hole opens in red smoke in front of the shop marked Diner. As soon as you have a clear line for a shot or throw, send an explosive into the smoke.
Standing exposed with the sniper still active can get you downed; so can letting Elite Grenadiers reach you when the Gut-Puncher has run empty. Since its ammo runs out mid-fight, switch to the Prototype Lancer and collect ammunition from the boxes on the paving. Afterward, “Survive the ambush” is crossed out and the objective changes to “Find Whiskey Squad”.
Find Muster Point Instructions on the AIR RAID SHELTER poster beside the SHOE SHOP at the plaza’s edge. The poster is mounted between the green arched door and blue TELEPHONE booth.
A Hard Case waits up the short steps between the stone planters by the green shopfront signed SNACKS DRINKS. The case is at the corner of the stone building just left of the shop.
Marcus says Whiskey Squad is dead and had been used as bait. Control orders Bravo to the Kalona Hotel, and the “Find Whiskey Squad” step is crossed out.
Objective 2: “Support Cpl. Harris at the hotel”
There are seven steps in this objective. The conversation with Harris and the Supply Cache are in Step 5, between the two fights in the lobby.
When you reach the hotel corner, look for “HARD CASE NEARBY”. The case is to the right beneath the entrance canopy, positioned between a pillar and a bench.
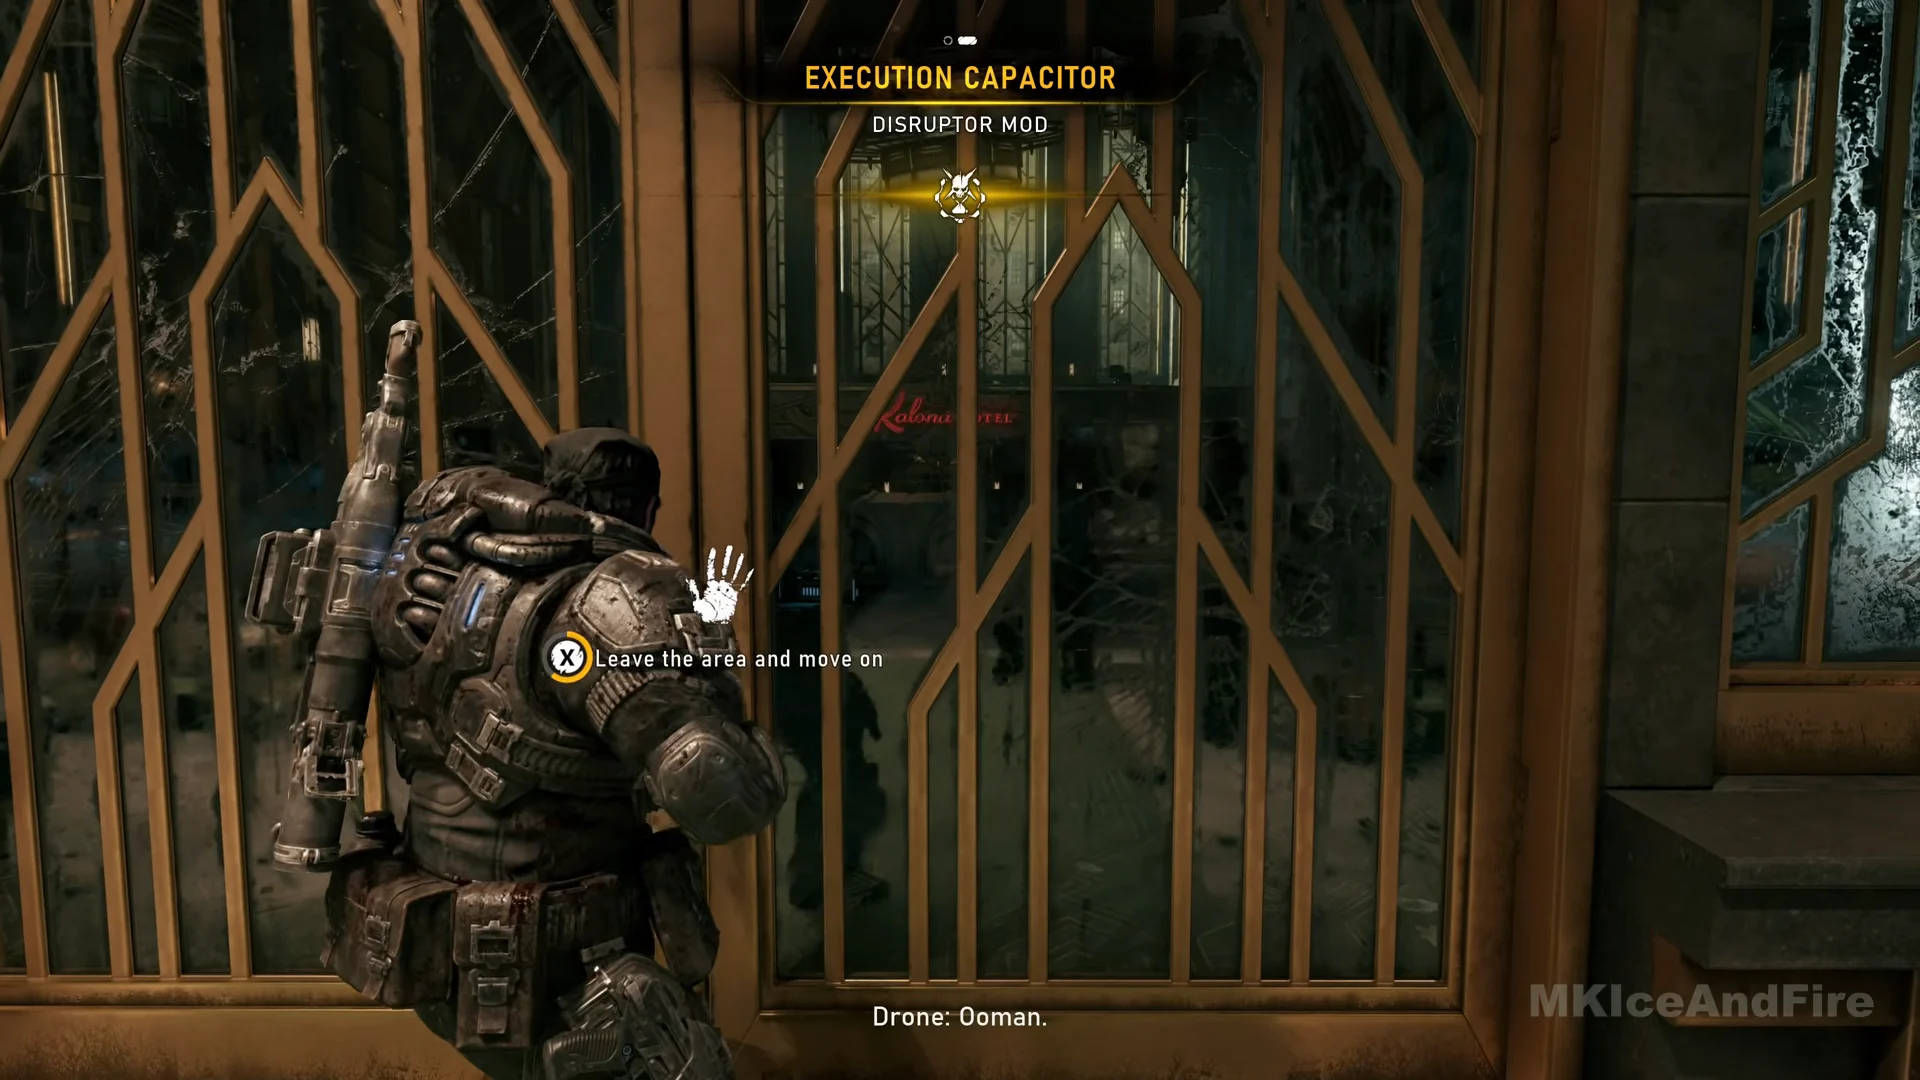
The gold-framed glass doors show the prompt X “Leave the area and move on”. Twenty-six of the chapter’s 27 collectibles are in the streets on this side of the doors, so finish your sweep before stepping through.
Inside the lobby the step is “Kill all the hostiles”. Cpl. Harris and Pvt. Danton are pinned behind the reception desk under the red Kalona Hotel sign, with Drones holding the grand staircase and the balcony above the sign. Stay at the sandbags and barriers just inside the doors and shoot up at them; the Gut-Puncher on the stair landing and along the balcony rail ends it in under half a minute.
Speak with Harris at the desk. To connect the hotel roof’s comms array, his relay station needs patching in. The message “SUPPLY CACHE NEARBY” appears, pointing to the cache beside the staircase wall. Install the mods from the most recent Hard Cases, then refill.
The step changes to “Repel the attackers”. A Scorched Grenadier drops in through an upper window with a burning bottle, and more Scorched Grenadiers and Drones attack down the stairs and along the mezzanine. They throw raw Imulsion that burns where it lands, so move the moment a bottle comes at your cover. Fight from the stone planters and sofas on the lobby floor, kill each Scorched Grenadier before it gets close, then push up the stairs and along the mezzanine corridor to finish the last of them.
After the fight, an INCINERATOR is on the lounge carpet beside the planters. Harris speaks to Lucas at the monitors and says to run the patch from the balcony’s outside terminal, which you can reach through the elevator shaft. The step “Support Cpl. Harris at the hotel” is crossed out.
Head toward the marker and the open elevator shaft. Beside its opening, under a wall lamp, a framed Portrait of Chairman Tomas Dalyell rests on the floor against the wall.
A cutscene plays as Lucas resets the field relay console on the balcony so the roof array links in. Gunfire starts in the park below, and play resumes on the balcony.
The “HARD CASE NEARBY” alert appears. Drop from the balcony’s broken edge to the street, then face the wall to find the case in a corner beneath graffiti and posters.
The step is “Eliminate all the enemies”. Drones and an Elite Sniper fire across the sunken middle of the park, and red emergence smoke rises on the far side. Take the low stone balustrade at the entrance as cover. During the fight, Control recalls every Gear to base.
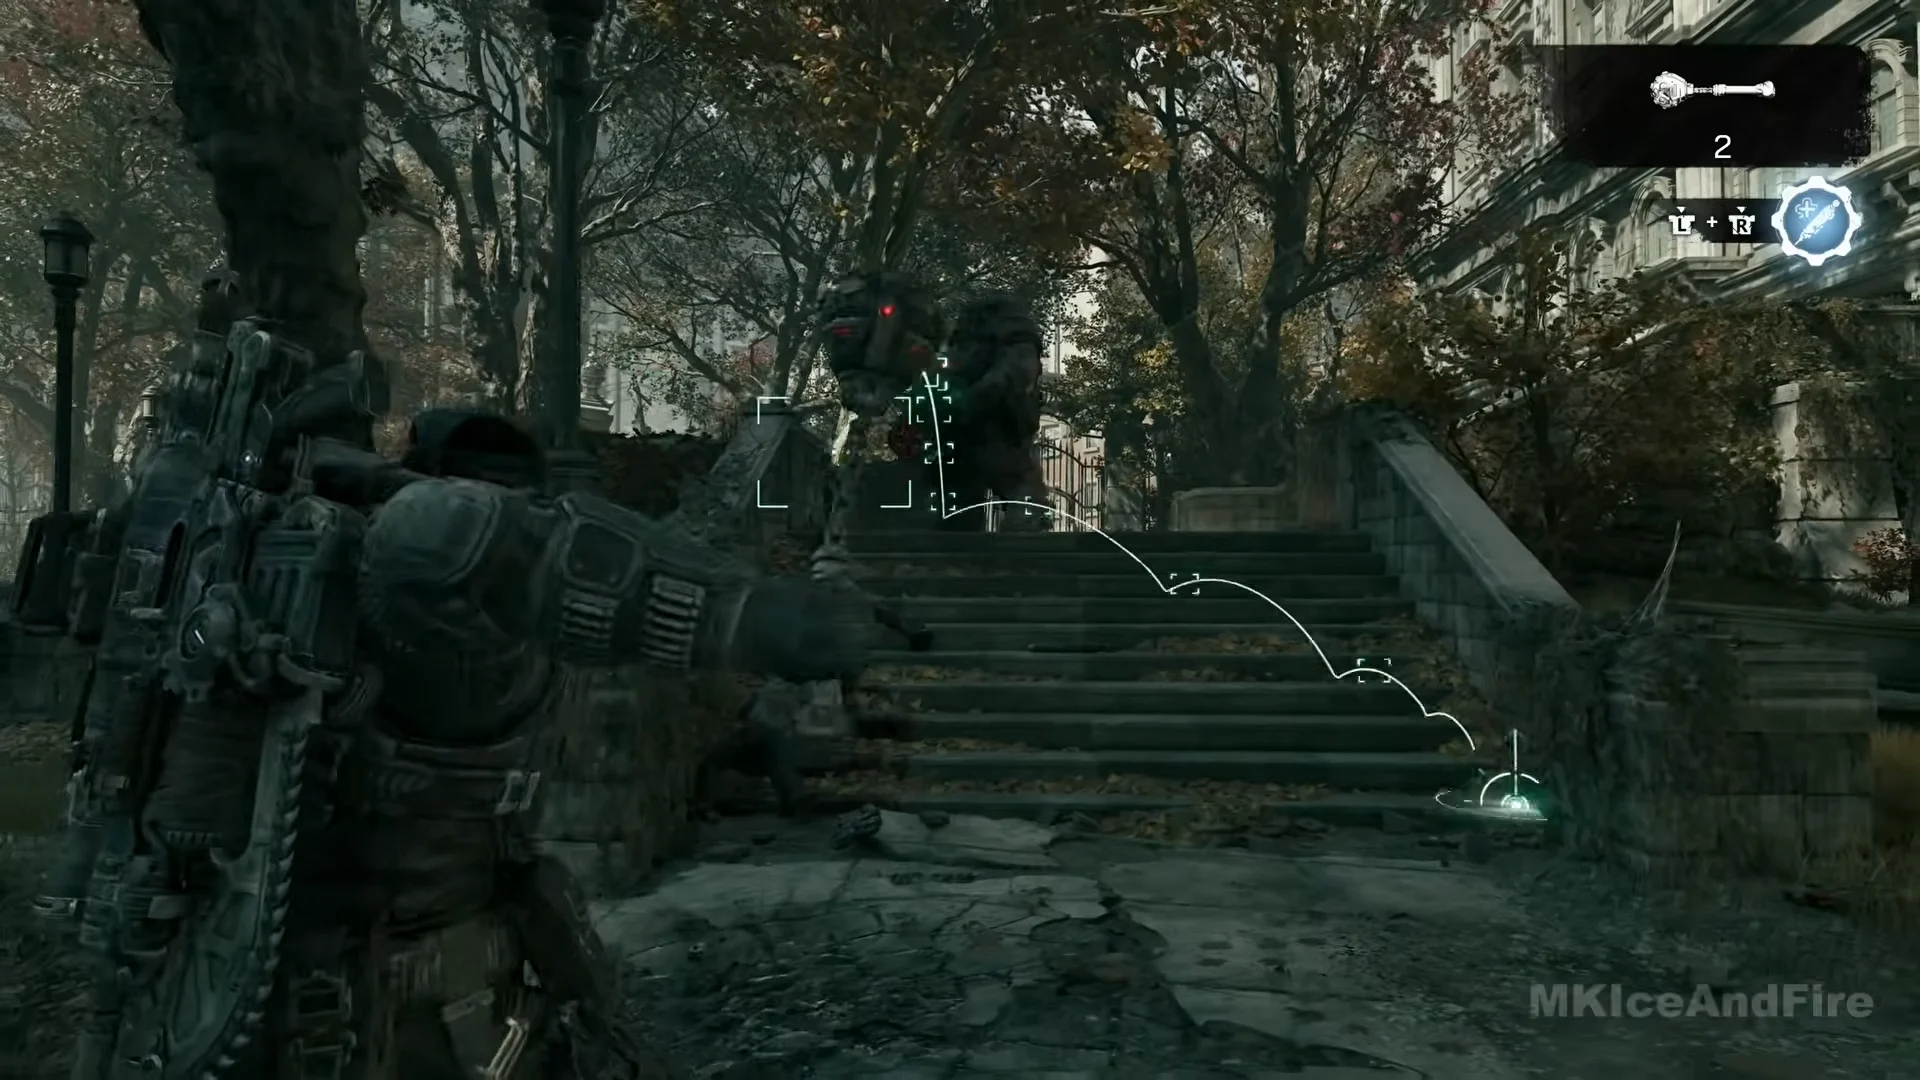
The Boomers arrive at the end. Just before firing, each calls out “Boom”; get behind solid stone at the sound and return fire between rockets. If two are together on the stone staircase, throw a Frag Grenade up the steps to hit them both. Your Gut-Puncher belt may be empty before the final Boomer goes down, so save the Prototype Lancer for that kill. Each fallen Boomer drops a Heavy Boomshot.
Leave by the tall iron gate. The objective becomes “Find Charlie Squad” and the “ACT 2 – CHAPTER 3 / NO GEAR LEFT BEHIND” card appears on the broken street outside. That card is how you know Part 3 is done and the next chapter has begun.