Last Foothold Walkthrough for Gears of War: E-Day (Act 3 Chapter 3)
A route through the Kalona district at night that collects 8 of 14 collectibles and opens 13 Hard Cases.
A route through the Kalona district at night that collects 8 of 14 collectibles and opens 13 Hard Cases.
by AllThingsHow Staff
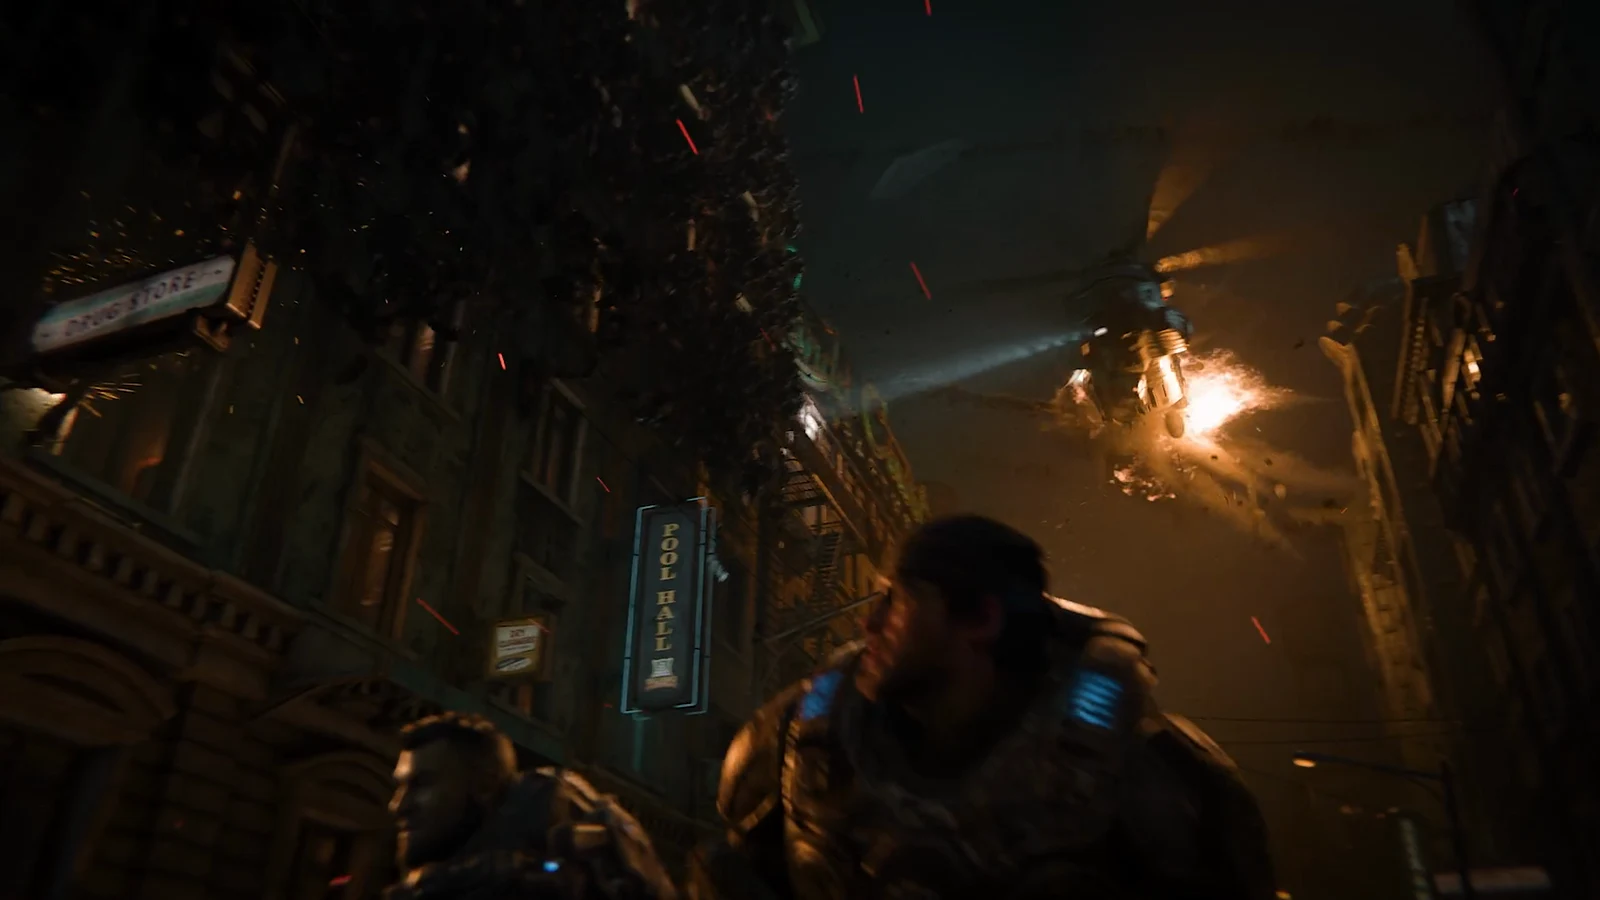
Last Foothold drops Bravo back onto the surface in the Kalona district at night, an open area you can roam before the story pushes you into a convoy escort. The route below runs roughly 54 minutes and threads the subway wreckage, Monroe Library, the Kalona Hotel trucks, Landa Memorial Hospital and the Rooftop Mayday side job before the final fight.
What this Last Foothold route covers
This route covers only part of the chapter: it finds 8 of Kalona’s 14 collectibles and opens 13 Hard Cases. Other Hard Cases and secondary objectives in the district are not covered.
The district has 14 collectibles; the map tracks them as “n/14 COLLECTIBLES”.
The route flags eight collectibles along the way at the relevant steps; details for the remaining six appear at the end.
Of the 14 collectibles, two are tied to secondary objectives: Blade-like Projectiles in Rooftop Mayday and the Damaged Heavy Locust Helmet in Lost in the Park.
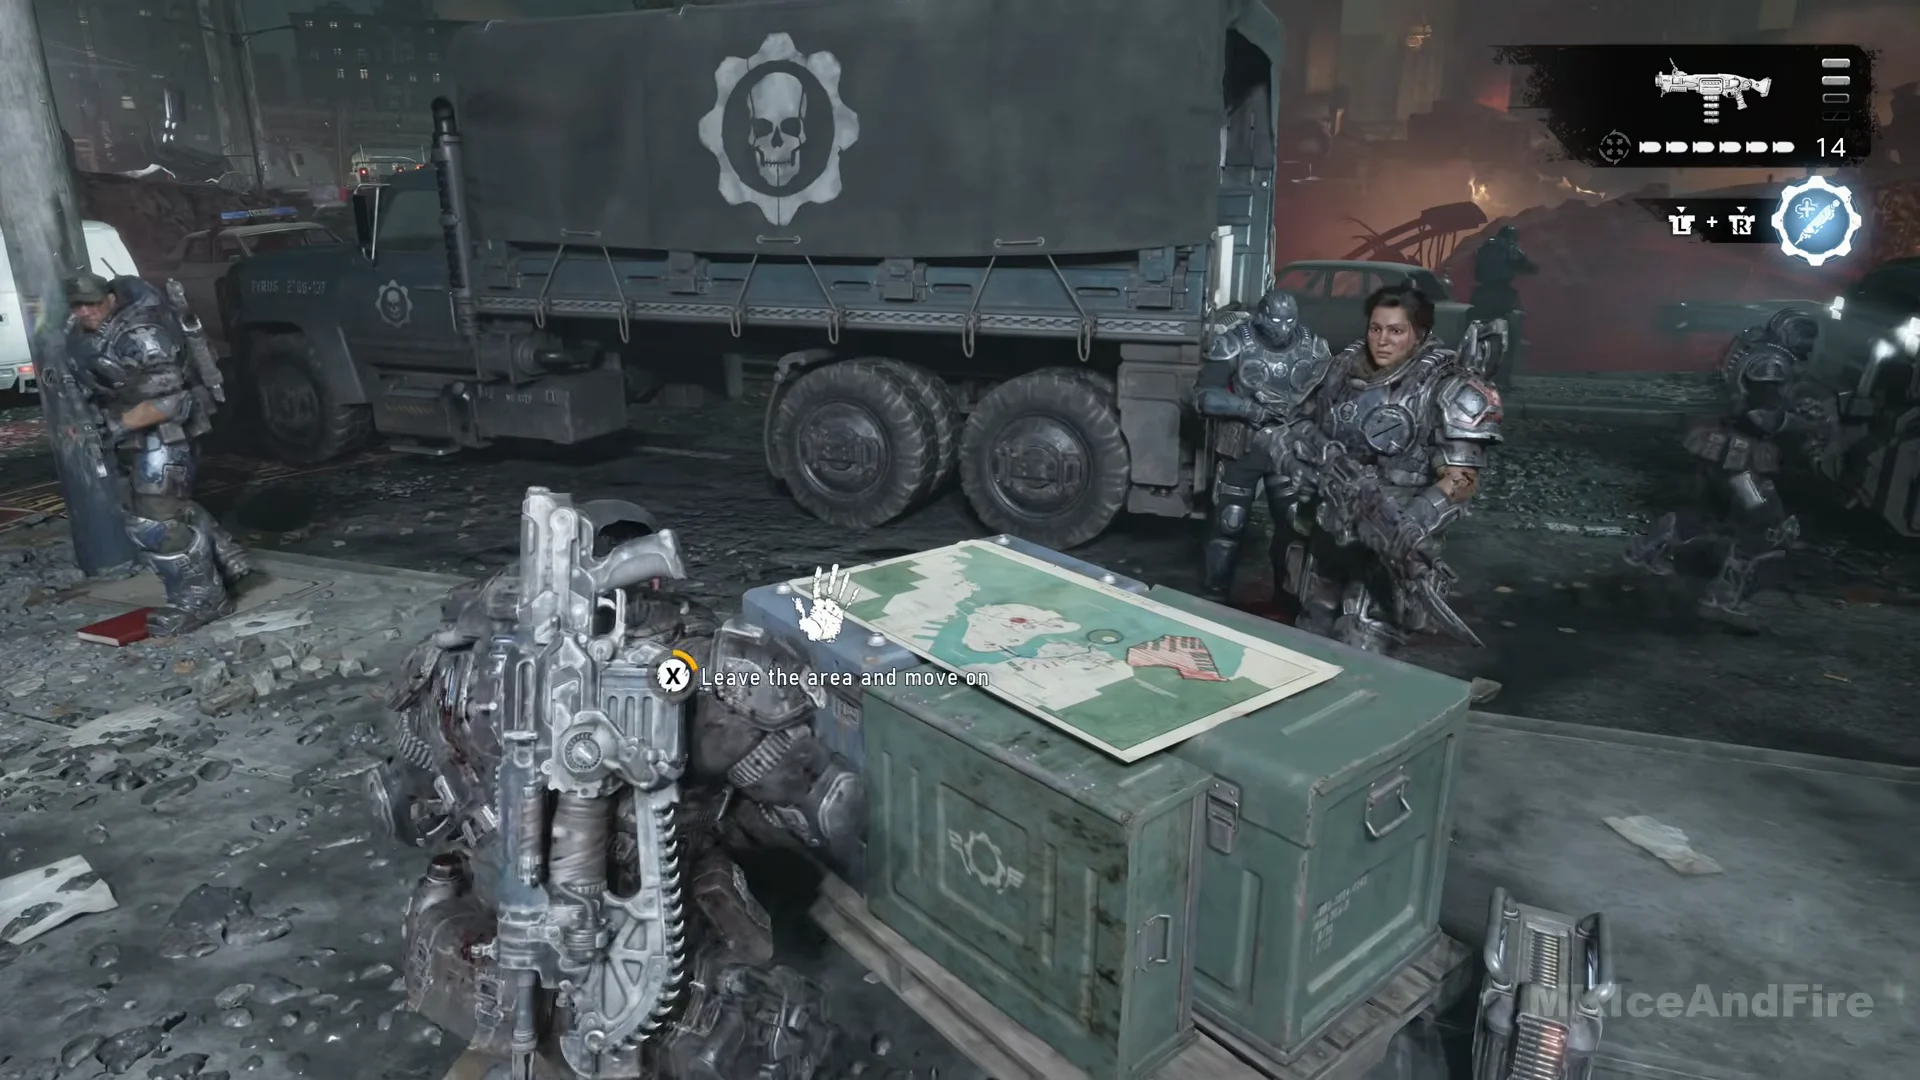
Kalona remains available for exploration until you select X at the trucks for “Leave the area and move out”. Finish your collecting, Hard Cases, and Rooftop Mayday first.
The COG Tags of Sergeant First Class Robin Hamill lie beside a dead Gear on the pavement bordering the red crater, opposite the Kalona Theater marquee.
A pair of Locust guard the opposite side of the road gap. Toss a Gut-Puncher grenade from behind the barrier to take them out, then descend into the cave lit red.
Objective: “Rendezvous with Tai”
Exit the cave by climbing into a COG trench, then talk to Tai at the outpost. Under the tent, take Colonel Trench’s VIP List (PICK UP, X) from the folding table with a lantern.
Fighting to Monroe Library and briefing the mayor
Objective: “Speak with Captain Grey”, with “Follow Tai” and “Clear the library”
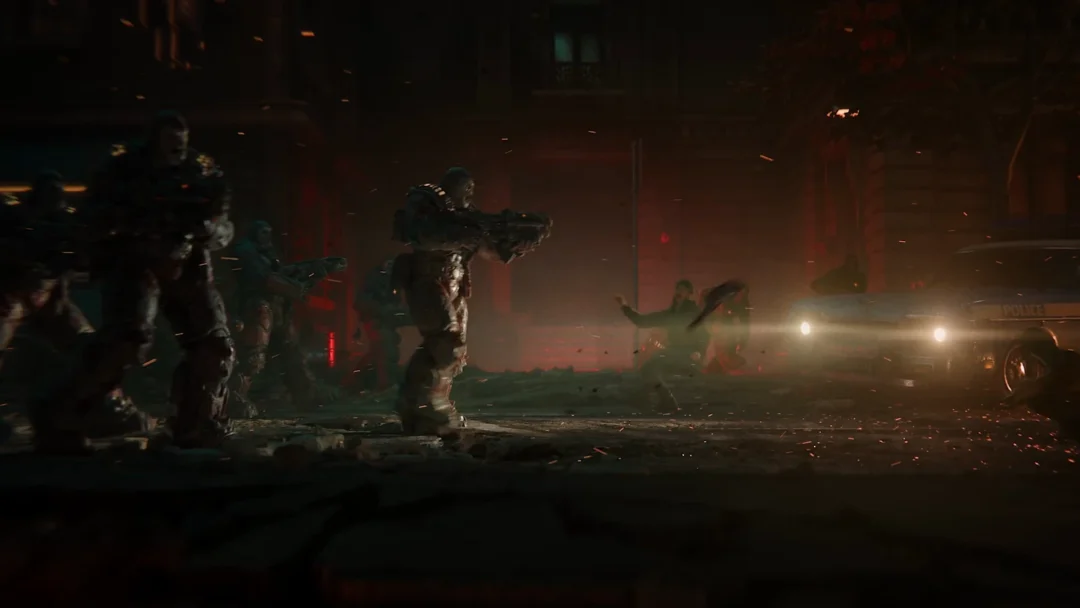
When “Follow Tai” appears, get over the yellow sedan and bus. Ahead, Drones and tougher Locust fight along the street; use the concrete barriers for cover and throw Gut-Puncher grenades at clusters.
A Boomer enters and announces “Boom” before firing each rocket. Stay behind a metal barricade for the warning, then peek out and attack with the Gut-Puncher. Deal with the Locust on the library steps afterward.
Watch the scene as the civilians depart in a truck convoy. Bravo then heads to the hotel to brief Corporal Harris before continuing to the hospital, where Epsilon Squad is still missing.
Beneath the rail bridge, Locust have trapped two Gears beside a truck protected by sandbags. Stick a Gut-Puncher grenade to the truck, then finish the fight with your rifle.
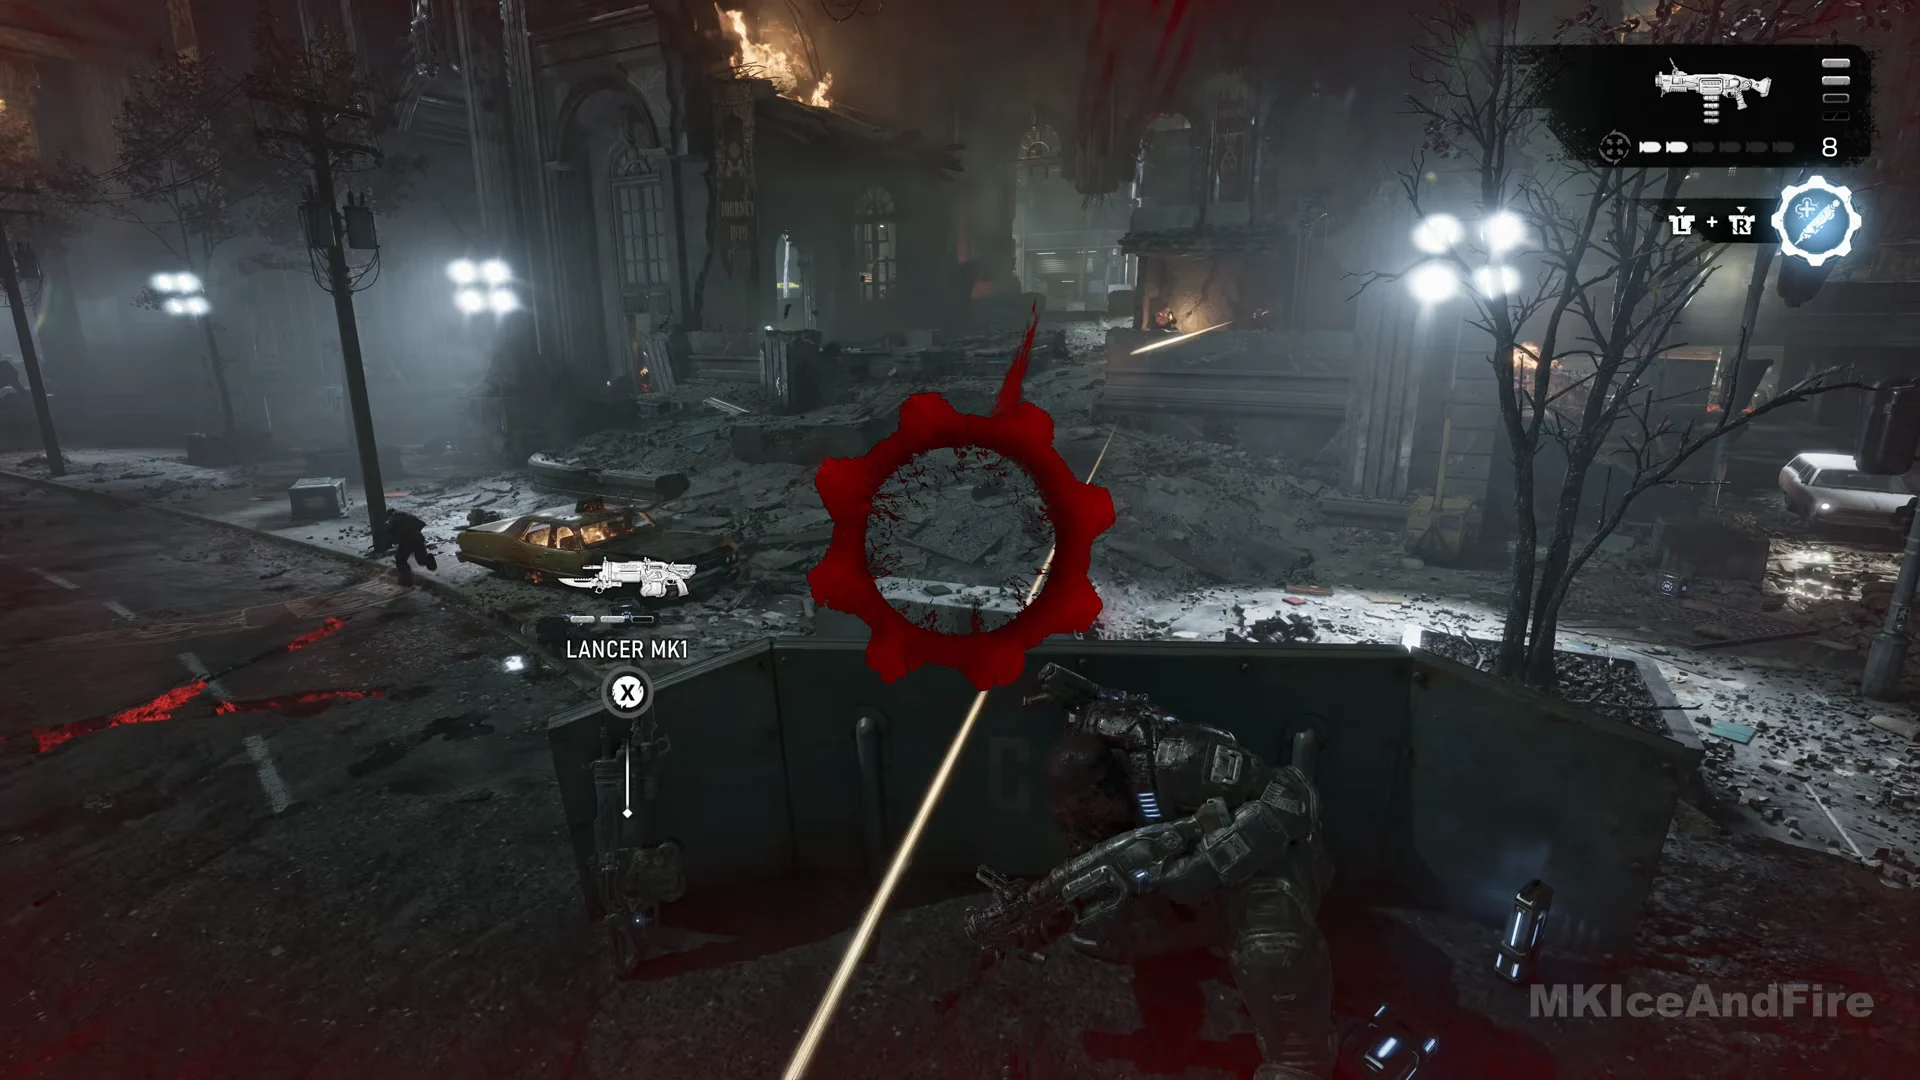
When “Kill the attackers” appears, aim at the large, pale, spined sacs floating overhead. Shoot each sac from a distance with the Lancer, switching to the Gut-Puncher when one draws near. Locust infantry emerge from holes in the street, and another creature appears after the first sac bursts.
Once outside, climb onto the delivery truck’s roof and enter the suspended “K DOWNTOWN LINE” train car. Inside, take the COG Tags of Specialist Bernard Havelock from the dead medic.
Climb the stone stairs to the Locust-held terrace, where a Sniper is among the enemies. A Ripper rests on the balustrade; pick it up with X “RIPPER” if you want it.
Lift the parking garage shutter. Open the Hard Case at the back wall behind a parked sedan. Deeper in, Wretches pour from an Emergence Hole, so back up the ramp and shoot down the lane, then leave by lifting the gate at the “NO ENTRY” ramp.
Start at the padlocked chain-link gate between red tarpaulins at the foot of an outside staircase, with “SECONDARY OBJECTIVE / ROOFTOP MAYDAY / HOLD X TO START”.
When the objective changes to “Eliminate all enemies”, a large, dark creature with a floating gas-bag body, chains, and tentacles attacks the roof. Shelter behind the air-conditioning units and unload the Gut-Puncher into it before switching to the Lancer. More Locust arrive afterward. This encounter has no time limit.
Once “Unlock the gate” is the objective, go to the chain-link gate at the roof’s far end and press X at “Open Door”. You receive STABILIZED AMMO (Striga mod).
Objective: “Rendezvous with Manu”, then “Retake the hospital”
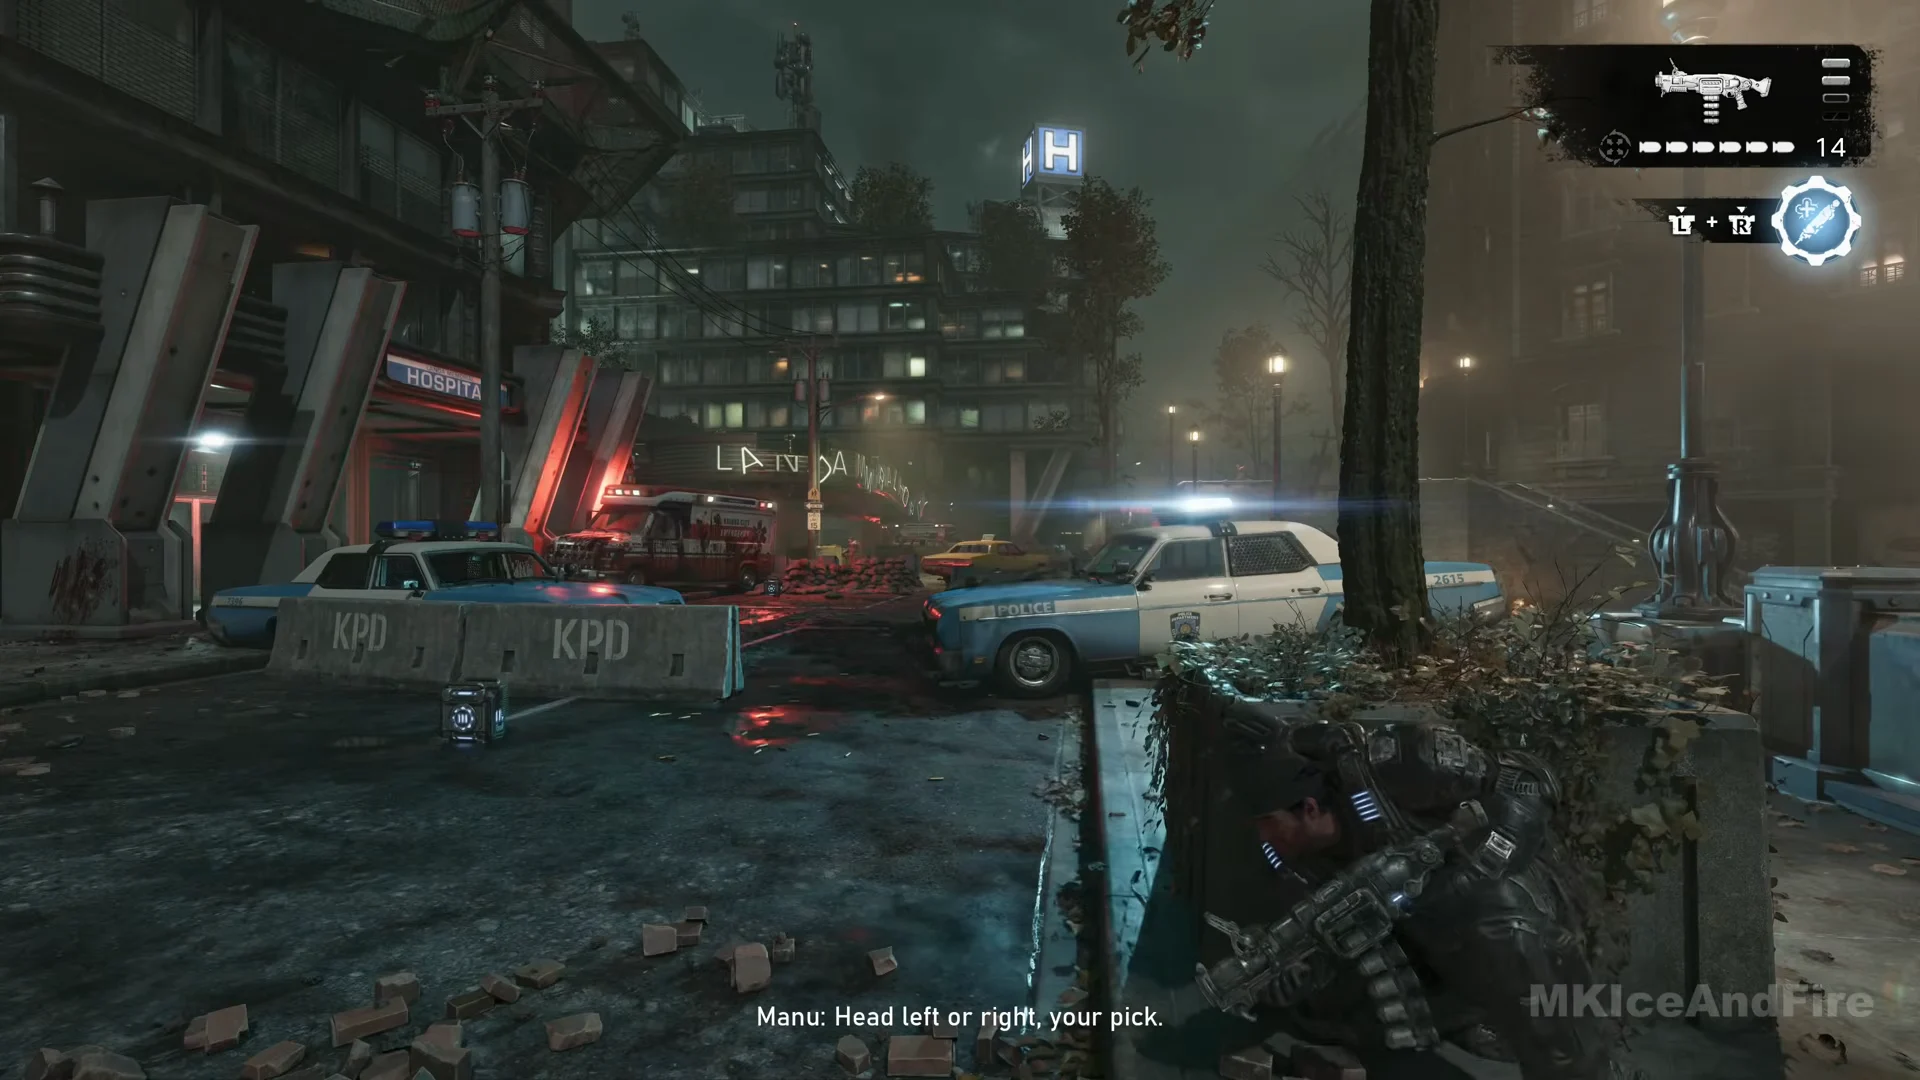
Enter the forecourt of Landa Memorial Hospital. Locust hold it behind sandbags and taxis, with a gun crew on the entrance canopy. Advance along the KPD concrete barriers and police cruisers to the ambulance under the canopy.
When “Find the medical supplies” appears, the “IN SEARCH ZONE” indicator points inside the hospital. Head upstairs, traverse the roof walkway, then drop through the floor opening into the reception room.
Take the Landa Memorial Hospital Evacuation Order from behind the curved reception counter on the ground floor, a clipboard on the low cabinet under the whiteboard, beside the red first-aid kits.
Find a map on a green crate beside the convoy trucks. Selecting X for “Leave the area and move out” closes off the district, so complete all other tasks beforehand.
In the cutscene, the convoy heads for the stadium. Locust attack, leaving Bravo behind to provide cover.
Objective: “Protect the convoy”, step “Fend off the Attack”
On a damaged terrace overlooking a plaza, you’ll find a Vulcan heavy machine gun loaded with 147 rounds at the edge. Fire on Wretches and Drones moving across the plaza. Squat creatures with glowing green mouths climb onto the terrace and spit green acid; take cover behind the broken wall and target their lit mouths. If a squadmate goes down, look for the green cross above them and press X to revive.
Objective: “Catch up with the convoy”
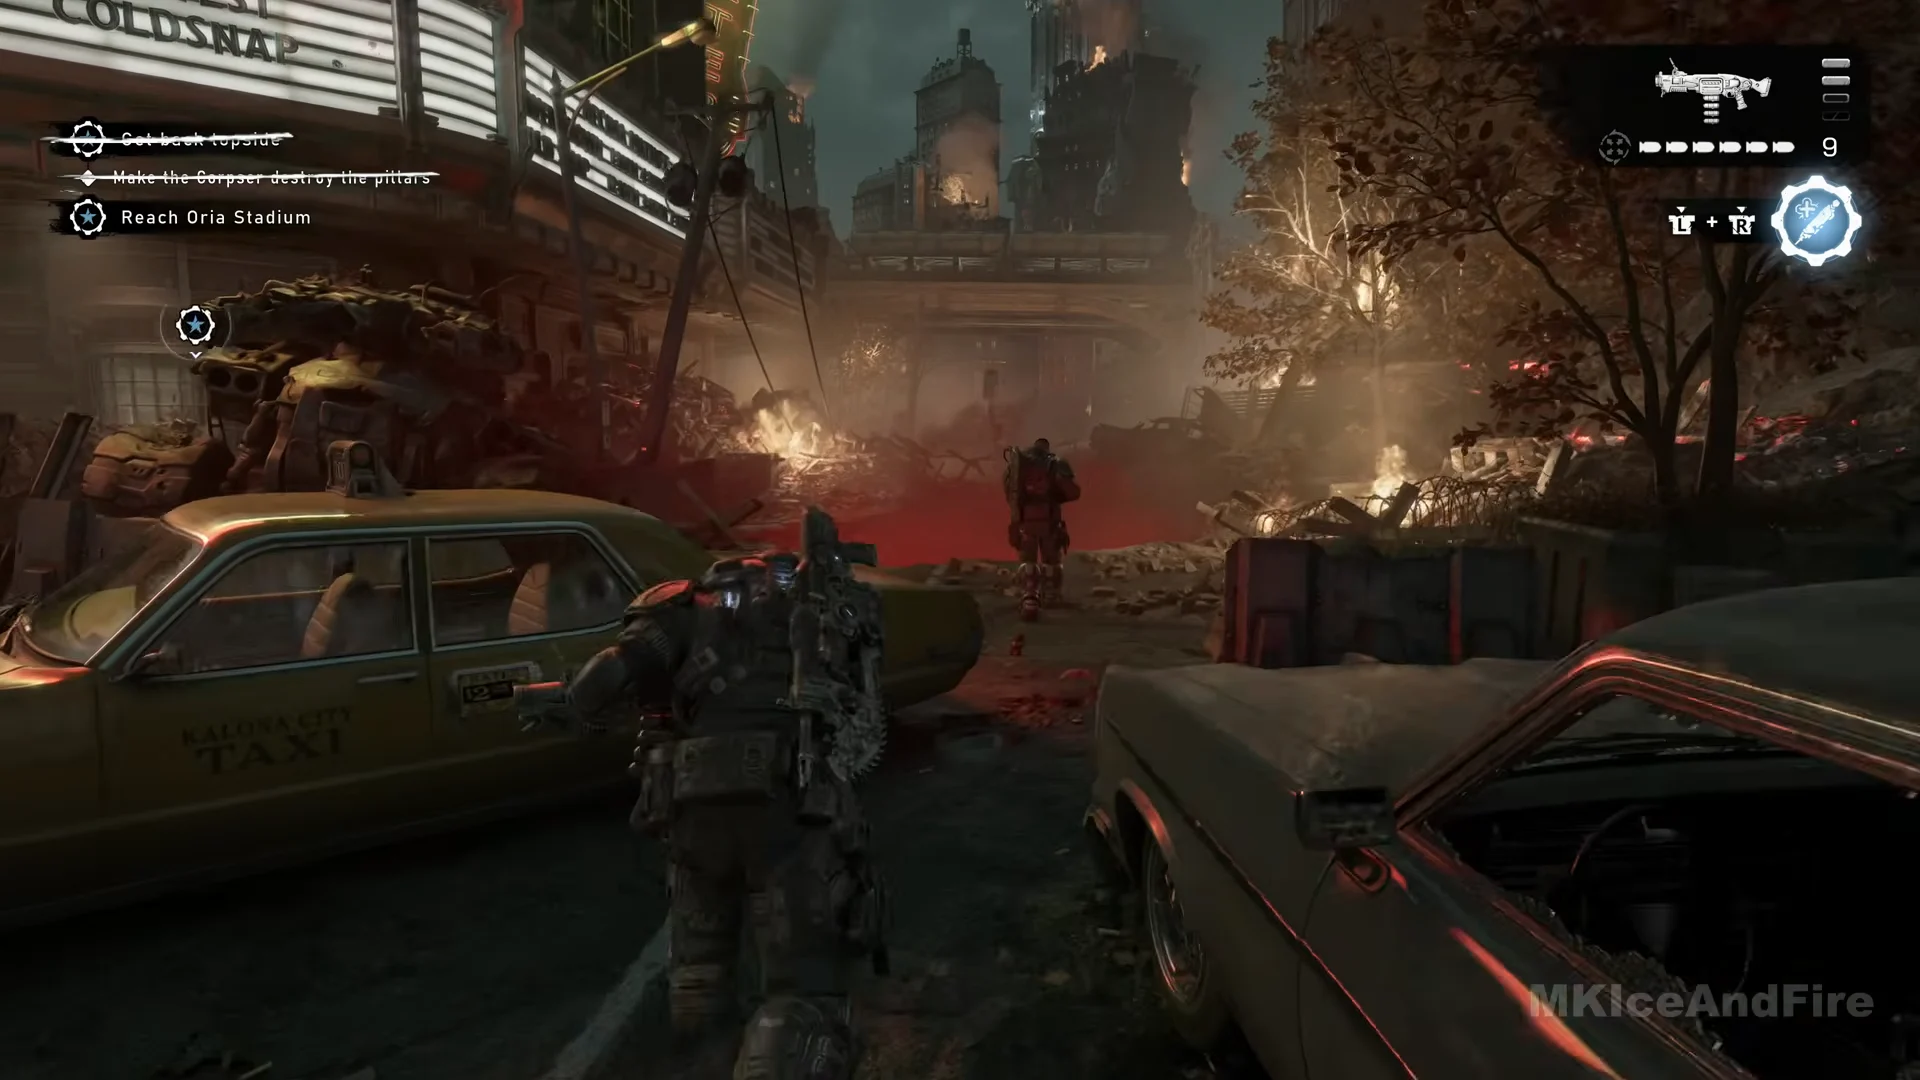
Locust fire from a scaffold at a street-side building corner. Send a Gut-Puncher grenade into the structure to take them out. A Reaver drops additional Locust farther down the street, including Scorched Drones; advance between the cars for cover.
A Corpser comes into the crossroads. Shoot it in the head when it is out. A heavy weapon lies in the road, so pick it up and fire on the head until it is empty, then switch back to the Gut-Puncher.
In the closing cutscene, Oria Stadium collapses into a Locust sinkhole as the convoy nears it, and Captain Grey turns the convoy toward the bridge. That cutscene is your sign the chapter is done, and Chapter 4, THE CONVOY, follows.
The six collectibles left off this route
The free-roam window after you reach the hospital is the time to sweep these up. Grab them before you press “Leave the area and move out”.
Locust Pistol Ammunition — Find it on the riverside promenade in the district’s south-central area. It rests on the paving between tree planters and benches, in a blood pool beside a body.
COG Tags of Private First Class John Carnahan — At the shelter entrance far south in the district, look on the ground beside the dead Gear seated against the blue wall. The tags are next to a wall keypad displaying “LOCKED”.
Damaged Heavy Locust Helmet — This item is associated with the Lost in the Park secondary objective, which begins with the civilian beside a taxi. Exit through the park gate, turn right, and follow the red chasm’s edge. The helmet is behind police car 5914, next to a dead Locust.
COG Tags of Private Oded Bay — In the district’s western area, enter the blood-filled fountain in front of the building marked with the green “Landa … Apartments” sign. Wade to the foot of the central monument.
COG Tags of Private Terrance Sander — in the Kalona police station lobby, right of the big wall badge, in the corner waiting area with teal chairs, on the floor beside the Gear lying there.
COG Tags of Specialist Rachel Carnahan — Inside Landa Memorial Hospital, go past the curved RECEPTION desk and up the steps into the dark waiting room. Look on the floor before the dead Gear by the illuminated “Snacks” vending machine.
The Damaged Heavy Locust Helmet is the only item here connected to a secondary objective. Lost in the Park does not take place on this route, so only the helmet’s location is provided.
Hard Cases and supply caches on this route
Following the steps above opens 13 Hard Cases across the district, flagged where you pass them, from the side alley off the first street through to the deli terrace before the final blockade. That is not the district’s full set, so you may spot more while exploring.
Two restock points sit on the way as well: the Supply Cache inside Monroe Library and the one on the deli terrace beside the Hard Case before the blockade. Hit them before the heavier encounters so you reach the convoy escort with full grenades and rifle ammo.