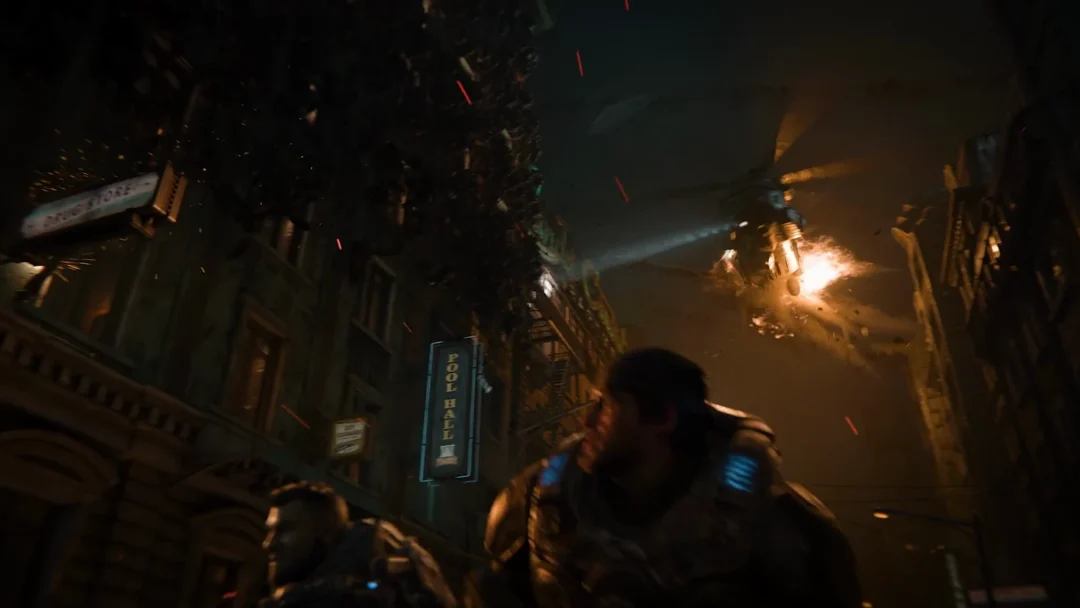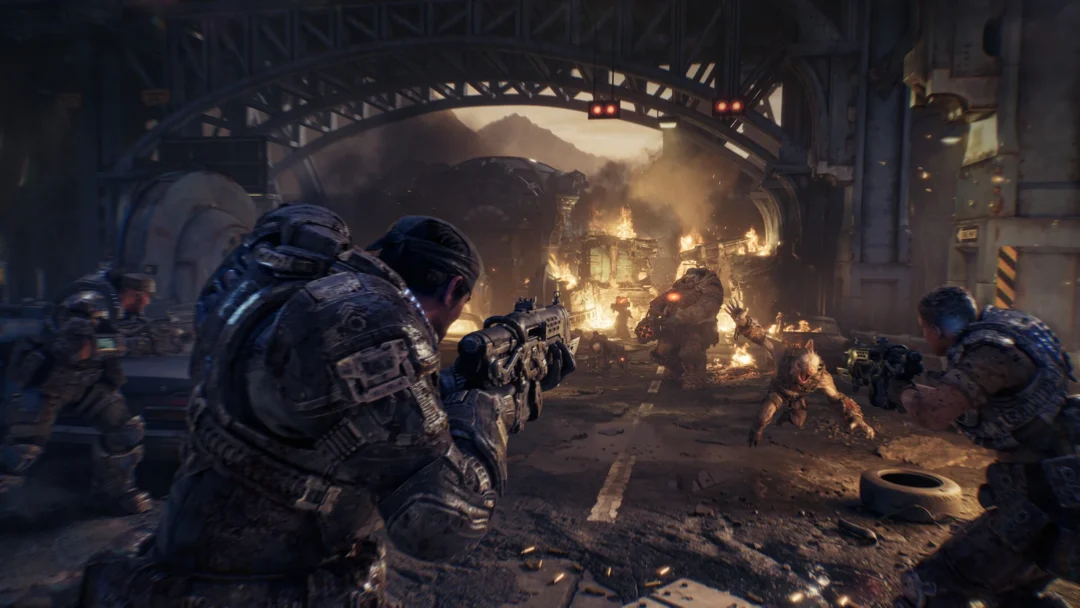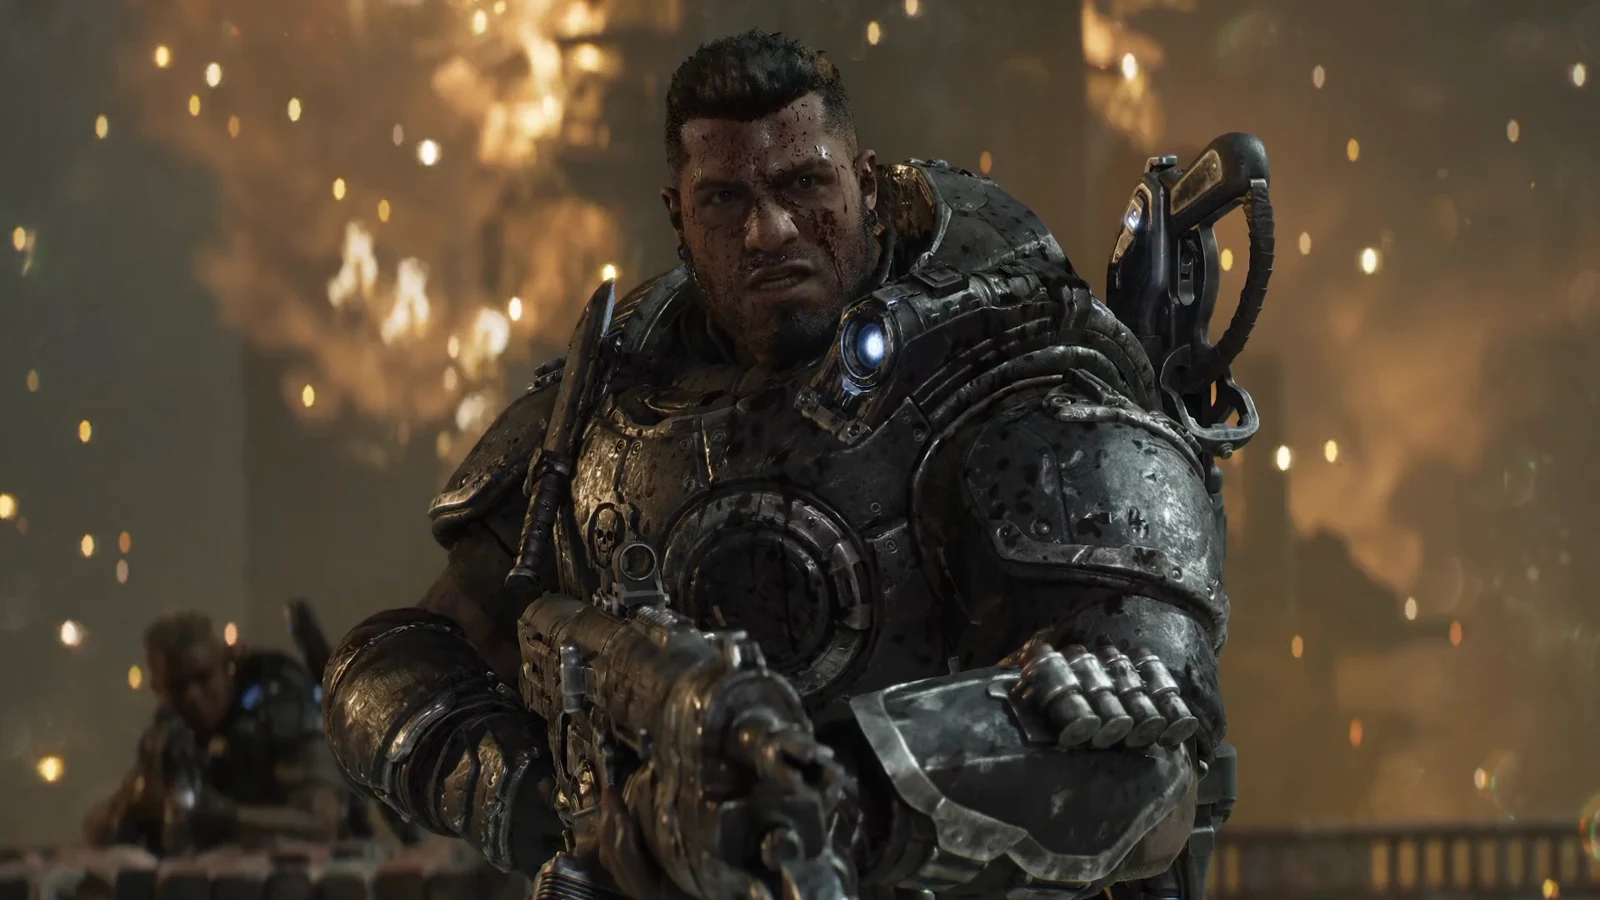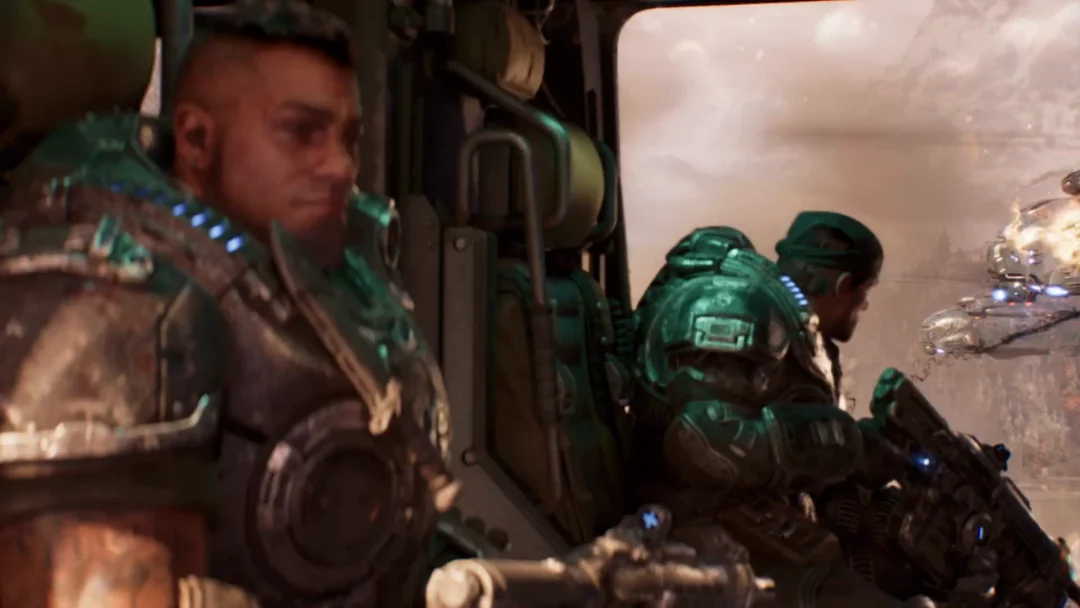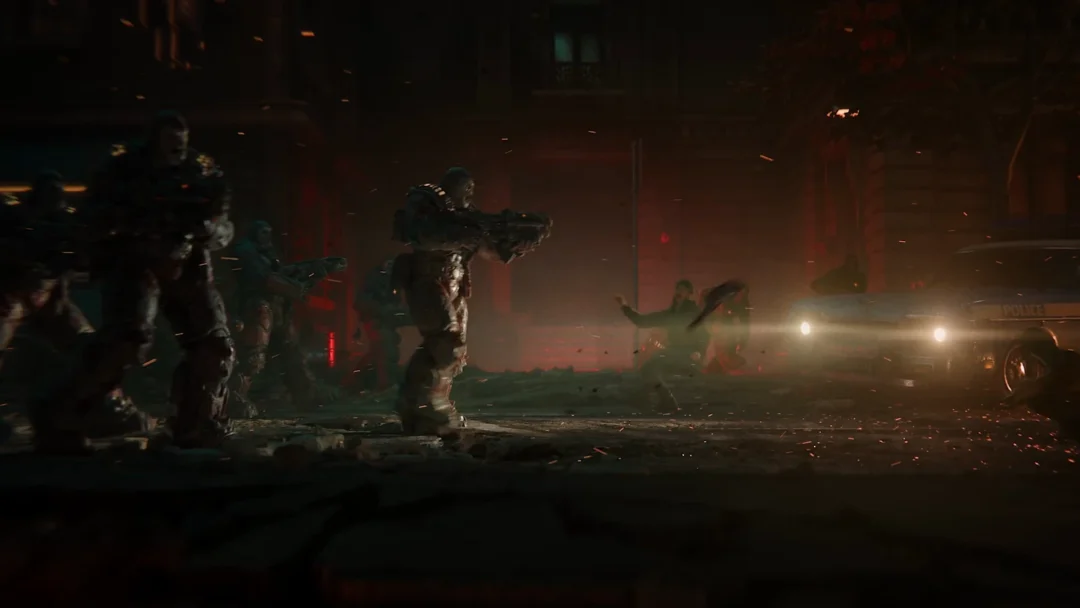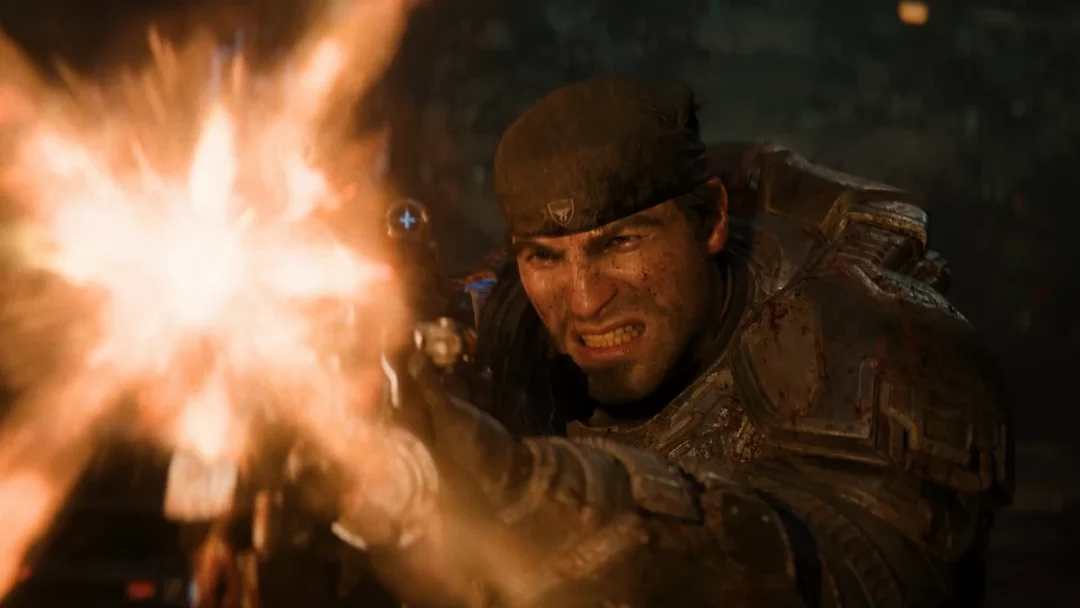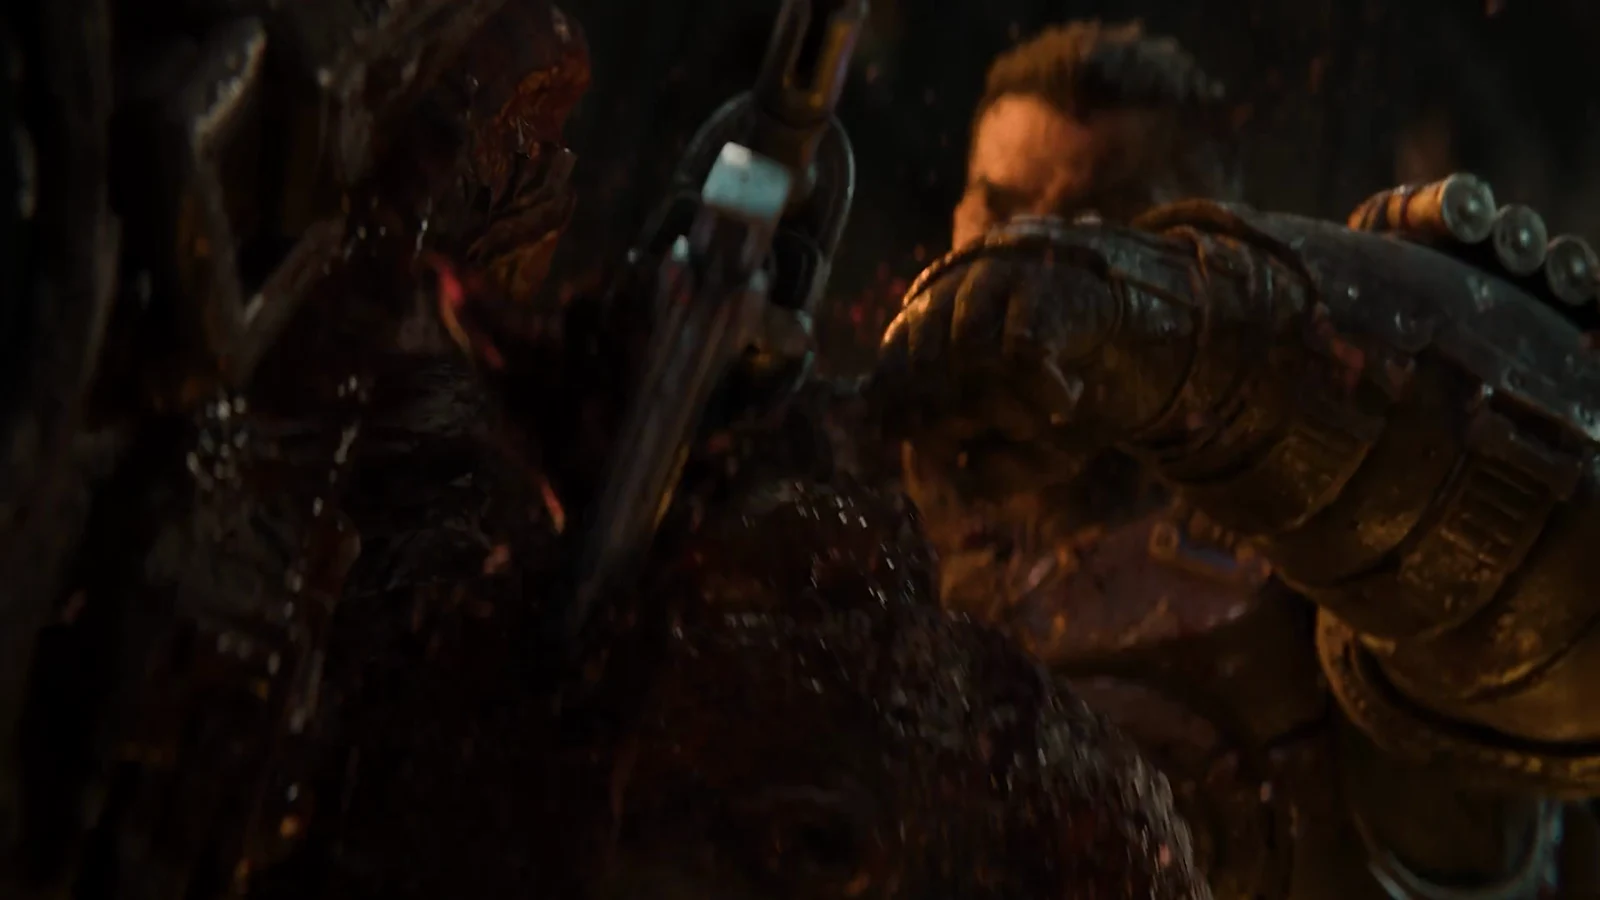
The Locust in Gears of War: E-Day run the full range, from leaping pack animals to armoured giants that soak up a whole belt of grenades. Nearly every one of them has a spot where it dies fastest, and once you learn the handful of rules behind those spots, most fights stop being guesswork.
Quick answer: Rifle fire from cover kills infantry, a shot or Gut-Puncher grenade into the mouth or glowing face kills the beasts, and the heavy weapon each big enemy drops is meant for the next big enemy.
These are the twenty-one enemy names the campaign shows on screen; it is not a full roster of the game. Other creatures show up that are never named.
- Wretches, Drones, Elite Drones, Scorched Drones
- Grenadiers, Elite Grenadiers, Scorched Grenadiers
- Snipers, Elite Snipers, Rushers
- Boomers, Grinders, Flayers
- Bilefrogs, Tickers, Reavers, Seeders, Corpsers
- Brumaks, Spore Matrons and the Scoria
Rules that work on almost every Locust
Three principles cover most of the campaign. Use rifle fire from cover against infantry. For enemies with mouths or glowing faces, those are usually the only places where shots will hurt them. Large foes either fall, or are accompanied by, the heavy weapon you need for the next major fight.
Picked up in Act 1, Chapter 4, the Gut-Puncher grenade launcher handles groups, holes, mouths and heavy enemies. When its belt is empty, use your rifle to finish the survivors.
Emergence Holes open the ground in red smoke and the Locust climb out of it. The squad calls them sinkholes. Fights drag on for as long as one is open, so put explosives straight into the smoke first.
Use the EXECUTE prompt to finish off a Locust after it falls. Marcus can also be downed and brought back by a squadmate; when a squadmate falls, a revive marker appears so you can get them back on their feet.
Swarmers: Wretches and Tickers
Wretches are pale, small, four-legged creatures that emerge in groups from cracks, vents and holes, then spring at you. They show up in the opening street battle of Act 1; later, in Act 4, Chapter 1, one objective reads “Clear the Wretches in the hotel”. At close range, use the Gnasher or a melee attack; before the group arrives, a Gut-Puncher round can thin it out. Keep the pack from closing around you, or it can knock Marcus down. The squad also calls out “Crawlers” during the City Hall Brumak fight and on the bridge; these act just like Wretches, so wipe them out quickly before returning to your main target.
Tickers are little, orange-glowing crawlers that charge toward you and detonate. You encounter them first in the Bank of Tyrus during Act 2, Chapter 2, before they flood the plaza outside. Pick them off from a distance—preferably from a balcony or balustrade—so they explode before getting close to anyone. They also pour from the glowing burrows while you fight the Corpser.
Locust infantry
Drones
Drones are the standard soldiers, first encountered in Act 1, Chapter 2. They move forward in groups while taking cover, and they drop the Hammerburst. Fire any rifle from cover; headshots dispatch them quickly, while a chainsaw or bayonet works against one that charges. Elite Drones and Scorched Drones appear in the same squads and require the same approach; only the difference in their names is confirmed.
Grenadiers
The ambulance bay in Act 1, Chapter 4 is your first encounter with Grenadiers. On meeting them, the squad warns that they have shotguns; keep away, since they close the gap quickly. Shoot them as they approach with your rifle, and avoid fighting them at point-blank range. Elite Grenadiers and Scorched Grenadiers appear later, with the latter showing up during Hold the Line.
Snipers
First on the bridge catwalks in Act 2, Chapter 1. A thin red beam marks where one is aiming, and they sit high on catwalks, scaffolds, guard towers and upper windows. They drop the Breechshot. Break line of sight the moment the beam lands on you, then answer with a scoped rifle. The game usually leaves a Longshot near a sniper nest, such as the truck bed at the courthouse, and the Gut-Puncher’s manual detonation reaches one tucked onto a balcony. Elite Snipers are labelled from Hold the Line onward.
Rushers
This hulking, bare-chested enemy is first identified during the police station ambush. It knocks Marcus down there, triggering a struggle: mash X inside the red ring until a squadmate takes it out. In open combat, make a Rusher your first target and kill it before it can close the distance.
Armoured heavies
Boomers
This enormous, slow-moving foe wields a Heavy Boomshot and first shows up on the bridge in Act 2, Chapter 1. It shouts “Boom” before each rocket; duck behind solid cover as soon as you hear it, then pop out and fire before the following shot. The first one withstands an entire Gut-Puncher belt, so finish it off with the Lancer. It leaves behind a Heavy Boomshot loaded with eight rockets.
Grinders
Huge and armoured, firing a Troika heavy machine gun in long streams. The first two guard the Fairlight Outpost gate in Act 3, Chapter 1, and one of them shoots straight through the closed gate. Stay behind hard cover, like the pickup truck there, and feed Gut-Puncher grenades into it between bursts. Both go down quickly that way, and each drops its Troika with 96 rounds.
Flayers
Huge, armoured and armed with a harpoon weapon, the Gorehook. The first stalks the red-lit subway platform in Act 3, Chapter 2. Stay behind the low concrete divider and pound the body with Gut-Puncher grenades, and it drops fast. It leaves a harpoon gun with eight shots you can grab. Another waits in the rail yard in Act 4, Chapter 3.
Beasts and boss-sized enemies
Bilefrogs
The squad names these squat, frog-like creatures when you meet them on a plaza terrace. Their green acid spit leaves a glowing pool on the ground. Take cover behind stone to avoid the spit, steer clear of the pools, and fire when a mouth opens. One Gut-Puncher grenade through the mouth is enough to burst one.
Reavers
Long-legged flying beasts that carry Locust riders and drop troops, called out by the squad from Act 3 on. Twice a Reaver becomes its own objective, once as “Kill the Reaver” on the bridge road and once as “Eliminate the Reaver” on the stone terrace. When it lands, the whole squad pours fire onto it at once. Hit the body with Gut-Puncher grenades and switch to the rifle when dry, working from behind a balustrade or arch. It explodes when it dies, and focused fire ends it quickly both times.
Seeders
A burrowing beast that surfaces to lob living mortar shells and jams your radio while it does. The boss version appears in Act 2, Chapter 3 in front of the Octus Tribunal, and its shell turns bullets, so shoot only the mouth end. Roughly twelve Gut-Puncher grenades plus about sixty Prototype Lancer rounds put it down. In the next chapter, several Seeders are gunned from the King Raven’s door gun under the objective “Target the Seeders.”
Corpsers
Giant, many-legged diggers. The boss fight closes out Act 3, Chapter 2 across two sewer chambers. Shoot the glowing red face whenever the armoured front legs open. In the second chamber the objective shifts to “Make the Corpser destroy the pillars,” so stand behind a support pillar and bait it into ramming the structure. Tickers crawl out of its burrows between charges. Another Corpser surfaces in Kalona Square in Act 4, Chapter 1.
Brumaks
The biggest thing on legs. At City Hall in Act 1, Chapter 4, the Brumak has a single health bar, so keep moving and chip the head and chest with the Gut-Puncher, then finish with the Lancer. The Fort Vigil Brumak in Act 3, Chapter 6 is armoured, so shoot the launcher off its back and take out its arm guns first, then work the head until the helmet comes off.
Spore Matrons
These pale, floating sacs of gas trail tentacles and appear in Act 4, Chapter 1’s Missing Convoy side objective, “Kill the Spore Matrons.” A red marker indicates the distance to each one. They release small, spiked mines that float, so take shelter beneath the colonnade arches, shoot mines that approach, and target the sac’s red centre. Use your rifle at long range and the Gut-Puncher when one gets close.
The Scoria
Large, winged, insect-like beasts in the refinery core at the end of Act 4, Chapter 6, under “Kill the Scoria.” Each has a thin health bar above it. They circle the platform, land on it, and fire a wide yellow beam. A Vulcan is carried into this fight and is the best opener, after which the Prototype Lancer handles whichever one is in the air and the Gut-Puncher handles one that has landed. Keep moving sideways out of the beam, pick up squadmates when a revive marker shows, and shoot the canisters around the platform when the squad calls for it.
Weapons the enemies leave behind
Some kills hand you the exact tool for the next big fight. Grab these off the ground when you can.
| Enemy | Weapon it leaves |
|---|---|
| Boomers | Heavy Boomshot (8 rockets) |
| Grinders | Troika (96 rounds) |
| Flayers | Harpoon gun (8 shots) |
| Snipers | Breechshot |
| Drones | Hammerburst |
Reserve Gut-Puncher ammunition for mouths, heavy enemies and holes; use your rifle on foes that bullets can handle. In the last chapter, the campaign’s final boss is Locust commander Vraahk, whom you fight twice. These are scripted encounters, not an enemy type that appears elsewhere.