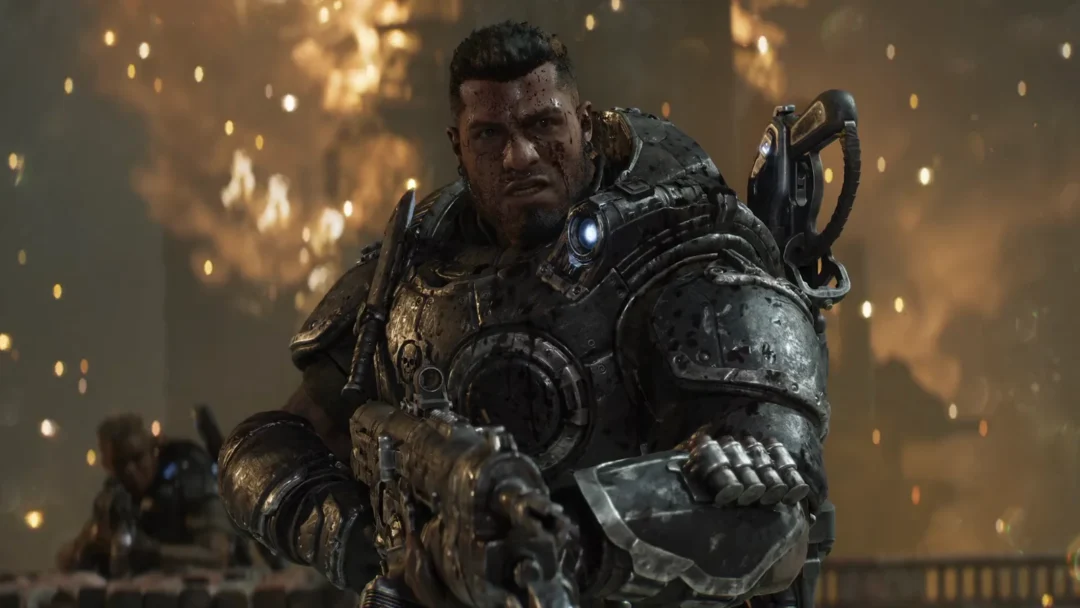
Heavy weapons in Gears of War: E-Day sit outside your normal loadout. You pick one up, carry it in both hands, fire through its single ammo pool, and lose it the moment it runs dry or you switch back to a regular gun. There are three named guns to find in the campaign, plus COG turrets you can rip from their mounts and walk away with.
How heavy weapons behave when carried
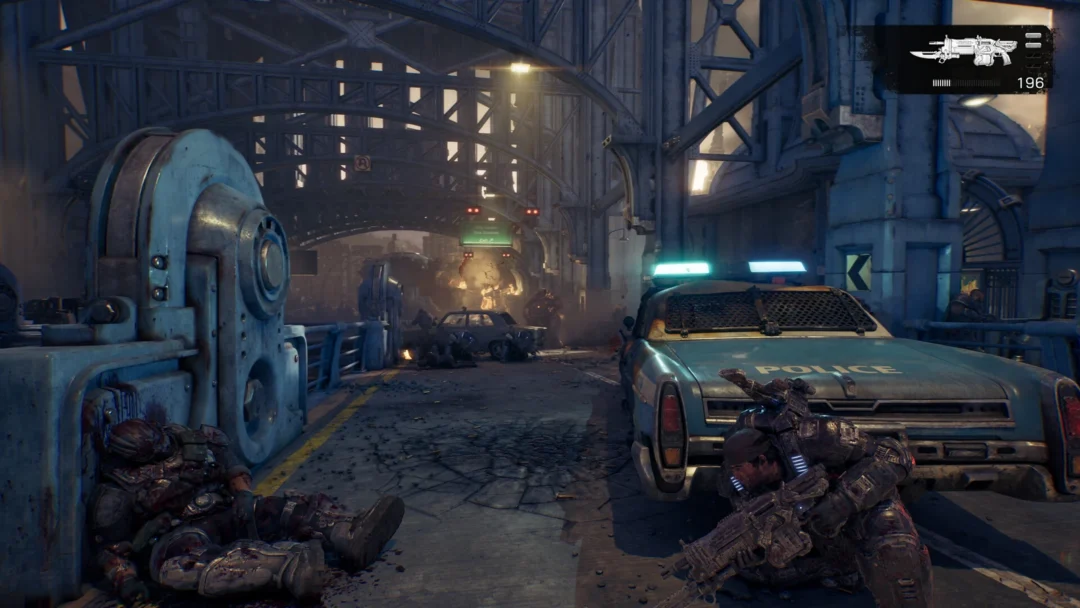
Even with a Troika lying nearby, your wheel contains Frag Grenade, Gut-Puncher, Prototype Lancer, and Snub. The heavy gun appears separately in the HUD’s upper-right panel, with an outline and a single ammo count but no reserve number beneath it.
Because there is no reserve, how you manage the weapon matters. Here is what the game does in each situation:
- Pick one from the wheel and the heavy weapon drops where you stand, keeping its remaining rounds. Press X again to pick it back up.
- If combat knocks you down, the gun falls with you. After you are revived, it remains on the ground and can still be picked up.
- Visit a Supply Cache and it stays in hand, so a Vulcan at 220 rounds opens and closes the cache still at 220.
- When the counter hits zero the weapon is discarded automatically and your last regular gun comes back up with no input.
- The indicator below the weapon outline changes to red when ammunition runs low.
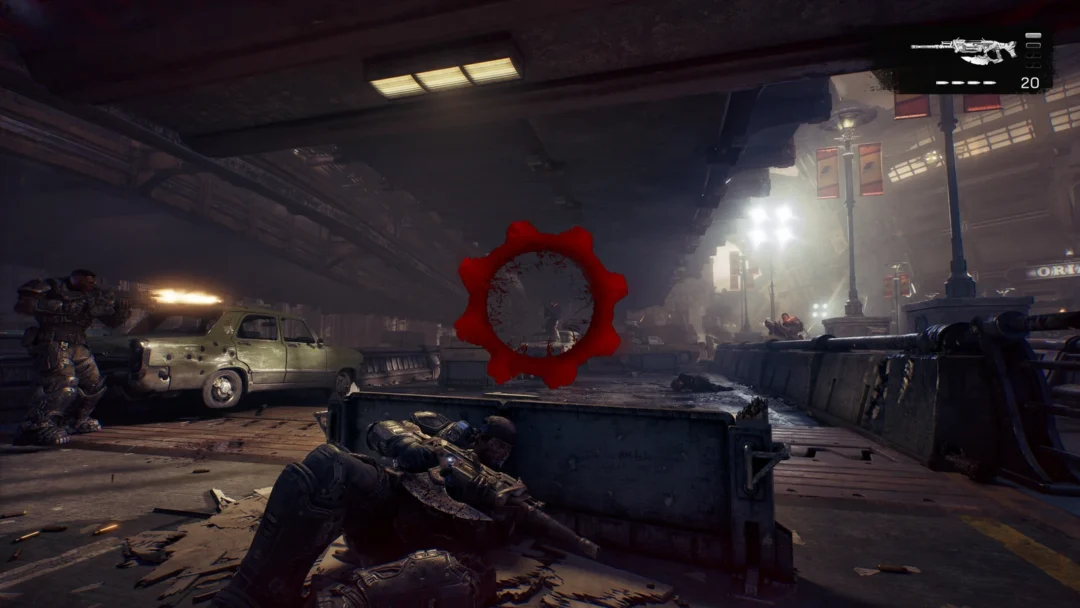
Some heavy weapons found on the ground are unavailable. If you see a crossed-circle symbol where the X prompt would normally appear on a launcher, you cannot collect it—usually because you are already carrying a heavy weapon.
The three heavy weapons and where they come from
| Weapon | Type | Source | Rounds at pickup |
|---|---|---|---|
| Heavy Boomshot | Rocket launcher | Dropped by Boomers | 8 (later copies show 9) |
| Vulcan | Rotary machine gun | Loose and on COG turrets | 147 loose, 220 detached |
| Troika | Locust machine gun | Dropped by Grinders | 96 |
One naming point worth clearing up: the loose rotary gun and the gun you pull off a COG turret both read Vulcan on the ground. There is no separate “Mulcher” label on any of these prompts.
How to detach a turret and carry it
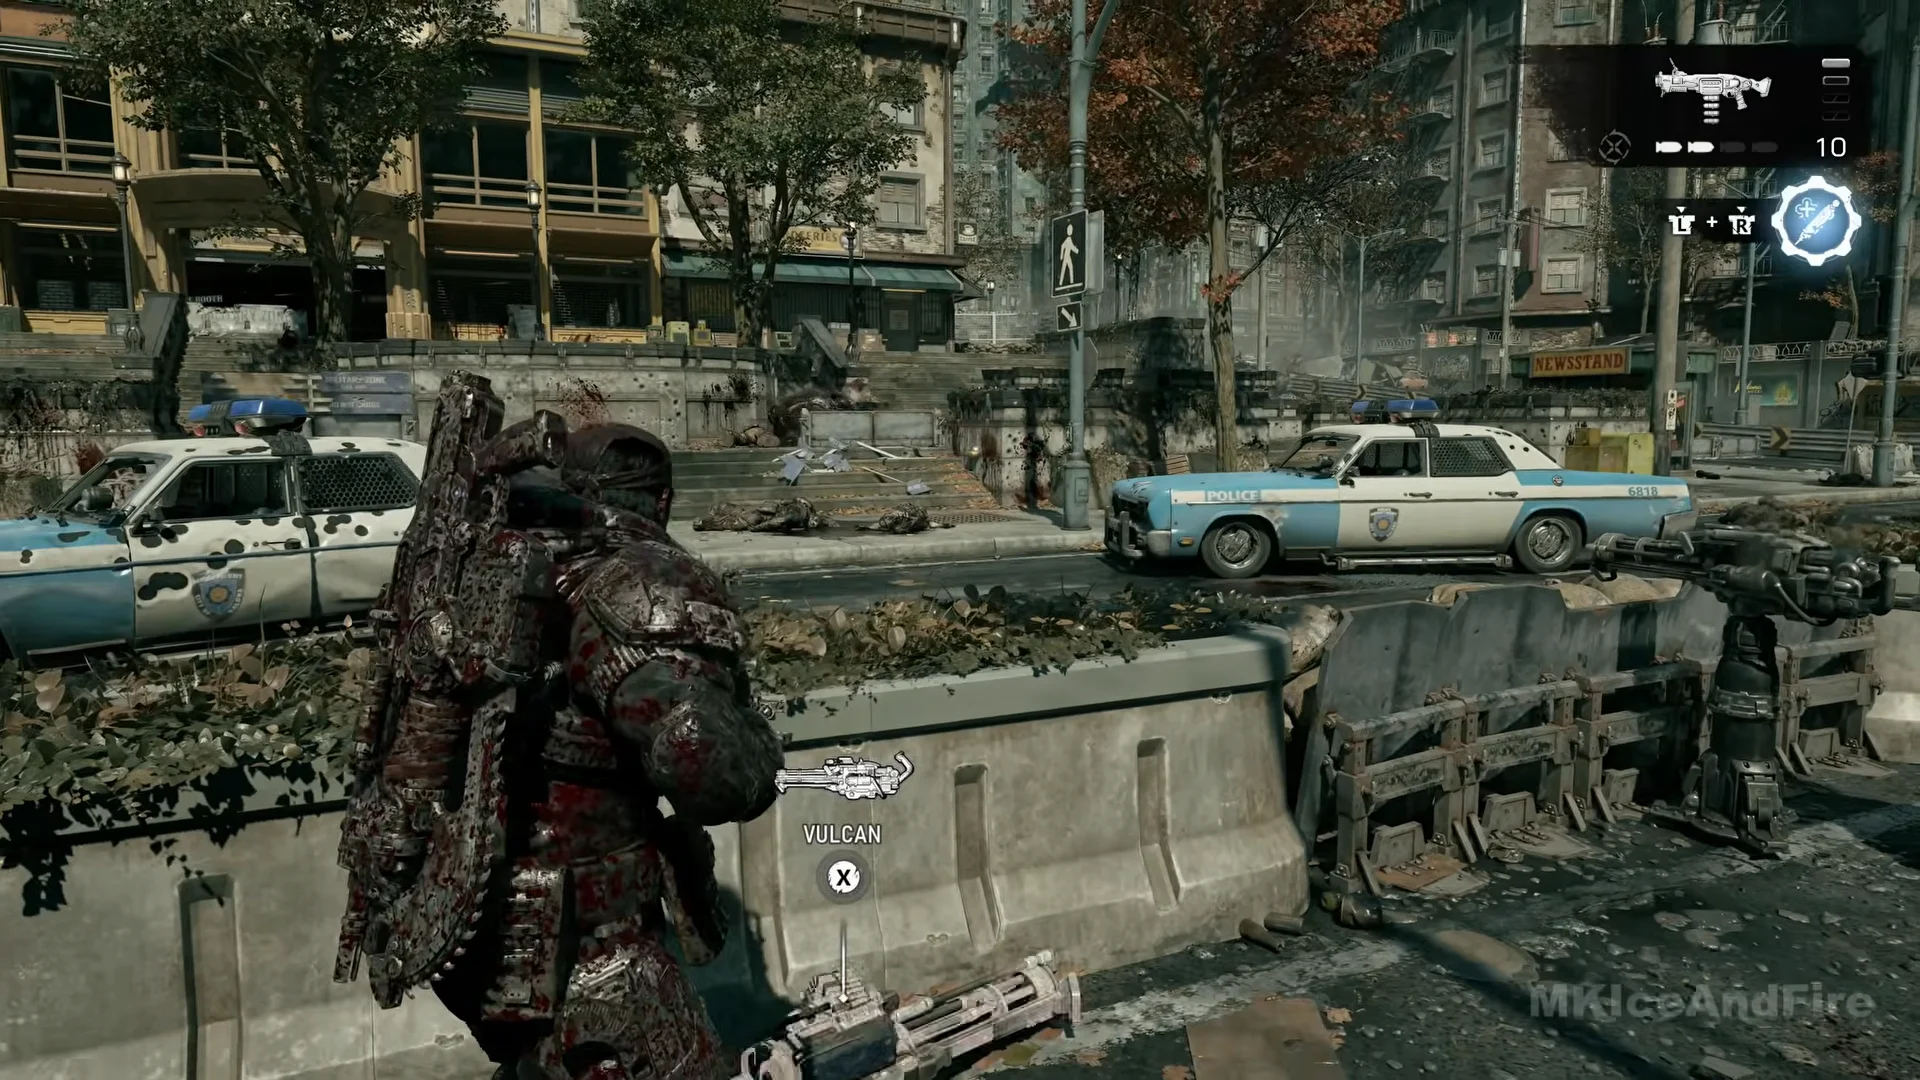
COG sandbag turrets mount a Vulcan. You can either stay on the mount for unlimited fire pinned to one arc, or rip the gun free and trade that for 220 rounds you can move with. The sequence uses three prompts only, so ignore any LB, RB, A, or shoulder-button guesses.
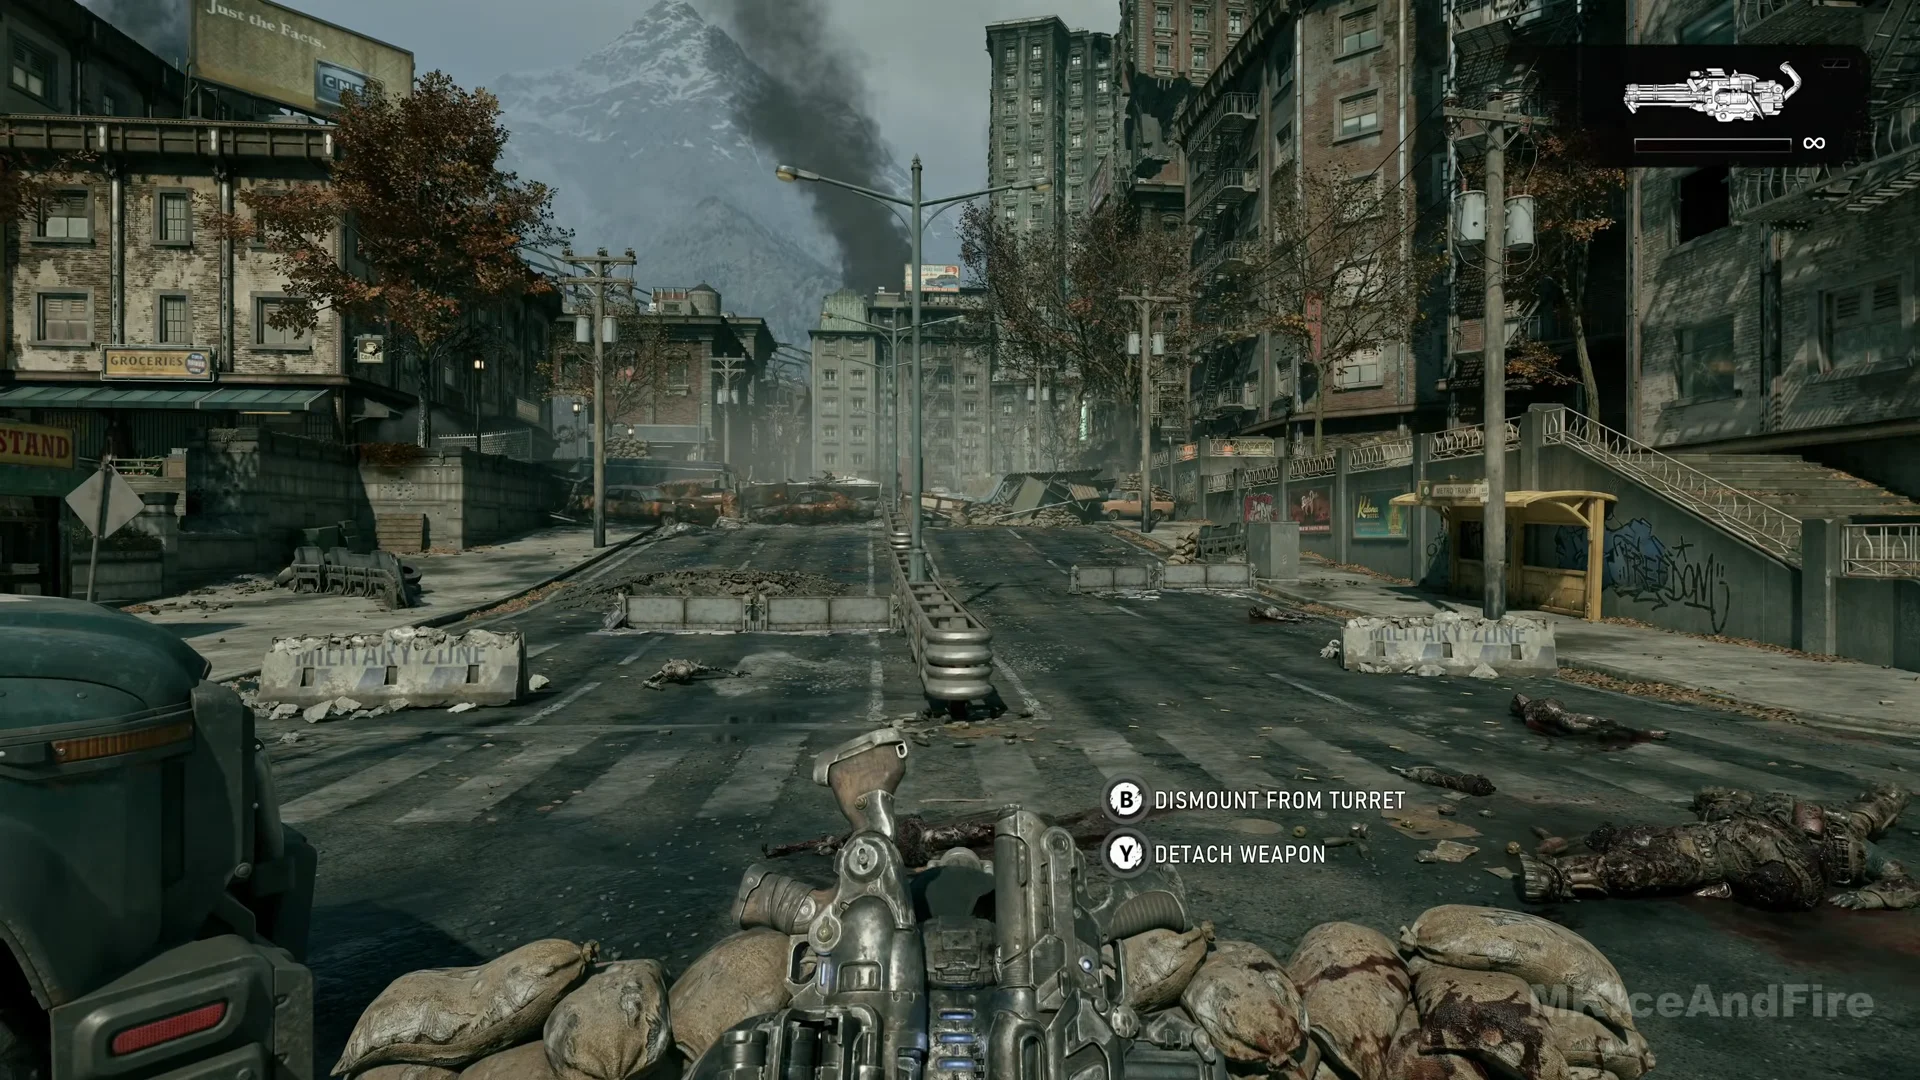
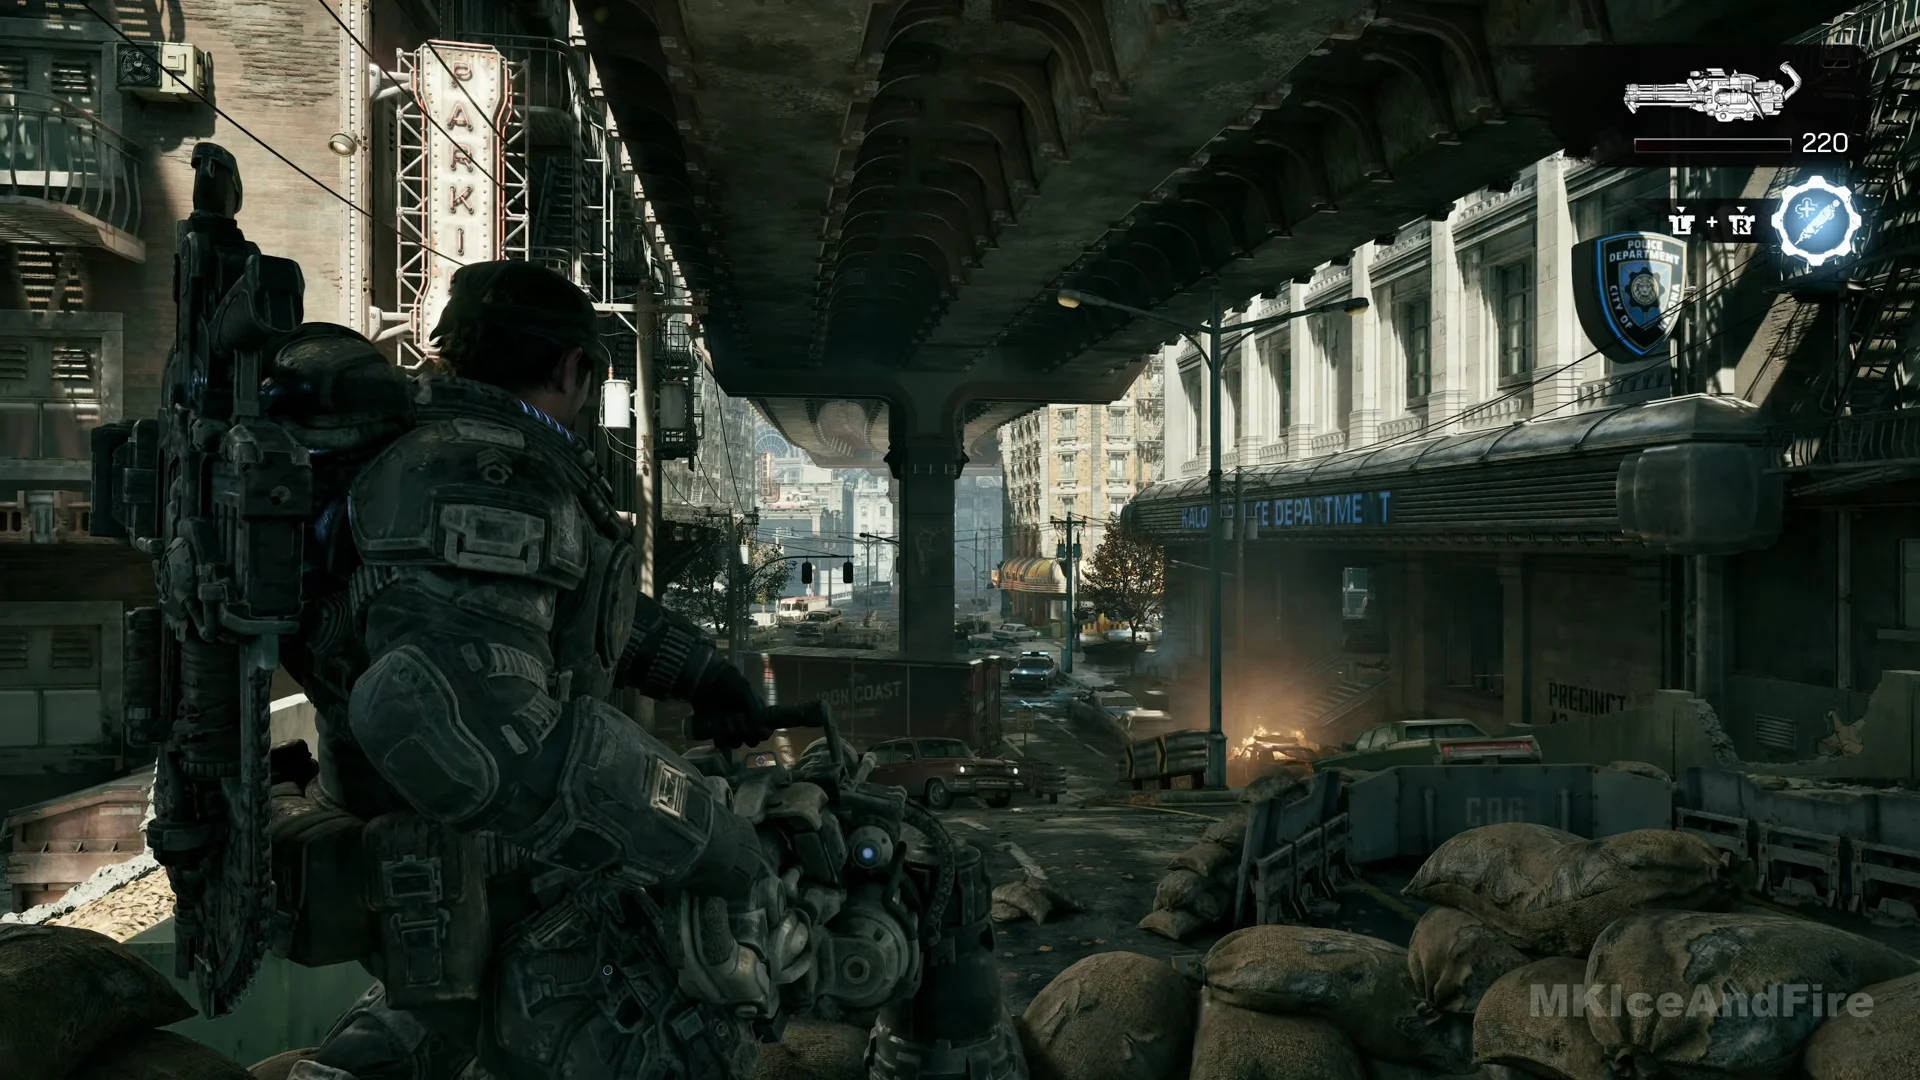
In Act 2, Chapter 2, the earliest usable turret is at the sandbag position below the raised rail tracks, next to the red PARKING sign. Another is stationed by the COG truck outside the courthouse during the defence, in the break between waves. You can take that detached gun to the Supply Cache and bring it into the following wave without losing its ammunition.
Detaching only makes sense if you are about to move. If you plan to hold one lane, stay mounted for the unlimited ammo.
Heavy Boomshot
The Heavy Boomshot is a rocket launcher that Boomers wield and leave behind when killed. Your first encounter is on the bridge roadway in Act 2, Chapter 1 (Bravo Squad), as the campaign’s first Boomer comes through the burning barricade. That pickup contains 8 rockets; a line of rocket pips and an adjacent number show the ammo, while the reticle is a simple bracket.
Later copies carry 9 rockets, including one in the Corpser’s second chamber and another on the bridge deck in the final chapter. Each shot is an explosion, which makes this the pick for Boomers, packed Drones, or anything sheltering behind a barricade. When the count reaches a single rocket and that is spent, the launcher is discarded and your Lancer comes straight back up.
Vulcan
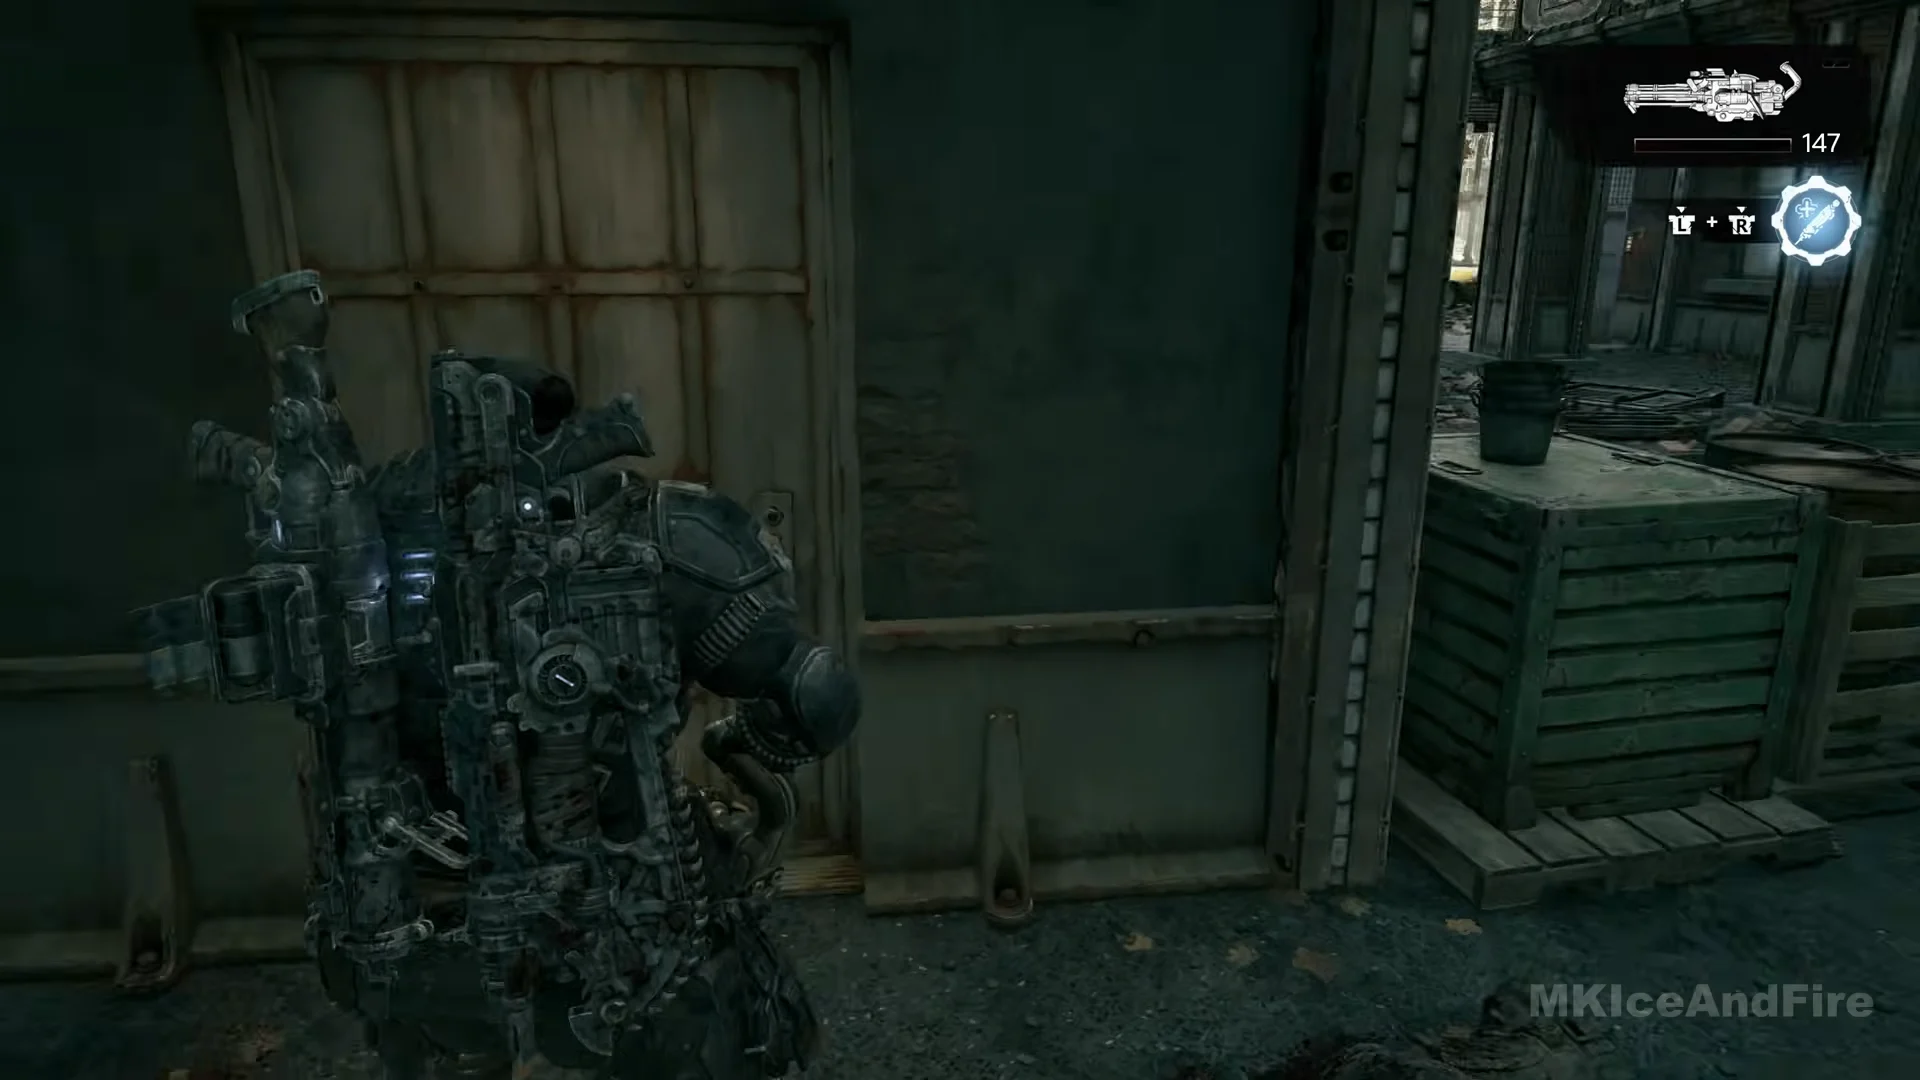
The Vulcan is a rotary machine gun designed for sustained fire. Its first ground pickup is beside a dead Gear near a grey metal door in an alley in Act 2, Chapter 2 (Hold the Line), and contains 147 rounds. It empties quickly: during the street ambush in the next block, the count falls from 147 to 59 and soon reaches zero.
The same gun sits on COG turrets, where a detached copy holds 220 rounds instead of 147. You will see the name on the prompt at the courthouse barricade and again after the Special Cargo side objective in Act 4, Chapter 3. It chews through ammo quickly in sustained fire, dropping from 220 to 172 in a few seconds, so it is strongest against one big target or a lane of infantry rather than scattered enemies.
Troika
The Troika is the Locust heavy machine gun, dropped by Grinders. You meet the first one in Act 3, Chapter 1 (Stranded), at Fairlight Outpost, when two Grinders push through the chain-link gate before the helipad and leave it by a body. It picks up fresh with 96 rounds every time, including the copy on the wooden crates before the Corpser’s second chamber and the one beside a large Locust corpse ahead of the final boss.
Like the Vulcan, it empties fast under steady fire, going from 96 down to 26 in roughly fifteen seconds when poured into a target. Fire it in controlled bursts and put it down before swapping so you do not run it dry by accident. At the helipad you can set it down for the Gut-Puncher when an Emergence Hole opens, then pick it back up where you left it.
Which heavy weapon to pick
The Heavy Boomshot gives you a handful of explosive shots, so hold it for Boomers, tight groups of Drones, and enemies behind cover where splash damage counts. The Vulcan and Troika are both sustained-fire guns for one heavy target or a line of infantry, and both burn through their counters quickly, so short bursts beat holding the trigger. Whatever the counter reads when you pick one up is all you get, since none of them show a reserve and ammo boxes do not refill them. Fire deliberately, and drop a gun yourself before swapping rather than letting it empty out mid-fight.