Gears of War: E-Day — Hold the Line Part 1 Walkthrough (Octus Way Station)
Clearing the route from the Oria Stadium FOB through the district to Octus Way Station, including both optional rescues.
Clearing the route from the Oria Stadium FOB through the district to Octus Way Station, including both optional rescues.
by AllThingsHow Staff
Hold the Line is the first open-district chapter of Act 2, and it is the longest chapter in the act. On-screen cards break it into three parts. Part 1 begins at the chapter card and ends when the card “HOLD THE LINE – PART 2” appears, which takes roughly 26 minutes, the first five of them a cutscene. It introduces the Prototype Lancer and its chainsaw, Supply Caches, weapon mods, the district map, secondary objectives, and Tactical Gear.
Quick answer: Part 1’s three objectives, in sequence, take you from the Oria Stadium FOB to the station concourse cache: “Get your orders,” “Secure Octus Way Station,” and “Gear Up.” A Boomer inside the station is the sole heavy enemy.
This is one route through Part 1. It does not list the chapter’s 27 collectibles, its Hard Cases, or its other secondary objectives. Two collectibles sit on the path below, and the rest lie elsewhere in the district.
Opening cutscene at the Oria Stadium FOB
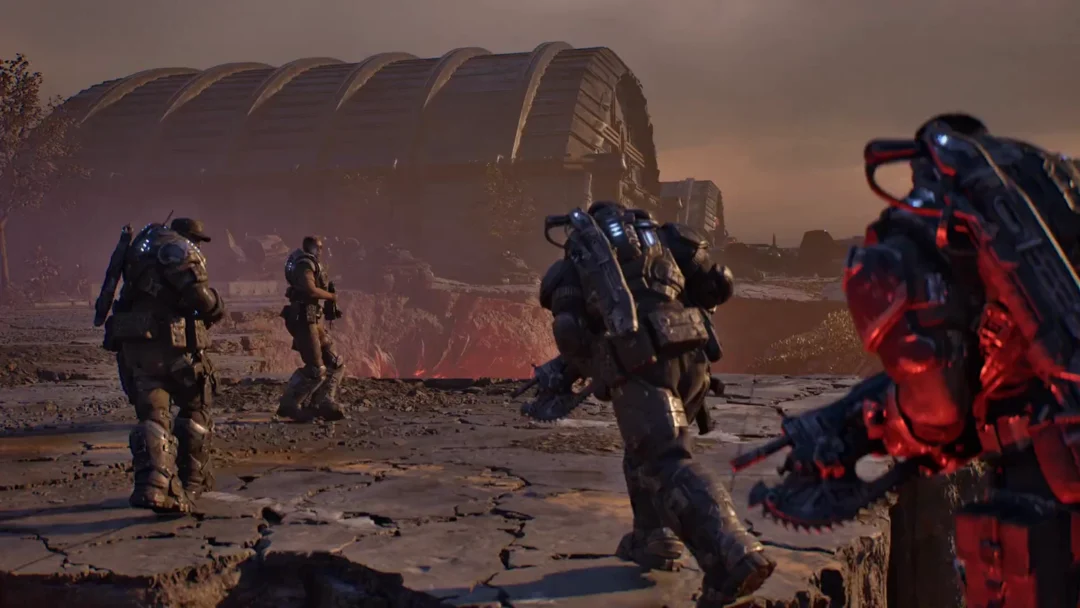
The stadium now serves as a forward operating base, where the quartermaster issues the squad rifles fitted with under-barrel chainsaws. Captain Grey directs Bravo downtown to defend the line. Control returns outside the stadium with the Prototype Lancer equipped as your primary weapon. You do not need to collect anything.
Start in the plaza near the bronze eagle statue and follow the squad to the ORIA STATION building. Descend its broad stone stairs; Tai is waiting at the bottom and takes the lead. This section has no enemies.
The step “Open the Supply Cache” appears with the alert “SUPPLY CACHE NEARBY.” The cache is the squat grey COG crate under the yellow elevated rail structure, inside the sandbags. The prompt is X “Use Supply Cache.” Two tutorial cards open, SUPPLY CACHE and WEAPON MODS. Closing the cache finishes the step and saves a checkpoint.
When “Pick up the map” becomes the objective, find it lying across the green crates and press X at “Pick up the map.” Grey assigns you to reach Octus Way Station and support Charlie Squad.
Secure Octus Way Station
Head out past the tank to the first junction. A checkpoint saves and the card “VIEWING THE MAP” appears. The View button opens the map, with the collectible counter at 0/27.
On the first street, head for the car dealership beneath the yellow canopy. Two sergeants are talking outside when the “SIDE OBJECTIVE DISCOVERED” bar appears. This is where The Vanguard begins; to skip it, carry on at the first “Back to the main route” heading below.
Two optional rescues sit on the road to the station. Together they take about six minutes and hand over four weapon mods.
Secondary objective
Where it starts
Rewards
The Vanguard
Car dealership with the yellow canopy
Bayonet (Hammerburst), Cover Brace (Lancer Mk1)
Trapped Family
Last Dollar store parking lot
Precision Long Barrel (Breechshot), Bayonet (Gnasher)
When “Repel the enemy attack” becomes active, red smoke rises in the street as Locust infantry advance through parked cars toward the dealership. Protect the barricade beneath the canopy. Let the attackers bunch together, throw Gut-Puncher grenades into the group, then finish any survivors with the Prototype Lancer. The encounter takes about a minute. Its rewards are the Bayonet (Hammerburst mod) and Cover Brace (Lancer Mk1 mod).
Back to the main route
Follow the avenue away from the dealership and under a concrete arch. Coming out, the “SIDE OBJECTIVE DISCOVERED” bar shows again and a parking lot opens in front of the green-and-yellow LAST DOLLAR store. One or two Wretches are loose here. Trapped Family starts here; to skip it, carry on at Step 4 under the second “Back to the main route” heading below.
The step “Look for a way in” shows, then “Eliminate all enemies.” These are Wretches only, a stream of them over the road barriers and parked cars for about a minute. Stay in the open lot with the squad, back away while firing the Prototype Lancer on full auto, and roll back when one leaps.
The step “Look for a way in” returns. Face the store, go right past the tall DAILY SALES sign to the plain roll-up shutter, and use the interact prompt.
Press A at the fallen shelving, follow the staff kitchen corridor to the counter, then press X at “PUSH BUTTON” on the pillar beside the cash register. This rewards the Precision Long Barrel (Breechshot mod) and the Bayonet (Gnasher mod).
From the Last Dollar lot, climb the exterior stone stairs to the higher street. A checkpoint saves at the top while two Gears below call for help. Descend into the street.
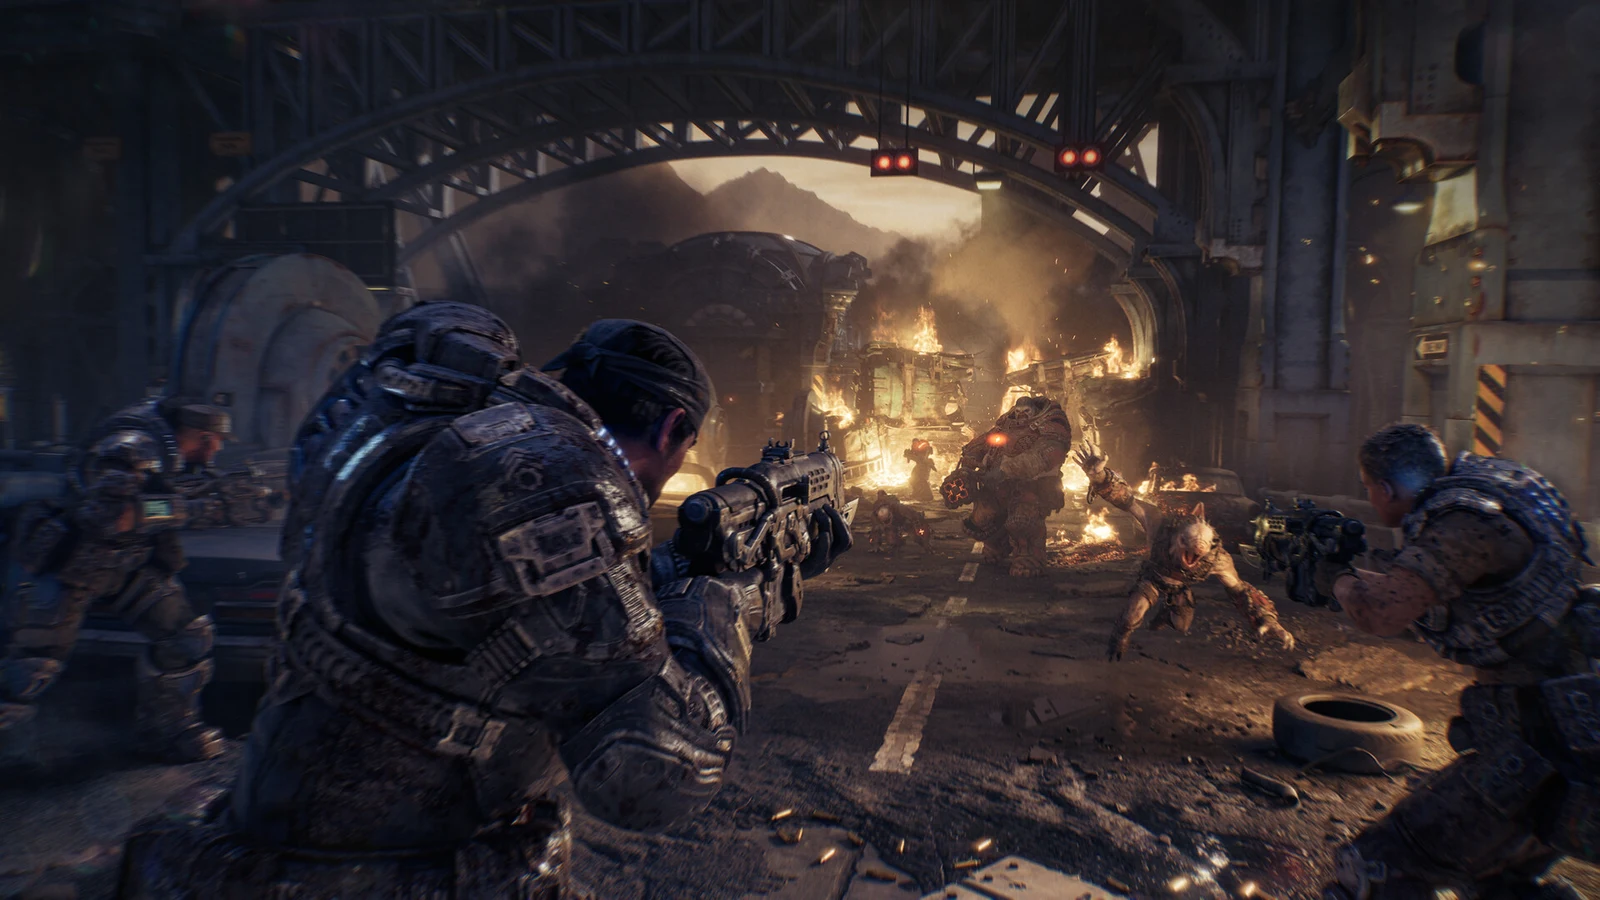
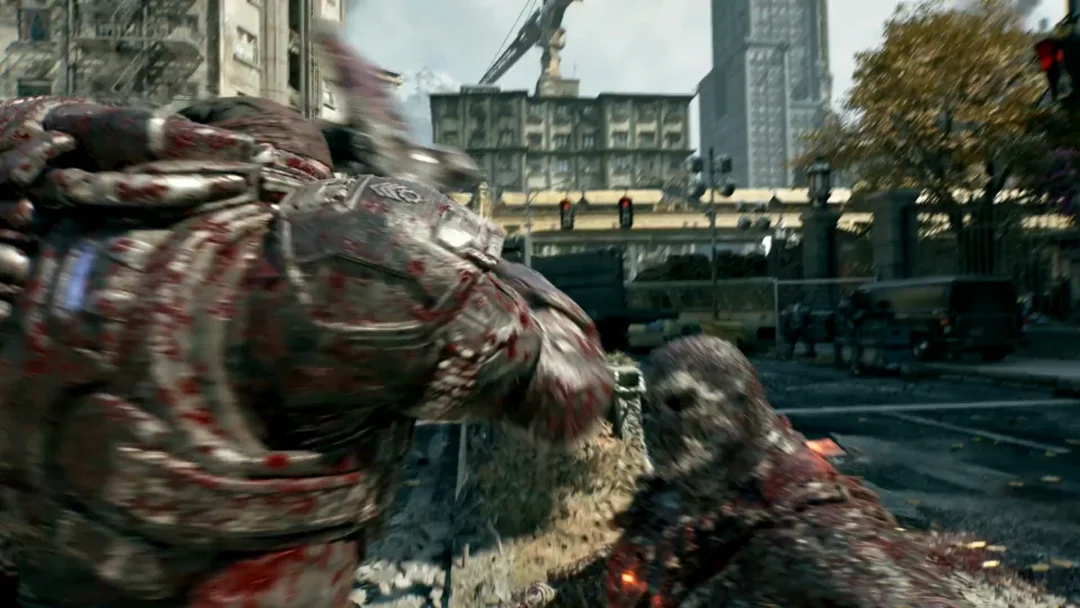
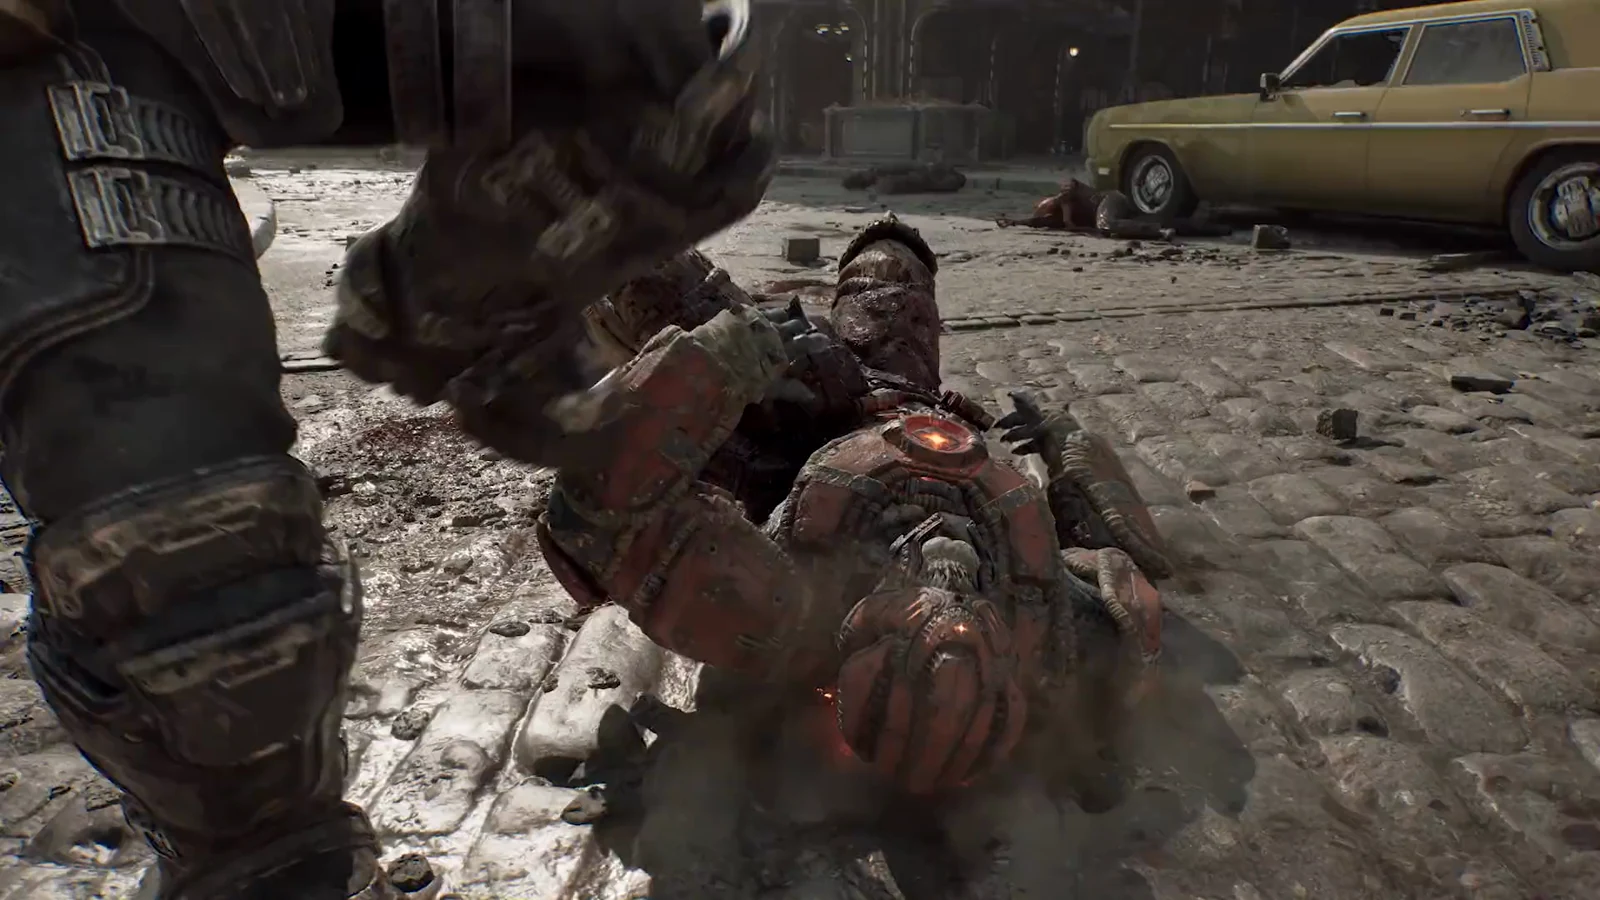
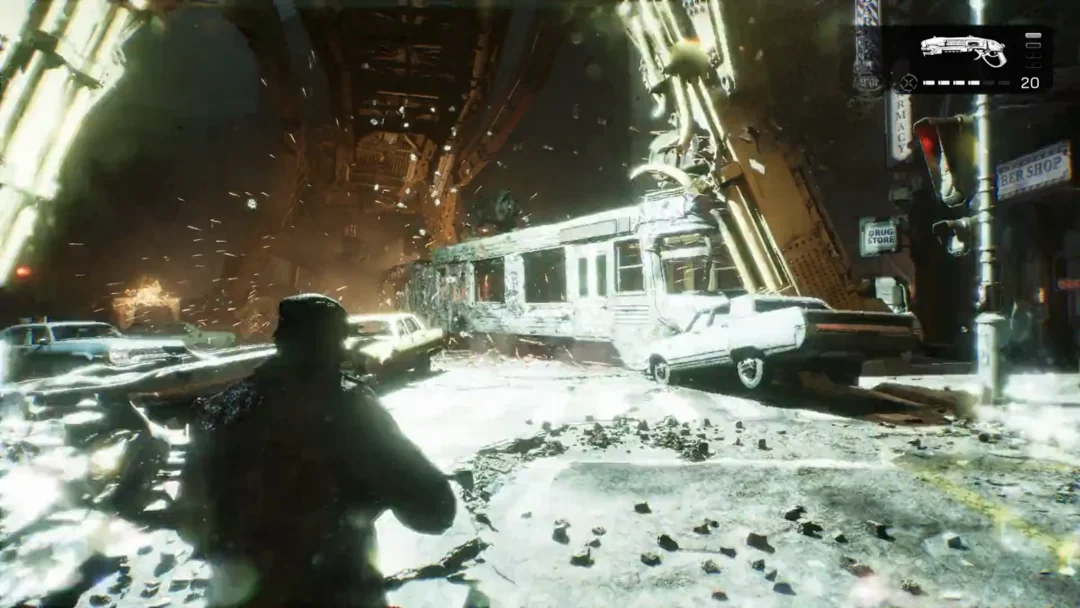
Fight through the junction. A wall of dust rolls down the street, then Drones come at the junction, the later ones out of red smoke around a break in the road. The card “CHAINSAW REV” appears: “Hold B near an enemy to tear them apart.” Let a Drone run in, or close on one from car to car, and hold B. Cover is the row of abandoned cars and the green military truck, so work from car to car rather than the open road. Explosive canisters sit by a crate and on the truck; shooting one as a Drone passes clears a group. A checkpoint saves when the street is clear.
Leave the store and go through the gap in the chain-link fencing with the orange hoardings. Drop to the rail line and walk the length of the wrecked passenger car on the tracks.
“Eliminate all the hostiles outside” appears as the far end of the train car leads to rubble before the station’s arched facade. Drones shoot from the facade’s ledges and balconies, beneath the hanging car, and behind low barriers beside the red signal lights. Use the train car’s end for cover first, leaning out to target the high Drones with the Prototype Lancer. Cross the rubble to the railway ties and deal with the enemies at track level. Marcus gets hit if you stand exposed in the rubble between these positions, where gunfire comes from several heights at once.
The step “Link up with Charlie Squad” appears with a checkpoint. Climb the broken embankment to street level, take the ammo by the sandbags, go up the station’s front steps, and through the gold-framed glass doors.
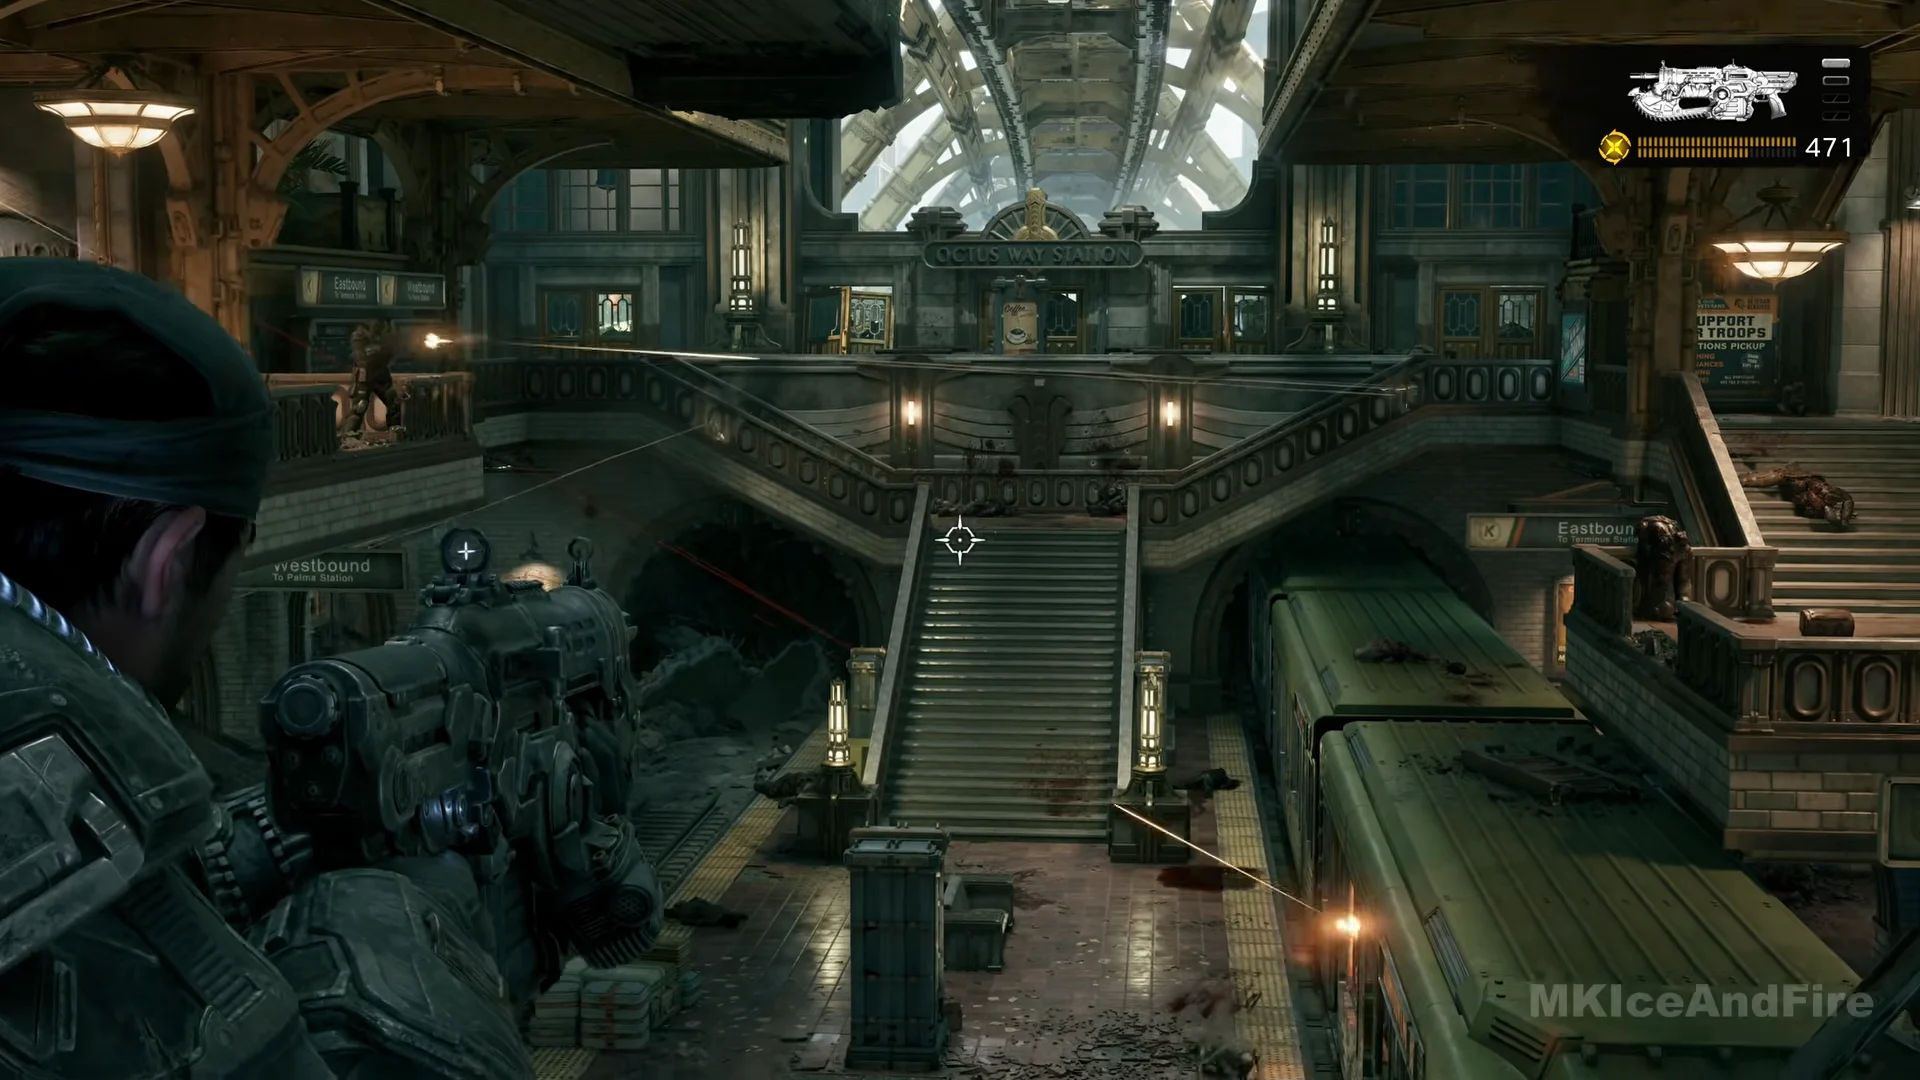
The doors open onto an upper landing with a stone balustrade, across a hall from a grand staircase with a train on the track below. Drones hold the far stairs and the platform. Stay at the balustrade and shoot across with the Prototype Lancer while the squad fires from both sides.
After clearing the far stairs, descend to the platform, go past the train, and climb the staircase opposite. A red sniper laser moves across the steps, so keep moving. There’s a Breechshot on the stairs.
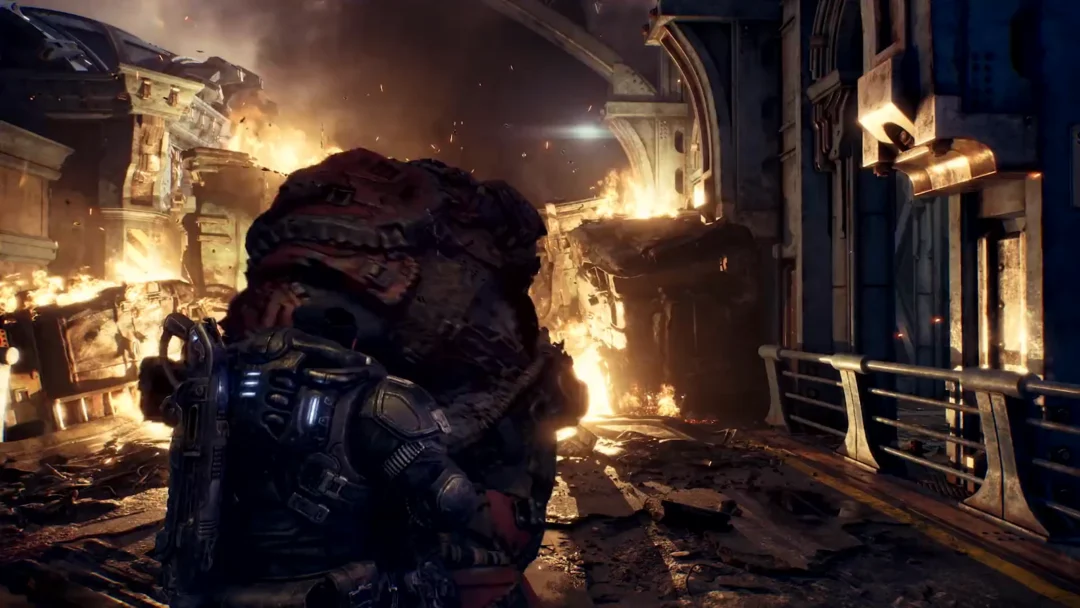
At the top, a Boomer appears with Drones behind it. Its rocket launcher fires after it says “Boom,” so take cover behind a pillar or around a corner when you hear the warning. Switch to the Gut-Puncher before reaching the top of the stairs. After each rocket, lean out and hit the Boomer with grenades; if you run out, finish it with the Prototype Lancer.
Take the Heavy Boomshot the Boomer drops and use it on the Drones that come in from the ticket hall side. It is a carried heavy weapon with no slot and no spare ammo, so put it down when you choose another weapon. Check the upper walkway by the TICKETS windows for the last Drone. A checkpoint saves, Charlie Squad walks in and reports the station secure, and “Secure Octus Way Station” is struck through.
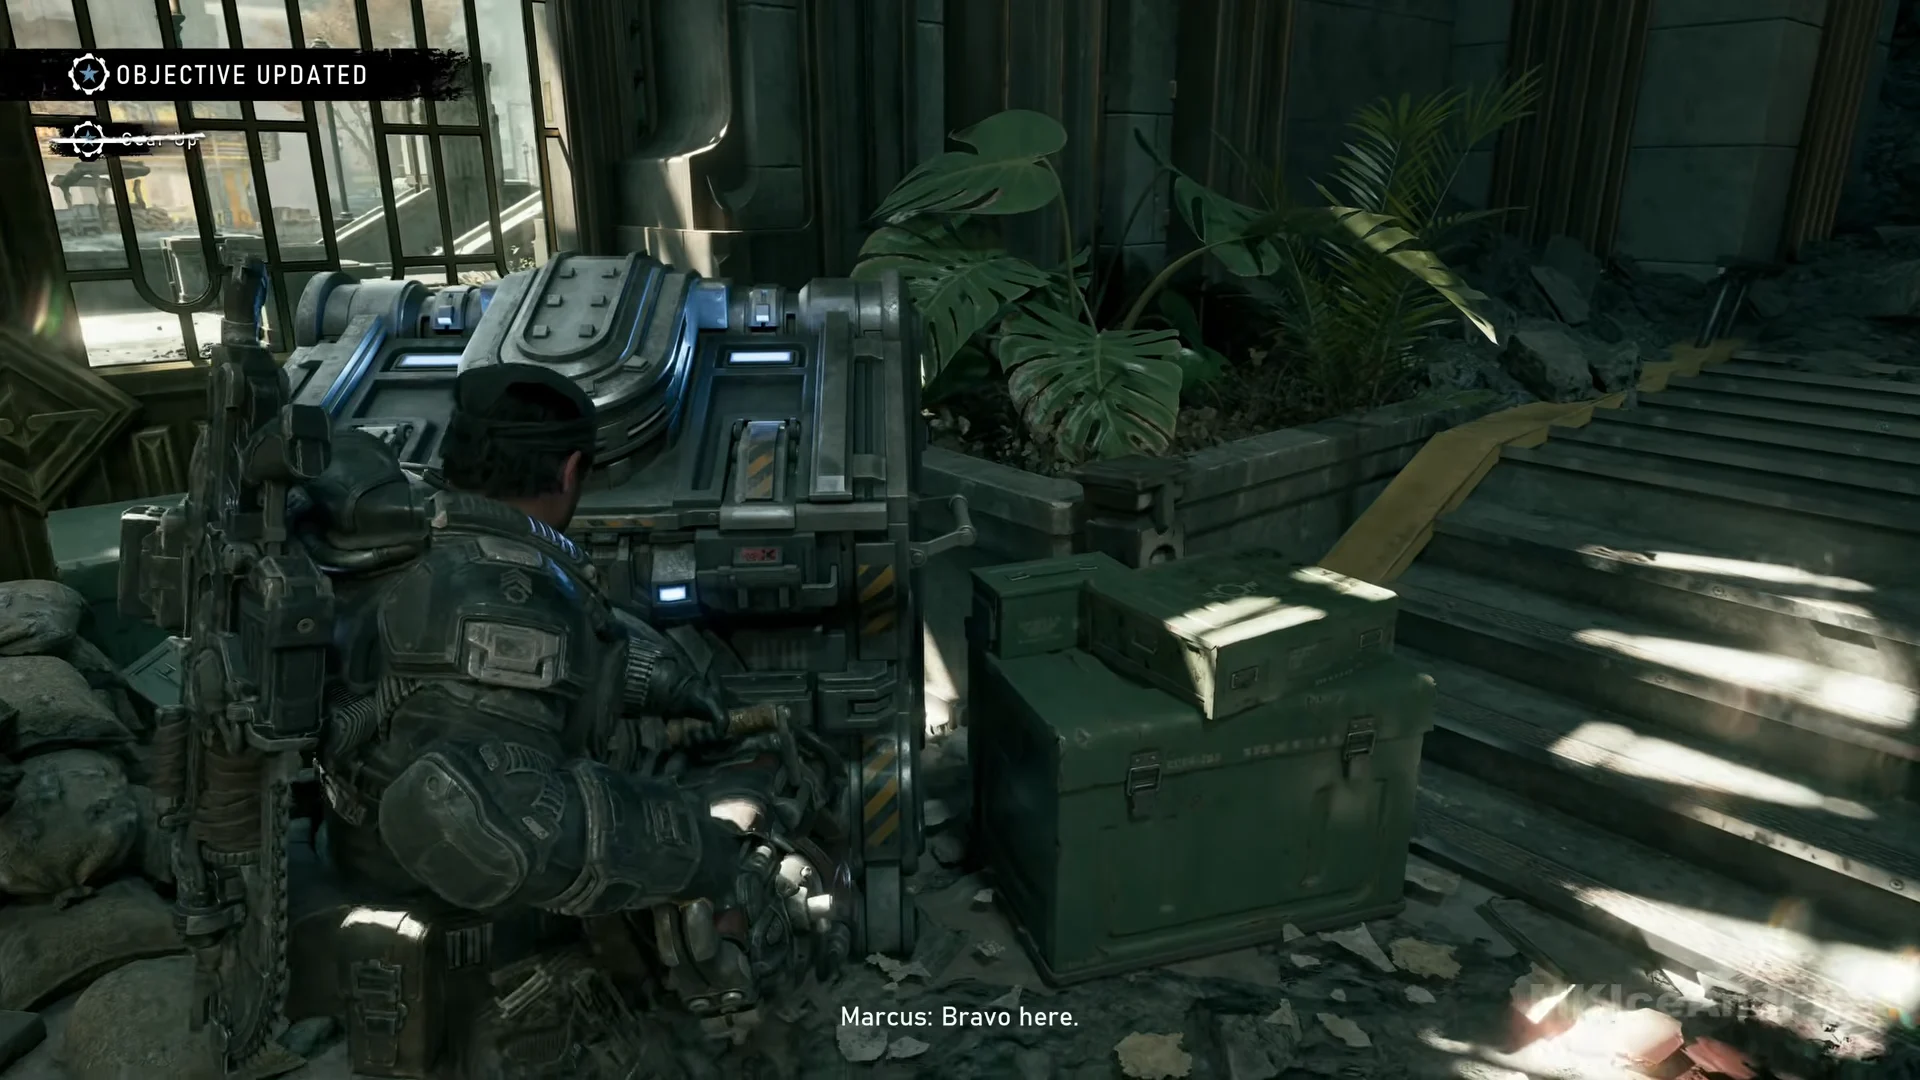
The alert “SUPPLY CACHE NEARBY” shows with the objective. The cache sits in the corner of the concourse among the potted plants, beside a short flight of steps and a pile of sandbags. The prompt is X “Use Supply Cache,” and opening it completes the objective.
The “TACTICAL GEAR” card appears. This rechargeable item activates when you click both sticks together. On the new TACTICAL GEAR tile, choose between the Adrenaline Injector, which restores health and boosts damage and protection, and the Sonic Disruptor, which stuns Drones in a cone ahead of Marcus. Its icon appears in the screen’s top-right corner.
You can also modify the Prototype Lancer here with Chainsaw Autoloader (“Chainsaw executions grant a Perfect Reload”). Press X to modify, select slot 1, then press A to equip it. Mods earned from The Vanguard and Trapped Family are recorded here as well.
Grey radios in the next assignment: head to Allfathers Plaza. Cross the concourse, go through the exit doors, and continue into the square outside. The “HOLD THE LINE – PART 2” card confirms Part 1 has ended.