Clear the hangar ambush, grab the depot data pad, and reach Gil's Raven across the collapsing airfield.
Clear the hangar ambush, grab the depot data pad, and reach Gil’s Raven across the collapsing airfield.
by AllThingsHow Staff
Image: The Coalition
The airfield battle in Gears of War: E-Day wraps up Act 2 after the King Raven flight. From that point, Overrun takes about 21 minutes: approximately 15 minutes of gameplay followed by five and a half minutes of cutscenes leading directly into Act 3. There is no boss encounter. The biggest threats to Marcus are the quick, spider-legged creature in the opening hangar and the Boomers posted by the runway door.
Quick answer: Clear the hangar, follow the blown-out catwalk wall into the crater tunnel, prep at the Centaur Depot, push across the runway to the Comms Building cable, then run through the Wretches to the hovering Raven.
Overrun chapter facts and objectives
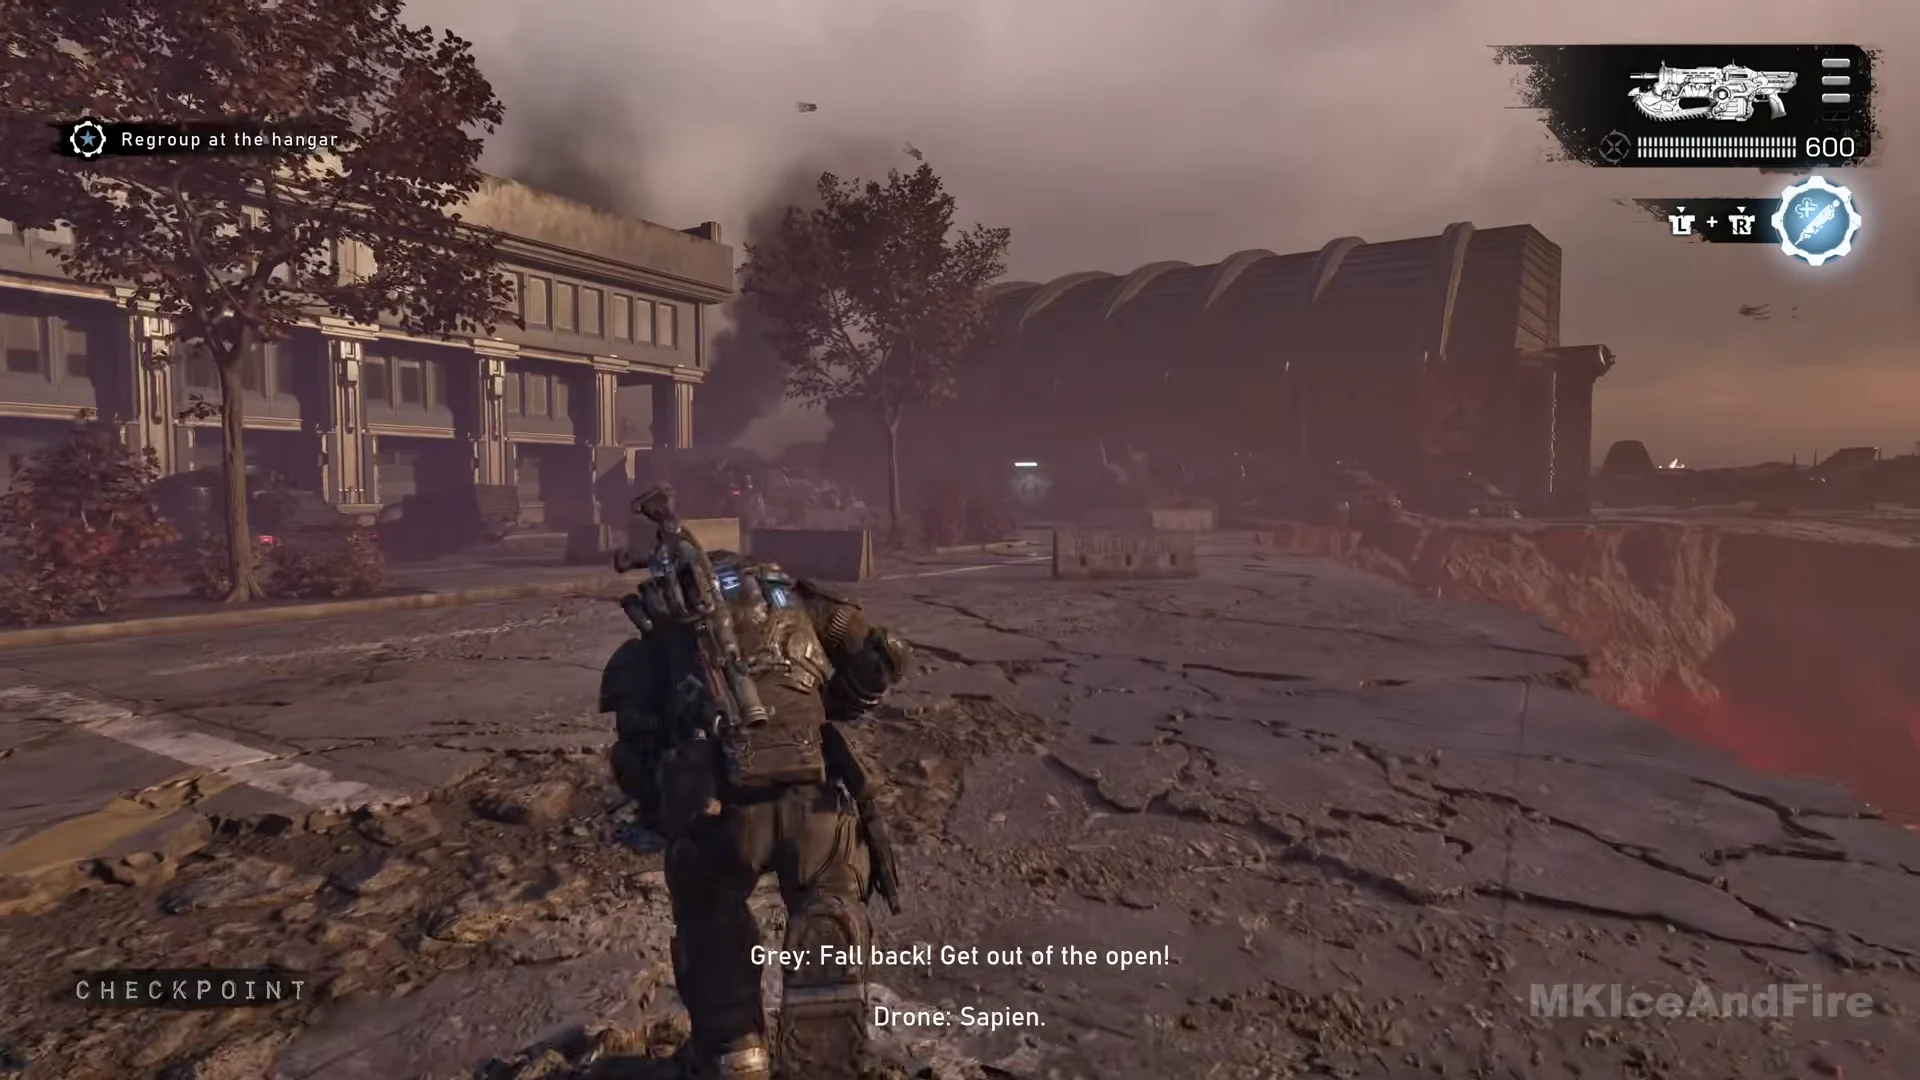
Overrun has no title card. It begins with a “CHECKPOINT” notice when control returns on the broken runway after the landing cutscene, and it ends at the Act 3 Chapter 1 “STRANDED” card. Its chapter number comes from the pause menu, which reads “ACT 2 / Chapter 5: OVERRUN.”
You carry in a Prototype Lancer with 600 rounds, a Gut-Puncher, a Snub, Frag Grenades, and the Adrenaline Injector as Tactical Gear. Your own loadout may differ, but the Gut-Puncher earns its keep in this chapter because several enemies arrive in tight groups or are large.
Objective order
Where it happens
Regroup at the hangar
Split runway into Hangar 09A
Reach the rally point
Crater rim and red tunnel
Prepare for the attack
Centaur Depot safe room
Push across the runway
Blast door 06A to the tower
Get on Gil’s Raven
Comms Building to the tarmac
There is one collectible, the Point Fairlight Hangar Data Pad, in the Centaur Depot. You also get one Supply Cache and two Hard Cases you can open along the route. There are no secondary objectives in Overrun.
You start on cracked tarmac beside a red-glowing chasm that has split the runway, with Drones already firing across the gap. Move forward along the low concrete barriers stencilled “MILITARY ZONE,” which are the only cover on this stretch. A “X Hold” look prompt appears on the way and is optional.
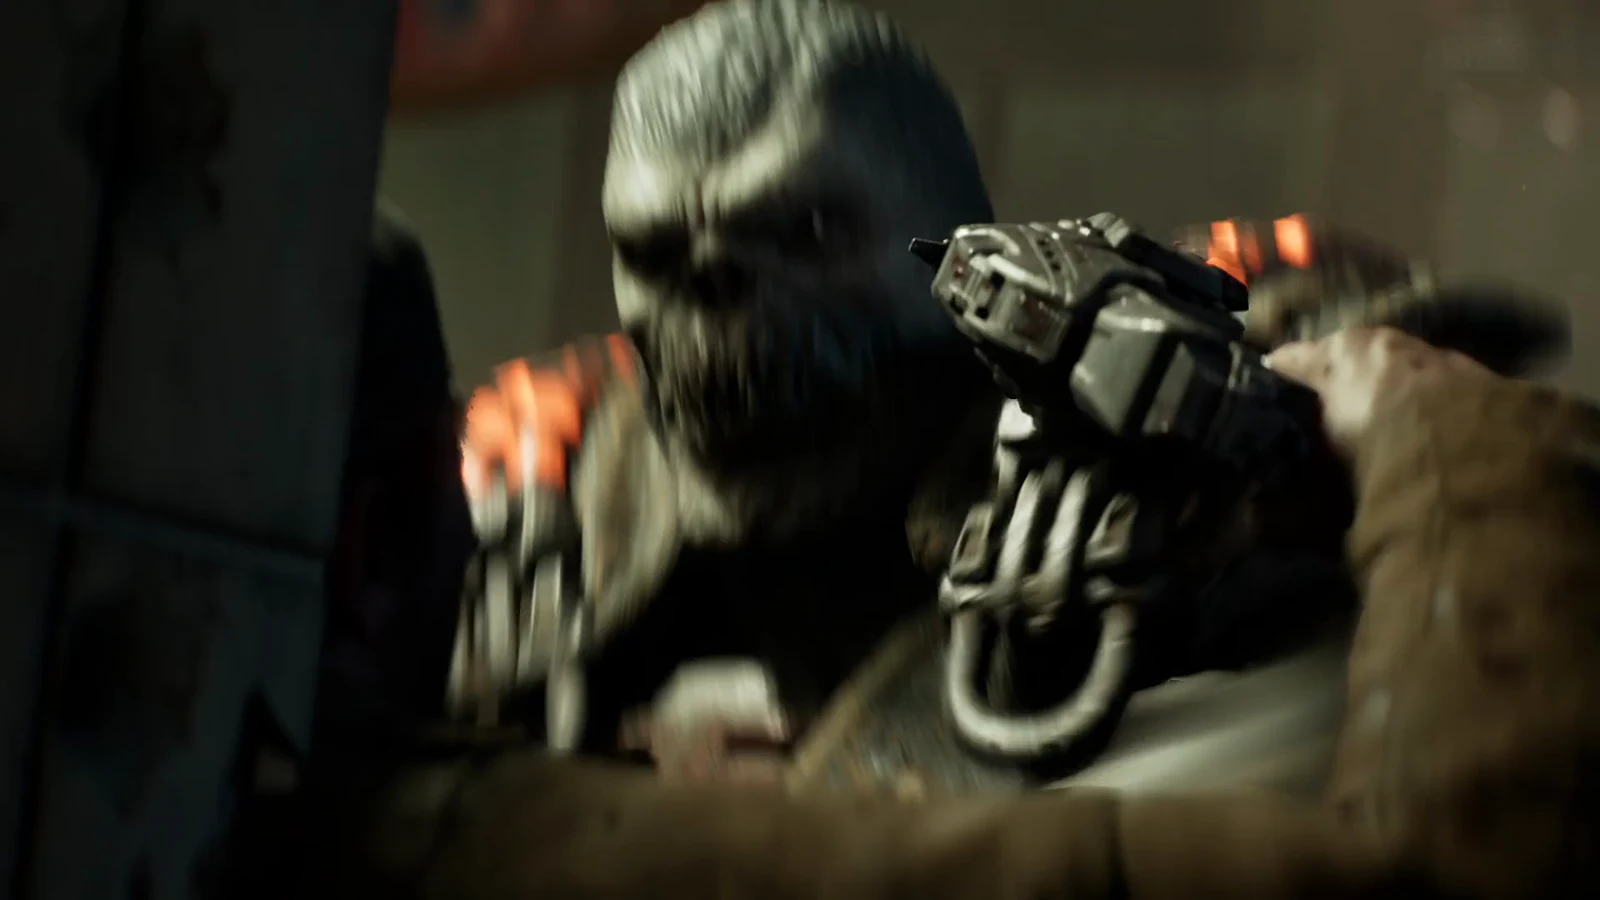
On the right, locate the large shutter bearing the “HANGAR 09” marking and COG skull emblem. A small box glowing green is mounted on the left of its frame. Approach and activate it to lift the shutter. During the opening, a Gear is dragged through a roof hole, then a tall, pale creature with long legs drops onto the stacked shipping containers.
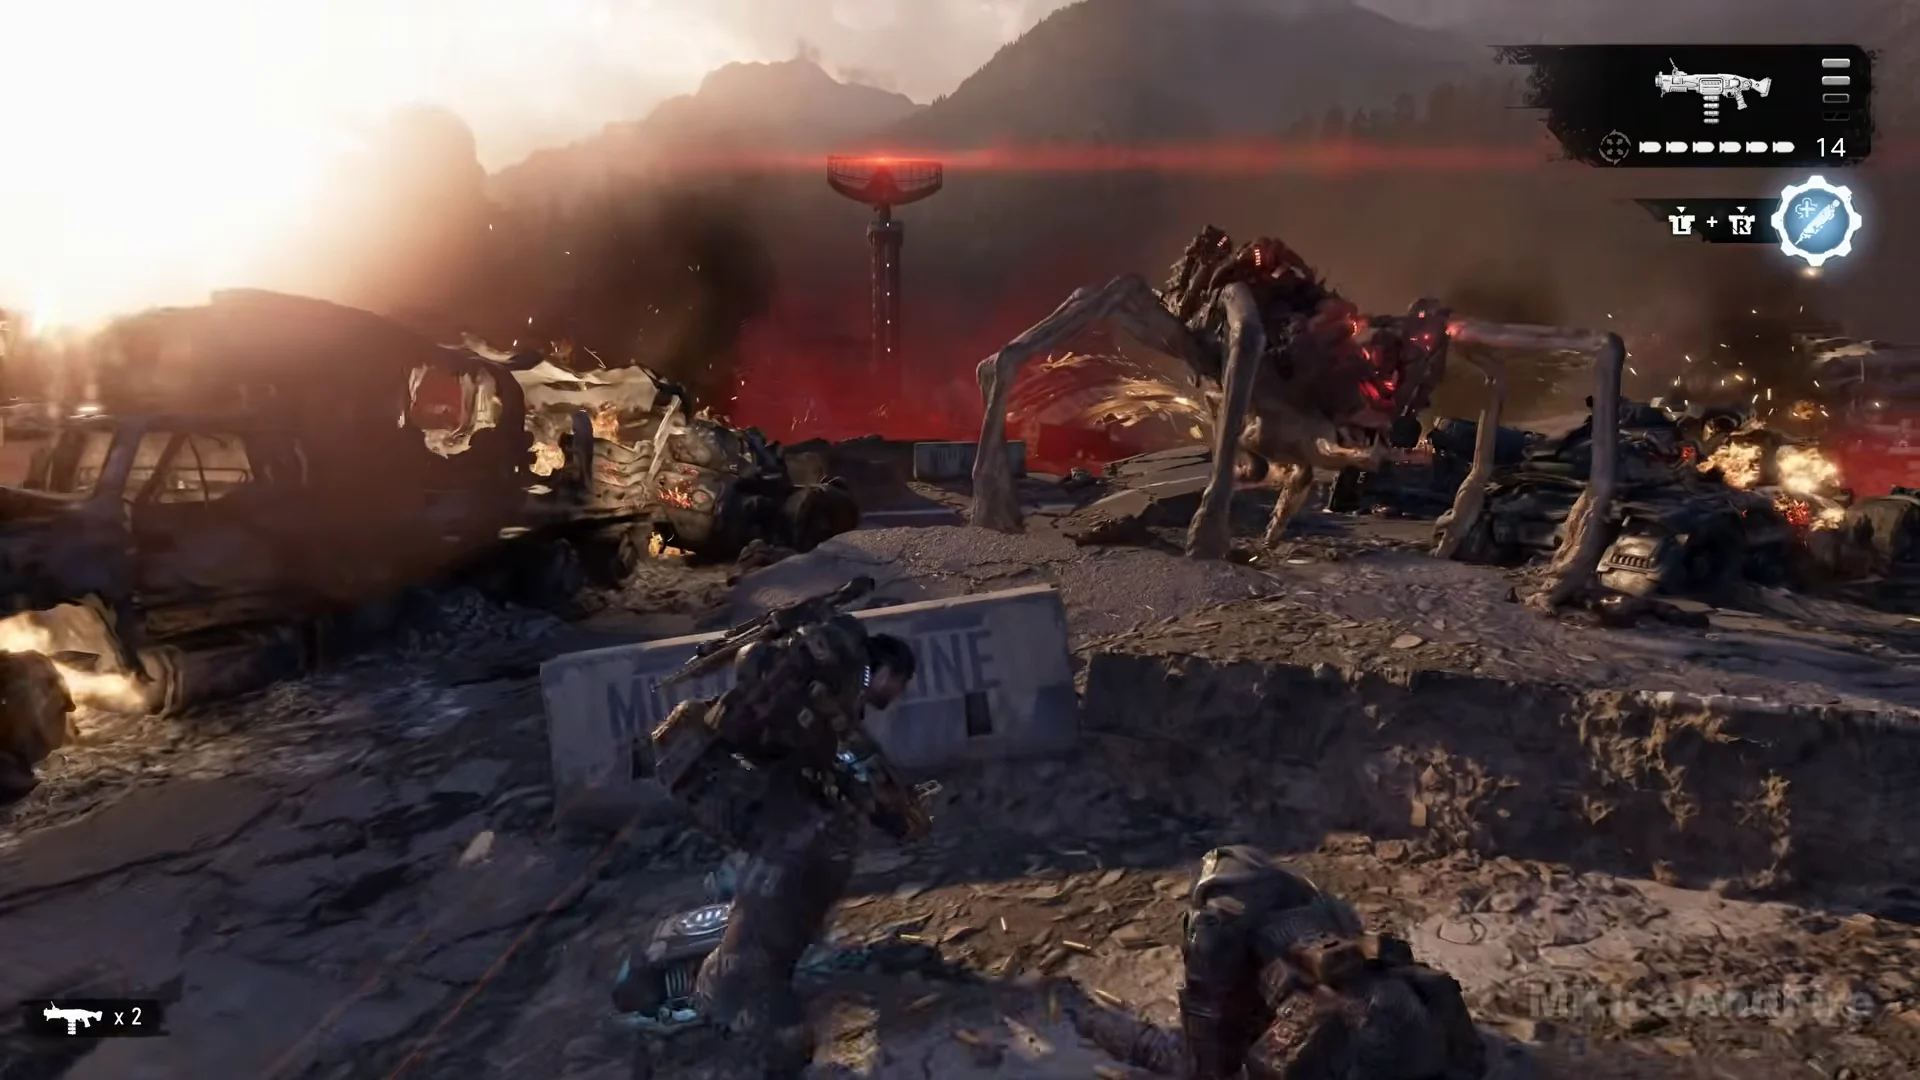
A checkpoint appears alongside the sub-objective “Clear all the enemies”. The creature glows red, attacks from a distance, and moves at high speed, leaping off the containers and scuttling among the vehicles. That movement quickly makes previously useful cover unsafe. Begin behind the work table or green truck just inside the entrance. Shoot it with the Prototype Lancer while it is elevated, then use the Gut-Puncher once it reaches the floor. Grenades land on it near the vehicle ramp.
Marcus can be downed within seconds if he stands exposed beside this creature at the start of the fight. Keep your distance instead of following it.
Once the creature is dealt with, Drones open fire from the raised catwalk on the far wall. Fight them from behind the vehicles and crate stacks on the floor. If the Gut-Puncher reads “NO AMMO,” swap to the Prototype Lancer and keep firing from cover. Pick up the ammo boxes on the floor, including one beside a “MILITARY ZONE” barrier near the stairs, because the Gut-Puncher is needed again soon.
The final Drone reaches the stairs to the catwalk. Go up the metal steps and take it out at close range. Both objective lines are struck through, then an explosion tears open the wall at the catwalk’s far end. You must use that exit, so the creature in the hangar is mandatory.
Go out through the jagged opening in the hangar wall and onto the crater rim. Ahead are broken runway slabs and burning wrecks, with the red chasm to your right. Drones climb over the rim in front of you and occupy sandbags farther down the slope.
Before reaching the sandbags, collect the Heavy Boomshot on the slope; its display shows 8 rockets. Use the rockets on the Drone groups by the sandbags, where each shot can clear a cluster. Your previous weapon returns once the Boomshot is empty. A King Raven on the pad ahead is then captured and destroyed, blocking the direct path.
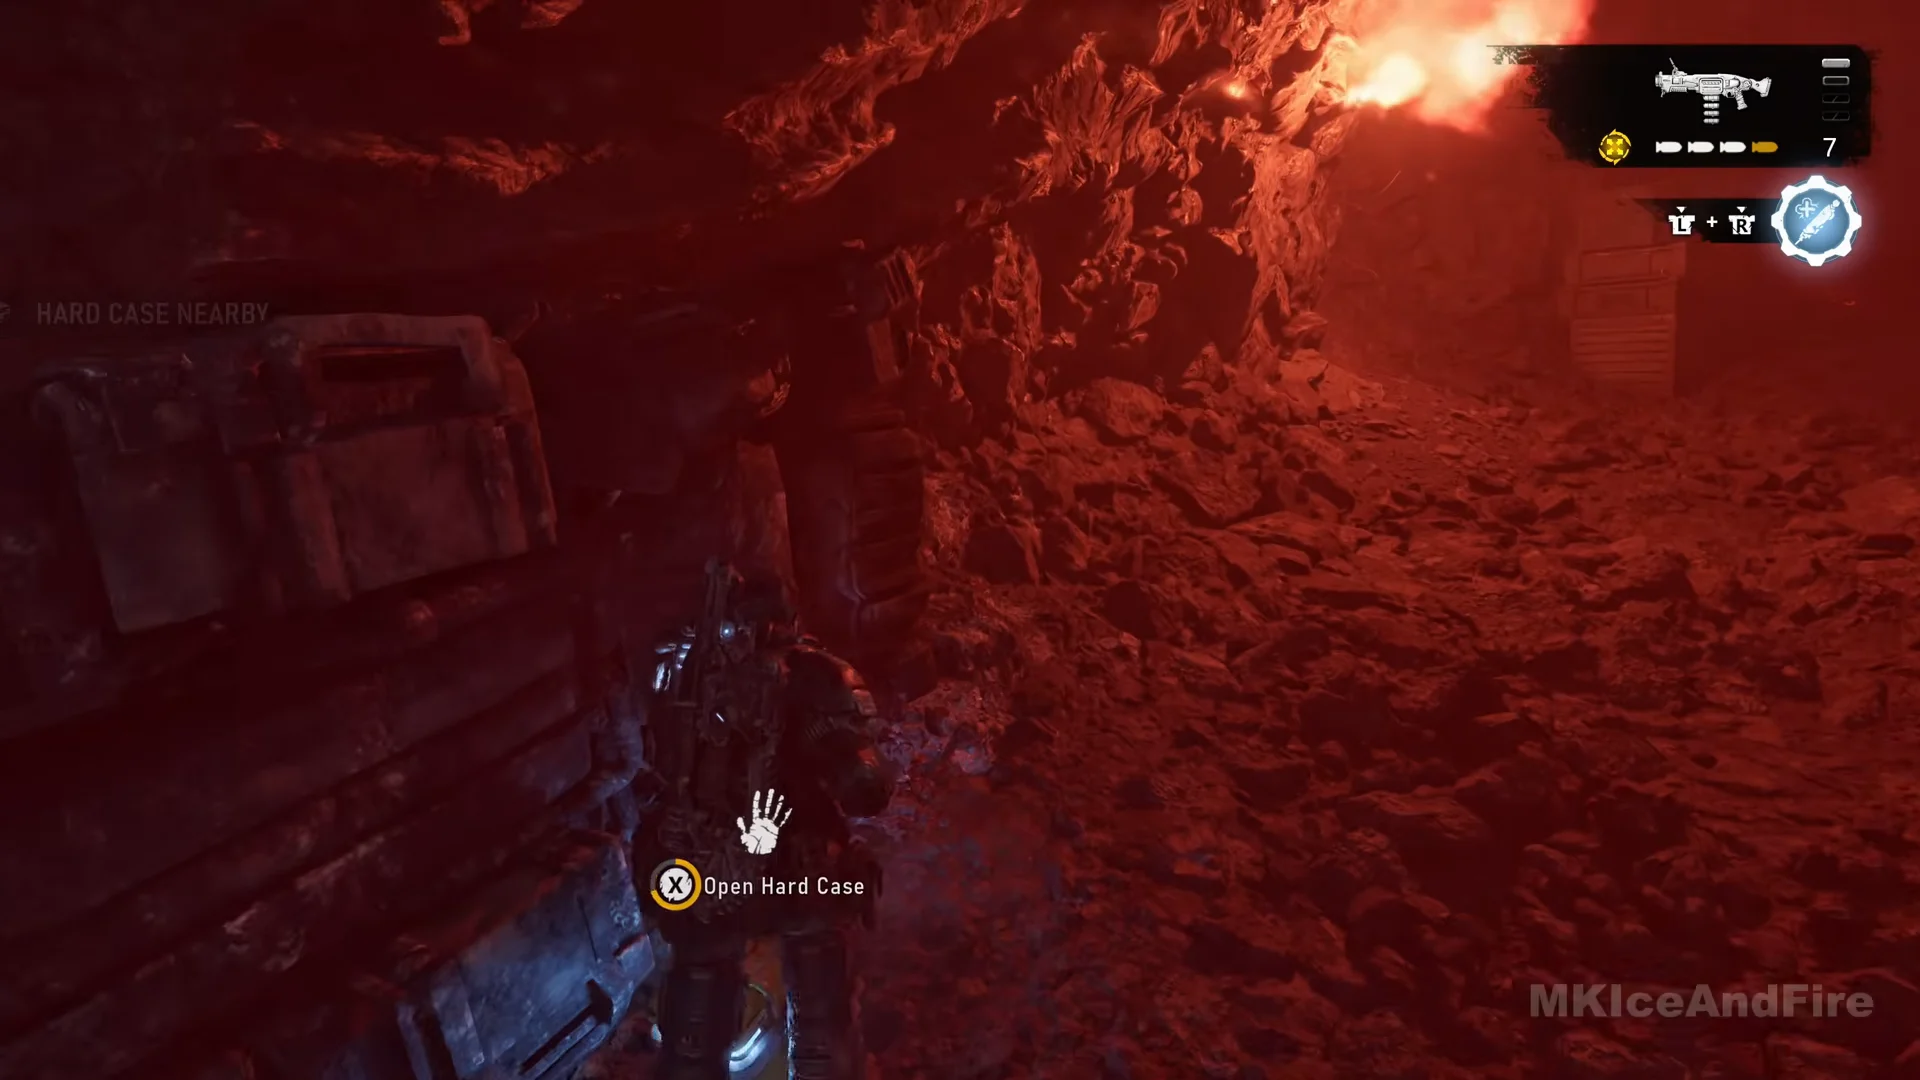
Follow the objective “Find another way through” down the slope into a deep-red passage in the chasm wall. Drones are positioned at its entrance; take them out from the slope above before entering.
A “HARD CASE NEARBY” prompt appears once you enter the tunnel. Against the left wall is a yellow case marked with the “X Open Hard Case” prompt. Inside are a Disruptor Mod Slot, the Precision Long Barrel (Snub mod), and the Incendiary Emitter (Disruptor mod).
Continue uphill through the tunnel to a rocky basin filled with burning wreckage, where Drones are attacking the Gears at the depot entrance. From the tunnel exit, use the shipping container and crates as cover and eliminate the attackers; only a few are present, and the defenders are shooting as well. Go up the dirt ramp to the large COG-emblem door. A “SUPPLY CACHE NEARBY” prompt and checkpoint appear along the way; the door rolls open as you approach.
Centaur Depot: data pad, Hard Case, and Supply Cache
The Centaur Depot, led by Base Commander Zee, is a safe room where surviving Gears gather among trucks and tanks. No enemies attack inside. Finish everything here before joining the group at the door; opening the blast door means you cannot return to the depot.
In the storage corner, look for a yellow Hard Case on the floor, positioned before the stacked coils and shelving. Opening it awards a General Mod Slot for the Gut-Puncher, and the case then displays “HARD CASE EMPTIED.”
Use the blue-lit Supply Cache right beside that Hard Case to refill everything and fit mods. With the new Gut-Puncher slot, an Extended Belt mod raises the Gut-Puncher from 12 to 14 grenades, and the HUD shows “Overcharged Ammo” and “Extended Belt” tags over the weapon.
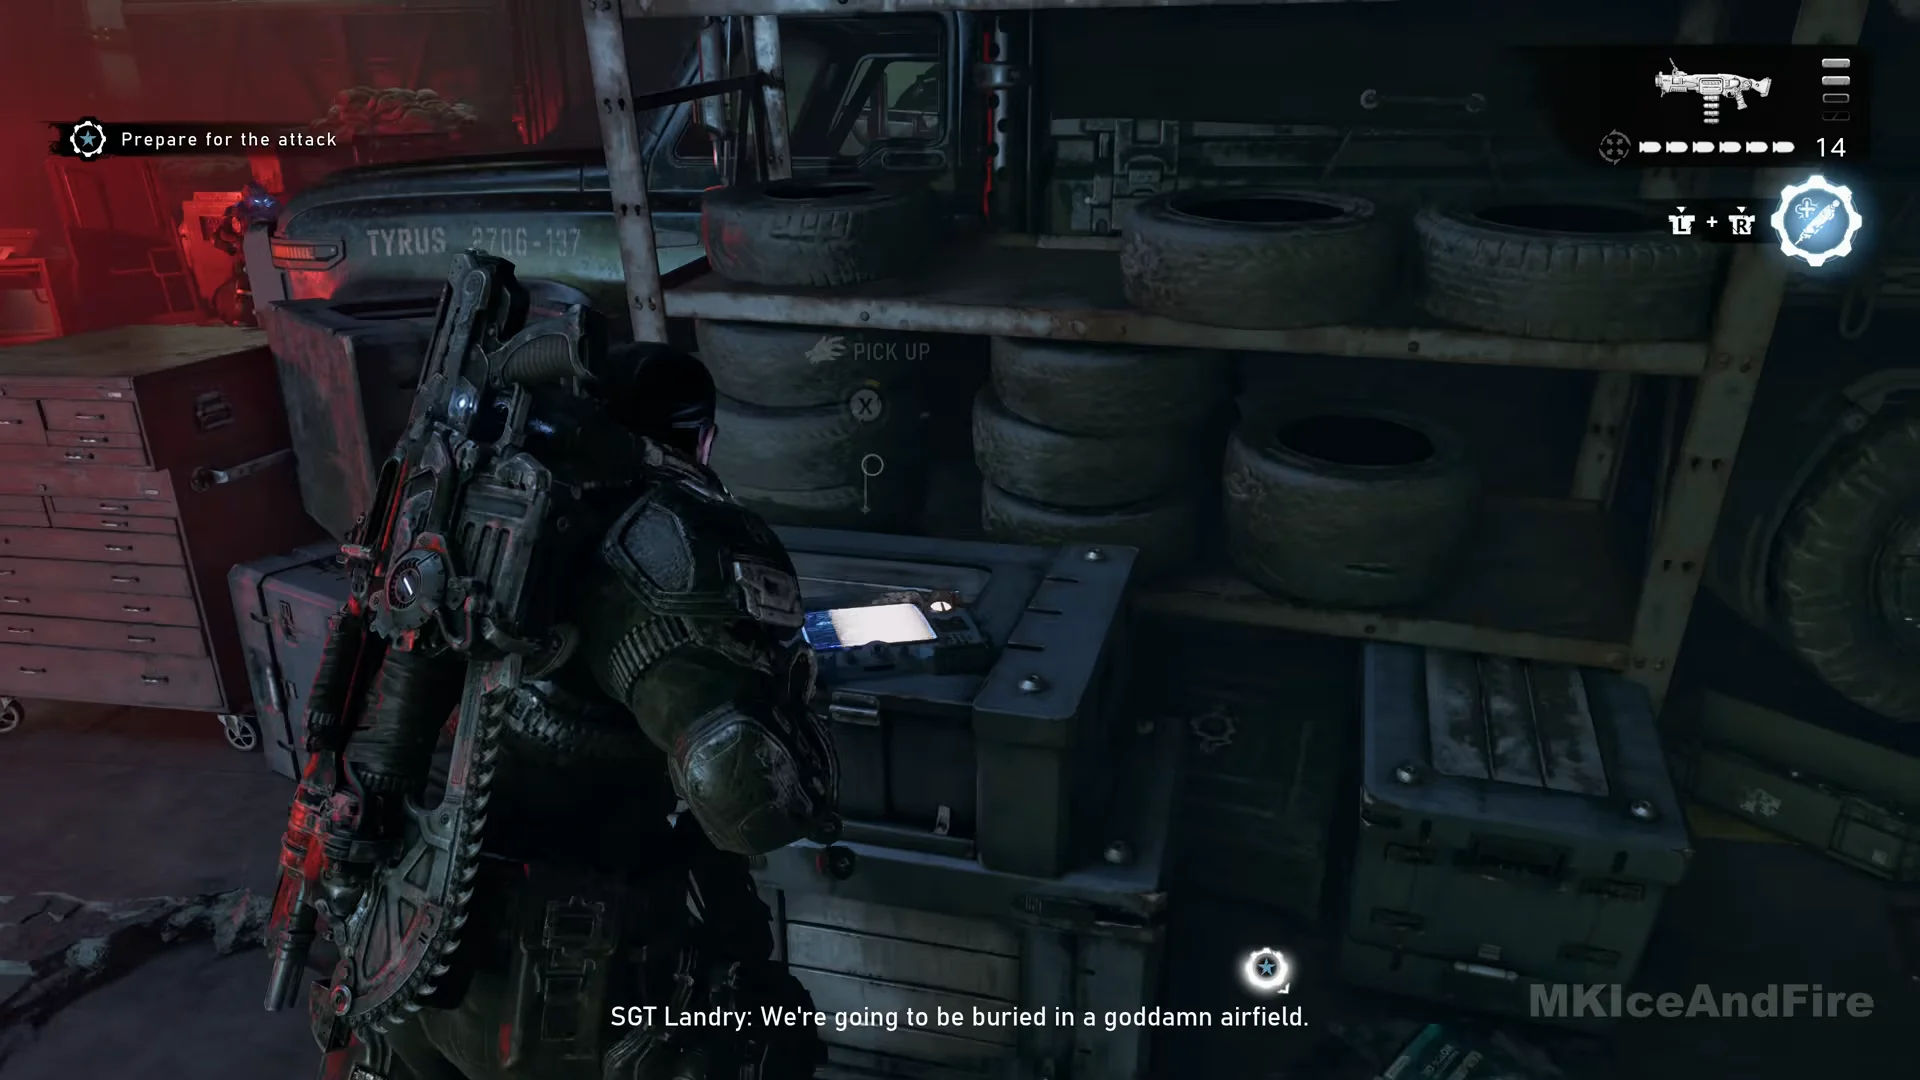
A few steps from the cache, find a truck marked TYRUS parked next to shelving stacked with tires, with a red tool chest at the left end. The Point Fairlight Hangar Data Pad lies on a dark equipment crate on the floor in front of the tire shelves. Use the “PICK UP” prompt with X, and the toast reads “Point Fairlight Hangar Data Pad Found!” This is the chapter’s only collectible.
On the way to the door, collect ammo from the boxes on the shelving along the main bay wall. Then join the group beside the Centaur tank at the large blast door marked “06A.” Zee speaks to the troops, and the checkpoint saves as the door begins opening.
Beyond the opening 06A door, smoke rolls across the burning airfield as a huge creature lumbers past. Just inside the entrance is a Lancer Mk1 if you need a rifle. Drones and Boomers charge directly at the doorway. Take cover when a Boomer announces a rocket.
Use the doorframe edge and the “MILITARY ZONE” barrier outside as your defensive position. As each Boomer approaches, hit it with Gut-Puncher grenades; it will die near the entrance. Pick up the Heavy Boomshot dropped by a dead Boomer; it shows 6 rockets here. Shoot into the enemy ranks across the tarmac, then switch back to the Gut-Puncher.
If you peek from the 06A doorway just as a Boomer is preparing to shoot, the screen reddens quickly and Marcus goes down. Remain behind cover until its “Boom” attack is over.
Advance toward the tower with the red beacon, taking cover at the “MILITARY ZONE” barrier, the wooden crate beside a flatbed truck, and the barriers by the wrecked King Raven. Collect every ammo box placed near the barriers, as the Gut-Puncher is nearly out in this section. Drones and Elite Drones occupy the high ground in front of you. Use the Gut-Puncher on groups and the Lancer on single targets.
By a wrecked car, a second spindly, multi-legged creature moves across the runway. Handle it the same way as the hangar creature: stay under cover and throw grenades when it gets close.
The “X Hold” look prompt appears again as you near the tower. From behind the barrier, hold X to watch a Corpser emerge beneath the control tower and bring it down. No shooting is required.
Once the checkpoint is reached, pass the crater and head for the wall bearing the words “COMMS BUILDING.” The final barrier has an ammo box beside it. Find the cable below the COG emblem, run over, and Marcus will ride it up. In the following cutscene, the roof collapses; Marcus and Dom slide into the burning lower airfield as the Raven takes off without them.
A checkpoint appears when control returns, and the previous objective is struck through without a replacement. Keep running: cross the fallen metal ramp, then follow the burning tarmac to the right of the wrecked truck trailer. Wretches attack from the front and both sides. Shoot those blocking your way without stopping, while the Raven’s gunner provides cover from above.
Do not stop to clear every Wretch on this final run. Stopping to fight them is one of the fastest ways to go down here.
The Raven hovers low over the tarmac at the end of the stretch. Run up to it to trigger the final cutscenes. Marcus and Dom are pulled aboard and the Raven leaves the airfield before going down. Marcus comes round at the crash site in dark woods, and play resumes on a forest trail with the objective “Survey the area.” The Act 3 Chapter 1 card, STRANDED, follows two seconds later, which marks the end of Overrun.