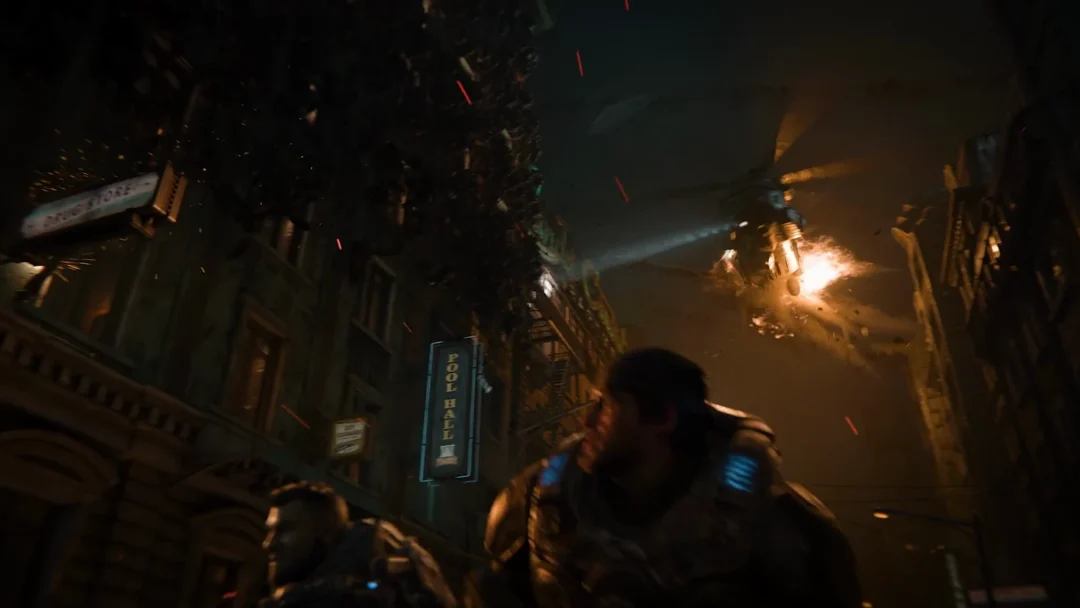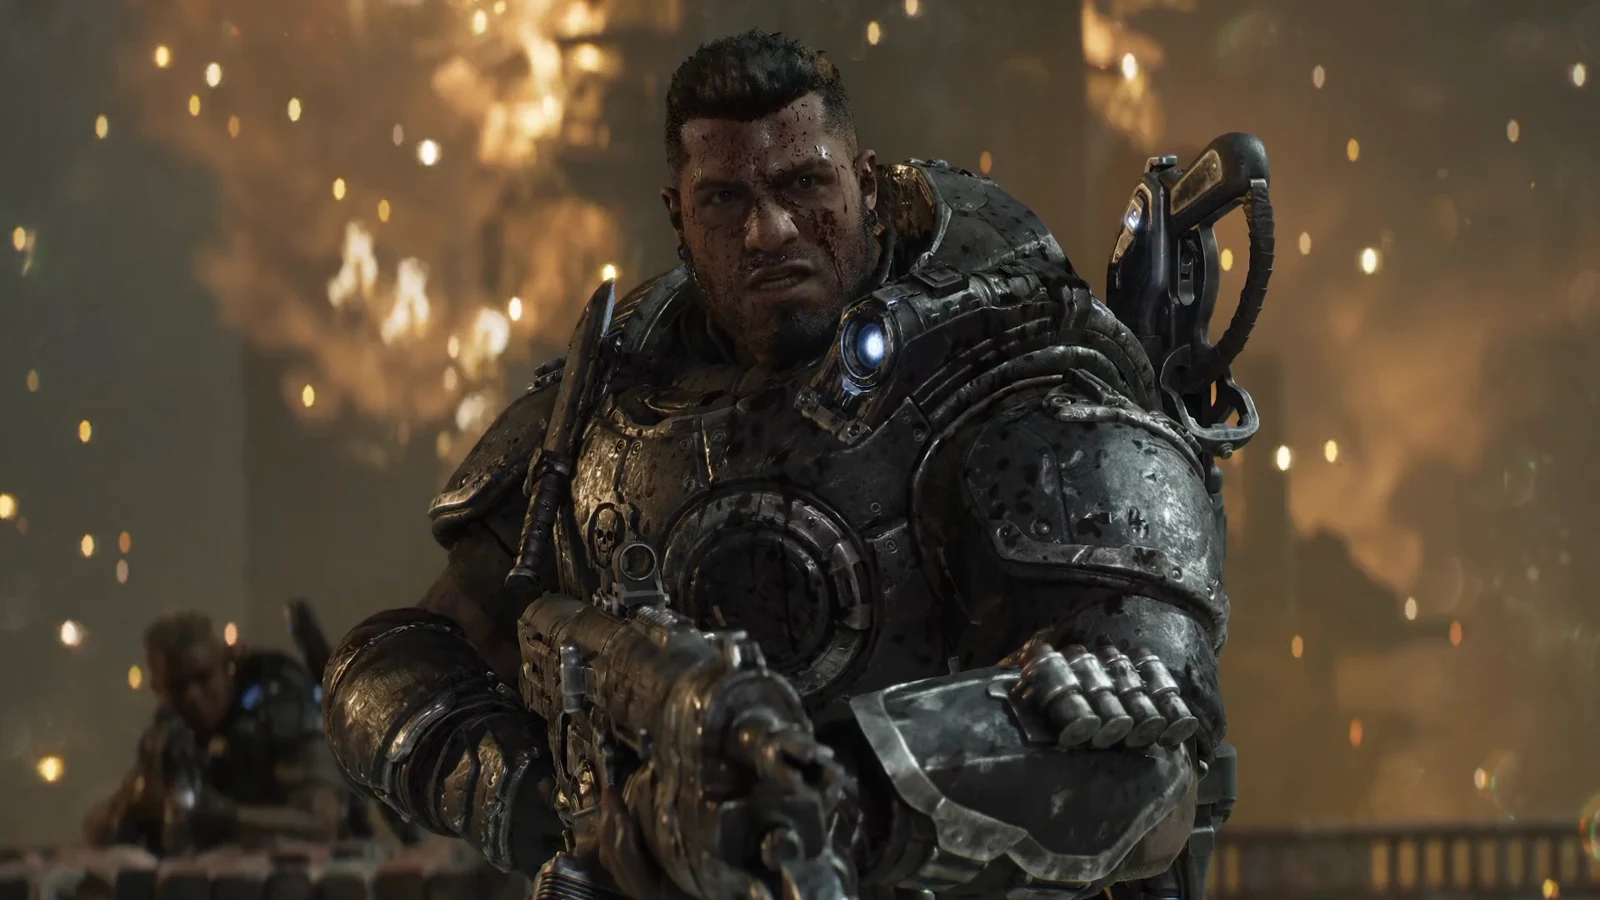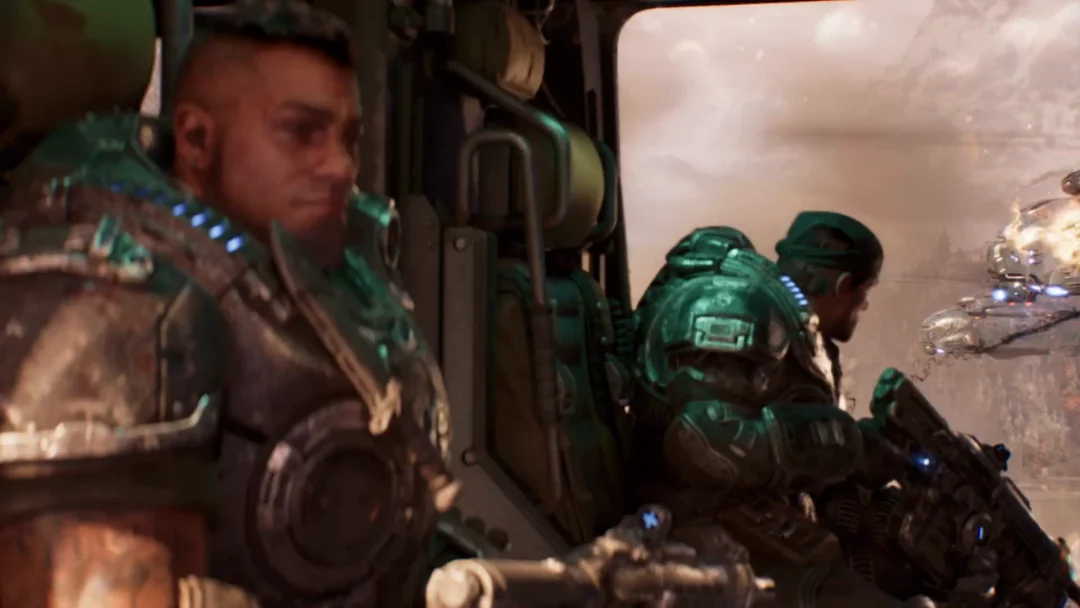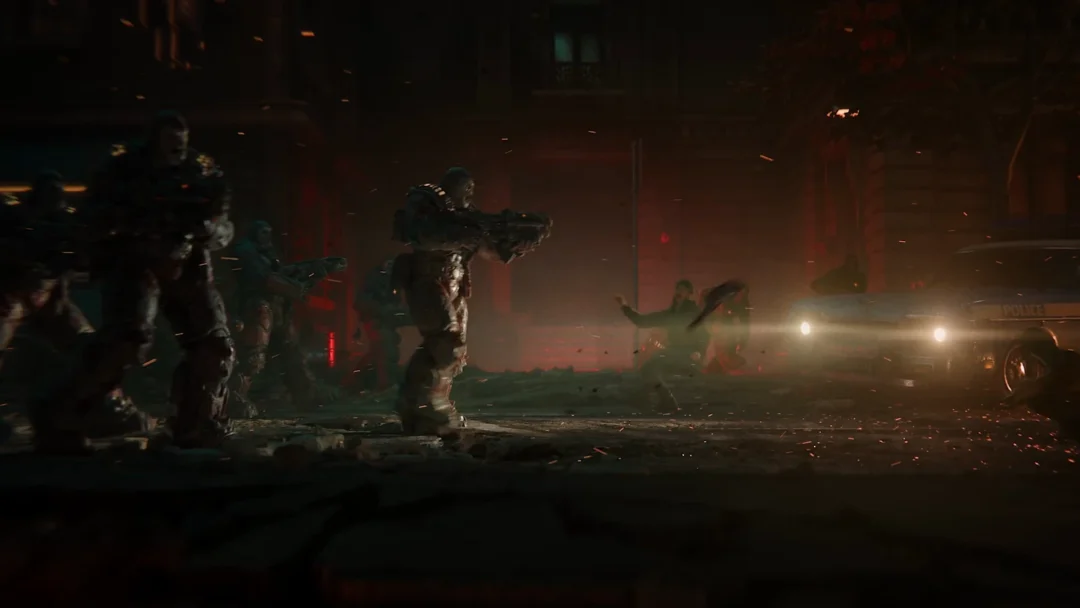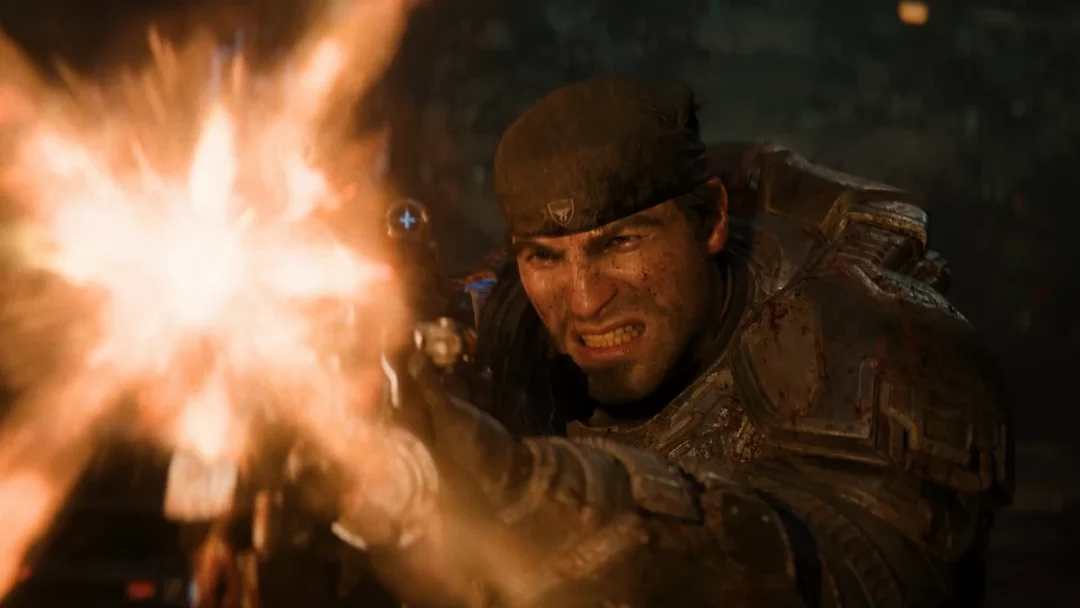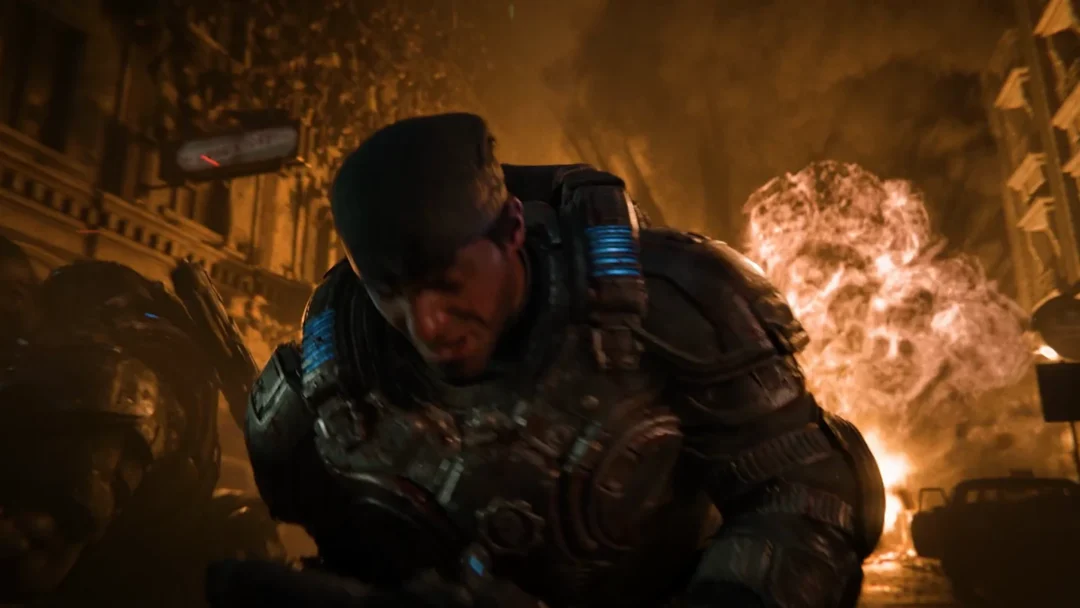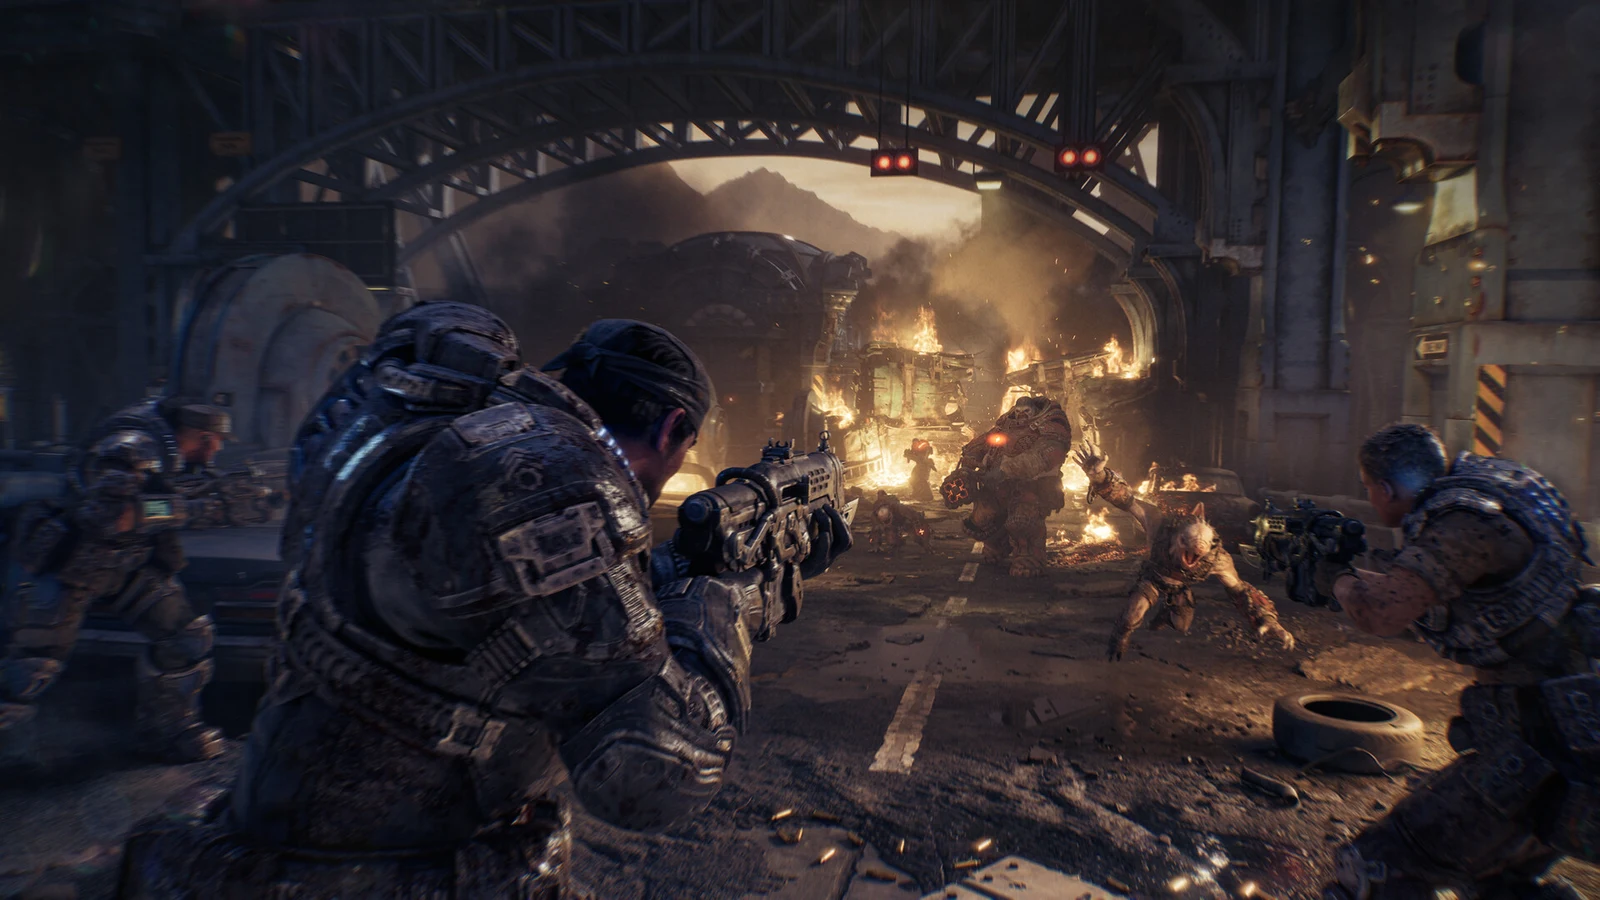
Resolute, Act 5’s fourth chapter, takes place at the East Kostra Drydock. The Raven’s Nest must be raised before the group can get out of Kalona. A full run lasts roughly 37 minutes; the final five minutes are cutscenes. The chapter has five combat sections: a briefing in the control room, defending the balcony as Zee operates the flood valves, crossing the floodgate top to an override hatch, fighting on the dock floor beneath the hull, and climbing a crane to reach the ship’s deck.
Quick answer: Protect Zee at the valves, escort him across the floodgate to the override hatch, defend the ship braces on the dock floor, then climb the crane onto the Raven’s Nest and clear the deck. Nothing here is on a timer.
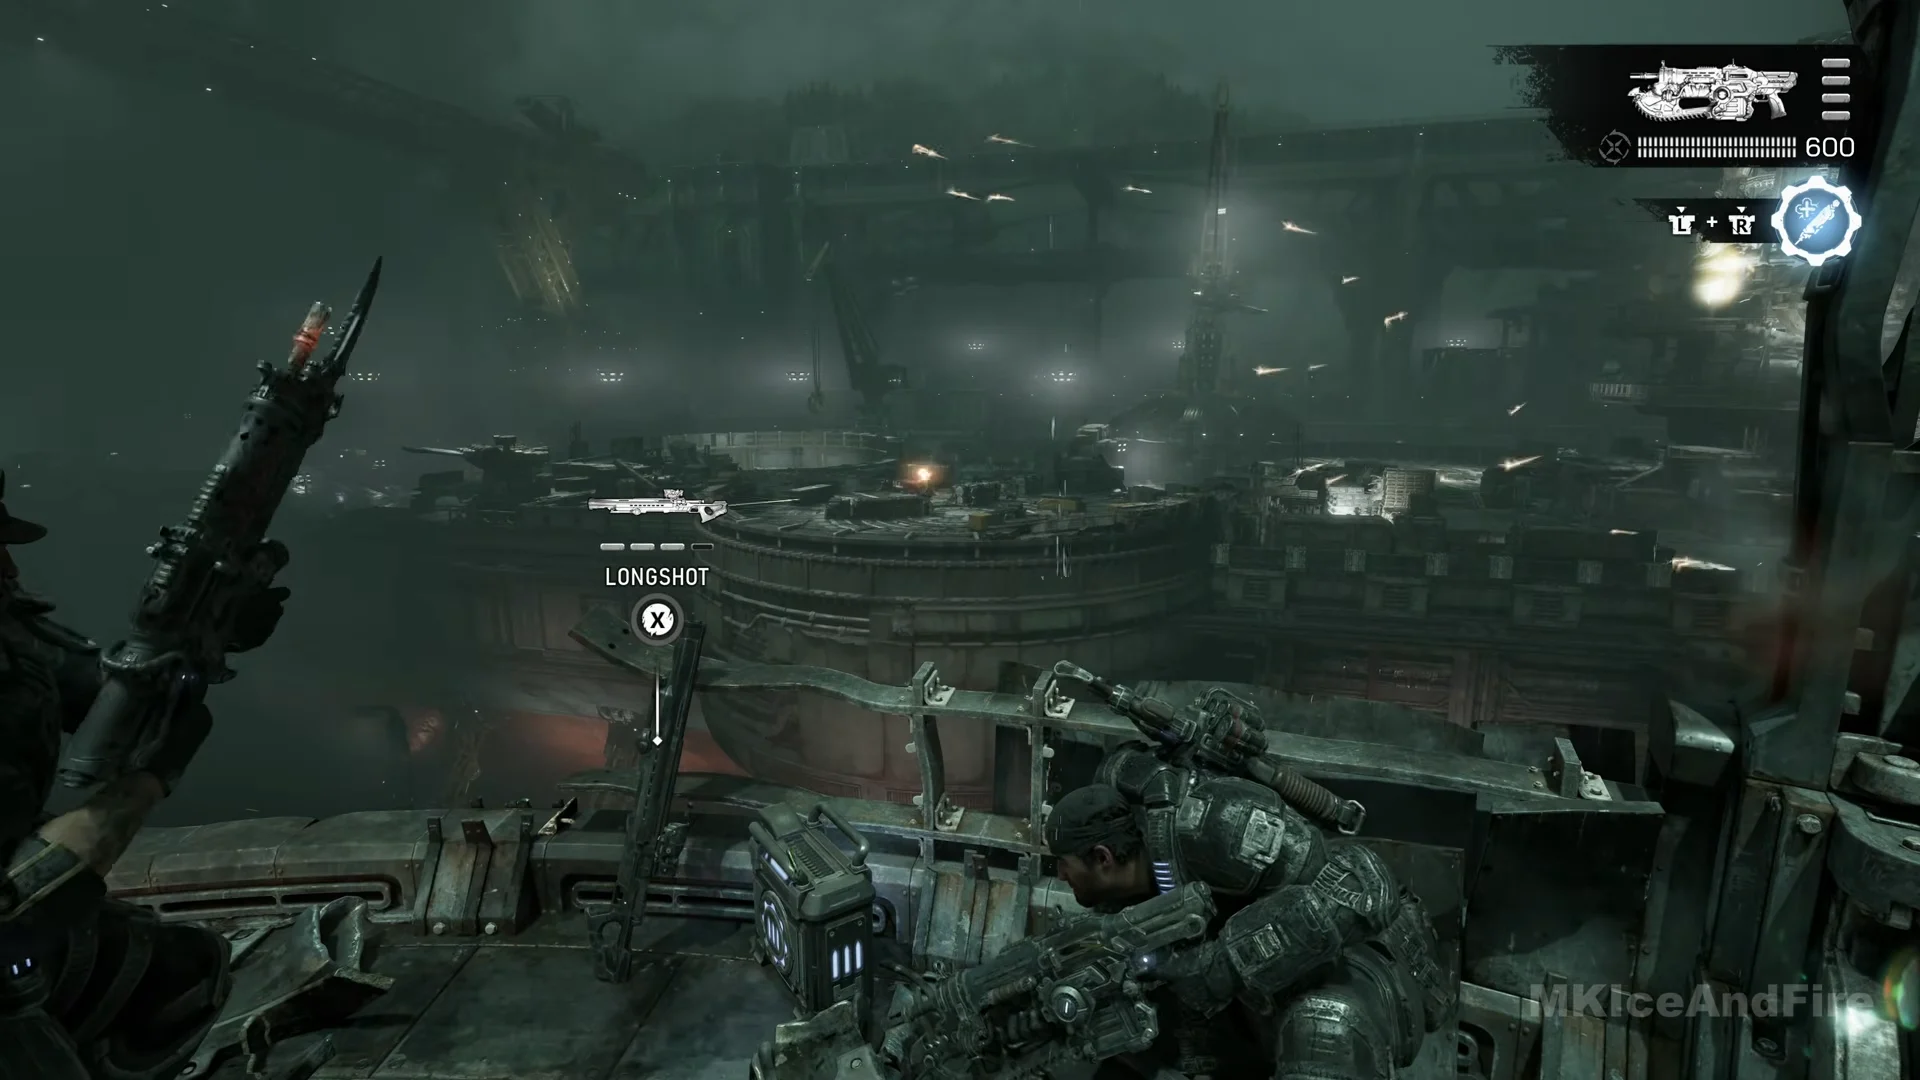
Nothing in this chapter uses a valve timer, brace counter, or timed wave. The hourglass displayed below the weapon panel indicates the Adrenaline Injector’s cooldown; it is not counting down to an event.
Loadout, caches, and weapons that matter
You carry in a Prototype Lancer (600), a Gut-Puncher (14), a Snub, grenades, and the Adrenaline Injector. The Gut-Puncher does the heavy lifting against packs, the Grinder, the Boomer, and the walkers at the end, because its rounds set targets alight for the whole chapter. Keep the Prototype Lancer for everything else.
Two Supply Caches sit on this route: one at the very start in the control room, and one just before you reach the dry-dock floor. Use the first Supply Cache to top off ammo and fit Gut-Puncher mods; refill everything at the cache before the dry-dock floor.
Control room briefing and clearing the deck for Tai
The chapter opens on the landing pad with the title card and the caption “DAY 3 – 0100 HOURS / EAST KOSTRA DRYDOCK.” The first objective is “Get the update from Michaelson”.
Flood the dry-dock: catwalks and the valve balcony
Once the deck is clear, your objective becomes “Help Zee flood the dry-dock”. The Locust have damaged the flood controls, making it necessary to fill the dock manually using backup valves near the gate. Zee unlocks the hazard-striped doors behind the control room; a checkpoint activates on the stairs past them.
The catwalks
Behind barriers, Scorched Drones are positioned on the catwalk below. Start by firing Gut-Puncher rounds at the barriers; the reticle switches between AUTO and MANUAL. Then advance from one barrier to the next. Farther along, a Bilefrog throws green acid, leaving pools across the walkway. Avoid the pools and throw grenades at the creature.
Expect to have little Gut-Puncher ammo left after this section. Switch to the Lancer to finish the fight, and collect the ammo boxes along the railing. Descend the stairs, pass under the catwalk, climb the stairs on the opposite side, and follow the enclosed gangway. Kick through the doors to trigger a checkpoint. In the next storeroom, a Razor Mine is on the crate in the center; the doors at the far end open onto the valve balcony.
“Protect Zee” on the valve balcony
During the “Protect Zee” sub-objective, Zee operates the valve console on a balcony above the dock. Before enemies appear, locate the ammo box fixed to the wall behind the railing. You can return there to replenish ammunition throughout the defense.
Scorched Drones and other Locust infantry make up the first wave, crossing the lower platforms and advancing along the side walkways. Shoot down at them from the railing with the Gut-Puncher, then use the Lancer. Turn around to deal with any enemies that reach the balcony before they can attack Zee.
The second wave brings pale floating gas-bag creatures with hanging tentacles drifting in over the dock, plus small spiked mines floating toward the balcony. Shoot the glowing spot in the middle of the nearest sac with the Lancer and pop any mine that comes close. This empties the rifle quickly, so fall back to the wall ammo box when you need to. When the red cog emblem shows, crouch behind the railing barrier until it clears.
Zee says that two valves are open and the third is jammed. An Incinerator pickup is beside the railing at the right-hand end; taking it is optional. The objective updates, and a few seconds later the chain winch over the gate explodes.
Escort Zee across the floodgate to the override hatch
The remaining option is to operate a manual release inside the gate, accessible through a hatch on the floodgate’s far side. Your objective changes to “Escort Zee to the override hatch”.
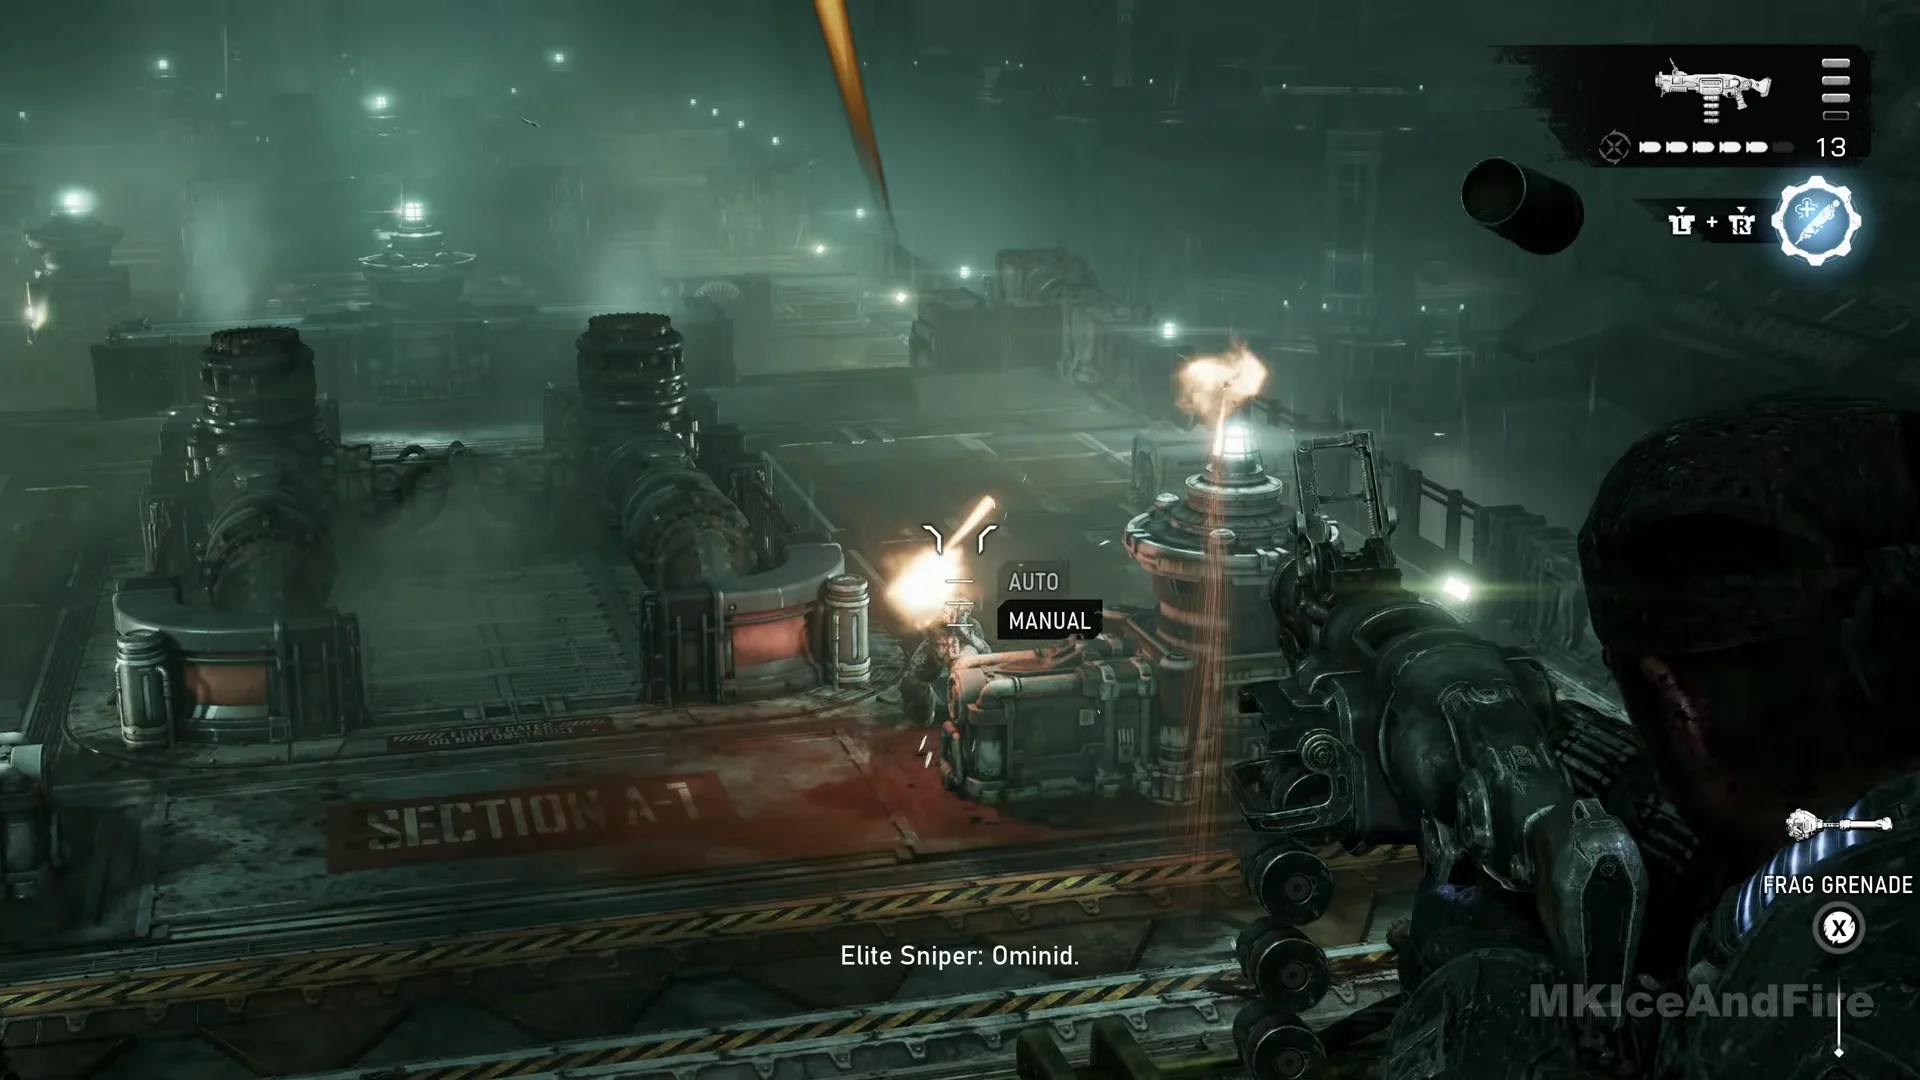
Along the walkway, grab the Frag Grenade on the first railing, the Breechshot mid-deck, and the Smoke Grenade on a low wall further on.
Section A-3: the Grinder and the Flayer
At the wide stairs of Section A-3, a Grinder stands at the top hosing the deck with its heavy machine gun. Stay behind the big pipe junction and put Gut-Puncher grenades into it between bursts; it burns and falls.
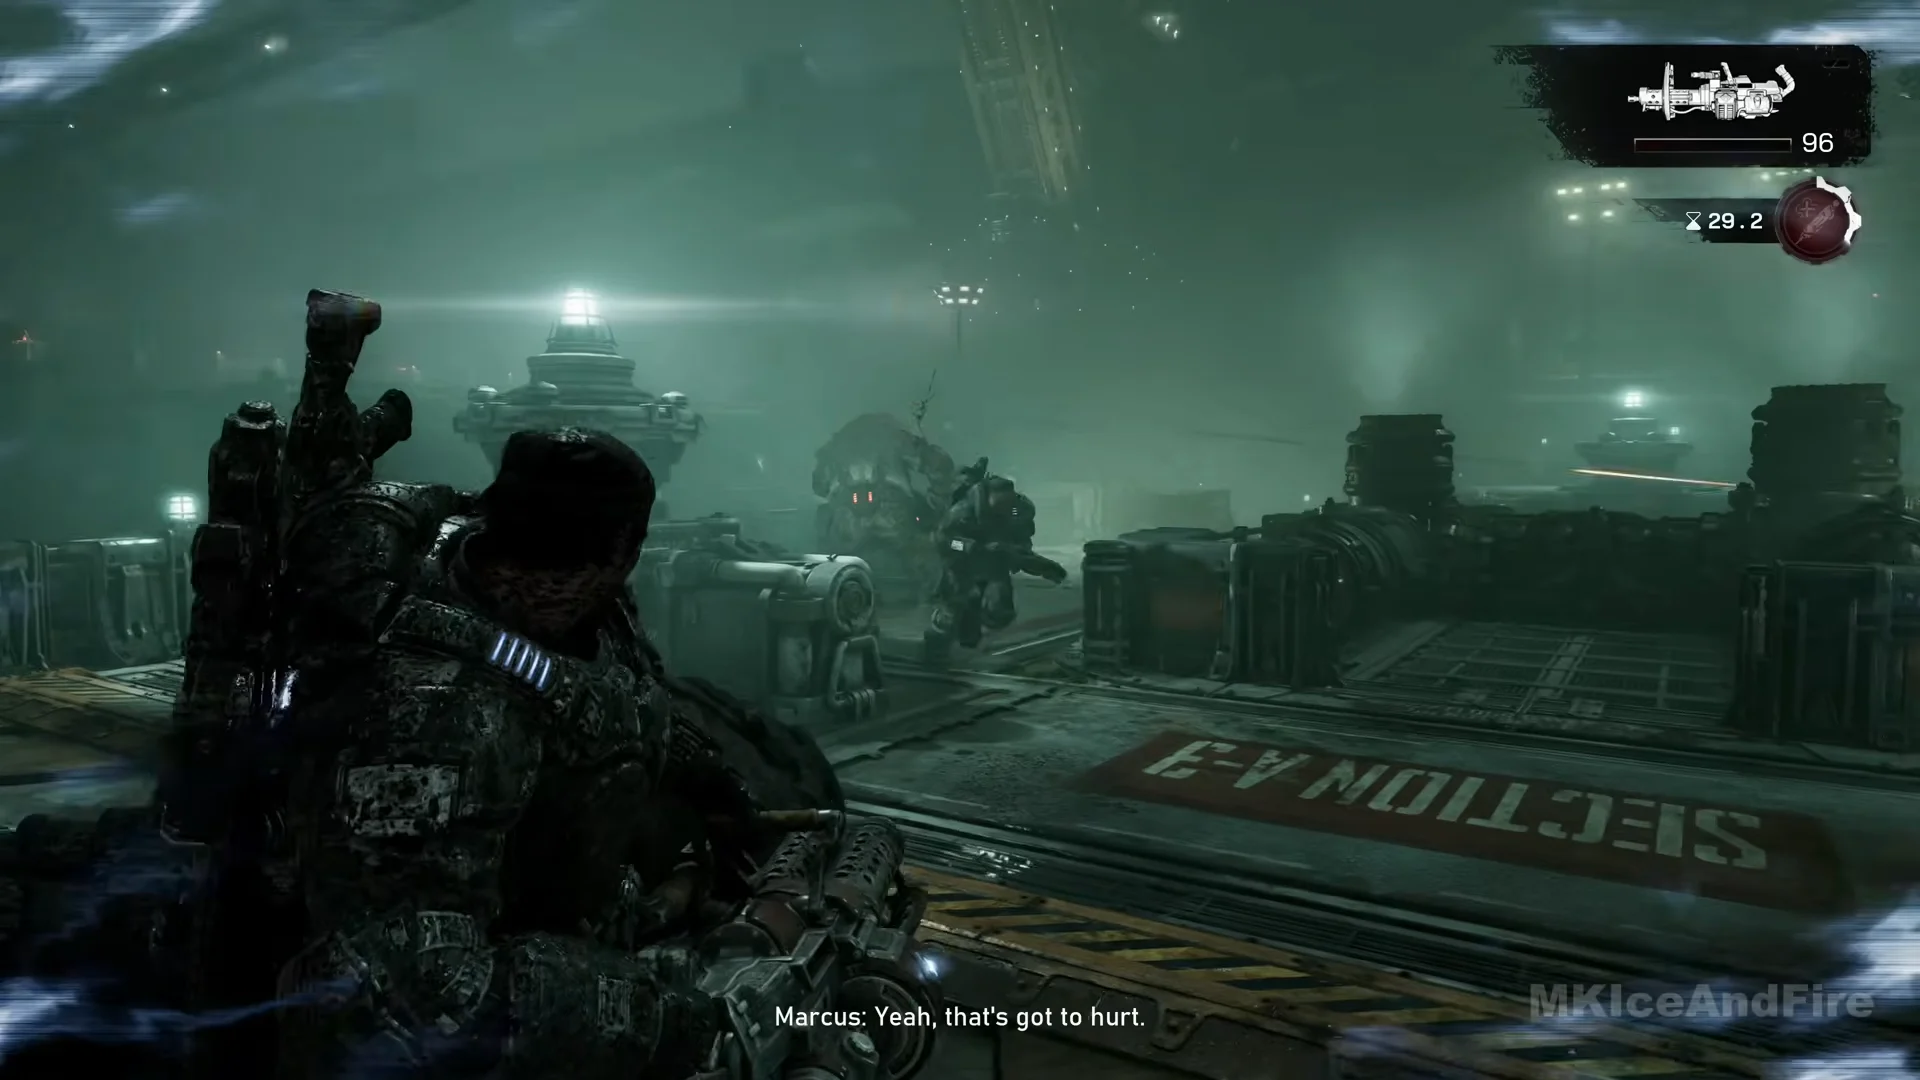
Pick up its dropped weapon, the Troika (96 rounds), as a Flayer approaches. Keep as much distance as possible and unload the Troika into it. Should it reach you, Marcus is downed and a squadmate revives him; while you’re down, the screen turns red and displays “DOWNS REMAINING” above the cog emblem. Once the Flayer is dead, head up to the circular platform and its hatch.
In the following cutscene, Zee opens the hatch, descends by himself to turn the release crank inside, gives his COG tags to Lucas, and shuts the hatch. Explosions begin around the supports keeping the ship upright, and Zee is no longer with the squad.
Protect the ship braces on the dry-dock floor
The objective becomes “Protect the ship braces”, with three sub-objectives in order: find a way down, eliminate the Locust threat, and get out of the dry-dock.
Climb the crane onto the Raven’s Nest
There is no boarding ramp on this side, so the way across is the dock crane. The objective is “Find a way onto the Raven’s Nest”, with the sub-objective “Climb to the top of the crane”.
Clear the Raven’s Nest deck
The final objective is “Help Tai clear the Raven’s Nest”, a running fight with no boss health bar. You take two deck areas first: Scorched Drones and Elite Drones among pipes and steel barriers, then a longer stretch with a low deckhouse from whose roof something lobs green acid. Fight from the crates, and lean on the ammo boxes in both areas.
A floating gas-bag creature then rises above the deckhouse, releasing spiked mines as it goes. Shoot its glowing center with the Lancer. Locust rush in on foot, followed by two tall walkers on long, thin legs that fire orange beams. From behind a steel barrier, use all your Gut-Puncher ammunition on the walkers, then kill the last Locust with the Lancer. The objective completes, and a “SUPPLY CACHE NEARBY” prompt appears.
During this battle, the gate drops, and Zee’s radio signal turns to static as his chamber fills with water. The squad assumes he has died, but he survives and returns later in the story.
The chapter ends with two cutscenes. Tai confirms the pad is secure, news arrives that the capital has been attacked, and the survivors receive orders to head to Port Farrall. The ship departs with Kalona burning behind it. A King Raven arrives with Manu and a fallen Gear aboard, and Bravo boards the Raven bound for the harbor bridge. The next title card reads: Act 5, Chapter 5, The Fall of Kalona.
Resolute collectibles
The War Journal counts 5 collectibles for Resolute. Two are picked up on the route above; the other three sit off it. Check the Act 5 collectibles list for the exact spots of the ones you skip.
| Collectible | On this route? | Where |
|---|---|---|
| Captain’s Log, CNV Resolute | Yes | Control room shelving unit |
| COG Tags of Lt. Arthur Palarmo | Yes | Alcove at the top of the ladder |
| COG Tags of Lt. Enola Tabaaha | No | See Act 5 collectibles list |
| CNV Resolute Decommissioning Plans | No | See Act 5 collectibles list |
| Sketch of the Kalona Skyline | No | See Act 5 collectibles list |
What gets you killed
Three hazards account for most failed runs here. Bilefrog acid and patches of fire drain your health quickly, so move away from both. At Section A-3, keep the Flayer at range and shoot it from the arena’s rear with the Troika; letting it get close will down you. Finally, save some Gut-Puncher ammunition during the last deck battle, or you will reach the two shipboard walkers without the weapon needed to deal with them.