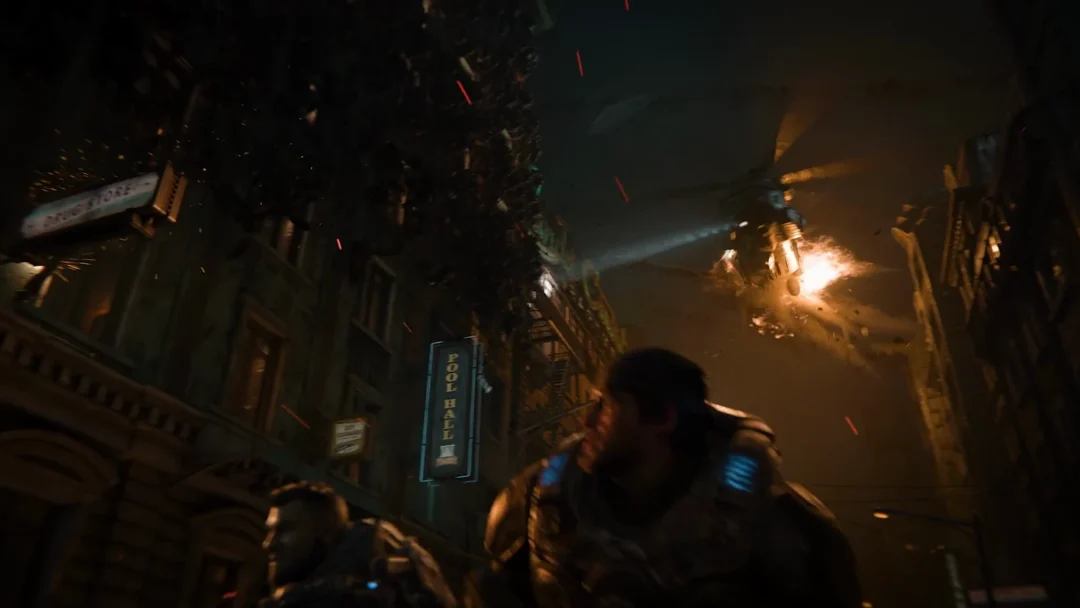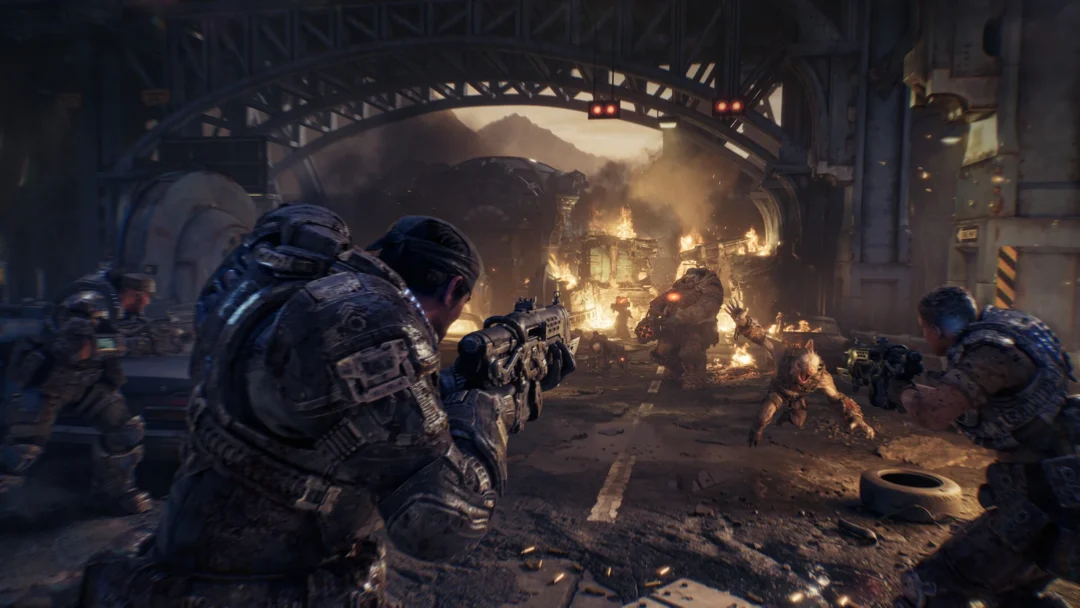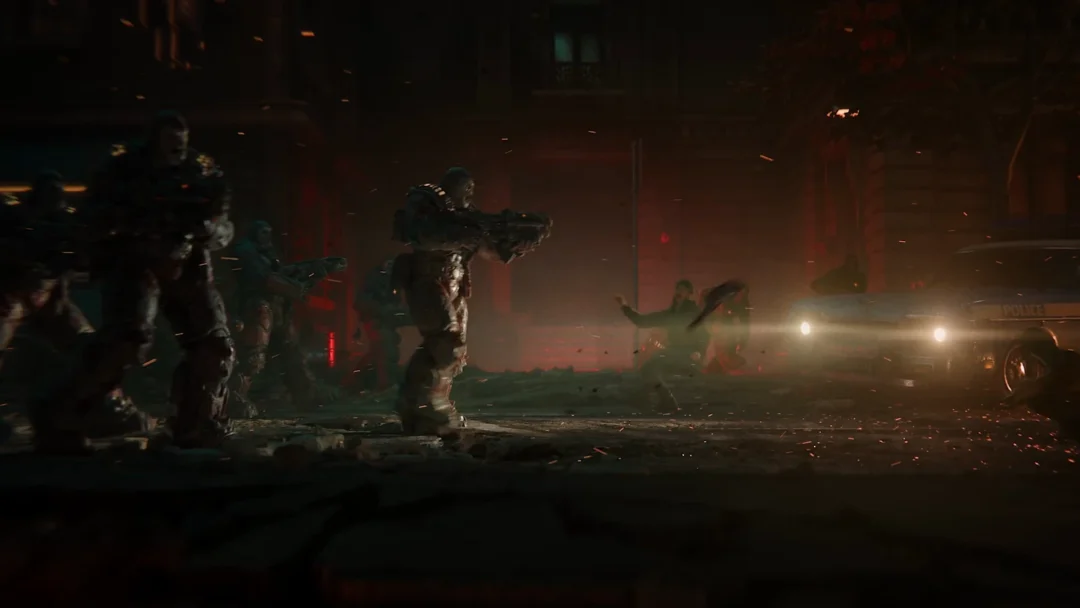
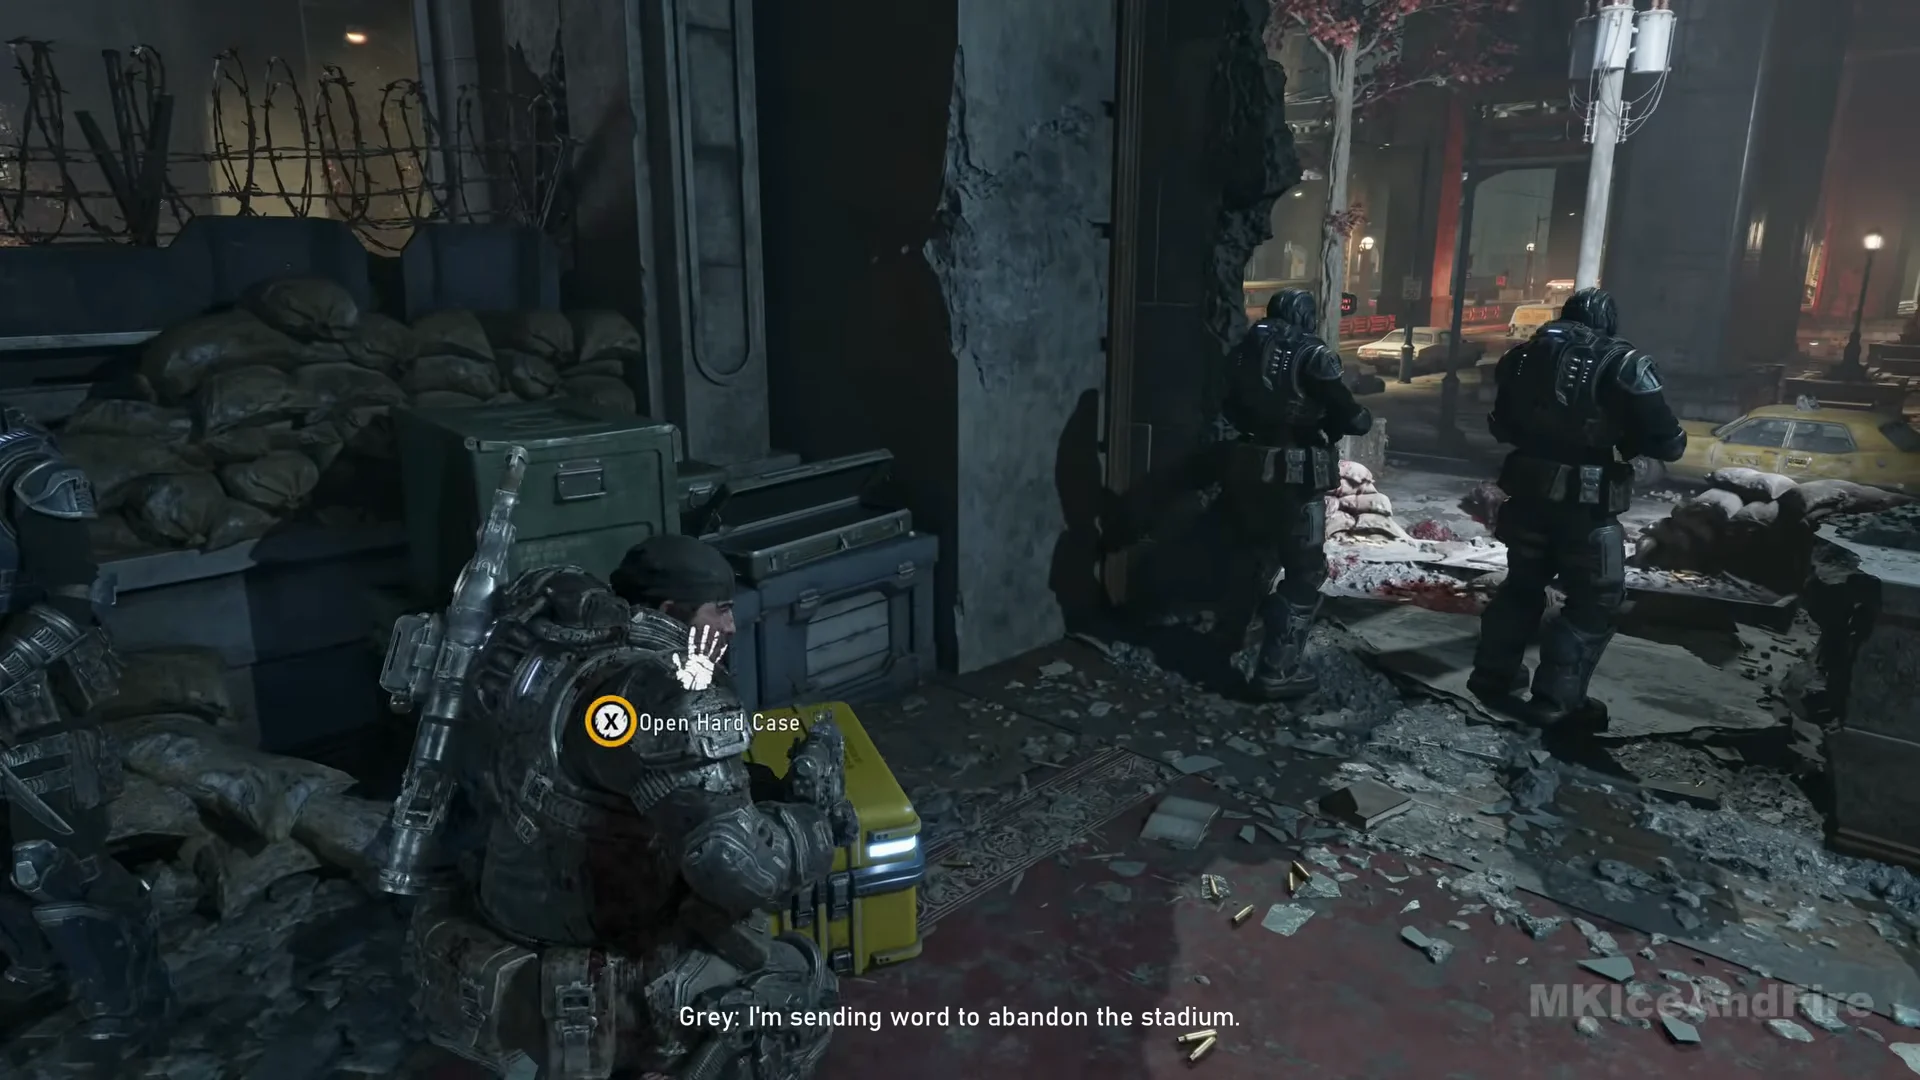
A Hard Case is a yellow COG crate that holds weapon mods, armor and tactical mods, and the mod slots that let you fit them. Stand at one, press X on the “Open Hard Case” prompt, and gold banners name each reward in turn while “HARD CASE EMPTIED” shows on the left. The crates in downtown Kalona, the ruined old town and the port district all open the same way.
Quick answer: 27 Hard Cases open along this route — 13 in Last Foothold, 8 in Hope and Ruin and 6 in Tough as Nails.
How Hard Cases work
Open districts make up all three chapters, and each has a separate map. Use View to move between the DISTRICT MAP and CITY MAP tabs. HARD CASE and COLLECTED HARD CASE appear in the legend; hold LB to bring up Tac-Com and mark crates nearby. As you travel, watch for the “HARD CASE NEARBY” alert—it signals that you should search the area around you.
Nothing from a crate does anything until you take it to a Supply Cache, register it and fit it. Some mods in these chapters drop from secondary objectives instead of crates; those banners look identical, but no crate opens.
A chapter’s map has no Hard Case counter; its counter tracks Collectibles alone. The 27 crates listed here are the ones opened on one route across the three chapters, not a verified overall total. Use the route as a dependable guide, not a fixed count.
Last Foothold Hard Cases (Act 3, Chapter 3)
| # | Where to find it | Rewards |
|---|---|---|
| 1 | Corner of the side alley beside the iron-railed building, off the first street | Composite Chassis (Longshot) |
| 2 | Broken ledge at the crater drop, past the half-collapsed apartment block | Close-Quarters Barrel (Hammerburst) |
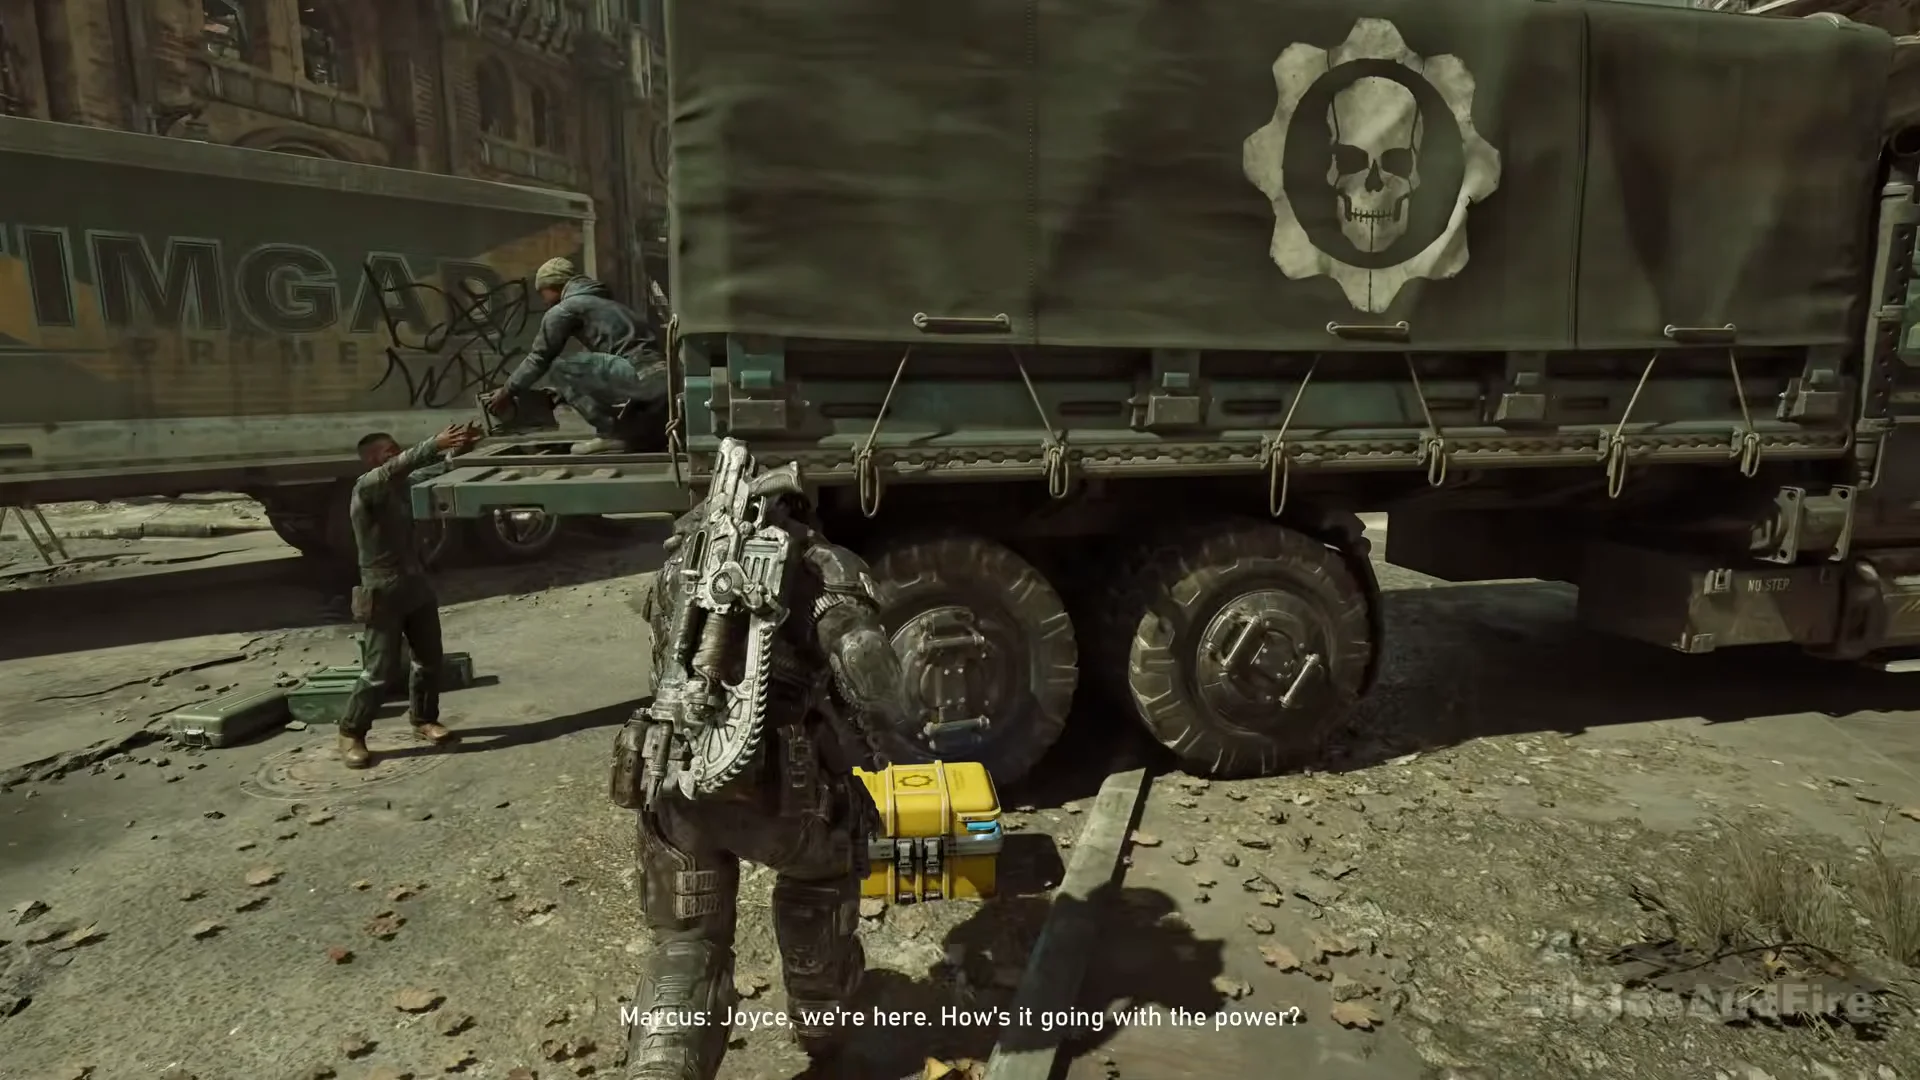
| 3 | During the fight, look on the road beside the canvas-backed COG truck’s rear wheels. | Pulse Drone Mod Slot, then Explosive Resonance (Pulse Drone) |
| 4 | Against the sandbag-and-barbed-wire wall inside the library, past the map table | Combat Scope (Lancer Mk1), then Strike Plating (Striga) |
| 5 | Floor against the graffiti wall in the underpass below the rail bridge | Muzzle Brake (Incinerator) |
| 6 | Behind the sandbag line under the hotel portico, during the defence | Stim Mod Slot, then Retention Battery (Stim) |
| 7 | Open edge of the upper floor across from the hotel, up the Ascend line | Mobile Stabilizer (Breechshot), then Forged Barrel (Lancer Mk1) |
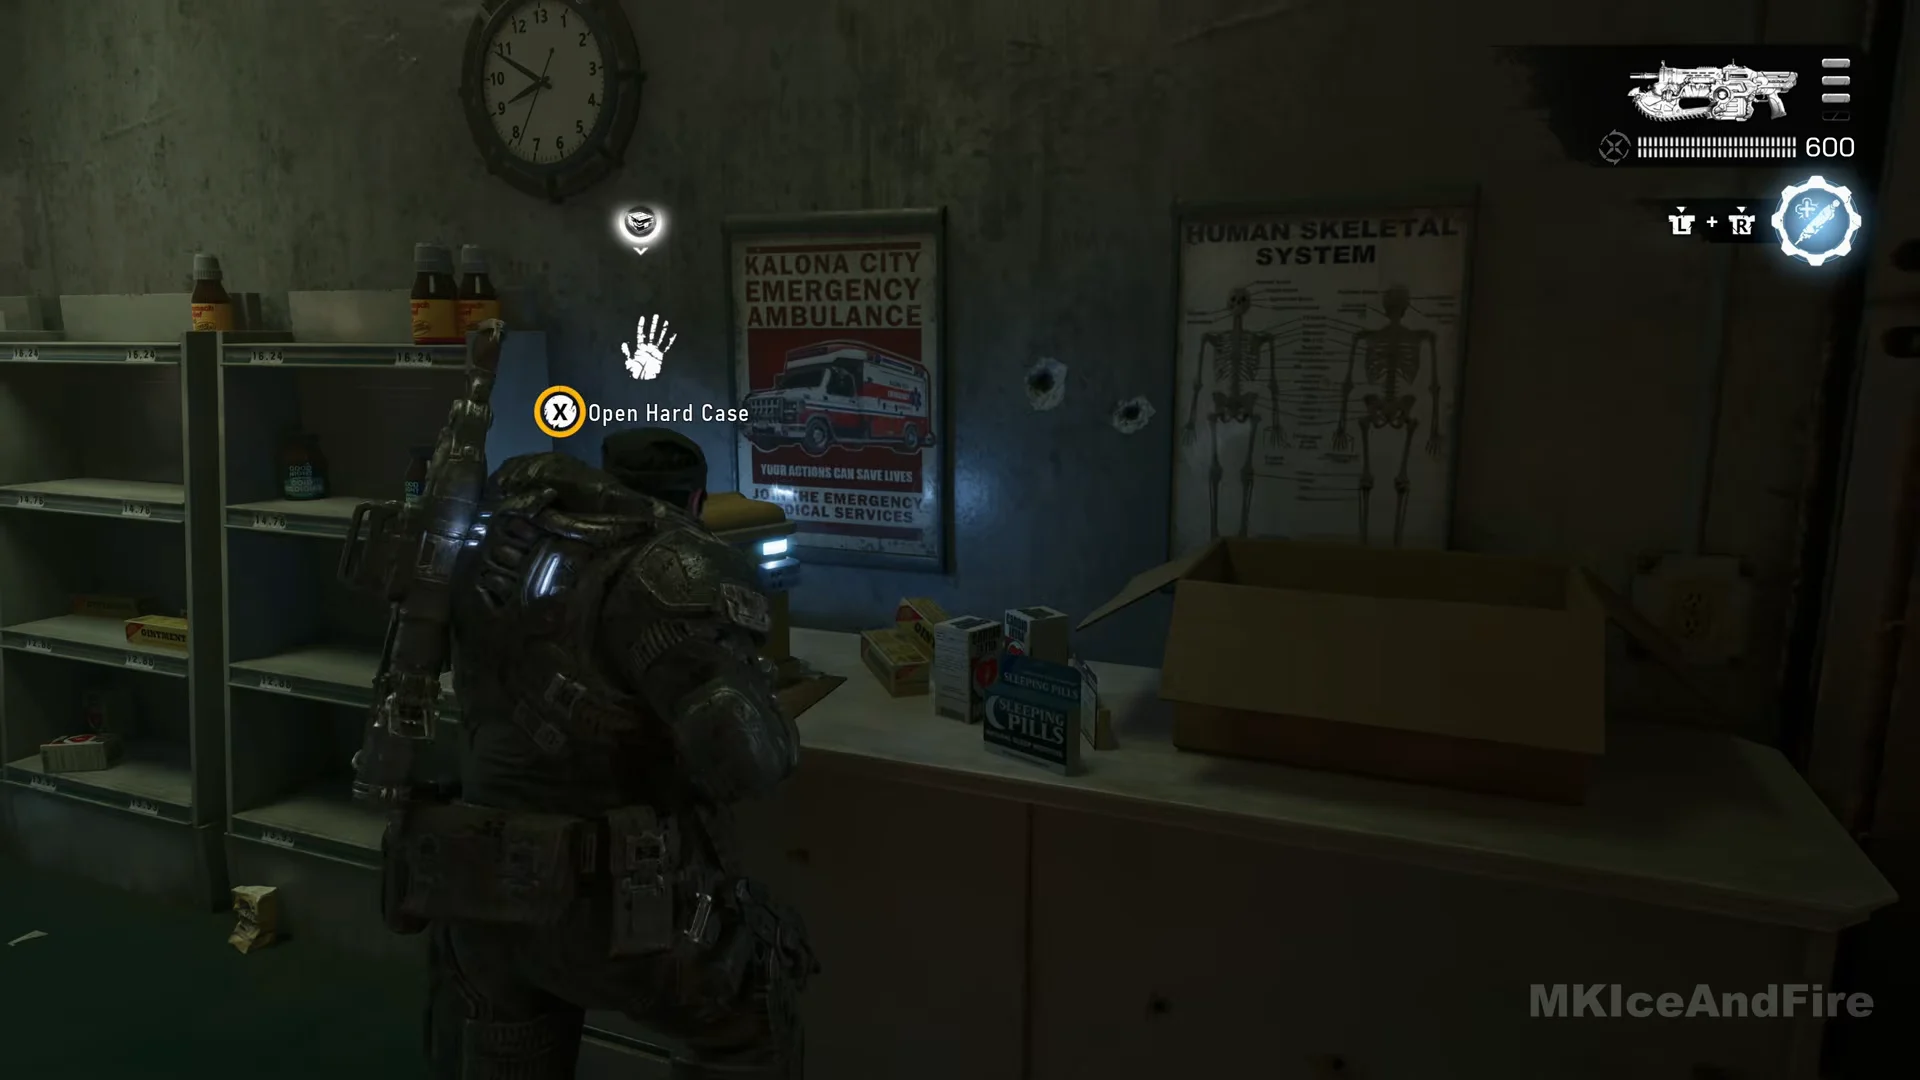
| 8 | On the counter inside Kalona Coast Pharmacy, vault in through the window | Marksman Scope (Breechshot), then Forged Barrel (Ripper LMG) |
| 9 | Back wall of the dark parking garage, behind a parked car | Feedback Resonance (Pulse Drone) |
| 10 | Inside the fenced corner of the chain-link alley | Laser (Hammerburst), then Skeleton Frame (Longshot) |
| 11 | Back office of the drinks store in the green-and-yellow arcade | Stacks on Stacks (Armor) |
| 12 | Beside the vent units on the hospital entrance canopy roof | Burst Capacitor (Stim), then Burst Capacitor (Pulse Drone) |
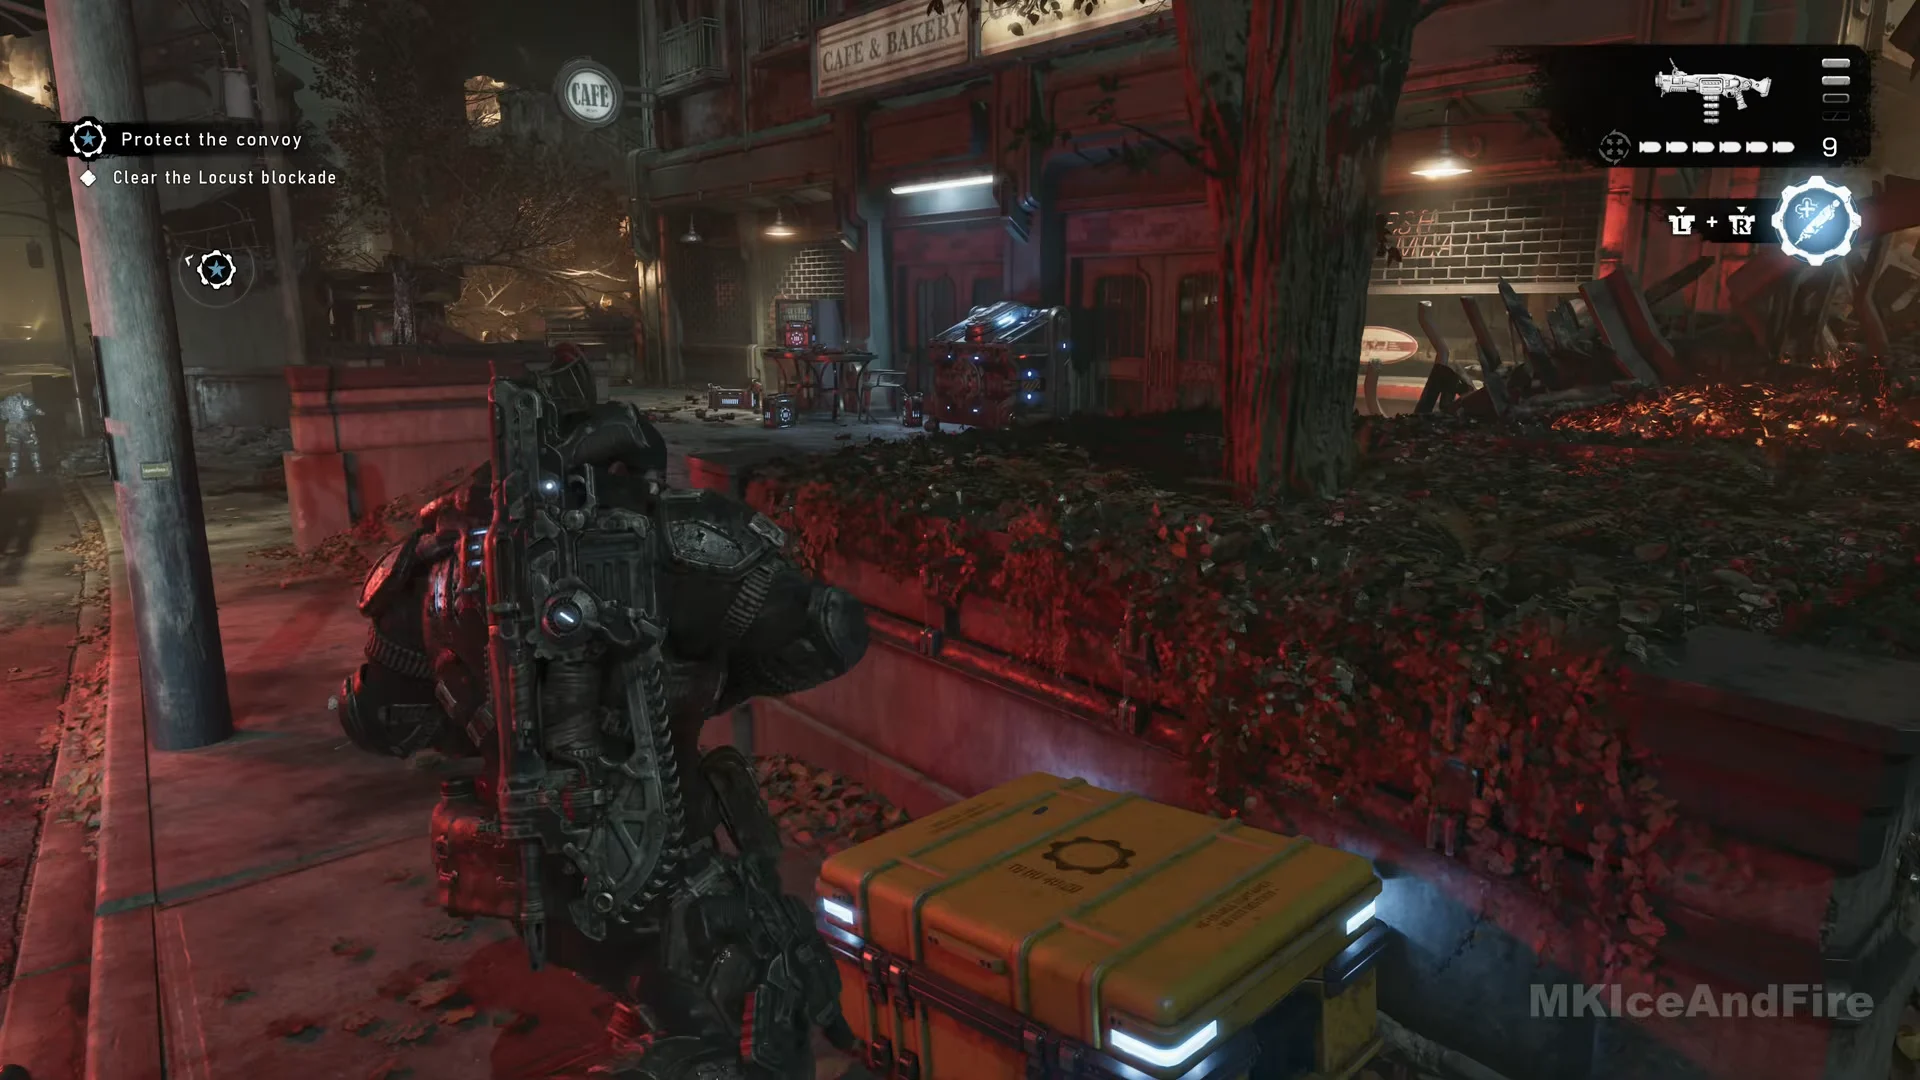
| 13 | On the convoy route, find the case on the brick terrace beside the planter, outside the cafe with the red door. | General Mod Slot (Ripper), plus a second banner |
Three of these sit inside live combat — cases 3, 6 and 9. Clear the area first, since the crate does not move. Case 4 waits against the sandbag-and-barbed-wire wall at the library breach, past the map table where Mayor Shaw and Captain Grey are talking, and a Supply Cache shares the same building.
To reach case 8, vault in through the Kalona Coast Pharmacy window. The crate rests on the counter below the wall clock, next to the ambulance poster and skeleton chart.
Case 13 is easy to collect as you pass. Look on the brick terrace by the planter outside the red-doored cafe, where the crate is next to a Supply Cache. Opening the cache triggers a second banner.
Hope and Ruin Hard Cases (Act 4, Chapter 1)
| # | Where to find it | Rewards |
|---|---|---|
| 14 | At the cathedral grounds, search the rubble beside the base of a stone wall, beyond the rose windows. | General Mod Slot (Gnasher), then Slugs (Gnasher) |
| 15 | Under the COFFEE-sign arch, up the steps from the tram tracks, at the iron gate | Long Range Stabilizer (Breechshot), then Ricochet Ammo (Ripper LMG) |
| 16 | On a low ledge in the dark wood-panelled alcove at the hotel entrance | Concussion Ammo (Snub) |
| 17 | Ground floor of the hotel lobby, beside the staircase | General Mod Slot (Lancer Mk1), then Burst Stabilizer (Lancer Mk1) |
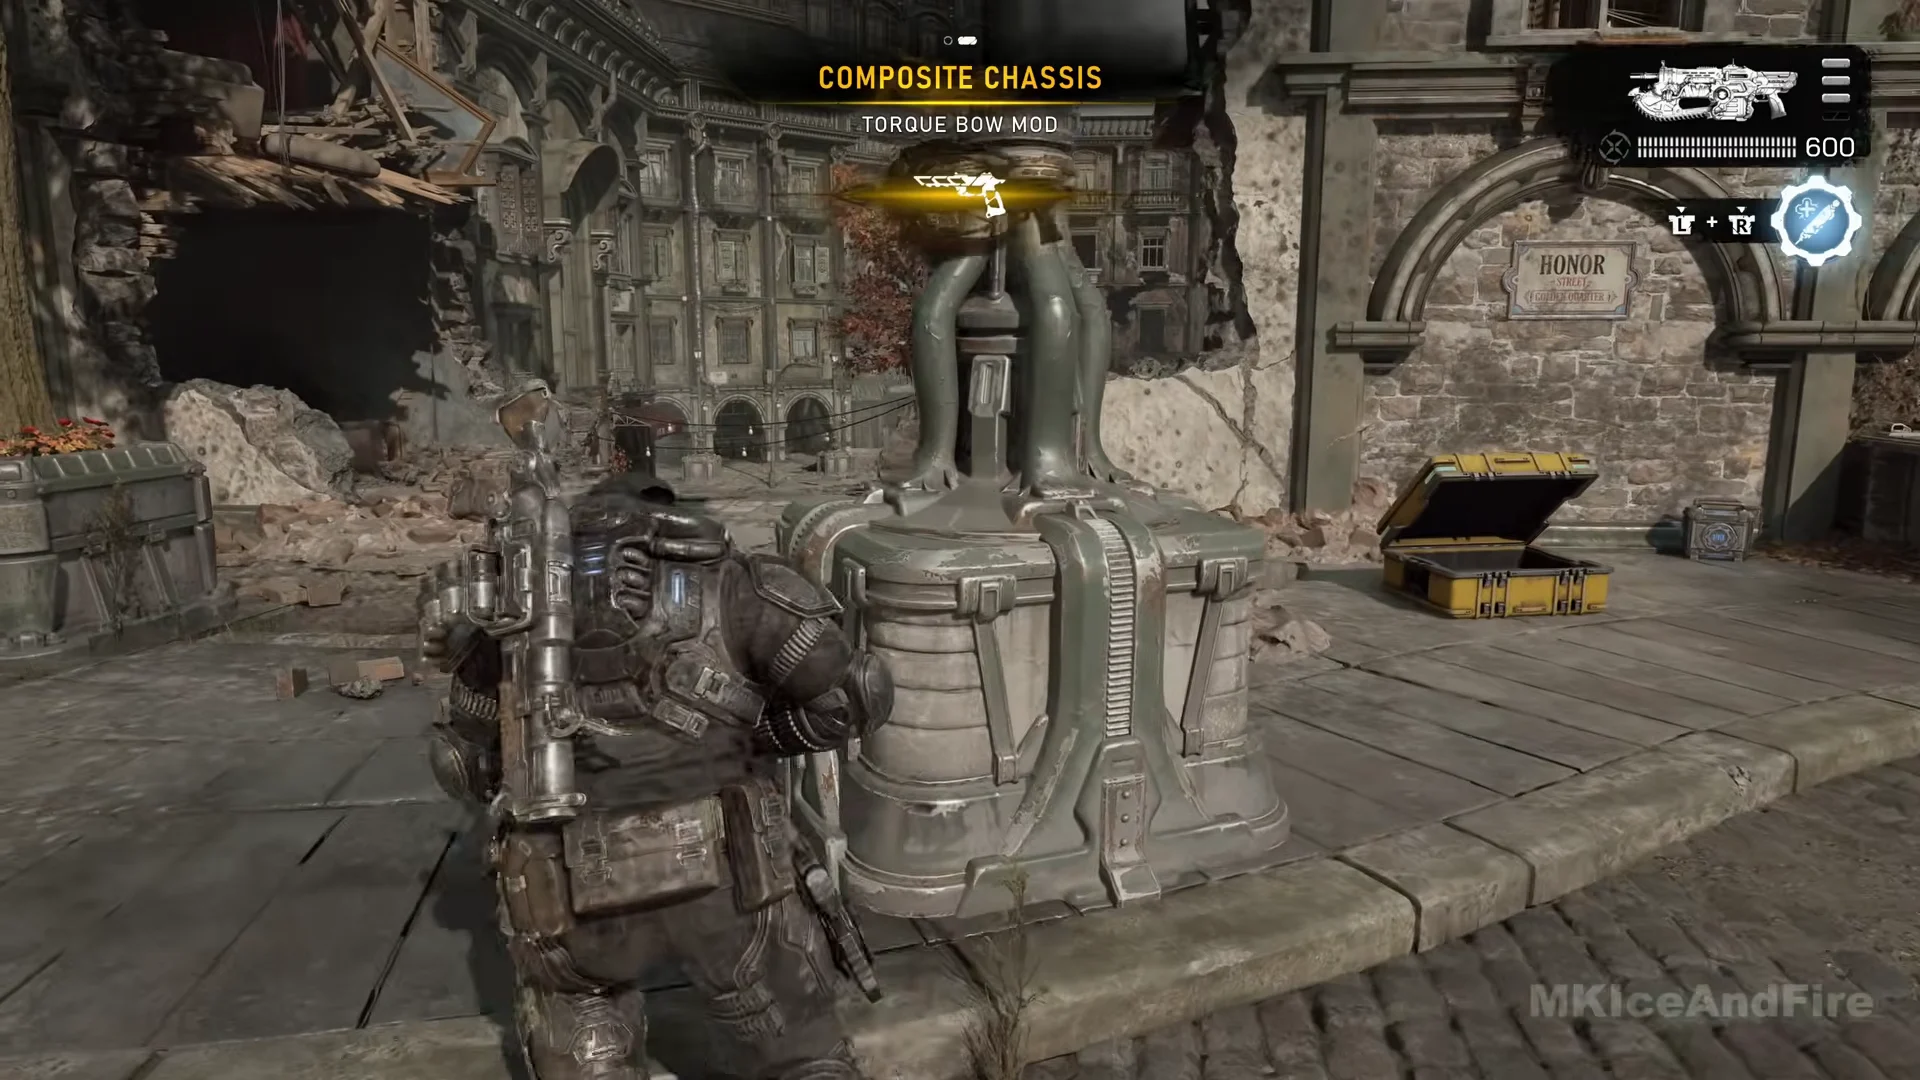
| 18 | Against the wall under the HONOR arch, across the fountain court | General Mod Slot (Torque Bow), then Composite Chassis (Torque Bow) |
| 19 | Small shelved storeroom off the cafe with the checkered floor | Gore Loader (Breechshot), then Strike Plating (Ripper LMG) |
| 20 | Pavement at the foot of the riveted wooden double door, beside a frag grenade | Stim Mod Slot, plus a second banner |
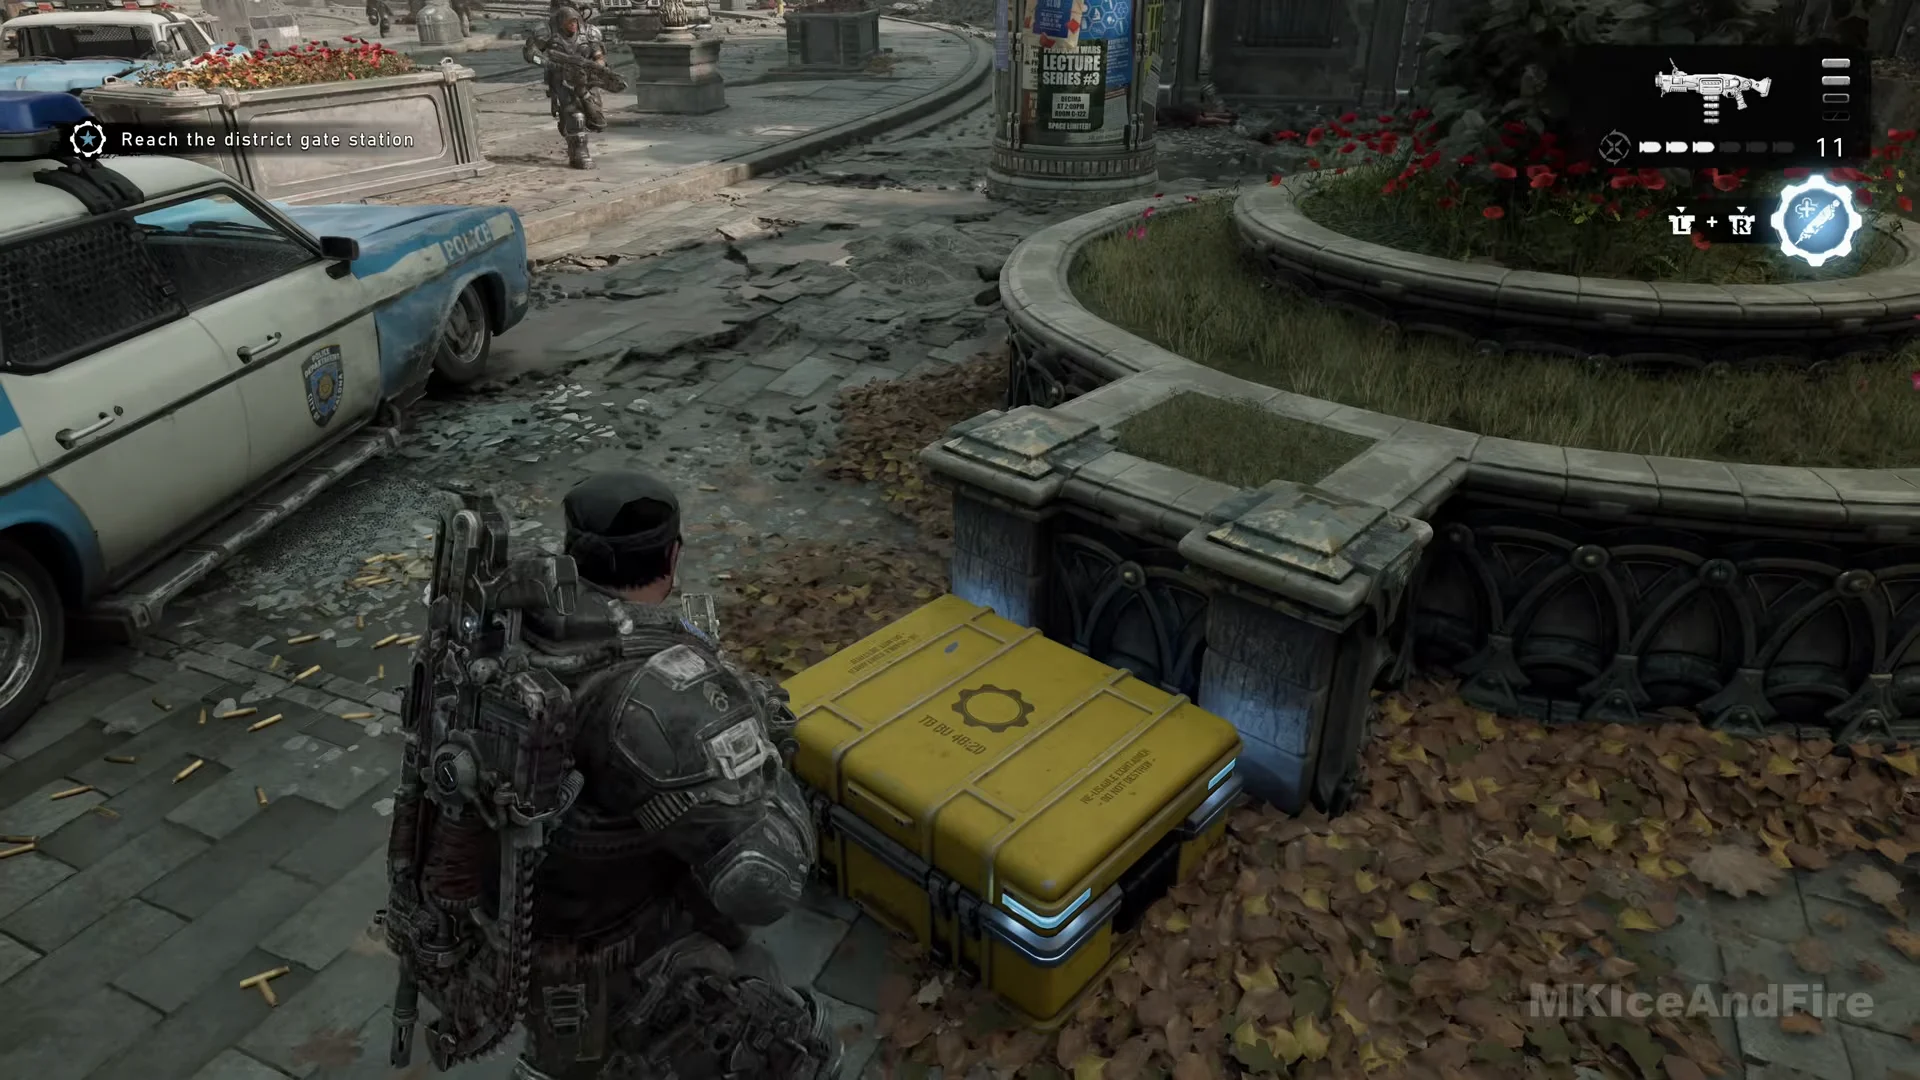
| 21 | At the round stone planter by the blue and white police car, after the university | Extended Magazine (Ripper LMG), then Active Compensator (Prototype Lancer) |
Case 17 is on the lobby floor, just a short distance from the Supply Cache there, letting you install the Lancer Mk1 mods right away. On the other side of the cobbles, case 18 is set against the arcade wall beneath the stone arch engraved HONOR, between the planters.
Later, as you make for the district gate station, search for case 21 on the tram street beyond the university. It’s beside a round stone flower planter and a blue and white police car.
Tough as Nails Hard Cases (Act 4, Chapter 3)
| # | Where to find it | Rewards |
|---|---|---|
| 22 | Corner of the covered brick colonnade, right after the gate is kicked open | General Mod Slot (Hammerburst), then Skeleton Frame (Hammerburst) |
| 23 | Inside the train car in the weapons warehouse, after the Locust are cleared | Acid Rounds (Gut-Puncher), then Primed Coils (Torque Bow) |
| 24 | At a stepladder by the tall green-crate racks in the distribution yard | Pulse Drone Mod Slot, then Synaptic Field (Stim), then Spherical Emitter (Pulse Drone) |
| 25 | Foot of the wide metal staircase inside the factory, by a DANGER guard | Vulnerability Resonance (Disruptor), then Perfect Amplifier (Injector) |
| 26 | Rear wheels of the COG truck in the staging square where civilians unload | Armor Mod Slot, plus a second banner |
| 27 | On the catwalk above the alley, by the chain-link fence and a red pipe | Inertial Regulator (Ripper LMG), then Combat Scope (Longshot) |
Case 26 is on the ground at the truck’s rear wheels in the staging square during the power-station support objective. Reach the catwalk for case 27 by climbing the stacked crates in the alley.
In the weapons warehouse, a “Springloaded Mag (Incinerator)” banner flashes seconds before you reach the train car. That one belongs to the warehouse fight, not to case 23, so do not count it as a crate reward.
Where to register and fit the mods
- Last Foothold: the library cache beside case 4, and the terrace cache next to case 13.
- Hope and Ruin: the cache in the hotel lobby, close to case 17.
- Tough as Nails: after case 24, find the cache beside the distribution yard’s bay doors.
Hard Cases are not collectibles and never touch the Collectibles counter on the map. From there, the mod effects themselves are listed on the Supply Cache screens, not on the banners.