The snowy region of Norgan rewards a few deliberate habits and punishes the lazy ones hard. Several of the most useful systems in the Dark Arisen content never prompt you, so it is easy to leave boons, weapon skills, and rare spoils on the table without noticing. Setting up the right order of operations before you travel north matters more than raw combat power.
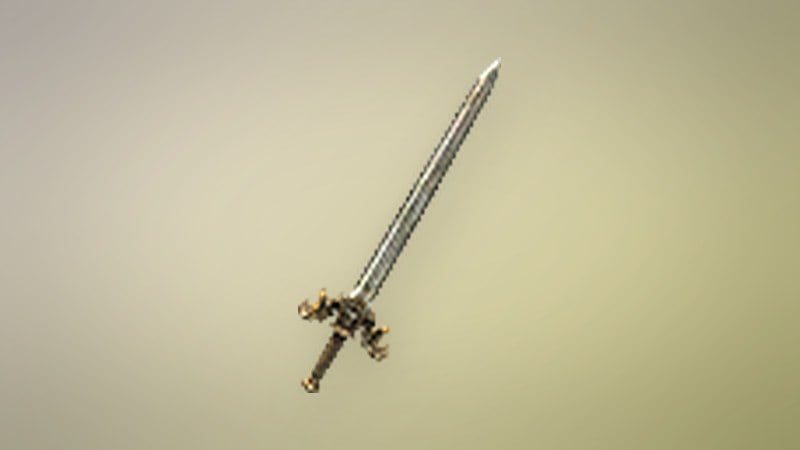
Quick answer: Finish Captain Brant’s Lost Rites questline first to reveal the proving grounds, collect Offering Flames from those trials, and physically touch every Portcrystal you find so a Ferrystone can target it.
Start Captain Brant’s Lost Rites questline before leaving Vernworth
The chain that opens the new content begins at the Stardrop Inn in Vernworth. Speak with Captain Brant at night and pick the dialogue option “About the uncovered ruins…”, which only appears once the add-on is installed. Finishing the questline marks the forgotten proving grounds on your map, and clearing those trials awards Offering Flames.
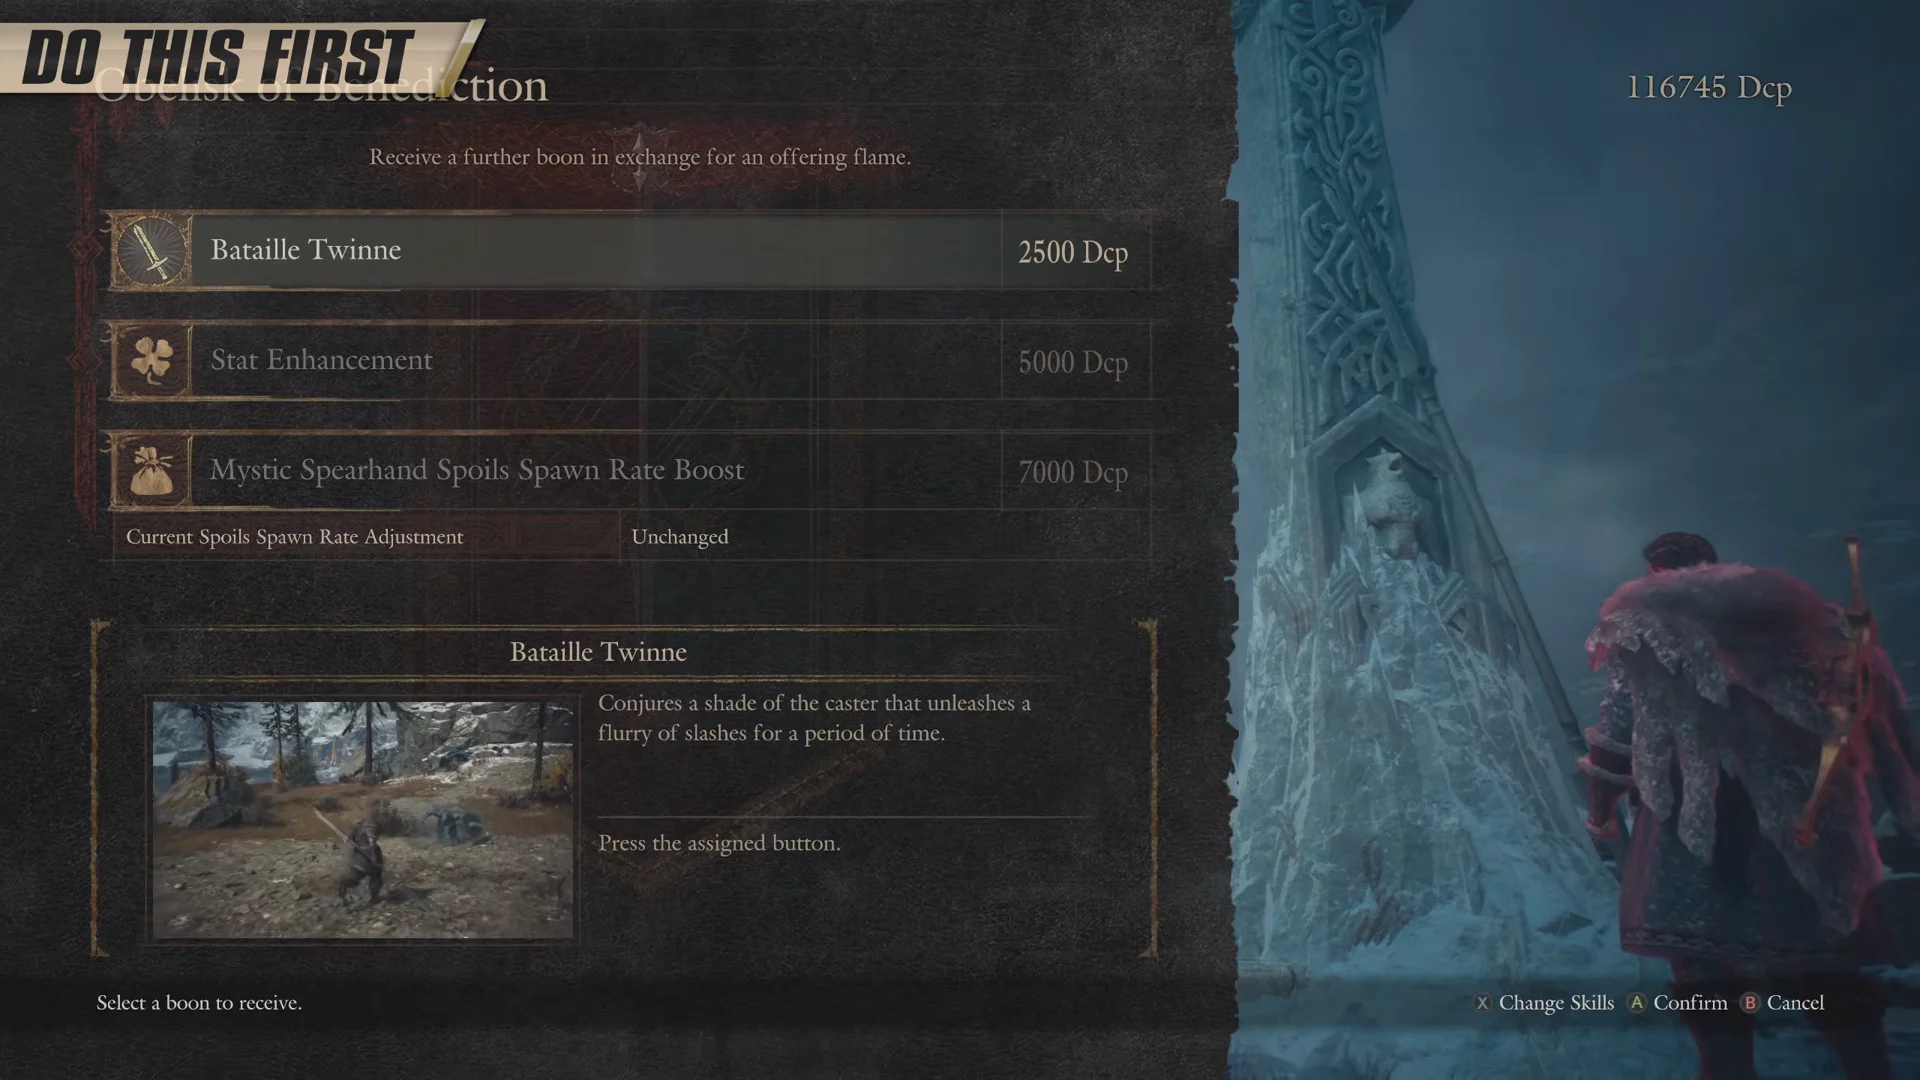
Offering Flames are spent at Obelisks of Benediction scattered across Norgan. Each obelisk can unlock a vocation weapon skill, a stat boost, or a permanent character boon, so skipping this loop means fighting the region underpowered. Burning the flames early pays off for the rest of your time in the north.
Lost Rites can be permanently failed. Once the red clouds envelop the Sacred Arbor, the task can no longer be completed, so do not let the questline sit unresolved while you rush the main story.
Touch every Portcrystal to register it for fast travel
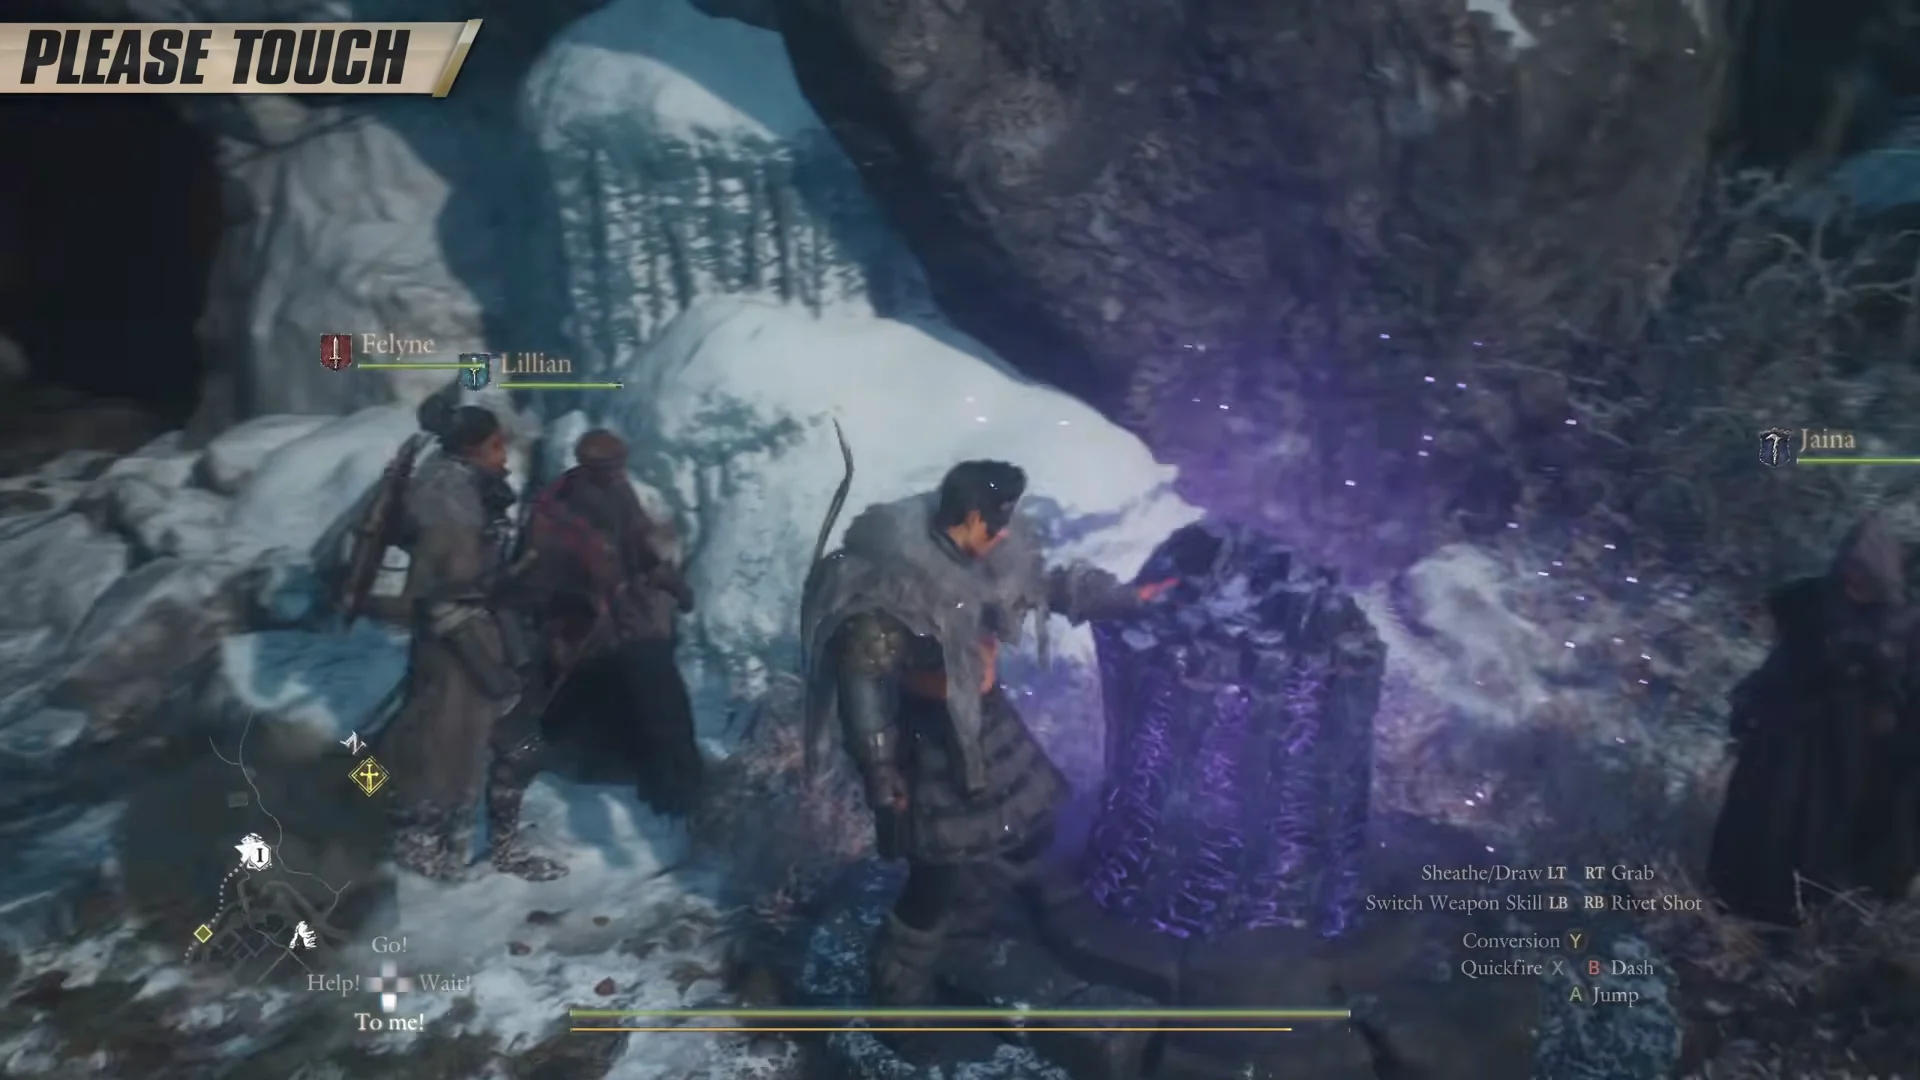
A Portcrystal only becomes usable after you activate it: approach and hold the interact button. Until then, Ferrystones cannot send you there, leaving you to make the lengthy trip back through the snow on foot.
Norgan also carries a set of fixed Portcrystals you do not have to place yourself. Knowing where they sit lets you plan which spots to clear first and where to drop any portable crystals you carry.
| Fixed Portcrystal location | Type |
|---|---|
| Castletown Campground |  Norgan Portcrystal (fixed) Norgan Portcrystal (fixed) |
| Gagana’s Grotto | Norgan Portcrystal (fixed) |
| Lorade Castle | Norgan Portcrystal (fixed) |
| Mordria Temple | Norgan Portcrystal (fixed) |
| Norgan | Norgan Portcrystal (fixed) |
| Norgandian Settlement | Norgan Portcrystal (fixed) |
| Northwall Campground | Norgan Portcrystal (fixed) |
| Rivercave Campground | Norgan Portcrystal (fixed) |
| Sealed Study | Norgan Portcrystal (fixed) |
| Shrine of Wisdom | Norgan Portcrystal (fixed) |
Use the Interim Save before dangerous fights
Choose Interim Save from the system menu to set a manual restore point without sleeping at an inn. Save just before a boss or other dangerous encounter; if the battle turns against you, reload that point and avoid losing a long run of progress.
Loot everything: embedded blades, full spoil piles, and thieves’ dens
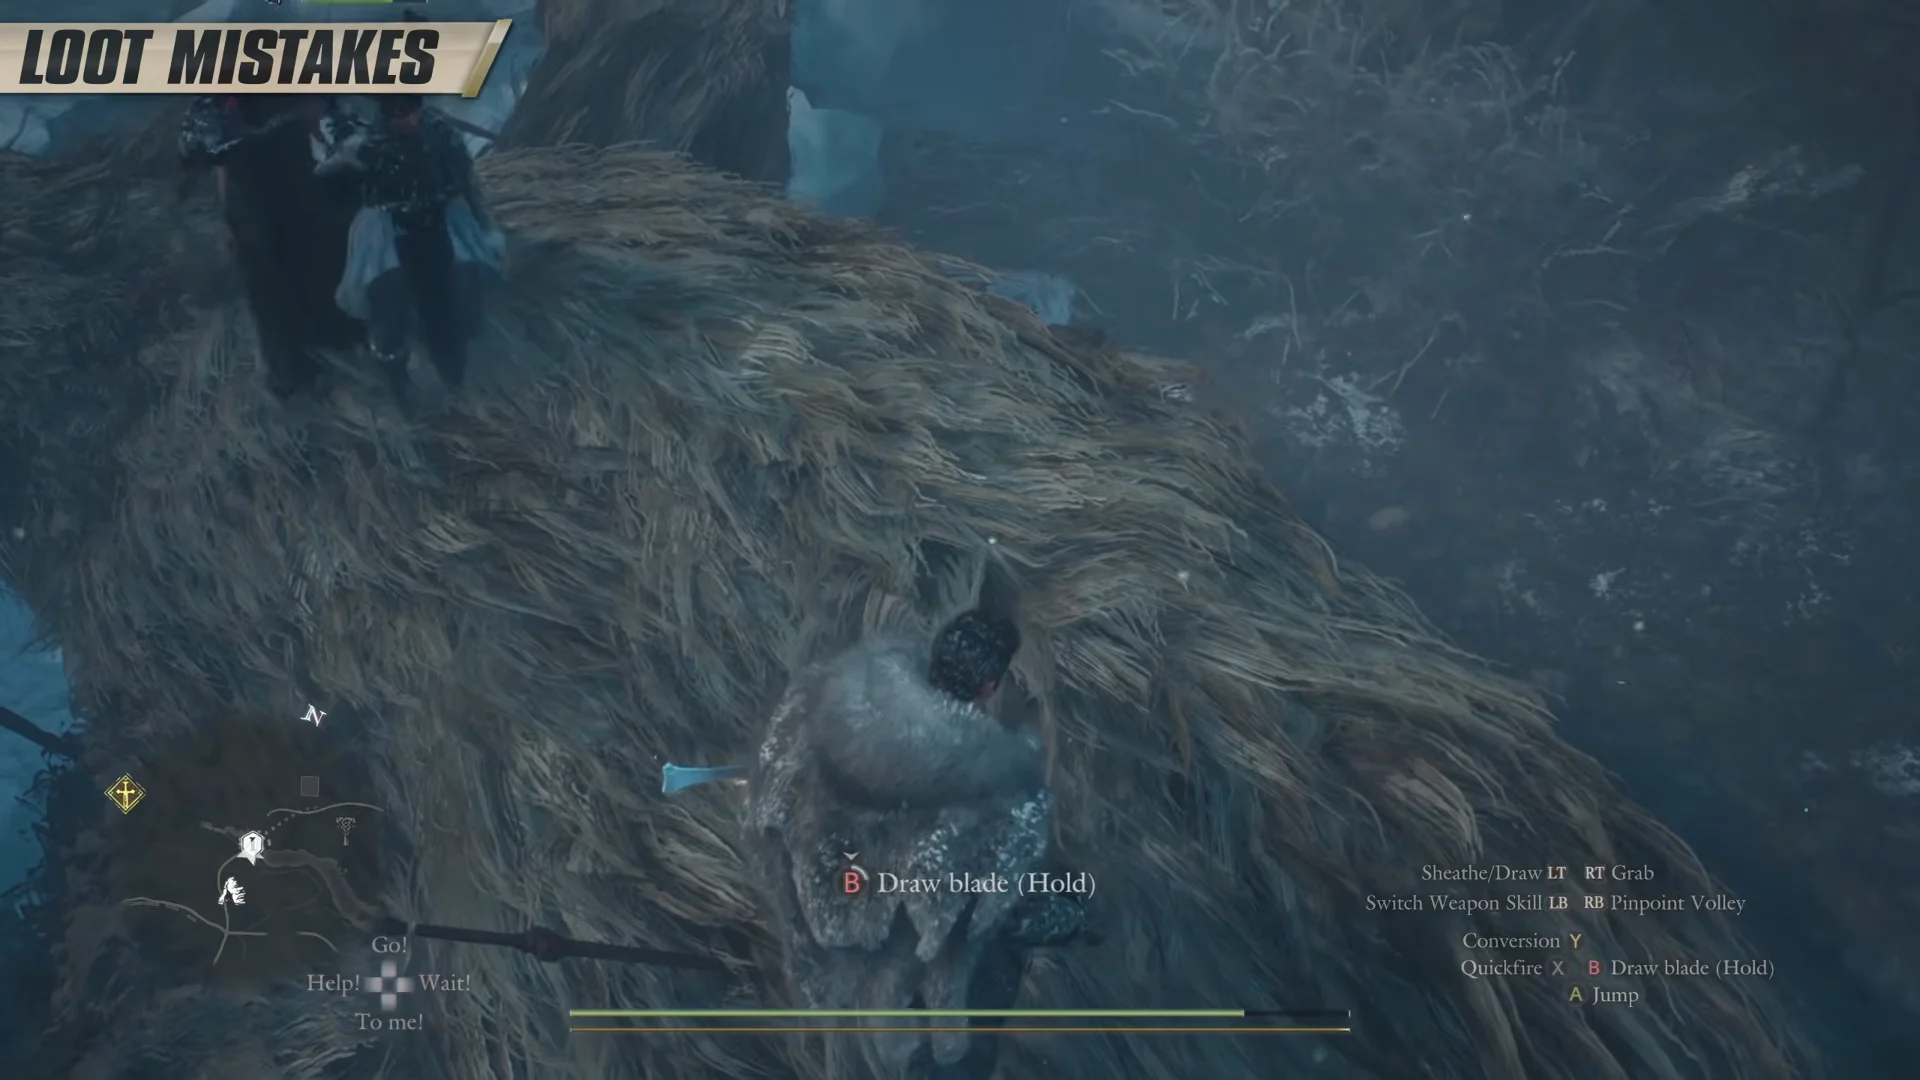
Large monster corpses, such as fallen giants, sometimes have weapons stuck in their bodies. Climb the corpse and hold the Draw blade prompt to pull the weapon free as a rare spoil. It is easy to walk past these if you never climb the body.
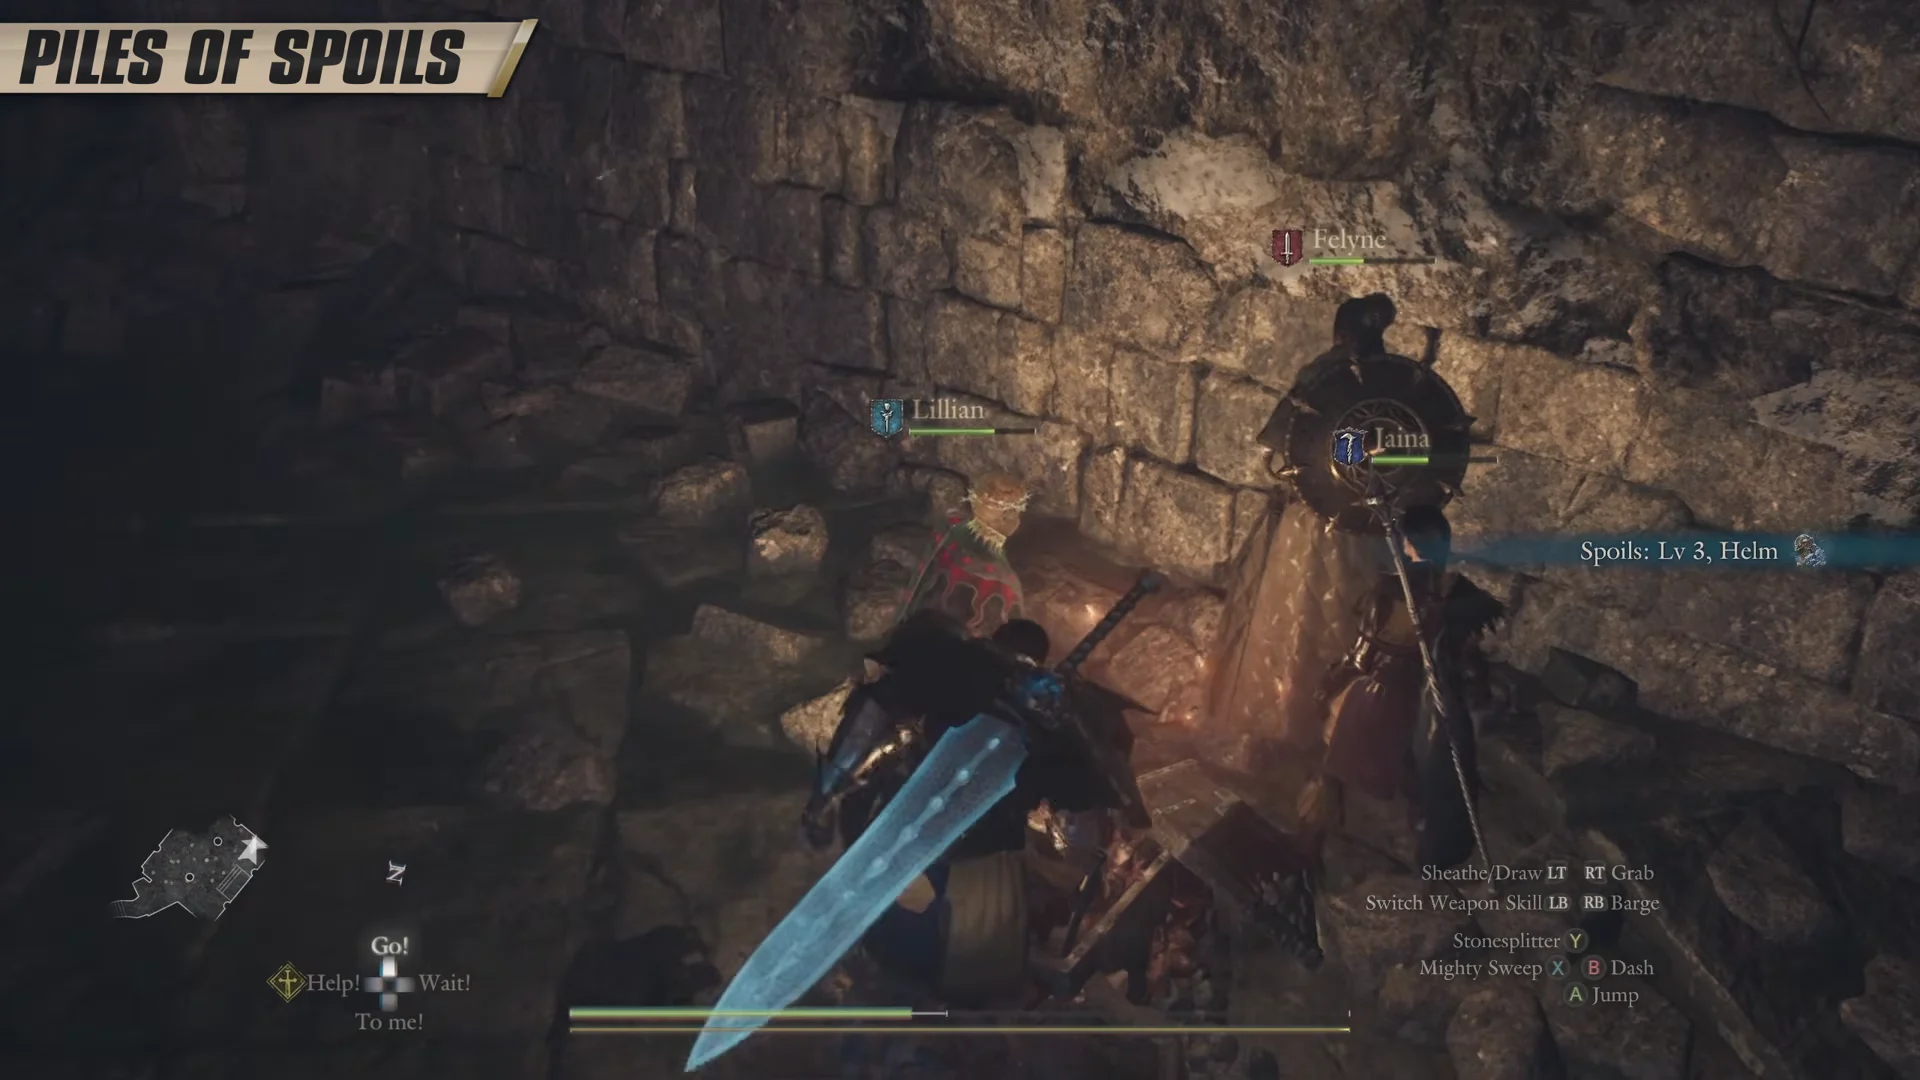
Spoil piles in ruins can be searched more than once. Keep interacting with the same pile until it is fully emptied rather than taking a single pull and moving on.
When an ogre or other beast thief grabs your spoils mid-fight, do not kill it. Order your pawns with the “To me!” command so they stop attacking, then follow the thief back to its lair and loot the larger cache waiting inside.
Read Treatise tomes and buy the augment slot upgrade
Books titled “Treatise” are not reading material to sell off. Consuming one teaches your Arisen a specialization or augment, so read every Treatise you pick up, such as the Treatise on Advertence or the Treatise on Fortuity.
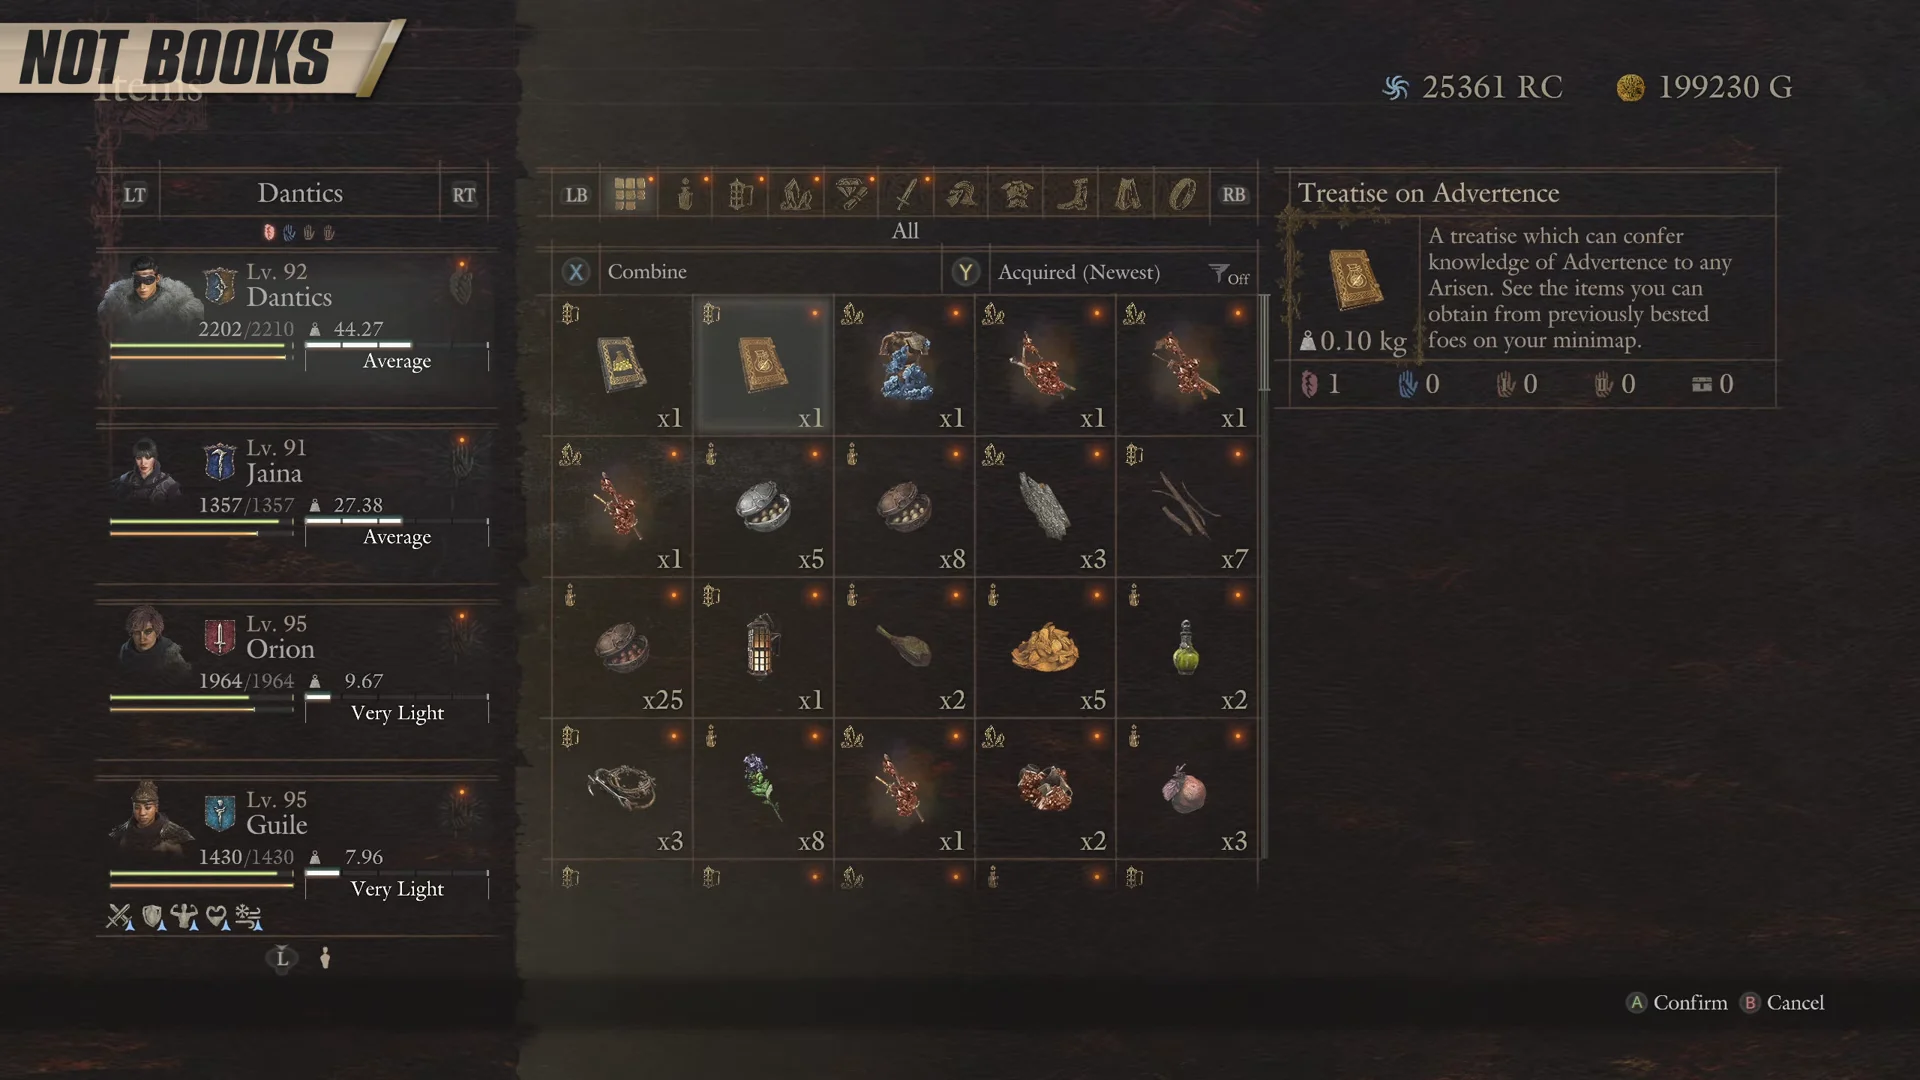
At the inn vendor you can buy Augmentum Scriptura for 20 Norgan Ducats. It permanently raises the augment equip slots to seven for both your Arisen and your main pawn, so gather Ducats from around the region and pick one up early.
Stop hoarding and manage carry weight
Crafting pulls ingredients straight from inn storage, so there is no reason to haul crafting materials, spare camping kits, or heavy gear in the field. Deposit them. Carrying less keeps your movement and agility up.
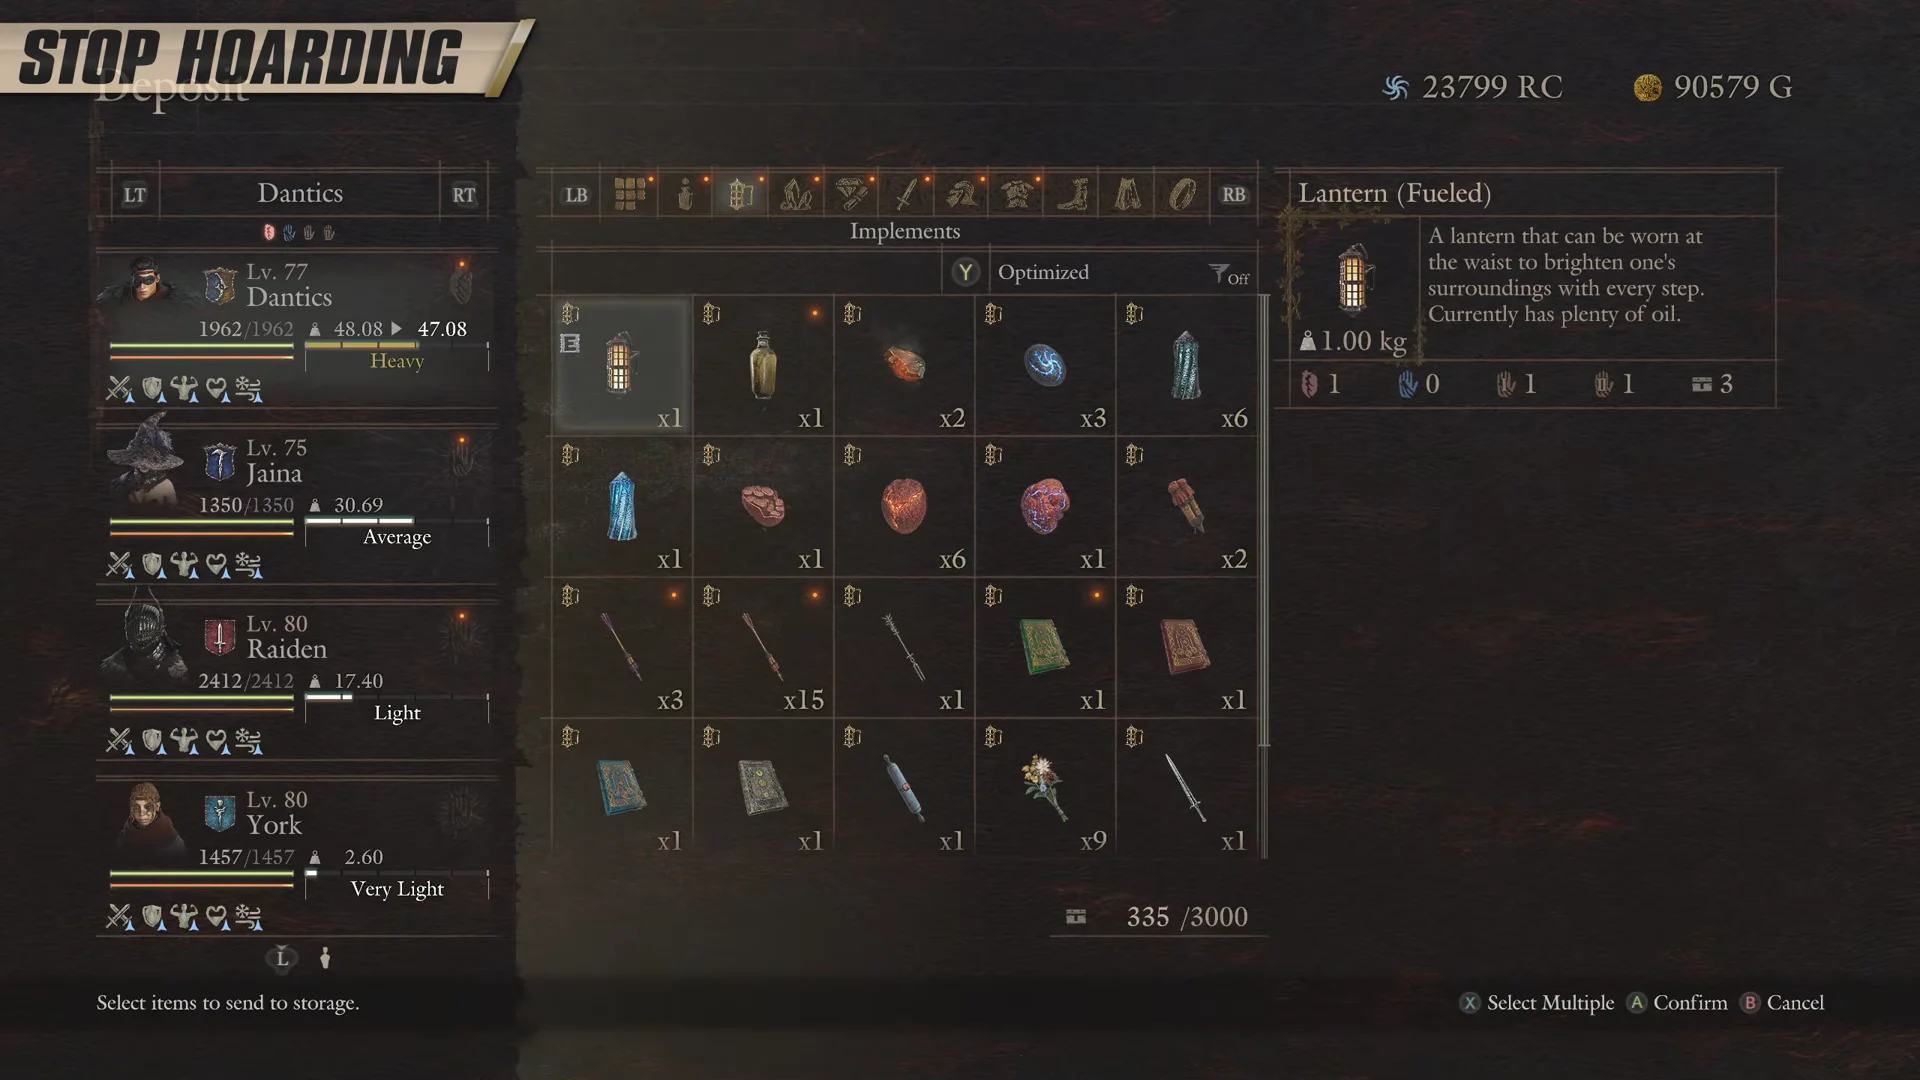
If you must carry something heavy, spread it across your pawns so no single character is overloaded.
Traversal: climbing hooks and manual climbing
Climbing Hooks are not single-use. Deploy one on a designated anchor post and it creates a permanent rope shortcut that stays in the world. Setting these up turns awkward climbs into quick routes you reuse for the rest of the game.
Plenty of vertical terrain is climbable even without a hook. On wooden planks, crumbling bridges, and cliff edges, jump into the surface and press the climb button manually to scale it. Many players assume these surfaces are blocked when they are not.
Avoid the environmental deaths: ice, falling hazards, and cliffs
Fighting on frozen water is dangerous. Thin ice shatters under attacks and drops anyone standing on it into the Brine. The same surfaces can work in your favor, though, since breaking the ice beneath an enemy removes it. Watch for falling icicles and avalanches too, as both deal heavy damage.
When a pawn goes down near a ledge, pick up and carry the body to flat ground before reviving. Reviving on the edge risks getting knocked off during the animation.
Do not jump off high cliffs to save time. Pawns copy the jump and take massive or fatal fall damage, which lowers your maximum party HP and can dismiss companion hounds such as Freki.
Build a party for crowds, air, and mounting, not just boss DPS
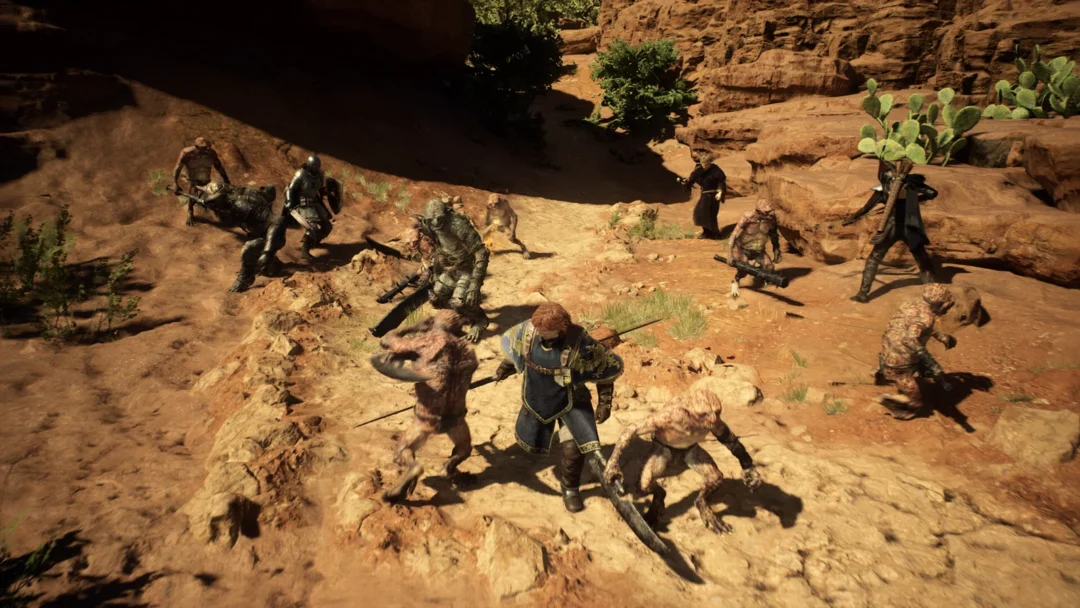
Norgan’s encounters test crowd control, not only single-target damage. A balanced party holds up far better than four damage dealers.
- Bring a frontline tank with Shield Summons to hold enemy attention.
- Run a high-level support mage with healing, stamina regeneration, and celerity.
- Equip at least one wide-radius AoE skill to clear mob rushes.
- Keep a vertical or anti-air attack for harpies and other flying enemies.
Mounting large beasts drains a lot of stamina. Check your reserves before you grapple, use a gap-closing weapon skill, or drop onto the monster from high ground to save the climb.
Hunt wildlife for food, crafting, and Freki
Deer, wolves, and arctic hares supply meat for cooking and rare crafting materials. Meat also feeds the companion hound Freki, who can sniff out buried supply chests once he is unlocked.
Freki is tied to a settlement quest that asks for Alpine Hare Meat, so keep some on hand. The meat restores 50 Health when eaten and drops from a wide range of creatures, including Rabbit, Hobgoblin, Asp, Serpent, Nokken, Venin Harpy, Succubus, Aethon, Draug, and Griffin.
Key Norgan reference: quest window, curatives, and a common threat
The Lost Rites chain is time-sensitive: Captain Brant takes his seat from 17:00 to 05:59. His meetings become available after you finish Seat of the Sovran and end when you complete Legacy, so begin during those hours.
| Detail | Lost Rites |
|---|---|
| Where to start | Stardrop Inn, Vernworth |
| Available from | After Seat of the Sovran |
| Available until | Completion of Legacy |
| Brant seated | 17:00 – 05:59 |
| Stages | 3 |
| Can be failed | Yes |
Keep a stock of Norgan curatives, since both restore Health and one clears a status. Hal in the Norgandian Settlement also asks for Winterweed Blossom to unlock crafting, so grab extras at Ilda.
| Curative | Effect | Buy price | Sold at |
|---|---|---|---|
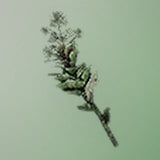 Winterweed Winterweed | Restores 200 Health | 1,000 G | Ilda |
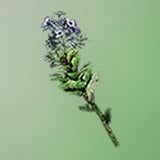 Winterweed Blossom Winterweed Blossom | Cures Blighted | 1,200 G | Ilda |
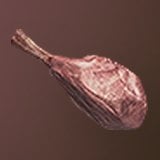 Alpine Hare Meat Alpine Hare Meat | Restores 50 Health | 5,000 G | Drops / quest reward |
Among the tougher beasts you will meet is the Direwolf. It resists Ice and is weak to Fire, so pack a fire source before you tangle with one. For reference, it carries 15,000 Health, 2,500 Strength, 330 Defense, and 450 Knockdown Power, and drops Direwolf Pelt, Scrag of Beast, and Beast-Steak.
Get the questline, obelisks, and Portcrystals handled before you commit to Norgan, and the rest of these habits — full looting, light loads, a balanced party, and respect for the ice — keep your run from unraveling in the cold.