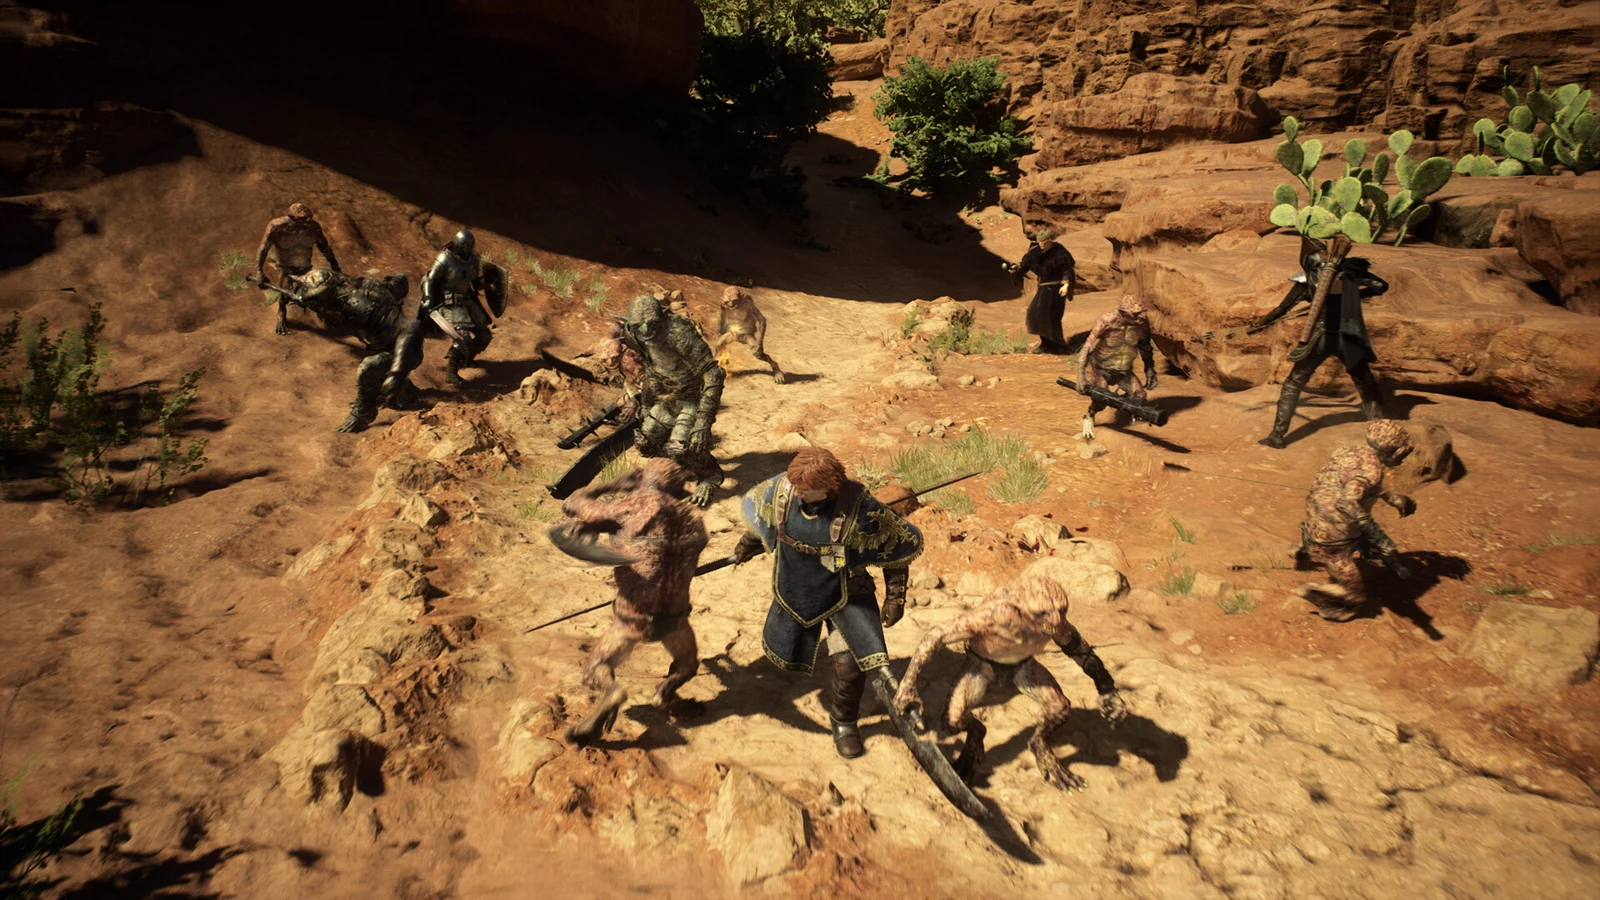
Norgan swaps the usual set loot for Spoils and Relics, unidentified pickups that only become gear once Jiera appraises them back at the Norgandian Settlement. The enemies up north hit harder than anything your base-game kit was built for, so the fastest way to stop dying in the snow is to force high-level Spoils into your hands early instead of waiting for the story to drip-feed them.
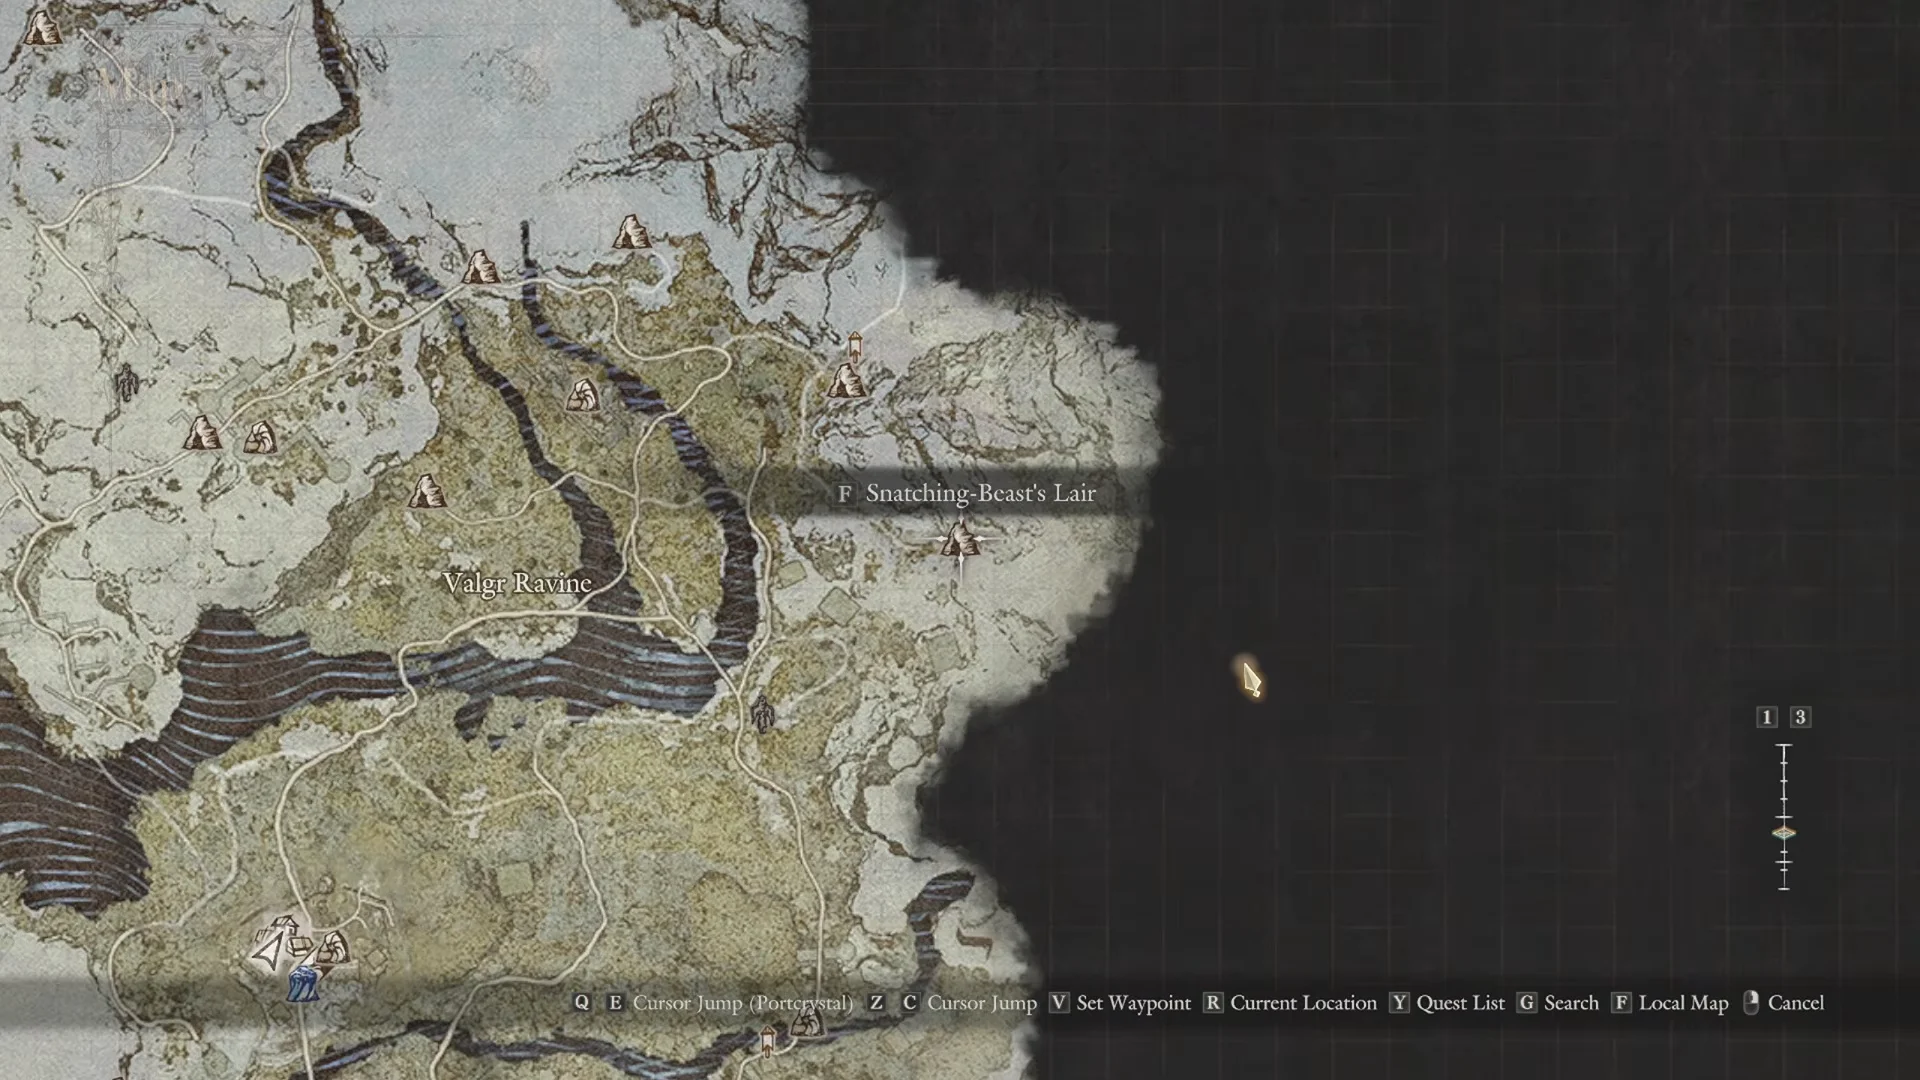
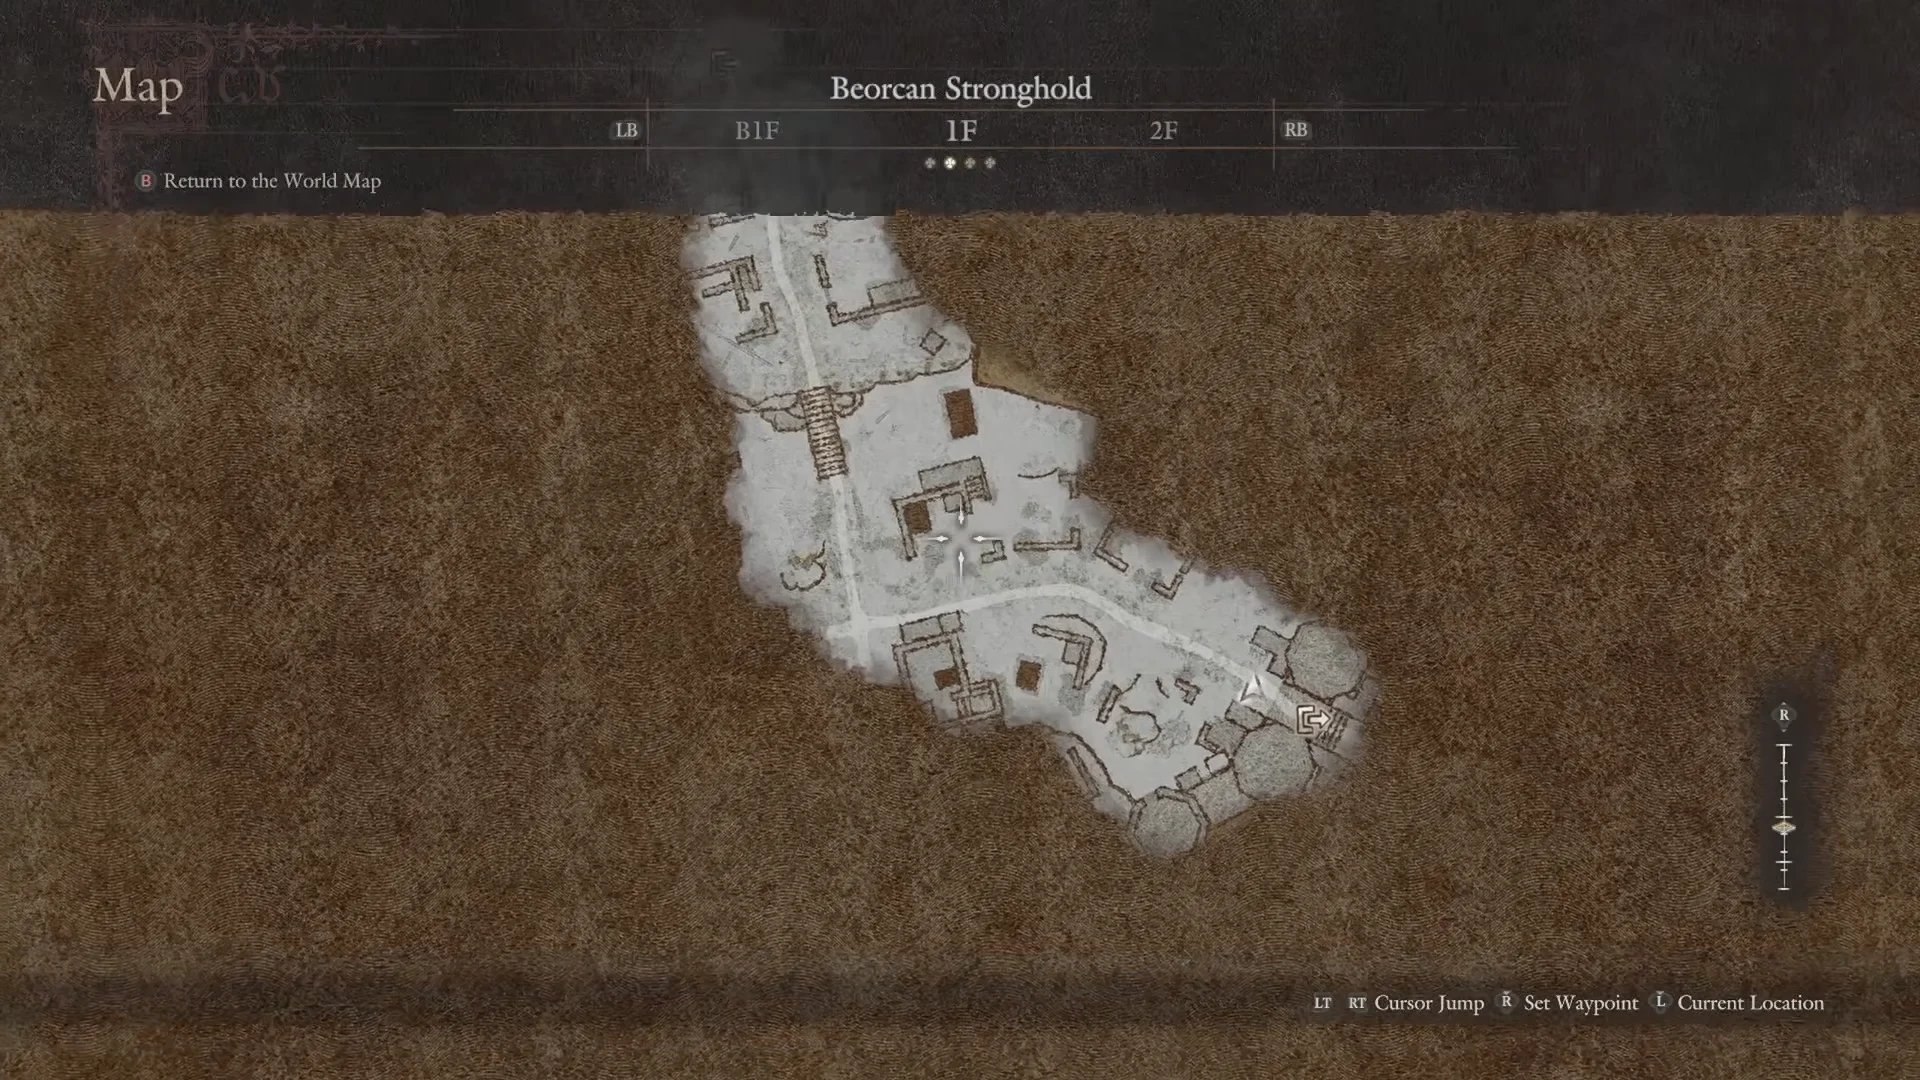
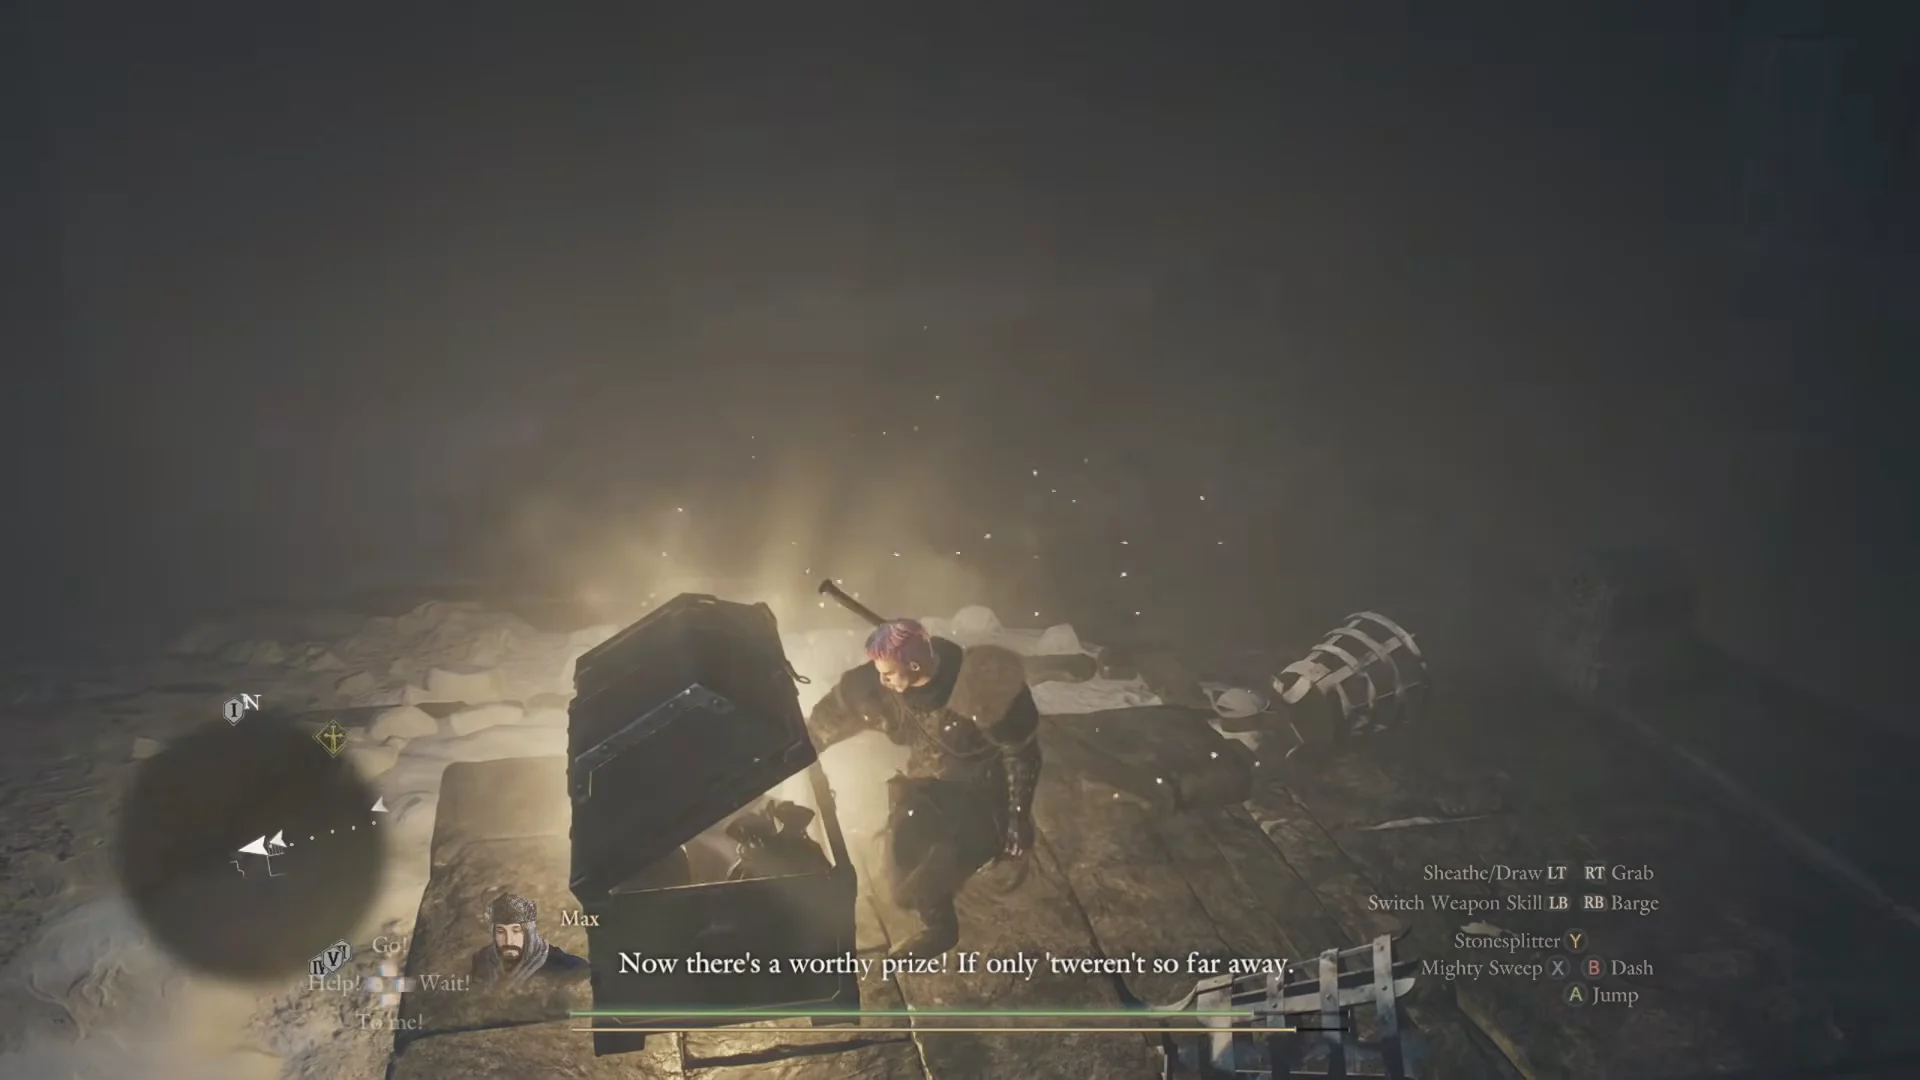
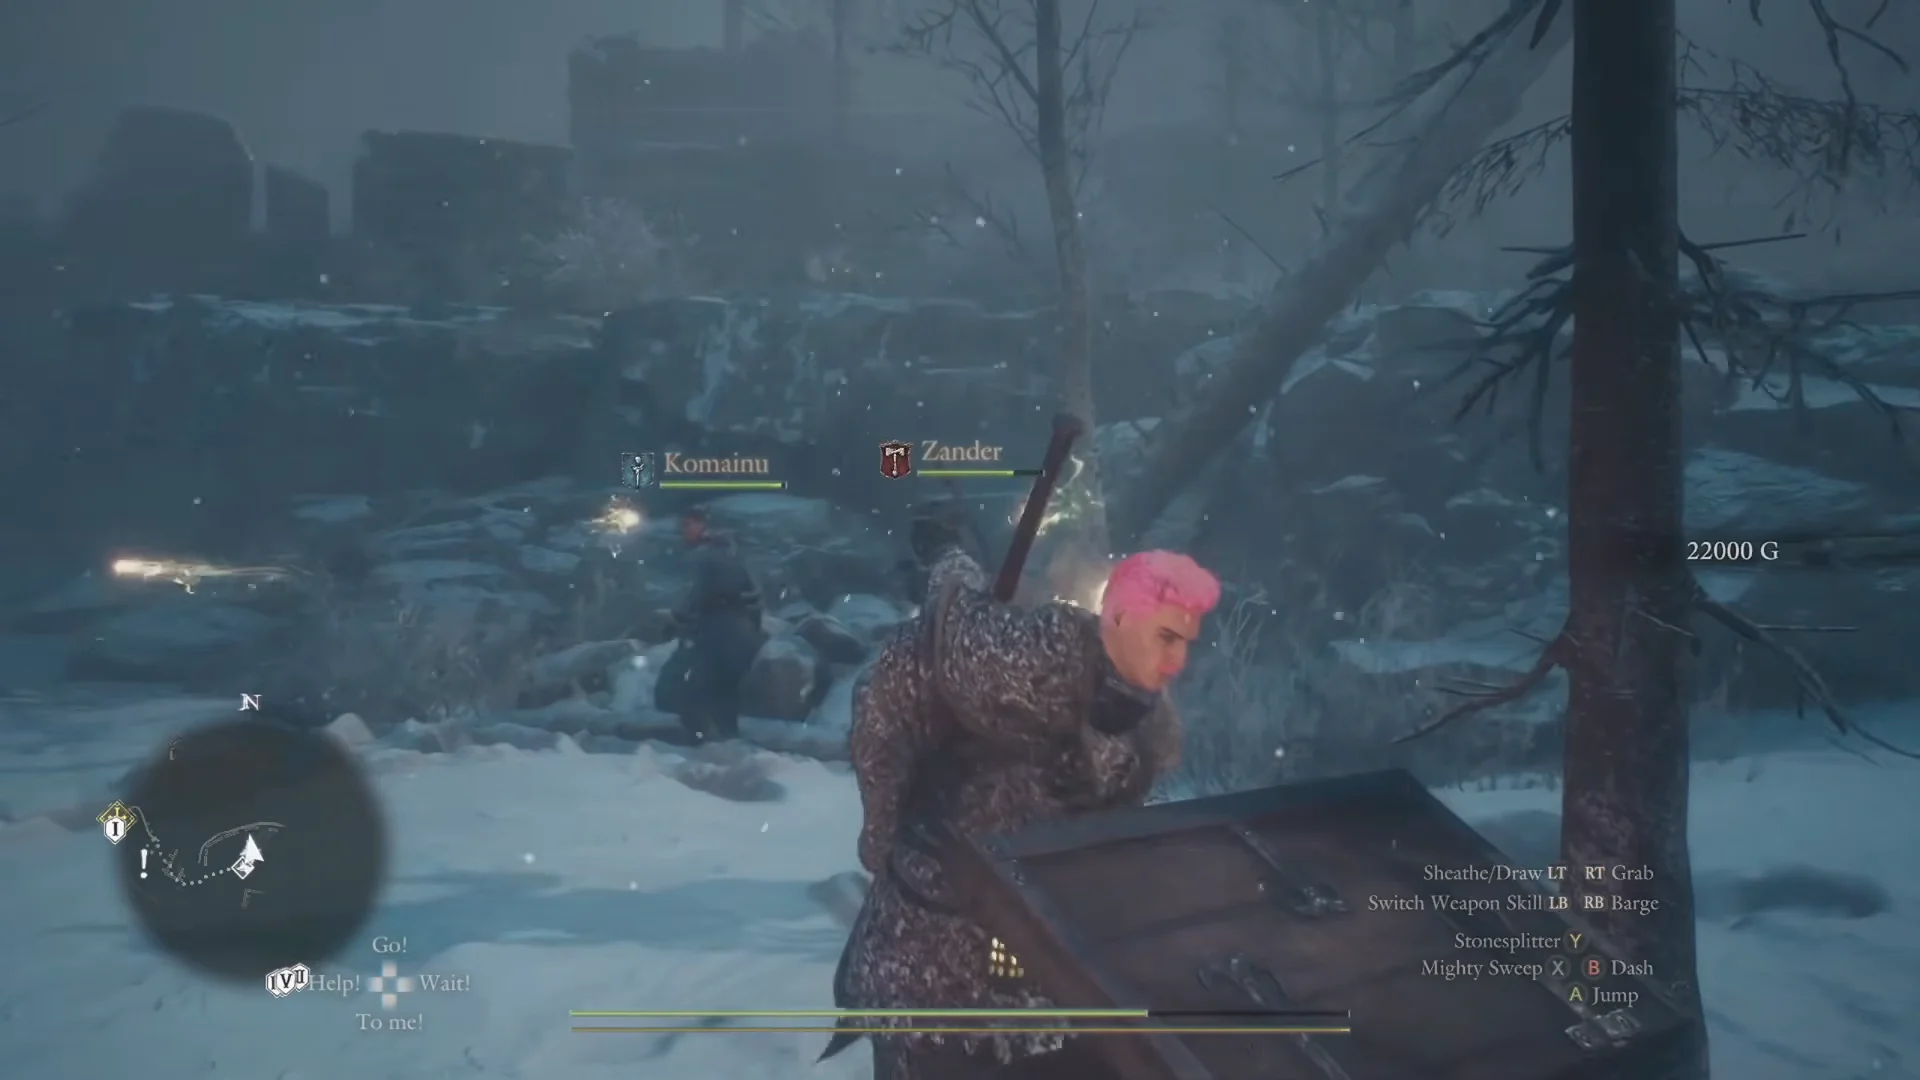
Quick answer: Clear the Snatching-Beast’s Lair for free Level 1 and Level 2 piles, drop into Beorcan Stronghold for more Level 2 Spoils and the two Twinned Keys, then break through Frozen Ravine Hollow to reach Level 3 enemies. Appraise everything at Jiera.
How Spoils and appraisal work
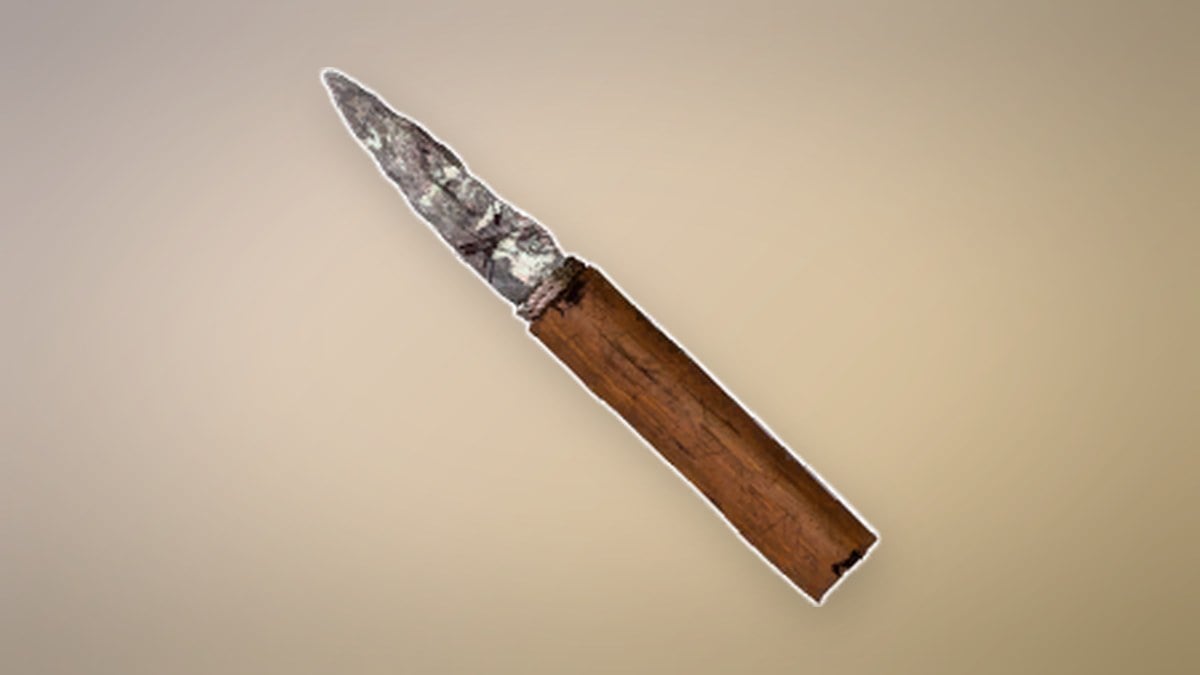
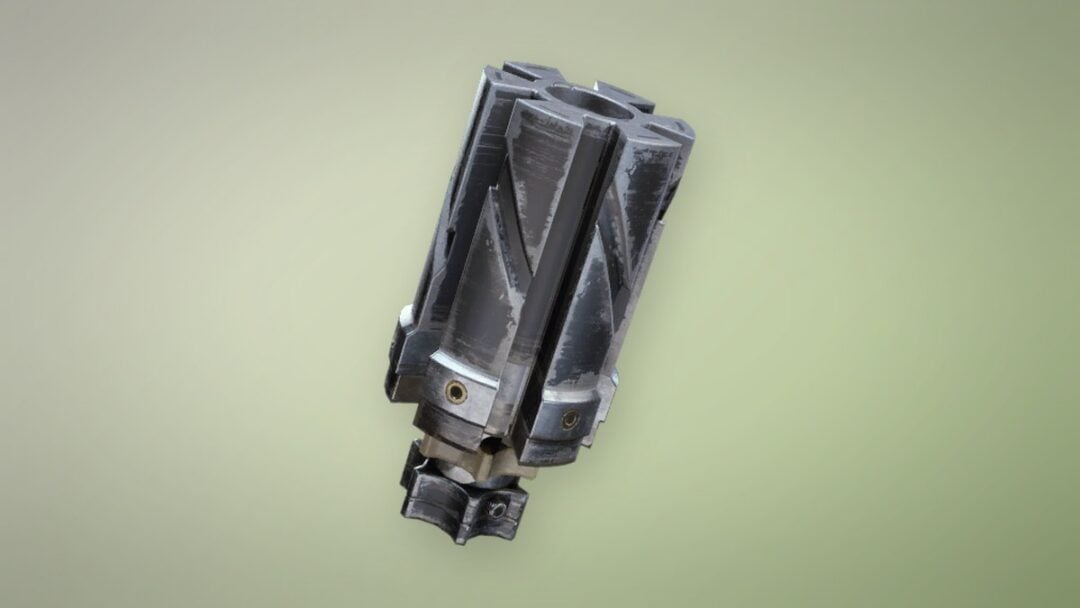
Spoils drop from enemies, chests, and gathering nodes across Norgan. They come in weapon types tied to vocations (Long Weaponry, Light Weaponry, Bowstaff, Aegis) and armor types (Helm, Plastron, Greaves), plus Abandoned Supplies that appraise into consumables, gold, and scrolls rather than gear. None of it is usable until you take it to Jiera in the Norgandian Settlement and spend Rift Crystals to appraise it.
Appraisal is a gamble. The exact stats and skills you get are rolled when you pay, so the same Spoil can turn into a strong piece or a dud. Rift Crystals pay for this, and they are the same crystals you spend hiring pawns, so a flashy rift hire with the wrong resistances is Rift Crystal you can no longer put toward identifying gear.
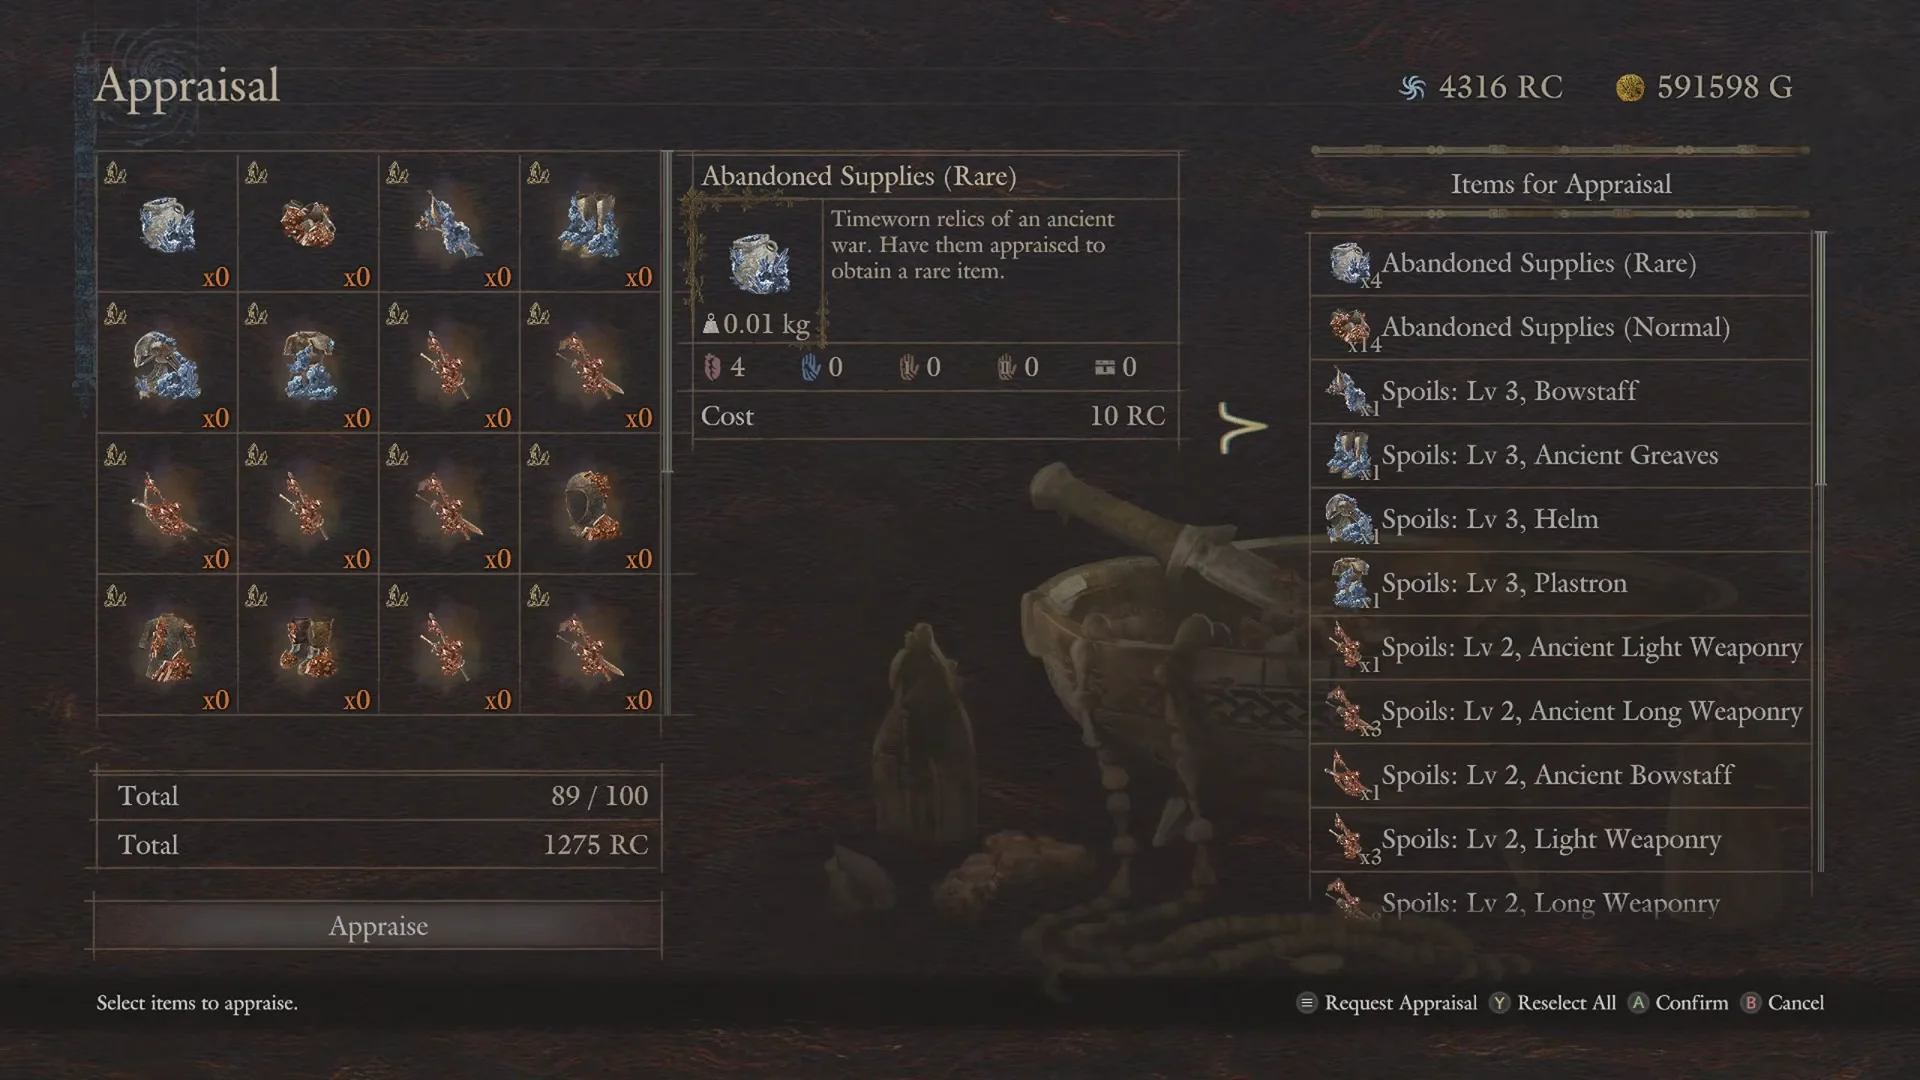
You will know the roll landed when the Spoil is replaced in your inventory by a named piece of equipment, its stats and any passive or active skills shown on the item. Weapon types map to vocations like this:
- Long Weaponry — Warrior, Sorcerer, and Mystic Spearhand.
- Classes that use a Bowstaff are the Archer, Mage, and Magick Archer.
- The Fighter uses Light Weaponry in the main hand; the Thief uses daggers, and the Trickster uses Light Weaponry.
- Aegis — Fighter shields.
Mystic Spearhand and Magick Archer are Arisen-only vocations, so the duospear and magickal-bow rolls you want for them will not appear on a hired pawn’s loadout.
Levels, tiers, and “Grand” relic skills
A Spoil’s level sets its base stats and how many skill slots the appraised gear can carry. Higher levels add slots, which is where the real power comes from. On top of level, appraised gear rolls a quality tier: base, then Superior, then the higher Singular and Majestic designations with better stats and skills.
Spoils with the “Ancient” prefix carry a higher chance of appraising into those Superior, Singular, or Majestic versions, so an Ancient Spoil is worth more Rift Crystals than a plain one of the same level. Relic weapons can also roll active skills, including upgraded “Grand” variants that outperform the base and “High” forms you already know. Grand Decanter, for example, is an advanced form of High Decanter for Sorcerers that drains Health from foes near the target and recovers the caster’s loss gauge.
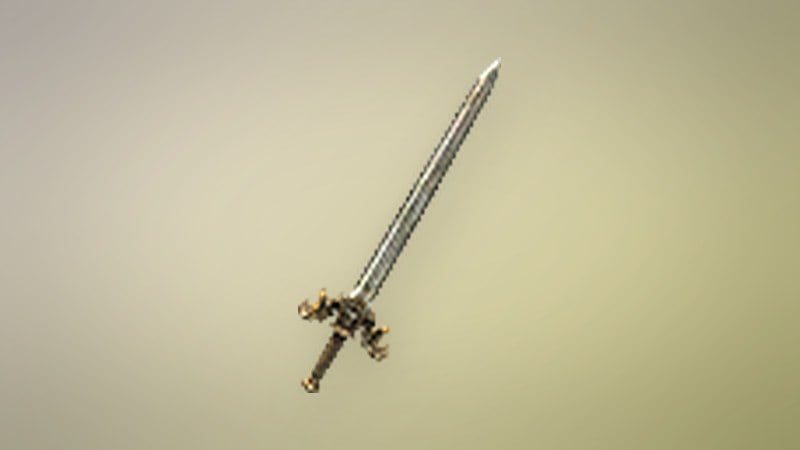
Specific Spoil types feed specific relics. Appraising a Spoils: Lv 3, Ancient Long Weaponry can produce Absolute Zero, a greatsword relic with 630 knockdown power that is the rare appraisal form of the Spinechiller.
Ancient Helm Spoils reference: costs, slots, and skills
Appraisal cost and skill-slot count scale with level. The Ancient Helm line is a clear example of how that progression works, and the Rift Crystal figures tell you how much each gamble costs before you spend.
| Spoil | Appraisal cost (RC) | Skill slots | Trade value (RC) |
|---|---|---|---|
| Lv 1, Ancient Helm | 5 | 1 | 15 |
| Lv 2, Ancient Helm | 15 | 1 | 25 |
| Lv 3, Ancient Helm | 25 | 3 | 35 |
| Lv 4, Ancient Helm | 35 | 3 | 45 |
| Lv 5, Ancient Helm | 45 | 3 | 55 |
Head armor from these Spoils can roll passives such as Relic Hunter, Carnivore, Provoking Aura, Arcane Wisdom, and Moribund Recovery, with the higher-level helms also able to roll resistance passives like Slashing Resistance II and Fire Resistance II. For comparison, plain Abandoned Supplies cost 5 Rift Crystals to appraise and the Rare version costs 10, both turning into consumables, currency, and scrolls rather than equipment.
Tilt the drop rates in your favor
Party composition biases which Spoils drop. Running specific vocations in your party raises the spawn rate of Spoils for those classes, so if you are chasing Bowstaff rolls, keep an Archer, Mage, or Magick Archer in the group.
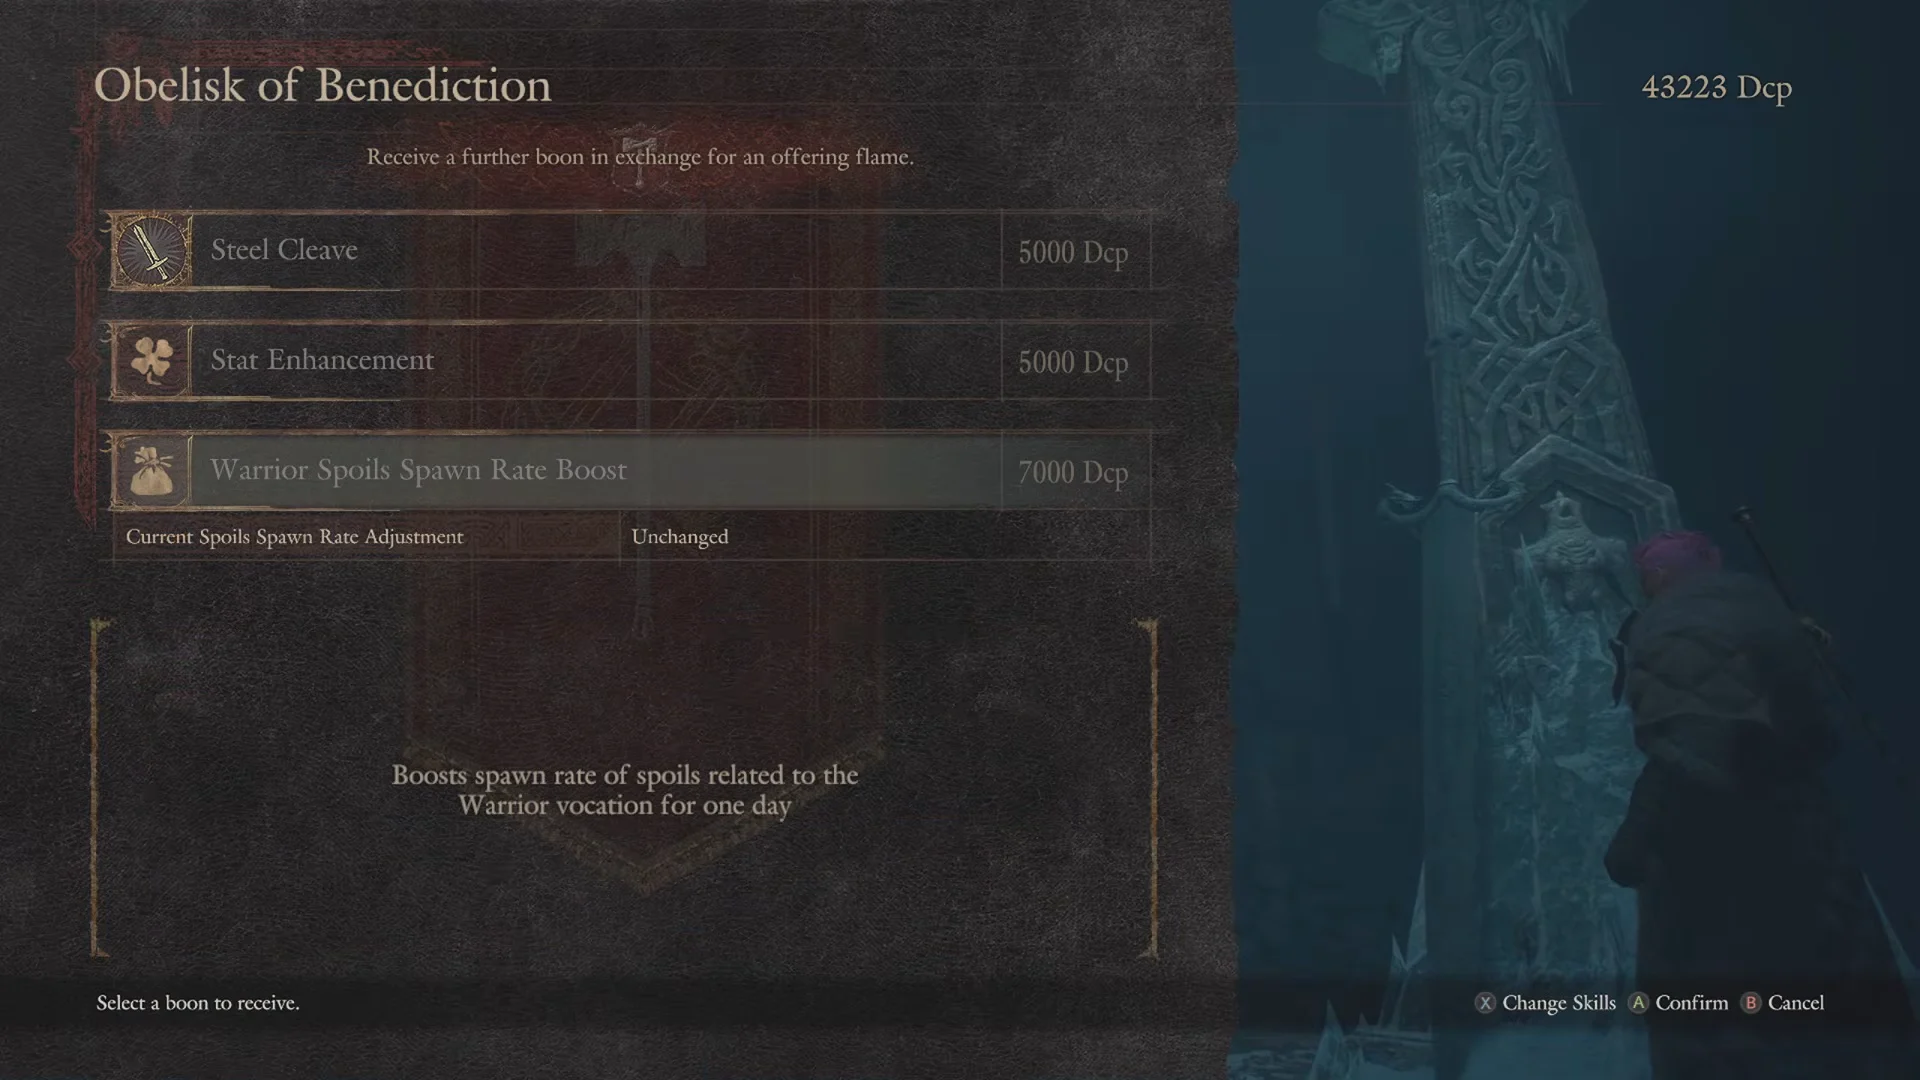
Obelisks of Benediction push this further. Activate one with an Offering Flame and you can buy a 24-hour Spoils Spawn Rate Boost for a chosen vocation. The Warrior boost costs 7,000 Dcp. Offering Flames come from the Lost Rites dungeons, so clearing a couple of those before you settle into Norgan gives you the flames to light obelisks for both your vocation and your pawn’s.
The early farming route for Level 2 and Level 3 Spoils
This loop stacks free piles, easy fights, and a guaranteed chest without needing to push the main story. Work it in order.
Surviving the whiteout: two settings that help
The blizzards around Beorcan Stronghold can leave you blind, so set Minimap Rotation to Off in Game Settings. That locks the minimap facing north and lets you read your position and follow the layout even when the screen is pure white.

Boots that roll the Homing Instinct passive let you use a Ferrystone during a whiteout, which is normally blocked in those conditions. Keep a pair handy so a bad storm does not strand you far from the settlement.
Appraise often with the Portcrystal trick
Unappraised Spoils weigh you down, and carrying a huge stack means you are not seeing your rolls until much later. You receive a Norgan Portcrystal early in the expansion, and it is more useful as a mobile marker than a permanent fixture.
Once you have gathered several Spoils, drop the Portcrystal where you are, use your Eternal Ferrystone to warp back to the settlement, and appraise everything at Jiera. Then Ferrystone back to the Portcrystal, pick it up, and keep going. Doing this keeps your weight down and turns your finds into gear while the rolls still matter.
Stick to one vocation during your first hours in Norgan so your drops and appraisals funnel into a single loadout, and swing by the Norgan blacksmith to craft gear outright whenever your rolls come up short. Between the free Lair piles, the Beorcan keys, and the Frozen Ravine cliffside, you can be fully kitted out in relic gear long before the story would hand it to you.