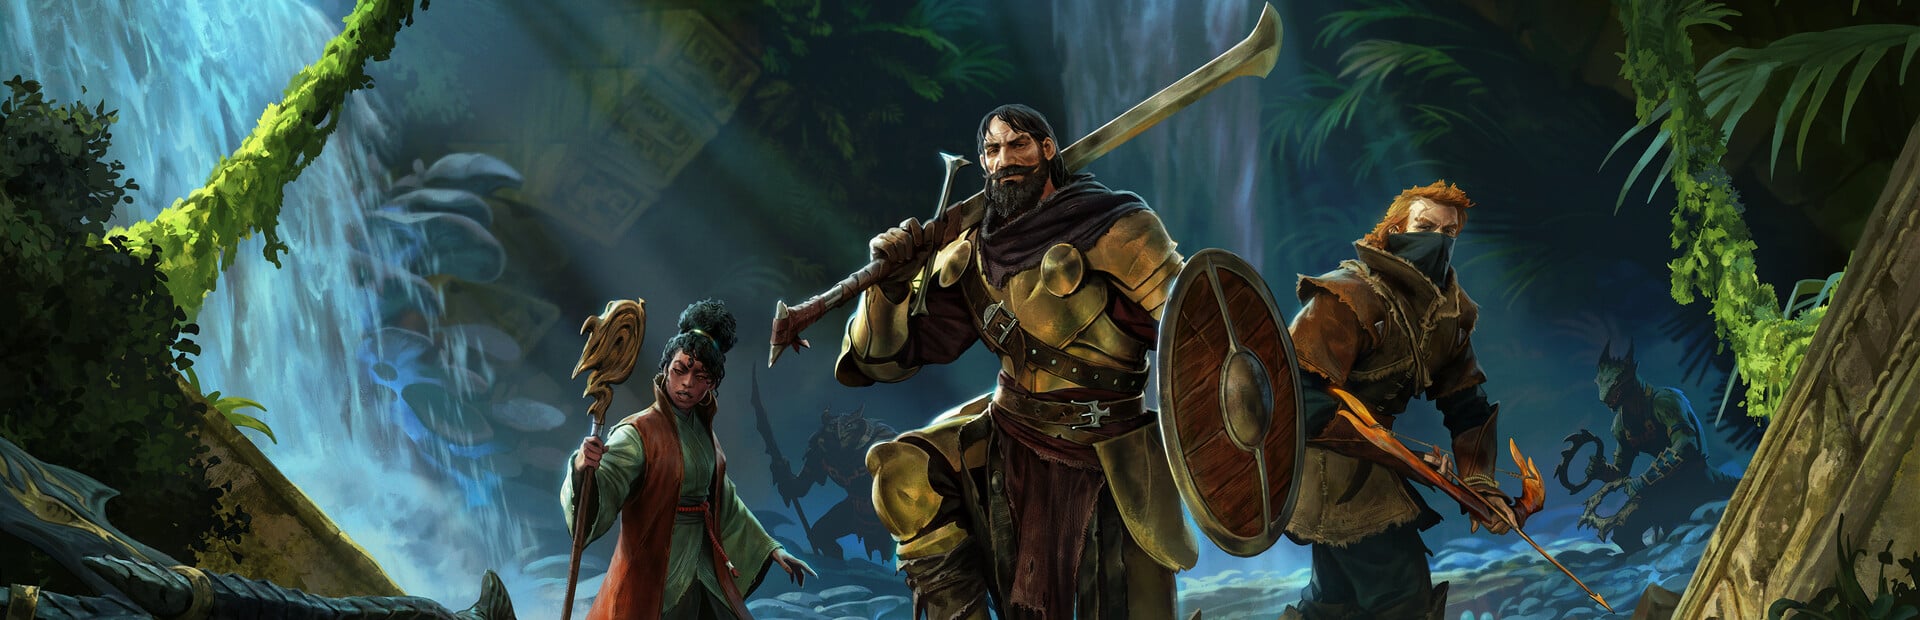
Enshrouded drops you into Embervale as a Flameborn survivor, tasked with reclaiming land from a deadly fog called the Shroud. Keen Games built the whole loop around one object: the Flame Altar, which protects your base, holds your respawn point, and gates how deep into the Shroud you can go. Everything else you do early on feeds back into leveling that altar.
Quick answer: Place a Flame Altar with 5 stones to claim land, build a workbench and bed inside its radius, then make strengthening the altar your top priority — it extends your Shroud timer and unlocks more fast-travel points.
Pick a difficulty before you start a world
When you create a world you choose a preset first. Relaxed, Default, Hard, and Survival set the baseline, and a Custom option opens the full slider list if you want to tune things yourself. Character appearance is cosmetic and there are no locked classes, so the difficulty choice matters far more than how you look.
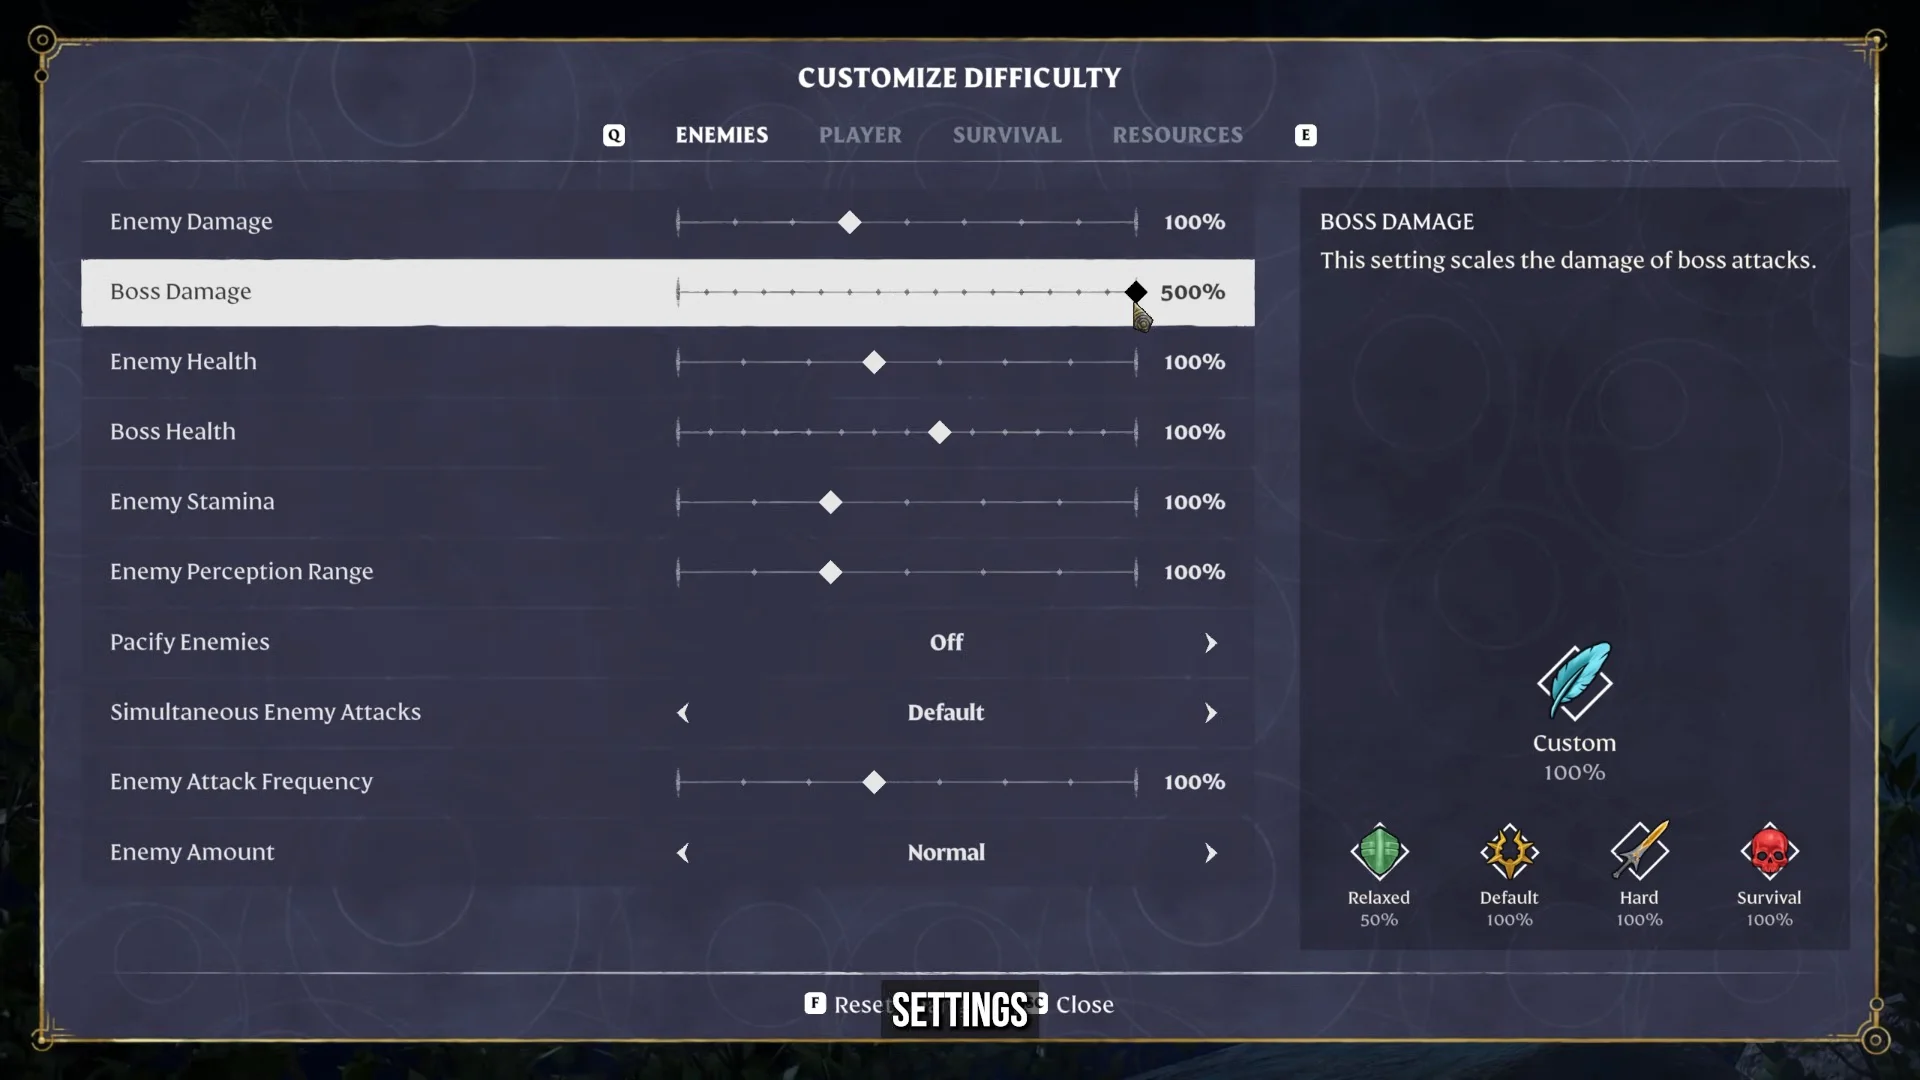
The custom sliders go well beyond combat. You can adjust enemy health and damage, player health, mana and stamina, XP gain from mining, combat and exploration, day and night length, food buff duration, weapon durability, and even starvation timing. Two sliders matter most for new players finding their footing. Time in the Shroud controls how long your fog timer lasts, and Loot Loss On Death decides whether you drop materials when you die.
Place your first Flame Altar and build a base
After the short opening quest, your first real job is claiming land. Craft a Flame Altar and set it down. The glowing ring around it is your buildable, Shroud-protected zone, and it also becomes your respawn point.
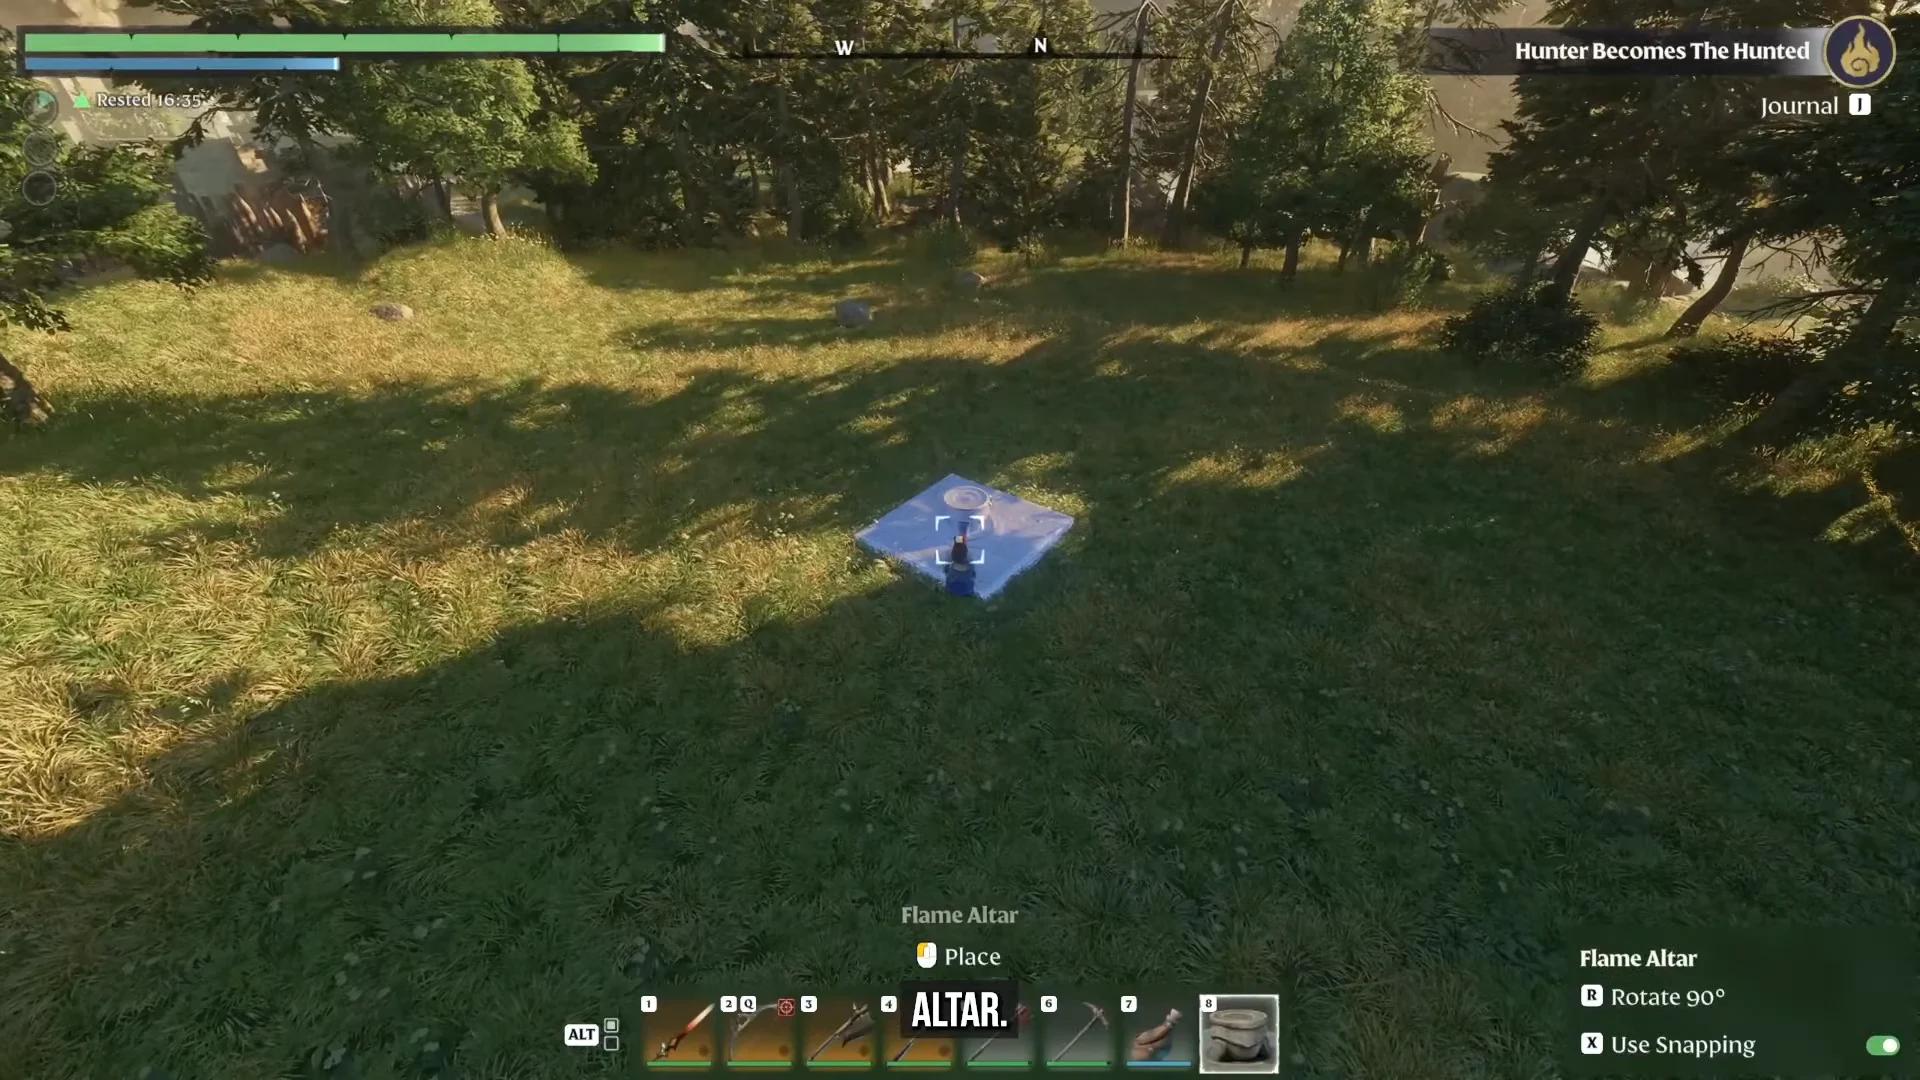
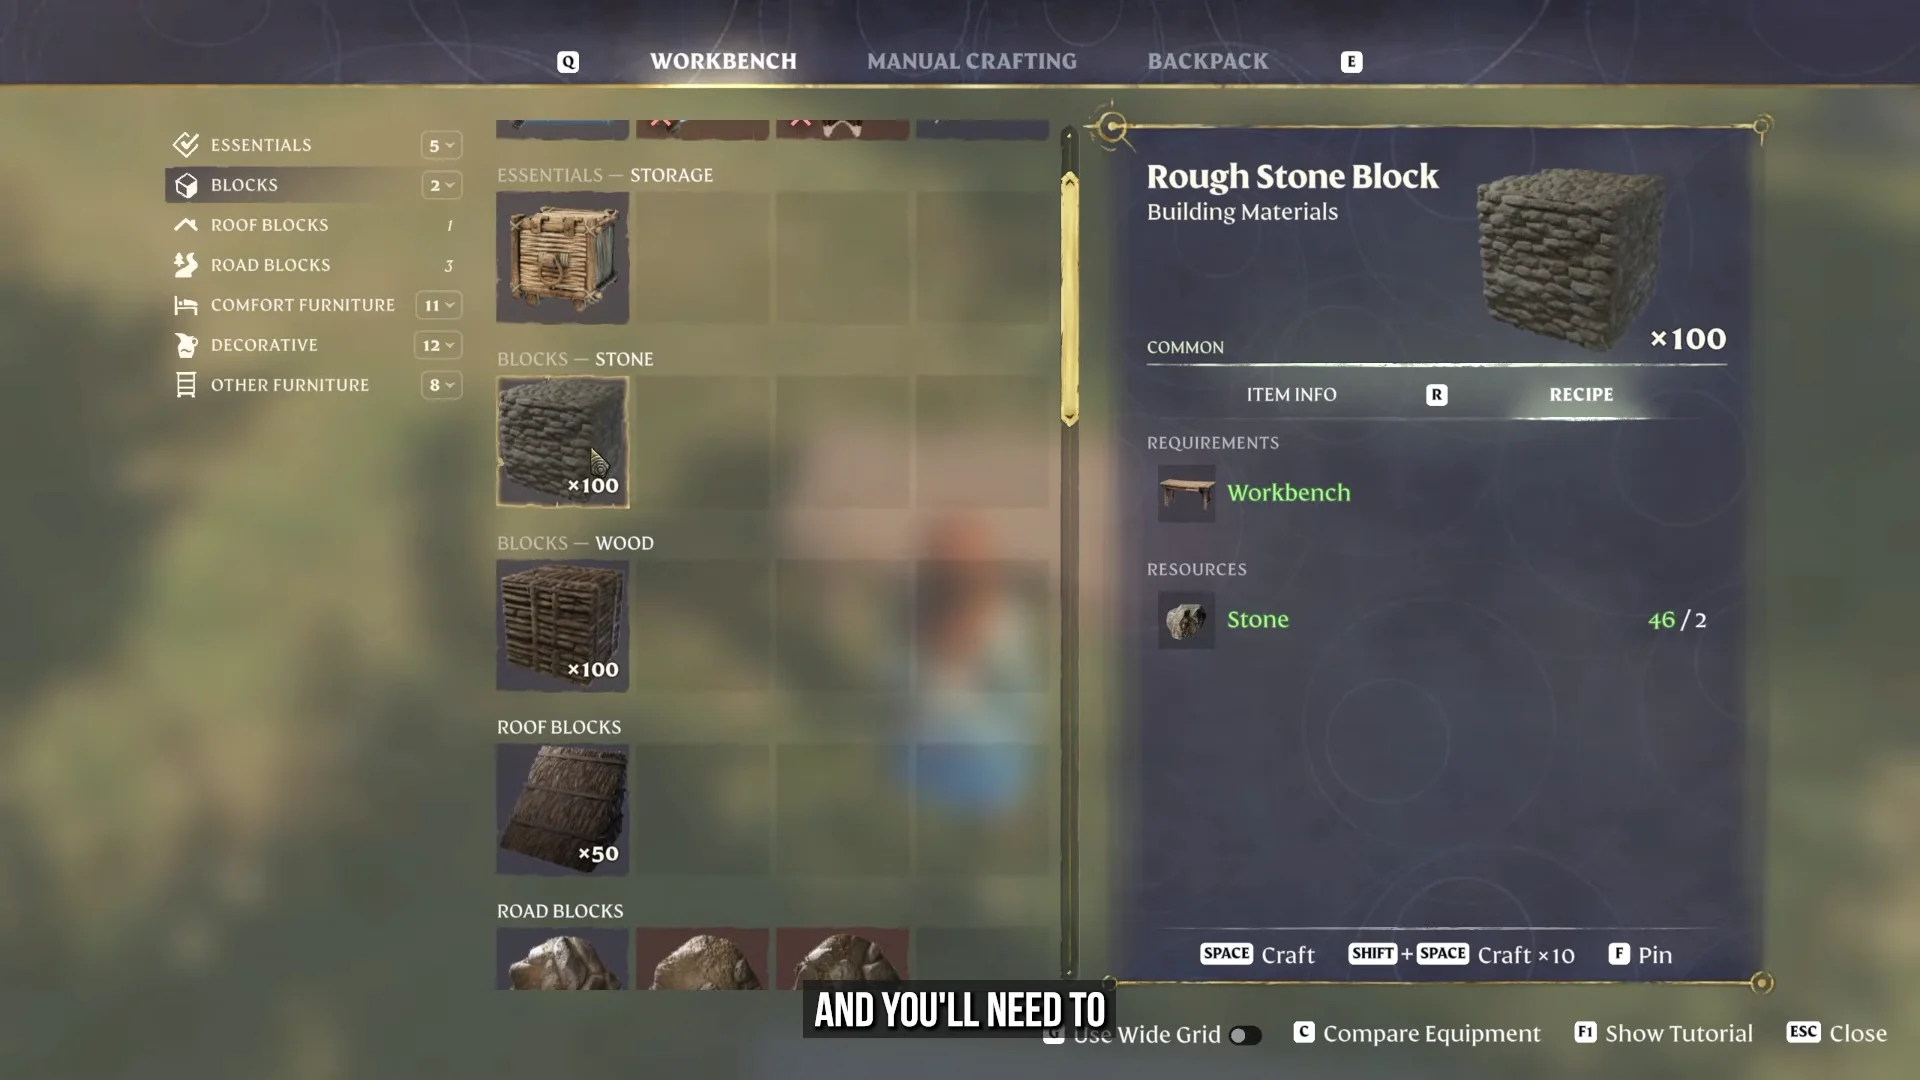
Tab to open the building menu, then snap foundations and walls into place.Instead of beginning with an empty plot, use an altar to claim a ready-made home in an early abandoned settlement, such as Peaceful Acres or Braelyn Bridge.
Do not over-invest in your first base. You can deactivate an altar and move it, and you will want your main base near wherever you are questing. Enemies do not raid your home, so there is no need for walls or defenses.
Strengthen the Flame to go deeper
The altar upgrades in two separate ways. Upgrading the altar expands the building perimeter, for example from a 40x40x40 zone to 80x80x80. Strengthening the Flame is the one that drives progression. It raises your time limit in the Shroud, grants character attribute bonuses, and lets you craft and place more altars for fast travel.
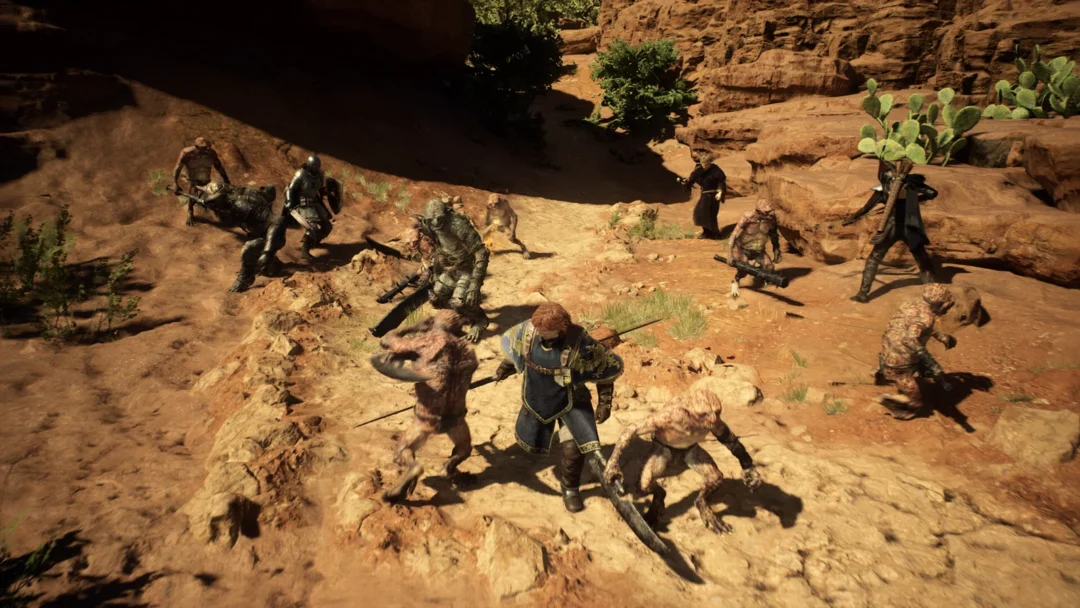
Strengthening costs boss materials. You will typically need to defeat a Fell boss such as the Fell Thunderbrute and collect drops like Shroud Cores. Pin the required materials to your screen so you know what to hunt, and keep in mind that some materials only appear at night.
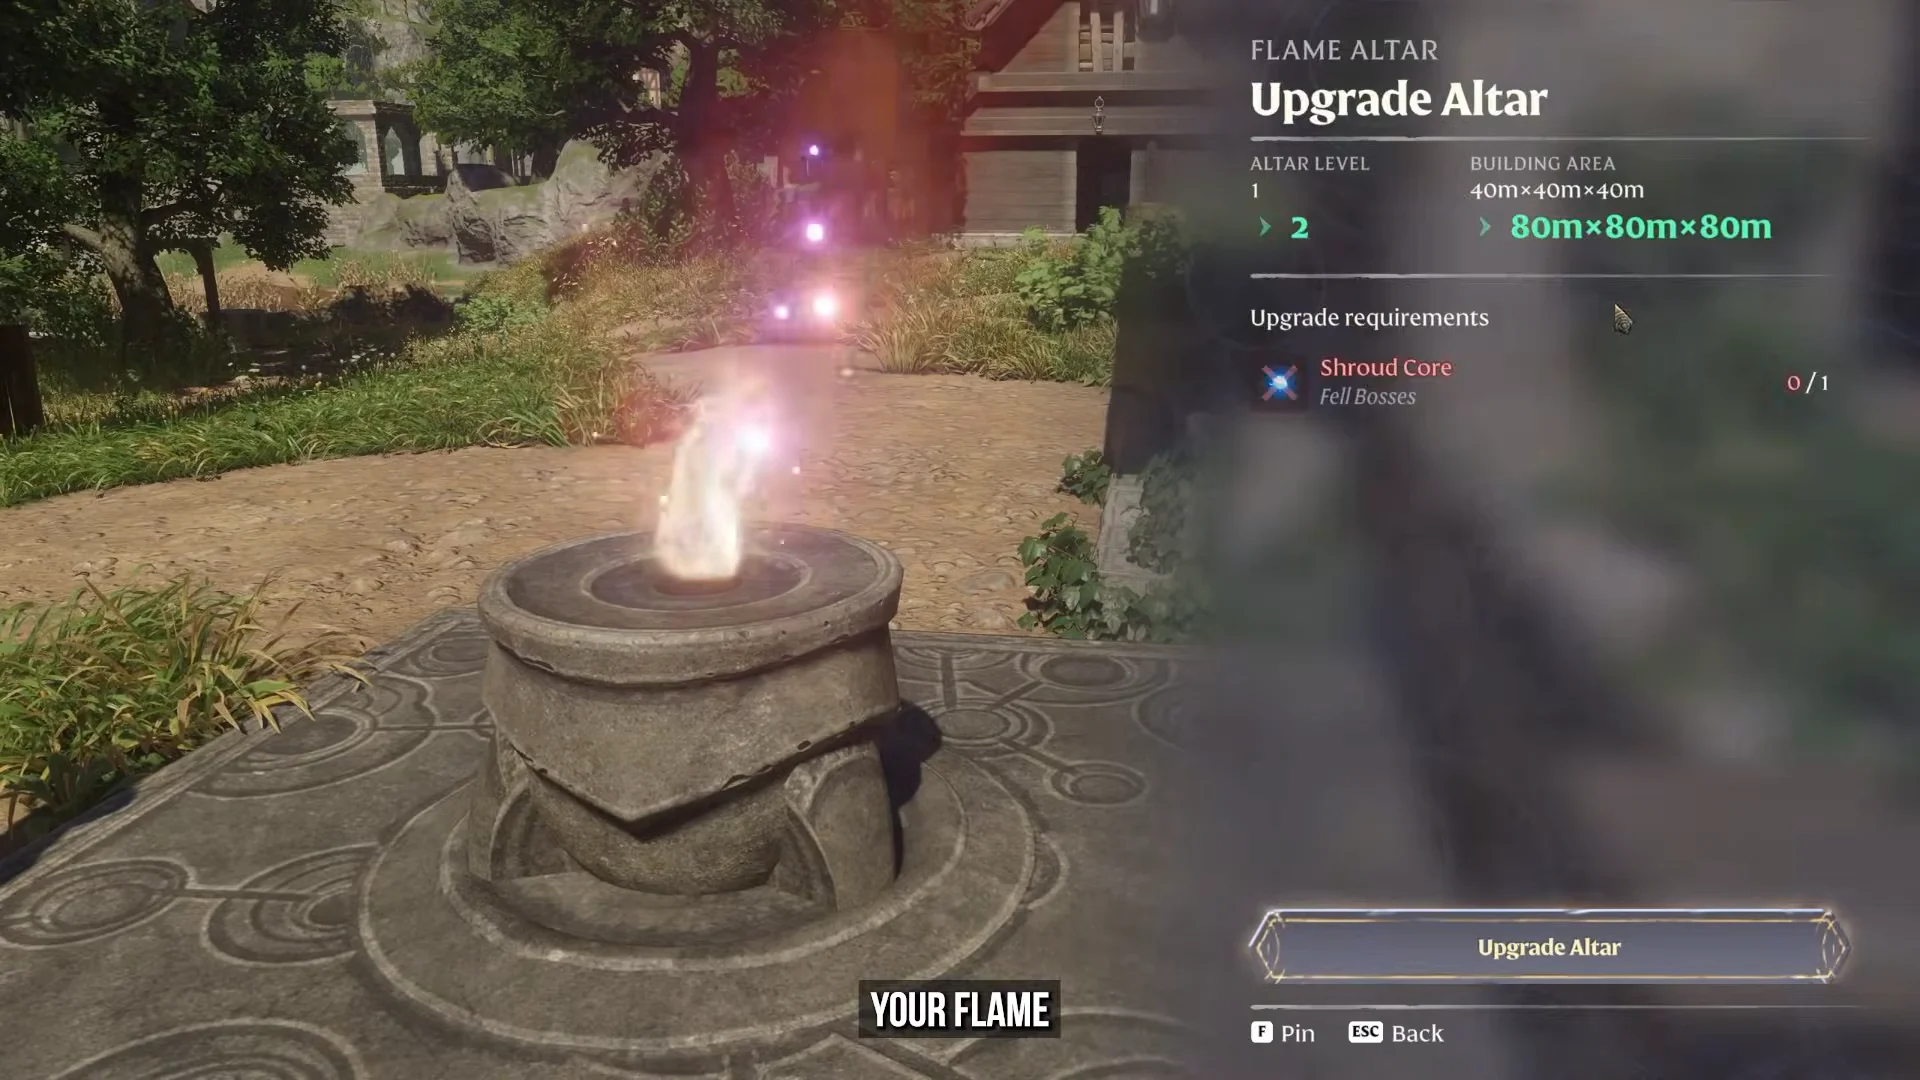
The altar also handles respec. Resetting your skill points costs Runes, which you get from chests or by salvaging gear you do not need.
Keep the Rested buff running with Comfort
Resting in your base grants the Rested buff, which raises your maximum stamina and stamina regeneration. Furniture controls how long it lasts. Each point of Comfort adds one minute to the buff’s duration, so a furnished home keeps you running longer between rests.
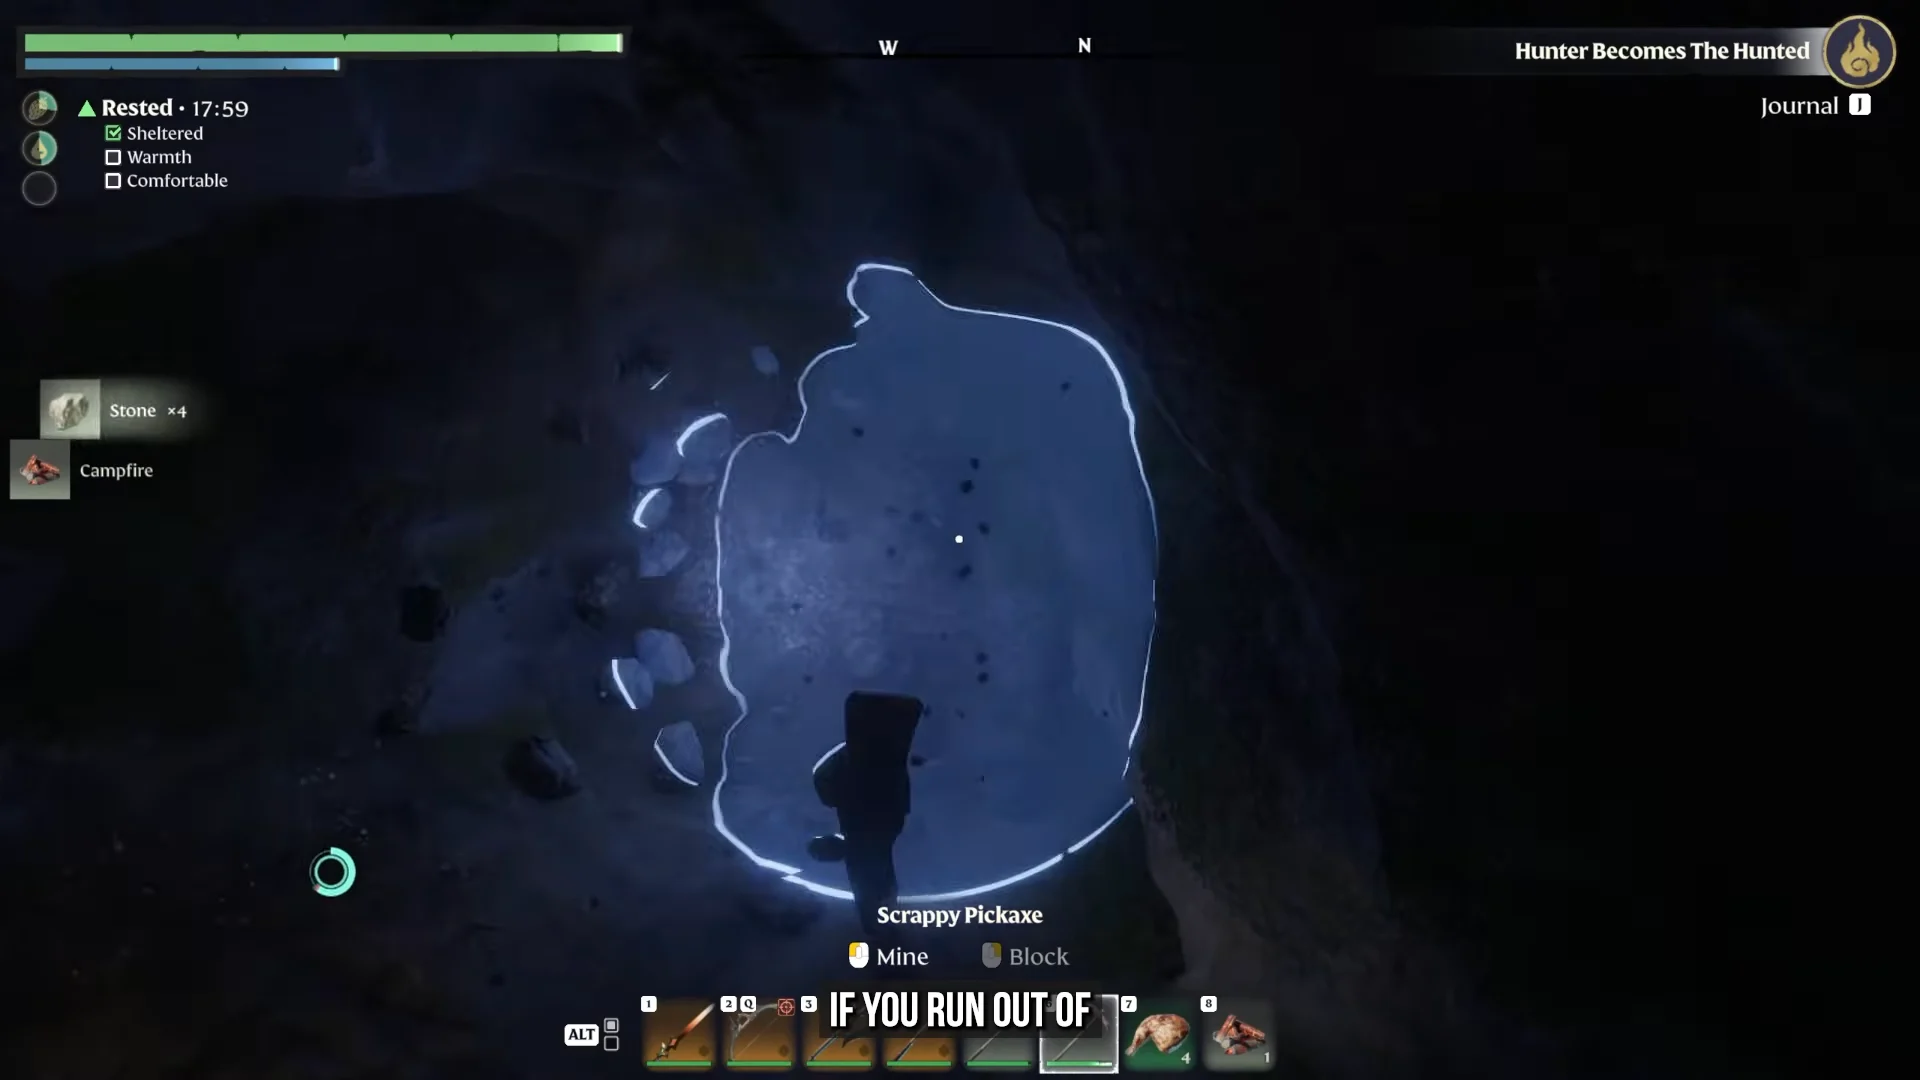
Only one item per Comfort category counts. A second chair or a second light adds nothing, so mix categories like seating, lighting, and beds rather than stacking the same type. Out in the wild, you can dig a small cave into earth or a cliff, place a campfire or lit torch, and press E to grab a quick Rested buff on the move.
Survive the Shroud timer
The Shroud is the hostile fog that covers much of the map, and it runs on a countdown. The moment you step in, a timer bar appears at the top of the screen. When it hits zero, you die instantly. Everything about Shroud play is managing that clock.
- Chop down Shroud Roots to permanently clear the fog in that local pocket and earn skill points.
- Find return beacons inside the Shroud to reset your countdown to full.
- Avoid red or pink Shroud — it drains the timer fast and needs a higher Flame Altar level before you enter.
- Build a Flame Altar near a Shroud edge so its radius covers part of the fog.
Which Shroud you can safely explore is tied directly to your Flame Altar level, which is another reason strengthening it comes first. The blue fog is survivable with a basic altar. The red fog is not.
Fast travel with altars and Ancient Spires
Fast travel points come from two things: your Flame Altars and Ancient Spires. Strengthening the Flame lets you carry spare altars in your inventory and drop them across the world, as long as there is flat ground, enough space, and no enemies nearby.
Ancient Spires are tall towers you climb and commune with at the top, often after solving a small puzzle. Activating one unlocks a permanent travel point and gives you height. Launch your Glider from a Spire and you cover huge distances far faster than walking. The Glider burns stamina per second, and you first get it from the Blacksmith.
Use a leapfrog trick to push into new territory. Travel to your furthest altar, deactivate it so it disappears after about 30 seconds, walk further out, and drop a fresh one. Fill your bags, travel home to deposit, then jump straight back to the new point.
Rescue NPCs to unlock crafting
Rescuing survivors adds entire crafting trees to your base. Oswald Anders the Blacksmith, for example, unlocks advanced benches, gear upgrades, and Magic Chests that let you craft directly from stored materials. Make a point of freeing survivors as you find them, since a base without them is stuck at basic recipes.
Track quests and set your own waypoints
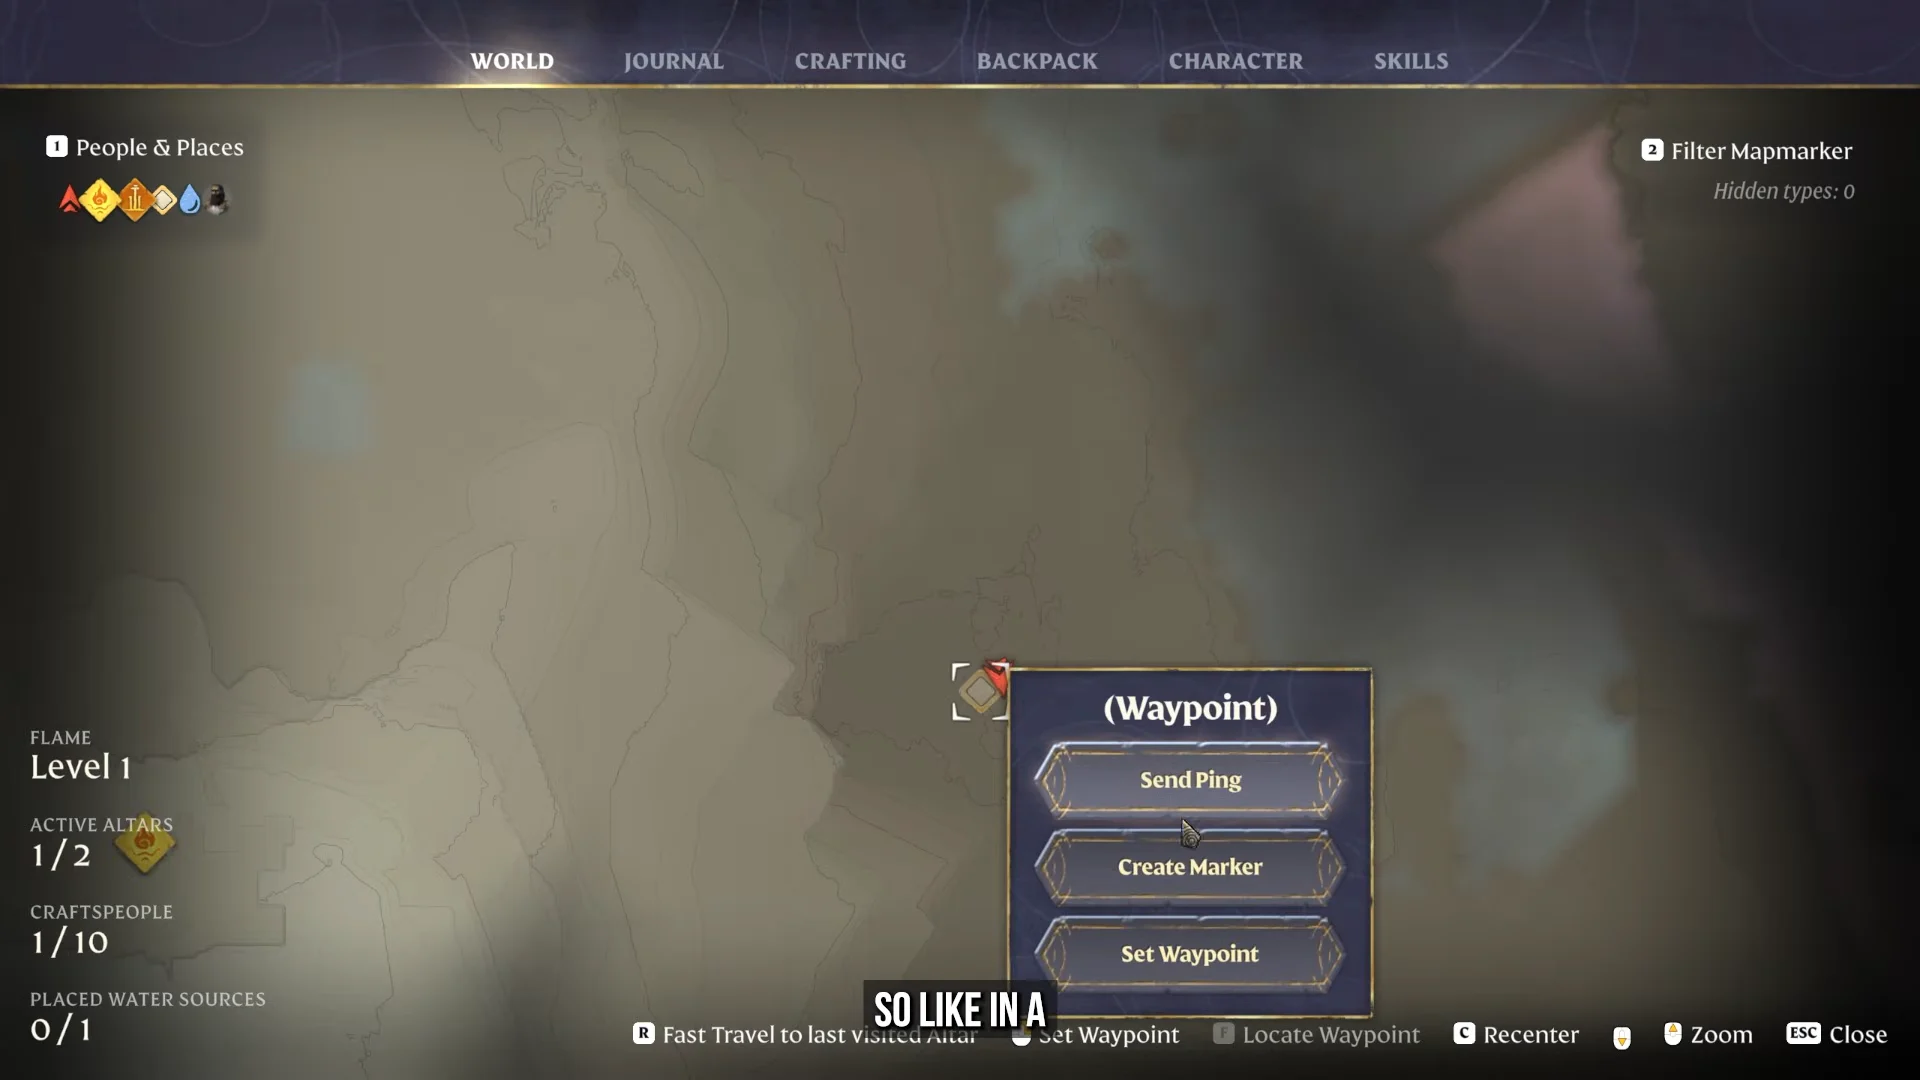
The Quest Journal tracks your objectives, and the map lets you add custom markers so you can navigate toward anything you have spotted. Open the map, pick a spot, and you can send a ping, create a marker, or set a waypoint to steer toward.
There are over two hundred quests across a main story and side content. None are voiced, so read the text and pick up lore notes if you want the full picture of the Shroud and the Flameborn.
Stack food buffs before you explore
By default, you can maintain three food buffs simultaneously: one from meat, one from a liquid such as water, and one from sweets. These are separate categories, so having one of each active gives you all three buffs. Before a Shroud run, cook meat at your hearth; it boosts health and stamina more than raw ingredients. Take a Water Pouch to keep your liquid buff filled while out in the field.
Early skills worth grabbing first
Skill points come from leveling and from clearing Shroud Roots, and you can respec at the Flame Altar, so experiment freely. A few traversal and survival skills pay off immediately for new players.
| Skill | Cost | Effect |
|---|---|---|
| Double Jump | 10 Stamina | A second mid-air jump for reaching ledges and vertical terrain. |
| Updraft | 100 Mana | An upward boost while gliding, lifting you higher in the air. |
| Well Rested | — | Extends the duration of the stamina buff granted by Rested. |
Combined, Double Jump and Updraft turn gliding into your main way of getting around. Double tap to jump, open the glider, then jump again and ride an updraft to climb and cover ground far quicker than walking. Pair them with stamina-saving glide skills later and traversal stops being a chore. Lock the altar loop first, keep your Shroud timer in mind, and the rest of Embervale opens up from there.