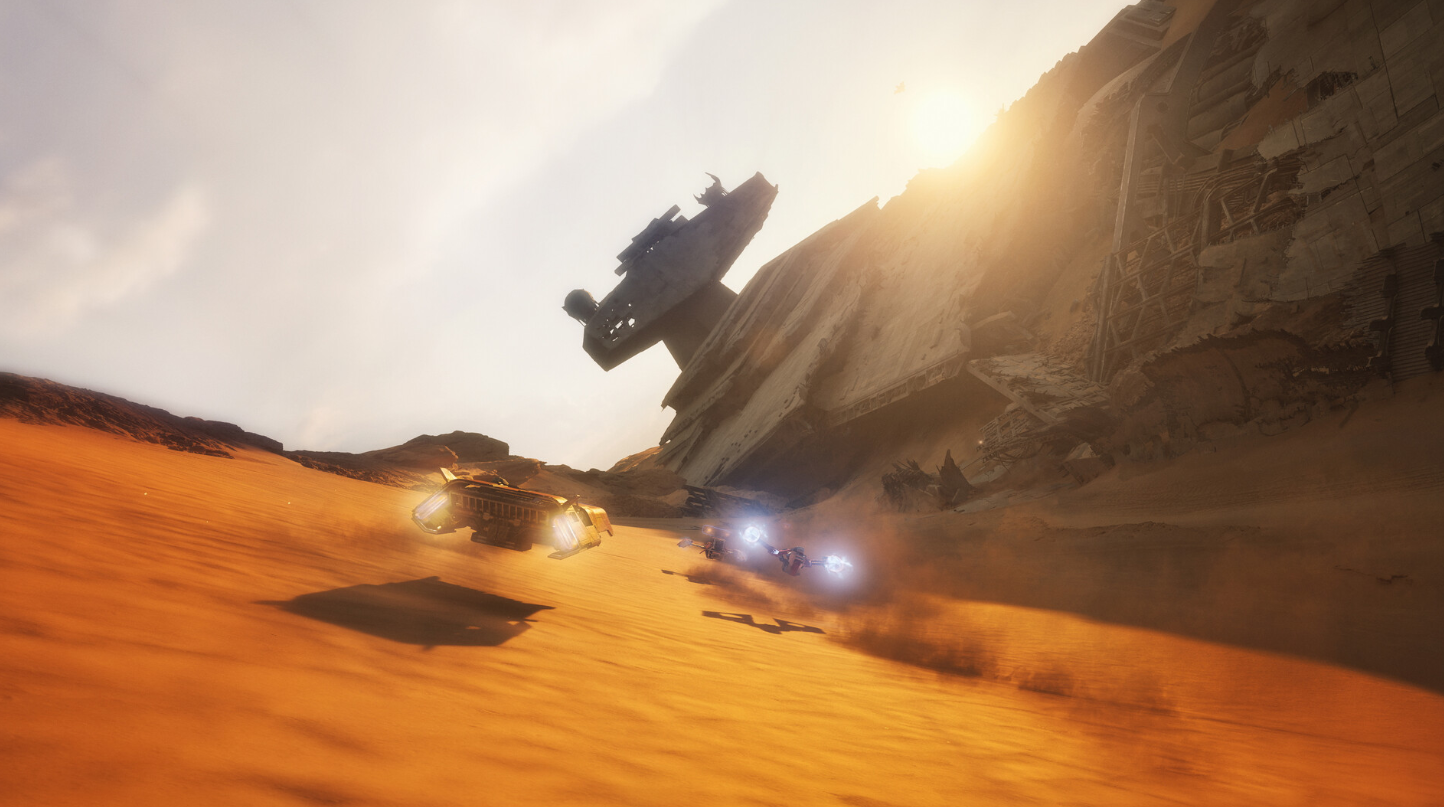
The Skim Speeder in Star Wars: Galactic Racer trades fast acceleration for the highest top speed of the three regular repulsorcraft, and Knife Edge cornering lets it roll onto its side to carve sharp turns without bleeding that speed. The whole build exists to feed one thing — the Ramjet boost — and keep it active as long as possible.
Quick answer: Run the Redliner Racer Style, pour upgrade points into Ramjet, Knife Edge, and Afterburner, and chase Parts that extend Redlining or boost Ramjet power. Pair it with Auto-Vent and Overtaking Surge.
Redliner Racer Style and how to unlock it
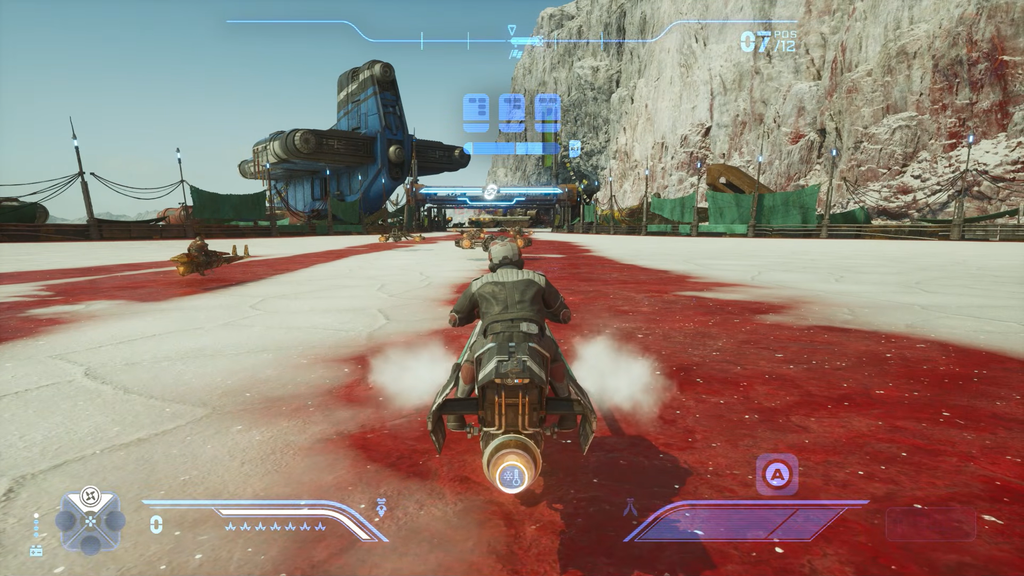
Redliner is the Racer Style that matches the Skim Speeder’s strength because it keeps your Ramjet running far longer than the field can tolerate. At Rank 3, it widens the Redlining zone by 200%, raises Ramjet power, and lets you re-engage the Ramjet after you disengage it. More Redlining time means more Ramjet, which means more speed carried between corners.
You unlock Redliner in Campaign by using the Ramjet for a combined 375 seconds. In Multiplayer, it comes from playing as Ary Quill, who opens up at Multiplayer Rank 6.
Upgrade priority for the Skim Speeder
Put your first points into Ramjet, Knife Edge, and Afterburner, in that order of focus. Ramjet raises the power of the boost you hold almost constantly and extends how long you can run it before the heat meter turns fatal. Knife Edge tightens your turns and preserves speed while you roll the speeder onto its edge. Afterburner covers acceleration, deceleration, and the Afterburner boost, which matters when you need to claw speed back after a bad corner.
| Upgrade | Priority | What it does |
|---|---|---|
| Ramjet | Core | More boost power and heat tolerance |
| Knife Edge | Core | Tighter turns, speed kept while drifting |
| Afterburner | Core | Acceleration, deceleration, boost recovery |
| Resilience | Secondary | Survive more crashes and collisions |
| Cornering | Secondary | Extra help on sharp corners |
| Battery | Minimal | 2–3 points for roughly 5+ ability uses |
Once the three core stats feel solid, spend spare points on Resilience and Cornering. Resilience keeps you alive through the aggressive AI and rival ramming, while Cornering adds a little extra bite on tight bends.
Keep Battery to about 2–3 points. The build leans on the Ramjet rather than abilities, so that small investment covers roughly five or more ability uses per race, which is plenty.

Best Parts to equip
You can slot four Parts, and they are handed out through random rewards, so you may not see these exact ones. Prioritise anything that strengthens Ramjet or extends Redlining, and these four show what the ideal loadout looks like.
| Part | Effect |
|---|---|
| Surging Alarm III | Grants Surging for 20 seconds while Redlining |
| Overheat Loop III | +5% Ramjet power each Redline, stacking until you crash |
| Redlining Power | Ramjet is 100% more powerful while Redlining |
| Extended Alarm IV | Increases Redlining duration by 200% |
Abilities that keep the lead
Spend Credits on Parts and Upgrades before abilities, but two picks do real work for a Ramjet build. Both revolve around squeezing out more boost and surviving aggressive rivals.
- Auto-Vent Level 3 — cuts Ramjet heat for an extended window and fires automatically at the end of the Redlining zone, effectively letting you run two Ramjets in one activation.
- Overtaking Surge II Level 3 — gives 20 seconds of Surging. Surging drops on impact, but overtakes extend and strengthen it, so use it at the start to clear the pack and escape the opening chaos.
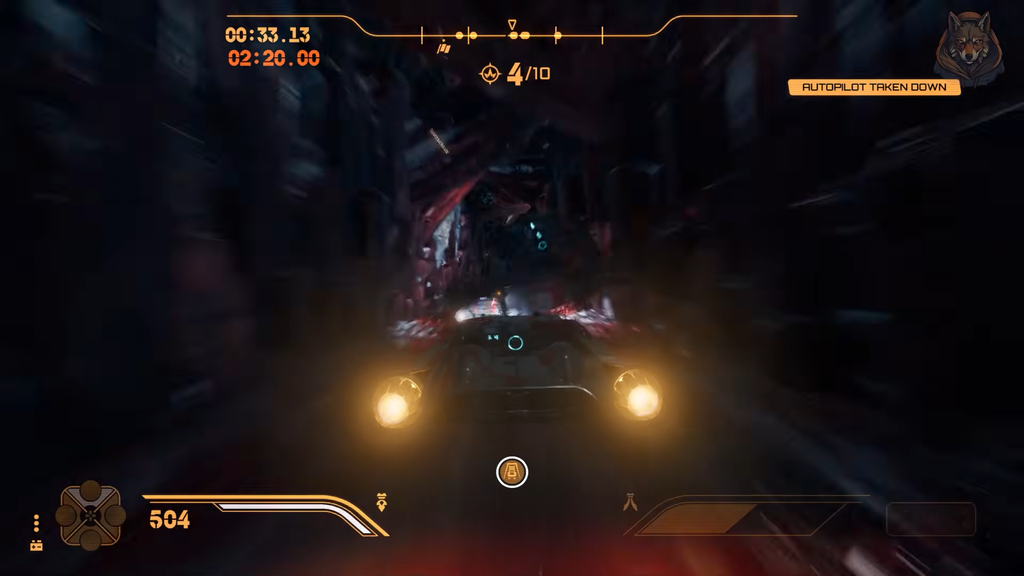
- Autopilot (with Surging Autopilot II) — an optional third pick that flies the speeder for 15 seconds and hands you a large Speed increase during that window.
Driving the Skim Speeder cleanly
The build only pays off if you corner without overheating or wrecking. Entering a sharp turn at full boost is the fastest way to slam a wall, so time your inputs around Knife Edge and the heat meter.
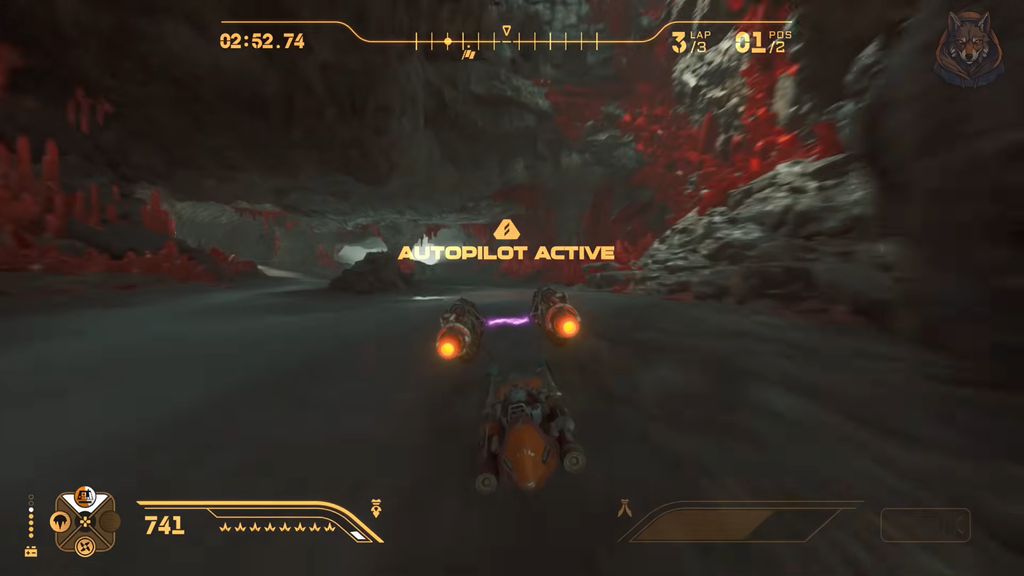
Maxing heat or driving farther into Redline may cause a “Ramjet Exploded!” wreck. Leave Redline before the meter reaches its limit, unless a Part alters the overheat outcome.
Switching the controller setup to the Alternate layout, which lets you map acceleration and braking to the rear paddles, makes the lift-off-and-corner rhythm far easier to hit consistently. When the build is working, you will hold a top speed the rest of the grid cannot sustain, keep your Ramjet lit through Redline after Redline, and carry that momentum cleanly through corners that send rivals into the walls behind you.