Most early deaths in Permafrost are one of two things, and both happen while your character is standing perfectly still. Your Body Warmth hits zero while the night cold banner is up, or your Hunger hits zero and the STARVING effect takes over. Starvation kills you at full warmth, and cold kills you on a full stomach, so they need two separate fixes.
Quick answer: On Survival difficulty, eat before your Hunger drops under 60, and be beside a lit campfire or indoors before 19:00. Cold only drains Health at night under the BONE-CHILLING COLD banner; by day it does not.
The five meters and the two ways Health drops to zero
Five diamond meters sit at the bottom left of the screen, each out of 300. Open your inventory with TAB and you see them as plain numbers. Two of them are what kill you in the opening hours.
- Body Warmth — your buffer against the cold. At 0 under the cold banner, Health starts falling.
- Health — hit 0 and you die.
- Hunger — at 0 the STARVING effect drains Health even at full warmth.
- Energy — your need for sleep.
- Stamina — short-term energy for sprinting and chopping.
On Survival difficulty, with Body Warmth at 0 and the banner reading “BONE-CHILLING COLD, Feels like: -32°C”, Health fell from 121 to 95 in about 25 seconds and kept going to 0. By day, at the starting area’s -26°C to -27°C, Body Warmth at 0 did not touch Health at all. The danger is the night, not the daytime readout.
Don’t starve: eat before the FAMISHED warning shows
On Survival difficulty (version 0.44.2), Hunger falls by roughly 14 to 15 points per game hour, and a full bar of 300 does not last a whole game day. It keeps dropping while you are in menus and in dialogue, so you can starve while doing nothing in the world. Nothing in the first cave or on the path to the town of Horizon is food, and most new survivors arrive with Hunger already near 60 after a day of chopping and walking.
Watch for the effect tiles and act on the first one, not the last. The rule: eat before FAMISHED appears, around Hunger 60.
| Stage | Hunger | Effect |
|---|---|---|
 A BIT HUNGRY A BIT HUNGRY | 142 | Stamina Gain Rate -15% |
 FAMISHED FAMISHED | 58 | Stamina Gain -15%, Stamina Loss +25% |
 STARVING STARVING | 0 | Health drains to death |
The fastest meal in Horizon is cooked meat. Two Dishes took Hunger from 0 to 177 in one sitting.
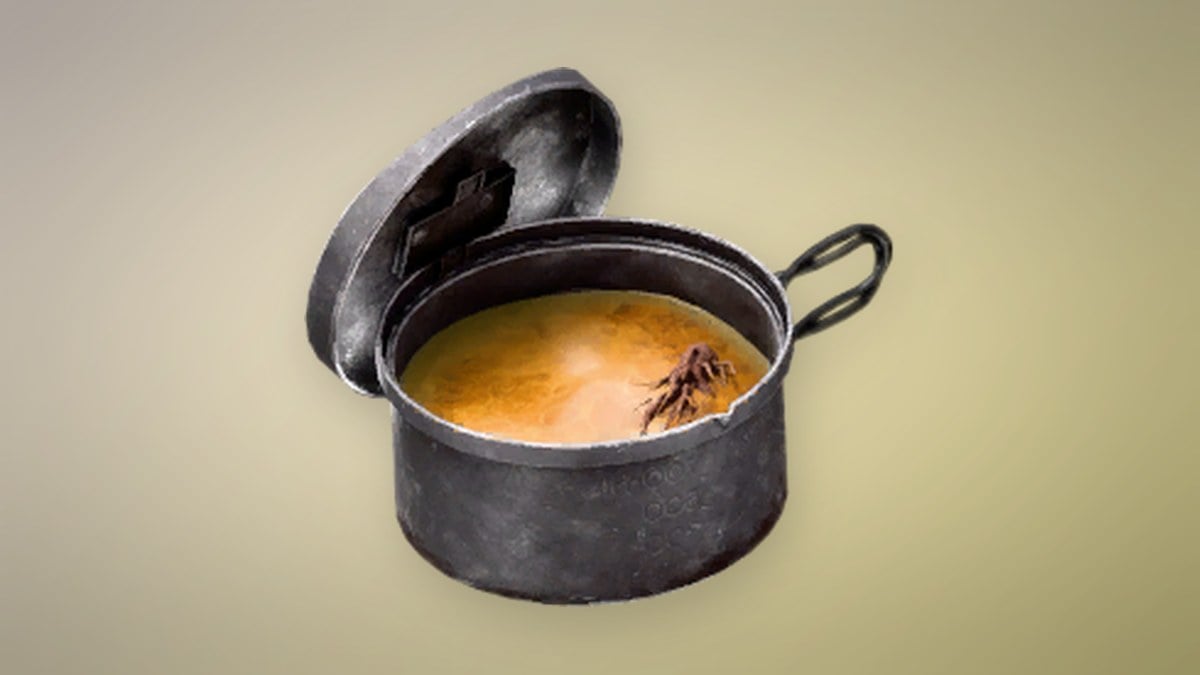
Before you reach Horizon, your food is the land. Harvest bushes (“Bush, Press F to harvest”) for 1 Wood and 1 Edible Root each, where a root gives Hunger 15 and Health 15. The Survivor background also starts with a Granola Bar in a quick slot that gives Hunger 40, Energy 40 and Stamina 40. Robyn’s reward box after Horizon’s Kitchen holds a Dish, 2 Bandages, Cloth 6, 30 Bucks and a Survivor’s Backpack.
| Food | Restores | Note |
|---|---|---|
 Dish Dish | Hunger 90 | Cooked, never gives Parasites |
 Meat (raw) Meat (raw) | Hunger 30 | 30% Parasites per piece |
 Granola Bar Granola Bar | Hunger 40, Energy 40, Stamina 40 | Survivor starting slot |
 Edible Root Edible Root | Hunger 15, Health 15 | 5% Parasites per piece |
 Herbs Herbs | Hunger 5, Health 25 | Medication |
Do not sell your only food to a trader, and do not leave the trade screen open — the clock keeps running, and you can starve to death with the BARGAIN screen still open.
Survive the first night: get to heat before 19:00
The starting outfit is rated [-26°C] on every slot. The start area reads -26°C to -27°C by day but drops to -33°C to -34°C at night, which is colder than your clothes cover. So Body Warmth runs to 0 after dark and the BONE-CHILLING COLD banner appears from about 19:00. The sun begins to rise at 04:31 (“THE SUN IS RISING”), and the readout is back near -26°C from about 07:00.
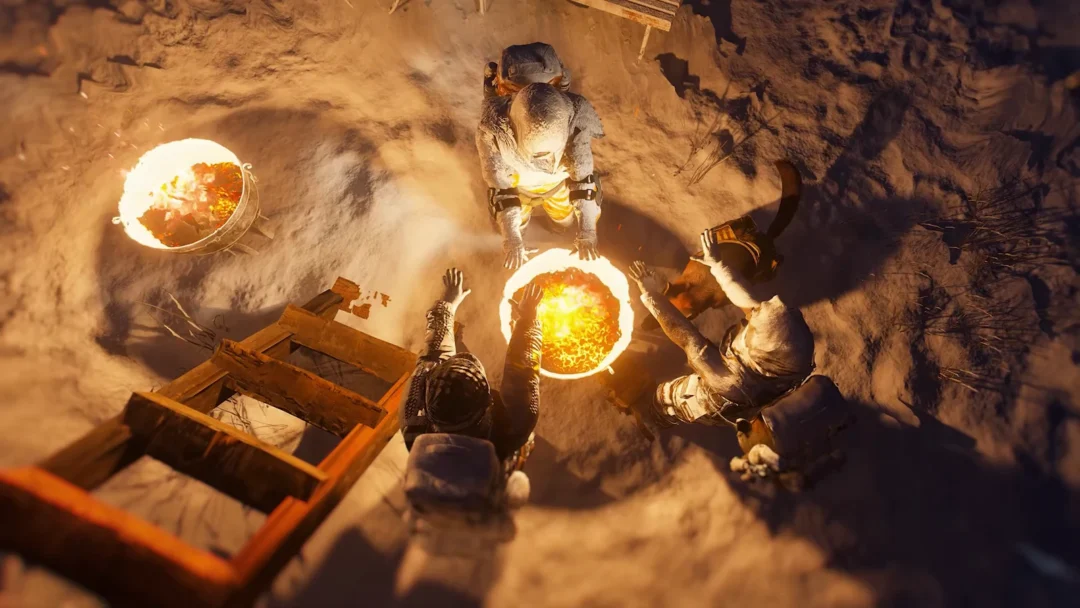
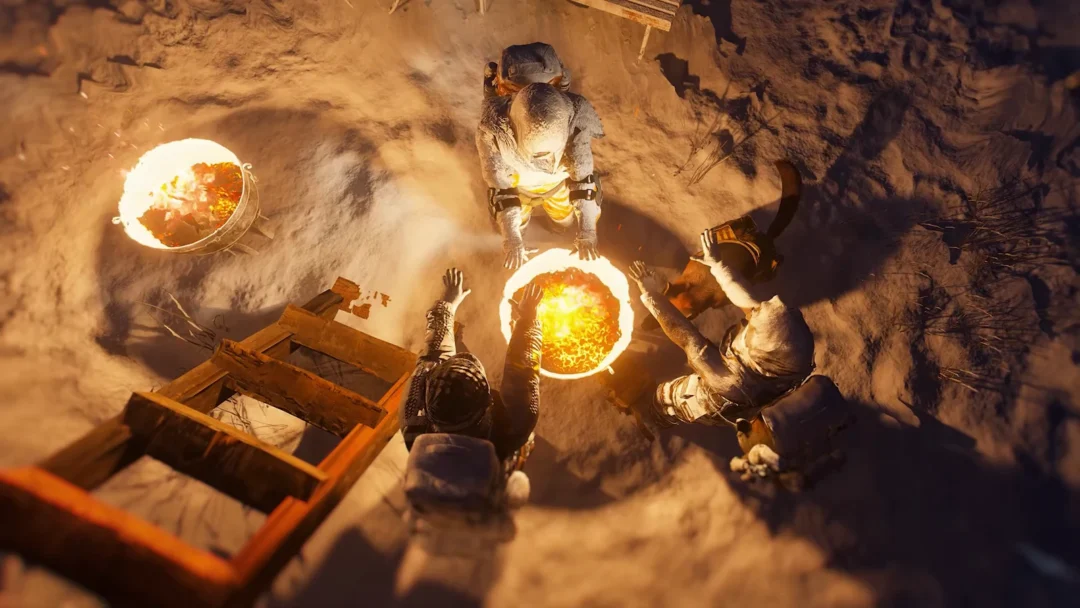
Be at a heat source before the light goes. A campfire is cheap and fast.
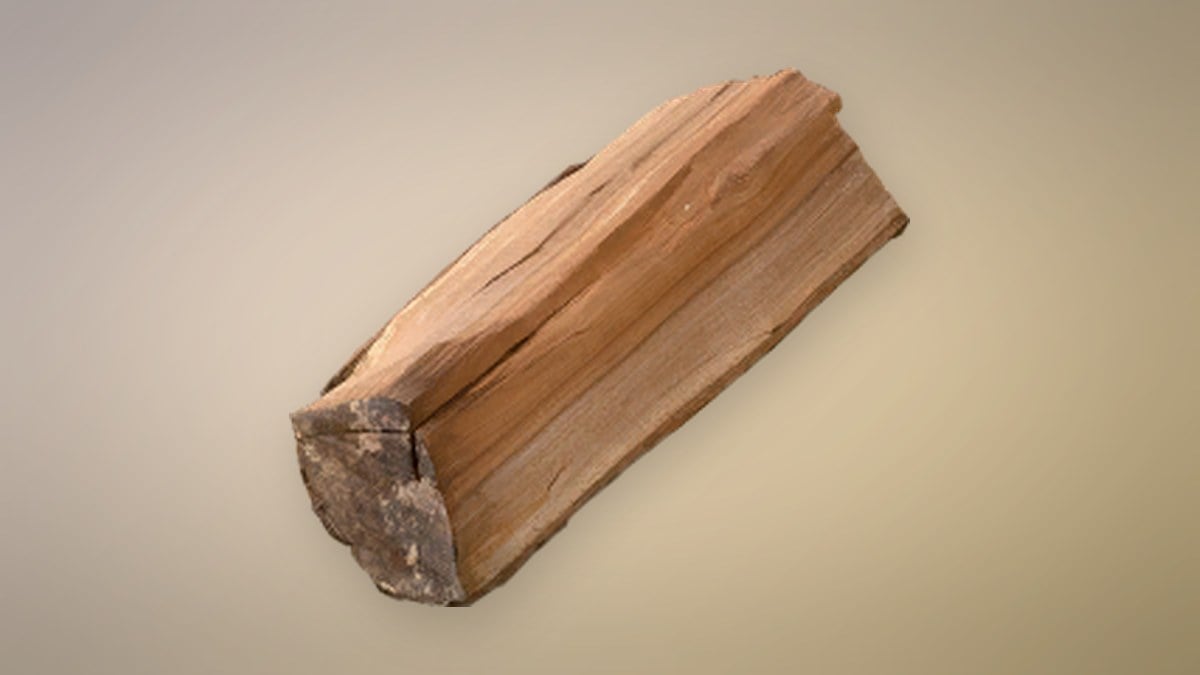
Indoors works too. The starting cabin, opened with the Stone Shiv (“Hold F Unlock”), reads -18°C to -19°C inside and refilled Body Warmth from 0 to 300 with no fire at all. Horizon’s bunkhouse sits at 28°C to 31°C. An Improvised Tea gives +45 Body Warmth and +45 Health at once if you are caught short.
| Heat source | Effect |
|---|---|
| Lit Campfire | Body Warmth 0 to 300 in under a minute; 1 Wood = 1 minute fuel |
| Starting cabin | -18°C to -19°C inside; refills warmth with no fire |
| Horizon bunkhouse | 28°C to 31°C |
 Improvised Tea Improvised Tea | +45 Body Warmth, +45 Health |
 Moonshine Moonshine | Cold Resistance 20 |
After a night death, don’t walk back in the dark
Dying respawns you at the nearest safe zone with Health 149 and, at the start area, Body Warmth between 77 and 114. Your backpack grid is empty — its contents wait in a tombstone at the place of death — but quick slots, clothes and a cleared effects list come with you. The tombstone waits; it was still there after a full night and a second death.
Walking back to that tombstone at night in -33°C air ran Body Warmth to 0 again within minutes, dropping Health to 12, then 6, then 0. That is how one night death turns into three or four. Instead, wait at the respawn point until “THE SUN IS RISING” at 04:31 and the readout is back near -26°C, or go back only with a fire’s worth of Wood and 2 Stone in your quick slots.
Claim a bed the moment one is reachable. The Sleeping bag upstairs in Horizon’s bunkhouse uses “Press F Claim”, and then “RESPAWN AT THE CURRENT REST POINT” brings you back indoors at 300 Body Warmth instead of out in the snow.
Cook raw food or carry a Parasites cure
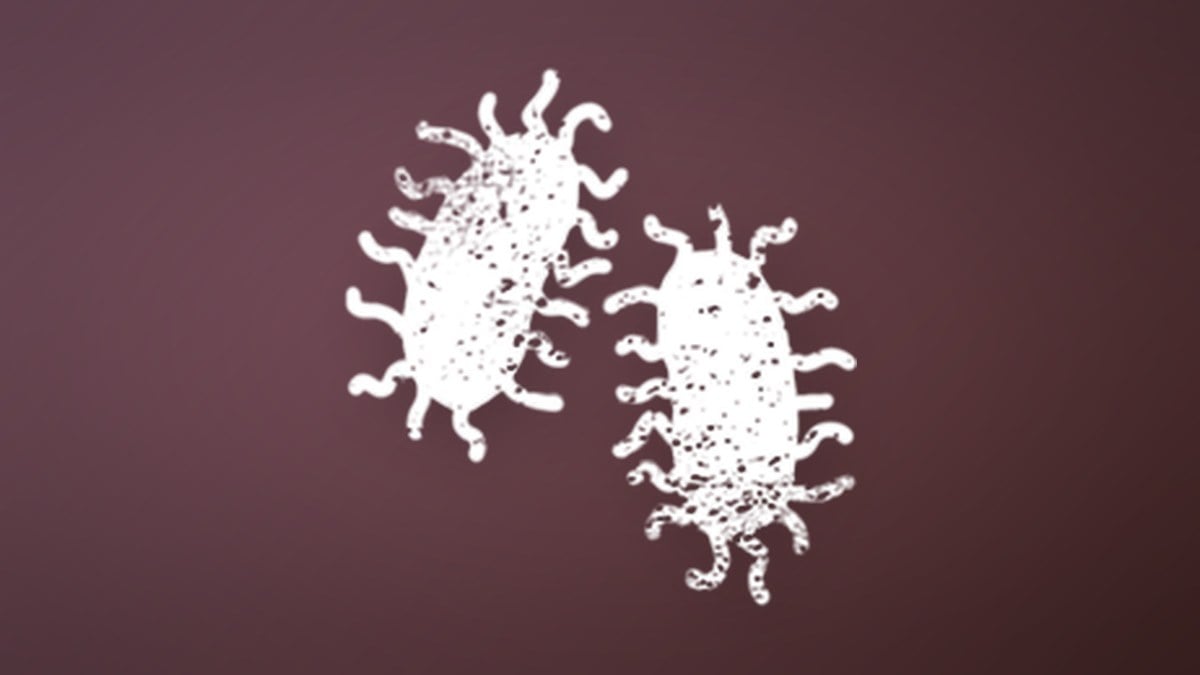
Raw food gives the PARASITES effect, which drops your Stamina Gain Rate by 30% and, by its own description, eats into your nutrients. The tile appeared at once after two raw Meat and after two Edible Roots. Raw Meat carries a 30% chance per piece and Edible Root 5%. A cooked Dish never gave it.
Parasites does not kill on its own, but it makes a food shortage worse. Cook Meat before eating — a lit fire turns it into a Dish in 3.6 seconds — and eat Edible Roots only when there is nothing else. Drinking a Moonshine removed the tile on the spot. Herbs did not.
Items that remove Parasites: Alcohol, Moonshine, Vodka, Small Bottle of Vodka, Wine, Whiskey, Methyl Alcohol (which also takes 150 Health), Surgical Spirit (which takes 20 Health), Painkillers, Panacea, Car Medkit, Medkit IFAK, Medkit MFAK and Medkit AFAK. A death also clears it. There is loose Moonshine in the alcove beside the General Trader’s bars in Horizon.
Avoid fatal falls on ledges and ravines
Steep drops take a brutal chunk of Health in one hit, and they are easy to walk into while trying to save time. Use the gate and the trodden path out of Horizon, take the bunkhouse stairs beside the rug inside the ground-floor door, and do not drop off ledges. The starting area is itself a ravine, with the cabin and first cave on its floor and gaps on both sides of the log that bridges in.
- Sliding down a steep snow bank into the ravine north of Horizon cost 112 Health in one go.
- A shallower slide of about 10 metres cost nothing.
- Stepping off the open upper walkway of Horizon’s bunkhouse cost 69 Health.
The clock keeps running in menus
Time does not pause on the YOU ARE DEAD screen, in the inventory, or on the trade screen. Hunger at 0 keeps draining Health while you set up a trade, and a death screen left open means respawning hours later in the dark.
Two habits cover this: eat first and trade second, and click a respawn button straight away rather than lingering on the death screen. The night moves on whether you do or not, and arriving back in the world in the middle of a -33°C night undoes everything you just fixed.
What to carry before leaving Horizon
A long trip out — the walk north toward Bone Cave is about 180 metres — fails fast with an empty backpack. On Survival, Hunger went from 254 to 0 in roughly 70 minutes of play with nothing edible within reach on the way.
- Two or three Dishes in your quick slots (each is 5 Bucks of Meat plus 1 Wood of fuel).
- An Improvised Tea or a Moonshine for warmth and the Parasites cure.
- 2 Stone and a few Wood for an emergency campfire.
- Makeshift Bandages (2 Cloth each, crafted in the inventory) at Health 70 apiece.
Leave at sunrise, never at dusk — “THE SUN IS SETTING” means the next banner is BONE-CHILLING COLD. Press L for the flashlight if you are caught out.