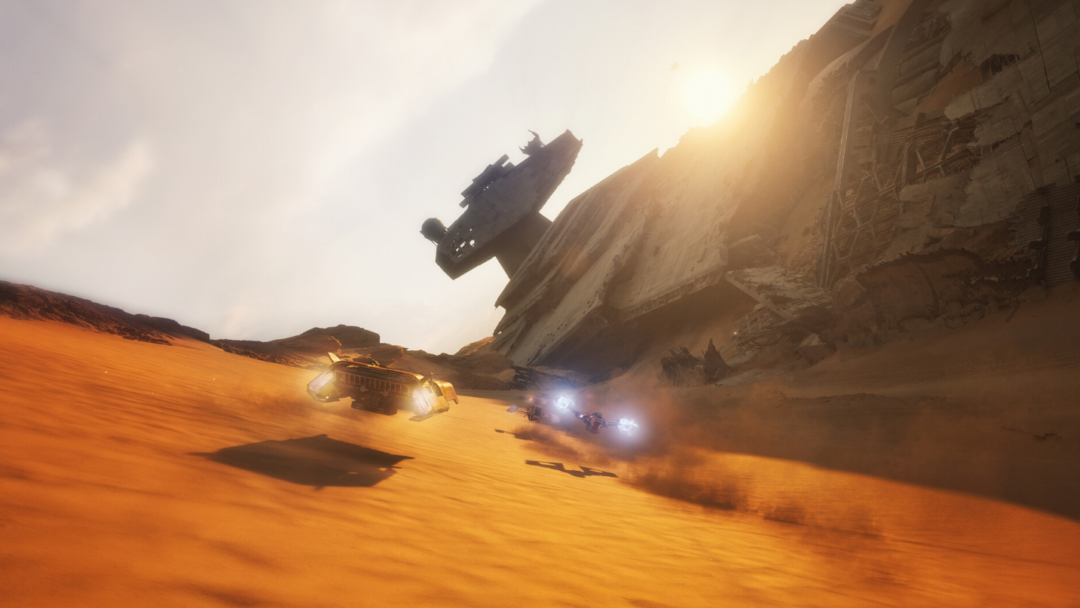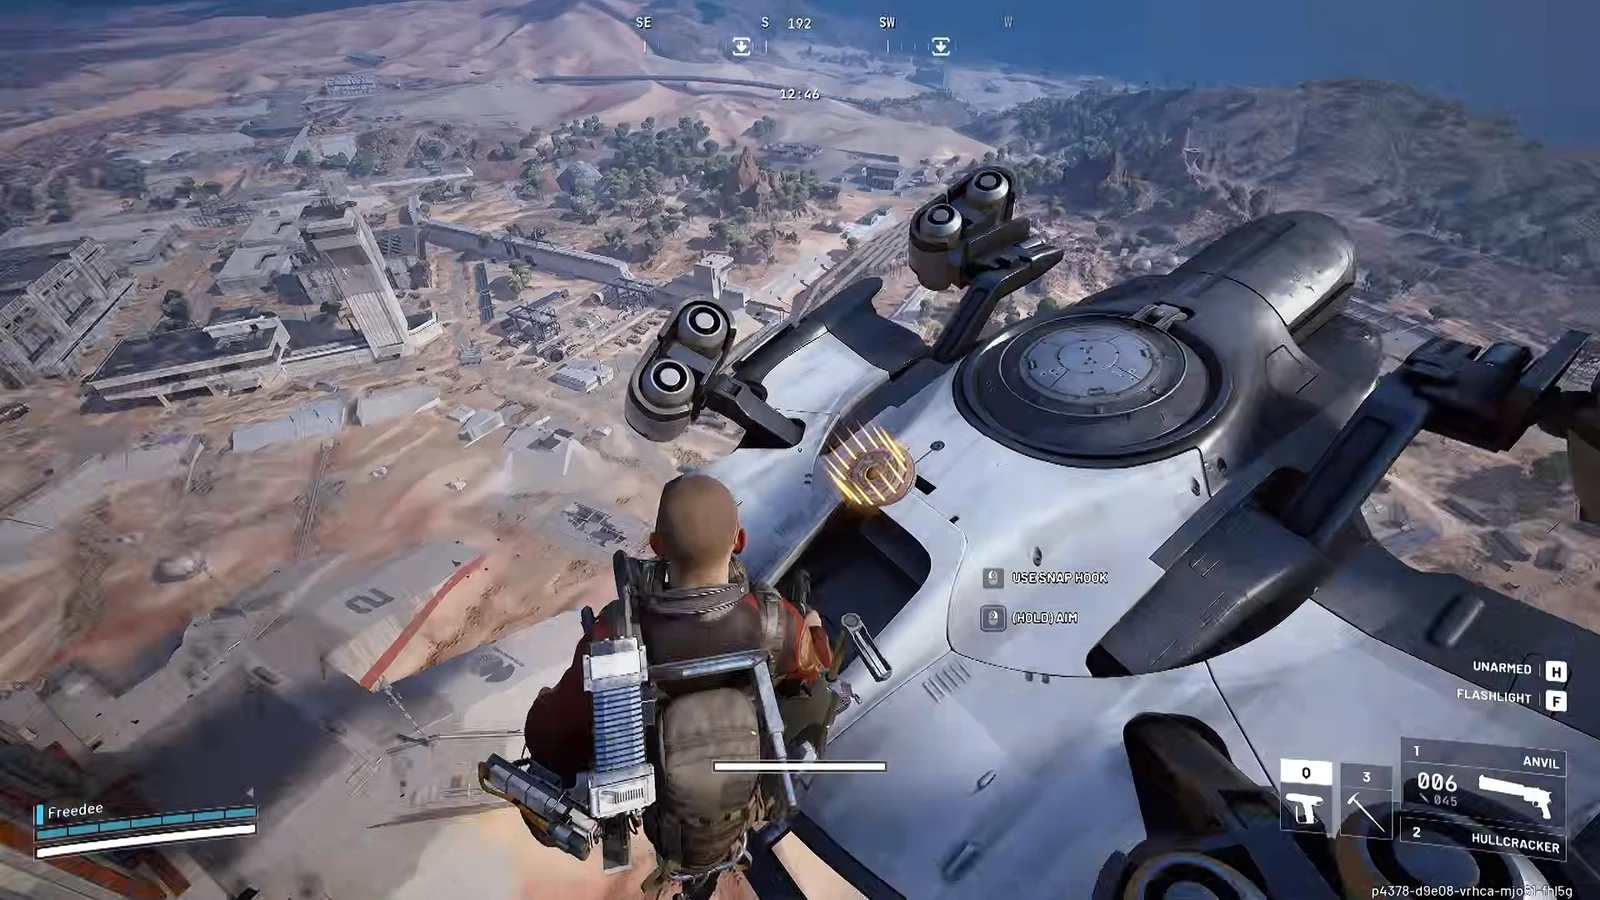
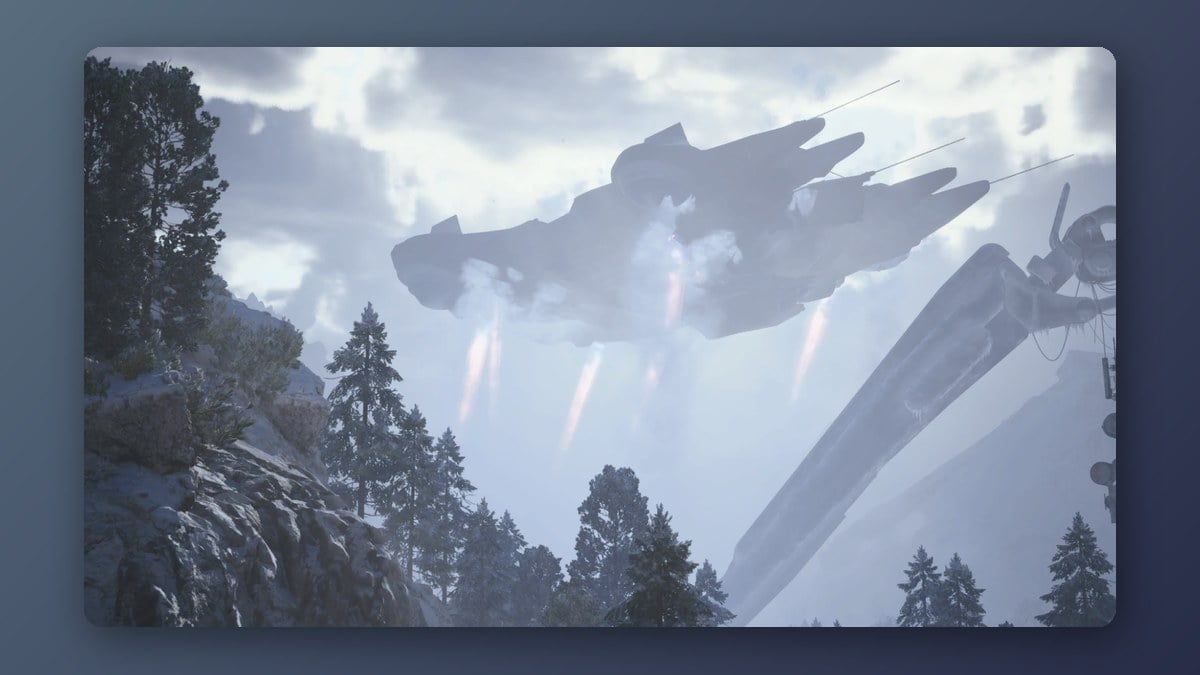
The ARC Frigate is a flying warship that hangs over the map and shoots anything it spots below. You can’t bring it down with gunfire. The only way to profit from it is to climb aboard, work through its interior under heavy fire, and either hit the quest targets or sabotage its power cores before riding back to the ground. It arrived with the Frozen Trail update as a map condition, which means it rotates between maps rather than sitting in one place.
Quick answer: Enter a map showing the ARC Frigate condition, ride a Reclaimer disc up to the deck, hit a Hydra, Vaporizer, and Rocketeer for 100 damage each (or sabotage the power cores for loot), then ride a disc back down and extract.
What the ARC Frigate condition changes
When the Frigate is overhead, the raid beneath it plays differently. It carries a difficulty rating of 5 of 5, and it strips out several of the usual systems while it’s active.
- Locked doors are inactive across the map.
- Overall loot value on the ground is lower.
- Raider Hatches are disabled, so you plan around the standard extractions.
- Free loadouts aren’t allowed, so you bring gear you can afford to lose.
There is no reliable rotation for this condition. It has appeared in Buried City, then Pendola Pass and Dam Battlegrounds, while game files show it is also set up for Blue Gate and Spaceport. With no fixed schedule, check the map-selection screen before you queue. In an active round, the map interface shows “ARC Frigate” beneath its title; after spawning, look up to see the ship hanging over the terrain. It usually arrives early in the round, so check its location on your map and travel there instead of searching the far side.
What to bring on a Frigate run
Free kits aren’t available, so bring a full loadout with the understanding that you could lose it. ARC are numerous on the deck, so prepare for multiple encounters. One typical setup pairs a Heavy Ammo weapon for fighting ARC and Raiders with a separate armor-piercing choice for taking on ARC.
- A reliable rifle such as the Bettina or Rattler, with plenty of spare Heavy or Medium Ammo.
- An armor-breaker such as the Hullcracker, Jupiter, Rascal, or Anvil for the heavier ARC.
- Two shields, since deck fire and ranged hits wear you down quickly.
- Healing stacked for repeated fights, plus Shield Rechargers.
- Wolfpack grenades for Rocketeers and Fireflies, and Barriers for cover.
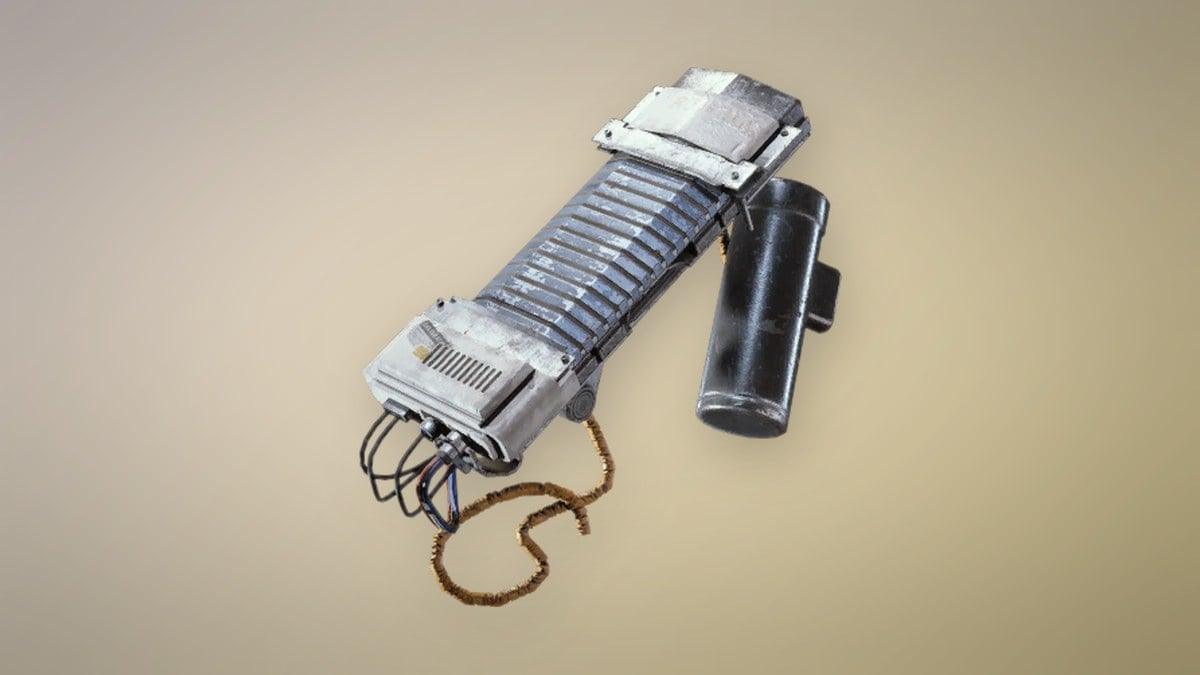
- A Snap Hook to skip climbing sections, a Defibrillator for downed teammates, and a Powered Descender for the way down.
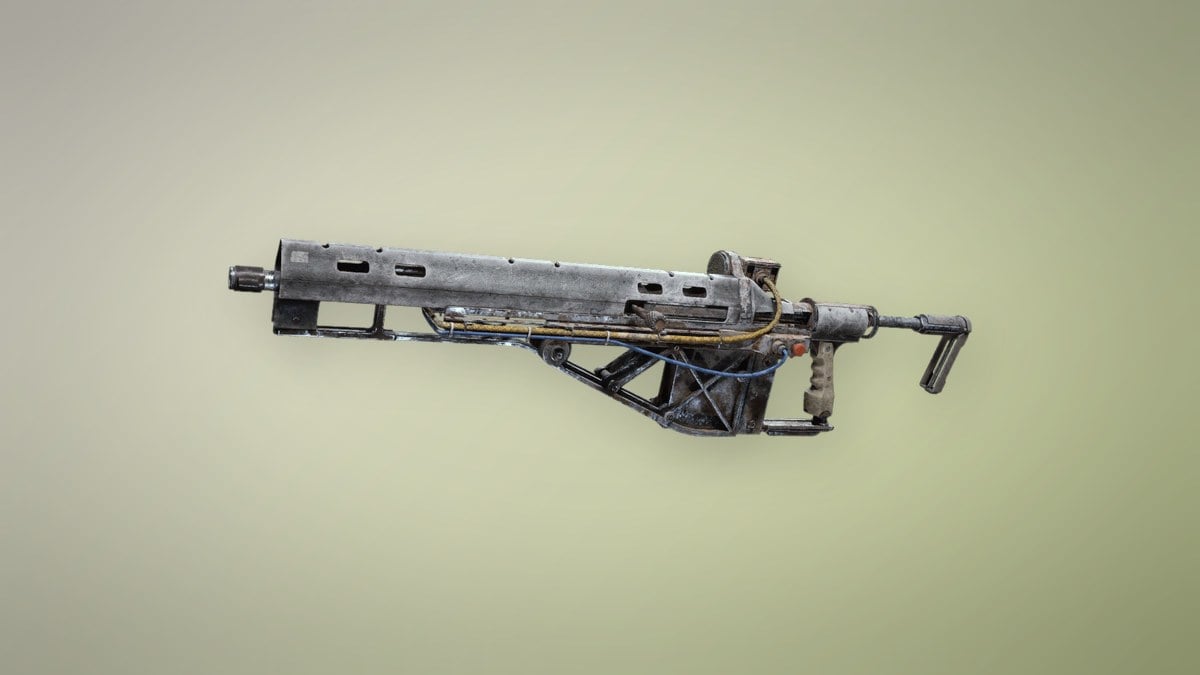
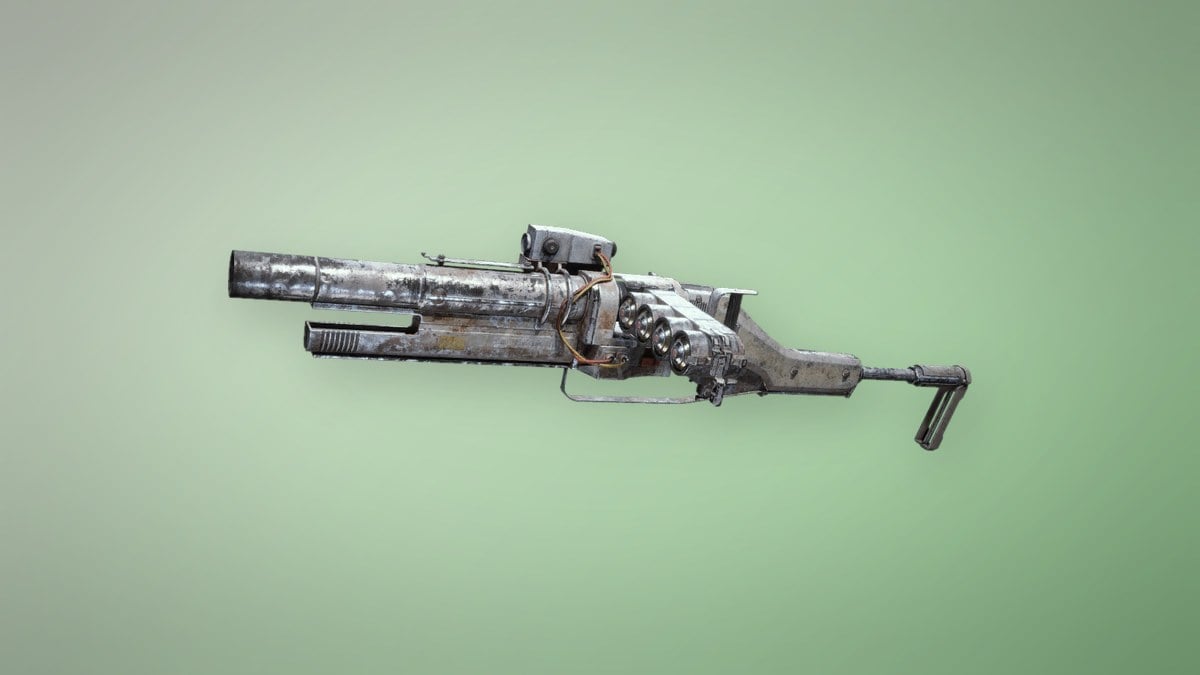
The Frozen Trail update pushed explosive damage against ARC armor plates up by more than 50 percent while cutting it against fragile parts by 30 percent, which suits the Hullcracker and Jupiter against the Hydra and Vaporizers. Keep an accurate, armor-piercing gun for exposed weak points, and don’t burn all your explosive ammo before you reach the main objective. The Hullcracker fires payloads that only detonate on contact with ARC, so it does nothing in a Raider fight.
On shields, the Light Shield is a cheap, mobility-friendly pick for this kind of run, while the Medium Shield trades a little speed for more charge and reduction.
| Shield | Charge | Damage reduction | Cost (Lance) |
|---|---|---|---|
 Light Shield Light Shield | 40 | 40% | 1,920 Coins |
 Medium Shield Medium Shield | 70 | 42.5% | 6,000 Coins |
The Light Shield has no movement penalty, while the Medium Shield slows you by 5 percent. A Photoelectric Cloak also helps, since it hides you from ARC during the slow, exposed climb up to the ship.
How to board the Frigate
You don’t scale the ship from the ground. Instead, you ride the saucer-shaped ARC Reclaimers that shuttle between the surface and the vessel’s underside. They’re ARC, but they leave you alone, and a forcefield wraps around you during the trip.
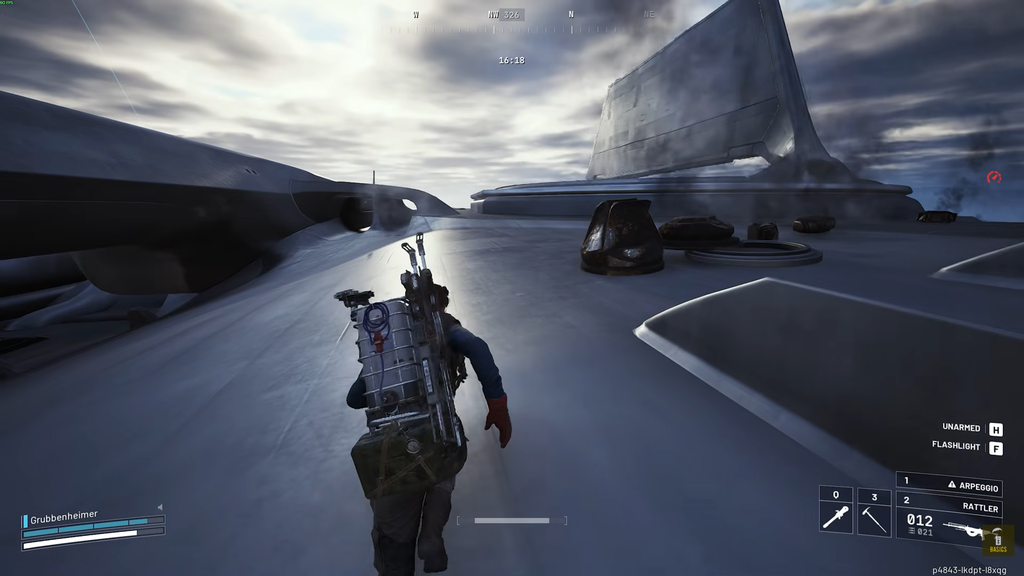
The cannon beneath the Frigate follows your approach and deals 75 damage. The platform leaves you exposed and moving slowly, making you an easy target for hostile Raiders during the ride. Secure the area before boarding, and avoid taking the disc up without company if another squad is covering the boarding point.
Reaching the top deck
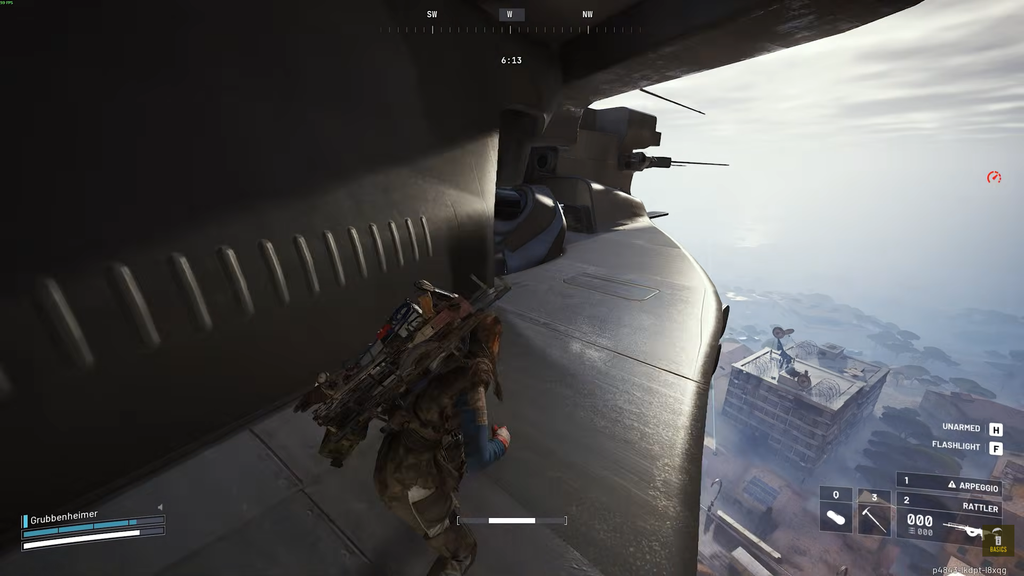
Leave the docking bay through the rear tunnel, which leads out onto the lower exterior wing. Search the loot containers on your route, but press on toward the open upper surface.
The main entrance is a central lift labeled Move Up. You must press its buttons simultaneously, which usually requires three Raiders; solo players need to coordinate with others aboard. A Snap Hook lets you bypass the lift. Alone, trace the wing’s outer ledge toward the front engines, scale the rings and pipes in the engine section, then travel up the angled engine tunnel to the deck. Keep away from the thermal vents once you reach the top, as they sweep flames across the surface.
Boarding the Frigate quest: 100 damage to the Hydra, Vaporizer, and Rocketeer
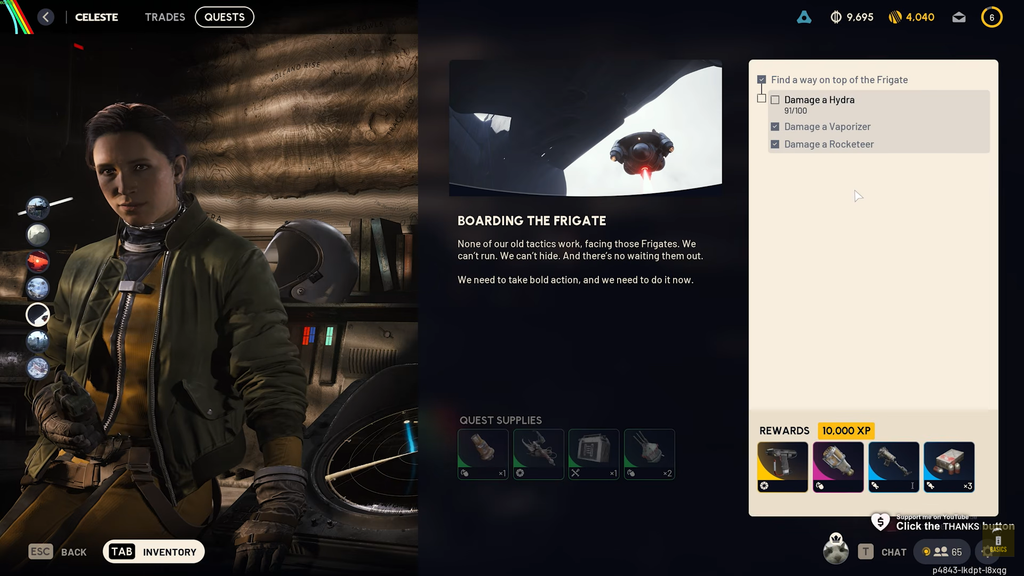
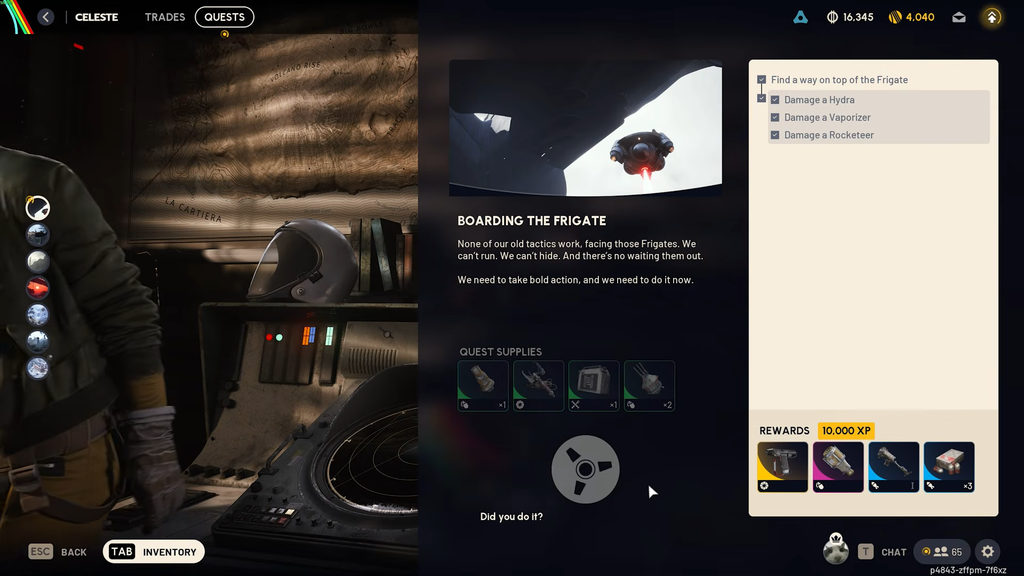
Celeste gives you the Boarding the Frigate quest, which is more straightforward than a full sabotage run. Complete its four objectives during one raid: reach the top of the Frigate, then deal 100 damage apiece to a Hydra, a Vaporizer, and a Rocketeer. Defeating them isn’t required; each only needs to take 100 damage, so a brief burst at each will do. All three may be present on the deck at the same time.
| Machine | Damage needed | Easiest part to hit | Its attack |
|---|---|---|---|
 Hydra Hydra | 100 | Gatling gun (280 HP) | — |
 Vaporizer Vaporizer | 100 | Body (1,500 HP) | Laser |
 Rocketeer Rocketeer | 100 | Body (1,100 HP) | Missile (90) |
Embedded in the deck, the Hydra is a turret with three tiers. Its two weapons can aim at separate players, so spread out behind different pieces of cover. With only 280 health in its gatling section, this objective goes down quickly. Vaporizers charge at you with fire, so strike before their flames intensify. Rocketeers tend to show up only after the deck takes substantial damage; at range, each missile deals 90 damage. Lean out from cover to reach 100 damage, then retreat behind it.
Each counter fills as you deal damage, and the Hydra line reads 100/100 when it’s done. Once all three counters and “Find a way on top of the Frigate” are complete, you still have to survive and extract to keep the progress. Head back through the engine tunnel to the lower wing, return to the rear docking bay, and step onto an arriving Reclaimer disc without disrupting it; it carries you down to the rooftops below. After you extract from the raid, find Celeste in the hideout to turn in the quest.
Completing it pays out the following.
- 10,000 XP
- A Legendary Snap Hook with a 20m range that sells for 14,000 Coins
- A Wolfpack
- A Rascal I
- Three Launcher Ammo
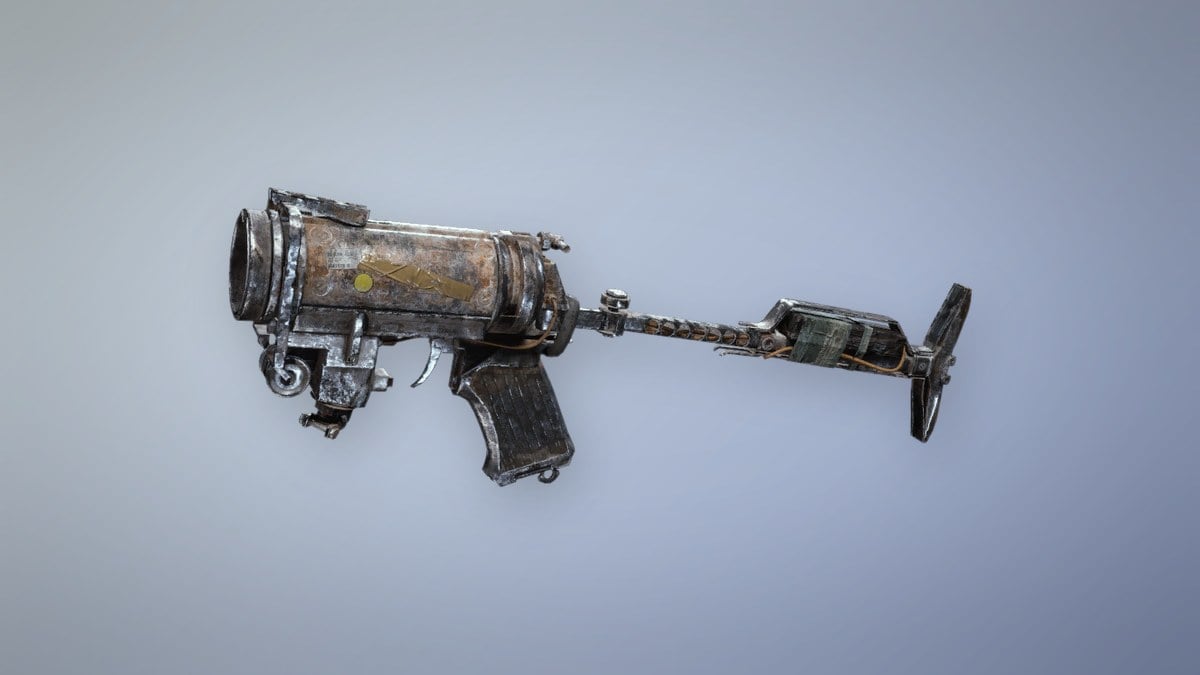
Sabotaging the power cores
If your priority is loot rather than just the quest, destroy the Frigate’s power cores to unlock its cargo bay. The route is a puzzle under combat pressure. Opening a section brings in more ARC, so deal with them before advancing.
As many as four Hydras can emerge from the deck, alongside Rocketeers, Vaporizers, and Fireflies. Spot the small yellow markers on the walls, similar to those inside a Harvester. Destroy every marker on one side to make its wall panels swing outward as climbable steps; the compartments hold loot. Three additional Move Up panels surround the large central ring. Have one Raider operate each at the same time to raise a large power core from the ring. Destroy that core, followed by the two smaller coils positioned above it, one on each side.
Higher up, jet blasts and sweeping flames threaten you across the deck. Run into a jet blast to stop it from knocking you over the edge. To the left and right are two fire rooms, each with around three loot containers that periodically fill with flames. Shoot the small power core at the center of each room to extinguish the fire; otherwise, you have time to breach just one container before retreating. Follow the painted arrows onward, then climb through vents toward the interior, where additional locked rooms contain the remaining cores.
Dropping the cargo and Frigate loot
Breaking the cores leads down to the cargo. There, breach the containers on the four sides first, then work the two interactable buttons on each side of the cargo together, pressing repeatedly to lower it. When the cargo drops fully, jump on it and ride it down with you. Once you’re on the ground you can loot it safely, and it holds some of the best rewards available during the condition.
Amplification Modules are the main draw. The Frigate is one of the only sources for them, with the other being inside the fallen Emperor on Pendola Pass. They sit in round Breach & Search ports along the hull as well as in the cargo, so check every port you can reach on the way. Each module maps to a weapon rarity.
| Module | Unlocks Amplification for |
|---|---|
| Mk. I | Common weapons |
| Mk. II | Uncommon weapons |
| Mk. III | Rare weapons |
| Mk. IV | Epic weapons |
| Mk. V | Legendary weapons |
Beyond the modules, the Frigate drops research items that feed research points at the Outpost, along with high-tier ARC materials and other epic and legendary loot. Leave room in your bag for the haul instead of filling it on the way in.
Move an Amplification Module into your safe pocket the moment you loot one. If you get knocked out on the deck, the safe pocket keeps it even when you lose everything else.
Getting off the Frigate and extracting
Getting down is often the hardest part, since Raider Hatches are disabled and you may end up stuck at the bottom of the interior. Retrace your route to the boarding area and step onto a returning Reclaimer disc to ride it back to ground level. A Grappling Hook or Snap Hook speeds up the climb back, and carrying a Powered Descender gives you a direct way off if the return point closes behind you. Once you touch down, sprint away from the blue targeting beams that mark where the cannon is about to strike, then reach a standard extraction.
Keep two cargo-area bugs in mind. The Hydra can see and fire through walls in the cargo area, so walls won’t provide reliable cover. Also, standing on the cargo drop’s side can kill you instantly, so avoid that ledge.
Whether you came for Celeste’s quest or the module haul, the pattern is the same: ride a disc up, do your objective fast, and ride a disc down before a rival squad or the Hydra catches you mid-task. The Frigate rewards a prepared trio far more than a lone Raider, so line up your gear and a third player before you commit to the climb.