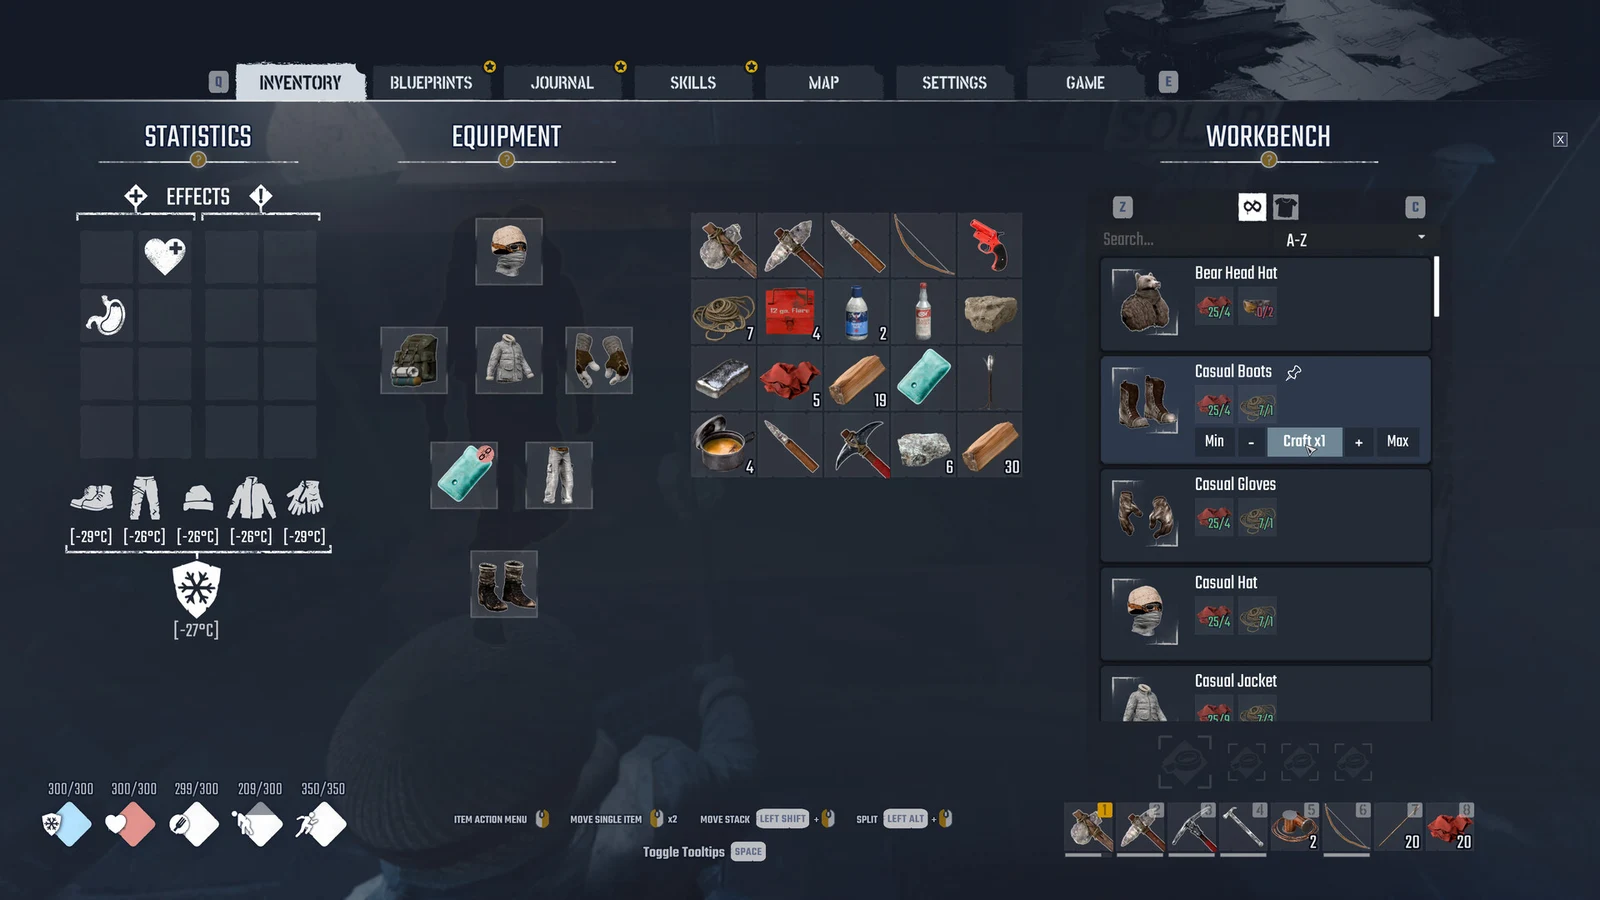
Hunger is the meter that empties the fastest in the opening hours of Permafrost, and running it to zero is the most common way new characters die inside Horizon. It sits third among the five diamond gauges in the bottom-left of the screen, after Body Warmth and Health and before Energy and Stamina, and it runs out of 300. Open the inventory with TAB and the gauge shows as a plain number. A fresh Survivor starts at 183/300, so you are already more than a third of the way down before you take a single step.
Quick answer: On Survival difficulty, Hunger falls 14–15 per game hour and a full meter empties in a little over an hour of real play. Fill it cheapest with free Edible Roots from bushes and $5 Meat cooked into Dishes (Hunger 90 each).
How fast Hunger drains
On Survival difficulty (version 0.44.2), while walking, chopping, or crafting, hunger drops by 14 to 15 points each game hour. Over one in-game day the meter read 111 in the morning, 60 by midday and 22 by mid-afternoon. After respawning at 148, the meter was down to 110 around two and a half game hours afterward. A 300-point meter empties before a full game day passes. In real time, about 70 minutes of play took the meter from 254 down to 0.
The gauge continues to drain without interruption, including during menus, conversations and trades on the BARGAIN screen. Resting in bed does not halt it either: after about 15 seconds there, Hunger went from 56 to 53.
Sleeping does not refill Hunger. Sleeping through the last hours of a night took the meter from 142 down to 111, so you wake hungrier than you went to bed.
The three hunger stages and starvation
As the meter falls, warning tiles appear in the EFFECTS grid of your inventory, each with its own tooltip and penalty. Every one is removed by eating food.
| Stage | Appears around | Penalty |
|---|---|---|
 A Bit Hungry A Bit Hungry | 142 | Stamina Gain Rate −15% |
 Famished Famished | 58 | Stamina Gain Rate −15%, Stamina Loss Rate +25% |
 Starving Starving | 0 | Health begins to drain |
With Hunger at 0, Health declines even if Body Warmth is full. On Survival, Health went from 134 to 34 in less than a game hour, fell to 4, and ended in death. Two Makeshift Bandages merely slowed the decline, not enough to beat starvation. The takeaway is straightforward: early deaths may look like the cold’s doing, but an empty stomach can kill on its own schedule.
When and how to eat
Eat before the Famished tile lands, around 60. A Dish eaten at 60 pushes the meter to 150 with nothing wasted. Eating at 250 throws most of a Dish away, because the gauge stops at 300. One Dish takes an empty meter from 0 to 89; two Dishes take it to 177.
To eat from the backpack, open the inventory with TAB, right-click the food and choose CONSUME. From a quick slot, select the item and press LMB. One thing trips people up. Right-clicking CONSUME inside the COOKING panel does nothing. Close the panel with Esc first, then eat from the normal inventory.
Food values: what fills the meter and what it costs
Here is how much Hunger each early food restores next to its Buck value, so you can see which items give the most meter for the least money.
| Food | Hunger | Other restores | Value |
|---|---|---|---|
 Dish Dish | 90 | — | 30 |
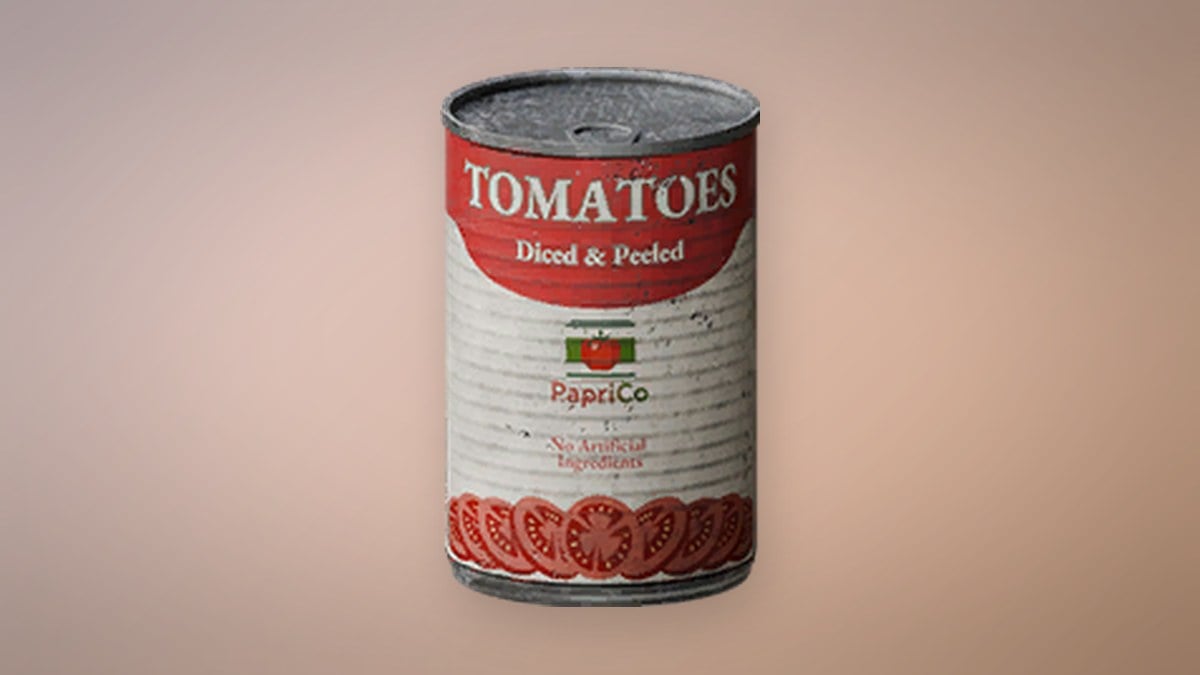
 Can of Tomatoes Can of Tomatoes | 90 | — | 10 |
 Granola Bar Granola Bar | 40 | Energy 40, Stamina 40 | 12 |
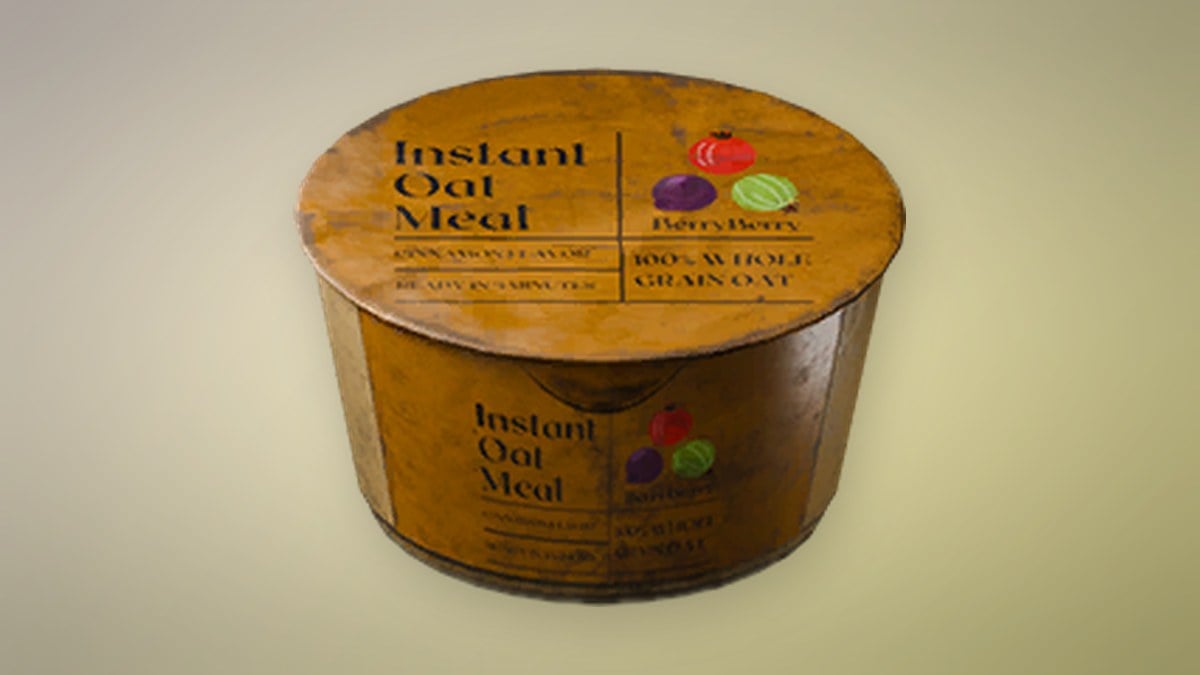
 Instant Oatmeal Instant Oatmeal | 40 | — | 10 |
 Meat (raw) Meat (raw) | 30 | — | 5 |
 Edible Root Edible Root | 15 | Health 15 | 2 |
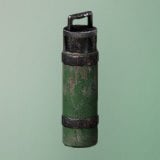 Improvised Tea Improvised Tea | 10 | Cold Res. 45, Health 45 | 15 |
 Herbs Herbs | 5 | Health 25 | 8 |
A Dish restores 90 Hunger, which is why cooking Meat is useful for early food. If you prefer not to cook, Can of Tomatoes matches it at Hunger 90 for a value of just 10 and is sold by traders such as Eric Hirsch and Logan Boyce.
The same approach applies to food you find or purchase later. Beef Jerky restores 80, Can of Soup restores 90, Bag of Chips restores 40, and Mushrooms restore 30; these come from containers or traders farther into the world. There is no thirst meter, so water does not affect this.
What your character starts with
Each background begins with a small amount of food in the quick slots. It will not carry you far, but it buys time while you set up a steady supply.
| Background | Starting food | Hunger |
|---|---|---|
| Survivor | Granola Bar | 40 |
| Survivor | Improvised Tea | 10 |
 Smuggler Smuggler | Chocolate Bar | 40 |
| Smuggler | Energy Drink | 10 |
 Hunter Hunter | Instant Oatmeal | 40 |
| Hunter | Improvised Coffee | 10 |
The Survivor also carries a Makeshift Bandage, the Smuggler’s Energy Drink adds Stamina 60 and Energy 25, and the Hunter’s Improvised Coffee adds Energy 45 and Cold Res. 45. Eating the Survivor’s Granola Bar took Hunger from 66 to 104 and Energy from 167 to 206 in one go.
Free food: Edible Roots from bushes
You can get the game’s least expensive food for free. Press F beside a bush to harvest it; the bush vanishes after yielding +1 Wood and +1 Edible Root. Two bushes are next to the starting cabin stairs. More grow in the clearing behind the bench.
An Edible Root gives back 15 Hunger and 15 Health. Eating two raised Hunger from 40 to 67 and Health from 165 to 185. Six roots provide as much Hunger as a Dish, making a few a free way to stay topped up between cooked meals.
Each raw Edible Root carries a 5% chance of giving you Parasites, which cuts Stamina Gain Rate and needs medication or alcohol to cure. The odds are low, but eating several at once stacks the risk.
Cooking Meat into Dishes, the cheapest reliable food
Meat costs just $5 a piece at the General Trader, and cooking turns each one into a Dish worth Hunger 90. That makes a cooked Meat the best value in Horizon for keeping the meter full. The General Trader is in the building with the $ sign, right of the leader’s log cabin. His Meat stock is small, so buy what is available rather than counting on a big haul. Red Deer on the path between the first cave and Horizon’s gate, and outside the west fence, are the other Meat source.
Completing Horizon’s Kitchen quest, which ends with the line “Dinner is ready,” makes the lockbox by Robyn’s armchair glow and open. Inside are a Dish, two Bandages, six Cloth, 30 Bucks, the Survivor’s Backpack and the Survivor’s Gloves recipe. The 30 Bucks is enough to restock Meat several times over.
Mistakes to avoid when leaving Horizon
Do not eat Meat raw to skip the 3.6-second cook. Raw Meat restores only 30 Hunger instead of 90 and carries a 30% chance of Parasites on every piece. The few seconds saved are not worth a third of the food and a debuff you then have to cure.
A few more habits keep the meter manageable on longer trips.
- Pack food before setting out from Horizon. Nothing edible was within reach along the route north toward Bone Cave, and 70 minutes of walking drained the meter.
- Keep the tools you need to earn money for food. A Stone Pickaxe sold for $10, but buying it again cost $17.
- Keep a stack of Edible Roots as a free buffer, and a Dish or two for the moment the meter nears 60.
Treat Hunger as a clock that never stops, not a meter you react to. Harvest the free roots on your way through the clearing, turn cheap Meat into Dishes before you leave town, and eat as the gauge approaches 60 so nothing spills over 300. Do that, and the thing most likely to kill a new survivor stops being a threat.