Sealed History picks up the moment Seeking the Sage ends, sending you north to a sealed archive whose records Polyeidus wants to read. It breaks into four parts: travel with Wash’s commission soldiers, fight through the Mountain Stronghold, open its inner gate, then push on alone to the Sealed Study and give the scholar time to read.
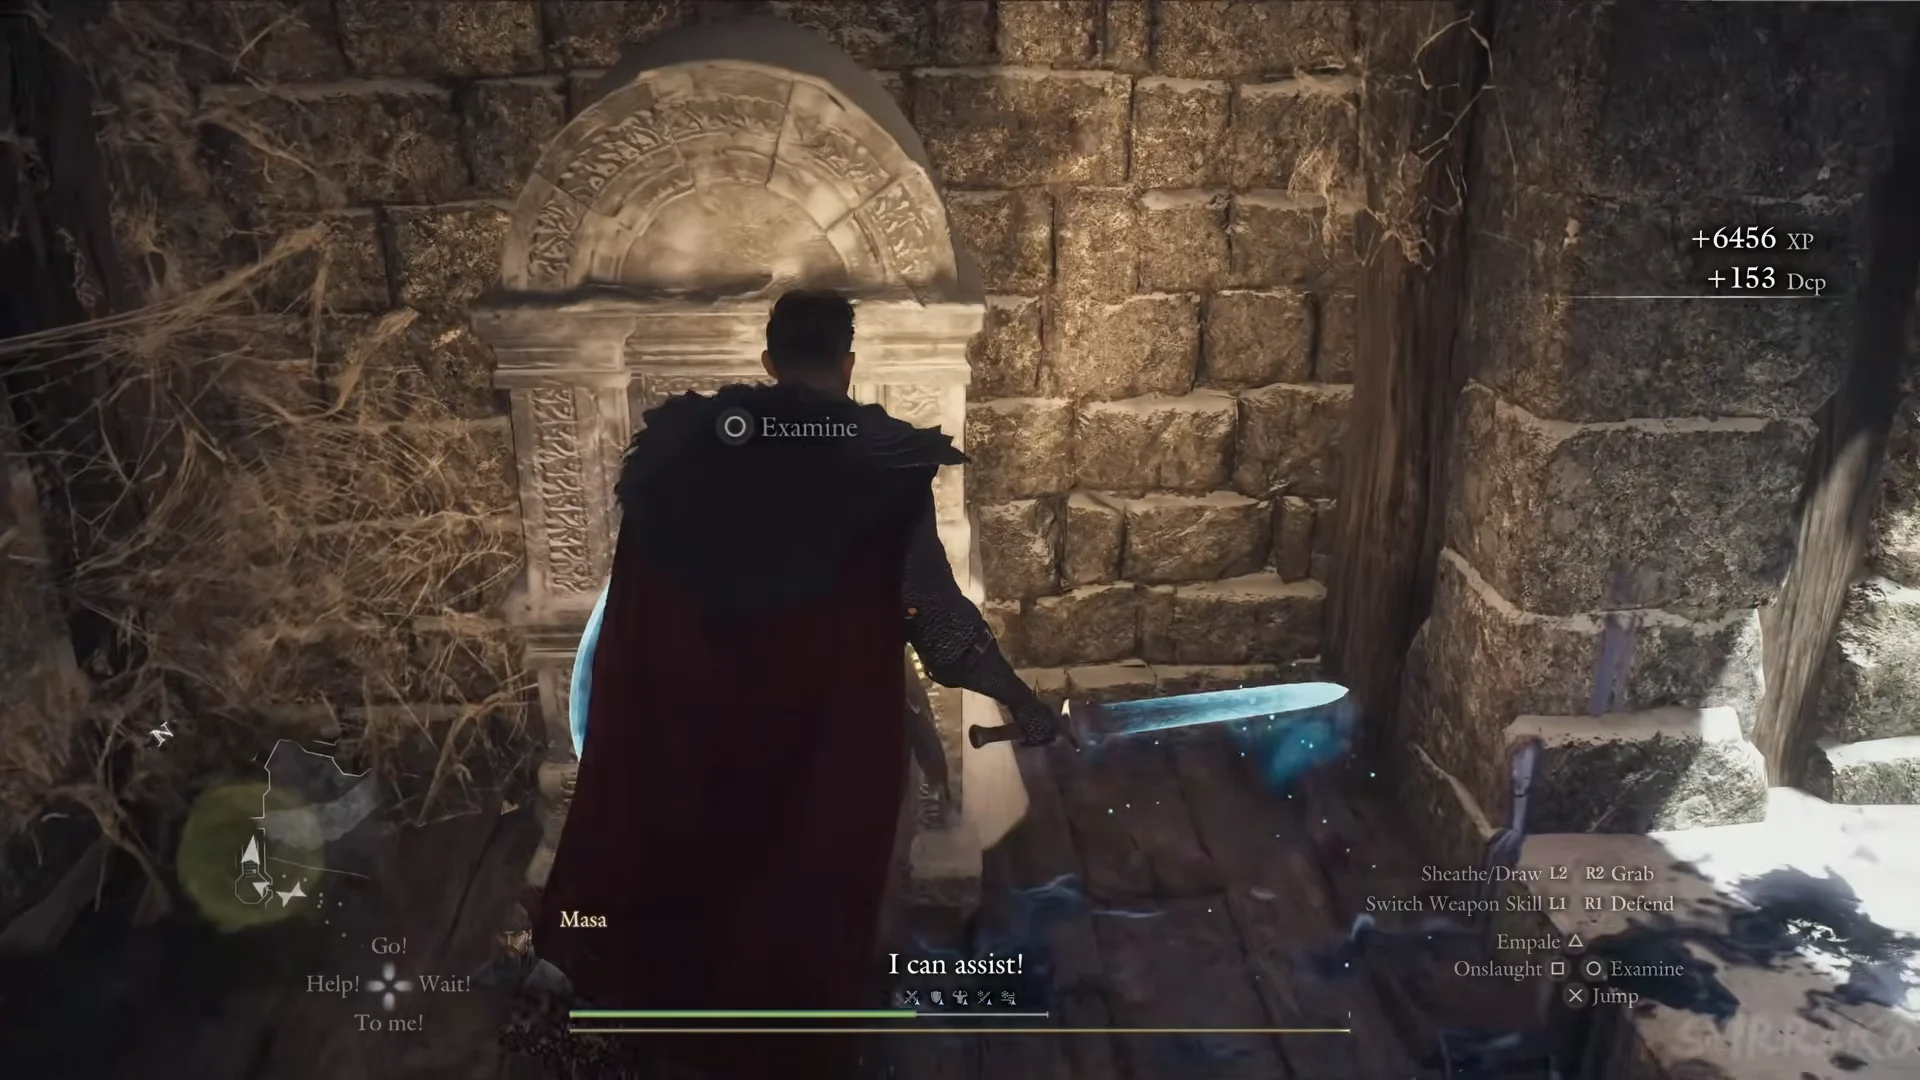
Quick answer: Find the gate lever in the chamber beyond the small window. Get there by passing through the round tower, climbing the wooden ladder, crossing the snowy terrace, and entering through the arched doorway; then Examine the stone lever. The Sealed Study is below ground, beyond Brinerot Grotto: farther along the path, enter through the doorway next to a damaged Riftstone.
Before you set out
Sealed History starts on its own once Seeking the Sage is finished — all three riddles answered and the talk with Polyeidus done at his tent in the Norgandian Settlement. You will see the banner “Sealed History / Priority Quest Set Automatically.” There is no quest-giver to hunt down.
Pack Lantern Oil, since the study sits underground and you will get an “Out of Lantern Oil” warning if you run dry; refill it from Items using “Add Oil.” Bring curatives and a Wakestone, and put lightning skills on a pawn for the fights ahead. A sword-and-shield Fighter around level 62 to 71, backed by Archer, Thief and Mage pawns, can get through the route.
Join Wash and rescue Amos
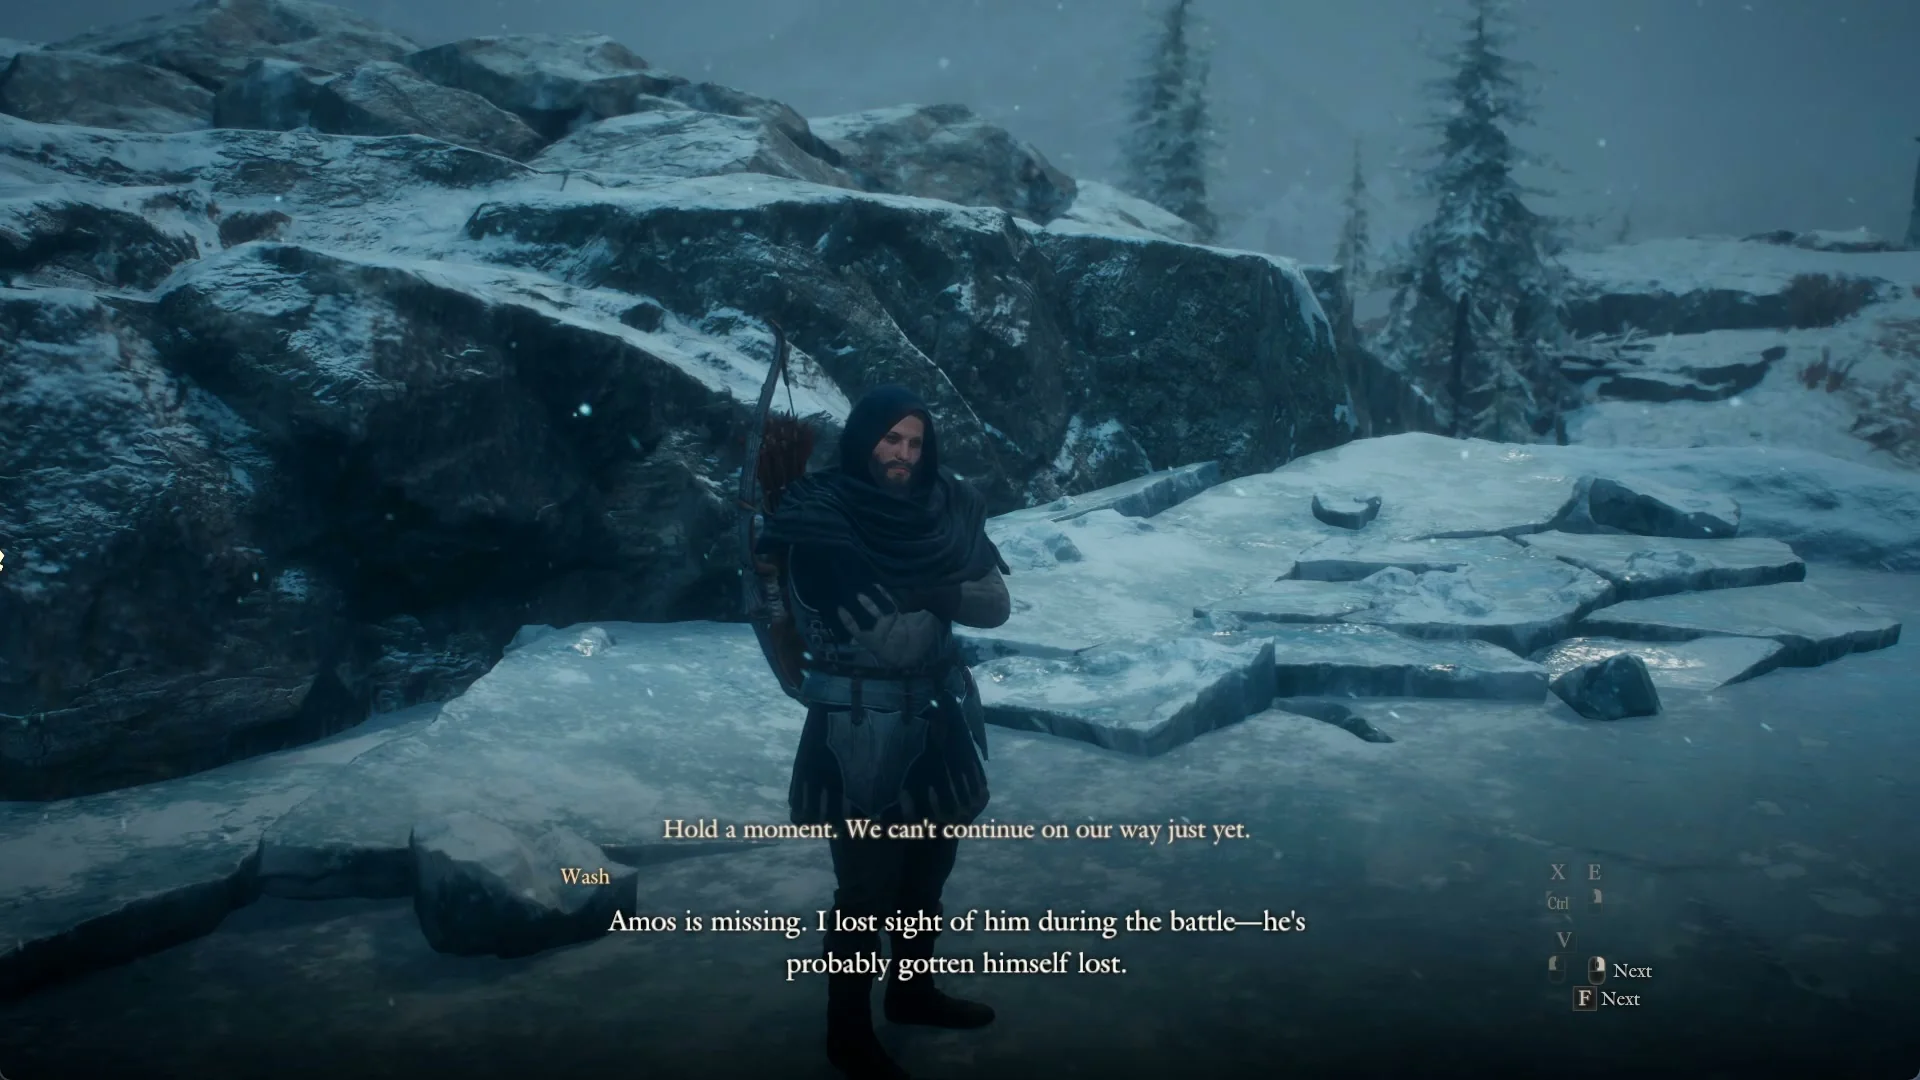
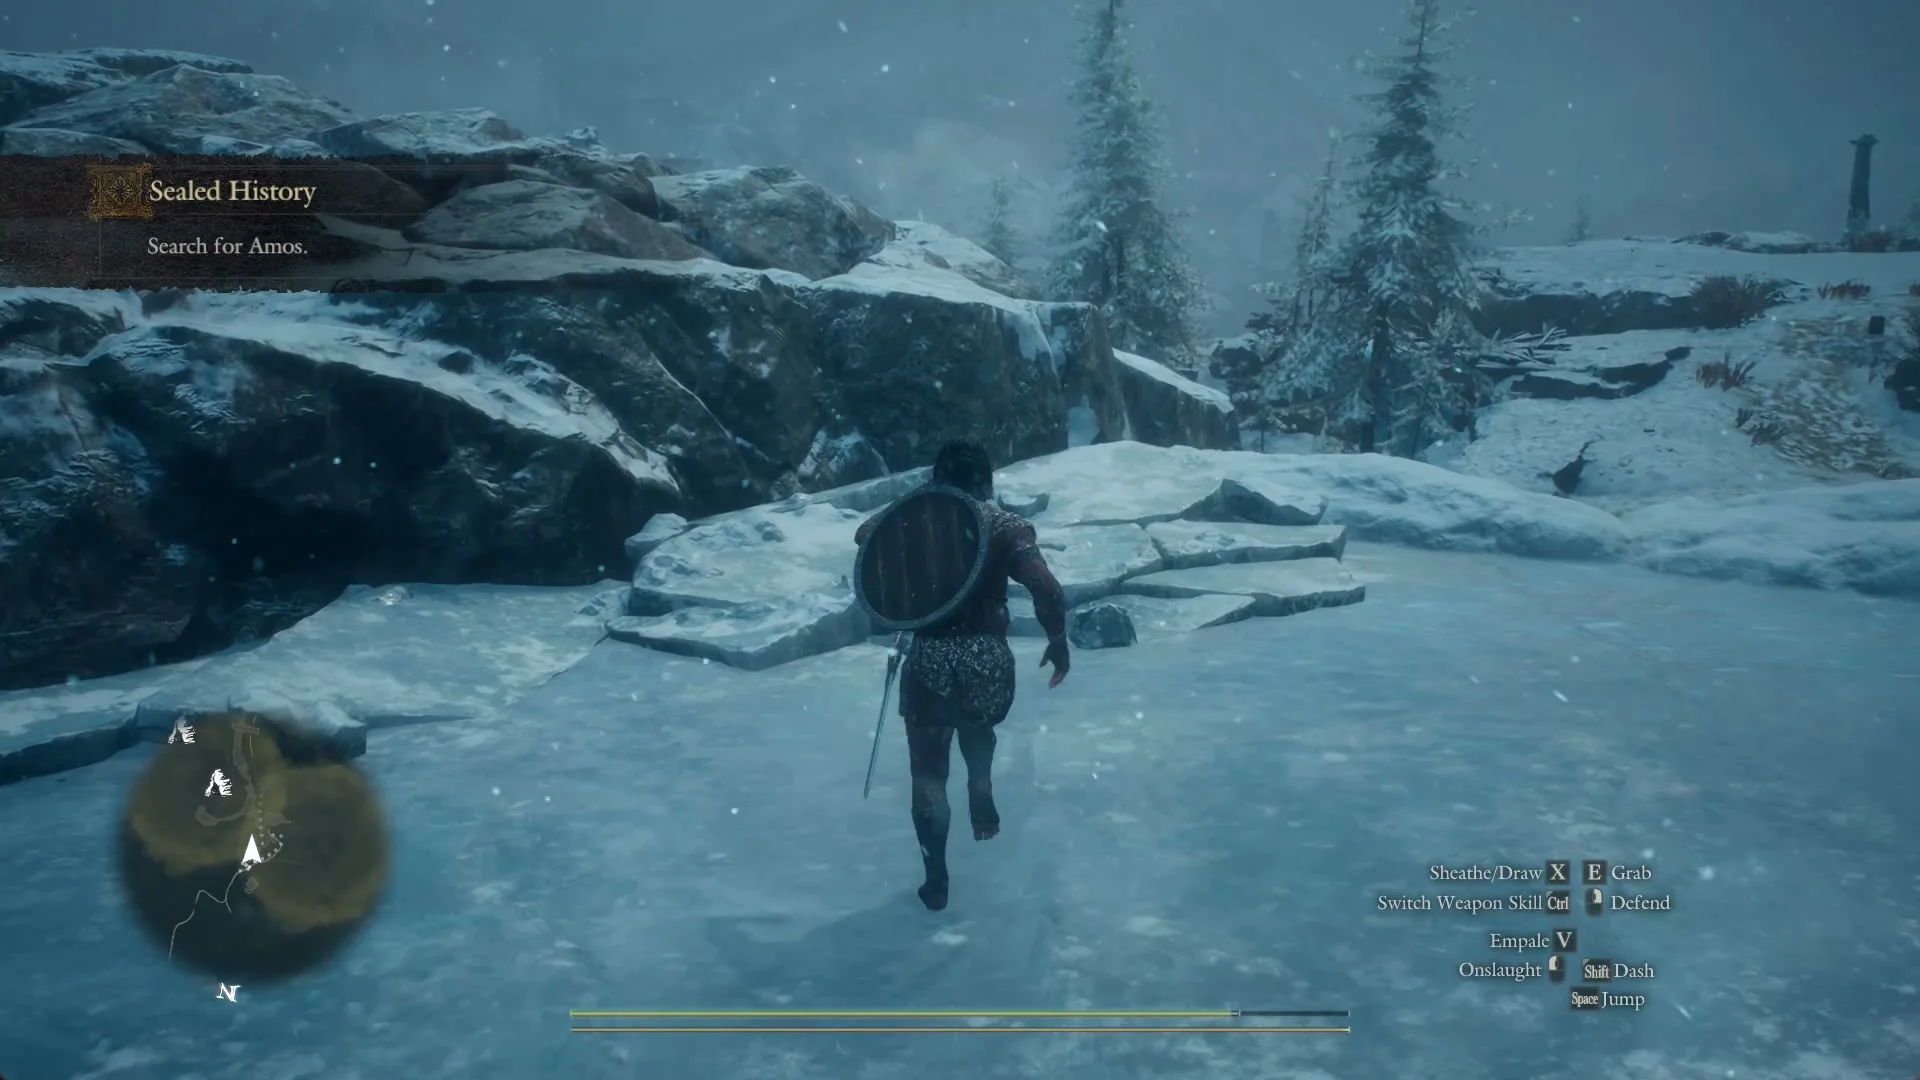
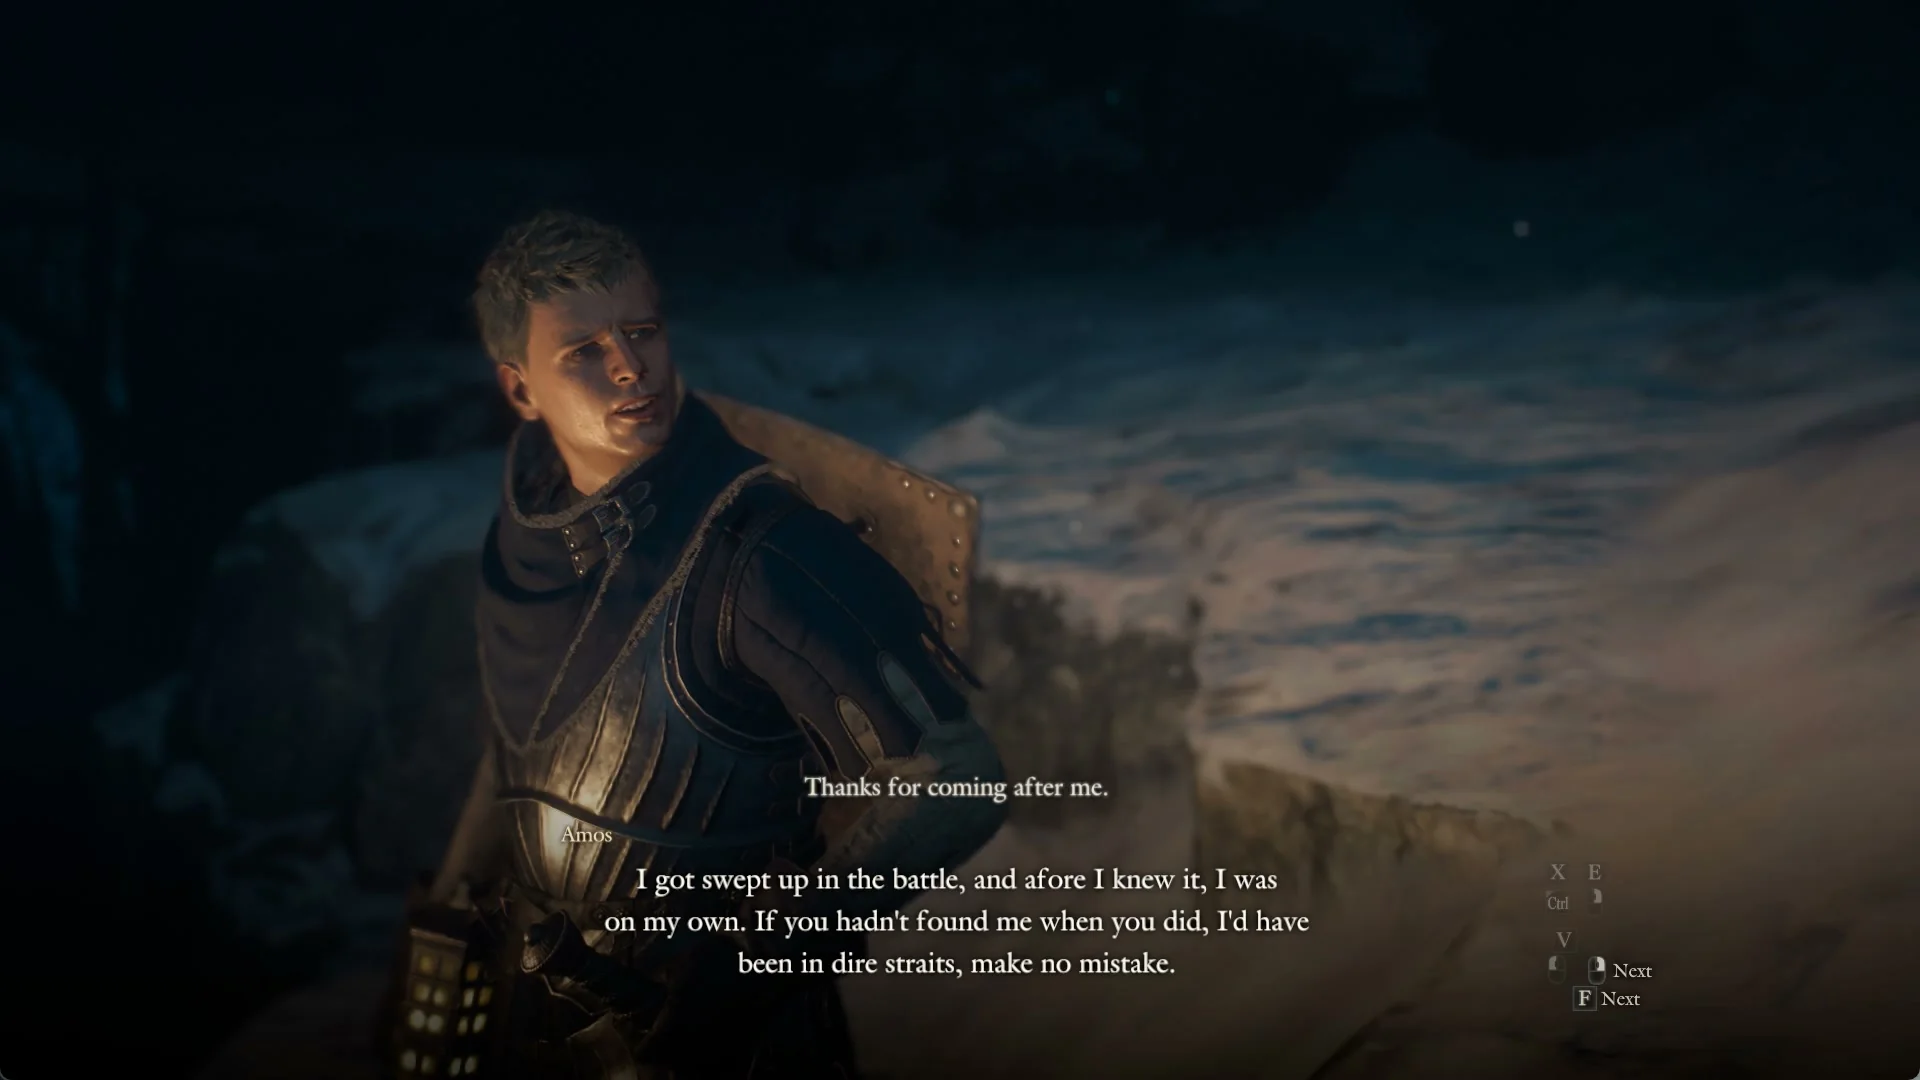
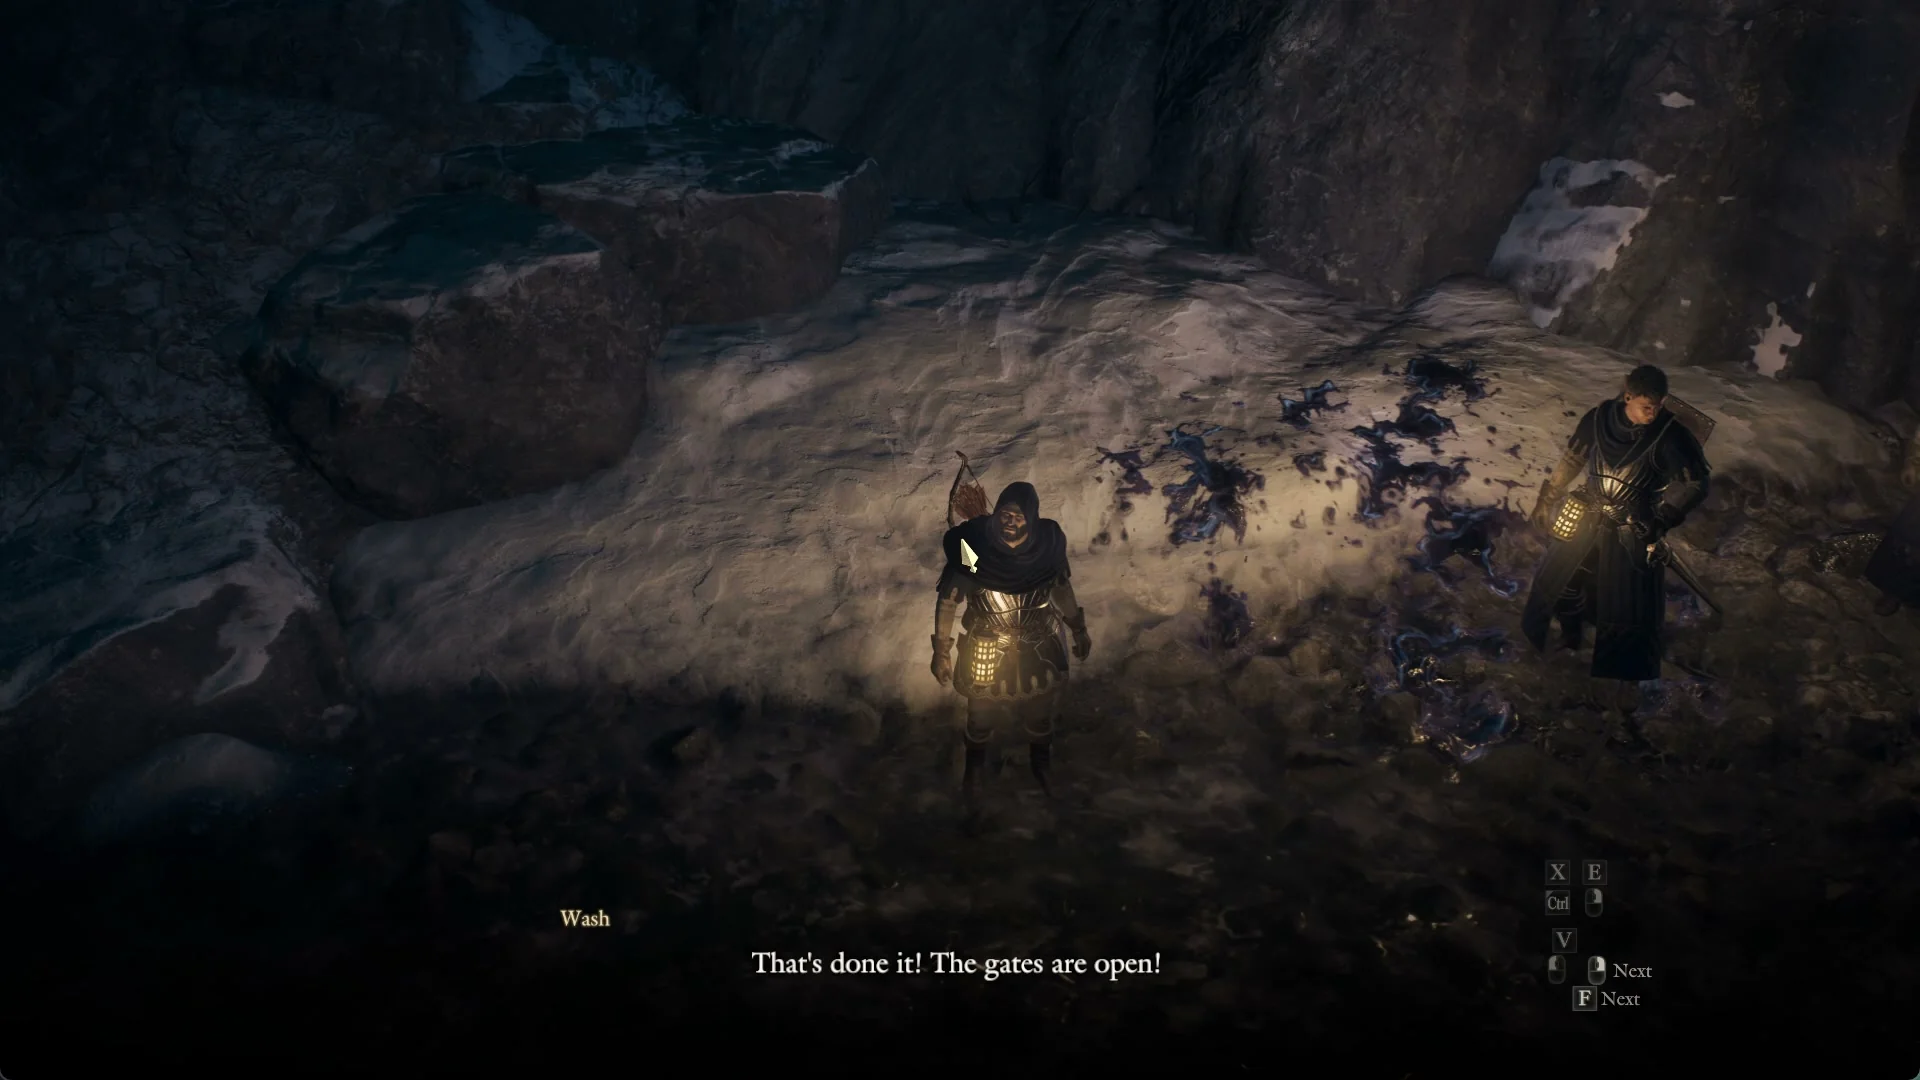
Find the little window and open the gates
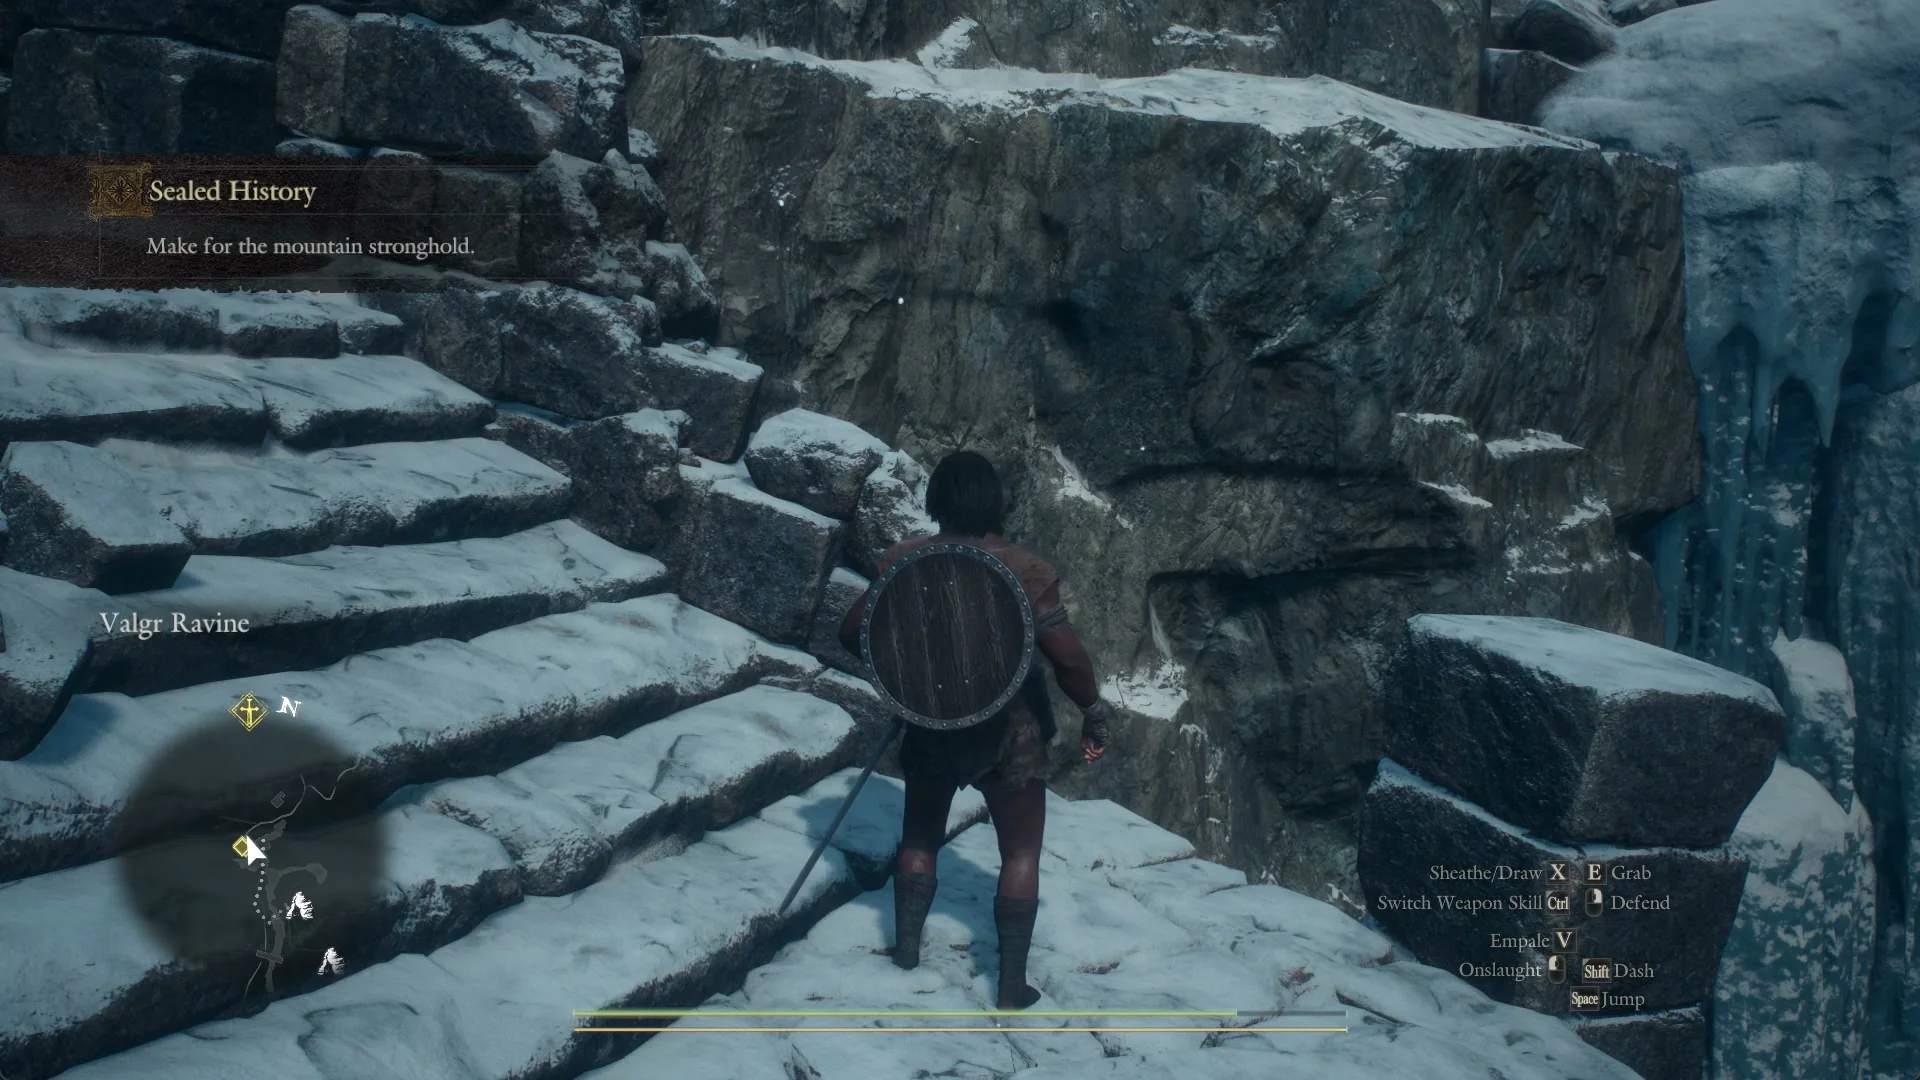
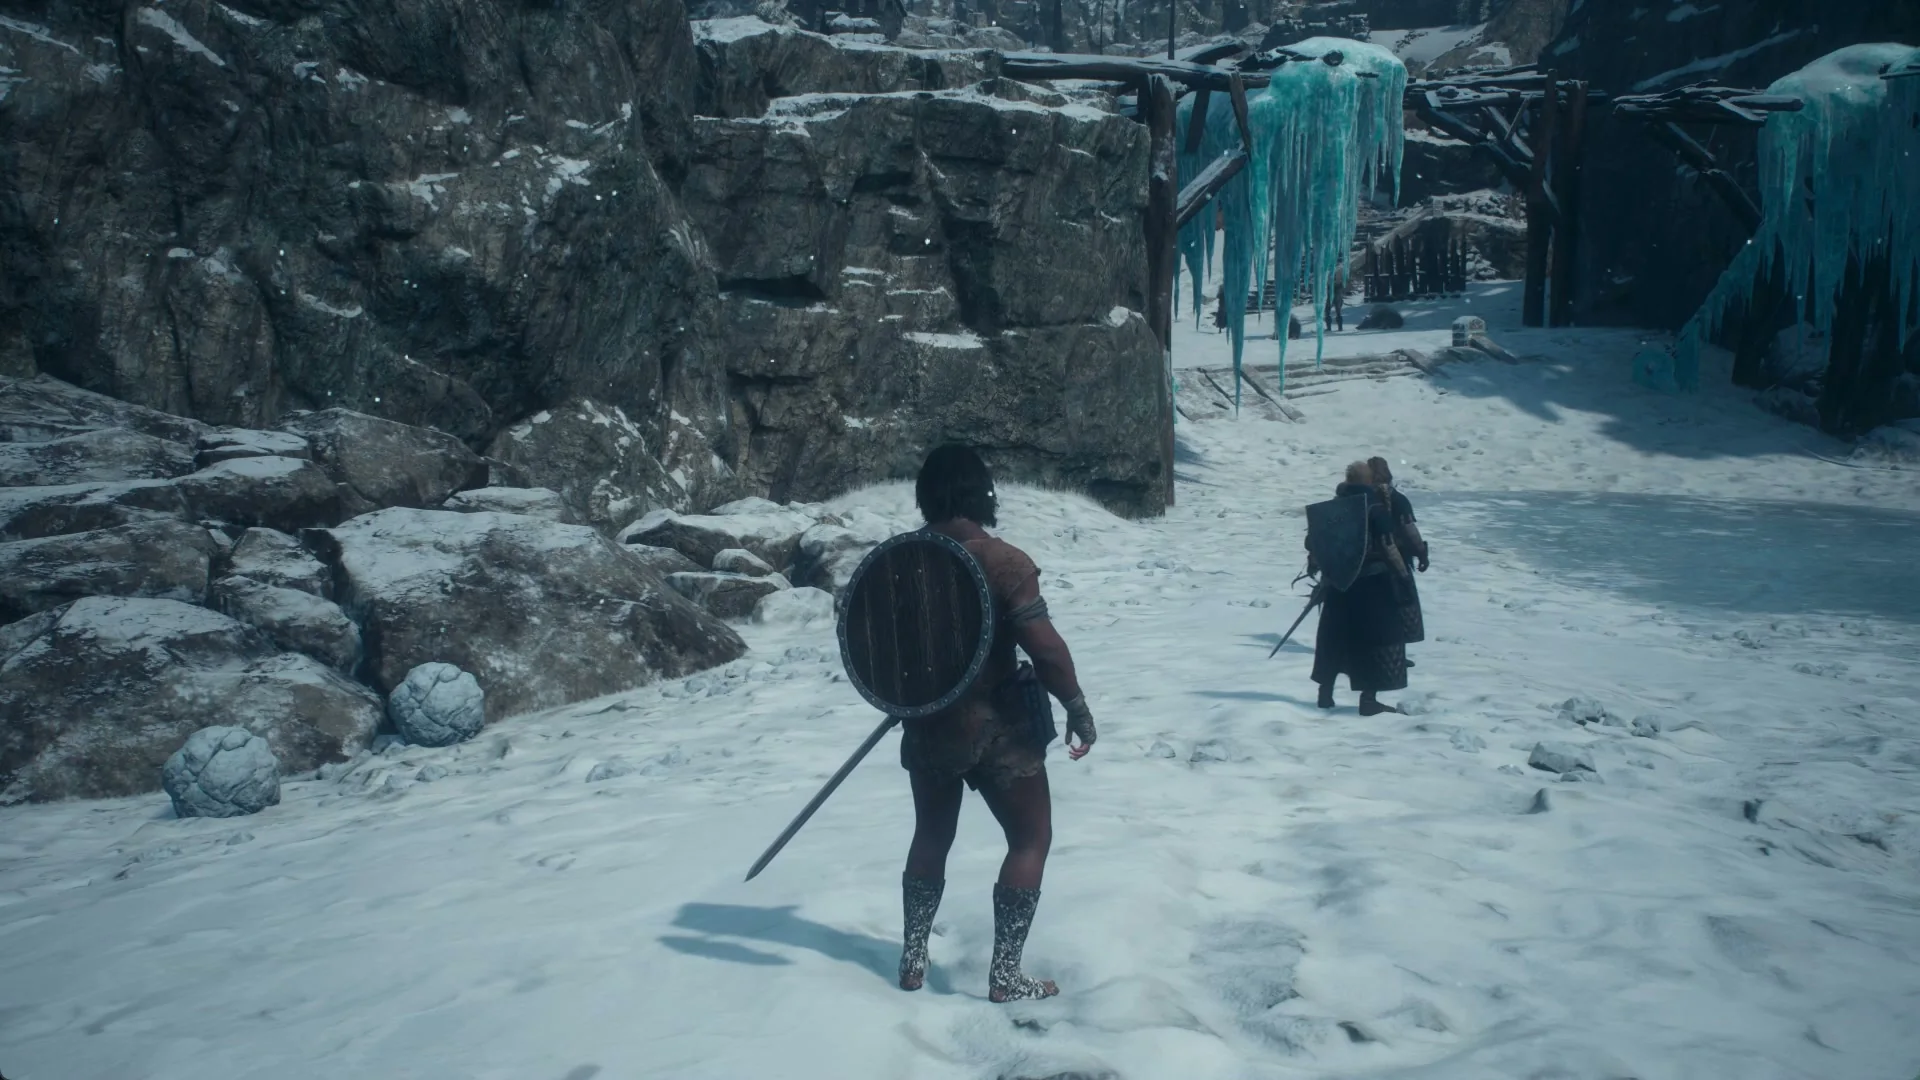
Go up the slope after the soldiers until you reach the stronghold’s main gate. Turquoise ice seals the portcullis, and it cannot be opened from this side, so leave it alone. Instead, ascend the broad stone staircase between the towers to the upper courtyard. Ghouls clamber over the walls, followed by direwolves. Defeat every enemy until the game confirms the stronghold is clear.
Wash draws your attention to a small square window near the top of the castle wall. It is above and to the left of a small arched gate fitted with an iron grille. The window is not an entrance; the mechanism for raising that gate is in a room behind the wall.
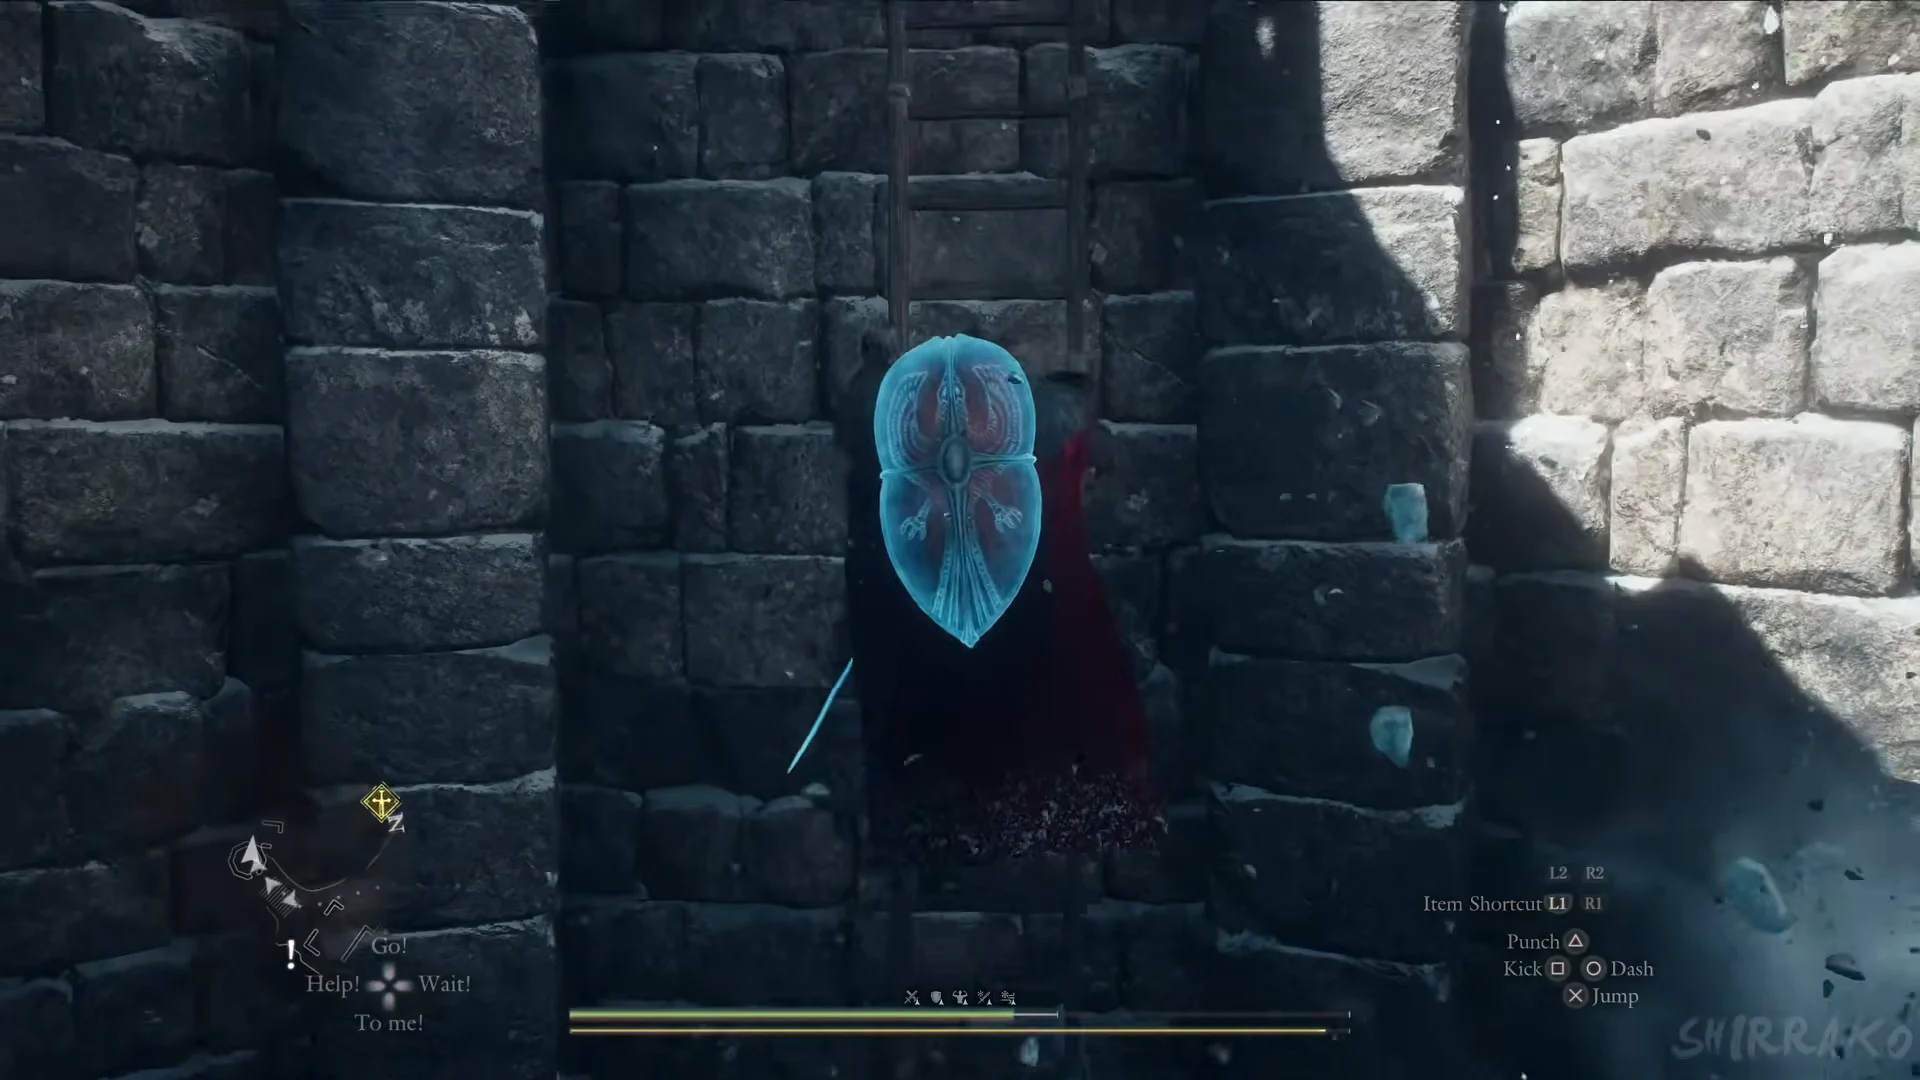
Reach Northwall Campground
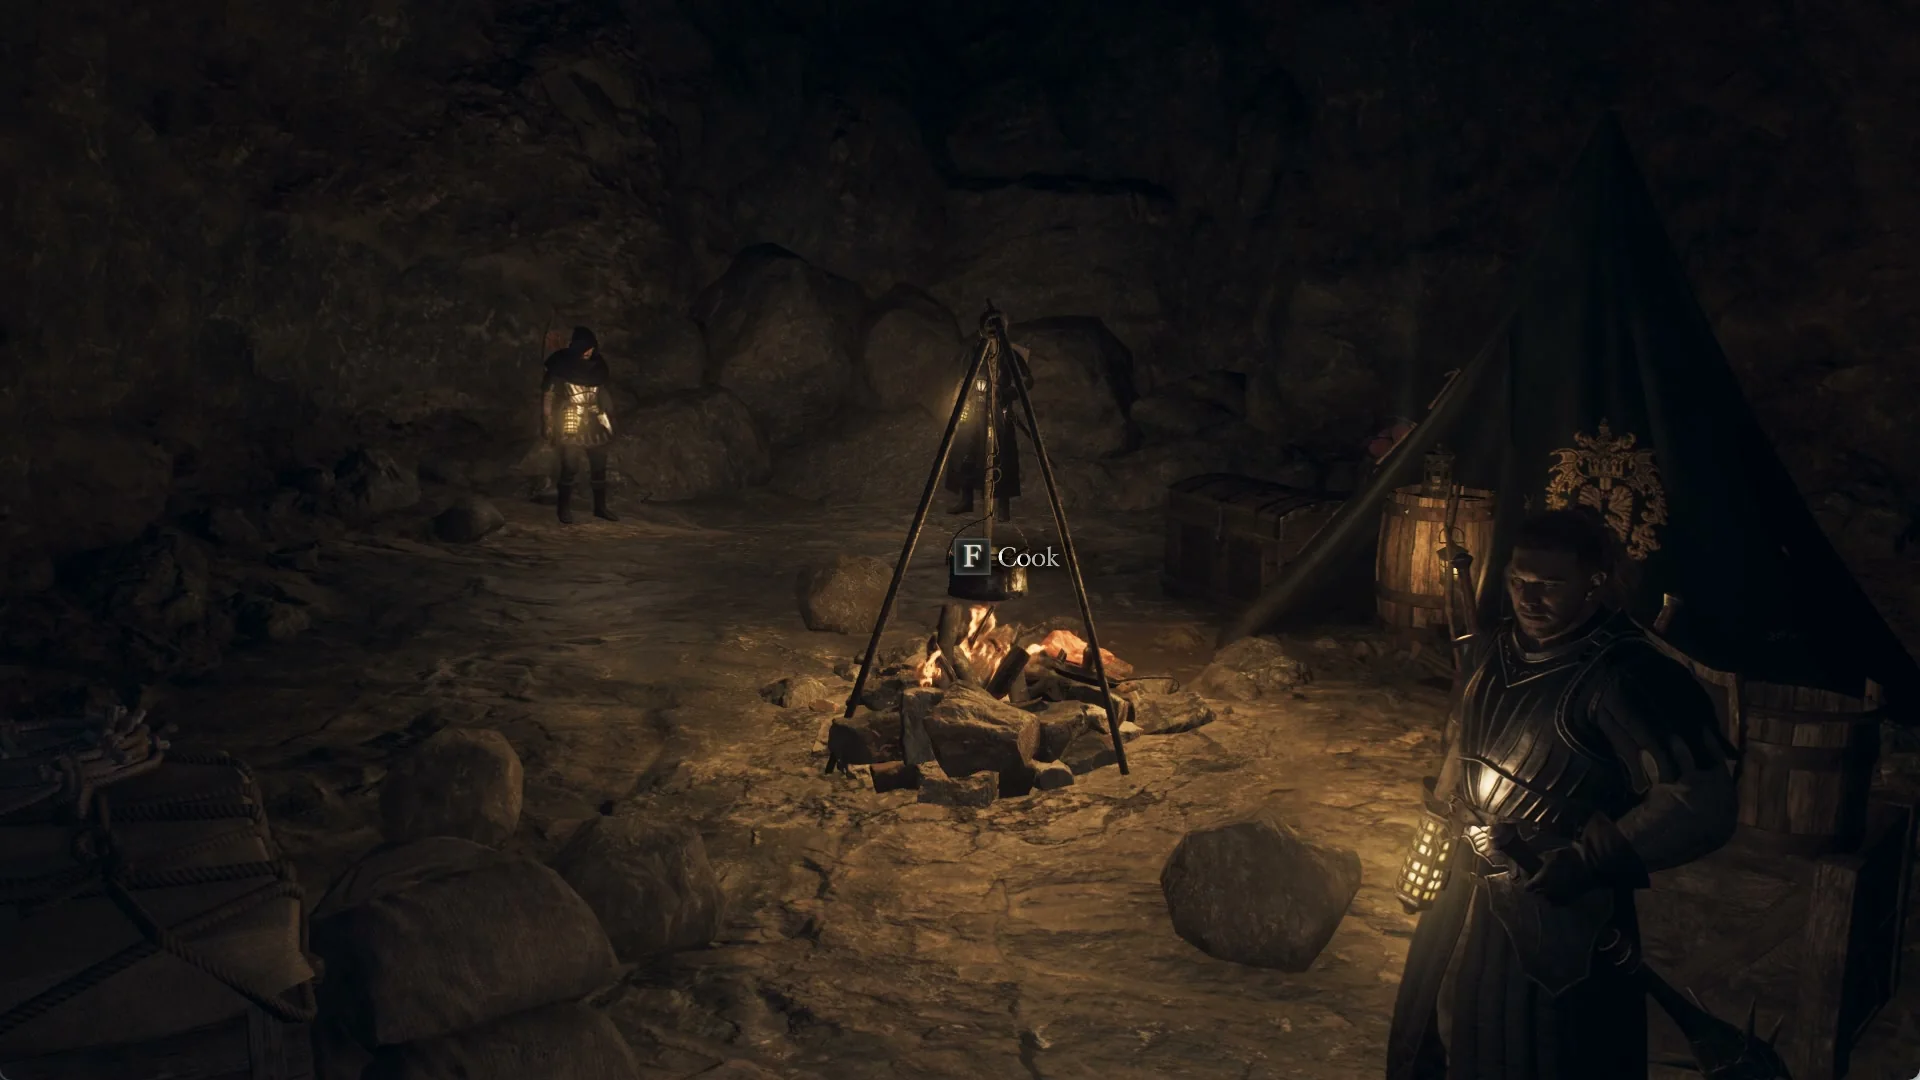
Beyond the gate, a hulking, fur-covered brute drops from the rocks into the stream bed beneath a stone bridge. Its attacks include swipes, slams, charges, and grabs. As a Fighter, target its legs, then climb up to its head while your pawns attack with ice and lightning. Defeating it grants 94,498 XP. Climb the snowy steps beyond the bridge to a cave in the cliff, where the soldiers pitch camp: Northwall Campground, which is also a fast-travel point (Norgan Portcrystal: Northwall Campground). Open the chest in the camp for a Climbing Hook. The objective becomes “Seek the sealed study.” and from here it is you and your pawns.
Fight through North Valgrian Frostgrove
Leave the cave and head uphill, where Bugaboos jump down from the rocks. As the “North Valgrian Frostgrove” banner appears, three large enemies stand between you and the study. Handle them in this order.
The one-eyed tusked giant
A one-eyed, shaggy giant with tusks emerges from the trees. It stomps, slams its body down, and exhales a cone of freezing air. A blade protrudes from its hindquarters; get behind the giant and use “Draw blade (Hold)” to stagger it and obtain Lv 3 Ancient Light Weaponry spoils. Avoid its breath by climbing the boulders, then leap onto its head and attack the eye. If you cut its legs, it falls, revealing another “Draw blade (Hold)” prompt. It awards 125,188 XP and drops Ponderous Bone and Lv 3 spoils.
The Snowfoot
Further up the trail a Snowfoot triggers a “Massive Enemy Encounter.” This huge ape-like beast charges, slams both fists, and leaps to stomp. Hit the legs first, then climb its back. It has 240,000 health, is weak to lightning and resists fire, so lead with lightning. It drops a Snatching-Beast’s Talon and Lv 3 spoils for 97,198 XP.
Getting past the fort gate
Bugaboos attack outside a stone fort at the end of the descending trail. Its large portcullis is made of wooden lattice, but it is shut and cannot be opened from here. Bypass it by climbing the rocky slope beside the fort, passing a large creature’s carcass, and descending through the broken wooden palisades into the thin woods.
Through Brinerot Grotto to the Sealed Study
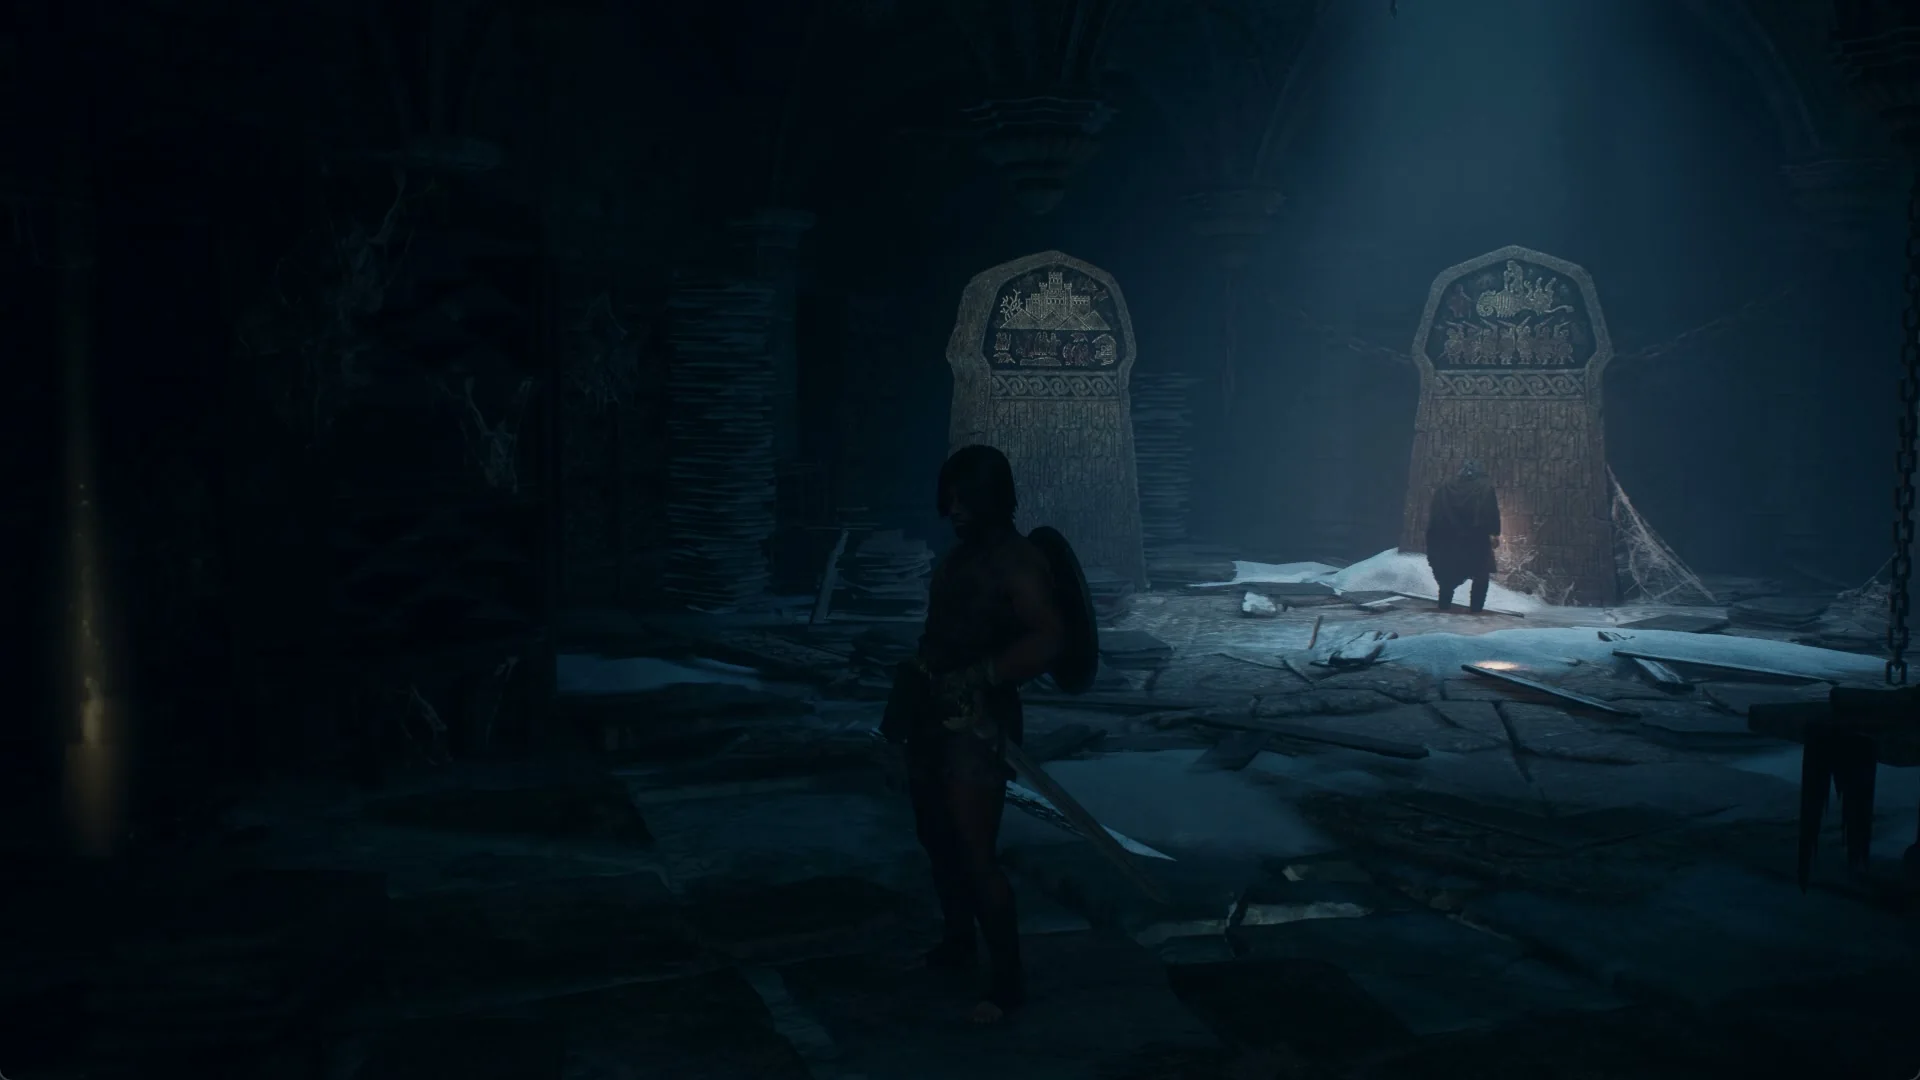
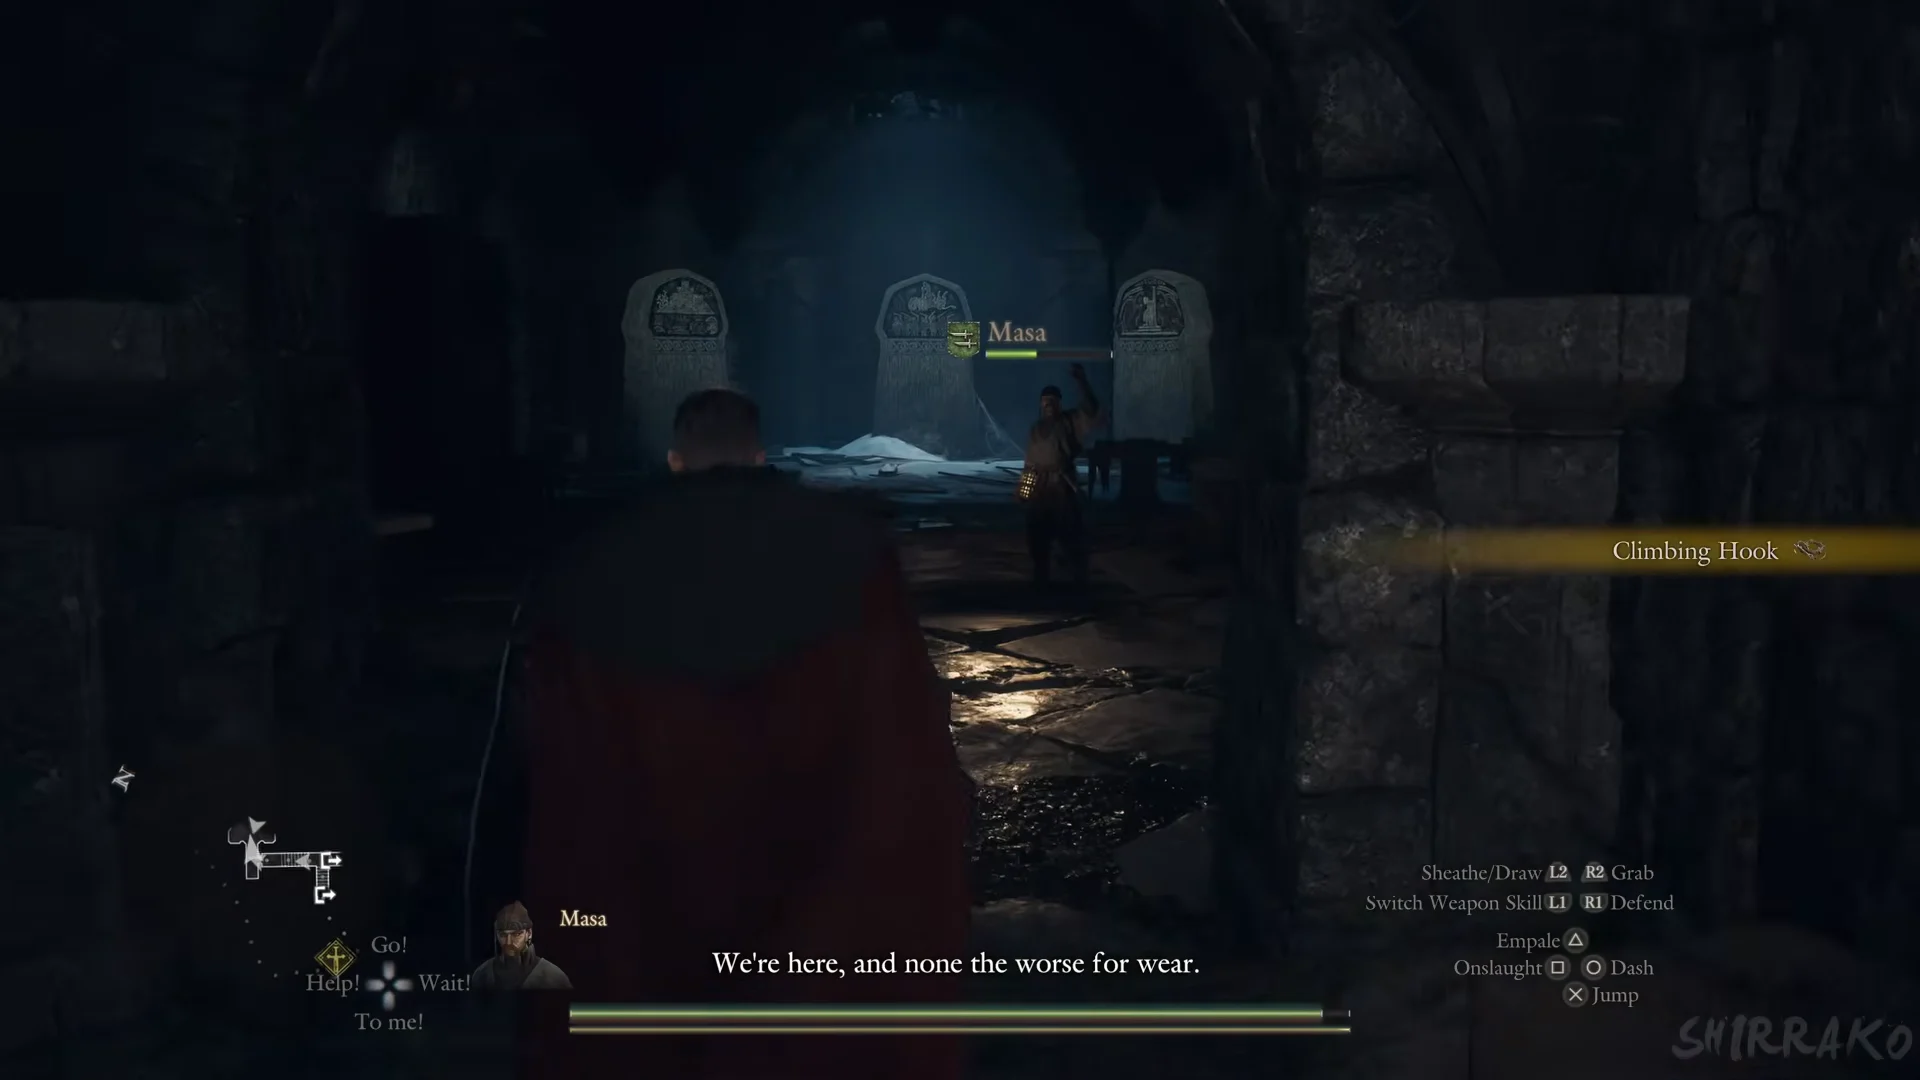
Wait a day, then finish the quest
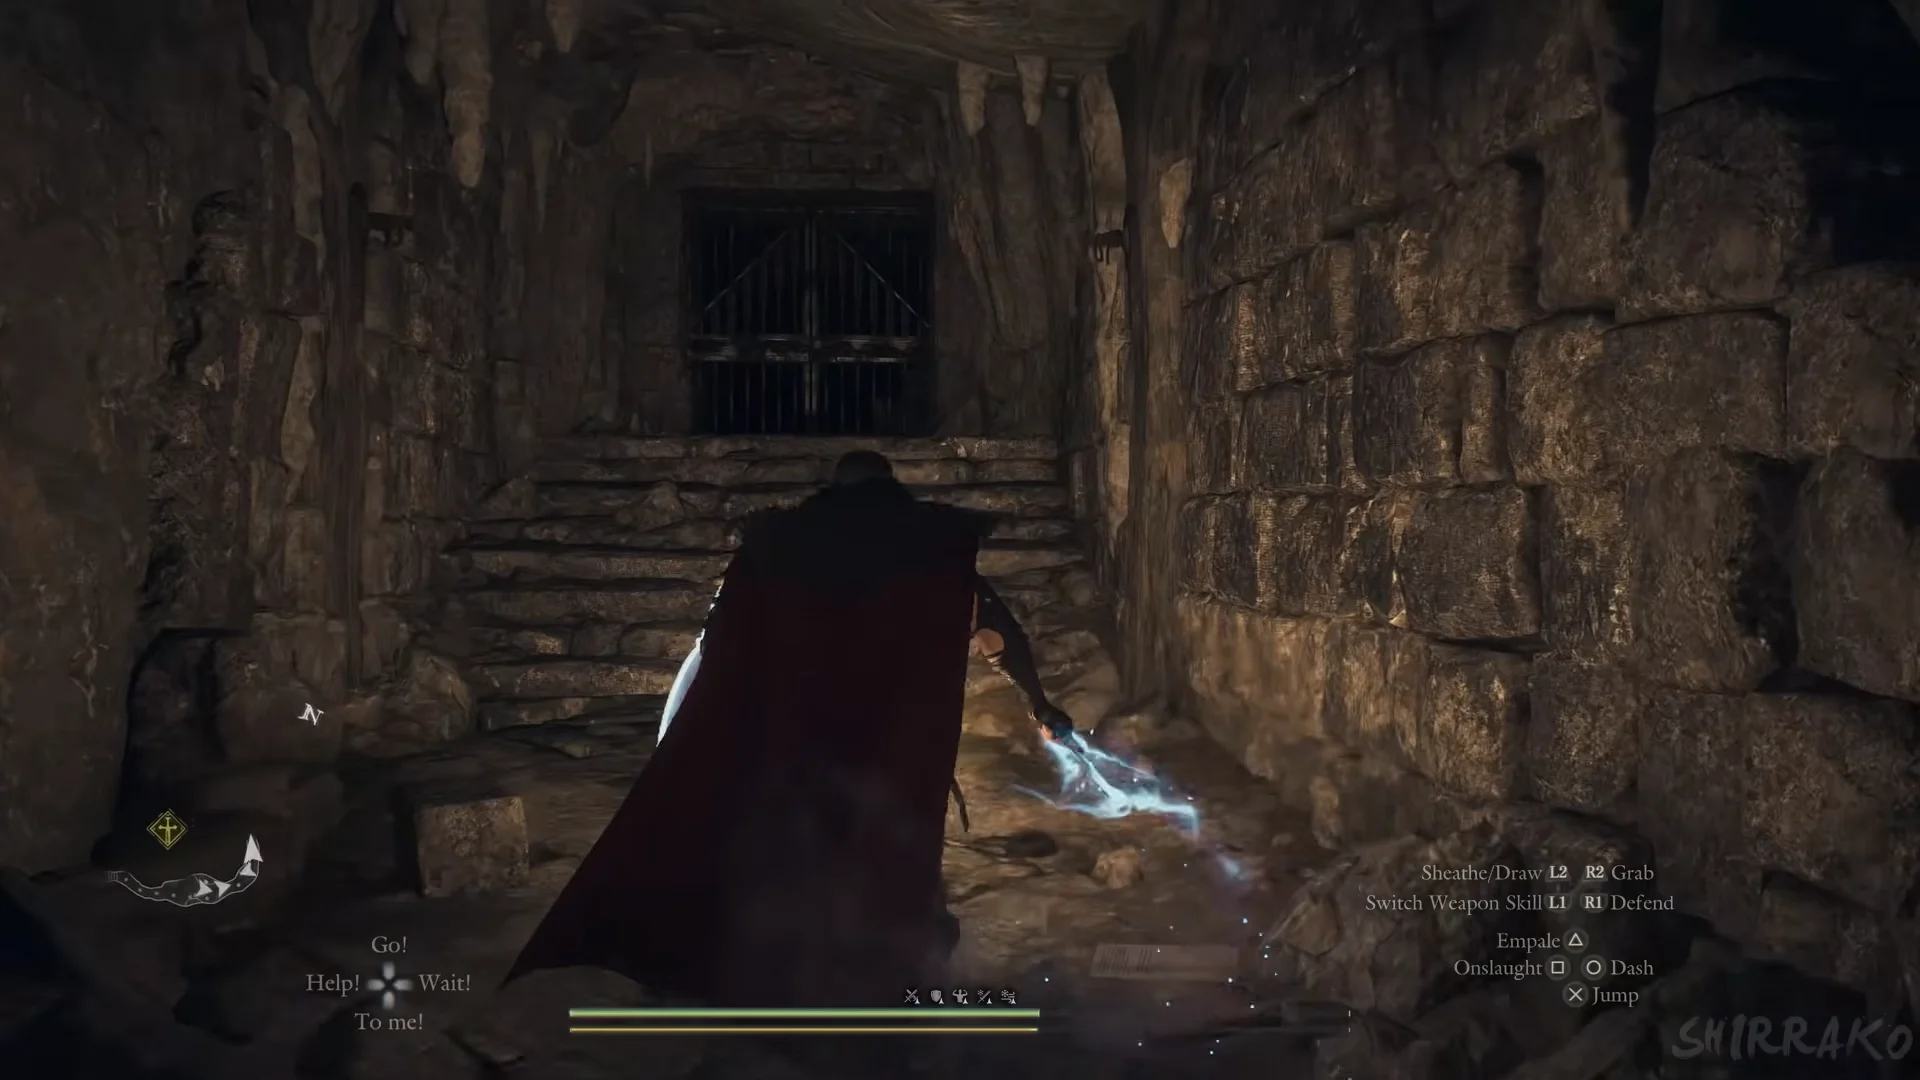
While in the chamber, collect the grimoires scattered across desks, the floor, and shelves. Fast travel is unavailable inside; trying gives the message “Eternal Ferrystone cannot be used here”. Take the long staircase up to the surface instead. At its top is a Portcrystal, and the study becomes a fast-travel destination named Norgan Portcrystal: Sealed Study.
Now pass a day. One reliable way is to Ferrystone to the Norgandian Settlement, sit on the wooden bench outside the thatched house, and choose “Doze Off” until it has gone dark and become day again. The prompt “Polyeidus may have concluded his research” appears on the bench, followed by “Ask Polyeidus about the results of his research.” The quest’s own hint is to check back “in a day or two.”
Use a Ferrystone to return to the Sealed Study, descend, and speak with Polyeidus beside the tablets. He identifies Lorade Castle, east of the Mountain Stronghold, and the rubble there has been cleared. You receive “Completed: Sealed History.” No completion reward is displayed, and The Castle in the Ice starts immediately with the objective “Find a path leading east through the stronghold.”
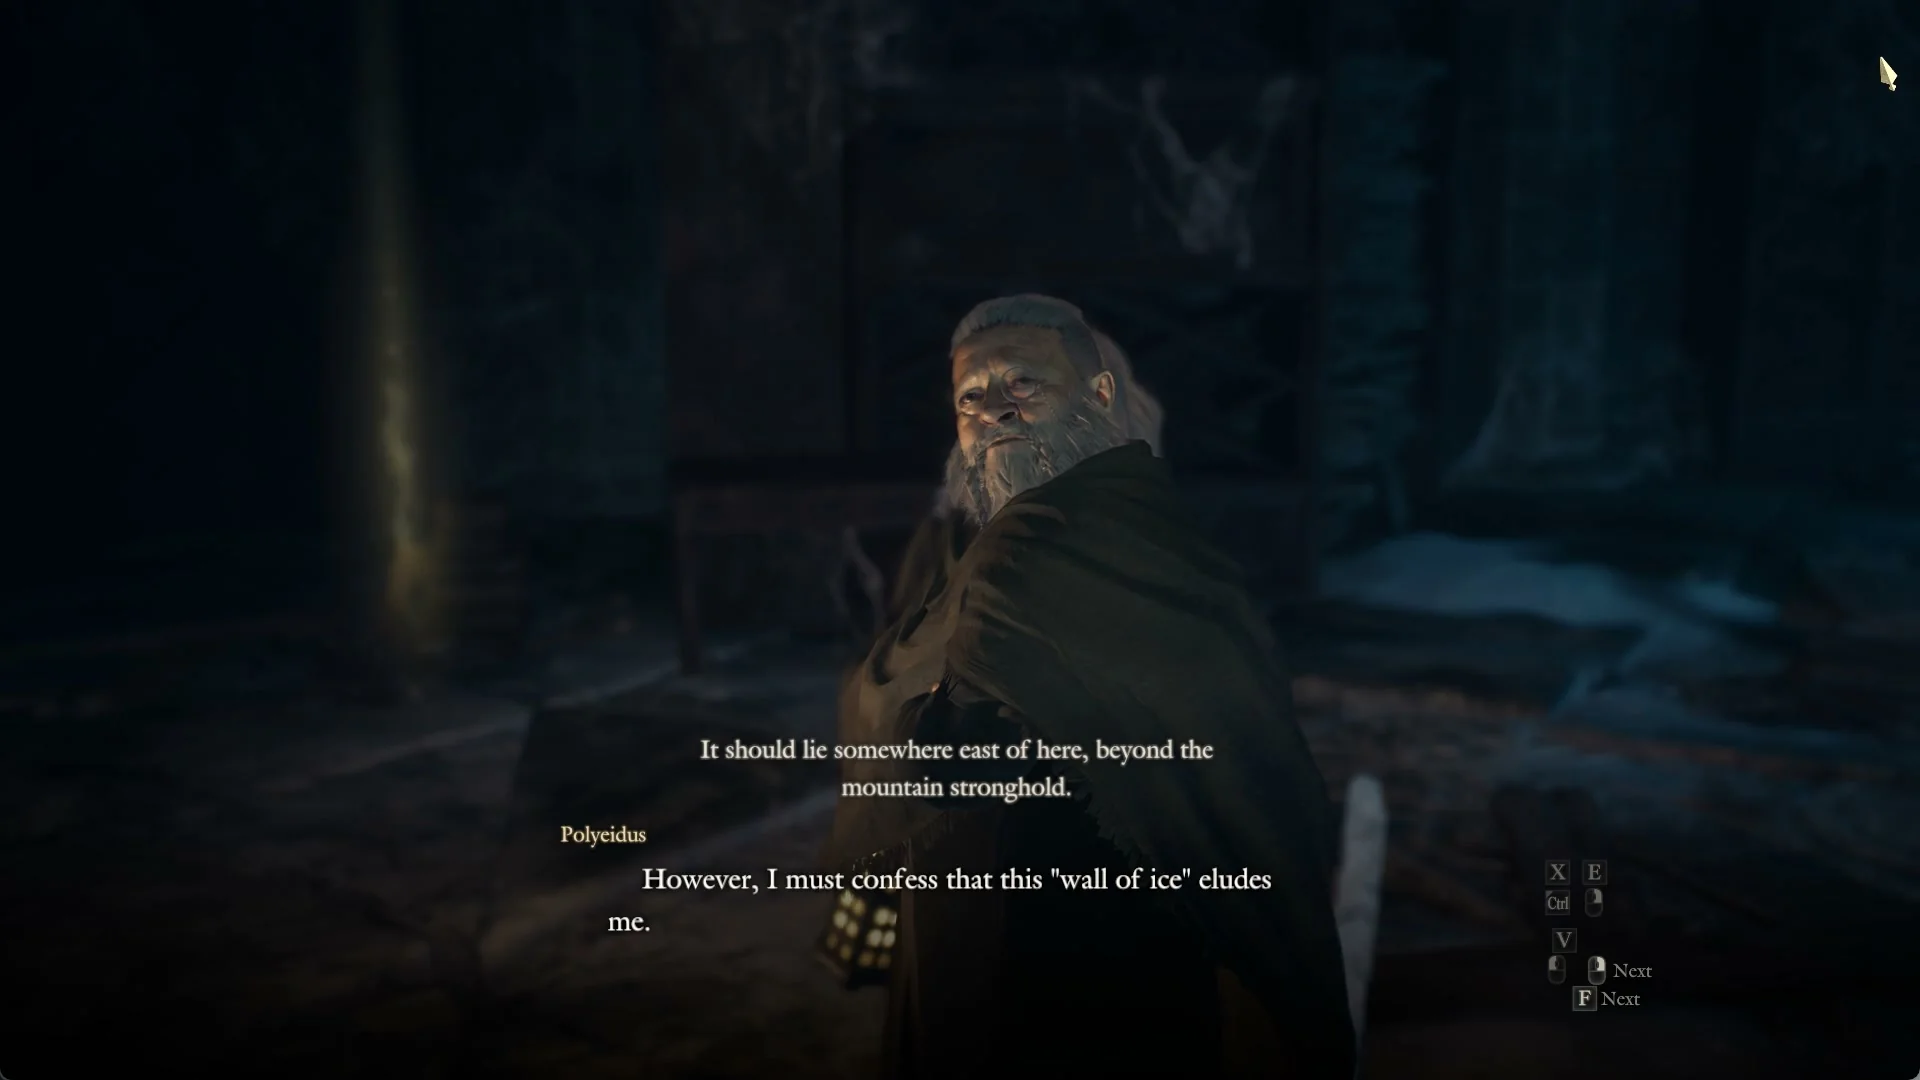
Grimoires found in the Sealed Study
Grimoires rest on the desks, floor and shelves of the chamber. The table covers six of them; Thunderous Concord, Fulgurous Lord and Igneous Melody can be picked up here as well. Each is a book anyone can read to cast a single spell, so grab them before you leave.
| Grimoire | Spell | Effect |
|---|---|---|
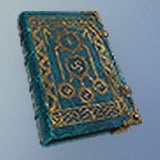 Winter’s Path Winter’s Path | High Frigor | Ice |
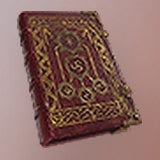 Threshing Blaze Threshing Blaze | High Salamander | Fire |
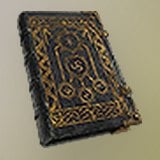 Prescribed Tranquility Prescribed Tranquility | Solemnity | Silence |
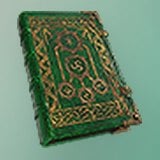 Emergent Vitality Emergent Vitality | Anodyne | Healing |
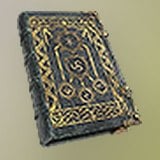 Hiemal Euphony Hiemal Euphony | Ice Boon | Ice on weapons |
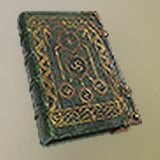 Governing Soul Governing Soul | Halidom | Cures certain debilitations |
Where Sealed History sits in the Forsaken Dominion chain
Sealed History is one of the Forsaken Dominion main quests added in Dark Arisen. It follows Seeking the Sage and leads straight into The Castle in the Ice. It shows no reward on completion, which is worth knowing so you are not waiting on a reward that never arrives.
With Lorade Castle now marked to the east, the follow-up quest sends you east through the stronghold, so keep the Norgan Portcrystal: Sealed Study and Northwall Campground travel points handy for the trips back and forth.