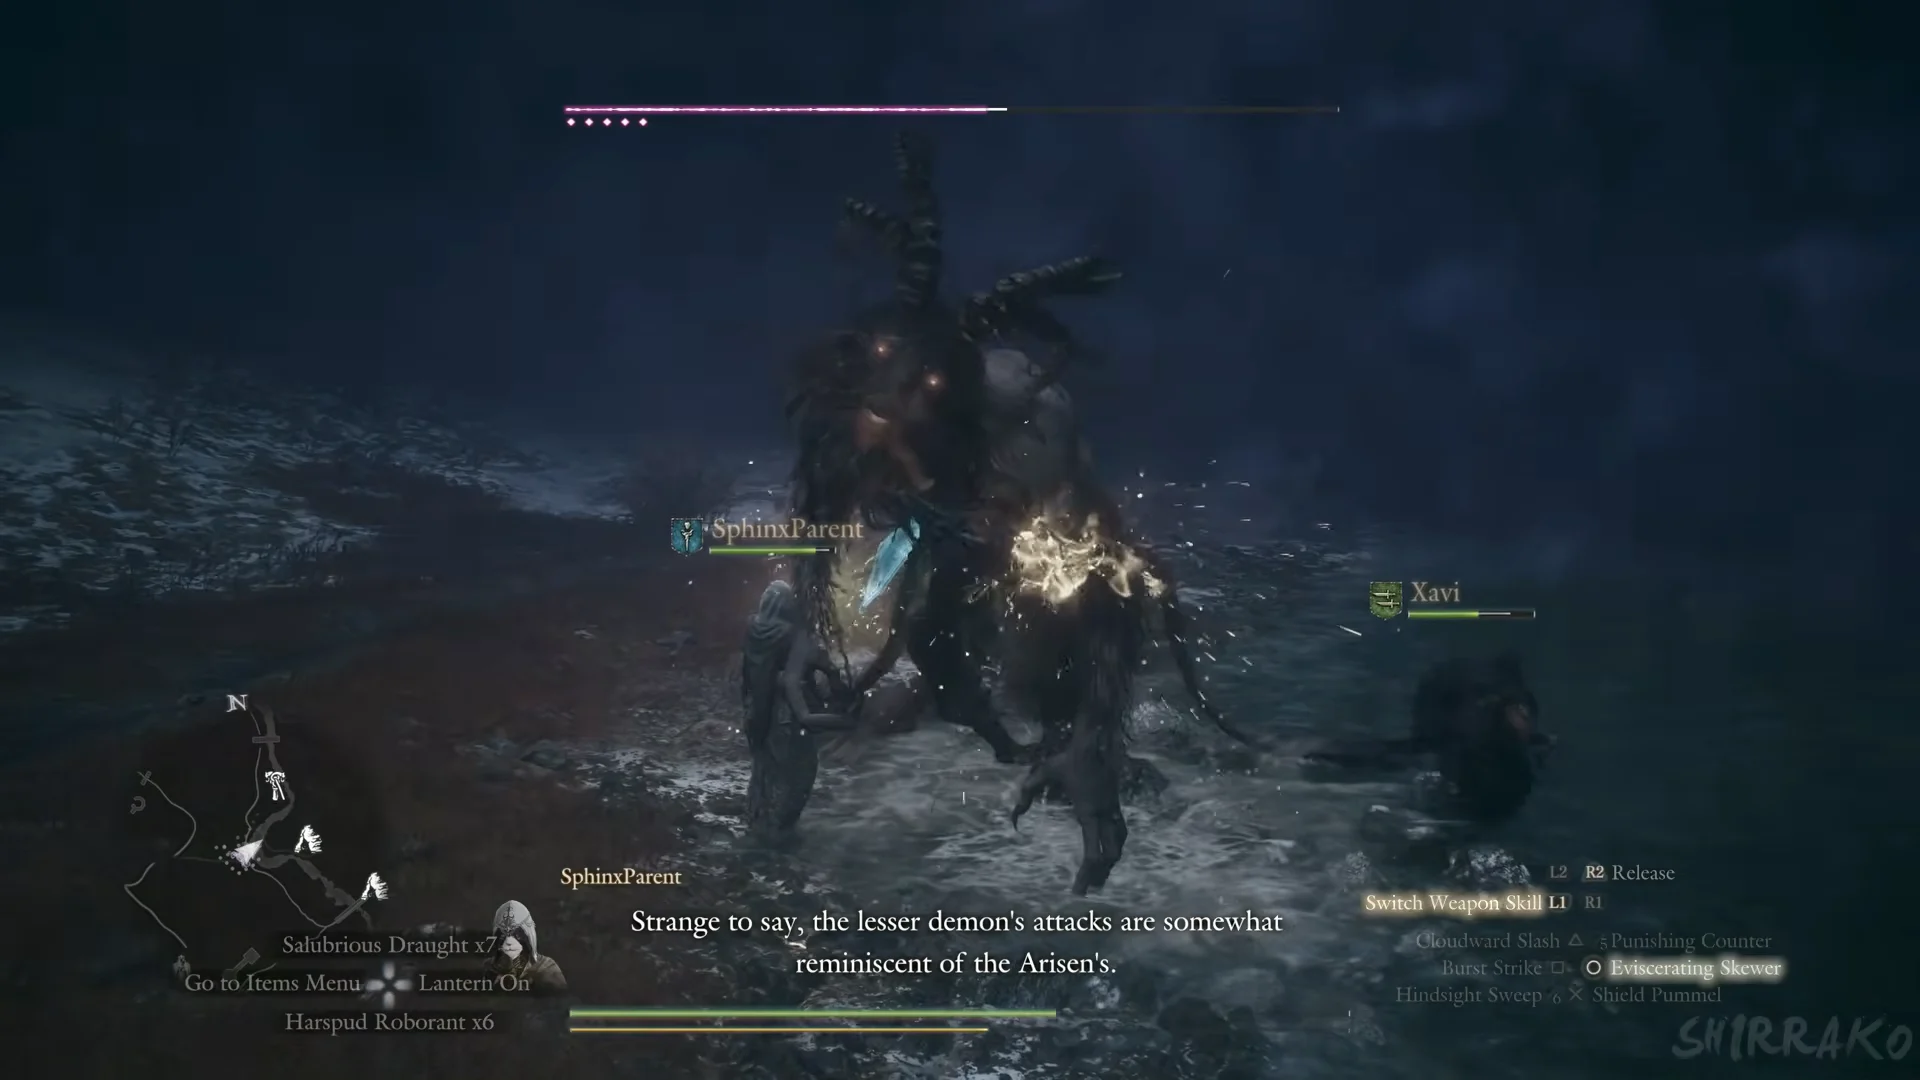
During the main story, you fight this creature several times. It stands upright on two hoofed legs, with horns, a tail and long arms tipped with claws. No name appears on its health bar, and there is no encounter banner. Pawns call it a “lesser demon,” and Baleful Hoof’s description says, “A fragment of a lesser demon’s hoof.” Its attacks resemble those of an oversized Arisen: close claw swipes, headbutts, charges and leaping slams, with magick added to the mix. The fight comes down to recognizing its two tricks and choosing your targets well.
Quick answer: Strike the horns and head, get behind it when it guards its front, step out of the purple lightning sphere until it fades, and hit it with ice rather than fire. It falls to melee on the head and legs.
Where you fight a lesser demon
Six lesser demon fights turn up across the main story, and there may be others beyond these. Each has slightly different surroundings and openings, but the creature and its moves stay the same.
- Below Mountain Stronghold, the flooded Snowfall Valley Derelict Passage has square pillars. It stands between you and the third slab for “Soul Searching,” and its fists are burning almost from the start of the fight.
- Mordria Fault, on the stone stairway and snowy ledges on the way down during “Soul Searching.” This one has blue fire on its hands and fights alongside smaller fiends.
- Shrine of Wisdom, during “Where There’s a Will, There’s a Way.” It attacks when the sphinx agrees to carry you, under the objective “Aid the sphinx in defeating the demons.”
- In the rematch against Willan Barbatos, the boss reaches into the bones underfoot midway through the fight and summons a burning lesser demon, leaving you to face both enemies at once.
- Inside the rancor’s vortex near Rivercave Campground, during “Into Rancor.”
- The encounter is inside the rancor’s vortex near Northwall Campground. One pawn remarks that this specimen is much more powerful than the others of its kind.
Reading the health bar
Watch the top of the screen for a narrow magenta gauge, with small markers beneath its left edge. Each marker stands for another complete bar beyond the one currently displayed. A standard lesser demon has 260,000 health; other versions have 240,000 or 300,000.
The dot count is not fixed from fight to fight. You start against four dots in the Derelict Passage and at the Shrine of Wisdom, but the one in the Rivercave vortex shows five, which is why that fight runs longer.
Weak points: horns, head and back
Focus your attacks on its head and horns. Pawns say the horns are the source of its magicks and that breaking them curbs its attacks; hits to the head also deal more damage than hits to the body. When it turns and raises its guard toward you, circle around behind it, where it is exposed.
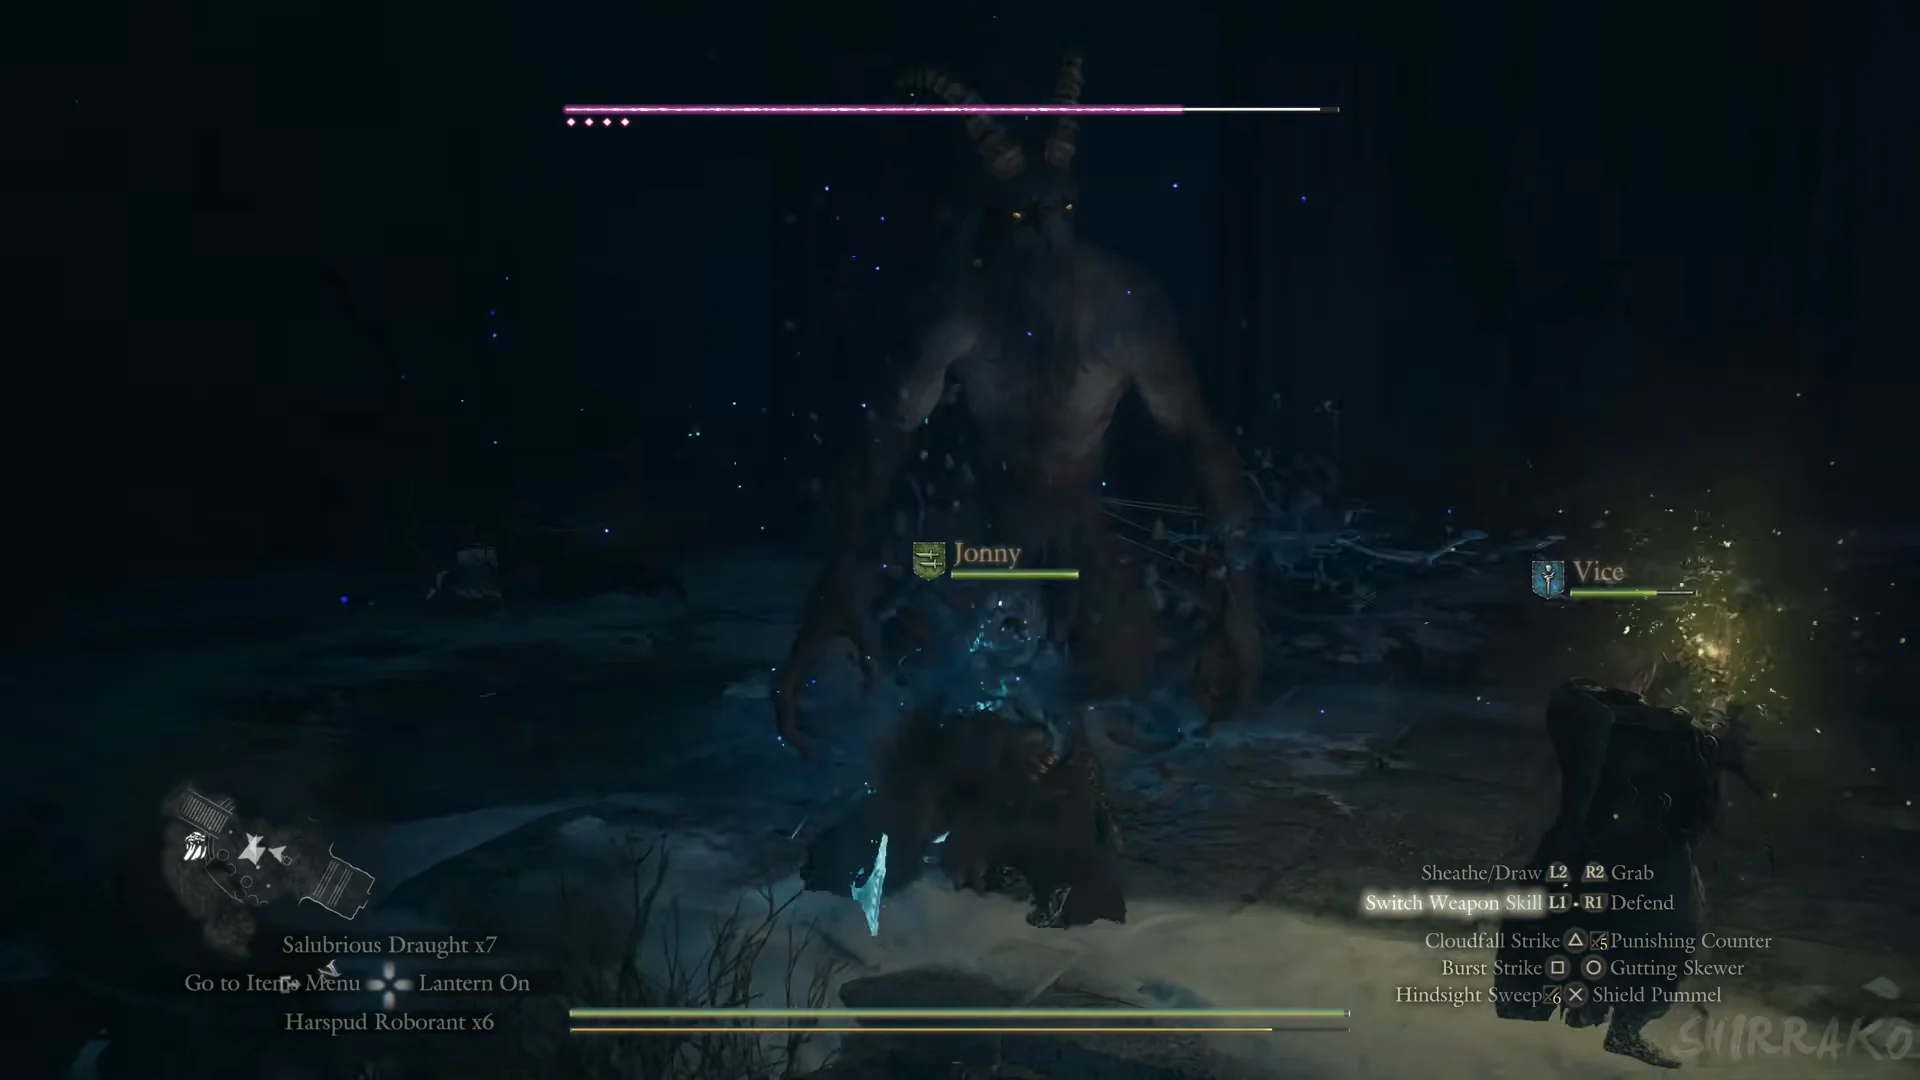
The damage numbers make the point for you. The body soaks most of what you throw at it, while the head takes clean hits. Bring ice and lightning and skip fire entirely.
| Damage type | Body multiplier | Head multiplier |
|---|---|---|
| Ice | x1 | x1.2 |
| Slash | x0.75 | x1 |
| Strike | x0.75 | x1 |
| Lightning | x0.6 | x0.8 |
| Holy | x0.6 | x0.8 |
| Fire | x0.2 | x0.25 |
Ice deals extra damage, but fire is largely ineffective and cannot ignite it. Sleep, Caught Fire and Tarred have no effect on it either. Since no body part’s damage multiplier exceeds x1.2, ice aimed at the head is your best attack.
The purple lightning sphere
One of its magicks forms a crackling purple sphere around its body. It may swell larger than the demon, or appear as scattered purple discharges instead. Your strength drains while you are inside it. As the sphere forms, pawns warn you to keep well clear.
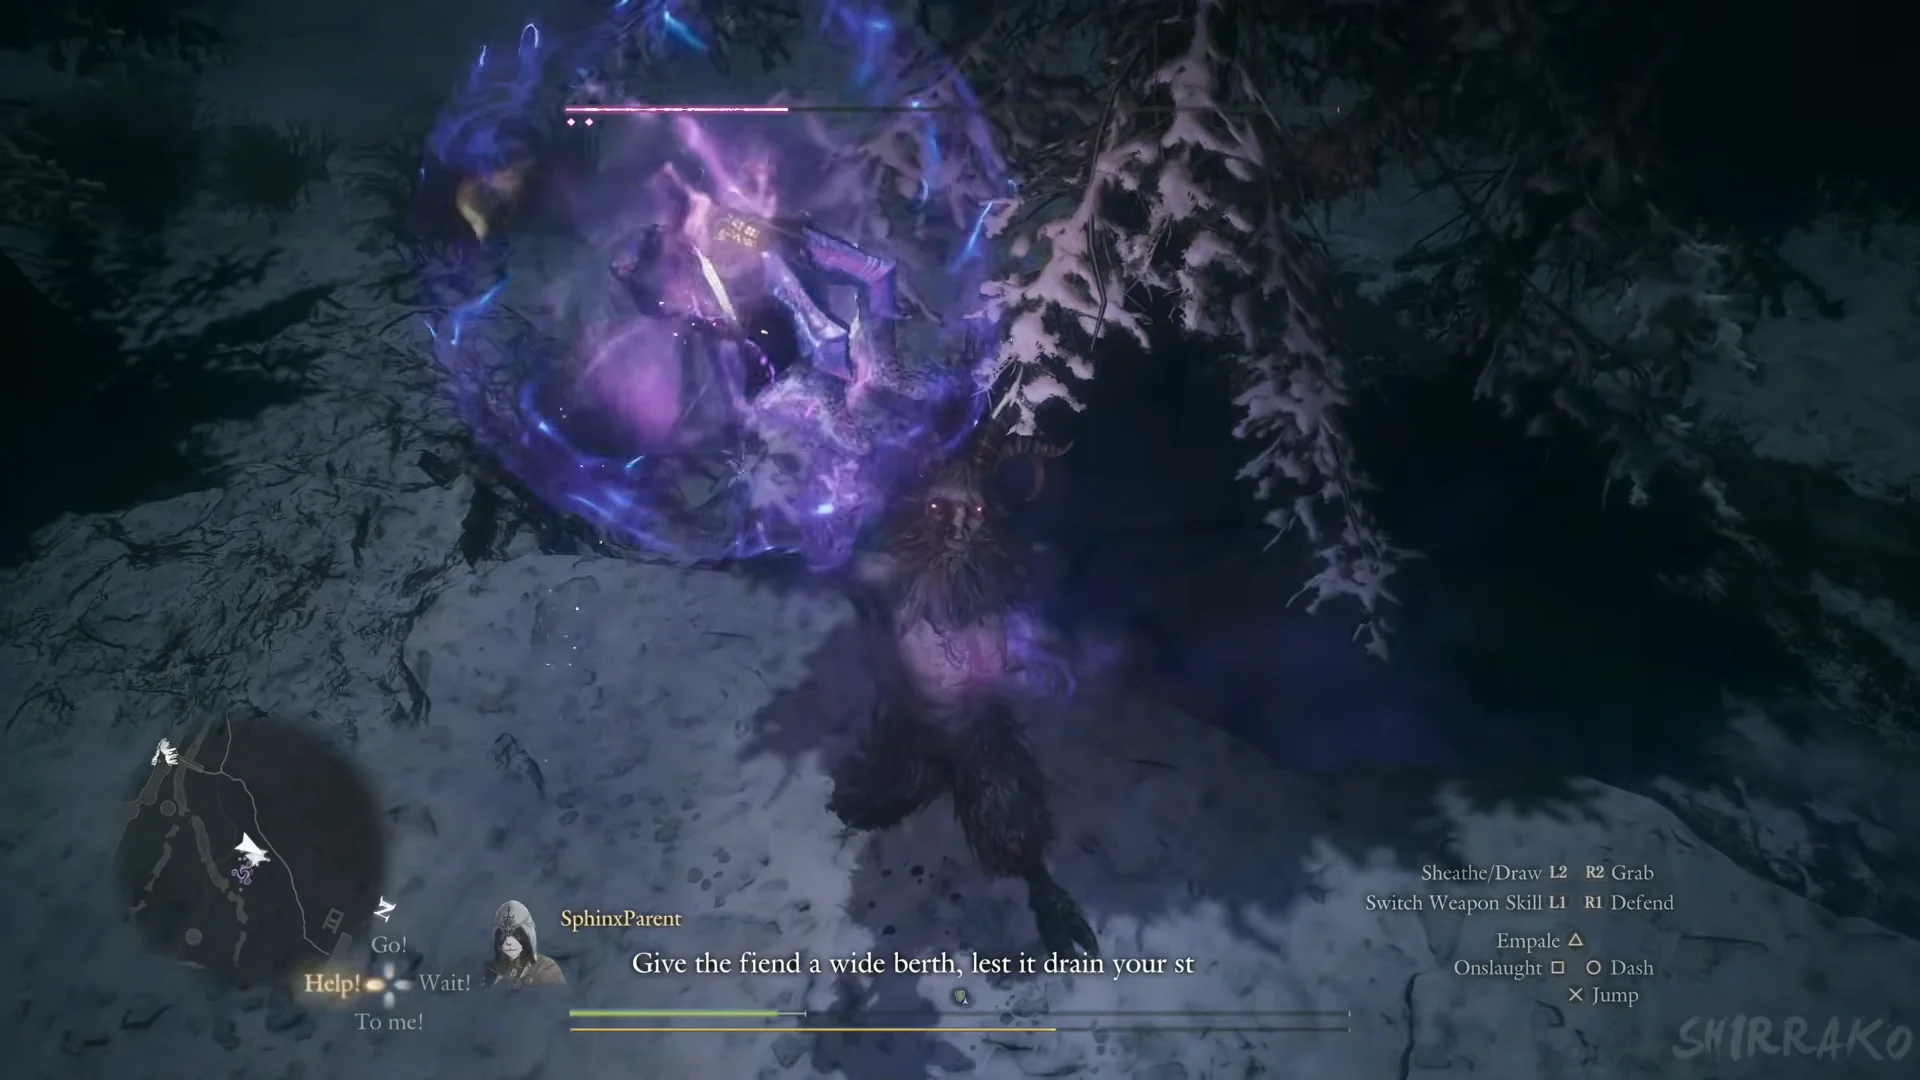
Back away and wait for the sphere to disappear before moving in again. The demon remains motionless just after the magick fades, giving you a chance to land a heavy blow on its head and torso.
The burning arms and the red form
Its other magick is fire. Flames catch along its arms—orange in some fights and blue in others—as it sweeps, slams and triggers eruptions from the ground. In the Derelict Passage, the fight opens with its fists already burning, and every slam sends out a burst of fire. At Shrine of Wisdom, its arms start unlit; once the first bar is depleted and three dots remain, both ignite with orange flames. After that, watch for wide flame sweeps and shockwaves.
A fire blast can take your whole health bar at once. At Mordria Fault one burst sets the Arisen alight and kills outright, bringing up the “Use Wakestone? (Held: 6)” prompt. Put the flames out fast when you catch fire, and carry a Wakestone for the hit you do not see coming.
Near the end of the vortex encounters, its appearance shifts once more. At Northwall, when a single dot remains beneath the bar, it becomes dark red, prompting a pawn to warn that the enemy has changed. Lines and patches of red fire burst from the earth; the same pattern occurs in the Rivercave vortex when the battle turns red late on. Keep moving to avoid the lit areas.
Stand inside the purple sphere, in front of the burning arms, or on the red ground eruptions, and you will take heavy or lethal damage. Catching fire and leaving it unchecked is just as dangerous.
How to beat it as a Fighter
In the Derelict Passage, sustained damage can extinguish its flames, prompting a pawn to say it has lost its elemental powers. While backed against the wall, it drops a Sinister Scarthe. The flames return a few seconds later, so you must knock it down again to finish the fight.
Sinister Scarthe and Baleful Hoof drops
A lesser demon gives up two materials worth caring about, plus a spread of consumables and spoils. Sinister Scarthe falls out during the fight itself, not only on the kill, while Baleful Hoof comes from the carcass when you examine it afterward.
Sinister Scarthe
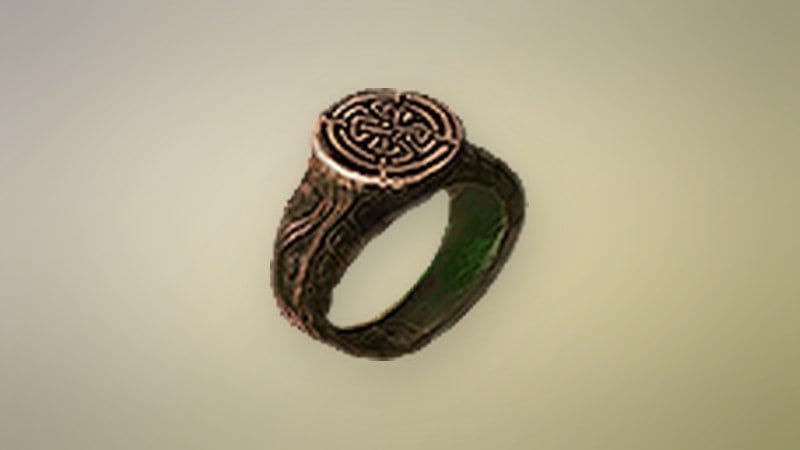
Scarthe is left over when you gather from a lesser demon. Collect 8 and they automatically form one ring: Ring of Audacity, Ring of Reversal, Ring of Retaliation, Ring of Nocturnality or Ring of Rejuvenescence. The remnants determine which ring you get, so you cannot choose. Each Sinister Scarthe sells for 150 G and stacks to 99.
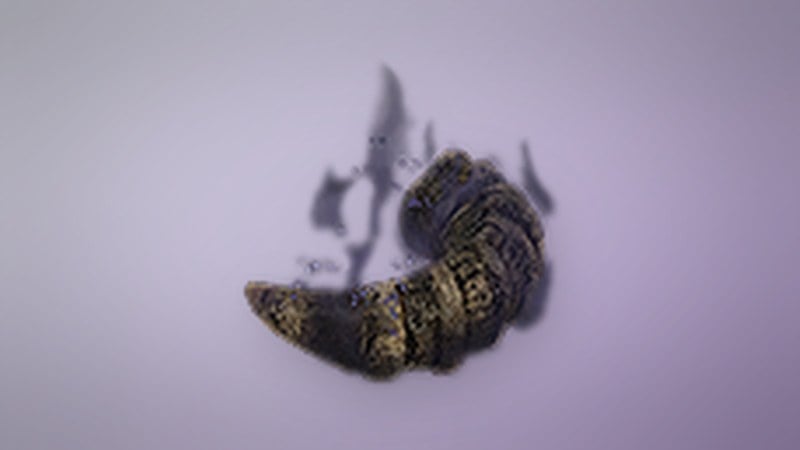
Baleful Hoof
This lesser demon hoof shard is used to make equipment. It weighs 0.50 kg, sells for 5,000 G, and stacks up to 99. It is used for 11 gear pieces, including the Smithed Knight’s Grandblade, Smithed Ancient Kingdom Plate, Trihorn Pelisse and Mantle of the Arisen-Saint.
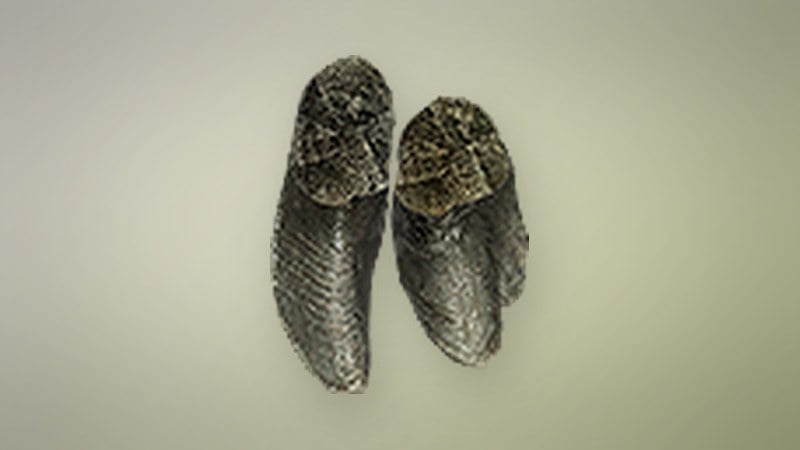
Beyond those two, a lesser demon can also drop Wakestone Shard, Norgan Ducat, Aged Beast-Steak, Aged Scrag of Beast, Aged Alpine Hare Meat, Mighty Roborant and Regeneration Elixir. The carcass hands out leveled spoils as well — Lv 3 Ancient Aegis and Ancient Bowstaff in the Derelict Passage, and various Lv 4 armor and weapon spoils elsewhere. Hunting them also unlocks the “Lesser Demon Decimator” pawn badge.
Kill rewards by fight
The experience and Discipline payouts shift between locations, with the two vortex kills paying the most. These are the awards each clear hands you.
| Fight | XP | Dcp |
|---|---|---|
| Derelict Passage | +185,398 | +1,386 |
| Mordria Fault | +194,398 | +1,446 |
| Shrine of Wisdom | +180,000 | +1,350 |
| Rivercave vortex | +239,248 | +1,745 |
| Northwall vortex | +239,248 | +1,745 |
You know the fight is over when the bar empties, the kill award flashes on screen, and the body slumps so you can examine it for Baleful Hoof. Keep ice in the party, stay off the burning ground, and treat the purple sphere as a cue to back off rather than push, and every one of these demons comes down the same way.