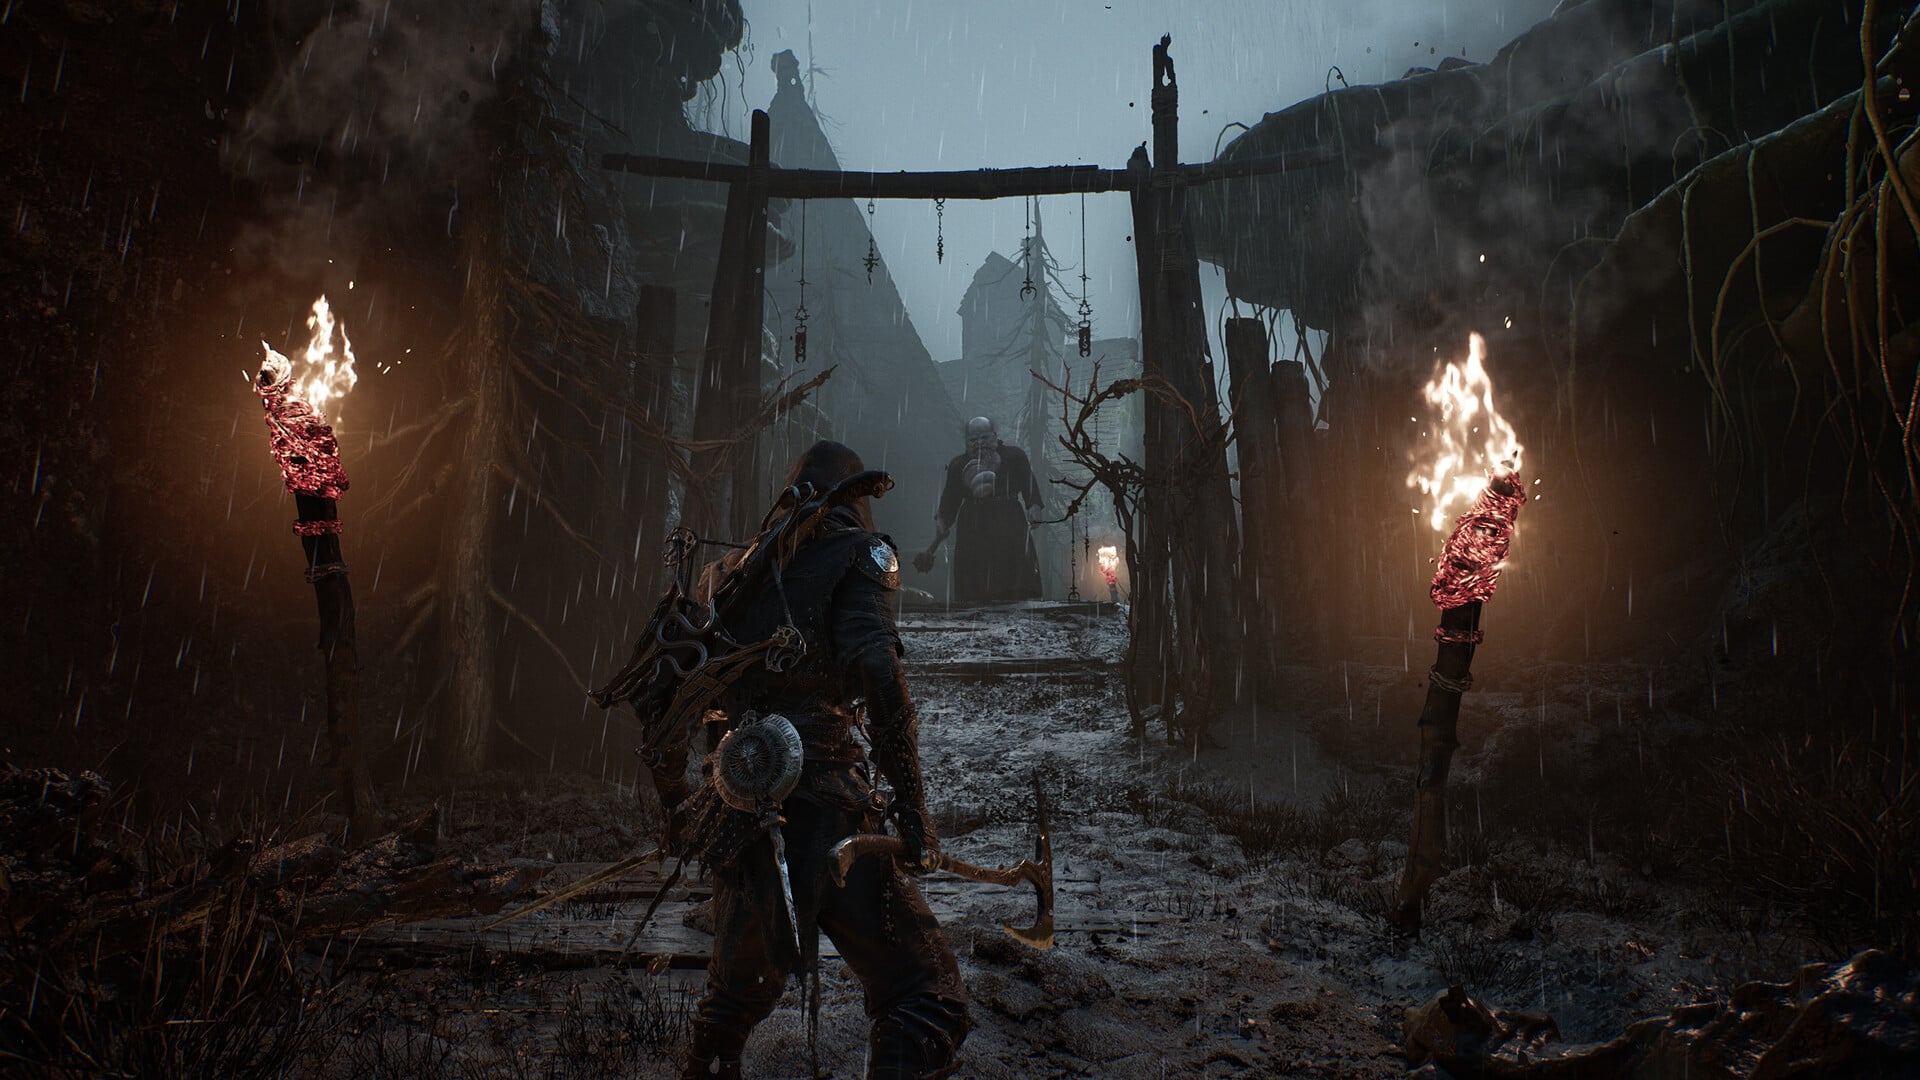
When the Culling Gets Tough is a Norgan side quest in Dragon’s Dogma 2’s Dark Arisen expansion. It starts with Dwayne, the beastren archer who runs the Norgandian Inn. He wants to thin out the monsters around the Norgandian Settlement, but he freezes whenever a beast gets close. The quest is split into two halves with a wait in between. The first half is a pair of easy hunts. The second half is a rescue that ends with a griffin fight.
Quick answer: Pick “I am.” and kill any monster with Dwayne. Repeat when he asks again, then visit him at the inn. When Ilsa goes missing, pick “I will help you.” and kill both saurians and the griffin in Valgr Ravine.
When the Culling Gets Tough requirements and rewards
There is no notice board entry to hunt for. Dwayne comes to you on his own once you have spent time in Norgan and moved the main story far enough along.
- Finish Chilling Tidings, the main quest that first brings you to the Norgandian Settlement.
- Advance the story to Seeking the Sage, the third Norgan main quest. Dwayne approaches you after that.
- Quest giver: Dwayne, at the entrance of the Norgandian Inn.
- If you turn him down the first time, talk to him again to pick the quest back up.
| Reward | Amount |
|---|---|
| Experience | 25,000 XP |
| Rift crystals | 500 RC |
| Ring | 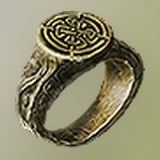 Ring of Brawling |
| Discipline | 0 Dcp |
First cull: any monster near the Norgandian Settlement
Dwayne says any kind of monster will do, and he means it. The quest marker points to a clearing south-east of the village, but Serpents killed at the river north-east of the settlement also count, as long as Dwayne is following you. The steps below use the marked route.
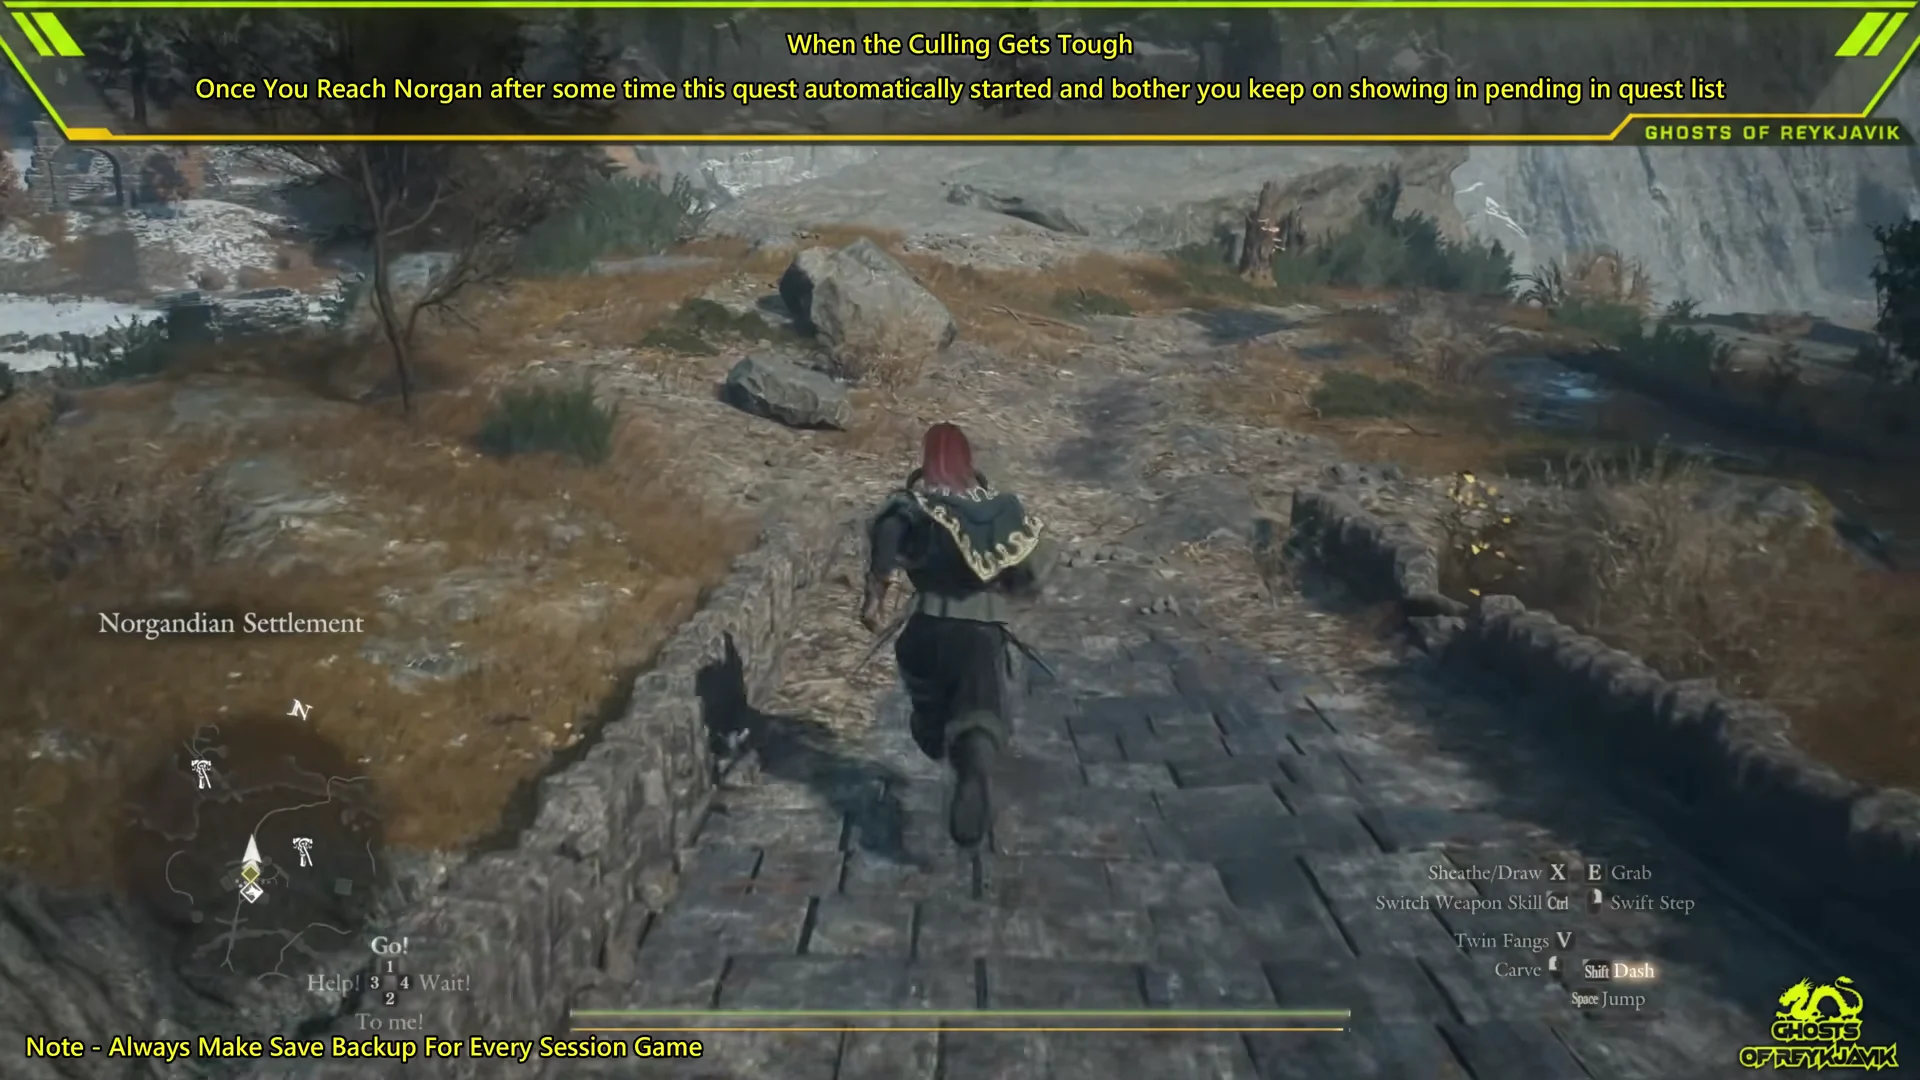
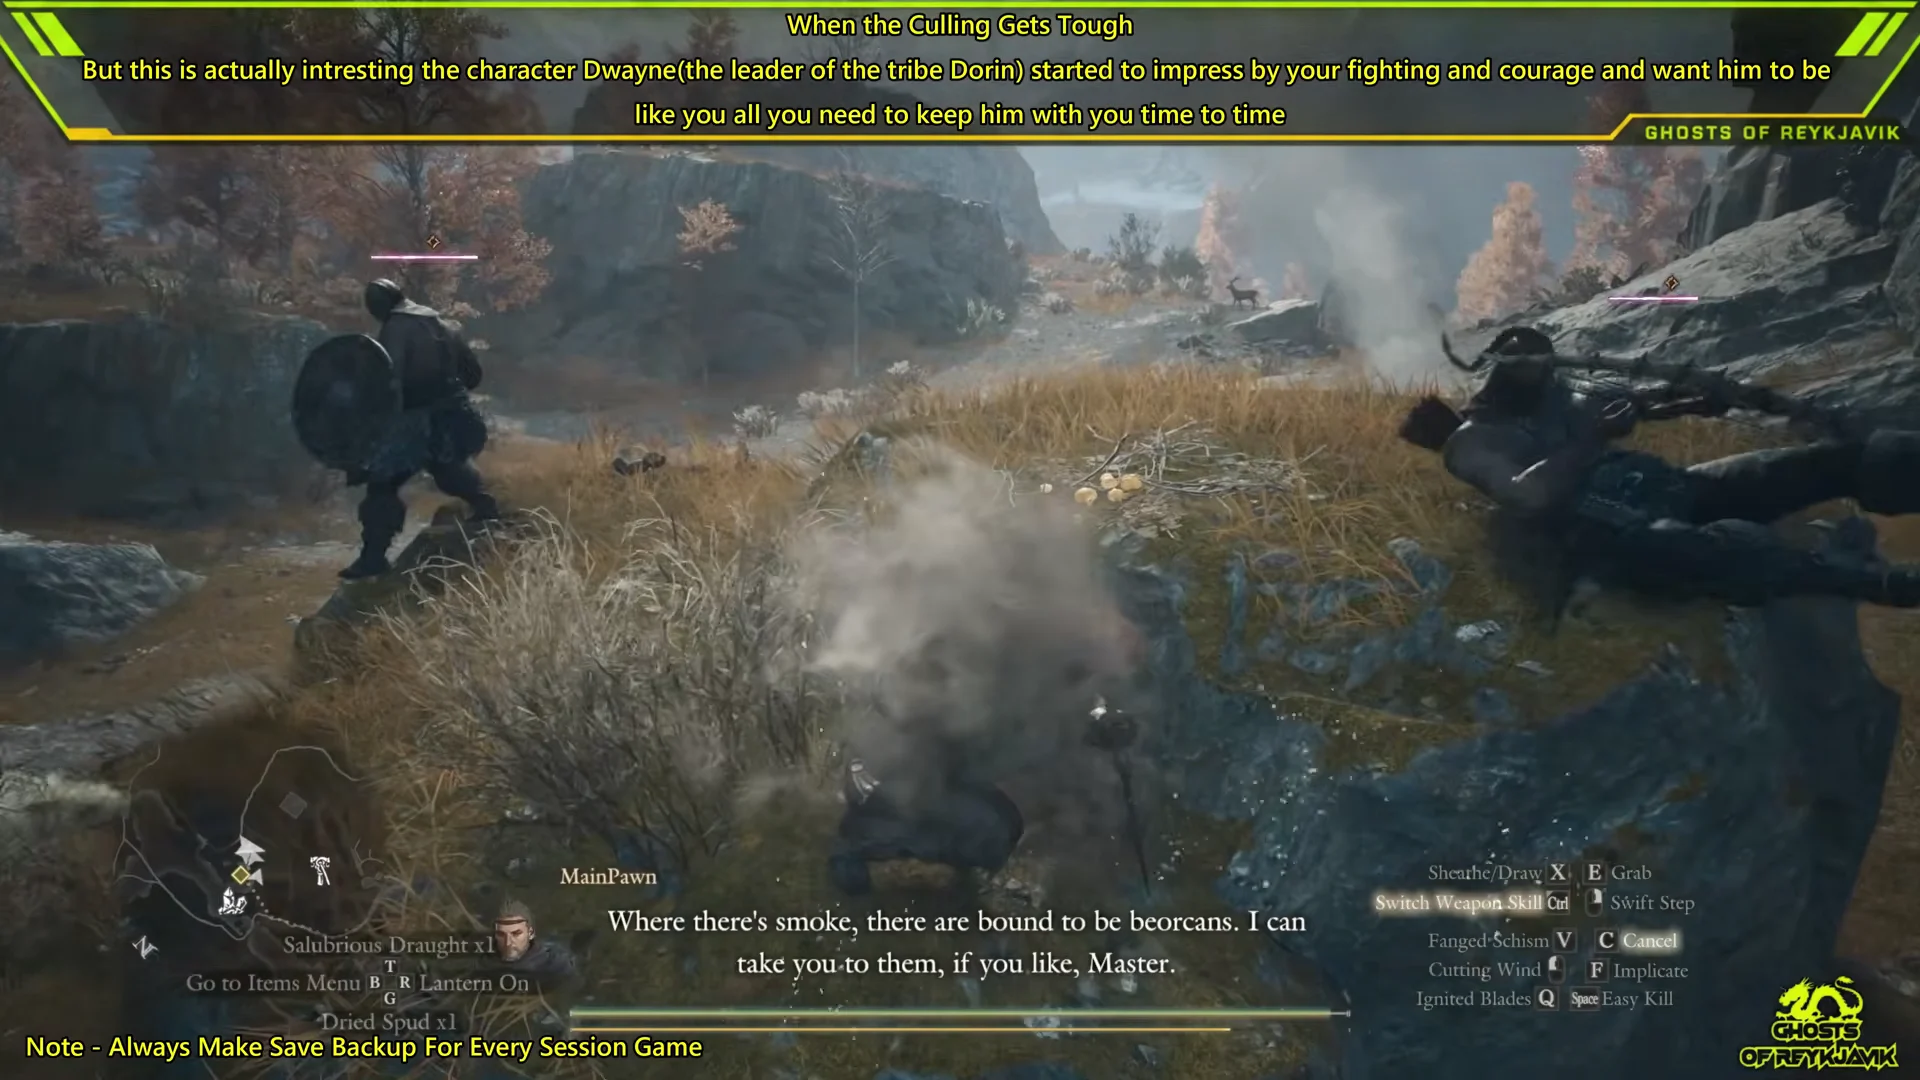
If Sticks and Stones is also active, this same clearing triggers its abandoned-firepit line, and you can pick up a Heatstone there. A Heatstone protects the whole party from the chilled debilitation for a while.
Second hunt and the Norgandian Inn visit
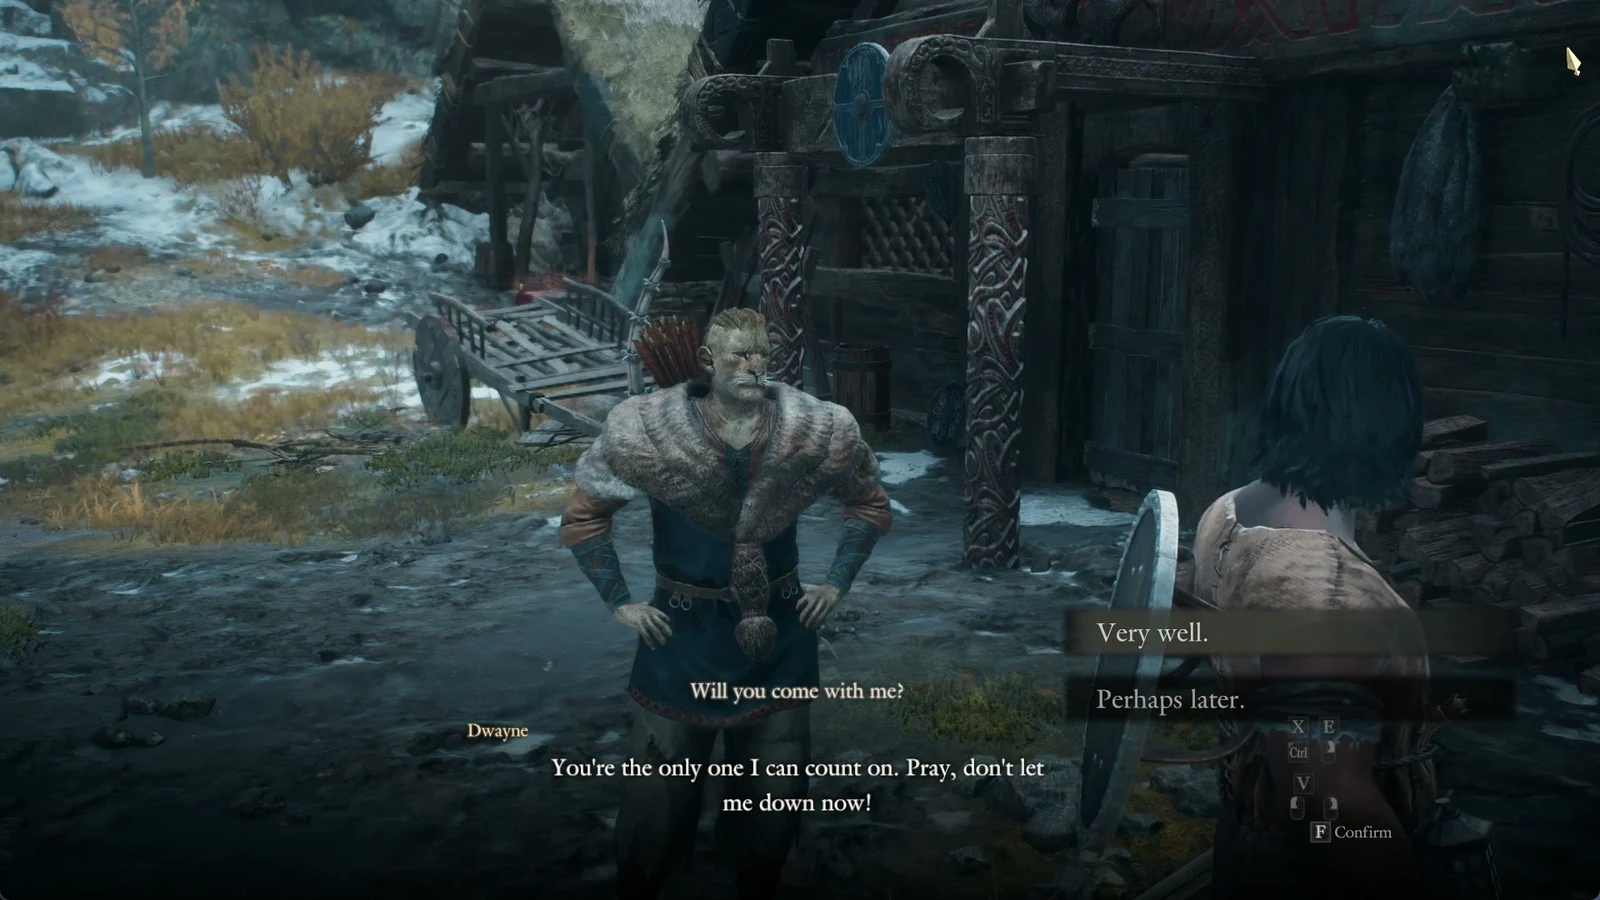
“Wait for Dwayne to complete his preparations.” has no marker and nothing to hand in. You can’t speed it up directly, so go do other quests and come back to the village. Let at least a day pass, either by playing or by resting. In one run, Dwayne walked up outside the inn about 17 in-game hours after the first cull and asked to go out again.
Rescuing Ilsa in Valgr Ravine
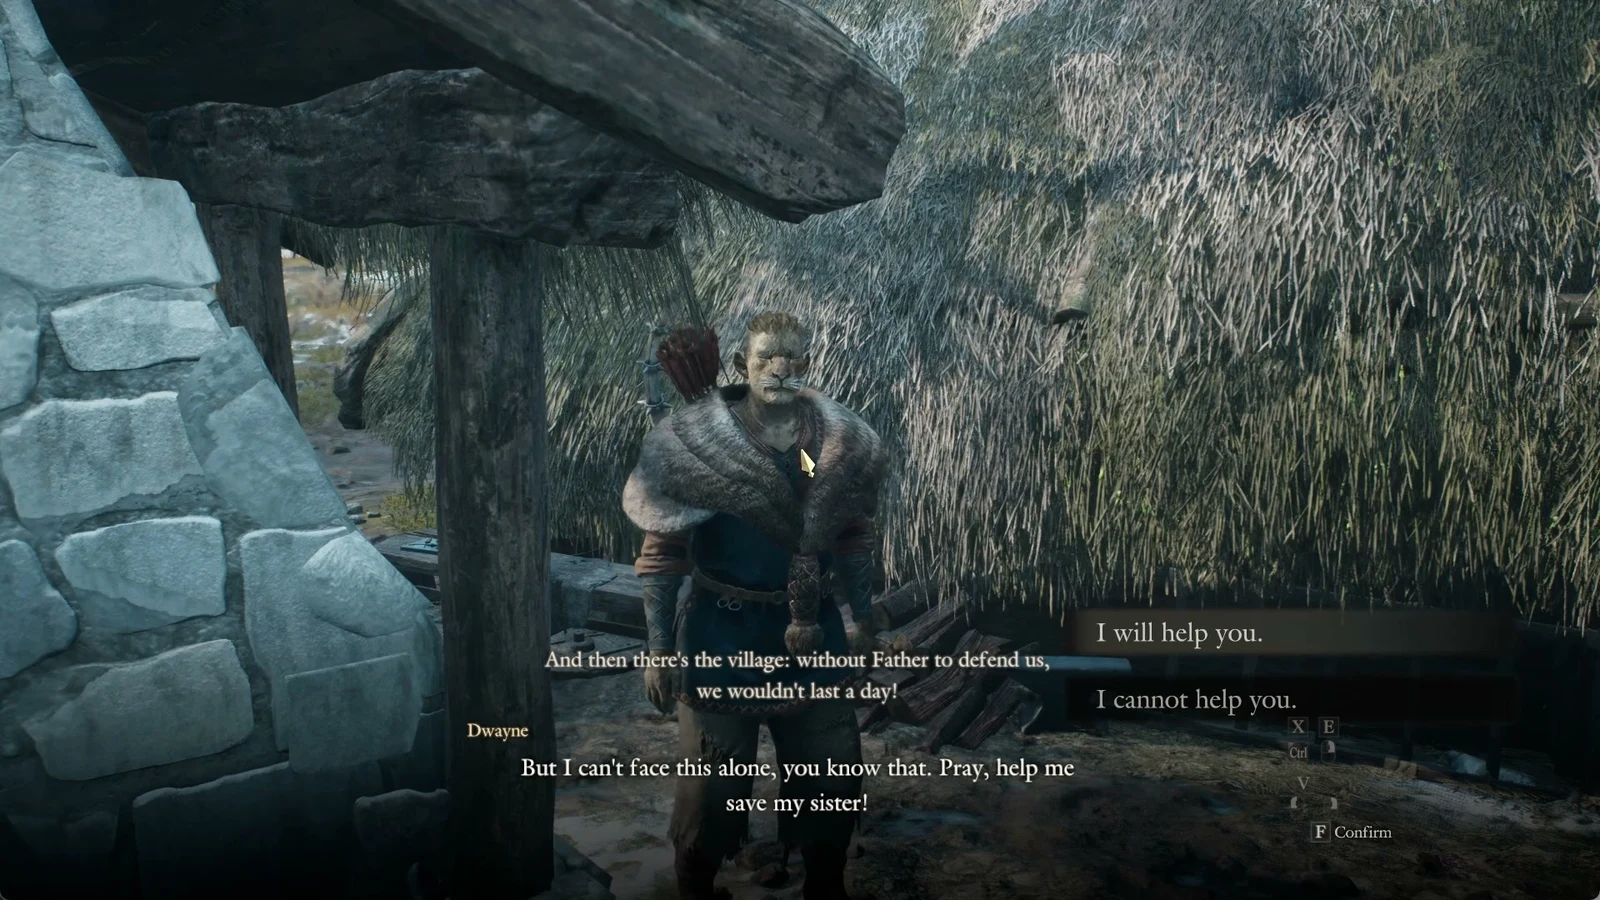
Dorin, the village guardian and Dwayne’s father, tells you serpents raided the settlement and his daughter Ilsa is gone. He can’t leave his post. Dwayne steps in, says he saw his sister slip out during the attack, and asks you to come with him. Choose “I will help you.” over “I cannot help you.” The objective becomes “Follow Dwayne.”
There’s no rush. You can appraise spoils, swap gear, or open the inn chest first. Dwayne will still be walking toward the gate when you catch up.
Following Dwayne to Ilsa
Go with him through the palisade gate and across the stone bridge into the Norgandian Foothills again. Direwolves leap from the rocks to attack the party along the way. Pursue him along the forest path, ford the shallow stream, then ascend the stony slope; the area name changes to Valgr Ravine. A brief cutscene reveals Ilsa in the grass, with two spiny purple saurians looming over her, spears in hand and lightning crackling around them. These are the serpents Dorin mentioned.
Killing the two saurians
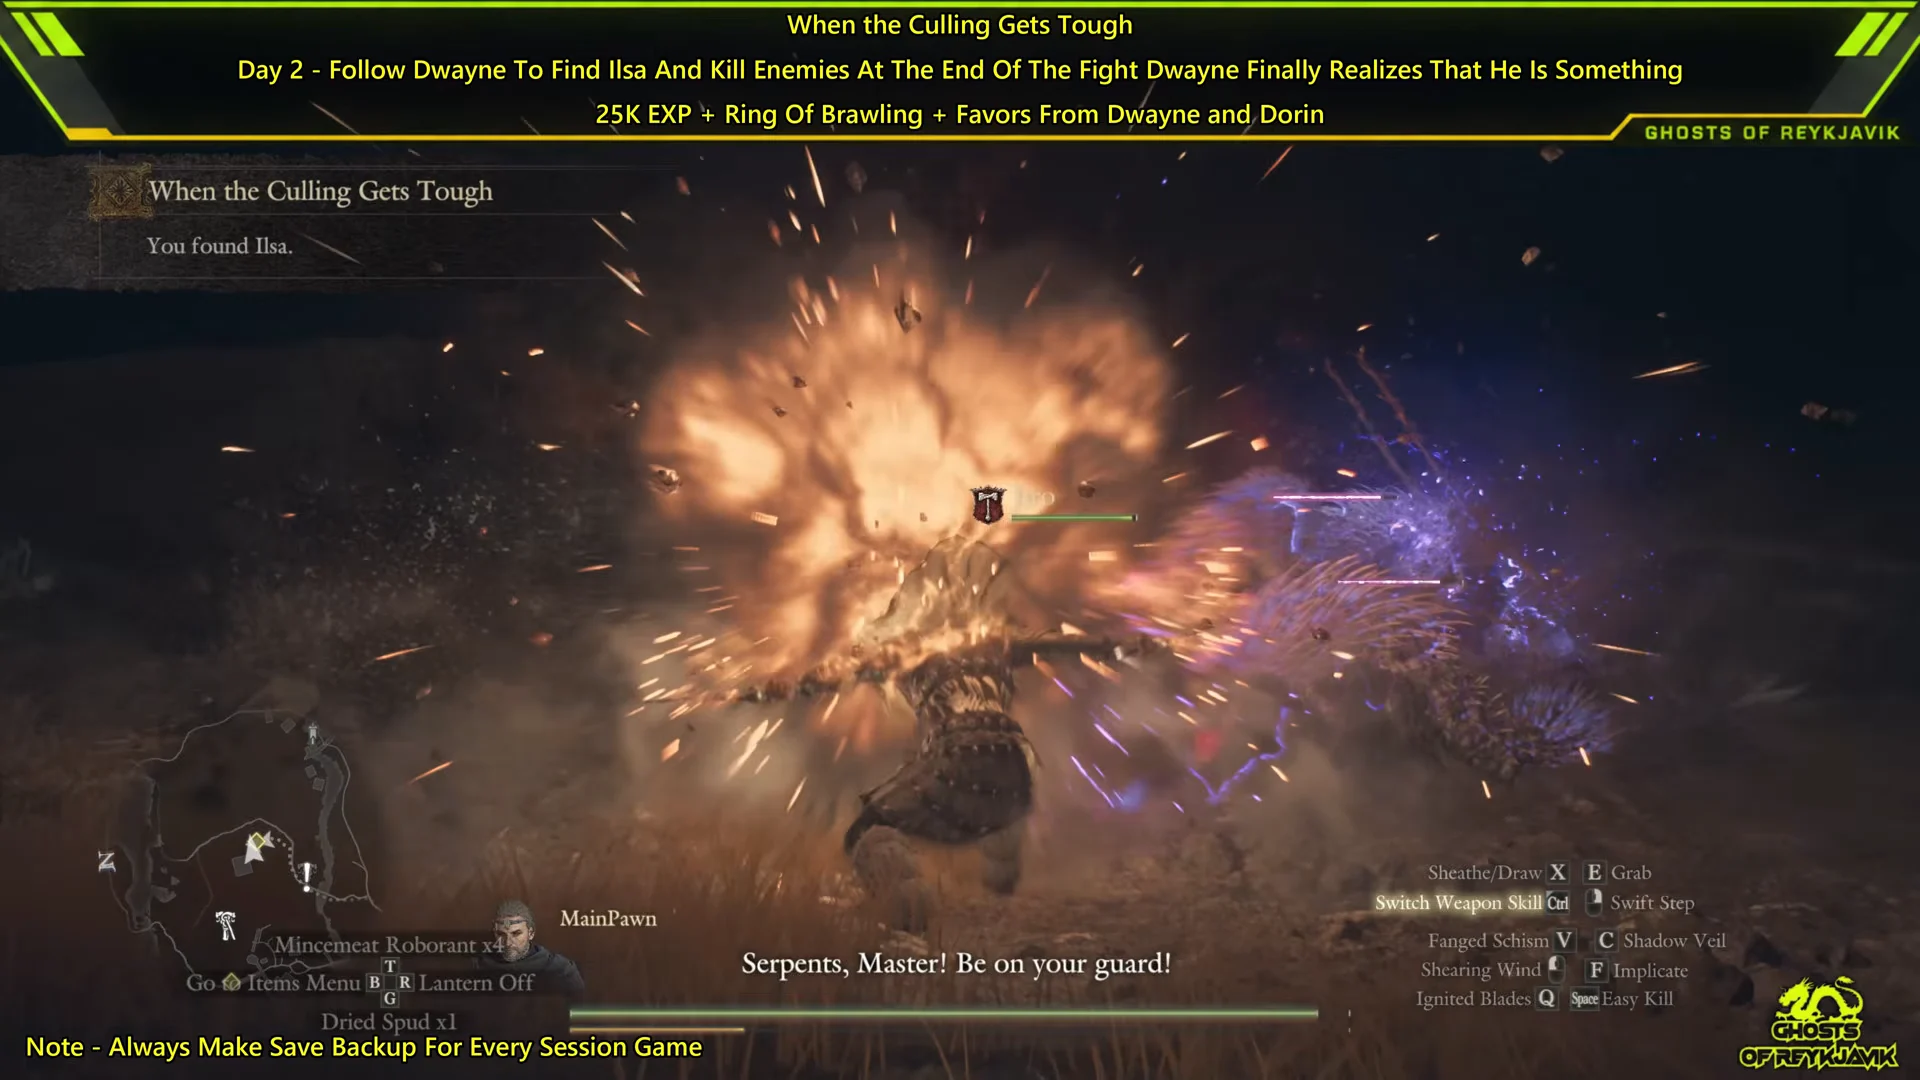
The objective now reads “Fell the monsters and save Ilsa.” Both saurians die quickly. Skip lightning against them, because the Serpent takes zero lightning damage. Slash attacks are its weakness.
Beating the griffin
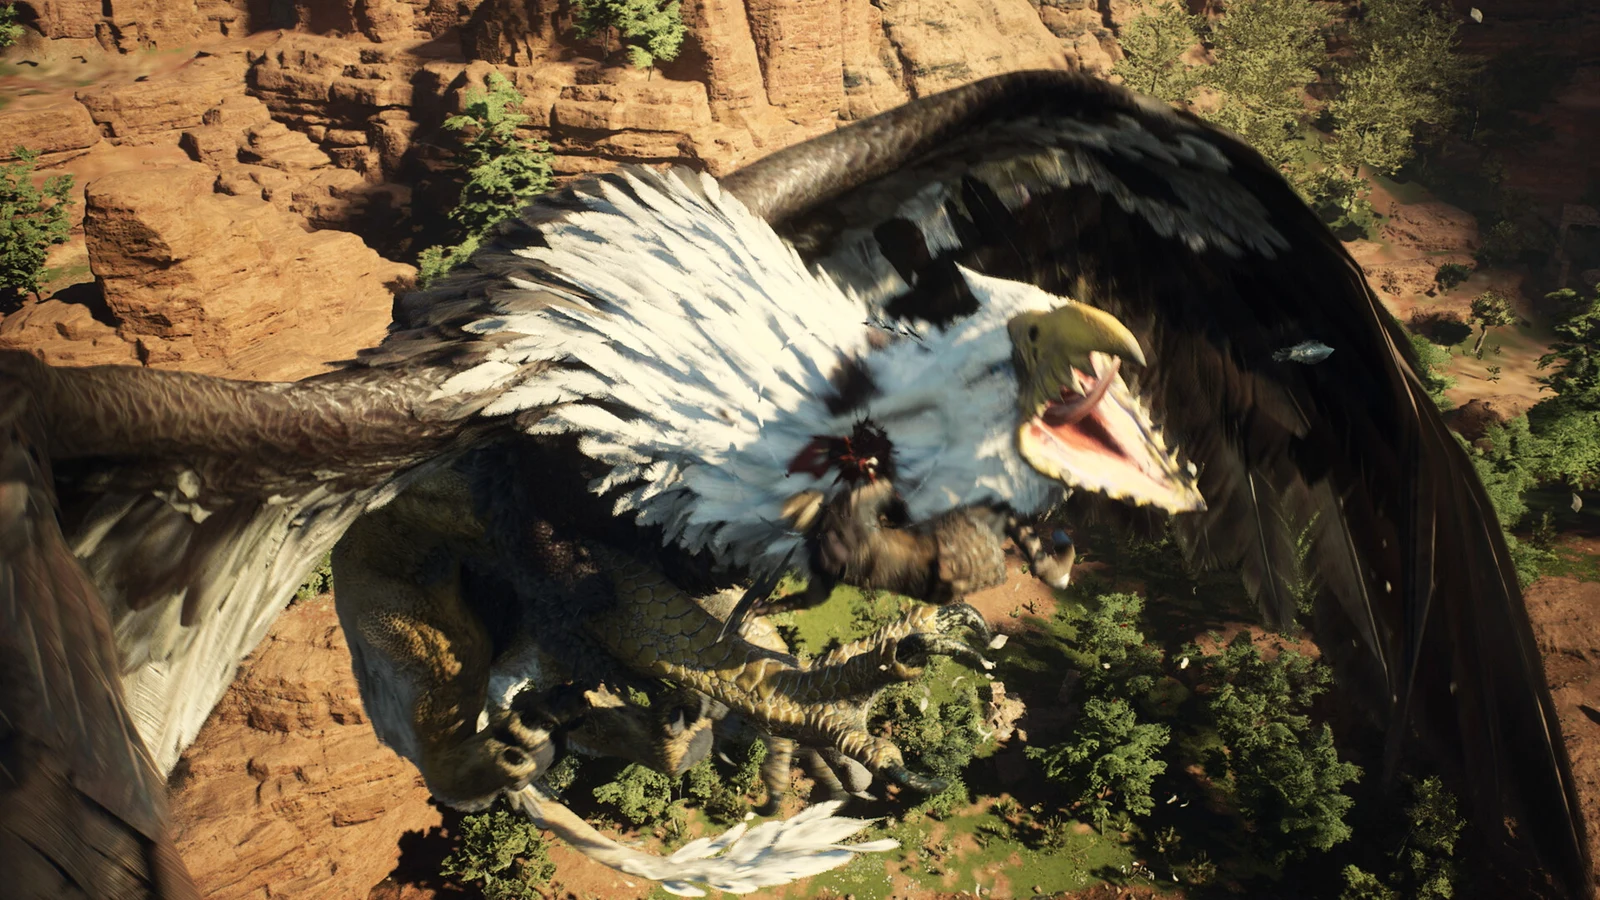
Once the second saurian dies, a white-feathered griffin dives into the ravine. Its health bar has five segments and shows no name. It counts toward the same “Fell the monsters and save Ilsa.” objective, and that objective won’t move until the griffin is dead, so you can’t skip this fight.
Grab on and climb. While you’re hanging from its side or a wing joint, your attack buttons change to “Follow-Up Attack.” Slash until your stamina is nearly empty, let go, recover, and then go for the legs. The griffin bucks to throw you off, flies away, circles, and dives back in. That pulls the fight back and forth across the Valgr Ravine and Norgandian Foothills border, so seeing the area name flip is expected.
When it lands, climb up to the neck and head. The head takes much more damage than the body, and fire hits it hardest. Once it’s knocked onto its side, send the whole party at the head to finish off the health bar. Afterward, use “Examine” on the body to collect drops such as a Griffin Pinion. Dwayne stands his ground this time instead of freezing.
Enemy stats for every fight in the quest
Here are the base figures for the monsters you’ll fight on the culls and the rescue, so you can pick elements and party setups before heading out.
| Enemy | Health | Experience | Weak / resistant |
|---|---|---|---|
| Direwolf | 15,000 | 3,300 | Weak to fire; resists ice |
| Beorcan | — | 3,800 (7,800 strongest) | Humanoid |
| Serpent | 21,000 | 950 | Weak to slash; resists strike, lightning |
| Griffin | 105,000 | 7,100 | Weak to fire; resists ice, lightning |
Direwolf takes 1.2x damage from fire and only 0.5x from ice, so ice spells from pawns are a poor choice on the first hunt. On Hard Mode its health stays at 15,000, its Strength goes up to 5,500, and it takes 0.9x damage. It drops Direwolf Pelt, Scrag of Beast, and Beast-Steak.
Beorcan drops a wide range of curatives and supplies, including Warming Salve, Quenching Syrup, Explosive Arrow, Norgan Ducat, and Abandoned Supplies.
Serpent has a lightning damage multiplier of 0, takes 0.3x from strike, and can’t be knocked unconscious. Norgan also has two tougher Serpent variants, one with 45,000 health and 4,500 experience, and another with 23,000 health and 3,500 experience.
Griffin takes very little damage to the body. Lightning is 0.1x, and both slash and holy are 0.2x. On the head, those numbers jump to 1.2x for fire, 0.5x for slash, and 0.6x for holy, which is why climbing to the head pays off. It has 16 parts with their own multipliers, and one part reaches 9x. The base griffin has five health bar segments. Norgan also has two stronger griffin variants, one with 140,000 health (114,000 experience) and another with 300,000 health (52,500 experience). Its drop table includes Griffin Pinion, Great Griffin Claw, Wakestone Shard, and Dragon’s Gaze.
Confirming completion and the Ring of Brawling
When the griffin dies, the objective switches to “Accompany Dwayne back to Ilsa’s side.” Walk over to Ilsa and talk to Dwayne next to her. A scene plays in which he realizes he held his ground against a griffin, finds that Ilsa is only knocked out, and carries her home. Once you have control again, “You defended Ilsa.” appears, followed by “Completed: When the Culling Gets Tough.” That second line means the quest is done and the rewards have been paid.
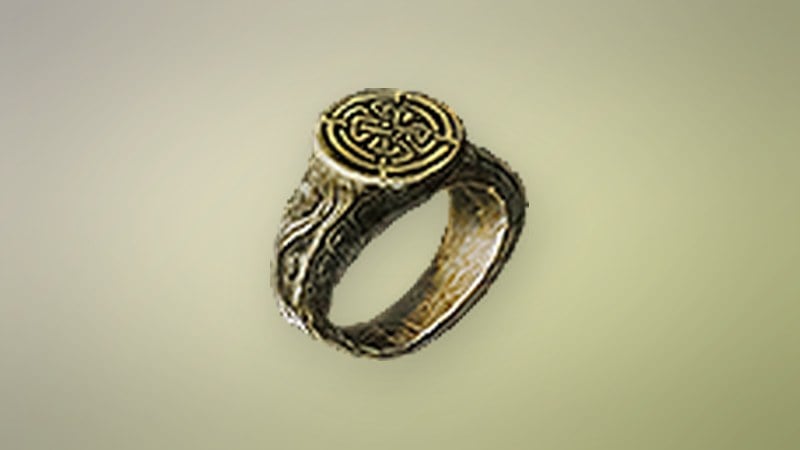
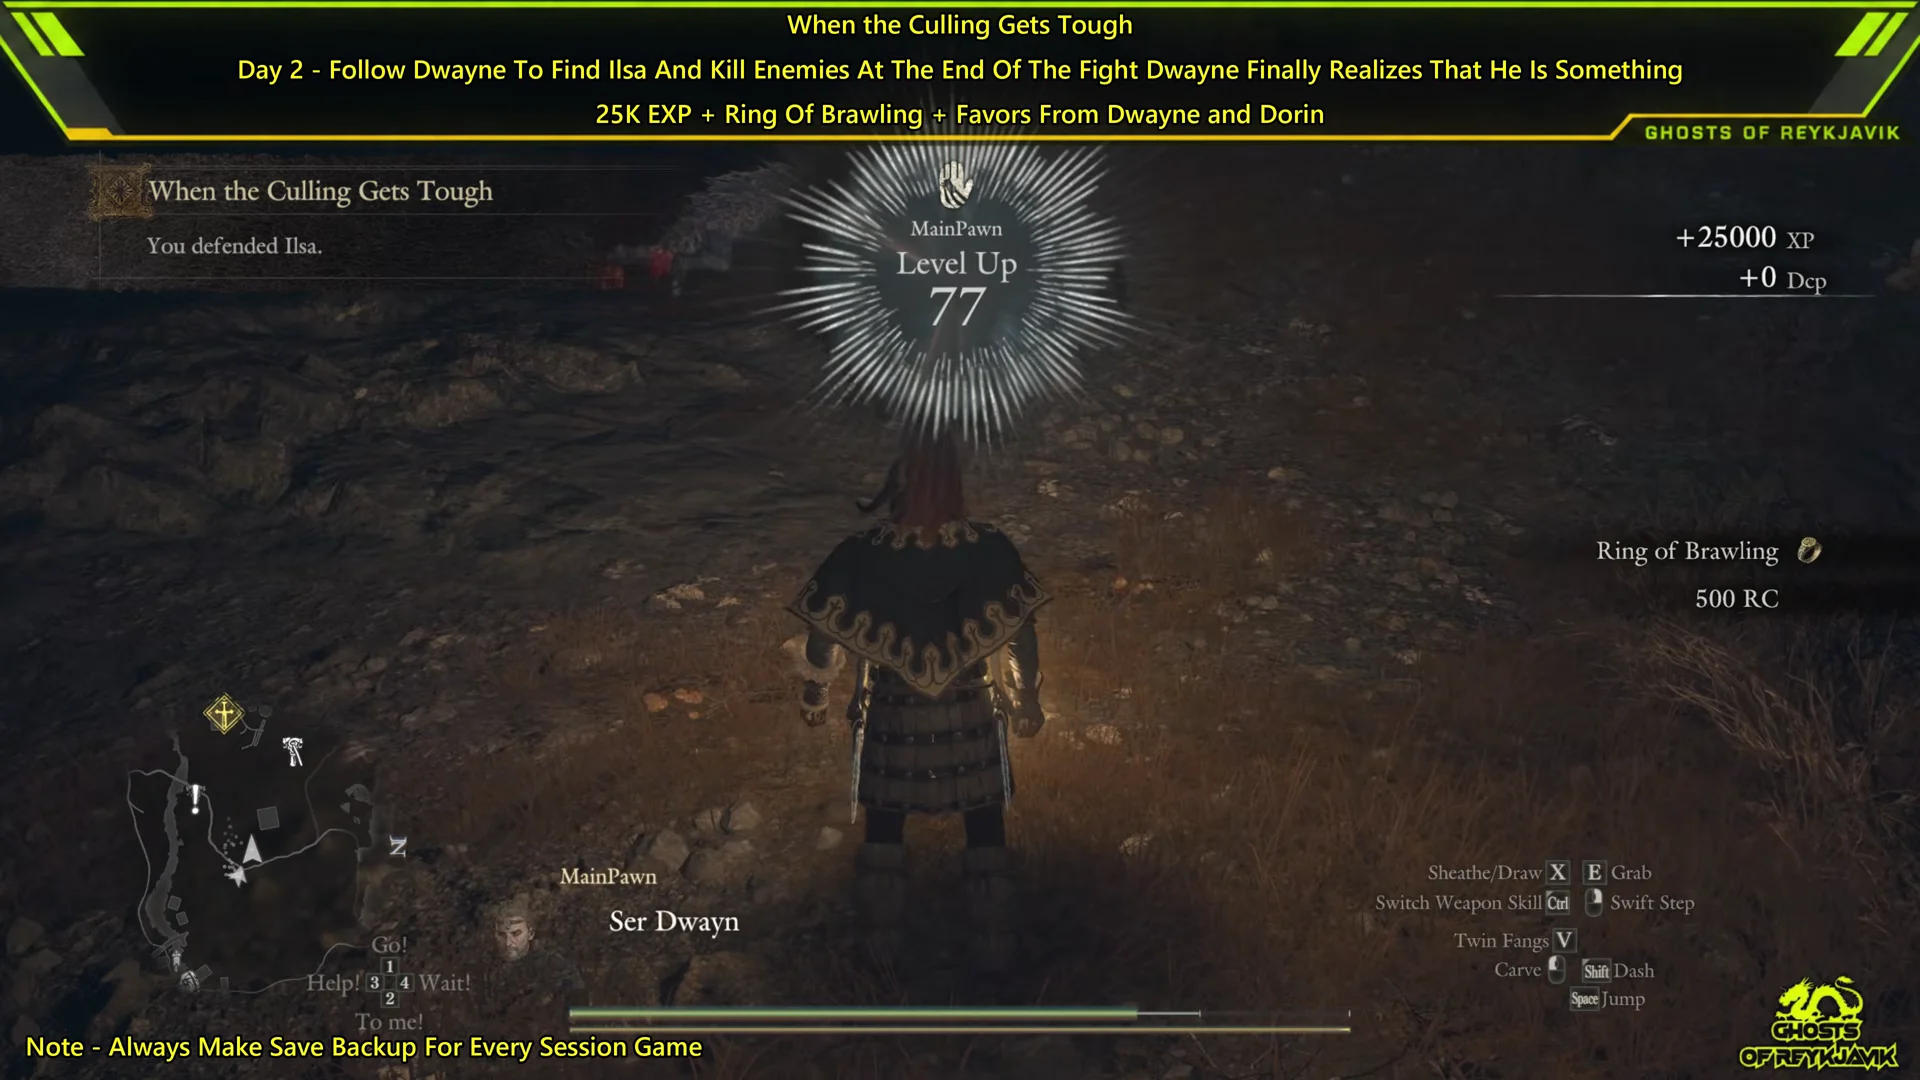
The Ring of Brawling raises your Strength only while you fight bare-handed, and any vocation can wear it. Finishing the quest also automatically sets Village Defense as your priority quest.
Bout of Passage after When the Culling Gets Tough
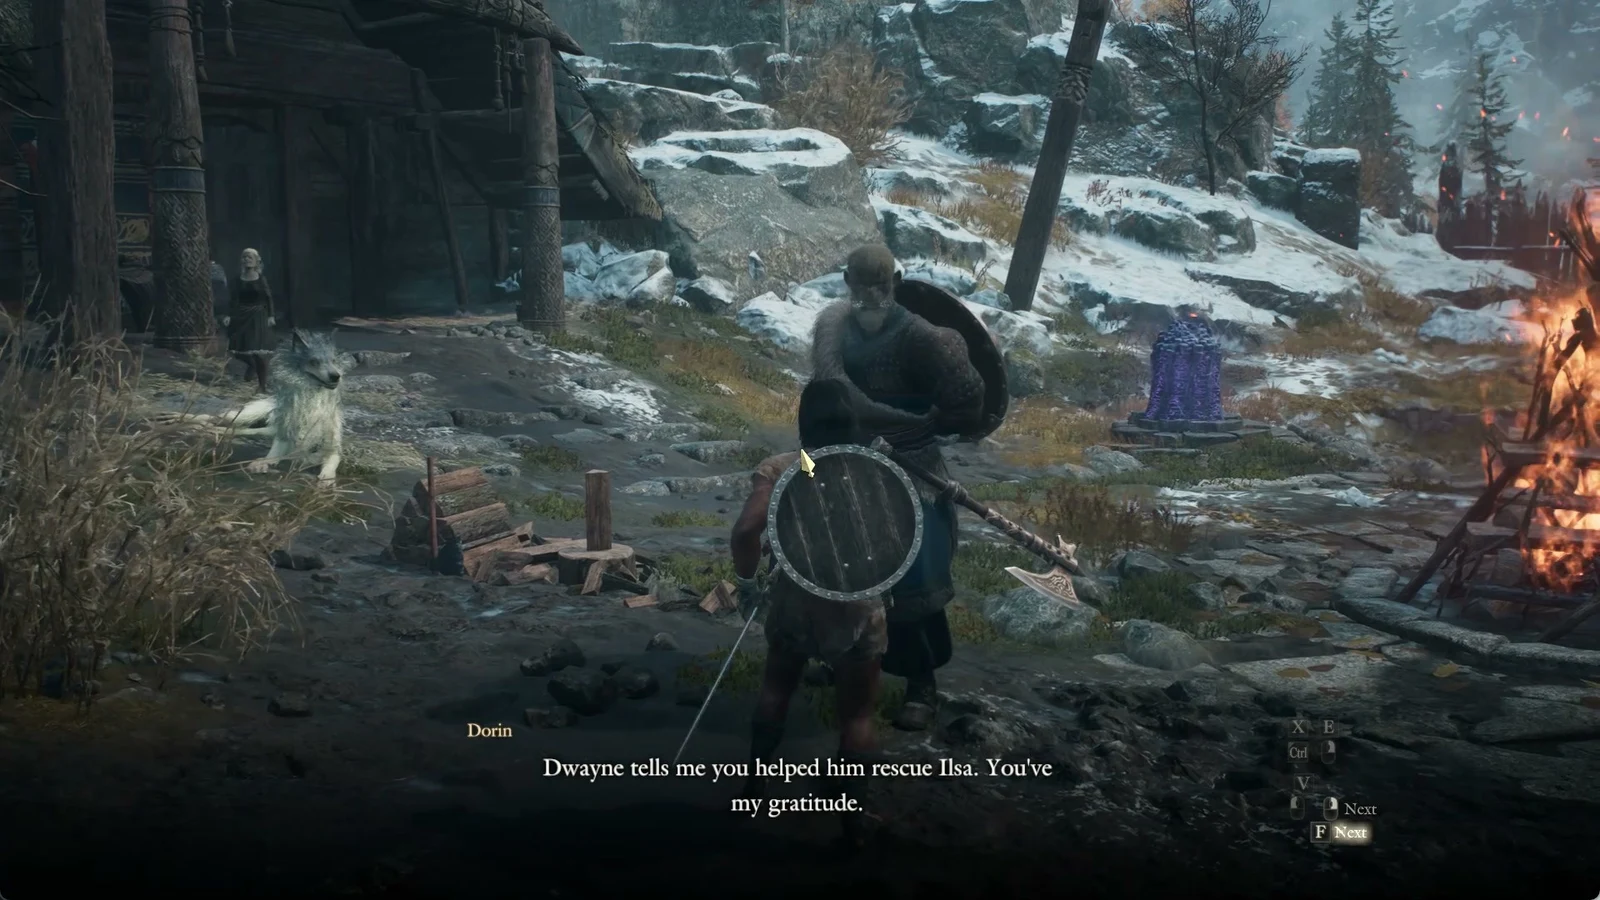
You need to complete When the Culling Gets Tough before Bout of Passage. About a day after the rescue, Dorin approaches you outside the inn after dark and invites you to Dwayne’s coming-of-age bout. The fight is unarmed, so the Ring of Brawling is useful.
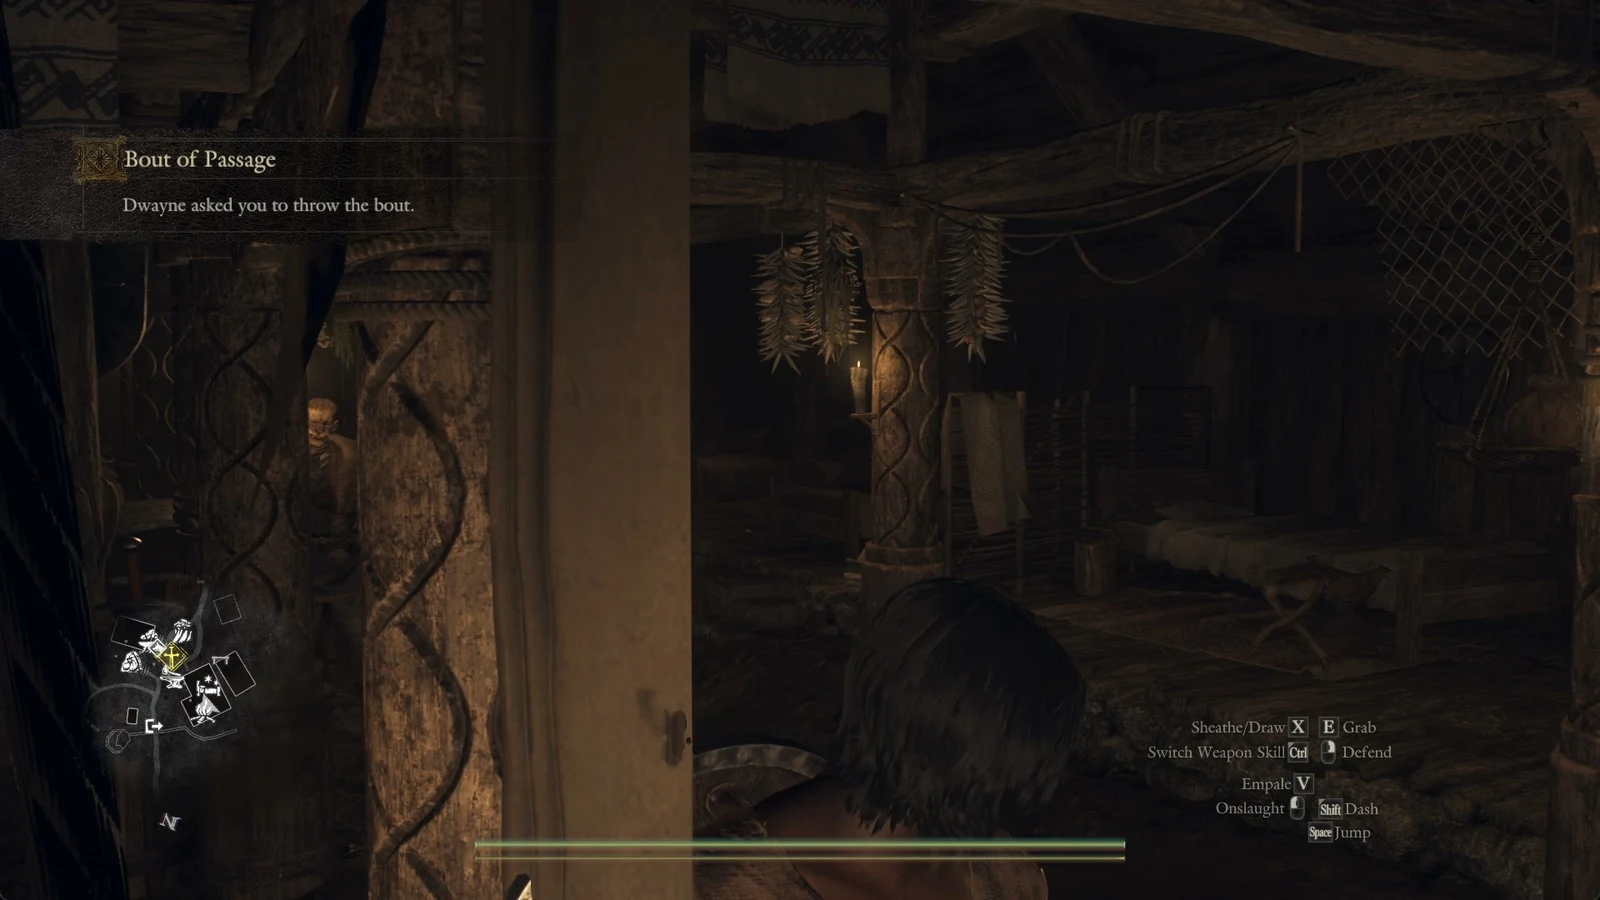
Bout of Passage has five stages and involves both Dwayne and Dorin. Its reward depends on how the bout goes. The top outcome is 75,000 XP and 3,000 RC, sometimes with three Regeneration Elixirs and three Fungal Cure-Alls. Other outcomes pay 50,000 XP with 1,500 RC, or 20,000 XP.