A max-damage Water Breathing slayer in Slayers 2 is built around three things stacking together: raw flat Additional Damage from gear and titles, the Nightfall armor set bonus, and a burst rotation powered by the Soyama clan. Done correctly, you store a slice of the damage you deal during a window and release it all at once, which is enough to melt most world bosses in a single sequence.
Quick answer: Run Water Breathing with the Soyama clan, a Tier 3 Nightfall Katana and full Nightfall armor, and the Bonebreaker, Devastator, and Annihilator titles together, then open bosses with the Combat Intuition burst rotation.
Unlock Water Breathing and the Dead Calm ultimate
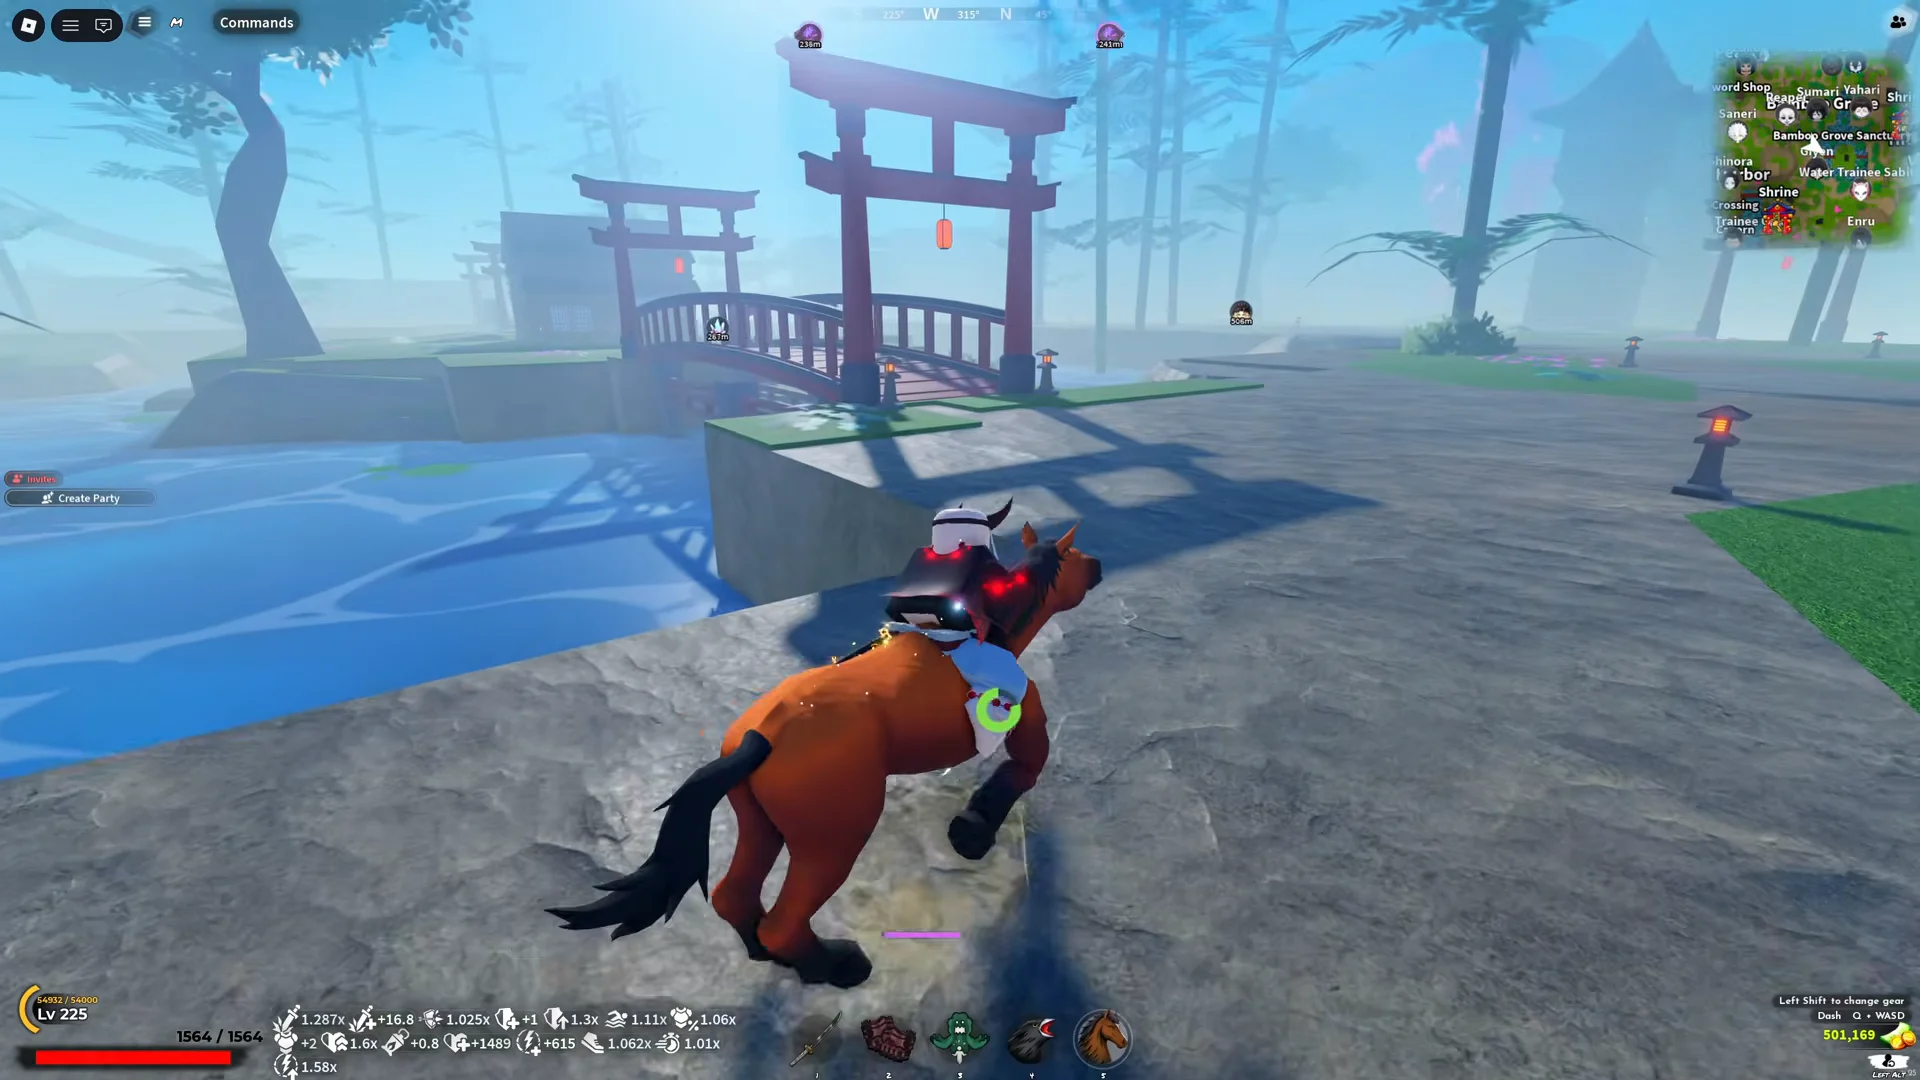
Everything in this build depends on having Water Breathing and its ultimate, so clear this first. The trainer sits in a hidden room reached through an underwater tunnel at Bamboo Grove.
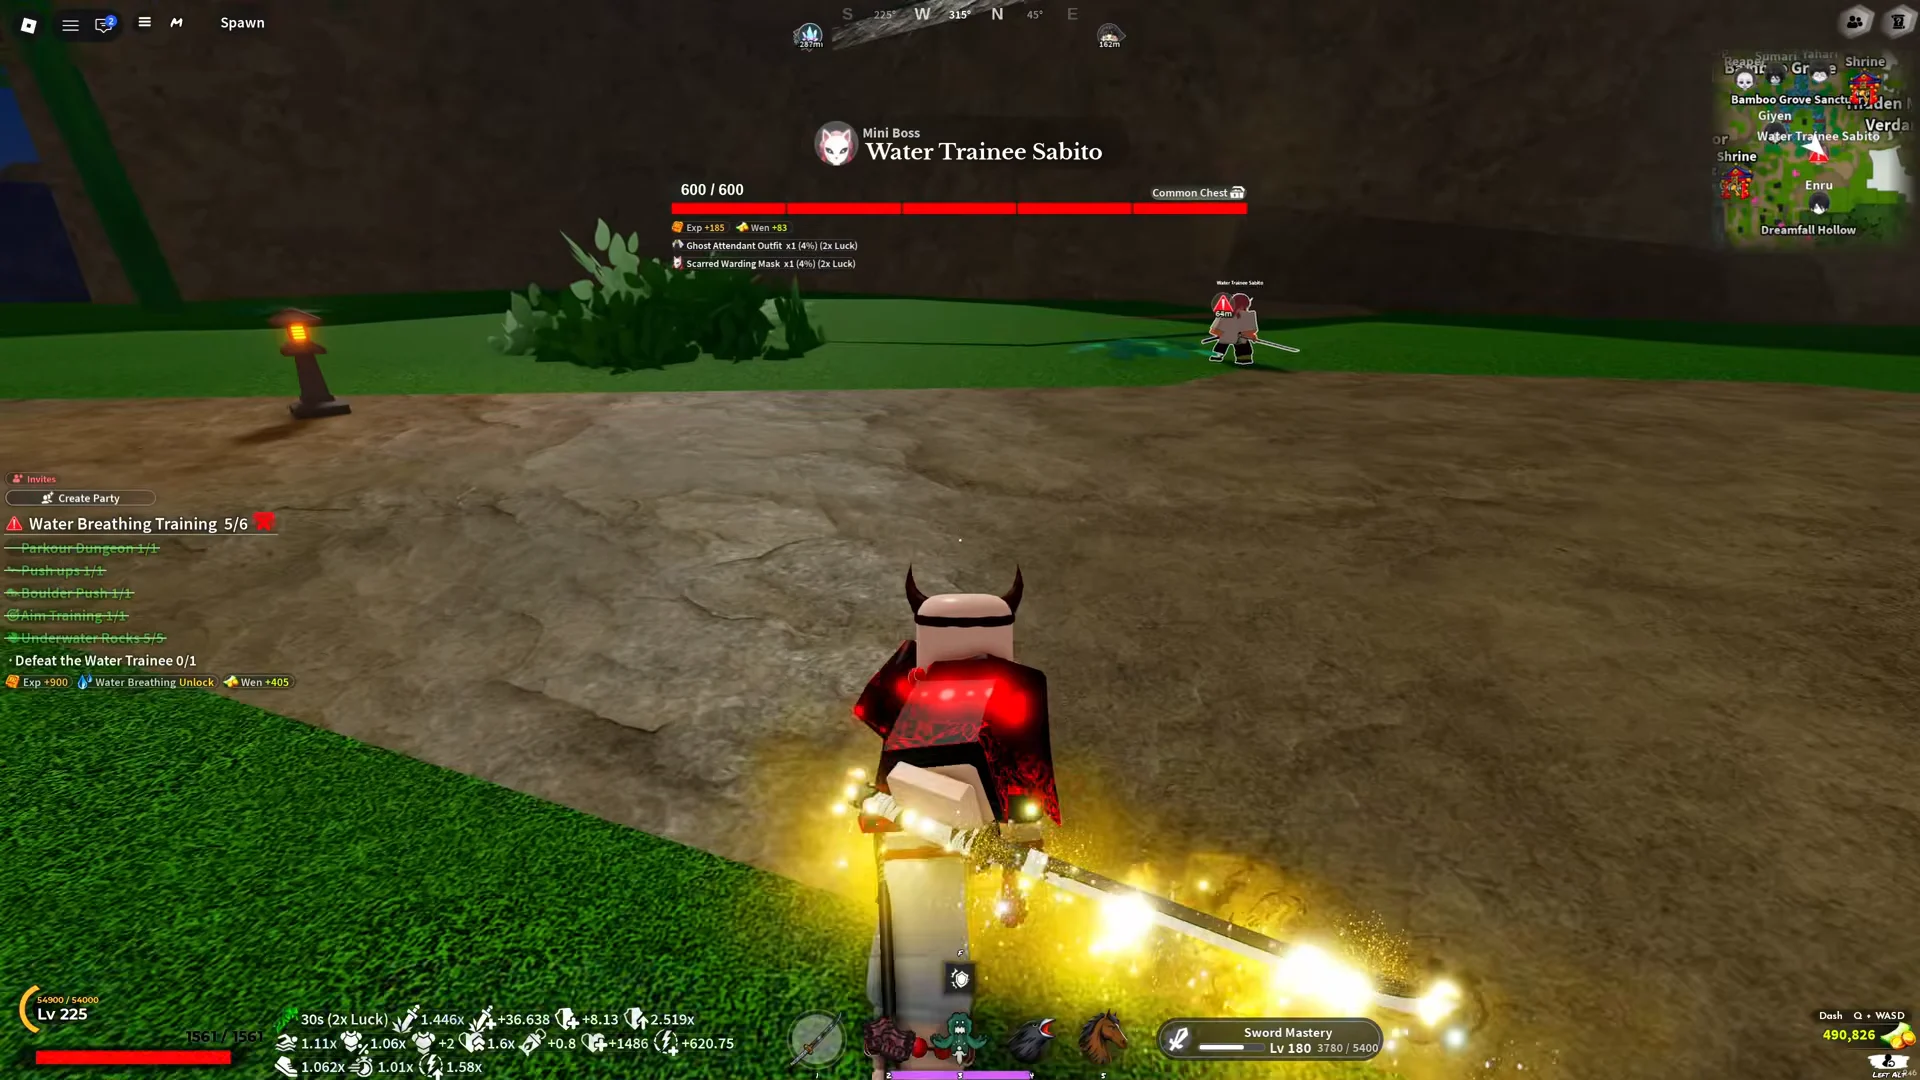
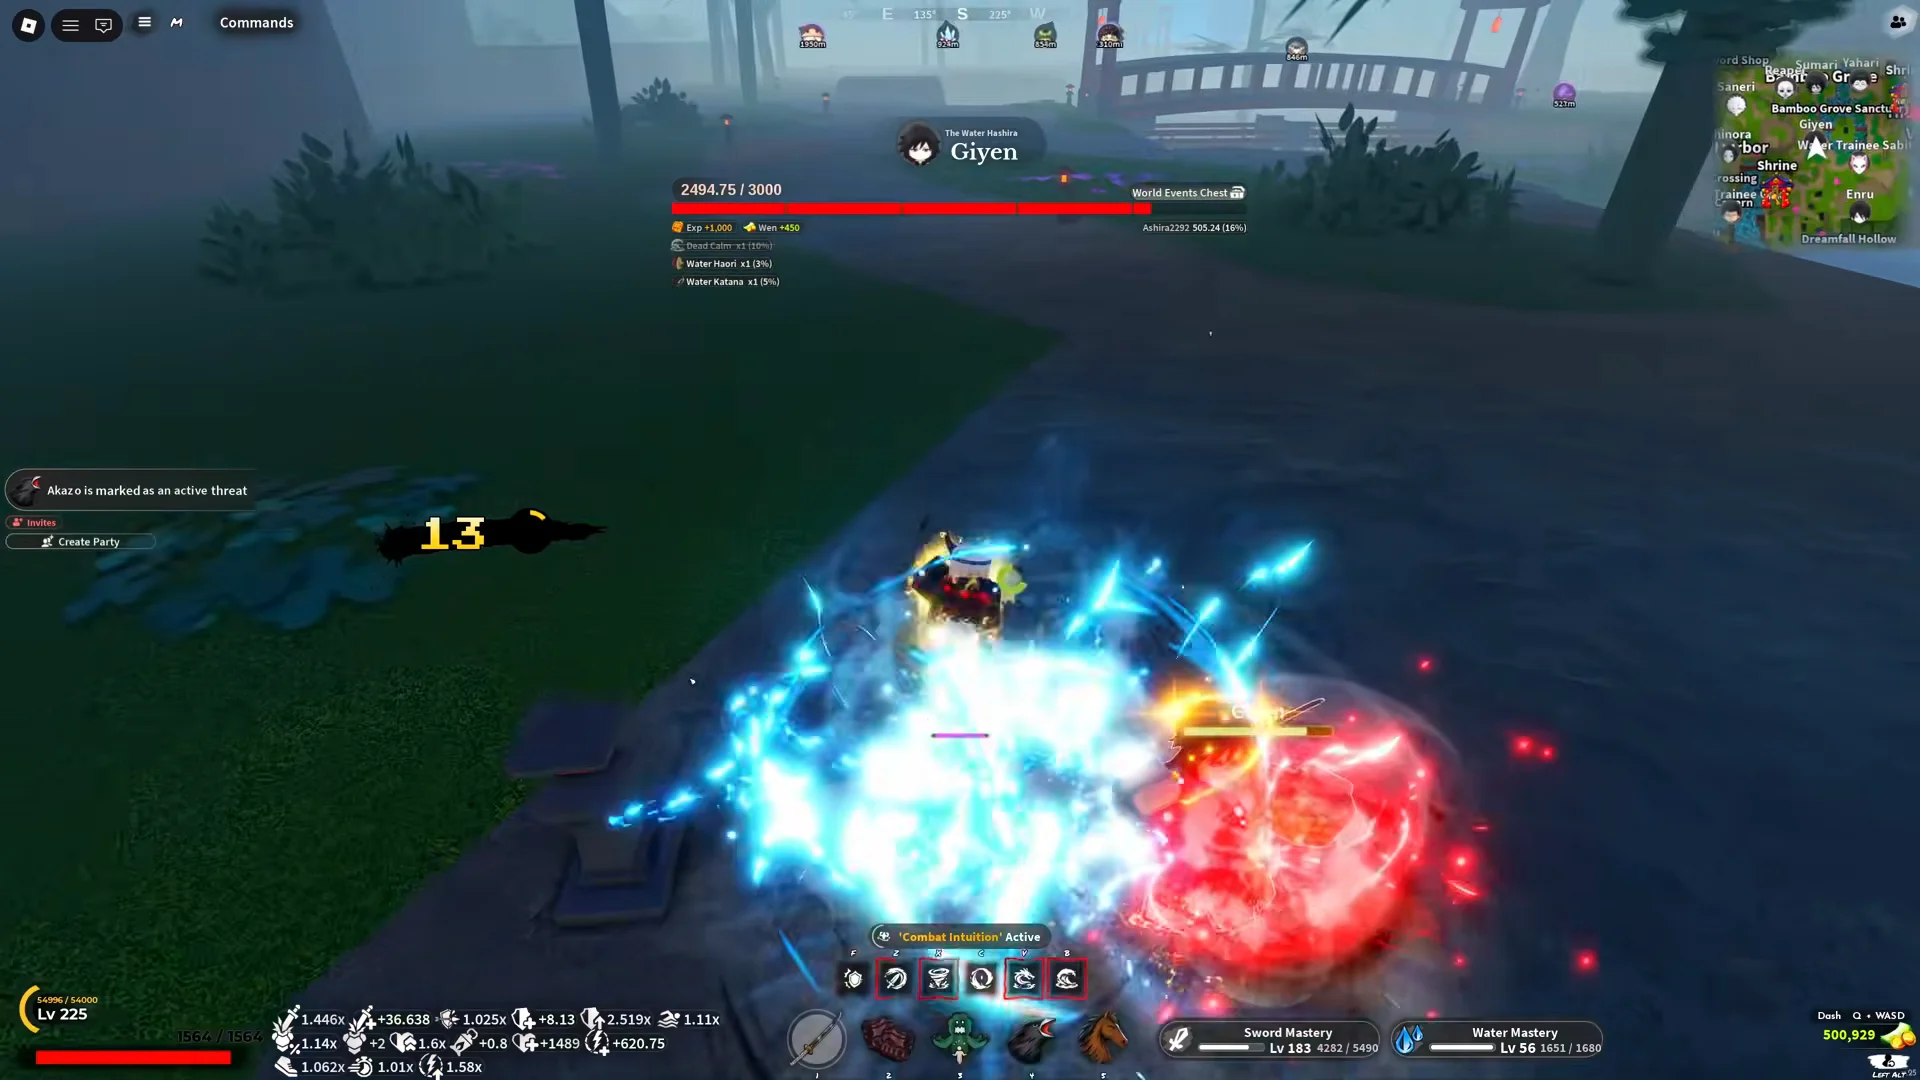
To add the ultimate, level your Water Mastery until Dead Calm appears in the skill tree after Constant Flux. Unlocking the node requires a scroll dropped by the boss Giyen at Bamboo Grove Sanctuary, which has a 10% drop rate, so expect to farm him several times.
Pass Final Selection to become a Slayer
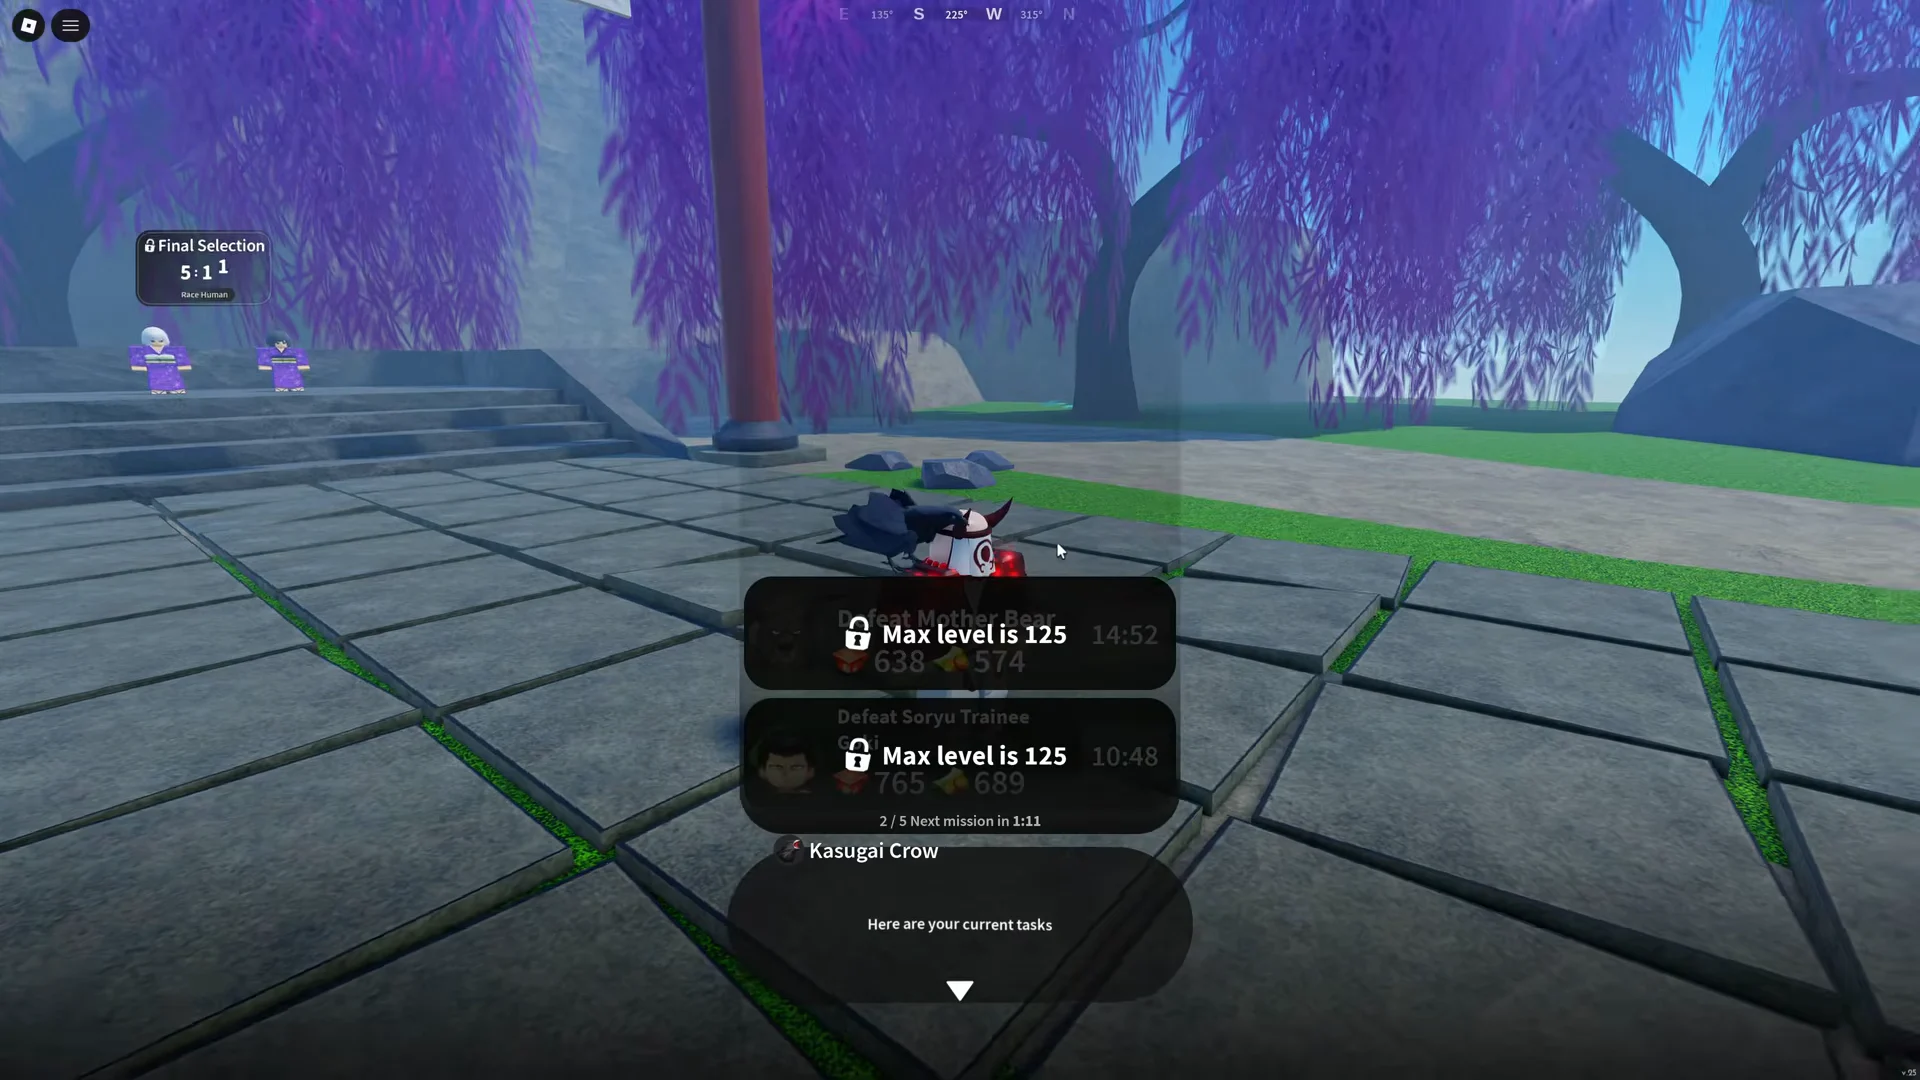
Reach Level 45 while Human and finish Final Selection before moving on to the main build. Completing it opens Kasugai Crow quests, which award extra Wen and materials as you farm; keep accepting them while you work on the remaining gear.
Weapon progression: Wind Katana to Tier 3 Nightfall Katana
The weapon line runs through three Duelist-class katanas, each a crafting step toward the next. The Nightfall Katana is the end goal because of its flat +5.75 Additional Damage and strong scaling multiplier.
| Weapon | Additional Damage | Damage Factor | Source |
|---|---|---|---|
| Wind Katana | +2 | 1.037x | Saneri drop (5%) |
| Tornadic Katana | +4 | 1.065x | Crafted |
| Nightfall Katana (T1) | +5.75 | 1.138x | Crafted |
Wind Katana drops from Saneri near Windy Peak at a 5% rate. Refine it at Refiner Hagane in Hidden Mist Village, since the refinement level carries over when you craft the next tier.
Tornadic Katana is crafted at Blacksmith Togane. The recipe needs a +6 Wind Katana, 500 Metal Scrap, 300 Silk Thread, 10 Mythic Refinement Ore, and 90,000 Ouwigahara points.
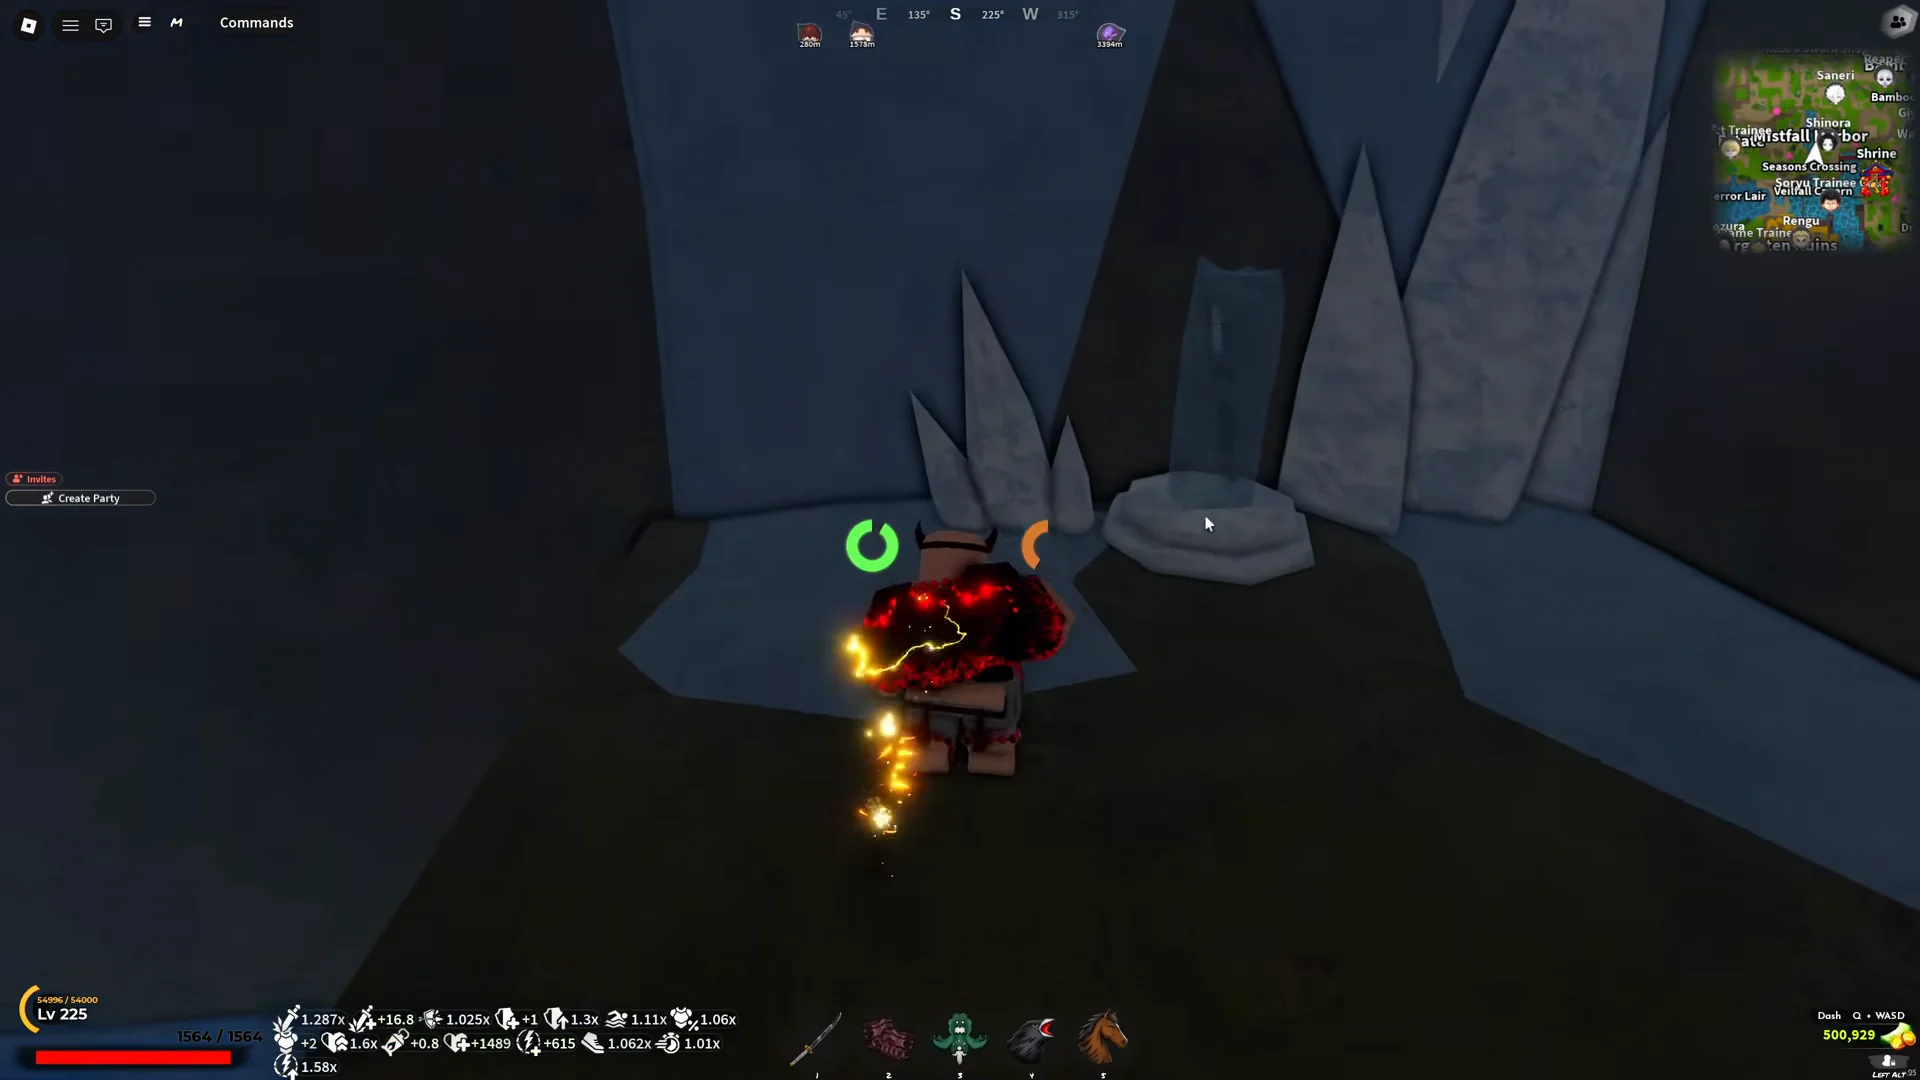
Nightfall Katana requires its schematic first. Teleport to Mistfall Harbor, swim behind the waterfall northeast of Shinora, and collect it from the pedestal inside the cave.
Return to Togane and make a Tier 1 Nightfall Katana from 500,000 Wen, 500 Silk Thread, 500 Metal Scrap, and the Tornadic Katana. Use Nightfall Forged Ingots and the associated materials to advance it through Tier 2 and Tier 3 and attain its full stats.
Early flat-damage accessories (+10 Additional Damage)
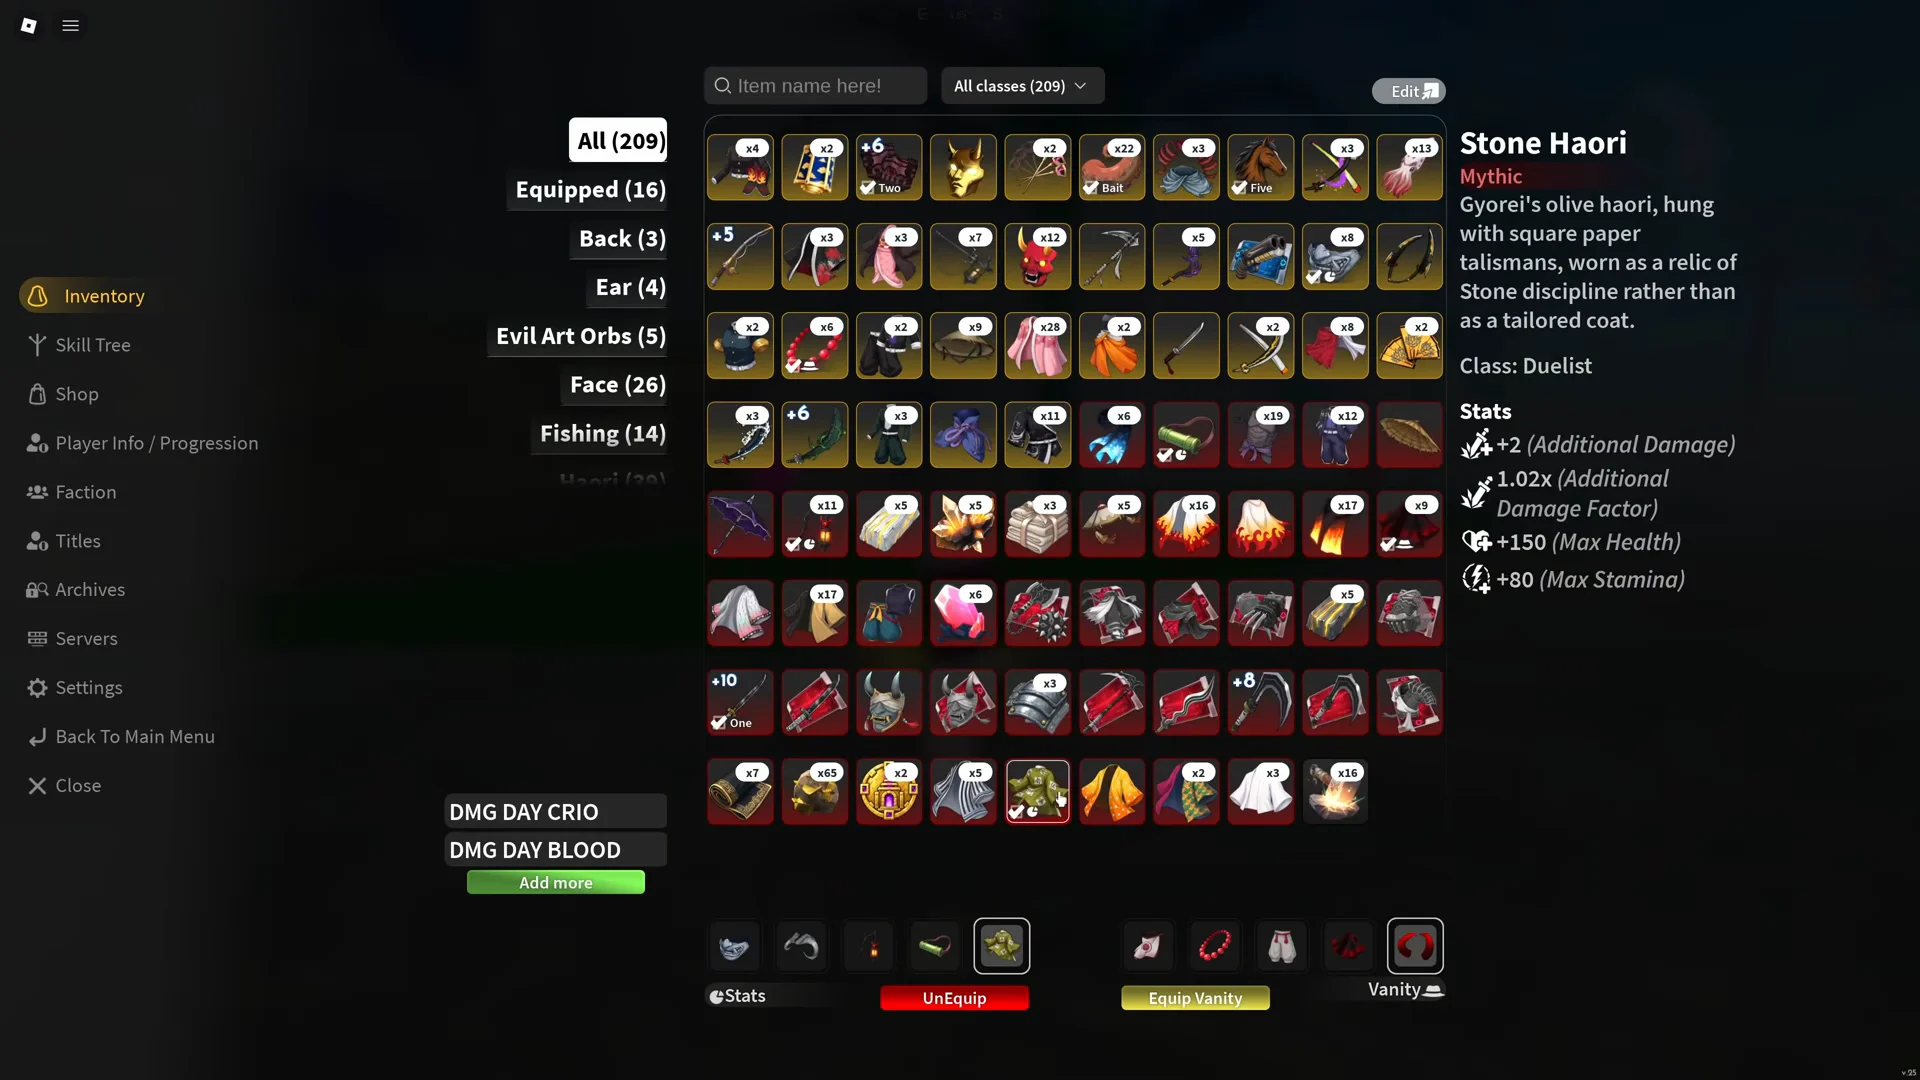
While you build toward Nightfall armor, five distinct pieces each give +2 flat Additional Damage, for +10 total. The pieces must be different items, since duplicates do not stack their flat damage.
| Accessory | Additional Damage | Source |
|---|---|---|
| Demonic Lantern | +2 | World Events Chest (3%) |
| Bamboo Muzzle | +2 | Nezura (3%) |
| Stone Haori | +2 | Gyorei (3%) |
| Ouwigahara mask | +2 | Ouwigahara Chests (5%) |
| Ouwigahara mask/horns | +2 | Ouwigahara Chests (5%) |
For the two Ouwigahara slots, use any two of the Red Oni Mask, Silver Fang Mask, or Demonic Horns II, since they all share the same +2 Additional Damage, +85 Max Health, and +45 Max Stamina profile.
End-game Nightfall armor and the Nightfall Hunt bonus
The full Nightfall set replaces most of the early accessories and adds armor penetration on top of flat damage. Gather the pieces as follows:
- Find the Nightfall Mask schematic in the tower close to Tengoku.
- Togane makes the Nightfall Top and Bottom available once you have gathered 9 Nightfall drawings.
- Nightfall Cape — trade a Lost Cape to Weaver Hatsu near Stone Sanctuary.
- Demonic Lantern — kept from the early setup for its flat damage.
Once the Nightfall Top and Bottom both reach Tier 3, the Nightfall Hunt passive activates, adding 15% damage against enemies with under 30% health. Nightfall gear can also grant up to 32.5% Armor Penetration versus player damage reduction, making it useful in PvE and PvP fights.
Clan choice: Soyama for burst, Tomioka for early game
Soyama (Ascendant) is the pick for maximum boss damage. Its Combat Intuition stores a share of the damage you deal during a 12-second window (50% of damage landed on NPCs) and then releases it as a large damage boost for 7 seconds. On top of that it grants +22% Additional Damage Factor, +255 Max Health, +128 Max Stamina, and the Bell Splitter counter stance.
Tomioka (Technician) is the stronger early and mid-game option. It gives +15% Additional Damage Factor, Flowing Counter (+15% damage on your next Water skill after a block), Flowing Motion (resets two random skill cooldowns), and Serenity Discount, which takes 30% off crafting, refining, and shop prices while you are still building your gear.
Run Tomioka while you farm and craft to save Wen, then roll into Soyama once your gear is finished and you want the burst rotation.
Titles and skill tree priorities
Three combat titles can be equipped together for +4.5 Additional Damage. Each one unlocks by hitting a cumulative damage milestone.
| Title | Rarity | Requirement | Buff |
|---|---|---|---|
| Bonebreaker | Rare | 500,000 total damage | +1 Additional Damage |
| Devastator | Epic | 2,500,000 total damage | +1.5 Additional Damage |
| Annihilator | Legendary | 10,000,000 total damage | +2 Additional Damage |
In the skill tree, put points into your Water moves and clan passives first, then into Stamina and Health, and finally into max mastery so your cooldowns and damage scale to their ceiling.
Boss burst rotation with Combat Intuition
The payoff combo opens the Soyama storage window, stacks hits into it, then dumps everything through Dead Calm and Water Wheel while Nightfall Hunt executes the boss. This build maps the moves to Water Surface Slash (Z), Whirlpool (X), Constant Flux (V), Dead Calm (B), and Water Wheel (C).
If the boss survives or fights back, fall back on Soyama’s Bell Splitter counter or basic M1 swings as fillers until your cooldowns return. When the combo lands cleanly, the stored burst and the Nightfall Hunt execute together are enough to drop most bosses before they can reset the exchange.