At the Shrine of Wisdom in Dragon’s Dogma 2: Dark Arisen, the Sphinx presents three puzzles, one of them The Riddle of the Will. She wants an item that bears “the will to defy ruin.” You need to bring her an object, not give a spoken answer, and finding it leads straight into a fight you cannot avoid.
Quick answer: The answer is the Decorative Brooch from the Mountain Stronghold. Get it in the roofless chamber, escape the stronghold over the rubble, then hand the brooch to the Sphinx to finish the quest.
The quest objectives in order
The quest is “Sage’s Wisdom – Riddle of the Will”, handed out alongside “Sage’s Wisdom – Riddle of the Body” and “Sage’s Wisdom – Riddle of the Soul”. Its summary reads: “The Riddle of the Will is one of three conundrums posed by the sphinx to instruct you on what constitutes a life. It asks you to find an article bearing “the will to defy ruin.””
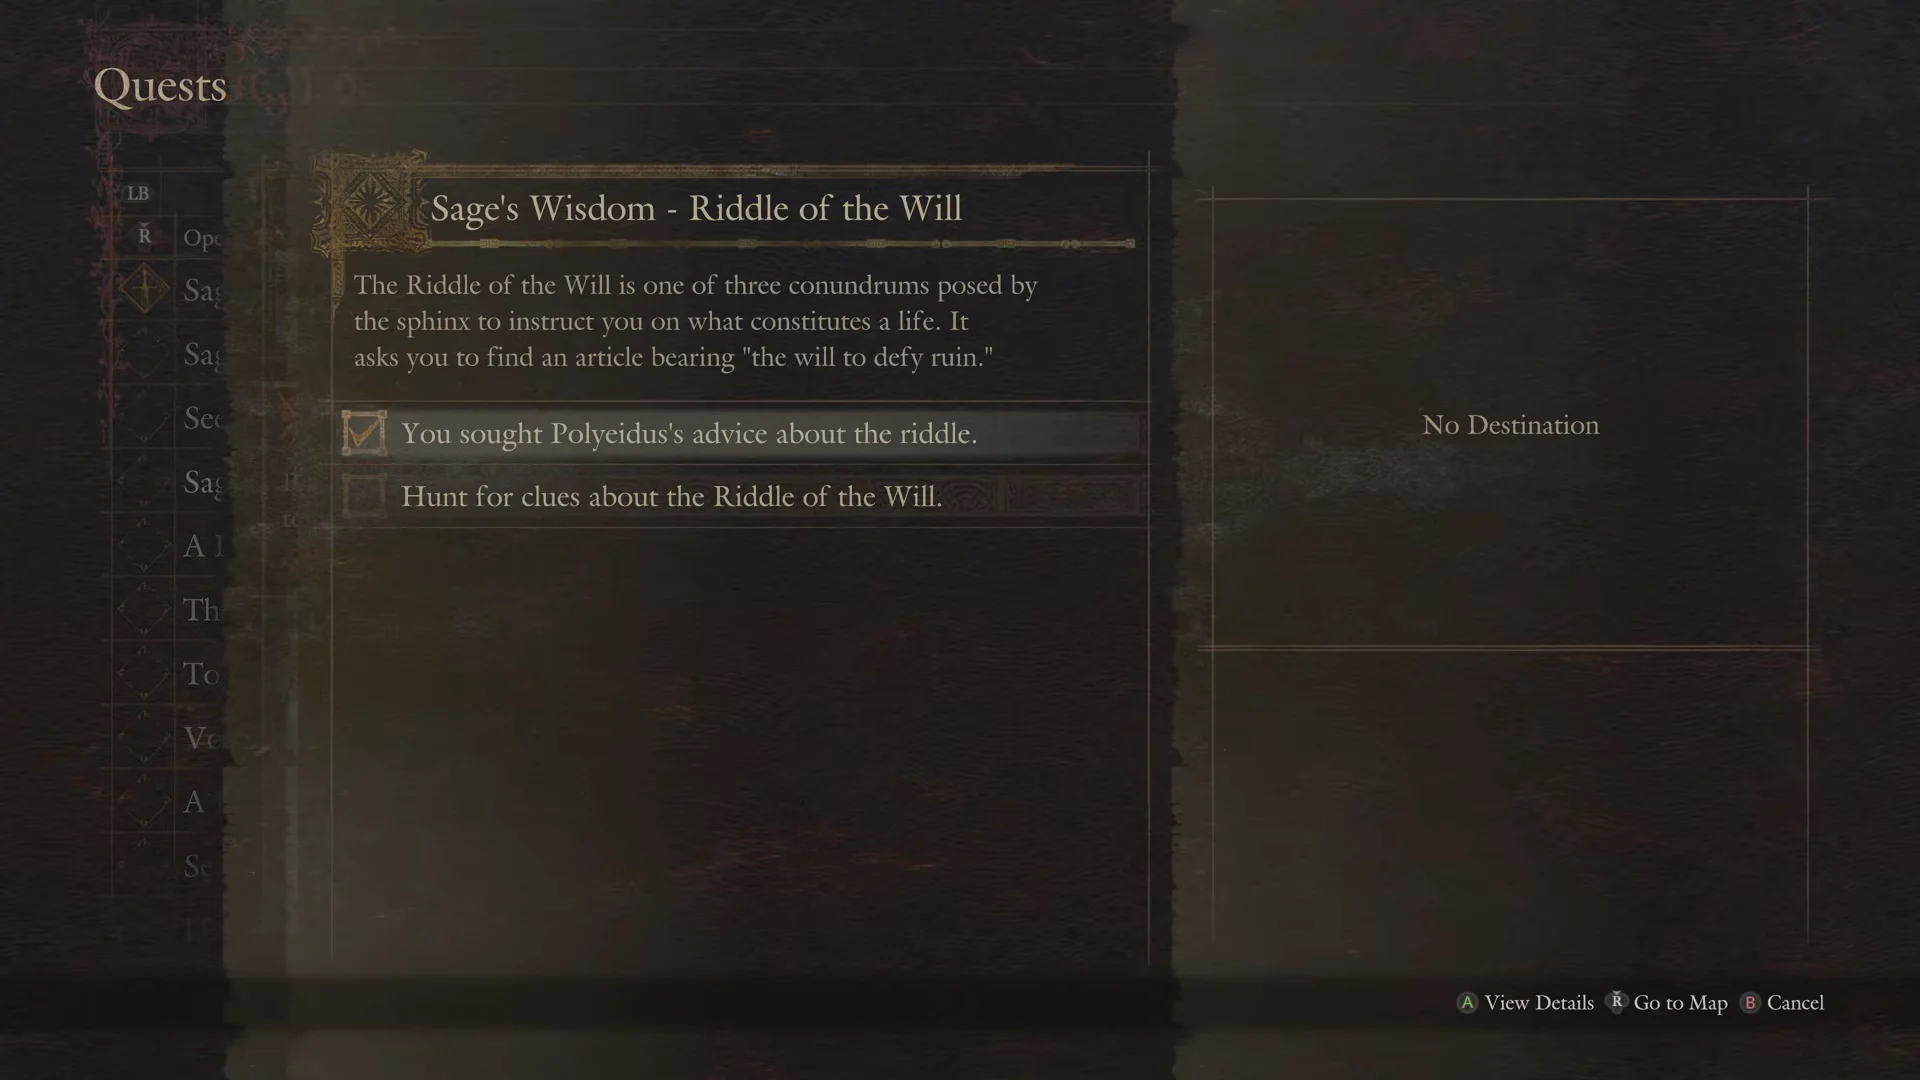
Once you have spoken to Polyeidus the first time and taken the “Hunt for clues about the Riddle of the Will.” objective, the log moves through these lines in sequence:
- “You sought further advice from Polyeidus.”
- “Scour the mountain stronghold for clues.”
- “You found a decorative brooch.”
- “Escape the mountain stronghold.”
- “You escaped the mountain stronghold.”
- “Take the decorative brooch to the sage.”
To see your progress at any point, check the current line beneath the quest title in the Pause Menu.
Ask Polyeidus a second time
With the quest sitting at “Hunt for clues about the Riddle of the Will.”, the person in the village to speak to is Polyeidus. He stands at his tent in the Norgandian Settlement, the dark tent marked with a round gold emblem and a brazier out front.
Ask him about the riddle. He suspects the item is somewhere you have already been, so he sends you back to the mountain stronghold. The journal updates in this order: “You sought further advice from Polyeidus.” followed by “Scour the mountain stronghold for clues.”
Reach the Mountain Stronghold
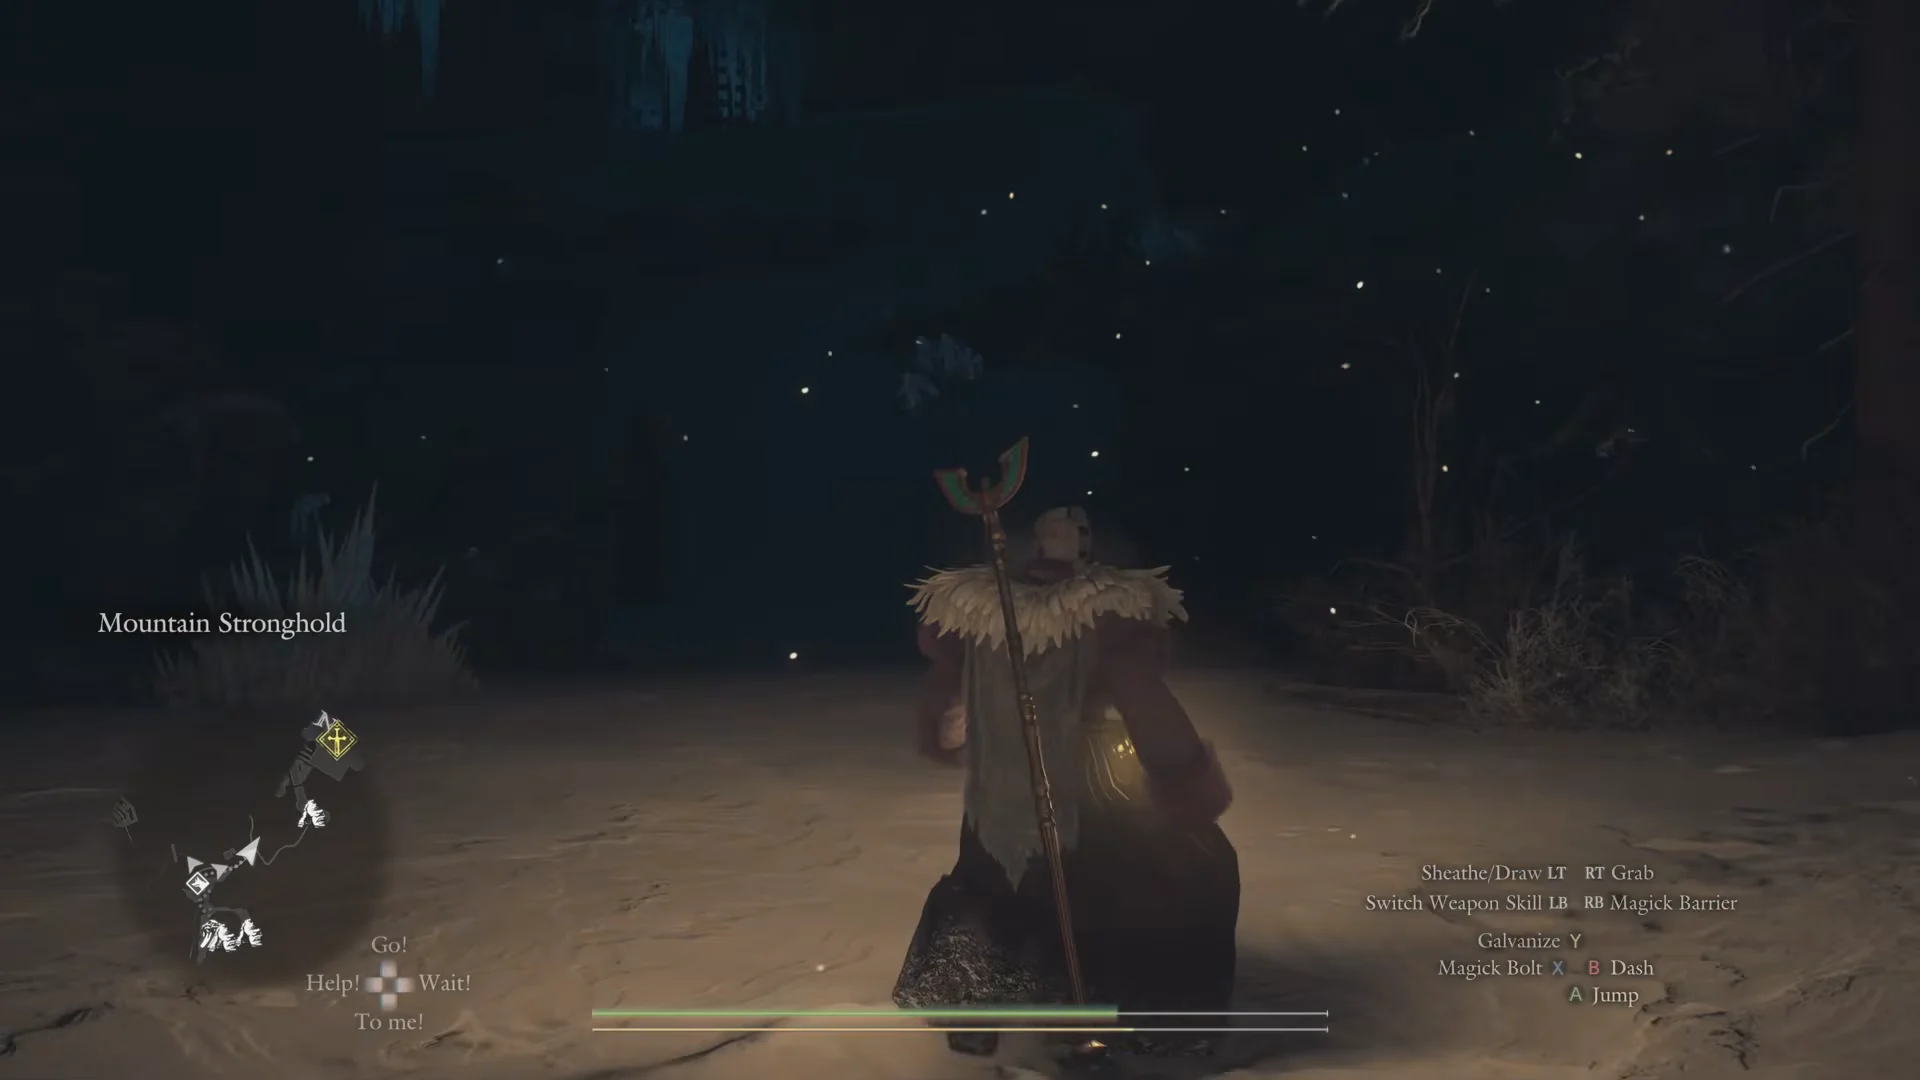
Before you climb, check the foot of that wide stairway. An ornate wooden chest stands against the wall there, holding a Norgan Portcrystal. You can set it down right there to create a fast travel point at the stronghold.
Find the Decorative Brooch in the chamber
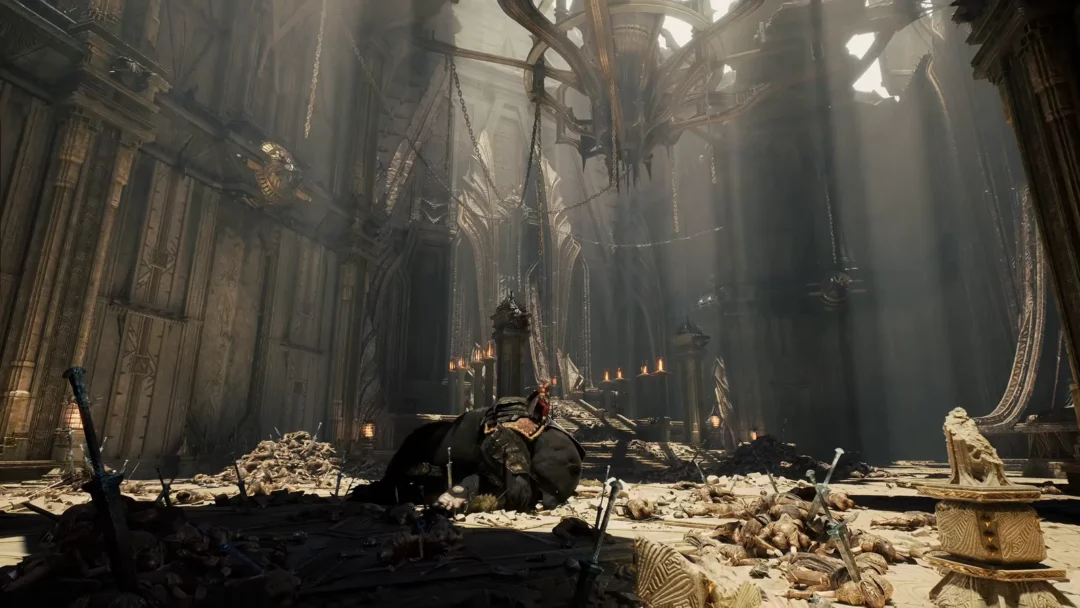
At the top of the broad staircase, slip between the pair of square stone pillars, then ascend a few additional steps over broken masonry. A shadowy chamber without a roof lies beyond, its floor covered in rubble.
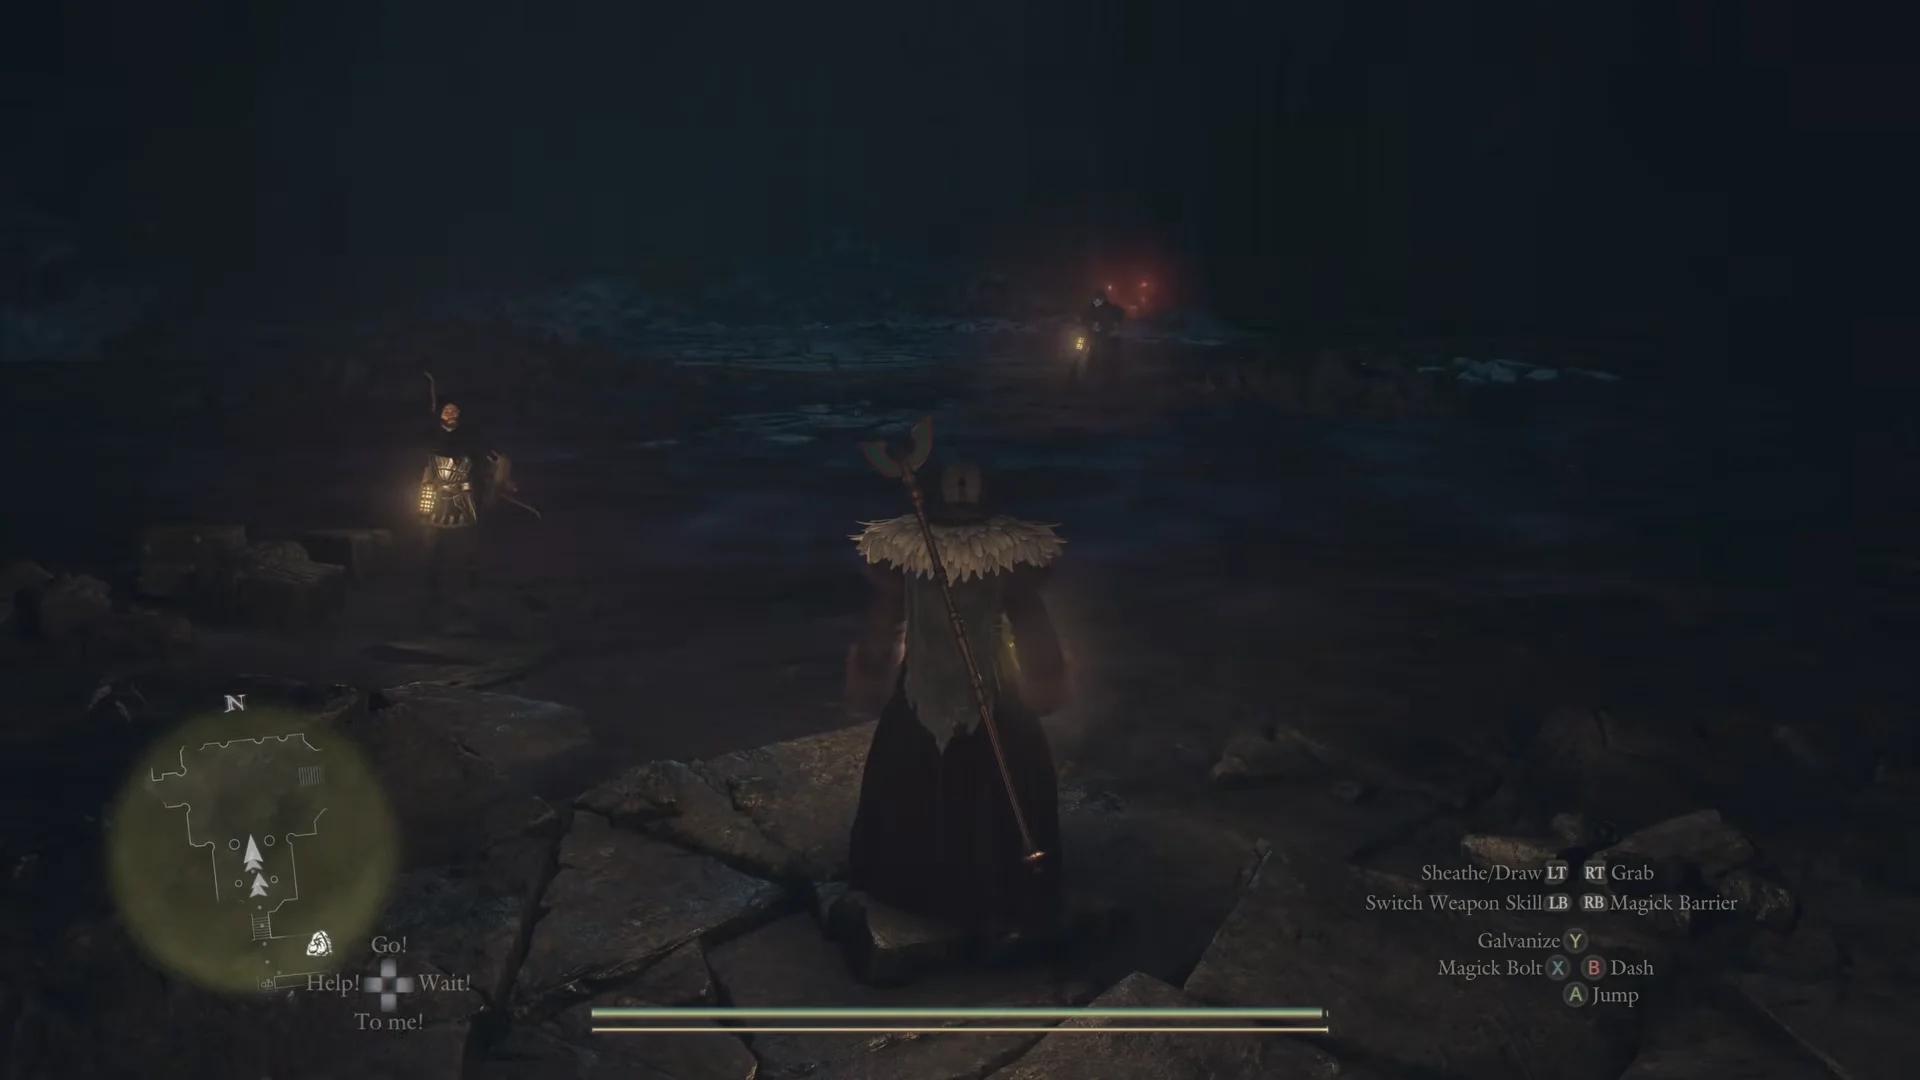
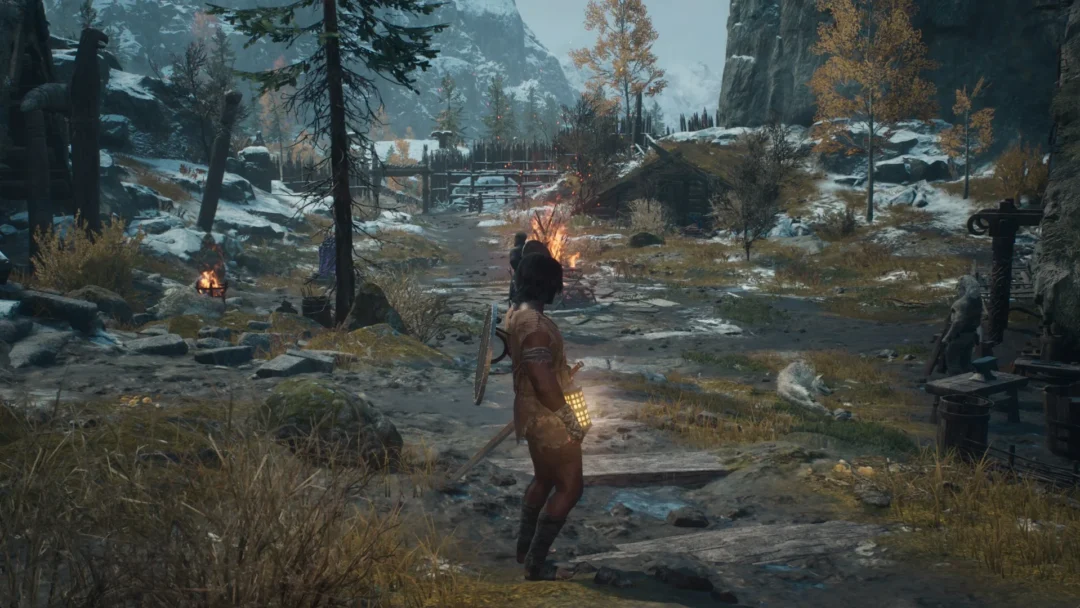
Entering the chamber starts a talk with Wash, a commission archer in a hood with a lantern hanging from his belt. When it ends you can move again: cross the chamber toward Chrona, a shield-bearing soldier with a lantern. A small glint with a thin beam of light above it marks the brooch on the floor; stand over it for the prompt “Pick Up” with “Decorative Brooch” written beneath (F on PC). Taking it starts a second scene in which Chrona remarks on it.
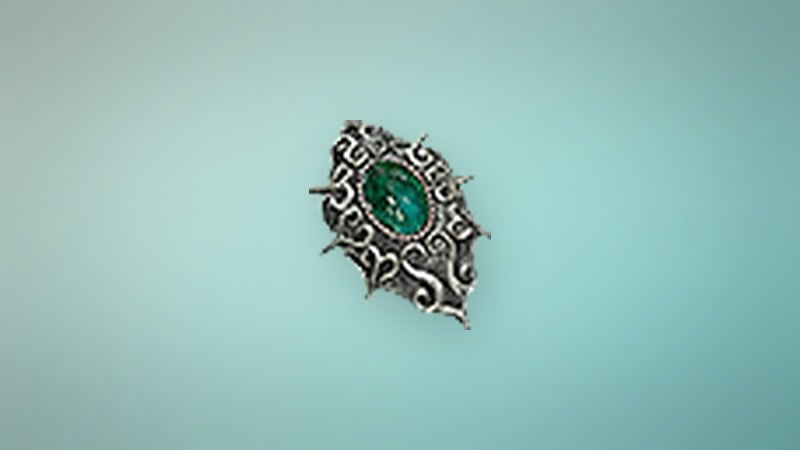
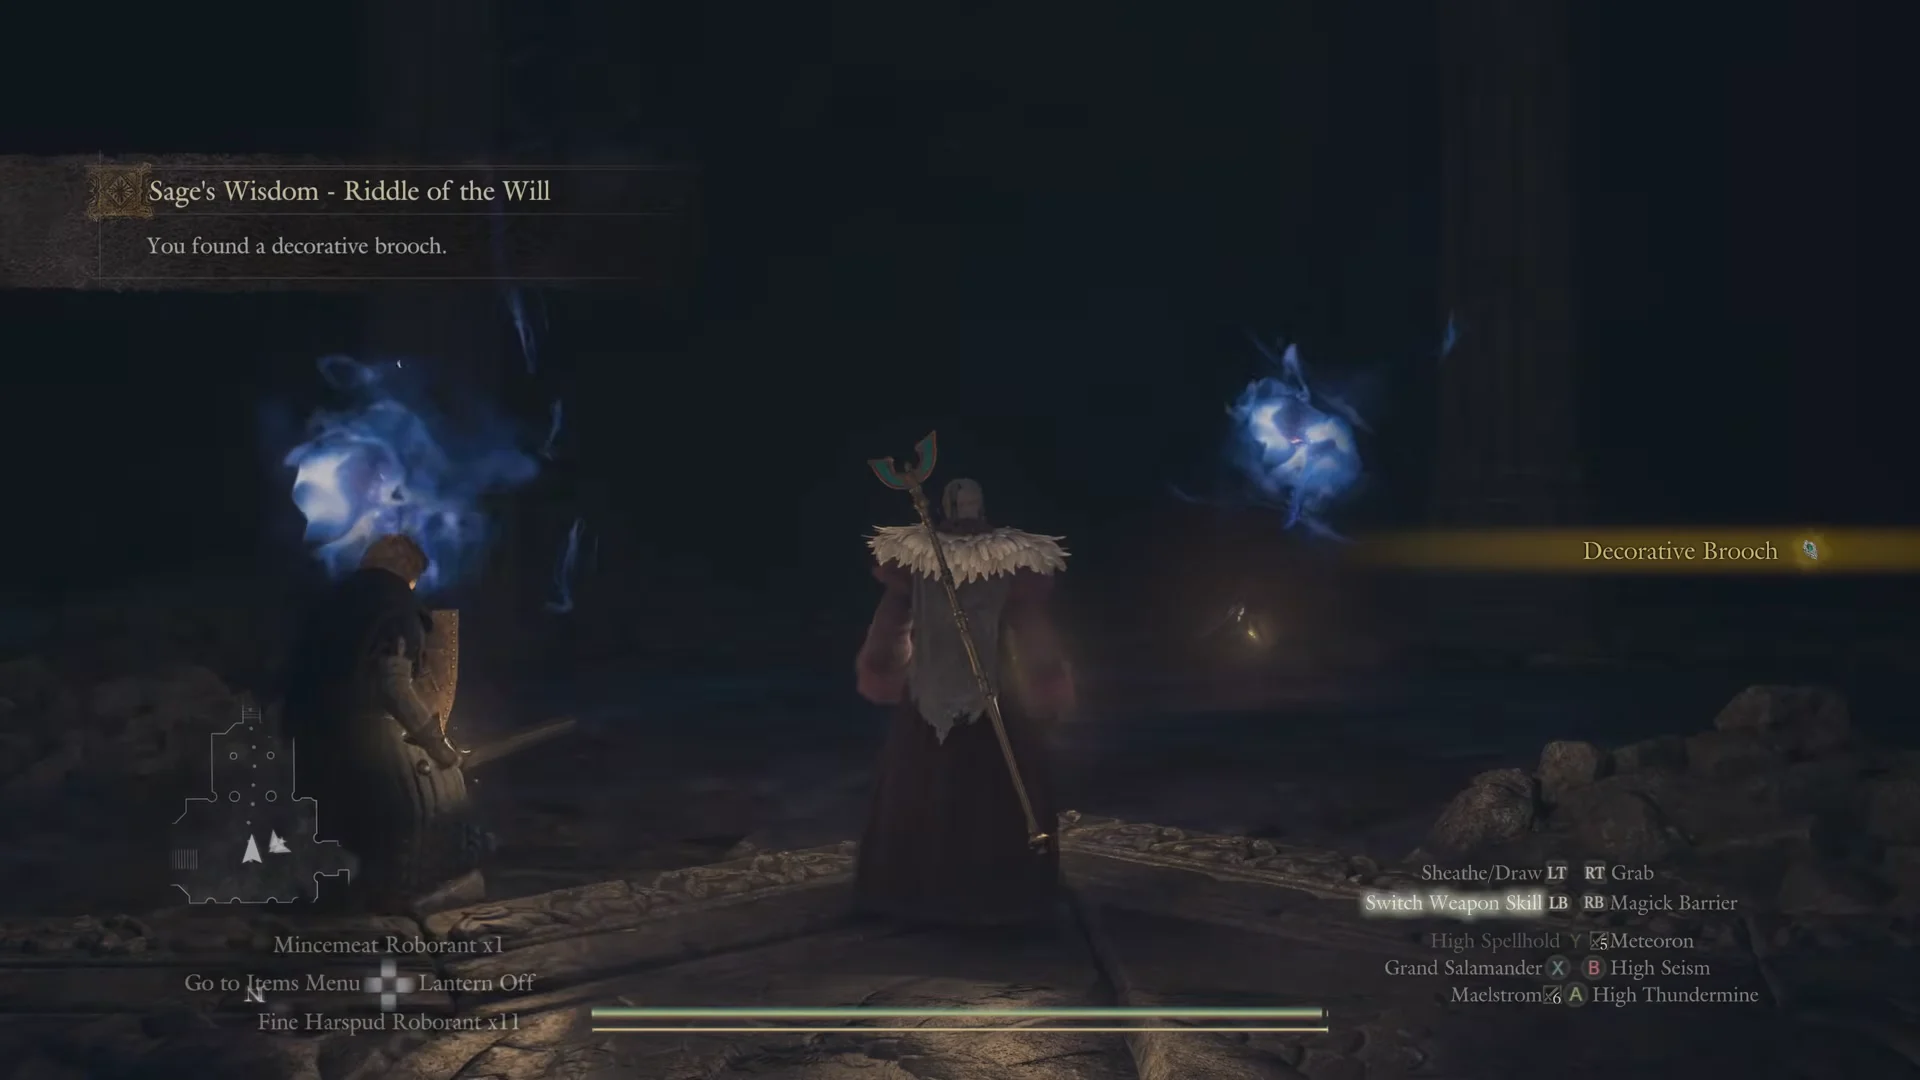
When control returns, the banner reads “Sage’s Wisdom – Riddle of the Will / You found a decorative brooch.” and the Decorative Brooch is in your pack. Its item text reads: “A brooch found in the mountain stronghold. Though quite old, it was clearly well-loved, and the stone has not yet lost its luster.” It weighs 0.3 kg and cannot be sold.
Escape the Mountain Stronghold
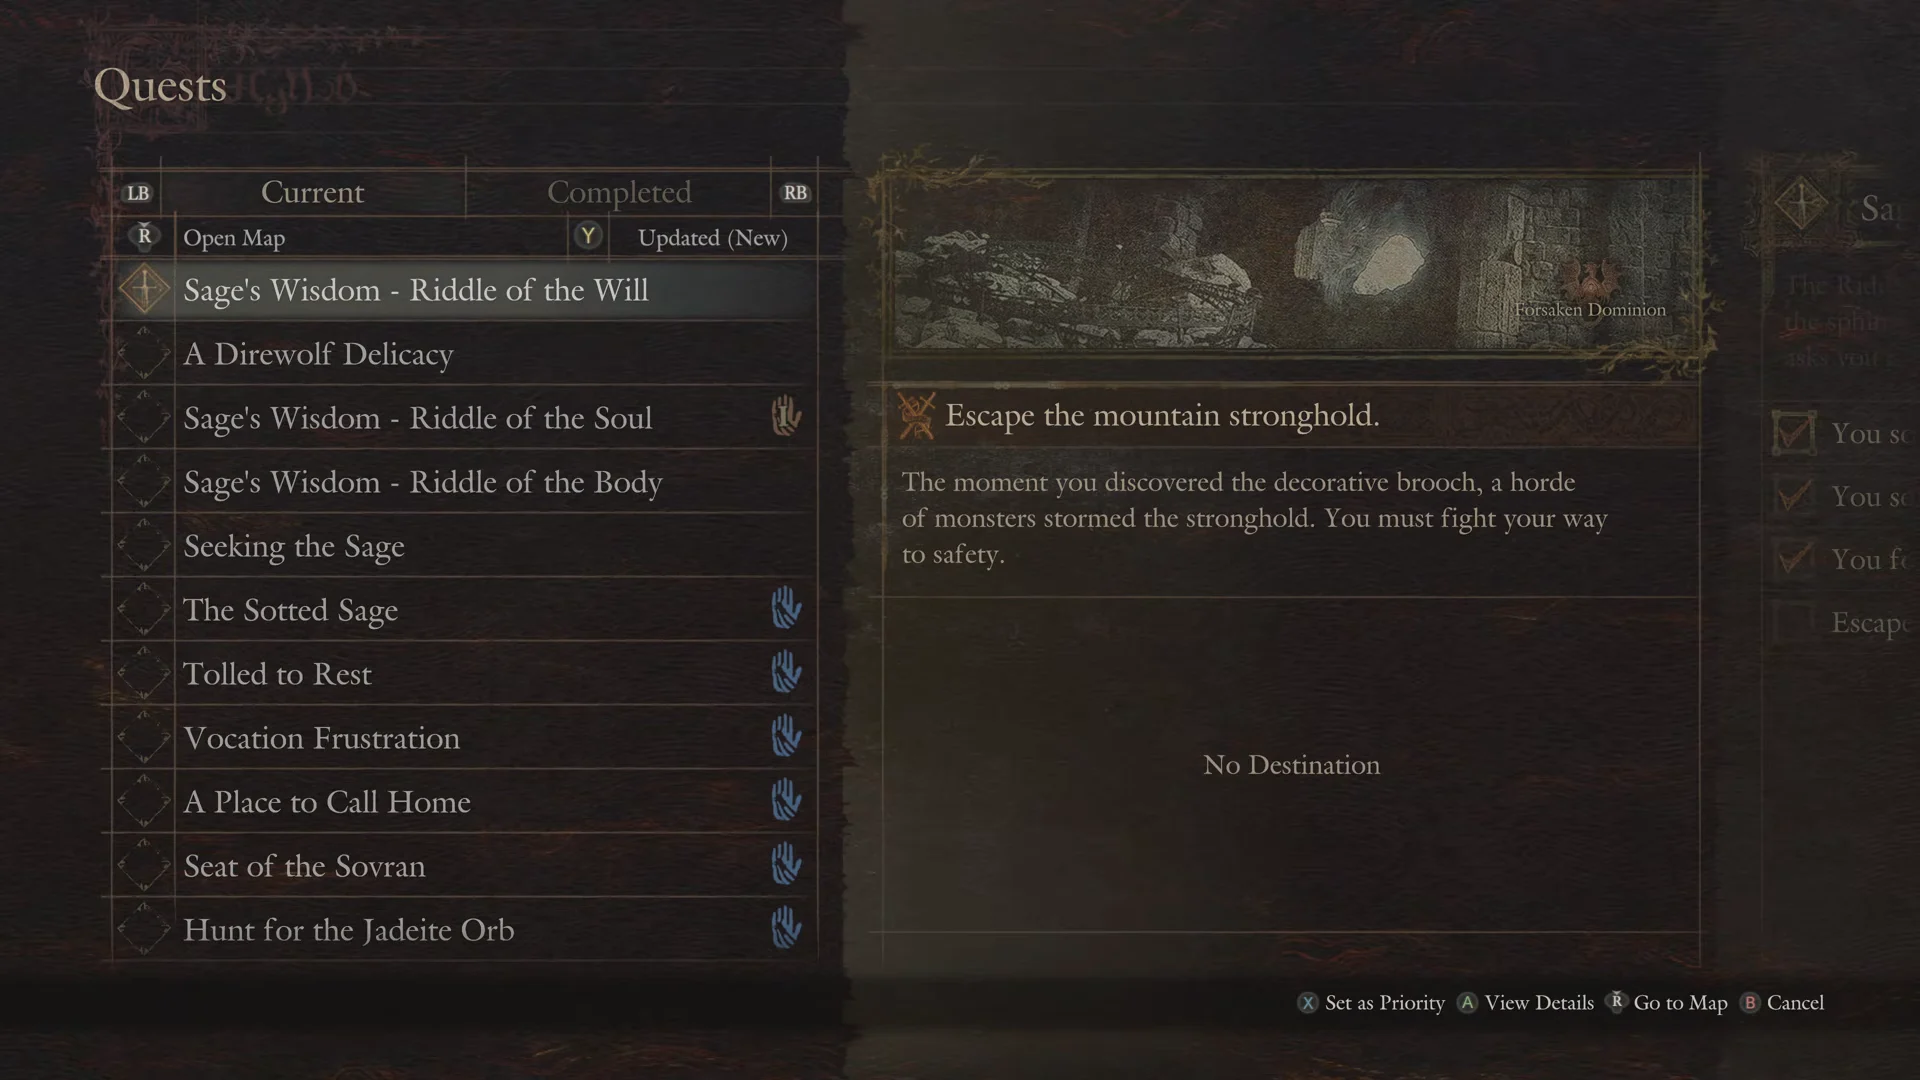
The fight begins immediately. The quest page explains it plainly: “The moment you discovered the decorative brooch, a horde of monsters stormed the stronghold. You must fight your way to safety.” It shows “No Destination”, so there is no map marker pointing to the exit.
To check where you are, open the local map. It is titled “Mountain Stronghold” and has floor tabs labeled “B1F”, “1F” and “2F”. On 1F, the chamber is the square room at the map’s top, directly above the courtyard.
When the last ghouls are dead, another scene with Wash and Chrona plays. After it, the banner reads “You escaped the mountain stronghold.” and then “Take the decorative brooch to the sage.”
Give the brooch to the Sphinx and claim the reward
Return to the Sphinx at the Shrine of Wisdom. If you have used the portcrystal there, it appears on the map as “Norgan Portcrystal: Shrine of Wisdom”. Speak to her, choose to answer the Riddle of the Will, and hand over the Decorative Brooch from the Valuables tab.
She accepts it. The reward lines read “+25000 XP” and “20000 G”, and the banner reads “Completed: Sage’s Wisdom – Riddle of the Will”. Walk up behind her, and the stone chest on the terrace can now be opened with “Open”. Inside is an Eternal Wakestone.