In Valor Mortis, One More Level’s first-person soulslike, you play as plague-stricken soldier William Dowsett, and the Slaughtermill is one of the bosses. This is no simple duel: the grotesque creature combines windmill machinery with living flesh, while the arena plays a central role in the set-piece. Defeating it completes the chapter titled “Crime.”
Quick answer: The Slaughtermill is a two-phase boss fought at a corrupted windmill in a burning forest, then in an underground chasm. Defeating it completes the Crime chapter and pays out 30,000 Catalysts.
Where the Slaughtermill fight takes place
The encounter opens in a dark, burning woodland, with William walking toward a towering wooden windmill. What looks like an abandoned mill is a mutation: a mass of flesh grafted onto the structure, with sweeping limbs and a glowing core hidden behind boarded-up windows. The grappling whip is central from the first moment, since the way in is to pull the barricaded slats off the lower part of the building rather than attack the walls directly.
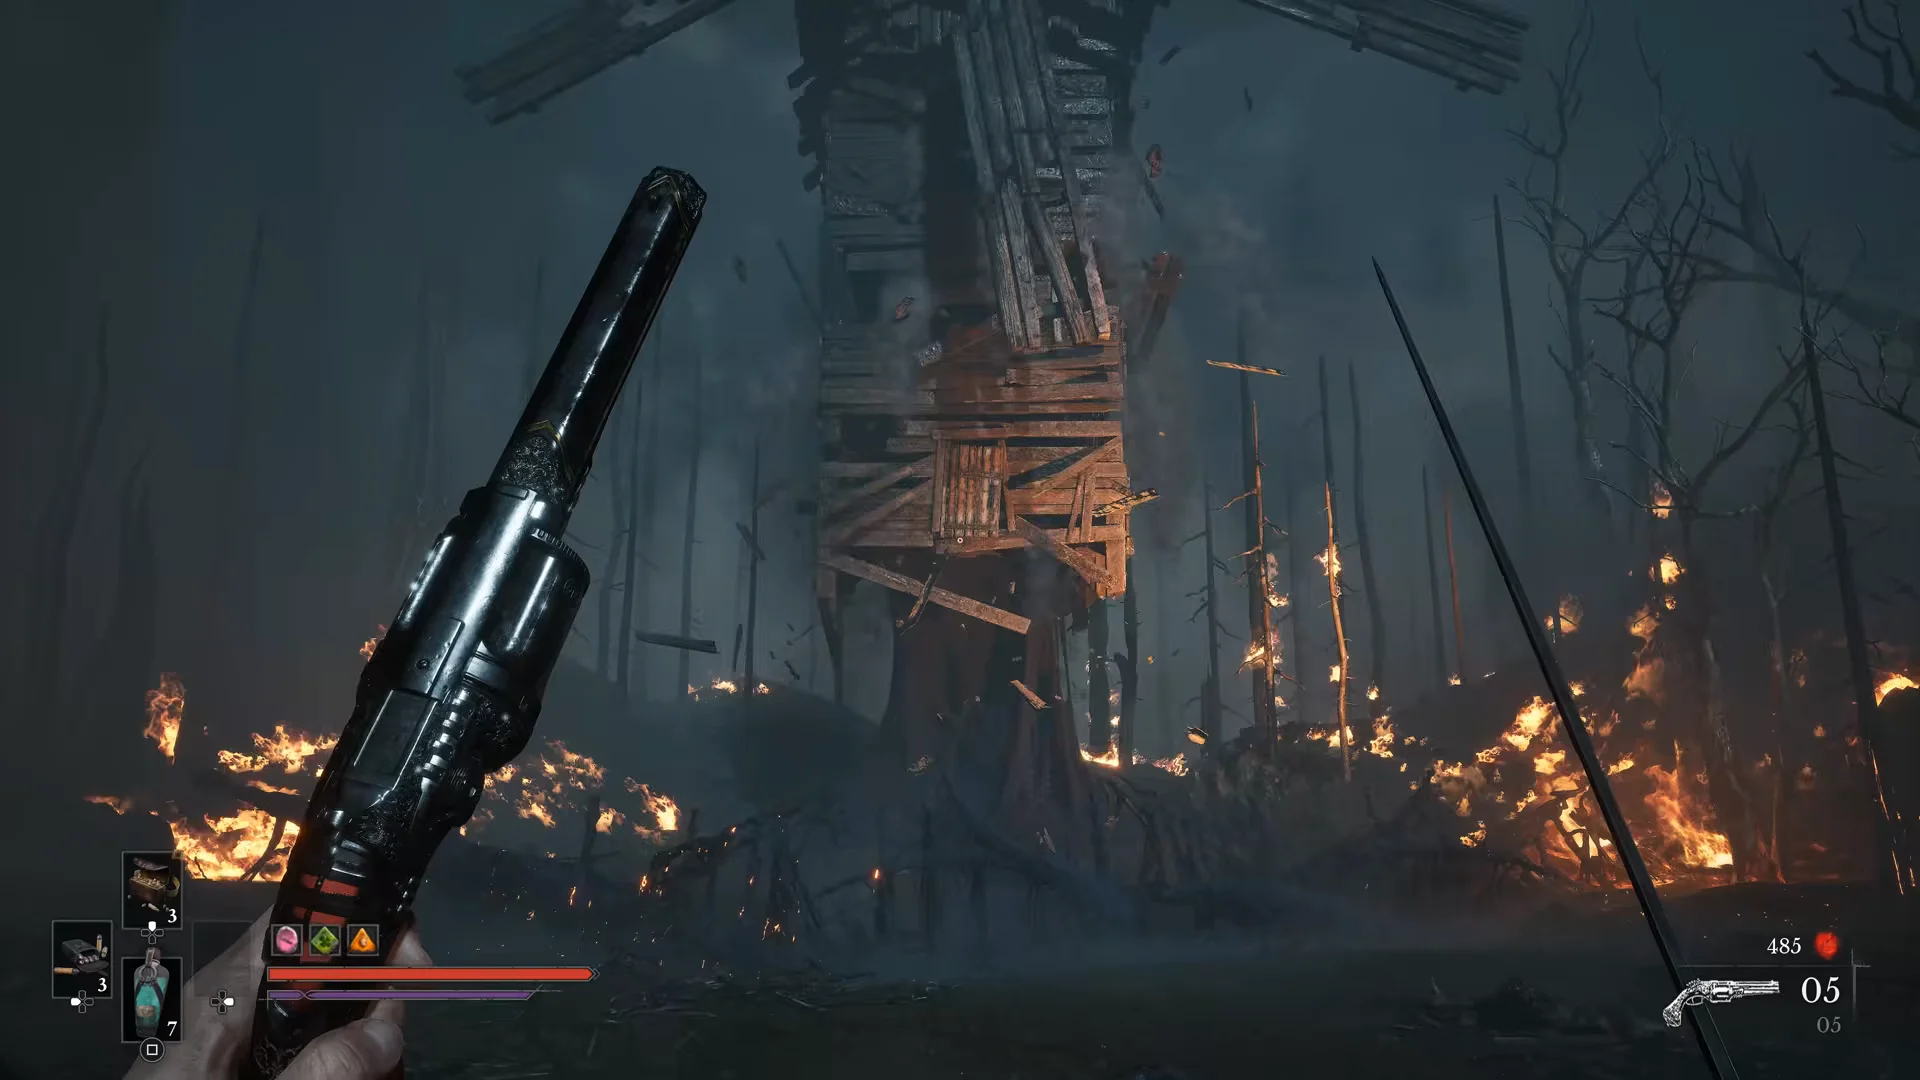
Once the mill is breached, its health bar appears and the first phase proper begins. The creature lashes out with heavy flesh limbs and spawns minor flesh minions to crowd the space while you work.
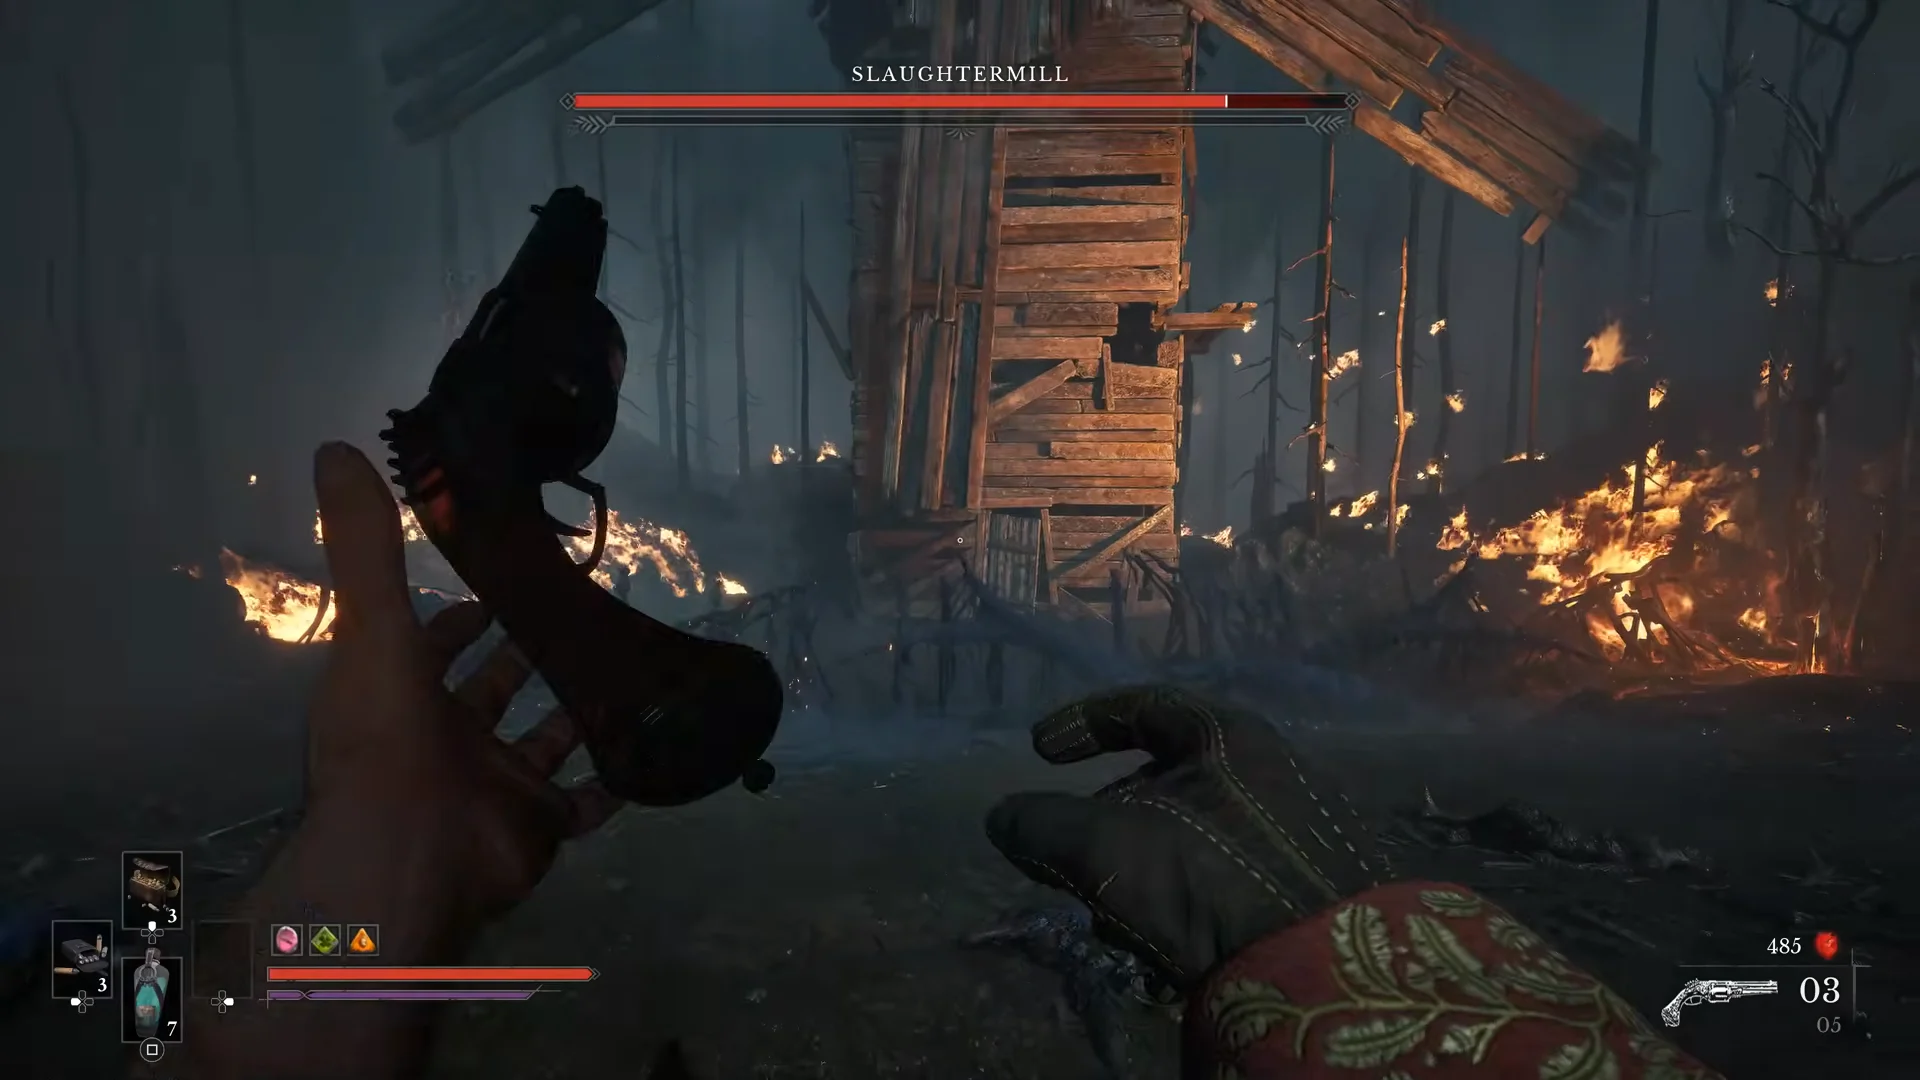
Phase one: the surface windmill
Damage in this phase comes from the glowing orange mouth and core exposed behind the slats. After tearing away the lower boards, William grapples up to an upper vantage point to reach a second set, each pull opening another window onto the beast’s weak points. The blunderbuss and revolver do the work on the fleshy core while the sweeping tentacle arms and the spawned minions apply constant pressure.
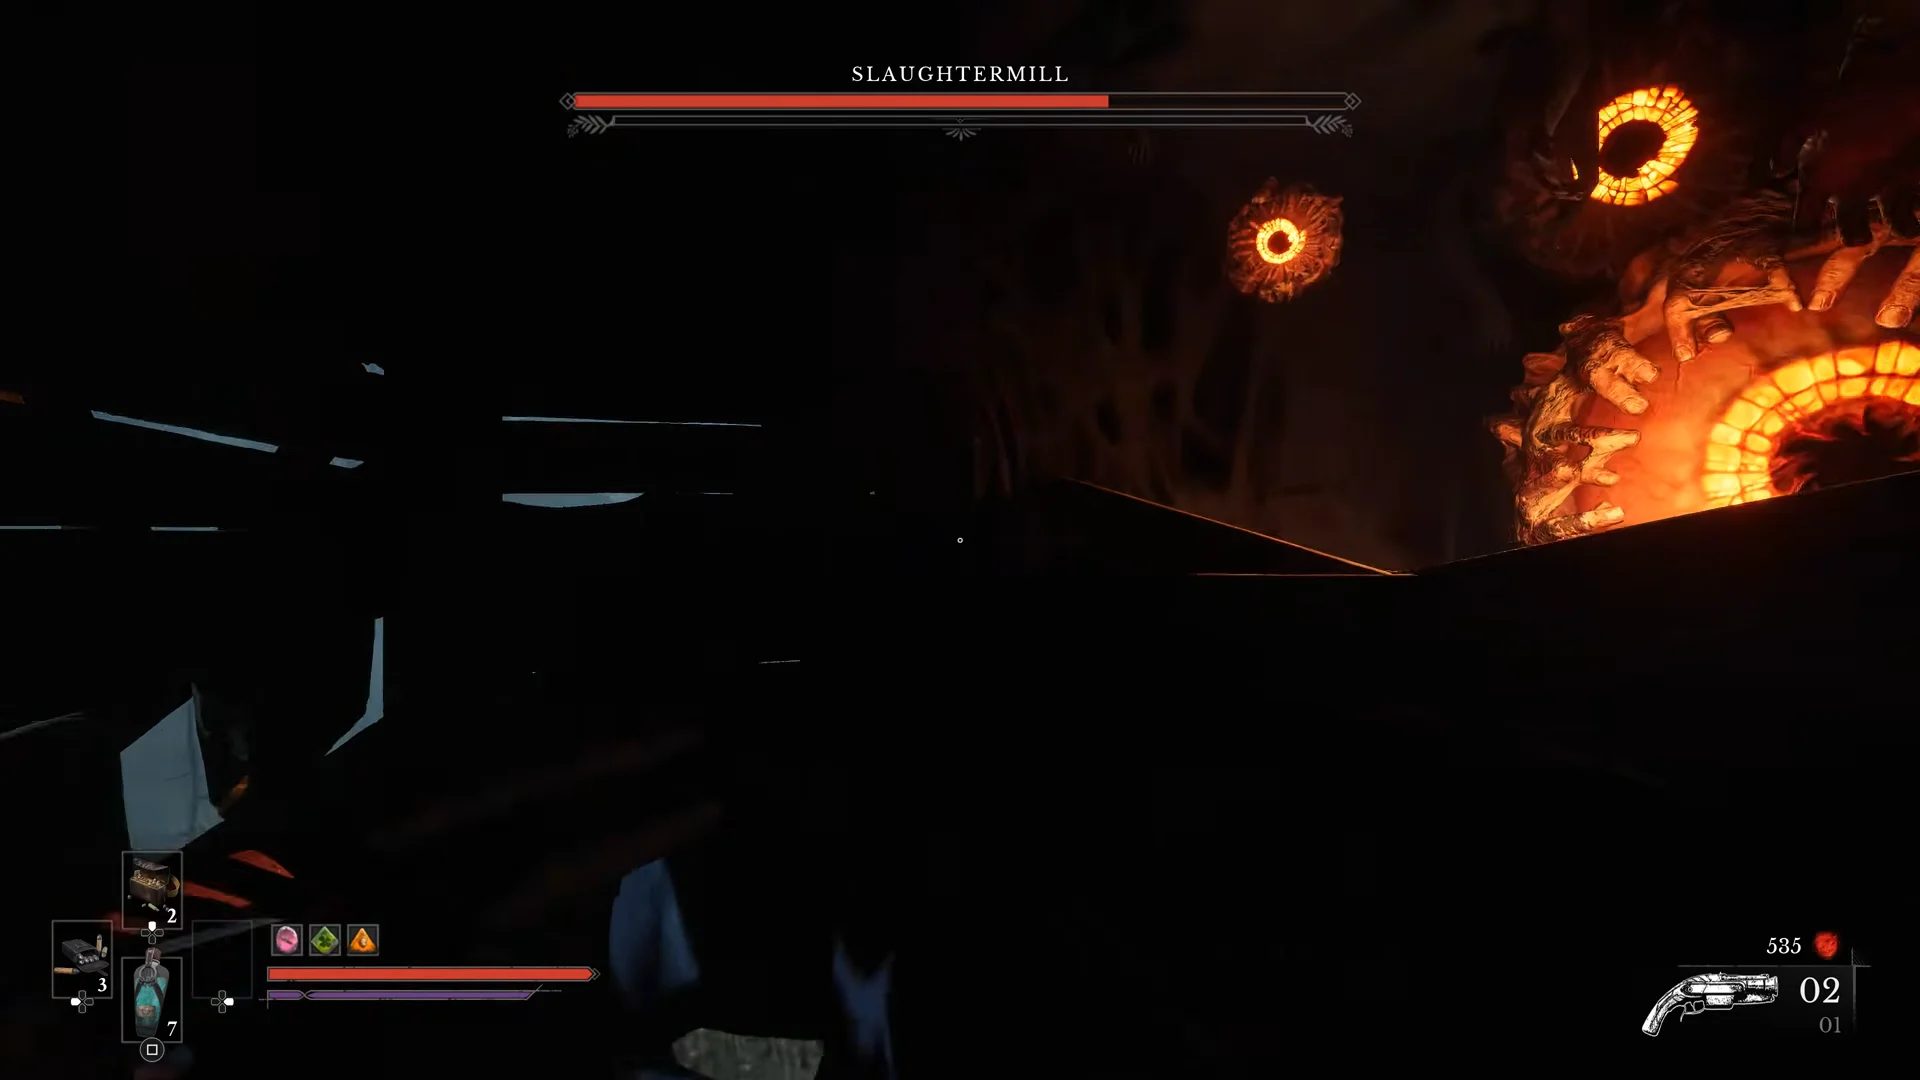
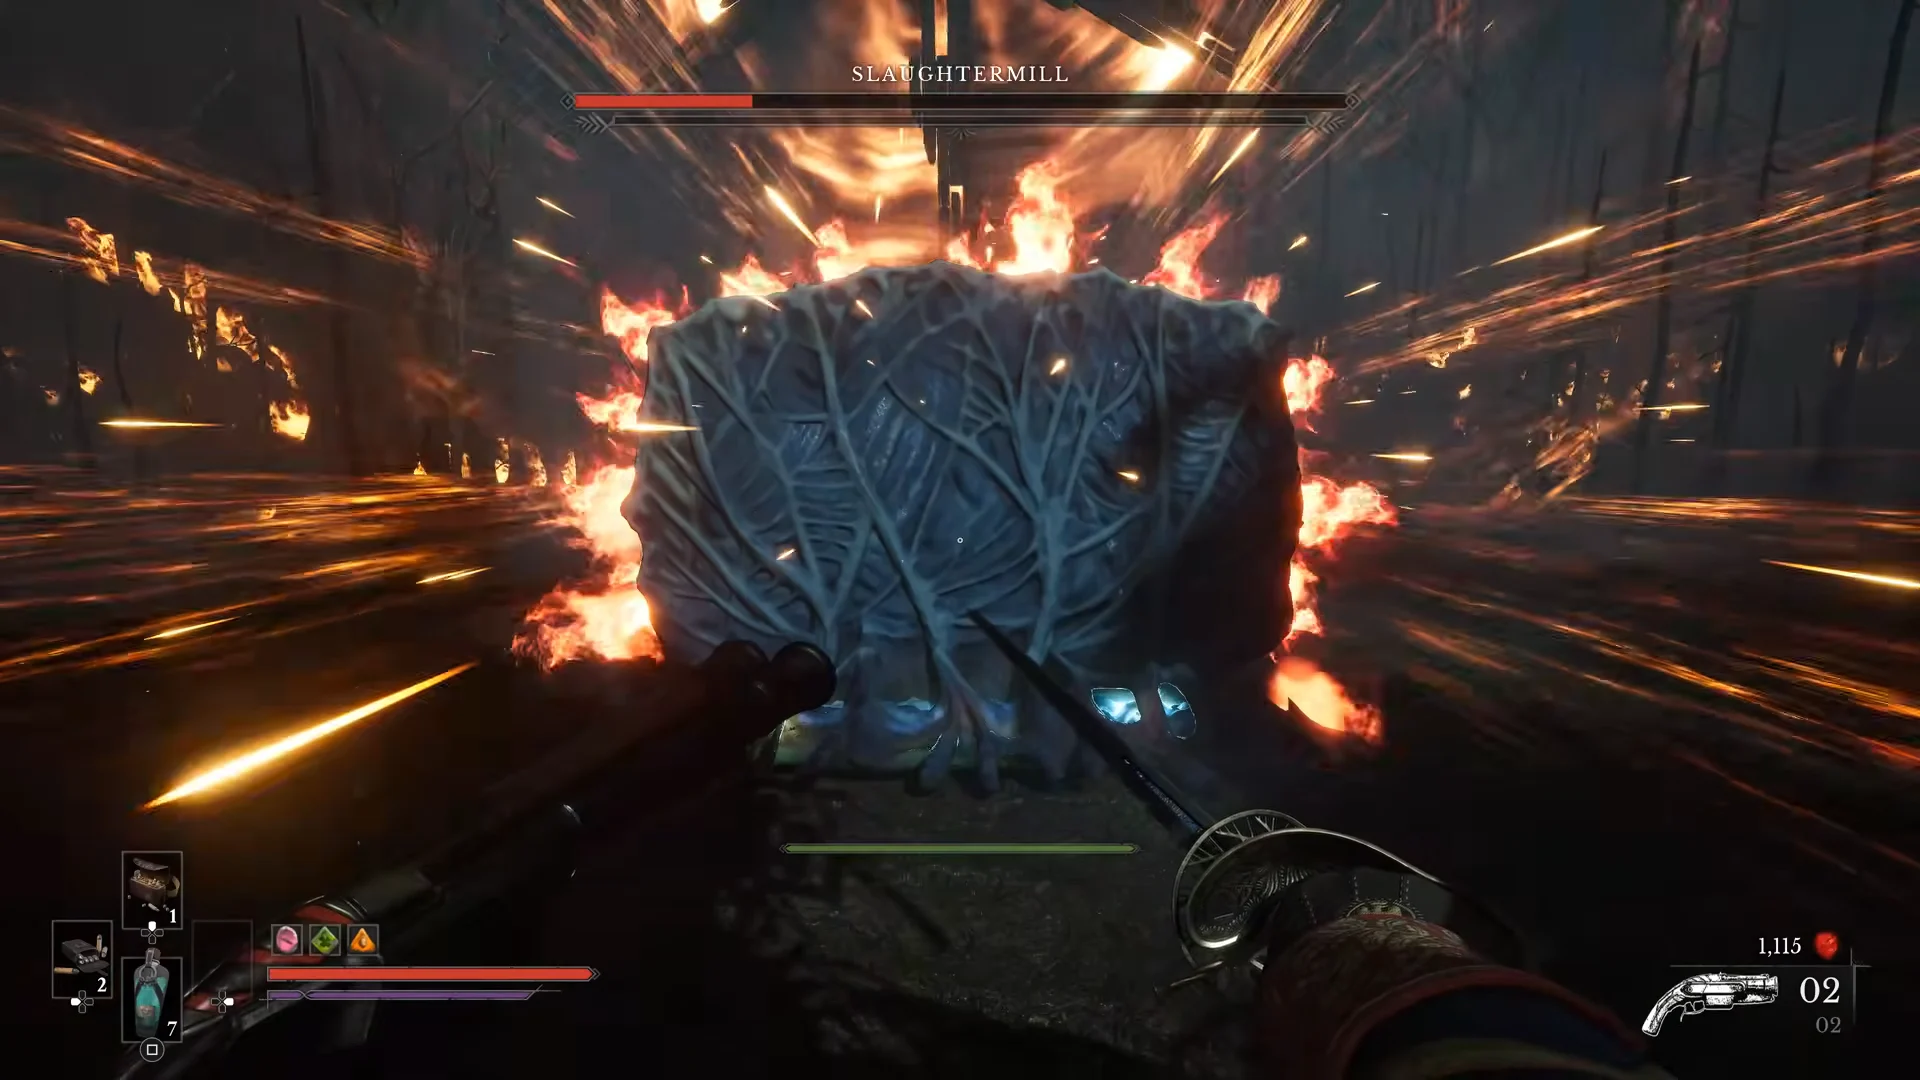
The fight’s defensive beat is a bullet-hell barrage. When the Slaughtermill unleashes dense streams of explosive splinters and fire, Stasis Transmutation summons a crystalline barrier that soaks the incoming fire while you wait out the volley.
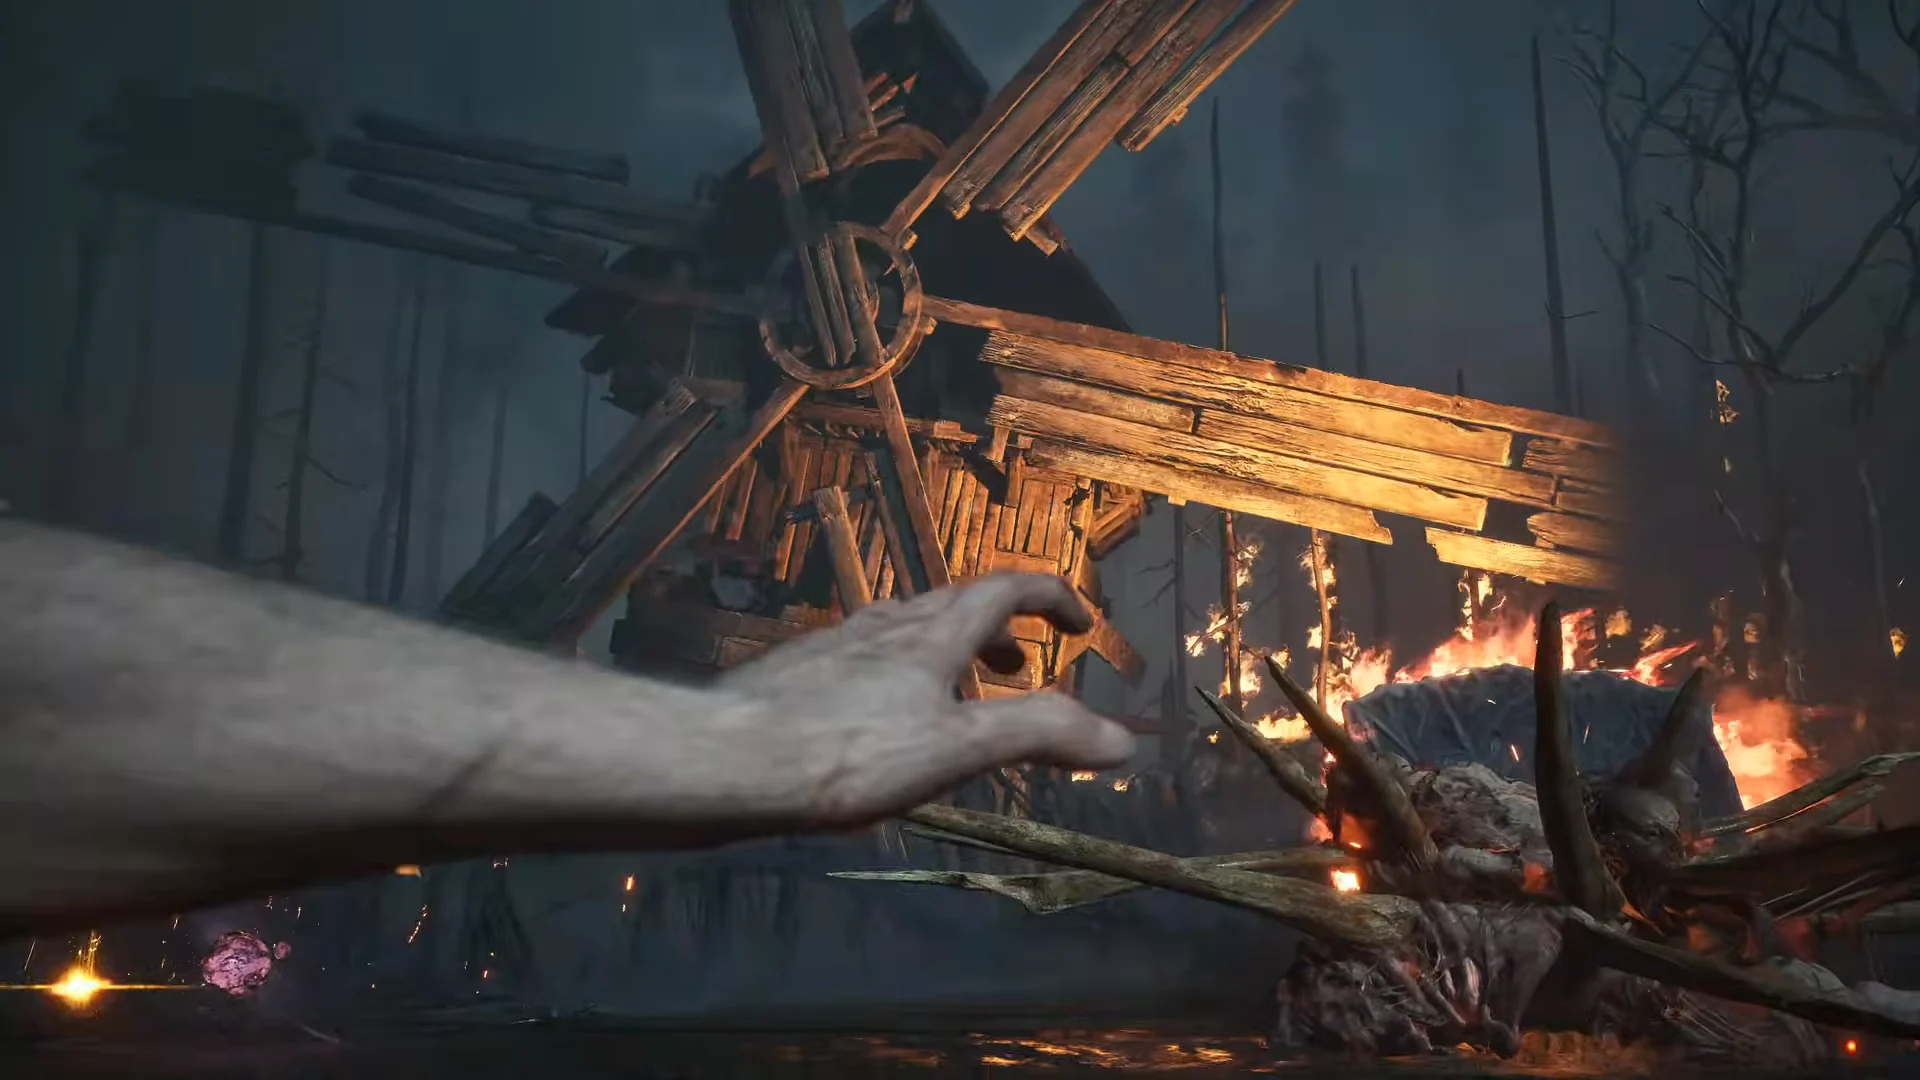
A grapple brings the first phase to a close. Pull the core mechanism to start a cutscene: the windmill buckles and breaks apart, sending William and the creature tumbling into the chasm below.
Phase two: the underground chasm
William wakes in a subterranean cavern, marked by the “Lantern Rekindled” prompt, with the Slaughtermill now suspended among a lattice of wooden scaffolding. The second phase turns into vertical traversal. You grapple between tether nodes to climb across rock walls and platforms while the creature’s limbs sweep at the structure and clusters of red pustules line its appendages.
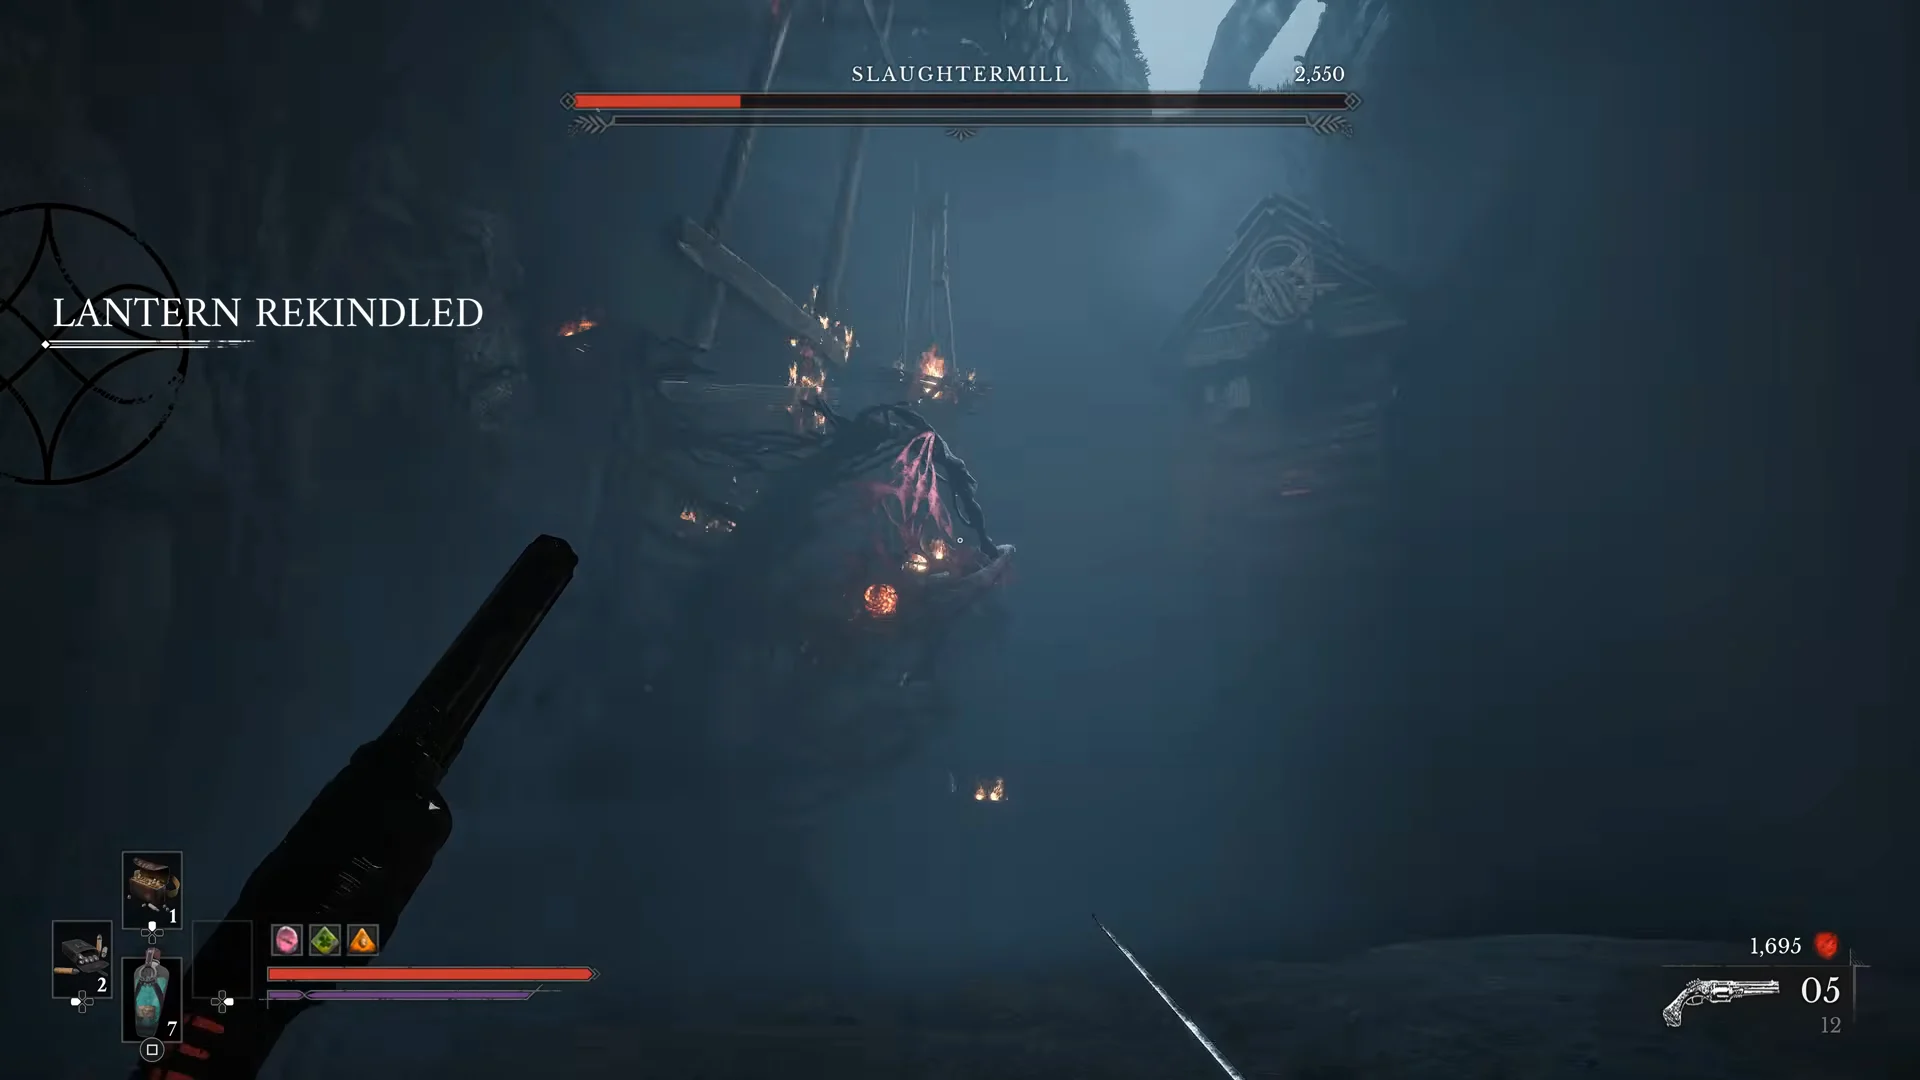
Climbing the framework and shooting the red pustules strips the creature down until its central glowing eye on the front of the suspended mass is exposed. Shooting that core until the health bar empties kills it. The whole phase is less about trading hits and more about reading the platforming while finding firing windows between appendage sweeps.
Rewards and how you know it is over
When the core is destroyed, the screen reads “Abomination Eradicated” and the Crime chapter is marked complete. A new journal entry is added, and the payout is 30,000 Catalysts, the currency spent at Lanterns for permanent upgrades. Immediately afterward, a wooden bridge leads into a lit mine tunnel, with a collectible note waiting on the floor as the next area opens up.
Everything in the kit here is fixed to the game’s Sekiro-style loadout: the saber, revolver and blunderbuss, plus the Grapple and Stasis Transmutations. The Slaughtermill is a reminder that Valor Mortis leans on environmental set-pieces as much as pure parry duels, and that the grappling whip is a combat tool, not just a way to get around.