William carries nine pieces of kit through his campaign: three melee blades, three firearms, and three transmutations cast from his off-hand. None of them can be permanently missed, but several sit off the main path or behind a tough enemy, so it helps to know exactly where each one waits. Every weapon also levels on its own track with a board of perks, and those boards are where real build differences come from.
Quick answer: You start with the Saber and the Fire Transmutation. The other seven are fixed pickups spread across the campaign regions — grab them as you reach each area and the Arsenal is complete.

Where to find every weapon and transmutation
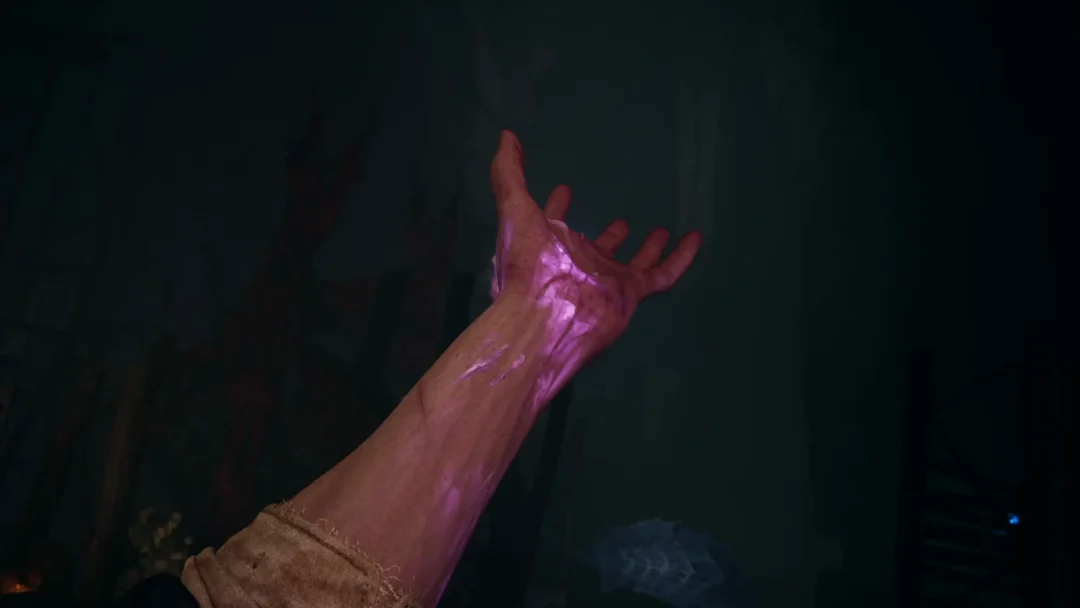
Transmutations are handed to you by latching onto plague-infected humanoids slumped against the world; approach one and it transfers its ability to William. Melee weapons and firearms are pulled from corpses or looted from carriages. Here is the full list with the short version of each location.
| Weapon | Type | Where to get it |
|---|---|---|
 Saber Saber | Melee | Starting weapon |
 Fire Transmutation Fire Transmutation | Transmutation | Opening area, from the corpse held up by growths |
 Pistol Pistol | Firearm | Carriage past the Demolished Path Lantern, Valley of Ashes |
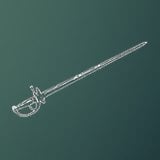 Rapier Rapier | Melee | Abandoned Church courtyard corpse |
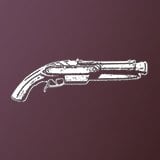 Blunderbuss Blunderbuss | Firearm | Carriage in the Fallen Village, before the Marketplace Lantern |
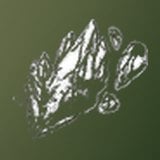 Stasis Transmutation Stasis Transmutation | Transmutation | Corpse in the Caverns mines |
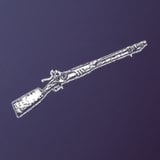 Musket Musket | Firearm | Guarded wagon in the Vale of Wrath |
 Claymore Claymore | Melee | Altar corpse in the Cursed Hollow church |
| Shield Transmutation | Transmutation | Upper floor of the University |
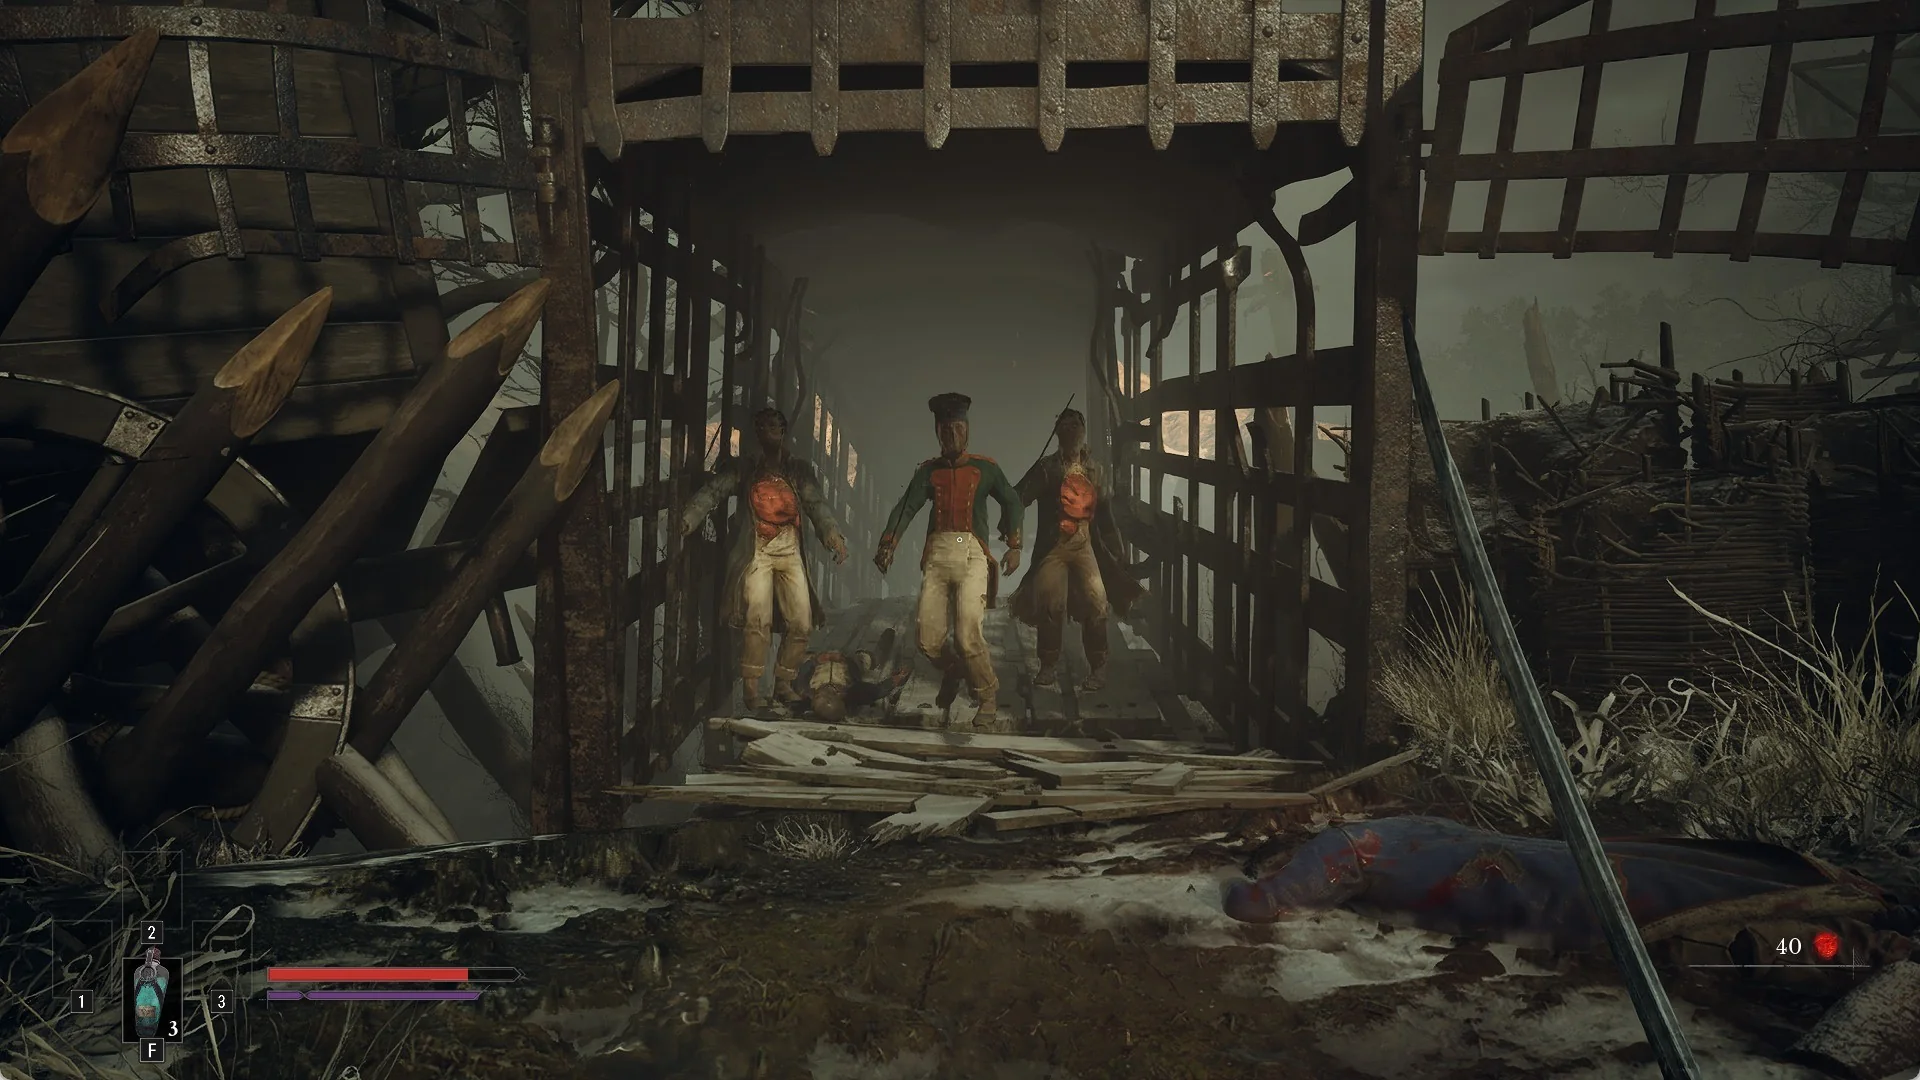
Five of these are impossible to walk past. The Fire Transmutation sits at the very start, grafted onto a corpse suspended by strange growths. The Pistol is on a desk inside the carriage you drop into after crossing the ruined bridge at the Demolished Path Lantern. The Rapier comes from another growth-held corpse in the Abandoned Church courtyard, taken as you head out to search the Fallen Village for Louis. The Claymore is plucked from the corpse at the altar once you finally get inside the Cursed Hollow church — expect a fight the moment you grab it.
Blunderbuss (Fallen Village)
In the latter half of the Fallen Village, a towering Volunteer wields a long Greatsword and bars the way to a fancy carriage. Defeat him, enter the carriage, and pick up the Blunderbuss from the table. You’ll find this location shortly before the Marketplace Lantern.
Stasis Transmutation (Caverns)
Far inside the Caverns, the mines contain a ladder-filled shaft that climbs to the Old Mine Lantern. A lever halfway up turns a massive central platform, giving you access to the lantern across from you or a route to the right. Follow that right-side route and search the corpse at its end for the Stasis Transmutation. It can freeze enemies and halt moving gears and machinery.
Musket (Vale of Wrath)
From the Under the Bridge Lantern, cross the bridge and duck into the small shack, then push through the forest until the path splits. The right fork has a deer carcass and a pale gravel road; the left has a wooden building and villager enemies. Go left. Instead of entering the building, stay left along the path, watching for loose wooden planks on the dirt — step on them and you drop into a tunnel below, which still leads where you need to go but adds more fighting.

Beyond the house is an area resembling a military base, where a formidable Volunteer stands guard over a wagon by the entrance. Defeat him to get the Wagon Key; use it to open the wagon and take the Musket.
Shield Transmutation (University)
This route assumes the shortcut is open, accessed through the far-left doorway at the top of the University’s Main Hall stairs. Start at the Main Hall Lantern, ascend the stairs, pass through that doorway, and continue along the corridor. Take the elevator on your left up. In the room ahead, climb the left-hand stairs and examine the corpse to gain Shield Transmutation, which completely nullifies enemy attacks and poison damage.
Upgrade materials and level tracks
Melee weapons and firearms both climb to level 10 and share the same tier pattern, just with different items — a Saber and a Pistol pass through identical quantities at each step. Transmutations cap at level 5 and run on a shorter track of Transmutation Material. Materials come from chests, loot, and the merchants James and Louis at the Abandoned Church, where you spend them at James’s Iron Bench (weapons) and Louis’s Laboratoire (transmutations).
| Level | Melee material | Firearm parts |
|---|---|---|
| 2 | Crude Blade x1 | Standard Firearm x1 |
| 3 | Crude Blade x2 | Standard Firearm x2 |
| 4 | Crude Blade x3 | Standard Firearm x3 |
| 5 | Pure Blade x1 | Superior Firearm x1 |
| 6 | Pure Blade x2 | Superior Firearm x2 |
| 7 | Pure Blade x3 | Superior Firearm x3 |
| 8 | Distilled Blade x1 | Exquisite Firearm x1 |
| 9 | Distilled Blade x2 | Exquisite Firearm x2 |
| 10 | Quintessential Blade x1 | Masterwork Firearm x1 |
Upgrading a Transmutation takes Crude Transmutation Material x2 to reach level 2, Pure x2 for level 3, Distilled x2 for level 4, and Quintessential x1 for level 5. Perks become available for melee weapons and firearms at levels 2, 5, 8, and 10, while Transmutation perks open at levels 2, 3, 4, and 5. If a slot offers two perks, you can have only one active; the game lets you change your selection at any time, making it easy to adapt a maxed weapon to each fight.
Melee weapons: Saber, Rapier, Claymore
| Level | Saber dmg | Rapier dmg | Claymore dmg |
|---|---|---|---|
| 1 | 20 | 25 | 50 |
| 2 | 26 | 28 | 60 |
| 3 | 32 | 31 | 70 |
| 4 | 36 | 33 | 75 |
| 5 | 40 | 35 | 80 |
| 6 | 44 | 37 | 84 |
| 7 | 48 | 39 | 88 |
| 8 | 52 | 41 | 92 |
| 9 | 56 | 43 | 96 |
| 10 | 60 | 45 | 100 |
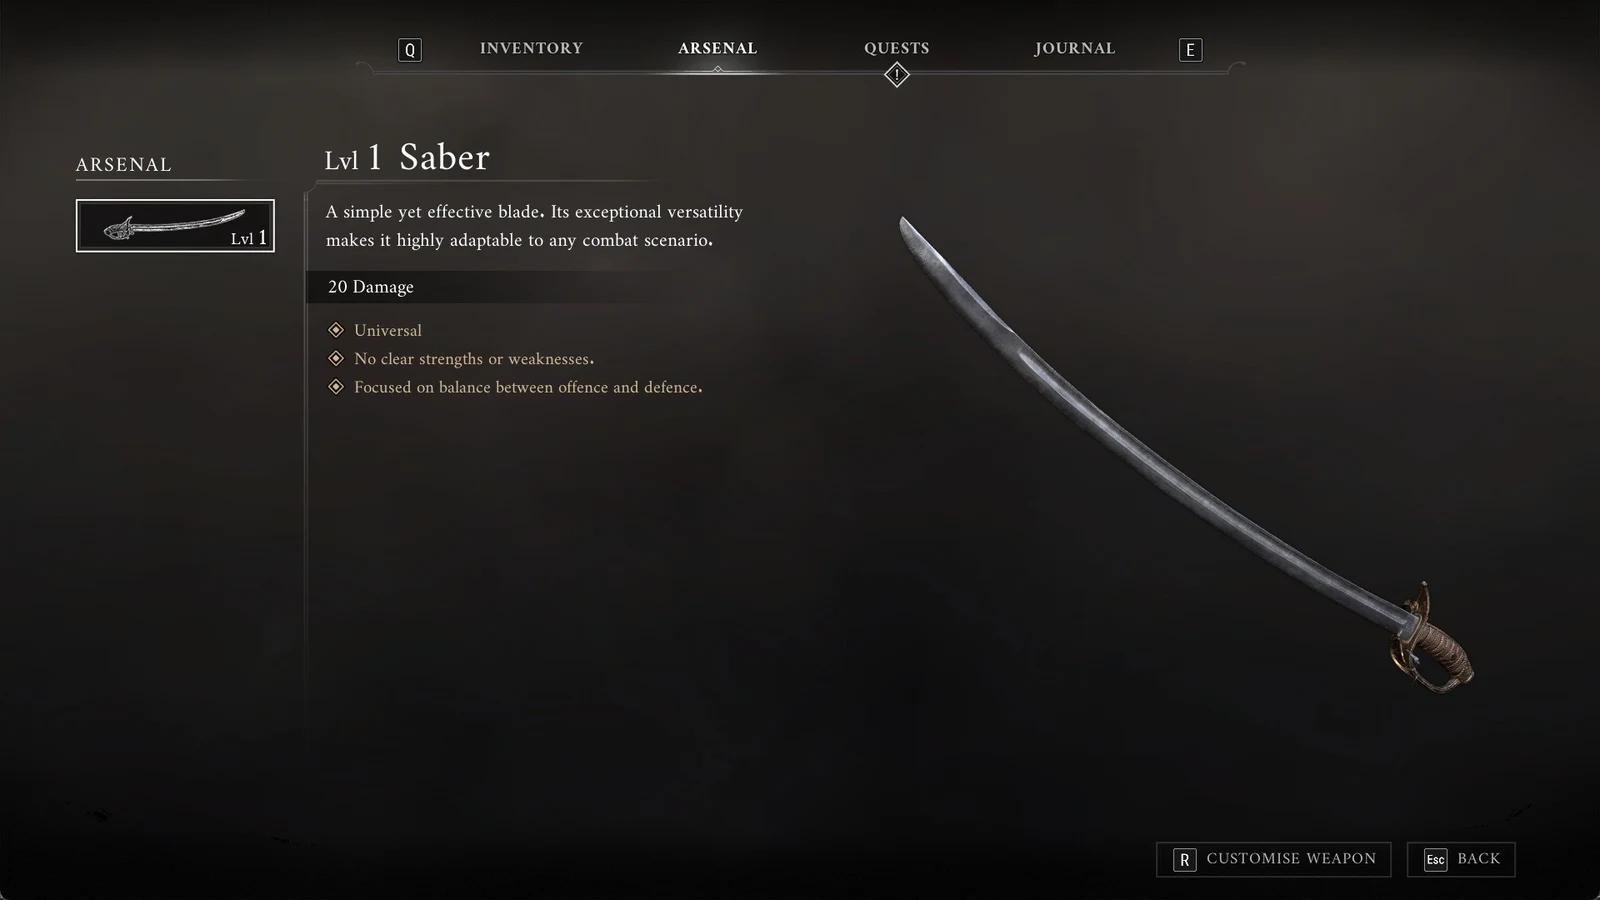
Saber serves as a balanced Universal weapon, with no standout strengths or drawbacks, and inflicts a consistent 5 posture damage at all levels. Its special multipliers are 10x for backstabs, 15x for criticals, 5x for plunges, and 3x for perfect-dodge attacks. Advanced Swordsmanship at level 2 grants extra damage and Endurance recovery on the fifth hit of an unbroken combo. At level 5, choose Careful Preparations to make Whetstone effects last longer, or Pursuit to regain Endurance through your next hits after dodging. At level 8, pick Adrenaline Flourish to recover Endurance on kills, or Second Wind to restore Recoverable Health when parrying. Expert Swordsmanship at level 10 makes the bonus trigger every third hit, granting damage and Health.
Rapier is fast and accurate, excels at parrying, and can shatter Nephtoglobin Weak Points, but its block is weak. Posture damage holds at 3. Remise (level 2) stacks parry bonuses onto your next Heavy Attack. Lunge (level 5) cuts the dodge Endurance cost during Heavy Attacks. The level 8 choice is Astute Quarta (parry restores Nephtoglobin) or Invigorating Seconda (parry restores Endurance), and Vigorous Terza (level 10) makes a parry restore Health.
Claymore delivers heavy two-handed blows, combining physical damage with Nephtoglobin-powered attacks, but it has no Parry. Its posture damage is 15. With each level, Ignite increases from 0.75 to 0.93 and Stasis from 2 to 3.4; Ignite damage rises from 60 to 132, while Stasis damage goes from 40 to 130. At level 2, Rampage stores a resource that strengthens your next Heavy Attack or lowers the cost of your next Transmutation. At level 5, choose Bulwark, which reduces projectile and explosion damage while Blocking, or Willpower, which speeds Endurance regeneration while you hold Block. Flesh Wound at level 8 reduces damage you take while attacking, and Bloodlust at level 10 restores Health whenever you spend Rampage.
Firearms: Pistol, Blunderbuss, Musket
| Level | Pistol dmg | Blunderbuss dmg | Musket dmg |
|---|---|---|---|
| 1 | 30 | 15 | 150 |
| 2 | 33 | 16 | 165 |
| 3 | 36 | 17 | 180 |
| 4 | 39 | 18 | 195 |
| 5 | 42 | 19 | 210 |
| 6 | 45 | 20 | 225 |
| 7 | 48 | 22 | 240 |
| 8 | 51 | 24 | 255 |
| 9 | 54 | 26 | 270 |
| 10 | 60 | 30 | 300 |
Pistol is the versatile firearm with a large magazine of 5 rounds, a 4-second reload, 10 posture damage, and the ability to break Nephtoglobin Weak Points. It’s your main tool for popping the glowing red orbs that gate shortcuts. Nephtoglobin Infusion — Bullet (level 2) lets you hold Reload for a posture-breaking round. Level 5 is Resourcefulness (melee a shot enemy to recover one round, once each) or Ruthlessness (rounds landed scale your next Melee Attack). Level 8 trades Ingenious Engineering (faster reload, smaller magazine) against Robust Chamber (bigger magazine), and level 10 offers Automatic Mayhem (much faster fire rate) or Tactical Reload (a reload into an empty chamber empowers your next bullet).
Blunderbuss is a short-range hand cannon that can hit several enemies and fires special ammunition; it carries 2 shots and takes 3.5 seconds to reload. Its posture damage remains 3 and its posture cap stays at 100, while the damage cap increases from 150 to 350. Showstopper (level 2) interrupts Unblockable Attacks. At level 5, choose Collateral Damage for a broader spread or Iron Shower for greater range. Nephtoglobin Infusion — Grenade (level 8) uses Nephtoglobin and ammo to load a Stasis grenade, while Back-Breaker (level 10) increases Posture damage when you shoot an enemy from behind.
Musket is the long-range pick for single targets, with 20 posture damage, 1 round per load, and a 2.5-second reload. Its multipliers are backstab 10x, critical 10x, with reduced plunge and perfect-dodge values. Puncture (level 2) pierces enemies. Nephtoglobin Infusion — Cannon (level 5) charges an explosive round. Level 8 lets you fit a Bayonet (more Melee damage) or a Scope (better accuracy), and Spacious Barrel (level 10) raises Ammunition Capacity. It’s two-handed, so you cannot pair it with a melee weapon.
Transmutations: Fire, Stasis, Shield
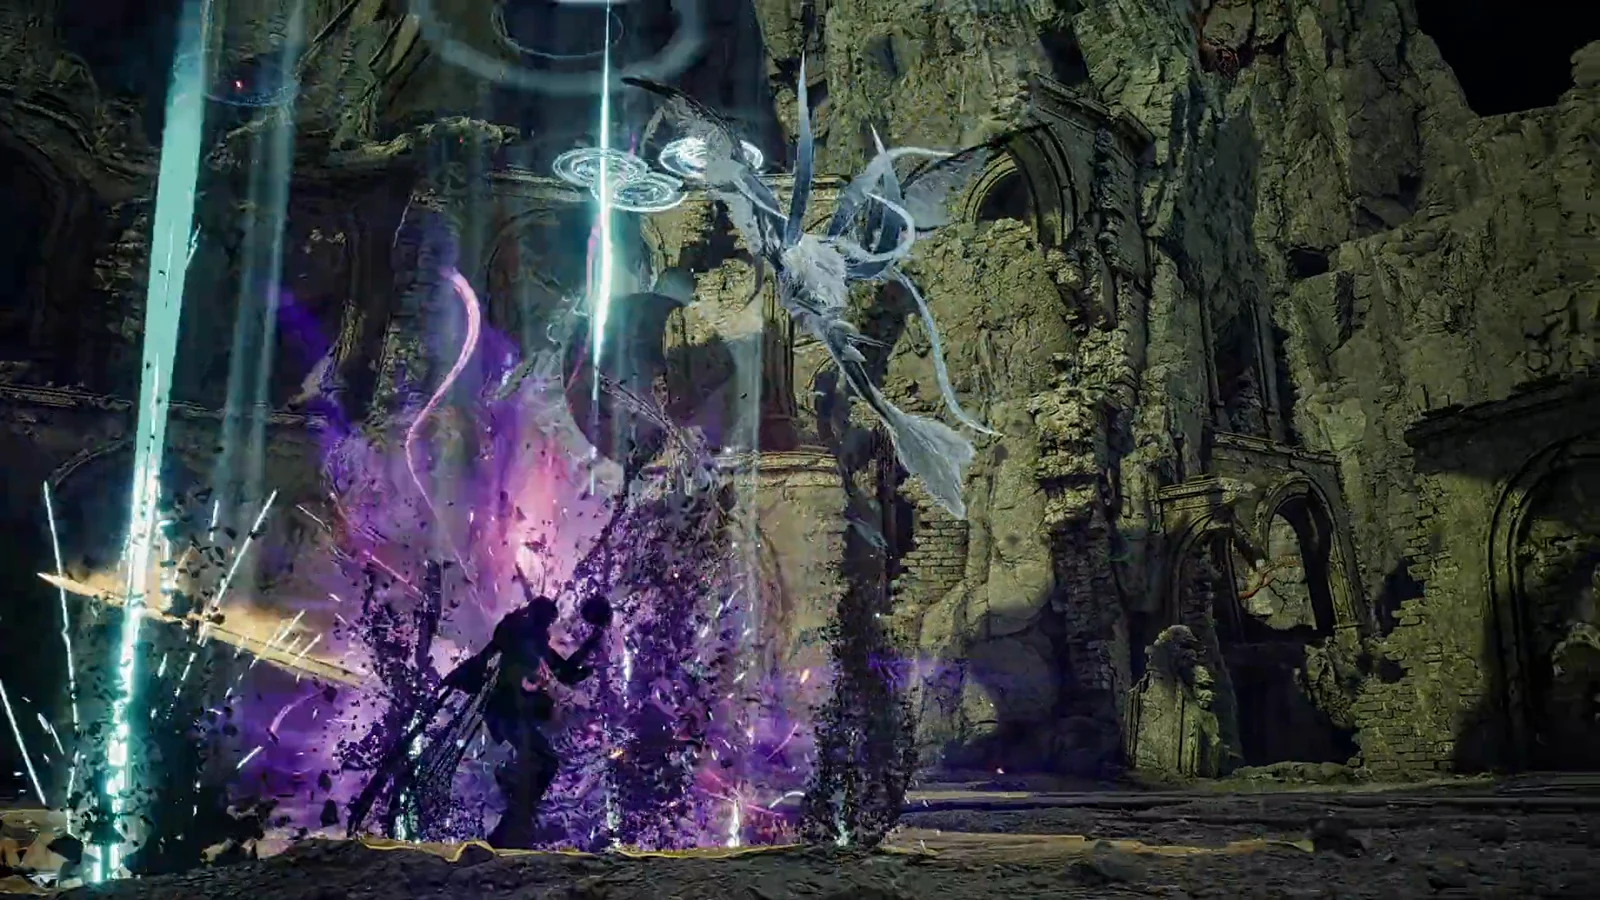
Transmutations cast from the off-hand and spend Nephtoglobin, the purple bar under your health. You refill it by shattering enemy weak points or hitting enemies with your sword. All three top out at level 5.
Fire Transmutation
| Level | Base dmg | Damage | Ignite dmg |
|---|---|---|---|
| 1 | 5 | 15 | 4 |
| 2 | 7 | 17 | 4.5 |
| 3 | 8 | 18 | 5 |
| 4 | 9 | 19 | 5.5 |
| 5 | 10 | 20 | 6 |
Fire sets enemies and other world objects alight, dealing damage over time, and excels at clearing groups. At level 2, Brittleness increases Melee Attack damage against burning enemies. Back-Burner at level 3 builds damage and status buildup through continued use. At level 4, pick Fireworks for increased flame range or Wildfire for a broader spread. At level 5, Never-Ending Inferno makes Melee Attacks extend Ignite, while Unstable Blaze causes burning enemies to explode when hit by shots.

Stasis Transmutation
Stasis freezes enemies and machinery, and striking a frozen foe deals massive damage. Its damage factor runs 1, 1.2, 1.3, 1.4, and 1.5 across the five levels. Termination (level 2) lets Heavy Attacks shatter Stasis no matter how much has built. Level 3 is Eruption (area damage when a Stasis Segment triggers) or Implosion (more damage from triggering it). Level 4 is Control (grapple toward frozen enemies) or Hex (Stasis no longer decays). Level 5 is Drain (attacking frozen enemies restores Health) or Expansion (a triggered Segment spreads to nearby targets).
Shield Transmutation
The Shield guards against enemy attacks and environmental hazards, and focuses on counterattacks; a perfect parry deals 200 posture damage. Its damage factor progresses through 1, 1.15, 1.3, 1.45, and 1.75. Counter Blast comes built in: it banks damage received while your guard is up, then releases it when you lower the Shield. Reach at level 2 expands the damaging wave created by defending. At level 3, choose Absorb to turn incoming projectiles into Nephtoglobin, or Deflect to shoot bullets back at enemies. Impenetrable Defence at level 4 also protects against Unblockable Attacks, while Shield Bash at level 5 adds a bash to the Attack button.
Arsenal achievements tied to weapons
Collecting and upgrading the full set lines up with several achievements. These are among the rarest in the game, so the completion numbers give a sense of how few players have finished each one.
| Achievement | Requirement | Unlocked by |
|---|---|---|
| Arsenal Absolute | Unlock all weapons and transmutations | 0.9% |
| Bladesmith | Max a single melee weapon | 1.1% |
| Transmutation Artifex | Max a single transmutation | 0.7% |
| Jack-knife | Deal damage with every weapon type without dying | 0.1% |
Gun of Glory covers the firearm side of the maxing trio, matching Bladesmith for melee and Transmutation Artifex for transmutations. Because the choice perks swap freely once a weapon is maxed, you can clear these milestones on whatever you already favor and then retune the active nodes to suit the next fight. Grab each pickup as you pass through its region and the Arsenal fills out on its own by the time you reach the University.