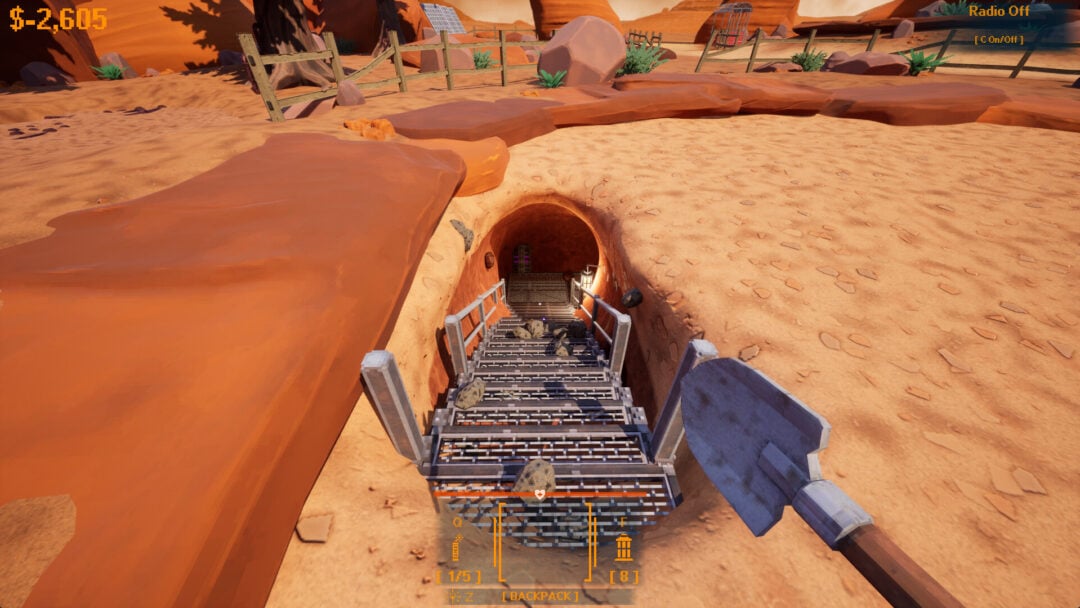
Valor Mortis Chapter 2: Every Regroup Collectible Location
Where to find each Amber, Ferrofluid Flask upgrade, the Pistol, and the side quests that open across the Valley of Ashes.
Where to find each Amber, Ferrofluid Flask upgrade, the Pistol, and the side quests that open across the Valley of Ashes.
by AllThingsHow Staff
Image: One More Level
Chapter 2, Regroup, drops William into the Valley of Ashes, the first region where Valor Mortis stops funnelling you down a single corridor and lets you poke into side paths. Those detours hold Ambers, healing upgrades, your first firearm, and the opening steps of three side quests, before the chapter ends on a fight with General Lothaire, the Eagle-Bearer.
Quick answer: Check each lantern area throughout the Valley of Ashes to find all 6 Ambers, the 2 Ferrofluid Flask Power Upgrades, the Empty Ferrofluid Flask, and the Pistol. Missed items can be collected later: fast travel is available, and none are missable.
Every Chapter 2 collectible and where it sits
Each collectible is tied to a lantern checkpoint. The table below lists what you are hunting and the lantern nearest to it, so you can jump back later if something is missing.
Collectible
Type
Lantern area
Ferrofluid Flask Power Upgrade #1
Upgrade material
Guidepost
Indestructible Shell
Amber
Guidepost
Pistol
Weapon
Bridge platforming section
Empty Ferrofluid Flask #1
Upgrade material
The Climb
Sleight of Hand
Amber (quest reward)
Demolished Path
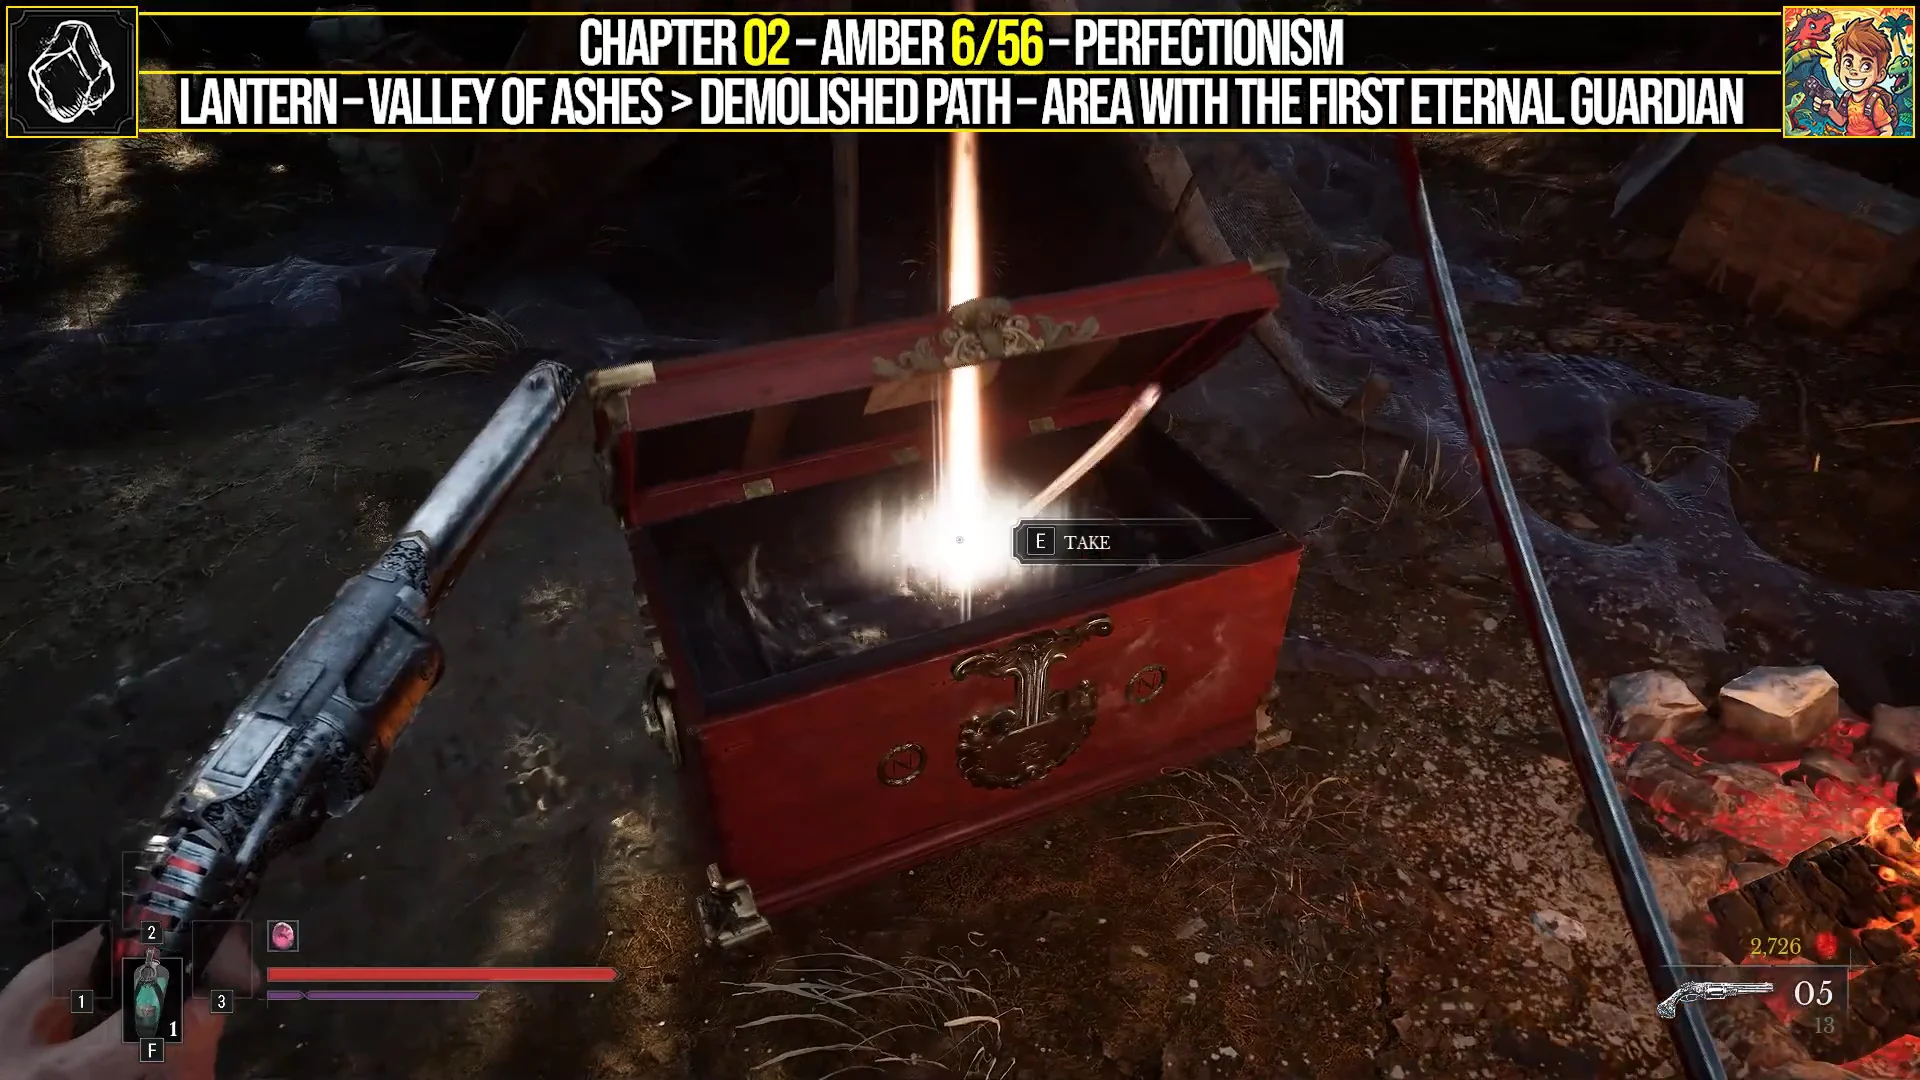
Perfectionism
Amber
Demolished Path
Dominatus
Amber
Military Camp
Surplus
Amber
Military Camp (cave)
Ferrofluid Flask Power Upgrade #2
Upgrade material
Military Camp
Potent Concoction
Amber
Quarry
Marksman’s Bane
Amber
Quarry
Three side quests also begin or finish here: An Unheard Farewell can be completed in full, while The Oathbound and The Emissary open their first steps and carry on across later regions.
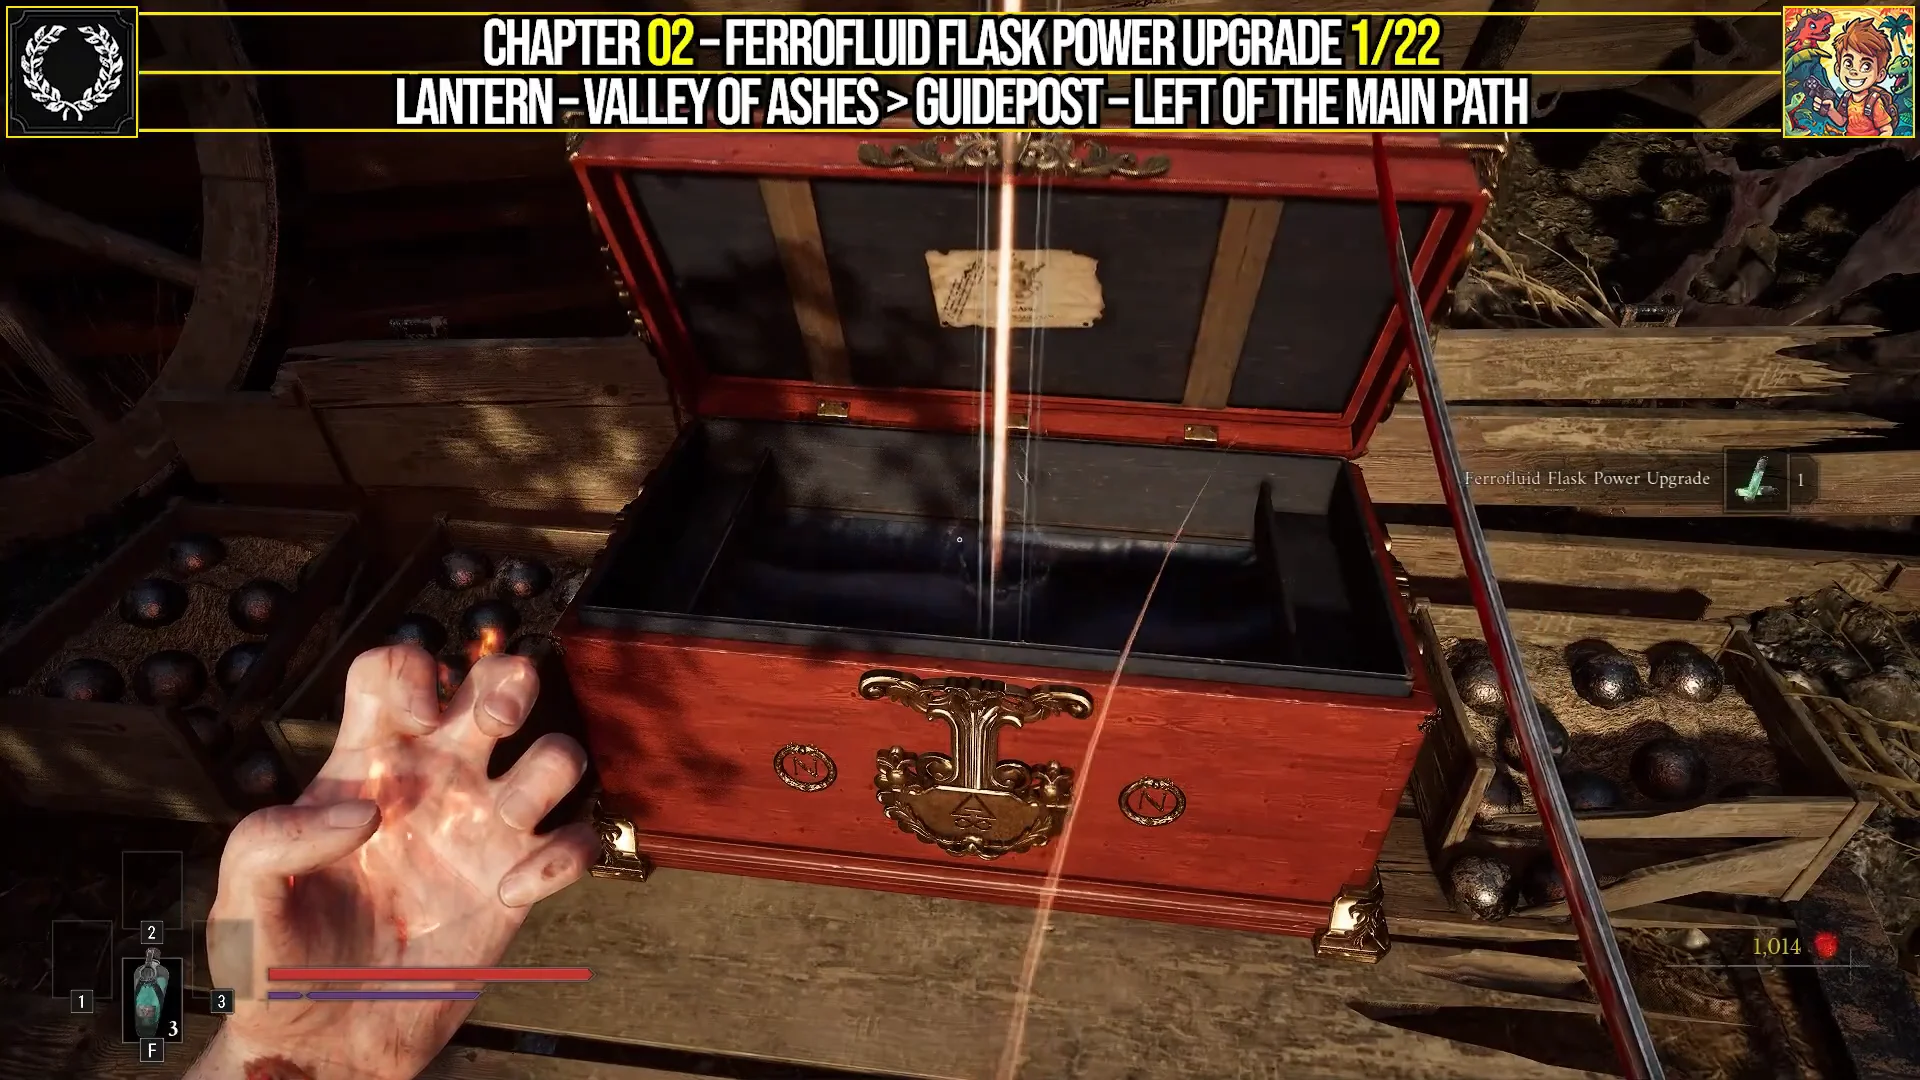
Leave the Guidepost lantern and stay on the main path until a toppled wagon comes into view on your left. In the area beyond, a wooden platform extends over the cliff, with a swing pole farther ahead. Before using the pole, smash the crates on your left to uncover a short dead-end corridor with an enemy guarding it. Open the chest there to get the first Ferrofluid Flask Power Upgrade.
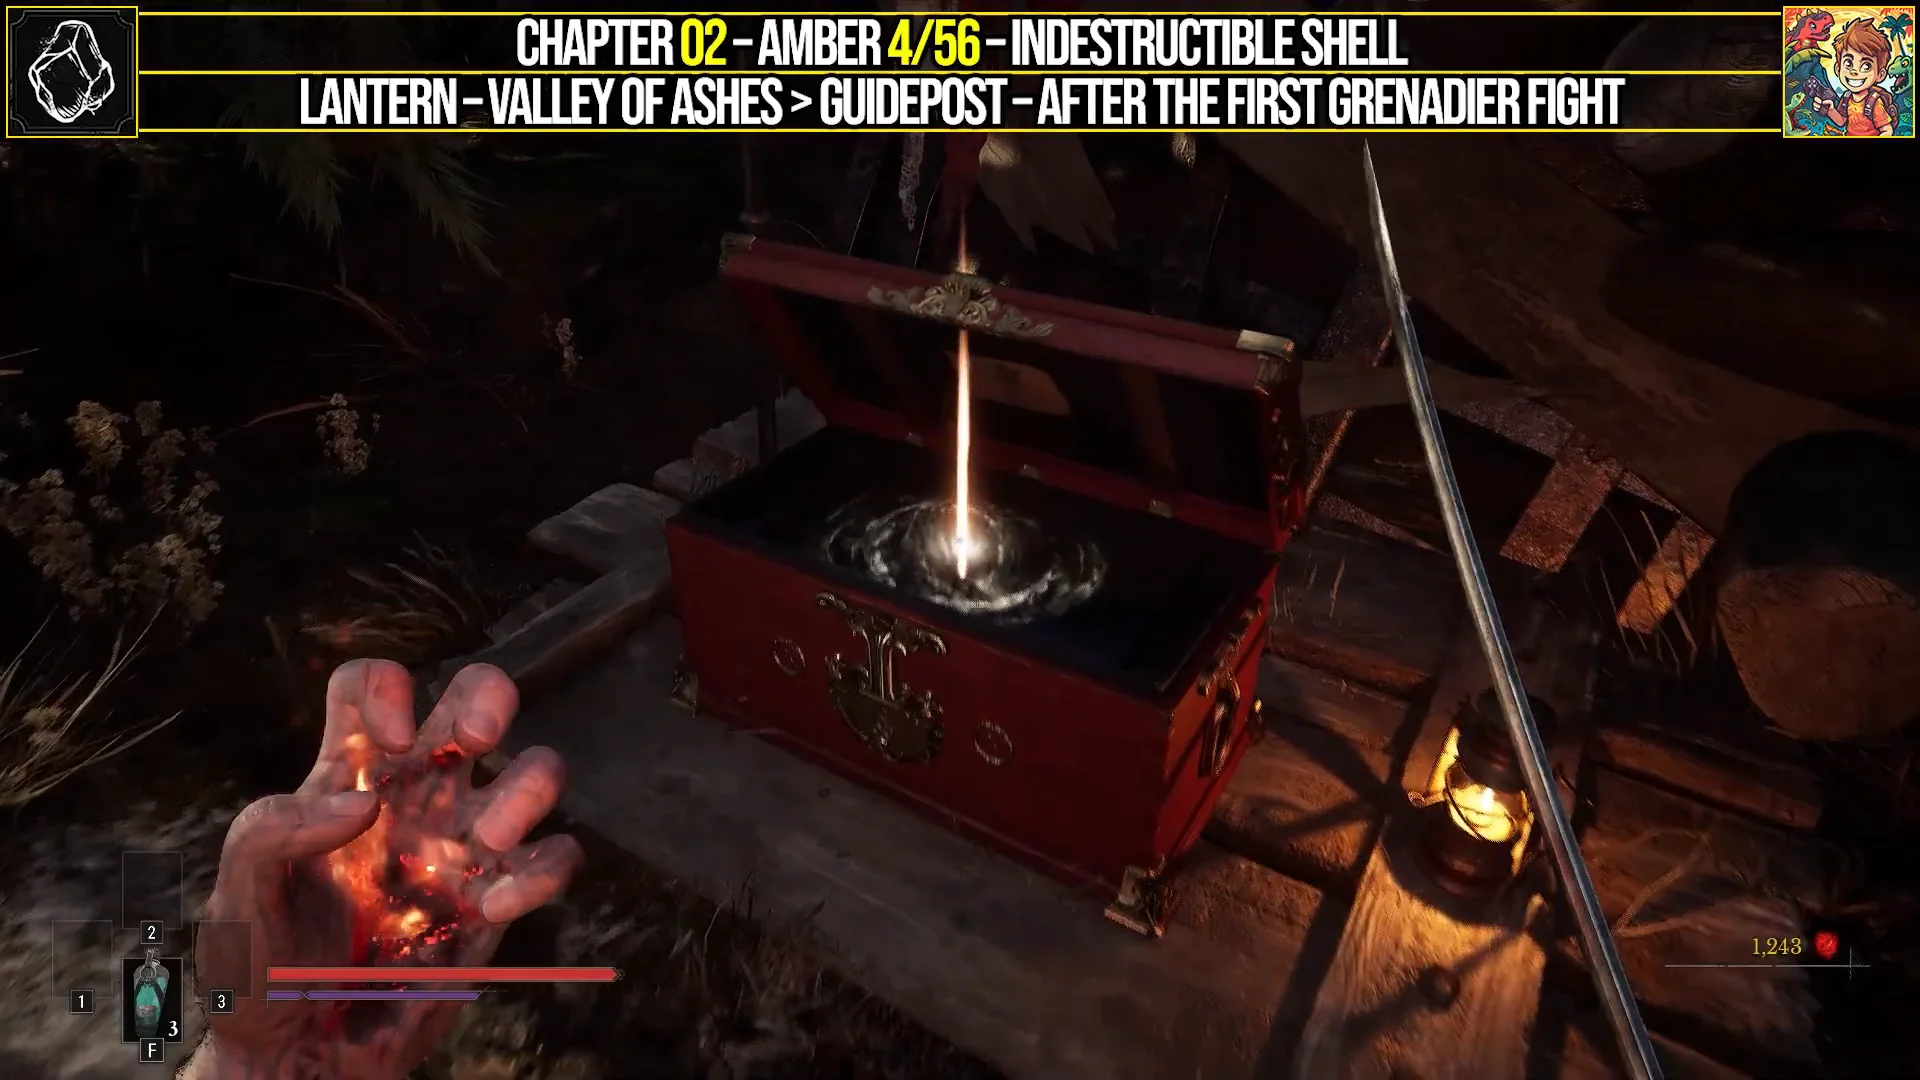
Stay on the main path until a Grenadier attacks. After it falls, do not step straight into the next metal carriage. Look to the left of its entrance for a chest holding Indestructible Shell, an Amber that cuts the damage you take from explosions, which helps against Grenadiers and explosive hazards.
00:41Amber 4/56Left of the carriage after the first Grenadier, the ornate chest contains Indestructible Shell. Shown at 00:41 in Game Guides Channel’s video. Image: One More Level
In the open space just past that Grenadier, find the carriage with a man talking through its window. Speak to the Adjudant sous-Officier and agree to help to begin An Unheard Farewell.
Bridge section and The Climb: Pistol and Empty Ferrofluid Flask
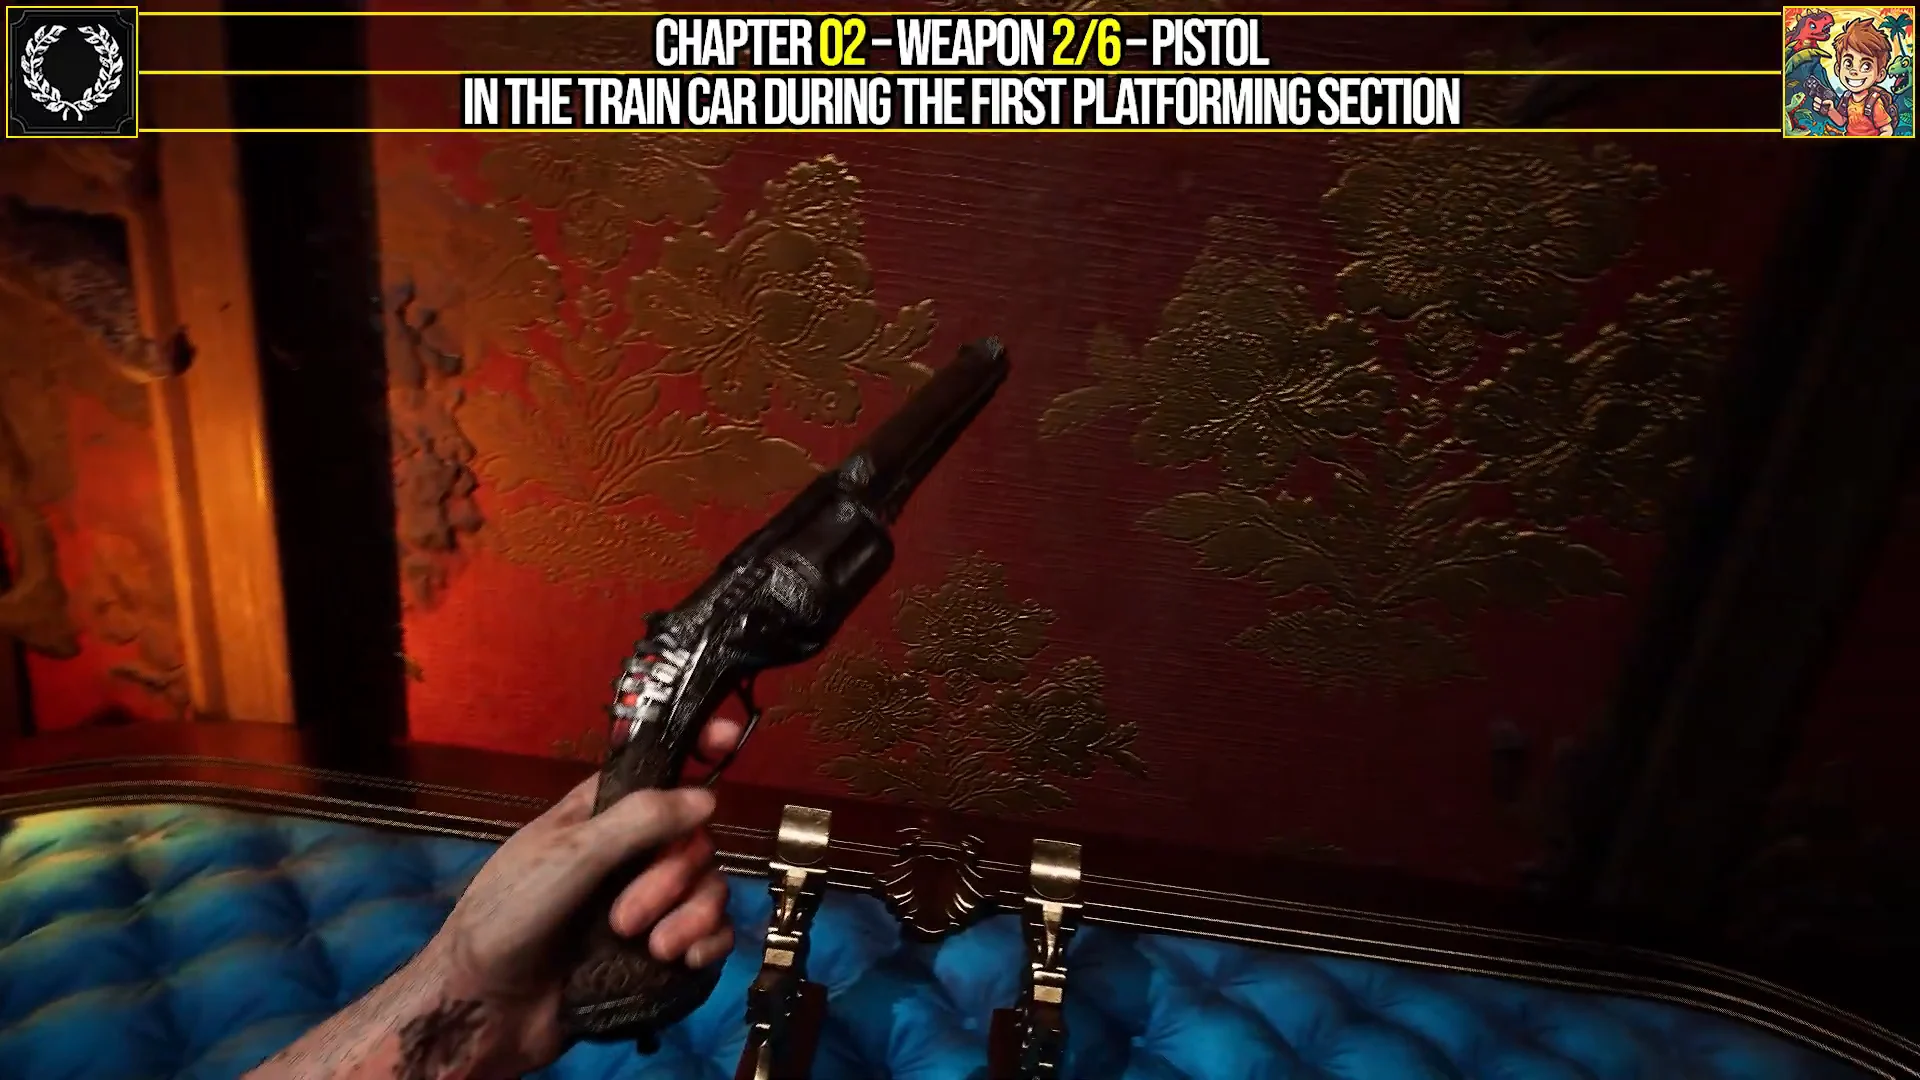
Press on to the damaged bridge, where you jump across a run of platforms. During this stretch, look left for a train car and climb inside. The Pistol sits in a cushioned display box there. It is a required story pickup, and besides shooting enemies it lets you hit weak points to open paths and destroy Nephtoglobin spots.
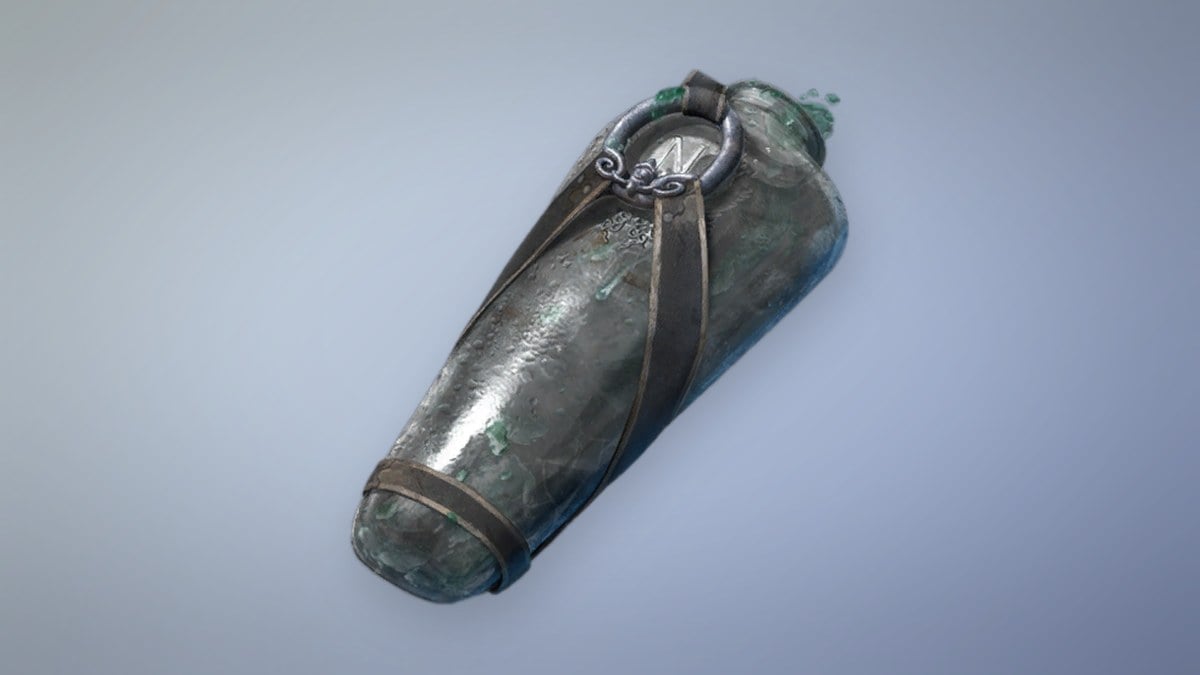
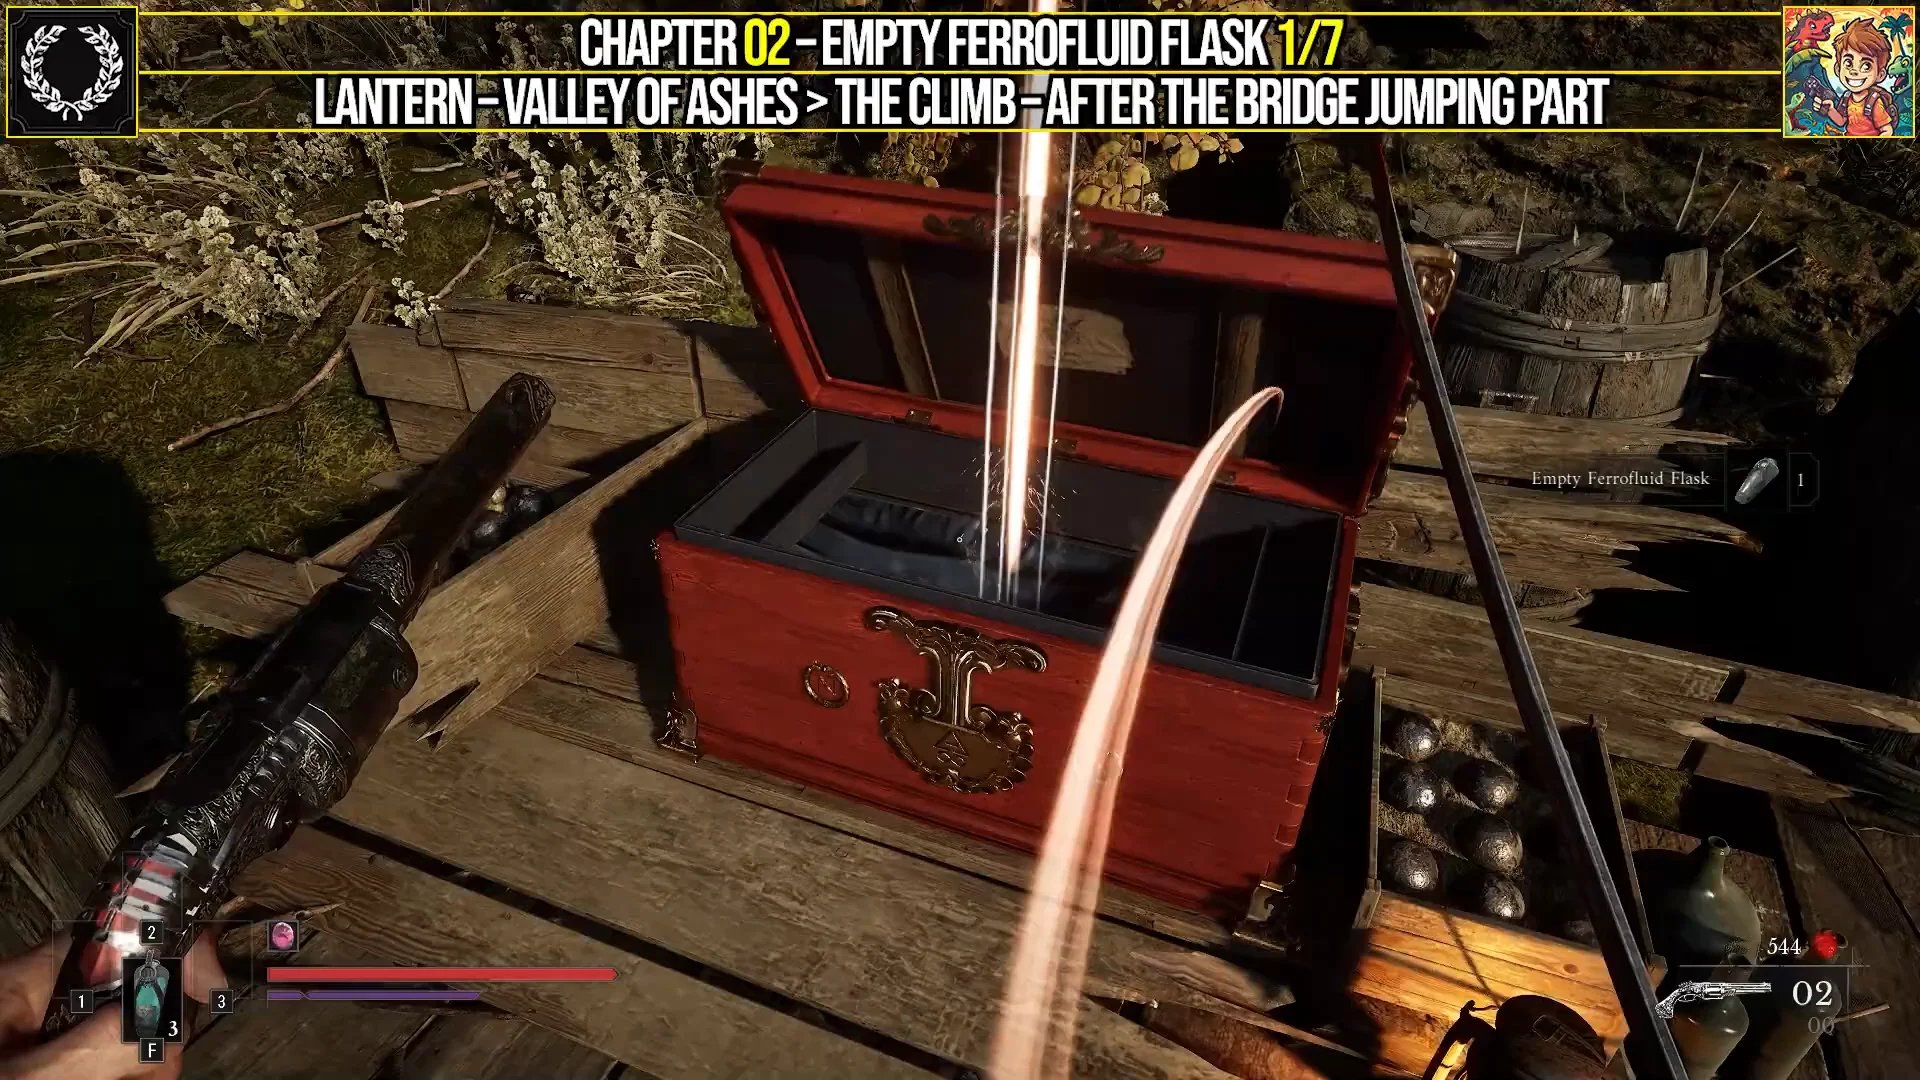
Empty Ferrofluid Flask. Image: One More Level02:07Weapon 2/6The Pistol, William's first ranged weapon, waits in a display box inside the train car. Shown at 02:07 in Game Guides Channel’s video. Image: One More Level
After the bridge jumps you reach The Climb lantern. Check the chest immediately to its left for the first Empty Ferrofluid Flask, used at a lantern to add another healing charge.
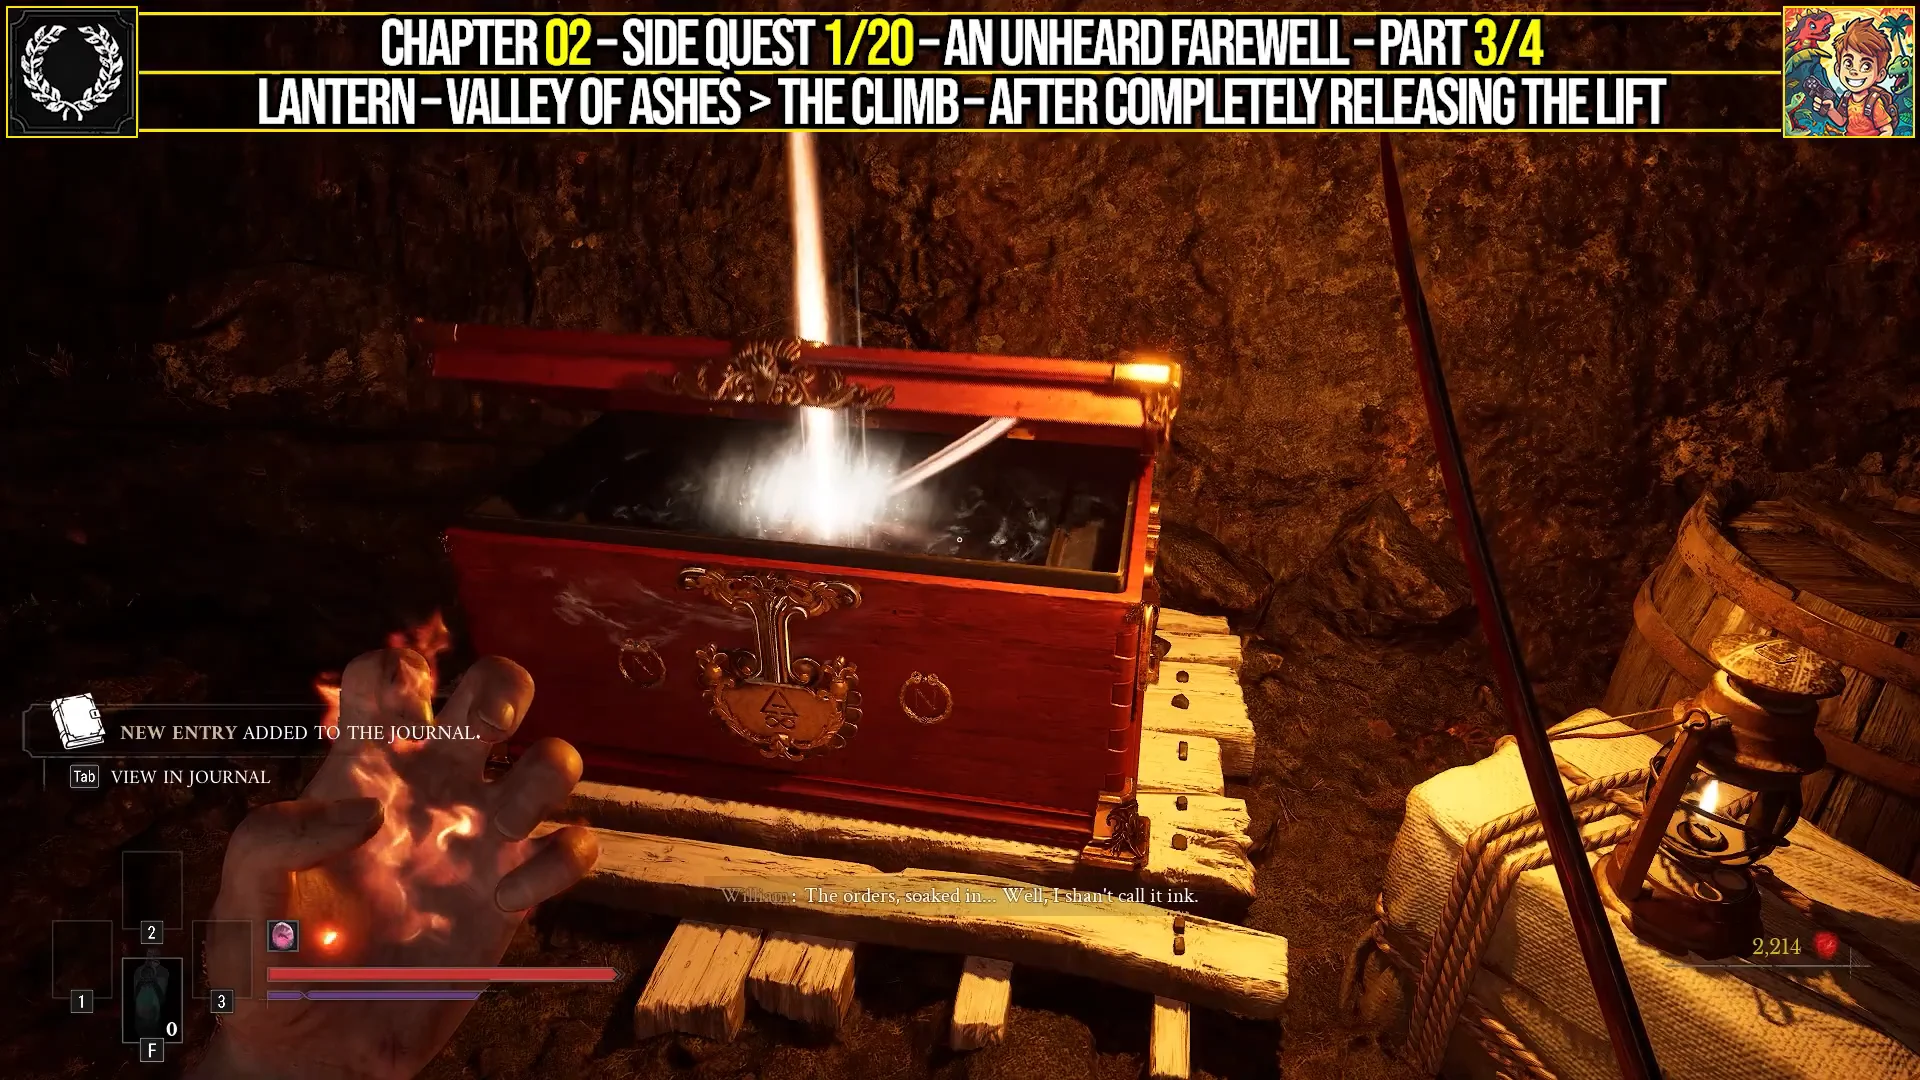
Take the lift into the cave, then make your way through the underground passage and climb the ladder near the exit. As soon as you reach the ladder’s top, An Unheard Farewell progresses automatically. There is nothing to collect here.
Keep climbing to the second lift, where you shoot the glowing Nephtoglobin growths holding the counterweights to release the platform. Ride it and jump off onto the central platform while it moves. On the far side, burn the wall of golden vines with Fire Transmutation, enter the passage, beat the miniboss, and take the Letter to all Commanding Officers of the Line Infantry along with a chest holding Pure Blade Material, used to upgrade blades.
Reach the upper section and knock down the ladder, creating a shortcut to the Adjudant’s carriage. Go back and tell them what you discovered. Either dialogue option completes the quest with the same outcome and reward, so choose whichever one you like.
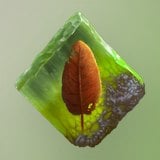
Completing An Unheard Farewell awards the Sleight of Hand Amber, which speeds up firearm reloads and weapon switching. This one is not in a chest, so you only get it by turning the quest in. An Epic Catalyst Clot also lies on the ground beside the carriage after you rest at the lantern.
Starting at the shortcut ladder, follow the vine-covered trail back downhill. After passing three enemies, turn left to find an Eternal Guardian. Defeating it gives you a Mysterious Stone Pyramid and Lucien Lafontaine’s Emblem, which starts The Oathbound. You must gather emblems in several regions for that quest, so you cannot complete it yet.
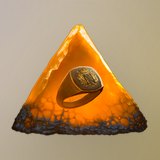
Search the clearing where you fought the Eternal Guardian. A chest inside a tent by the campfire holds Perfectionism, which raises melee damage while your Health is full.
From The Other Side lantern, enter the poison mist on the left and work your way to a carriage on the road. Inside, take the Emissary’s Seal from the table to start The Emissary, another quest that stretches across later regions.
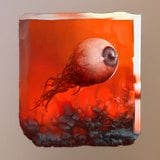
Move through the Military Camp, which is dotted with explosive barrels. As you reach the hill on the main route, check the corner to its left for a tent set back from the path. Open the chest inside for Dominatus, which restores Health on Critical Attacks. A table there also holds James’ Letter to a Friend Back Home.
The explosive barrels around the Military Camp damage William as well as enemies, so keep your distance when fighting near them.
Take the cave path to the right of the camp. Burn through the golden bio-growth barricades with Fire Transmutation, climb the ladders and elevated walkways through the mine shafts, and exit onto the upper ridge. The chest there holds Surplus, which increases the Catalysts you earn from kills.
Continue through the camp until a Grenadier lobs explosives from an elevated spot. Climb up to where it stood and look just to the right for a chest with the second Ferrofluid Flask Power Upgrade.
Quarry: Potent Concoction and Marksman’s Bane
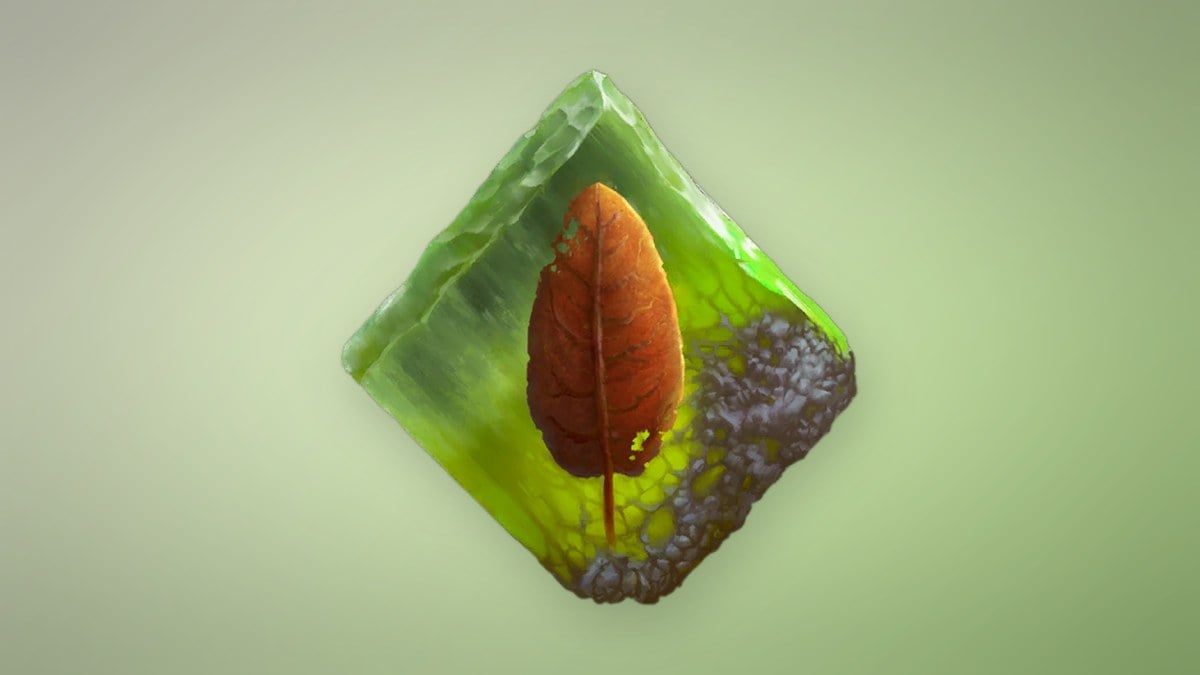
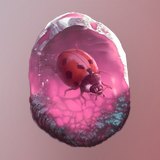
Climb the opening wooden platforms in the Quarry, then drop onto the ledge beyond them. Head right for the shortcut ladder instead of going straight on. After passing the ladder, use Fire Transmutation to burn the golden vines. Defeat the foes behind them and open the chest to collect Potent Concoction. With it, the Ferrofluid Flask can also restore Nephtoglobin.
Potent Concoction. Image: One More Level
Reach the upper Quarry and ride the first zipline. After landing, turn left rather than climbing the hill, break the wooden crates to reveal a hidden route, and follow it to a tower guarded by an enemy. The chest at the top holds Marksman’s Bane, the last collectible in the chapter.
Chapter 2 Amber effects and ranks
Here is what each Amber actually does once equipped, along with how far it can be ranked up. Use it to decide which ones to slot before the General Lothaire fight.
Amber
Effect by rank
Max rank
Indestructible Shell
Explosion damage reduced 40% / 50% / 60%
3
Sleight of Hand
Faster firearm reload and weapon switching (x1.2)
1
Perfectionism
Melee damage at full Health +10% / +15% / +20%
3
Dominatus
Health restored on Critical Attack 50% / 75% / 100%
3
Surplus
Extra Catalysts from kills 10% / 12.5% / 15%
3
Potent Concoction
Flask also restores Nephtoglobin 20% / 30% / 40%
3
The flask materials matter just as much before the boss. Each Ferrofluid Flask Power Upgrade raises healing at the lantern, taking the base 50 up to 60 on the first upgrade and climbing from there. The Empty Ferrofluid Flask adds a charge instead, so two upgrades plus one empty flask from this chapter give you both stronger heals and an extra sip.
Confirming a clean sweep
You know Chapter 2 is clear when An Unheard Farewell shows as complete in your journal and The Oathbound and The Emissary each sit at their first step. On the item side you should be carrying both Ferrofluid Flask Power Upgrades, the Empty Ferrofluid Flask, the Pistol, and every Amber above. Because none of it is missable, fast travel back to any Valley of Ashes lantern to grab anything you left behind before beating General Lothaire ends the chapter.
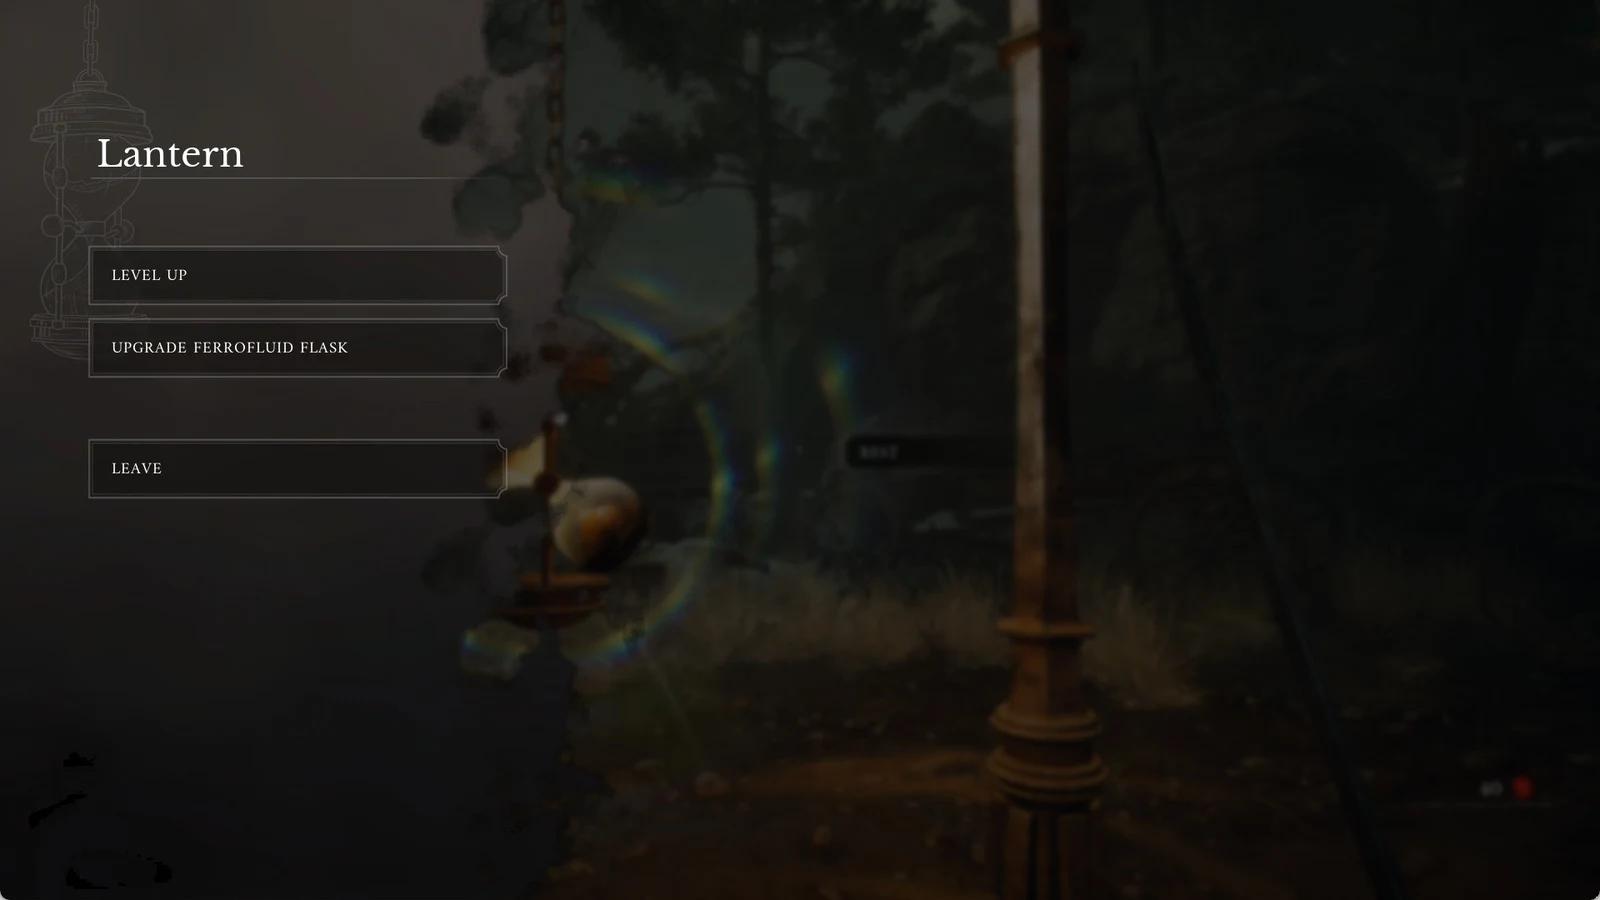
The Lantern menu offers the options Level Up, Upgrade Ferrofluid Flask and Leave.


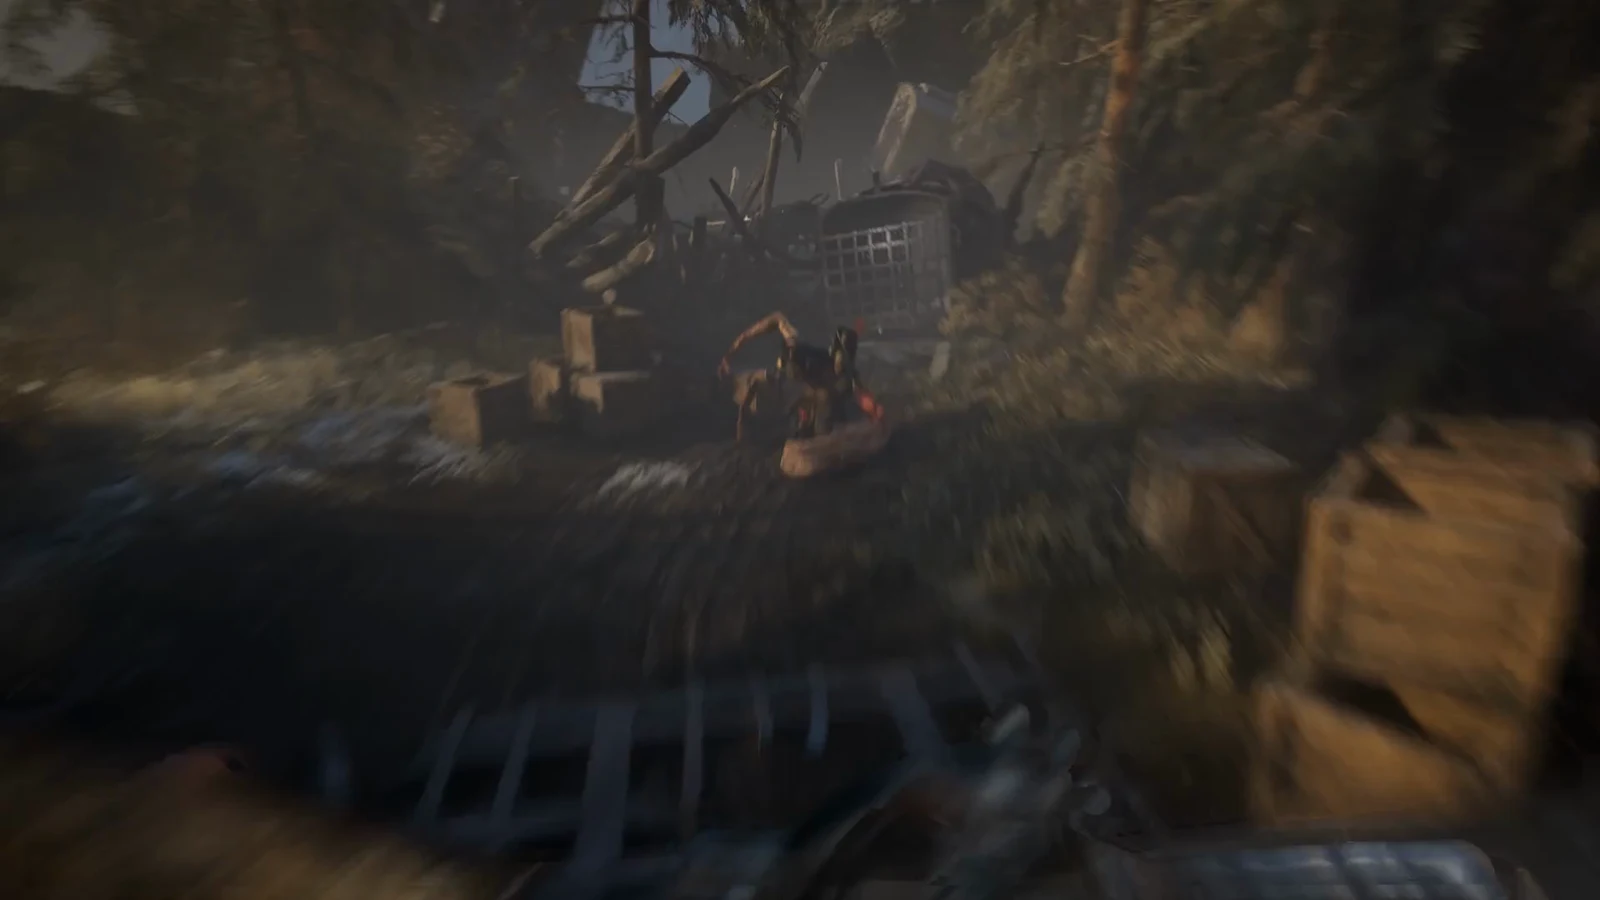
 Guidepost
 The Climb
 Demolished Path
 Military Camp
 Quarry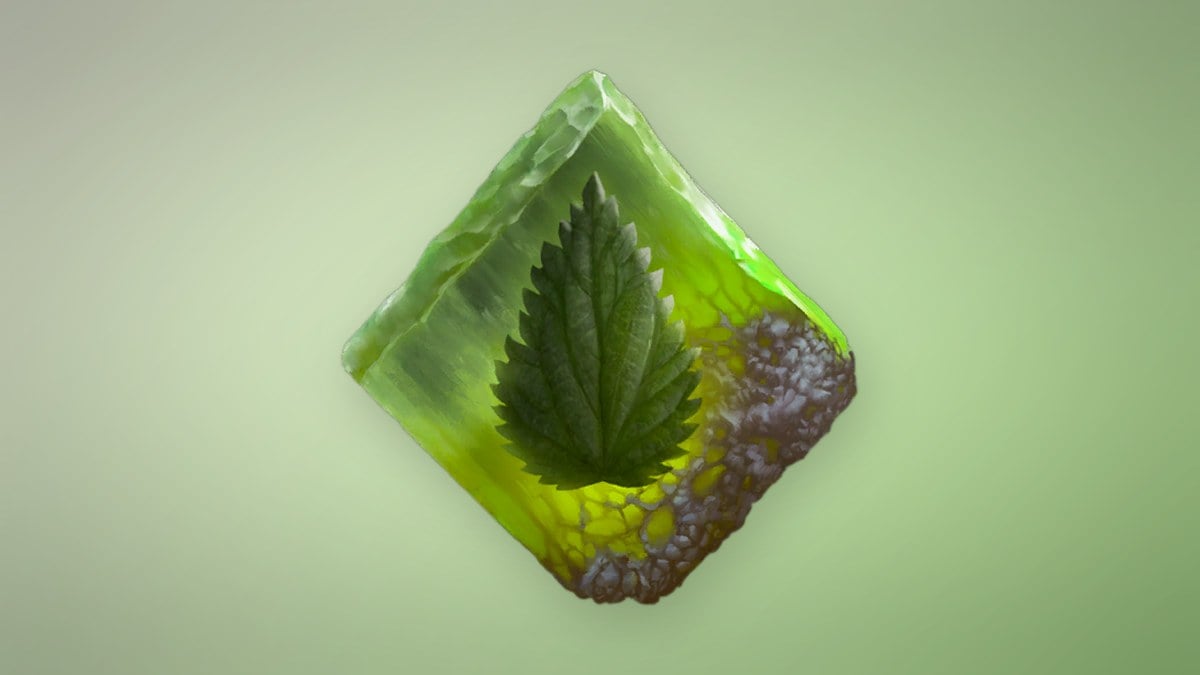
 Indestructible Shell
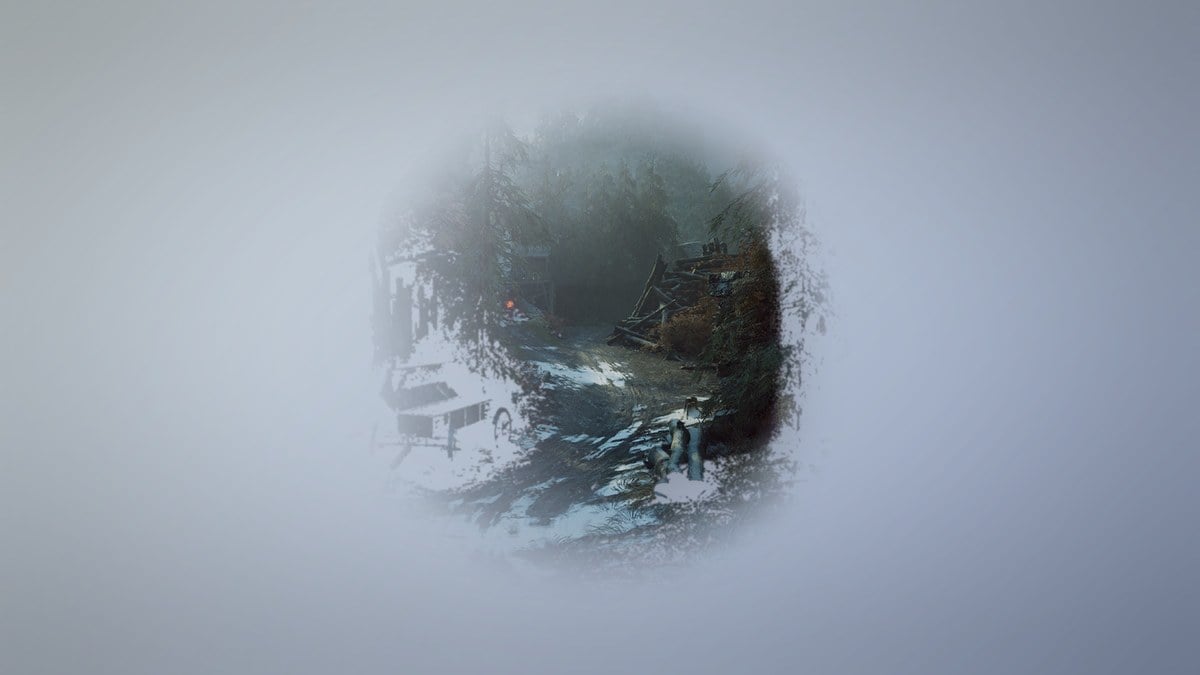
 Sleight of Hand
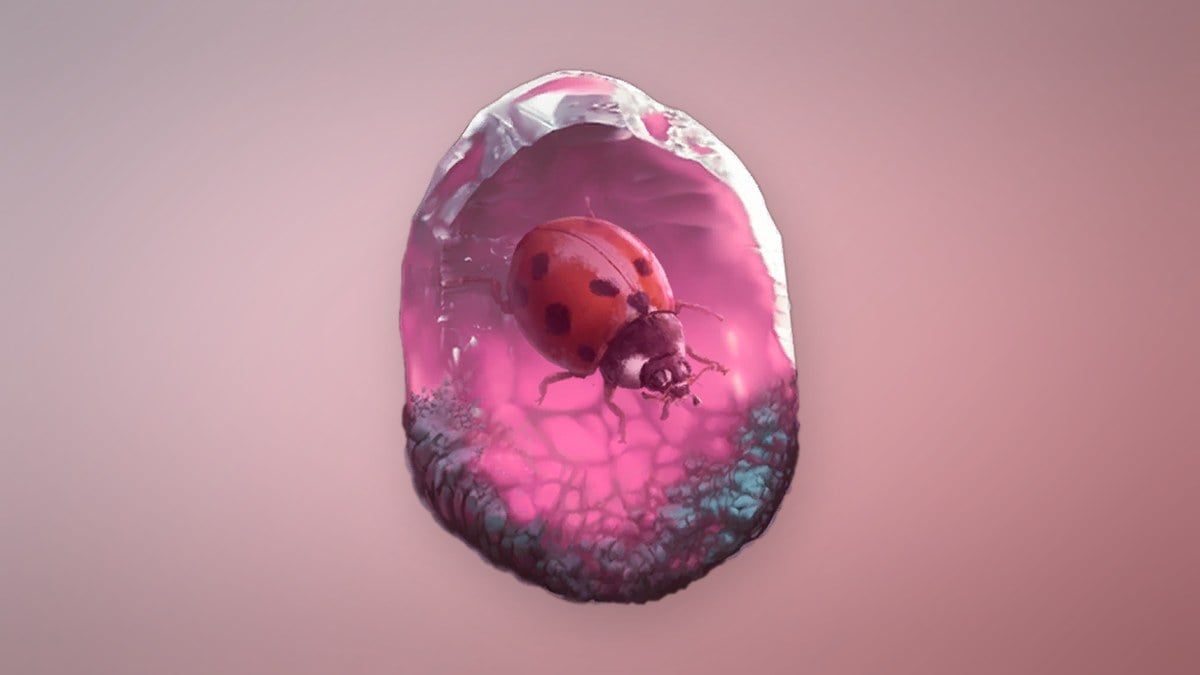
 Perfectionism
 Dominatus
 Surplus
 Potent Concoction