Gaming Guide

House of Guilt Full Walkthrough for the Teddy Escape Route Ending (Roblox)

Every item, code, and keycard needed to escape the house and unlock Ending 1 of 3 in House of Guilt: Chapter 1.

Every item, code, and keycard needed to escape the house and unlock Ending 1 of 3 in House of Guilt: Chapter 1.

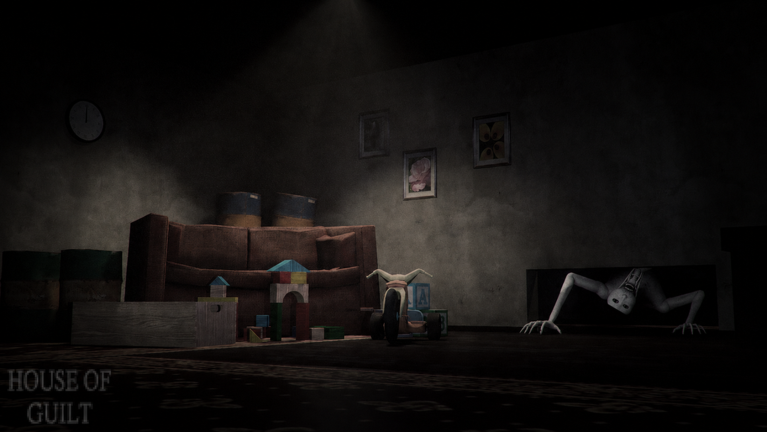
House of Guilt: Chapter 1 is a Roblox horror game with three endings. The first, The Teddy Escape Route, sends you from a boarded-up house down into flooded maintenance tunnels and back up again, while a tall white humanoid monster hunts you. The route depends on items unlocking other items, so doing things out of order mostly means backtracking.

Quick answer: Place the Teddy Bear in the hallway crib to reveal 06672. Enter it on the exit shutter keypad, swipe the Level 4 Keycard, then survive the 45-second timer.


House of Guilt items, codes, and where they unlock

You can carry only 3 items at a time. When your hands are full, press G to drop something before picking up the next item. Keep that limit in mind, because several tools are only needed once.

Item or codeWhere you get itWhat it opens
CrowbarHallway floorPlank barricades
Keybox KeyTypewriter room desk“Keys :)” wall keybox
Car KeyWall keyboxWhite SUV trunk
BoltcutterSUV trunkSafe chains
ScrewdriverHallway cabinetCeiling vent
Safe Code 05515Behind ceiling ventMess hall safe
Hatch Door KeyInside the safeFloor hatch
Blue Valve, Red ValveBlue lockers, shower mazeSteam leaks
Level 2 KeycardOffice computer deskArchive room
Level 4 KeycardArchive metal tableSecurity door, exit shutter
Bear KeyJack-in-the-boxChildren’s bedroom
Teddy BearBedroom bedCrib (reveals code)
Wall code 06672Wall above the cribExit shutter keypad

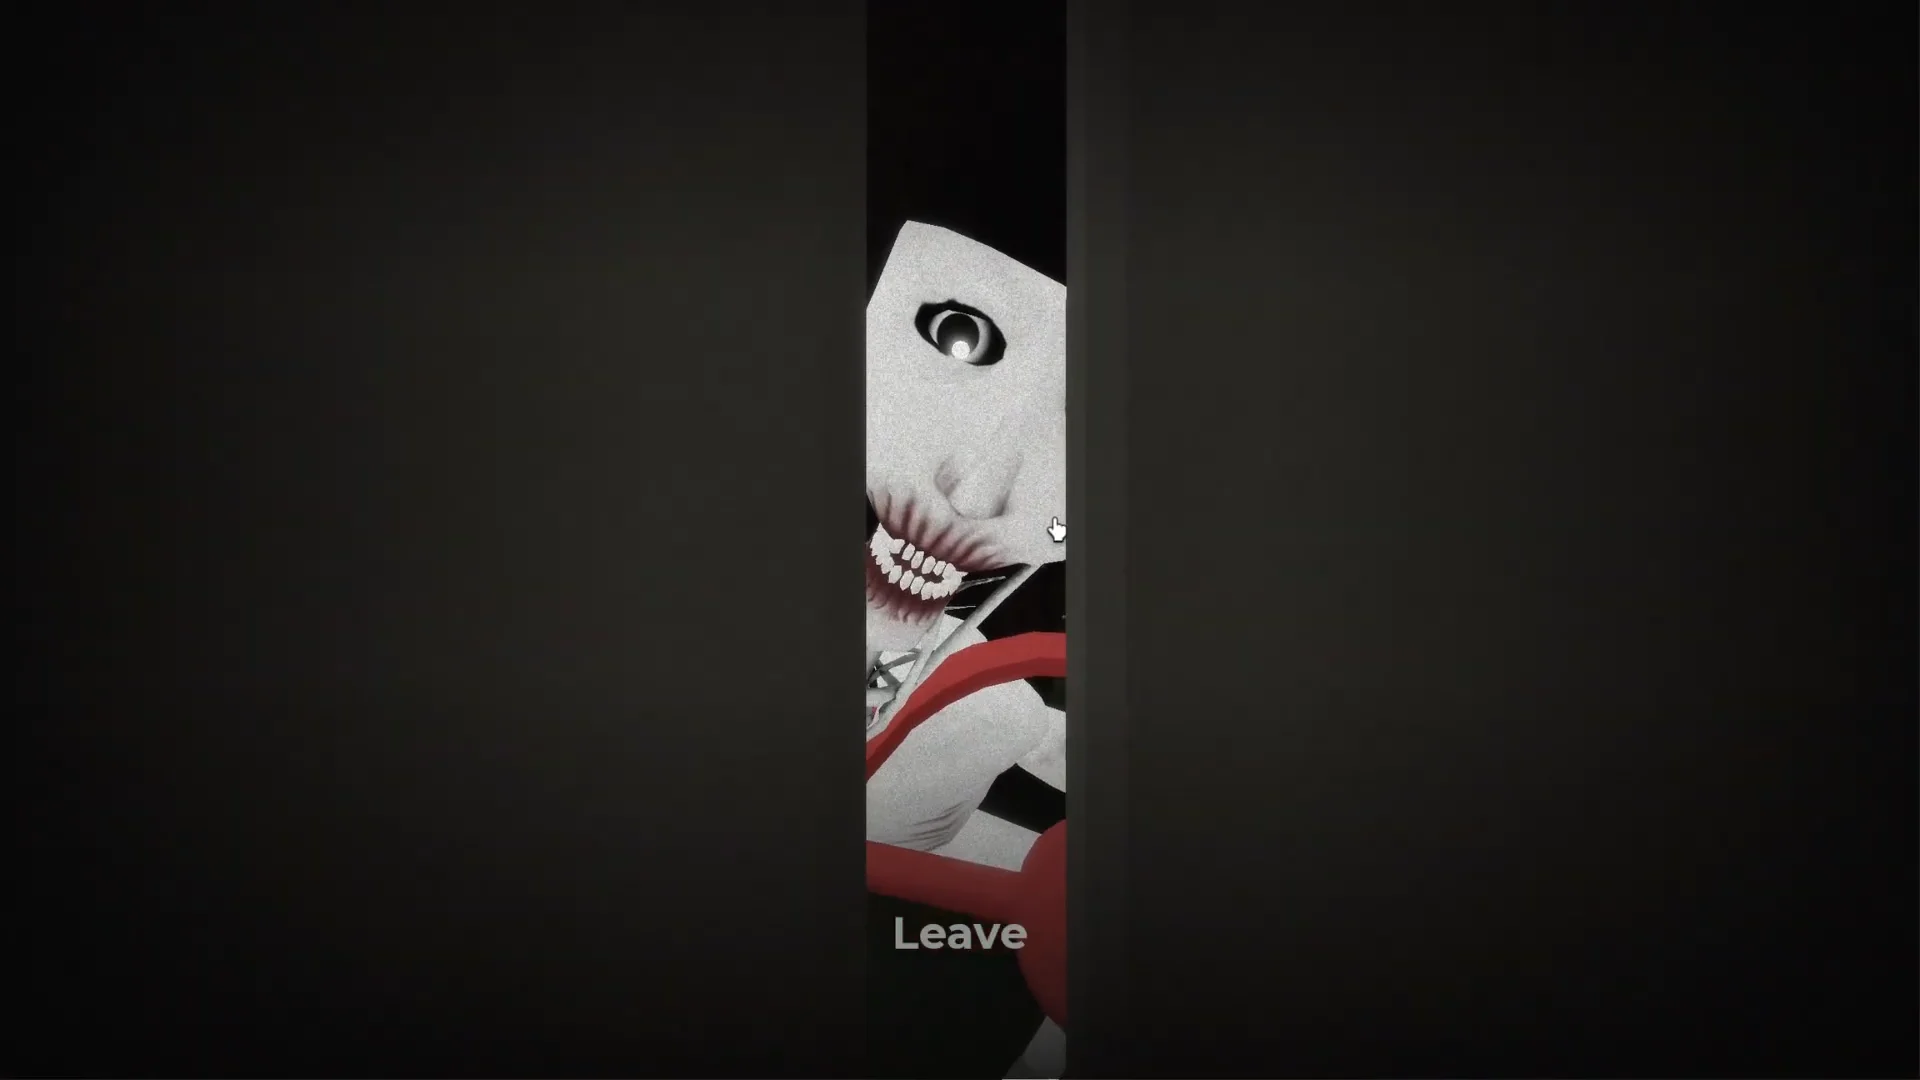
When the monster shows up, duck into a wardrobe or locker. A “HOLD YOUR BREATH” bar appears, and holding Space keeps it steady and the doors shut. Getting caught costs a life and respawns you in the house. A “PLEASE STAND BY” screen confirms the reset.


Getting the Hatch Door Key in the house

Press any button to start, then slide the wooden dresser away from the bathroom door. Searching dressers and cabinets in the hallways turns up gold coins along the way.
Pick up the Crowbar from the hallway floor. Use it to pry the planks off the low crawlspace that leads to the typewriter room.
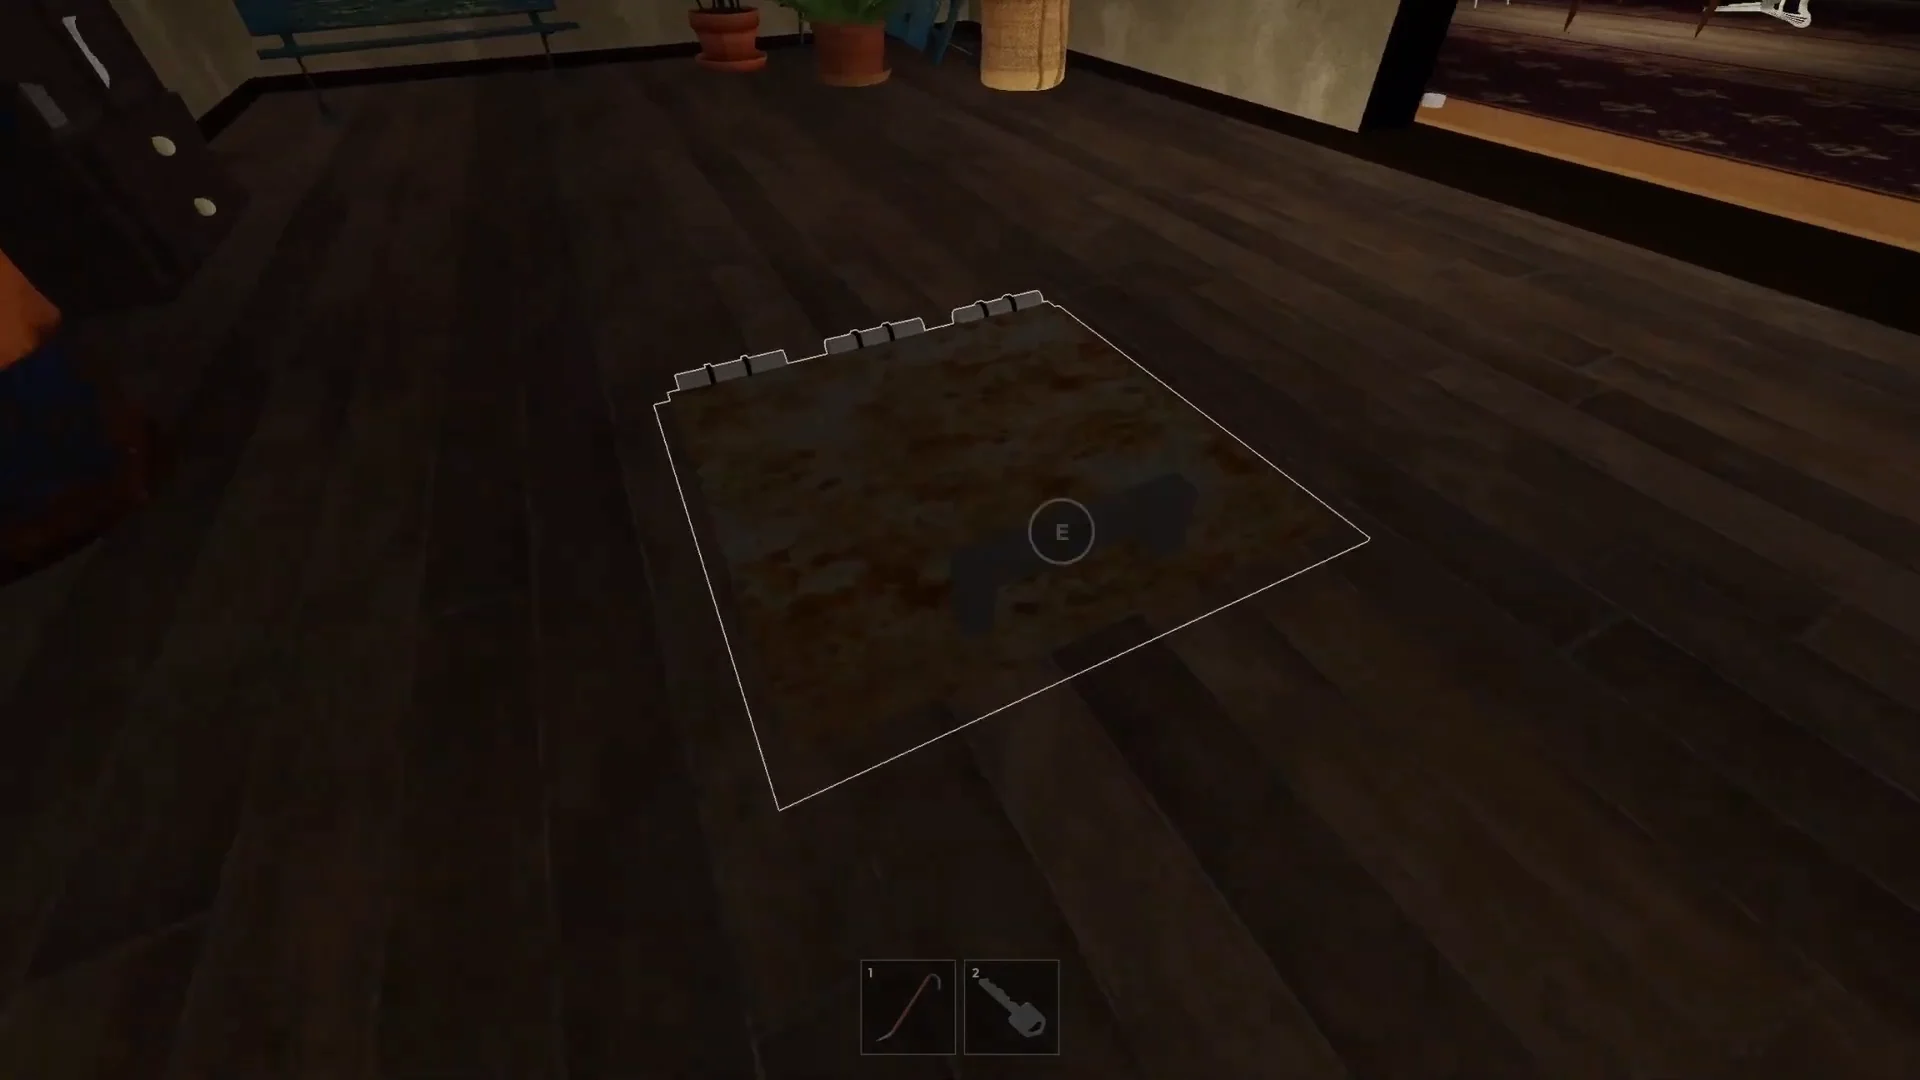
Take the Keybox Key from the desk in the typewriter room. The rusted floor hatch here is padlocked for now, so remember where it is.
Finding Keybox Key & Inspecting Floor Hatch02:16Finding Keybox Key & Inspecting Floor Hatch
The padlocked floor hatch in the typewriter room stays shut until you find the Hatch Door Key. Shown at 02:16 in Roblox Master Guides’s video.
Open the wall-mounted keybox labeled “Keys :)” with the Keybox Key to get the Car Key.
Use the Crowbar to smash the planks blocking the garage corridor doorway. Open the white SUV’s trunk with the Car Key and collect the Boltcutter.
Search the hallway cabinet to find the Screwdriver. Drop a used item with G first if your inventory is full.
Push the crate marked “PUSH” under the ceiling air vent. Climb up, unscrew the vent with the Screwdriver, and read the Safe Code paper, which says 05515.
In the mess hall, use the Boltcutter to sever the safe’s chains, then input 05515. The monster often appears nearby; if it screeches, hide in the nearby wardrobe.
Collect the Hatch Door Key from the unlocked safe. Use it to open the floor hatch in the typewriter room, then descend the ladder.
Collecting Hatch Door Key & Opening Hatch06:31Collecting Hatch Door Key & Opening Hatch
Using the Hatch Door Key on the floor hatch opens the way down to the flooded maintenance tunnels. Shown at 06:31 in Roblox Master Guides’s video.

Valves and keycards in the maintenance tunnels

Enter the bathroom maze marked “RESTRICTED AREA AUTHORIZED EMPLOYEES ONLY.” Search the blue lockers until you have both the Blue Valve and the Red Valve.
Carry the valves back into the main tunnel. If the monster patrols past, hide in a locker and hold your breath until it moves on.
Tunnel Pipe Navigation & Stealth10:14Tunnel Pipe Navigation & Stealth
Hiding in a tunnel locker while the monster searches. Stay put until it leaves. Shown at 10:14 in Roblox Master Guides’s video.
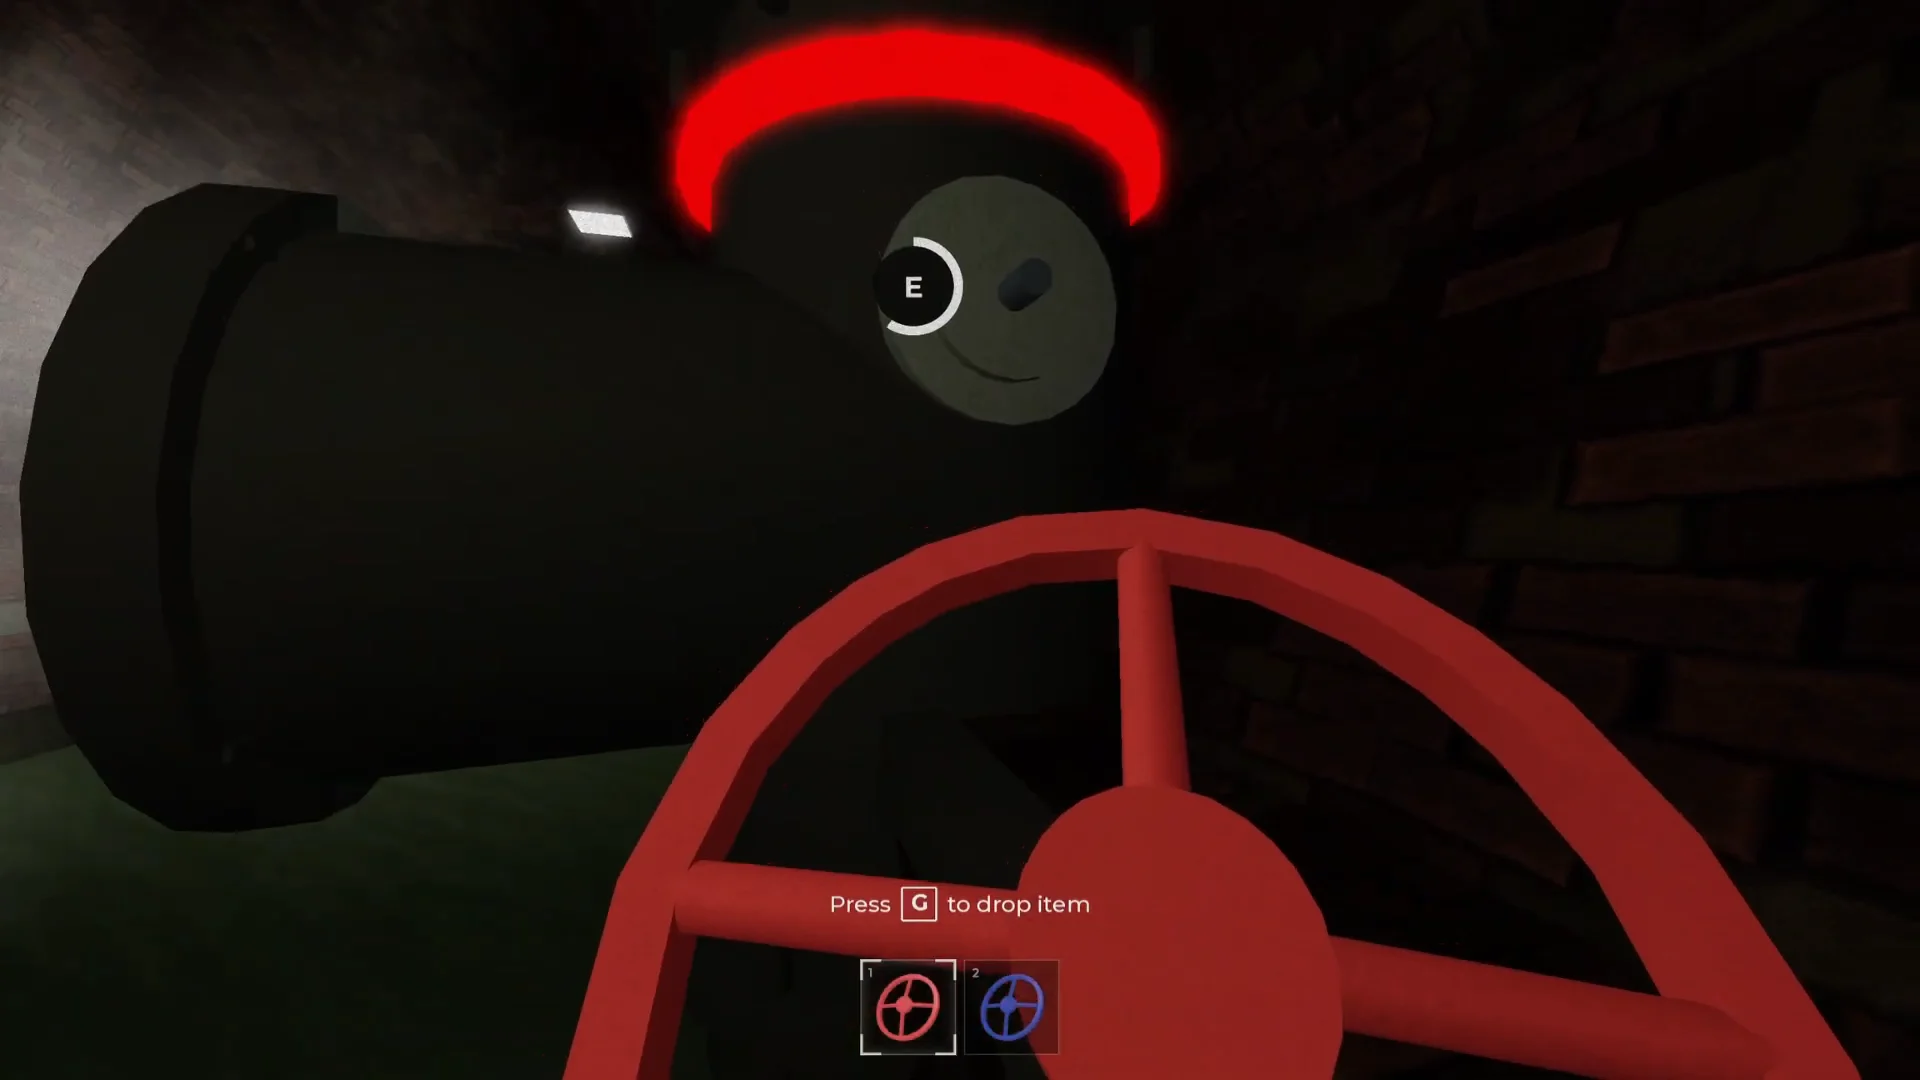
Attach each colored valve to the matching pipe joint and turn it. This shuts off the steam leaks that block the tunnel.
Turning Pipe Valves to Clear Steam10:37Turning Pipe Valves to Clear Steam
Turning a fitted valve closes the steam leak blocking that stretch of tunnel. Shown at 10:37 in Roblox Master Guides’s video.
Grab the Level 2 Keycard from the computer desk in the underground office.
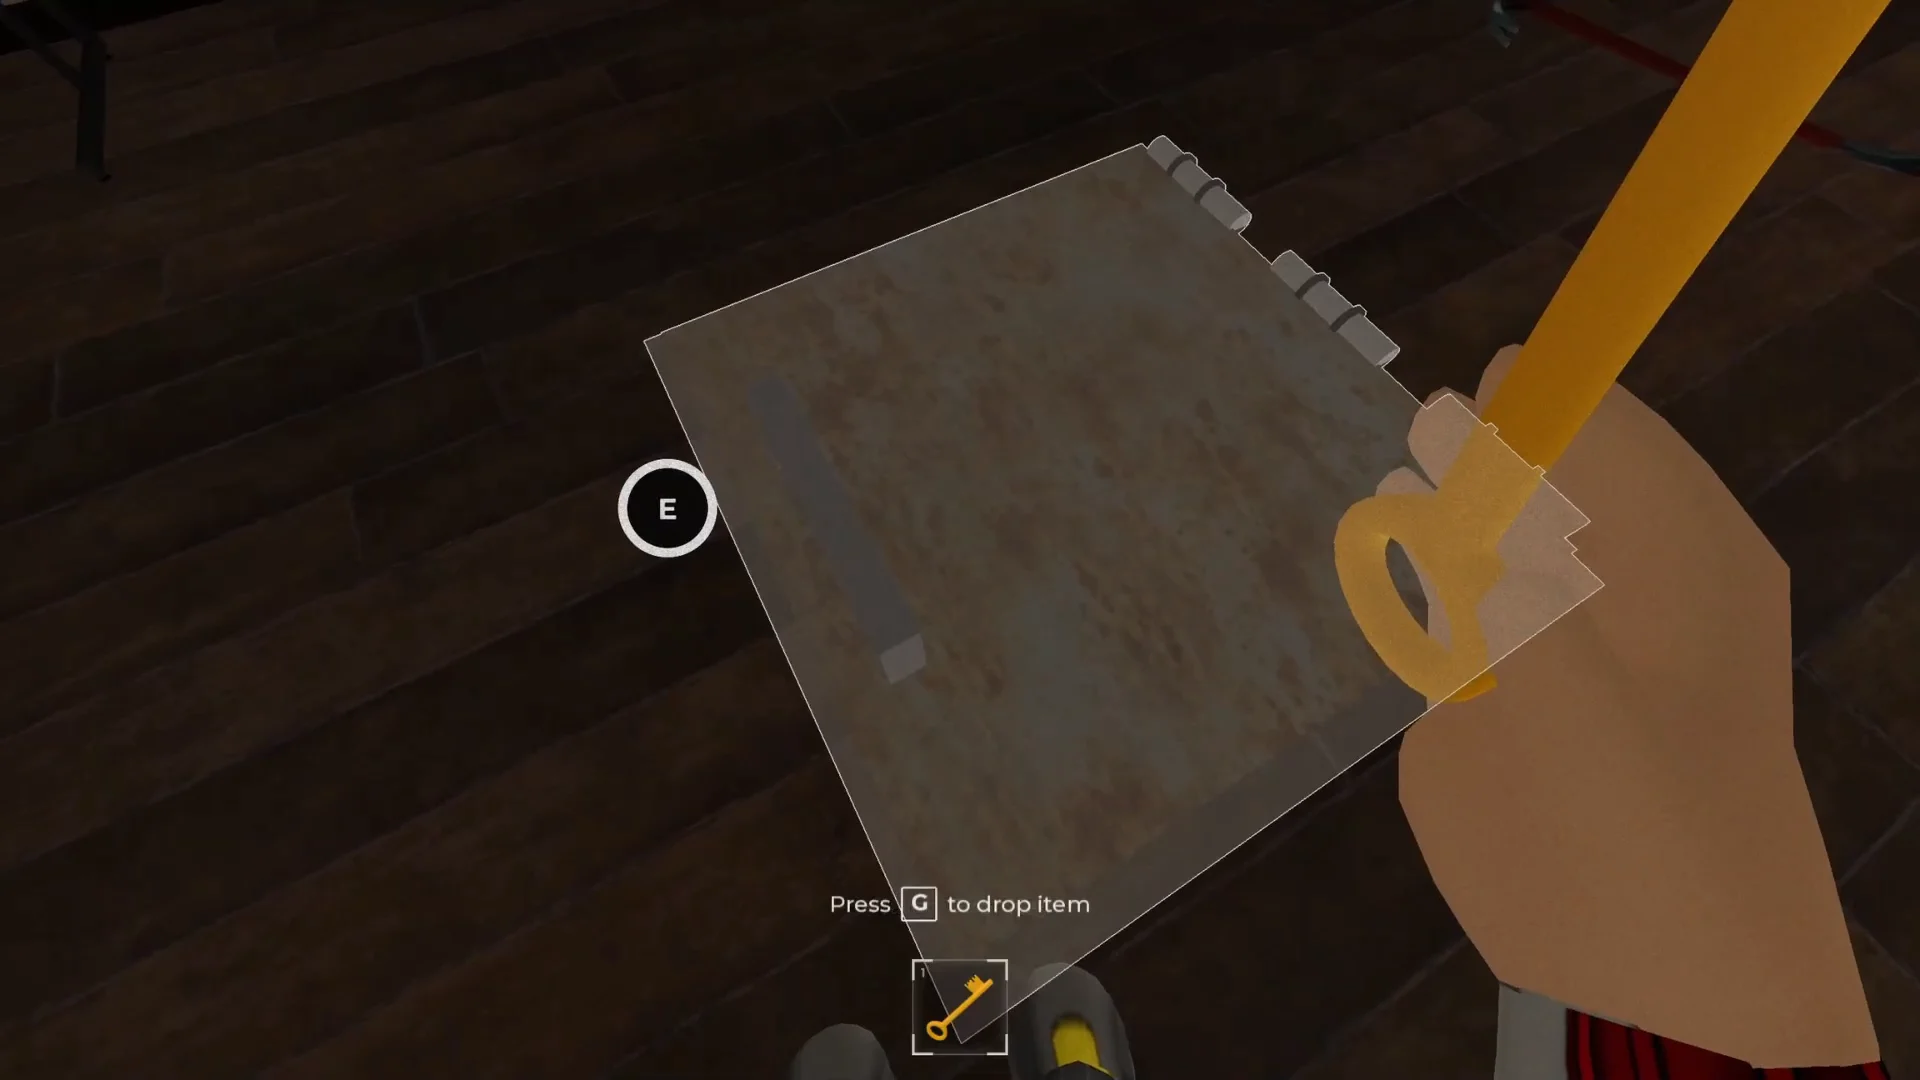
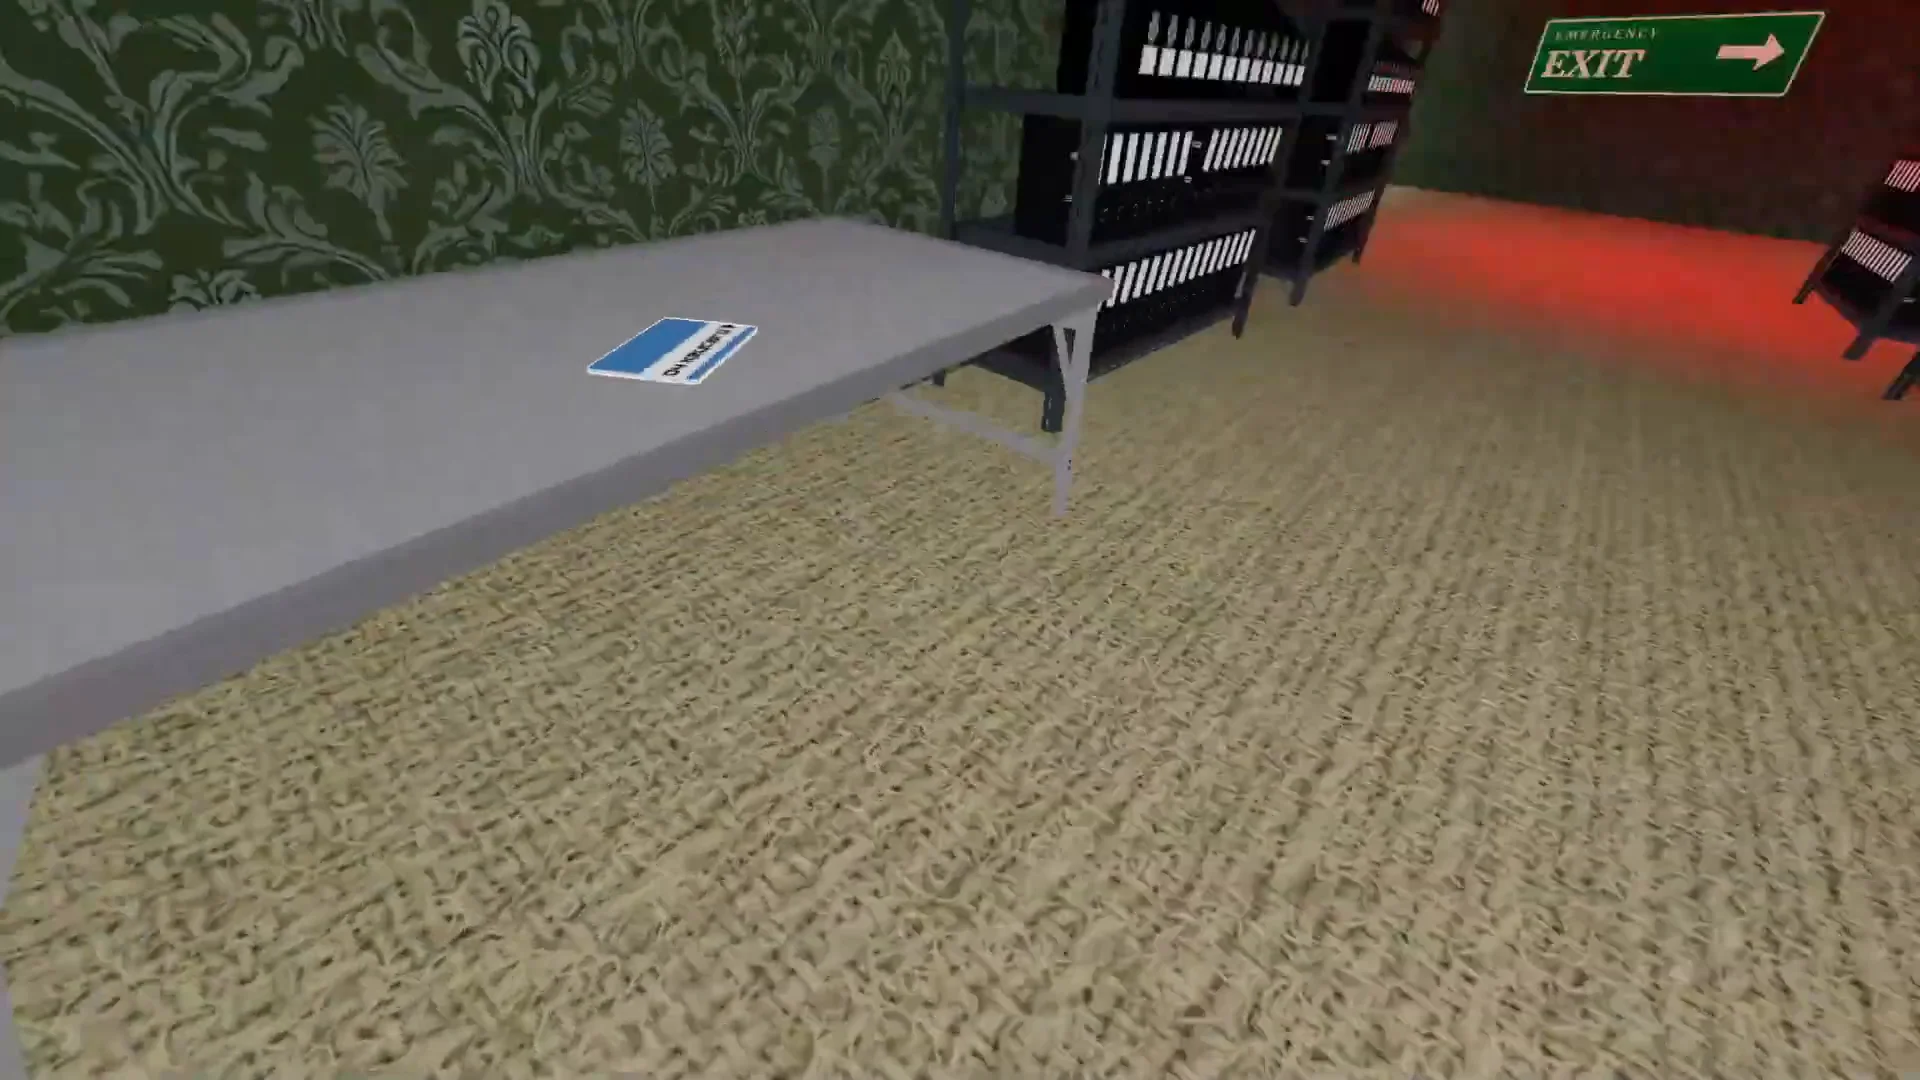
Swipe the Level 2 Keycard on the archive room reader. Pick up the Level 4 Keycard, labeled “04 KEYCARD,” from the metal table inside.
Collecting Level 4 Keycard11:58Collecting Level 4 Keycard
The Level 4 Keycard waits on the archive table. You need it twice, including at the very end. Shown at 11:58 in Roblox Master Guides’s video.
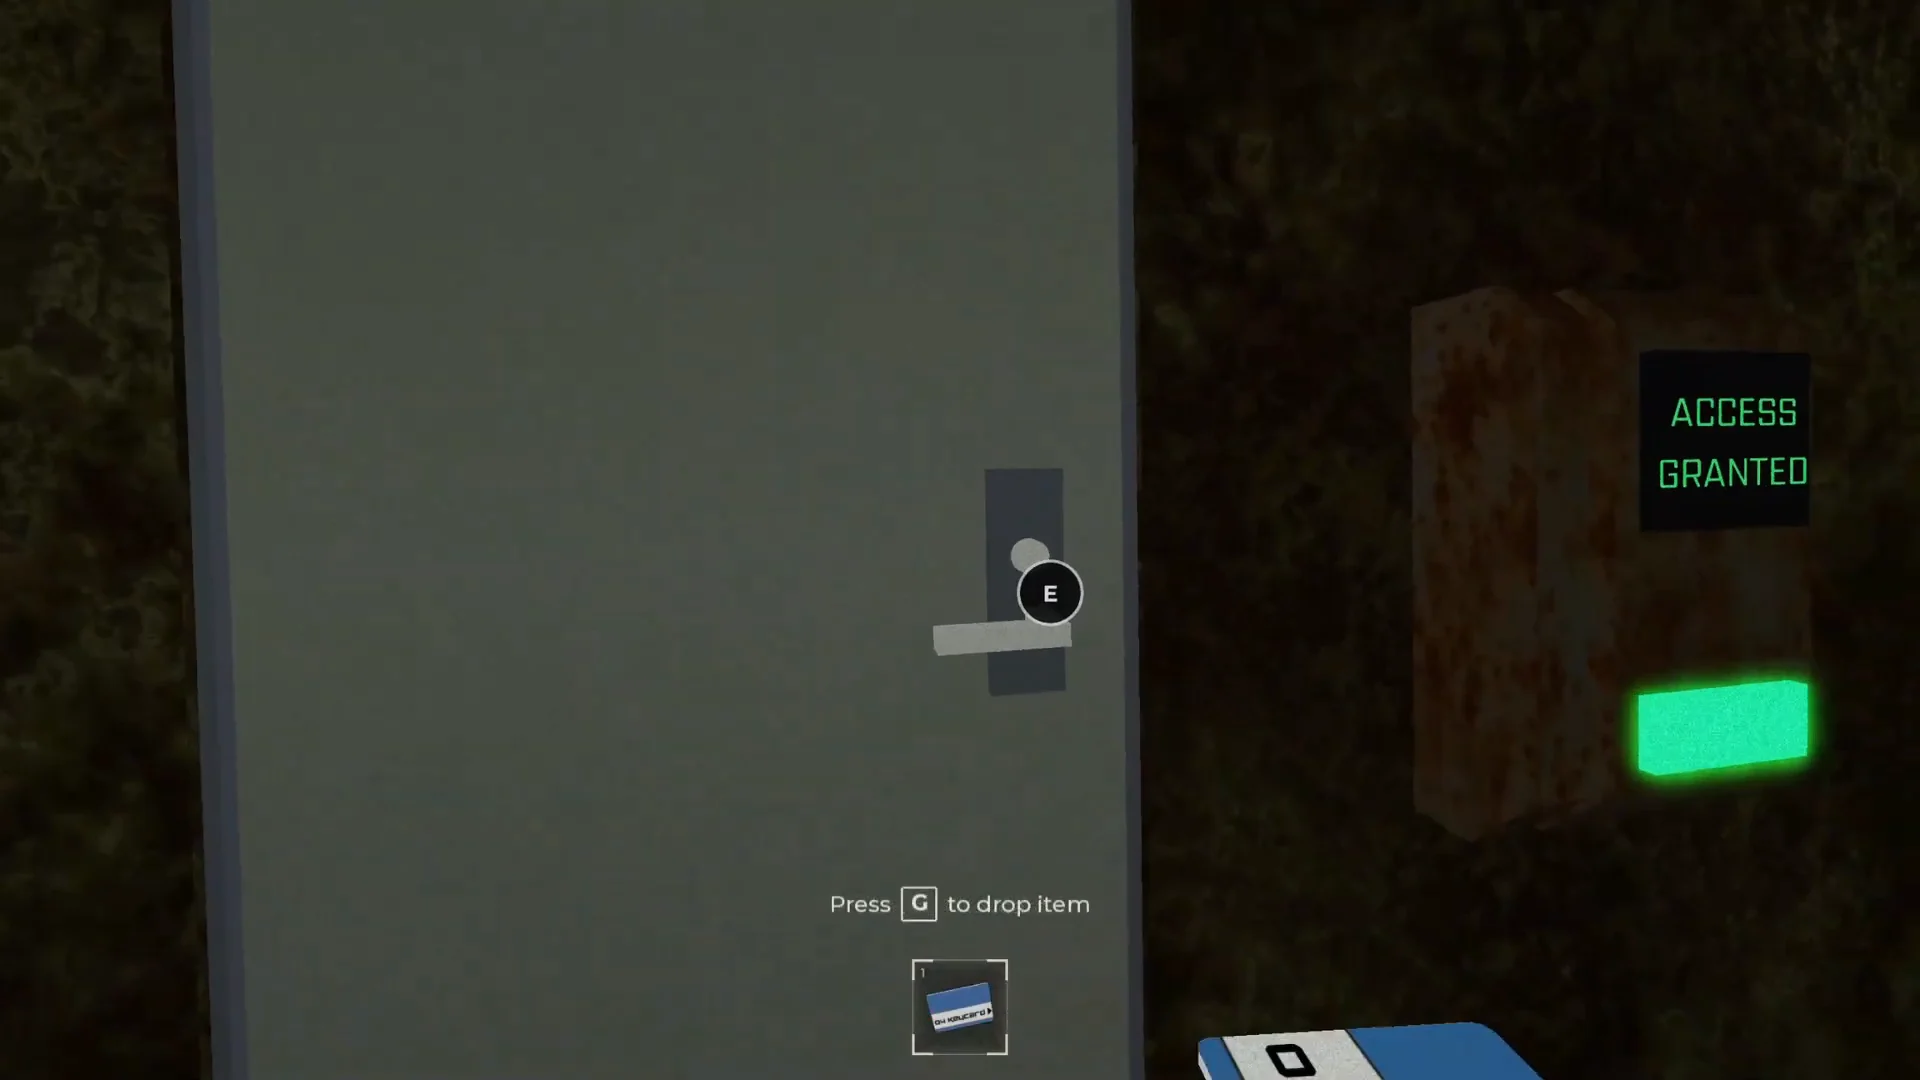
Clear the remaining steam pipes the same way, hiding in lockers when the monster gets close. Then swipe the Level 4 Keycard at the security door.
Opening Level 4 Security Door13:37Opening Level 4 Security Door
An "ACCESS GRANTED" reading on the panel means the Level 4 security door is open. Shown at 13:37 in Roblox Master Guides’s video.

Restoring power and hacking OPEN_DOOR.EXE

Climb the staircase in the checkered room past the Level 4 door. A distorted woman delivers a short monologue there. After it ends, interact with the portable generator and choose “TURN OFF GENERATOR.”
Move through the dark corridors and flip both wall breaker switches. Each light changes from red to green once it is on.
Go to the power room, where Fusebox 01 and Fusebox 02 are mounted, and select “TURN ON POWER” on the emergency generator.
Use the terminal and run OPEN_DOOR.EXE. Click the square targets and avoid the red X’s to push the progress bar up from 0%.
When the screen says “!! OVERHEAT !!” or shows a cooling countdown, step away and hide in a locker. The monster comes into the room during these breaks. Go back to the terminal once it’s safe, and keep going until it reads “ACCESS GRANTED DOOR HAS OPENED” and the large roll-up shutter lifts.

The terminal overheats several times before it reaches 100%. Expect to leave it and hide more than once.


Bear Key, Teddy Bear, and the crib code

Behind the shutter is a messy room with floating furniture. Fit a Blue Valve onto the pipe there to clear the steam, and a wrapped gift box appears.
Turn the crank on the jack-in-the-box until the Bear Key pops out, then take it.
Ascend the ladder to return to the house. Pry the planks from the locked bedroom door, then unlock it with the Bear Key.
Interact with the Teddy Bear on the bed and pick “Take the bear” when the warning prompt appears. The lights turn red and you will probably get caught, which respawns you.
Pick the dropped Teddy Bear back up and place it in the hallway crib, the one under the teddy bear drawing and the word “EXIT…”
Read the numbers that appear on the wall above the crib. The exit code is 06672.

Opening the exit shutter and earning the badge

At the keypad beside the white exit shutter, enter 06672. Your character says the code was accepted, but the reader still requires a keycard.
If you no longer have the Level 4 Keycard, go back down the hatch and pick it up from the tunnel floor where you dropped it.
Swipe the Level 4 Keycard on the exit card reader. A “door opening in” countdown starts at about 45 seconds.
Stay away from the monster until the timer hits 00:00 and the shutter is fully open. Then run into the white light.

You’ll know the run counted when two things happen. A Roblox notification awards the “The Teddy Escape Route” badge for House of Guilt: Chapter 1, and the game shows “ENDING 1 / 3: THE TEDDY ESCAPE ROUTE.” That leaves two more endings to find in the same house.