In Enshrouded 1.0, the Healer is a Mage setup focused on one strength: keeping the party alive as a tank draws enemy attention at the front. Its damage output is poor, making it much more suited to co-op than solo runs. The build is also inexpensive: its full support core takes 34 skill points, leaving additional points available for mobility and a damage line.
Quick answer: Max Healer (3/3) and Water Aura (3/3), then take Waters Of Life. Raise Intelligence and Spirit, swap to a wand to regain mana, and heal with a staff.
Healer build core skills in Enshrouded 1.0
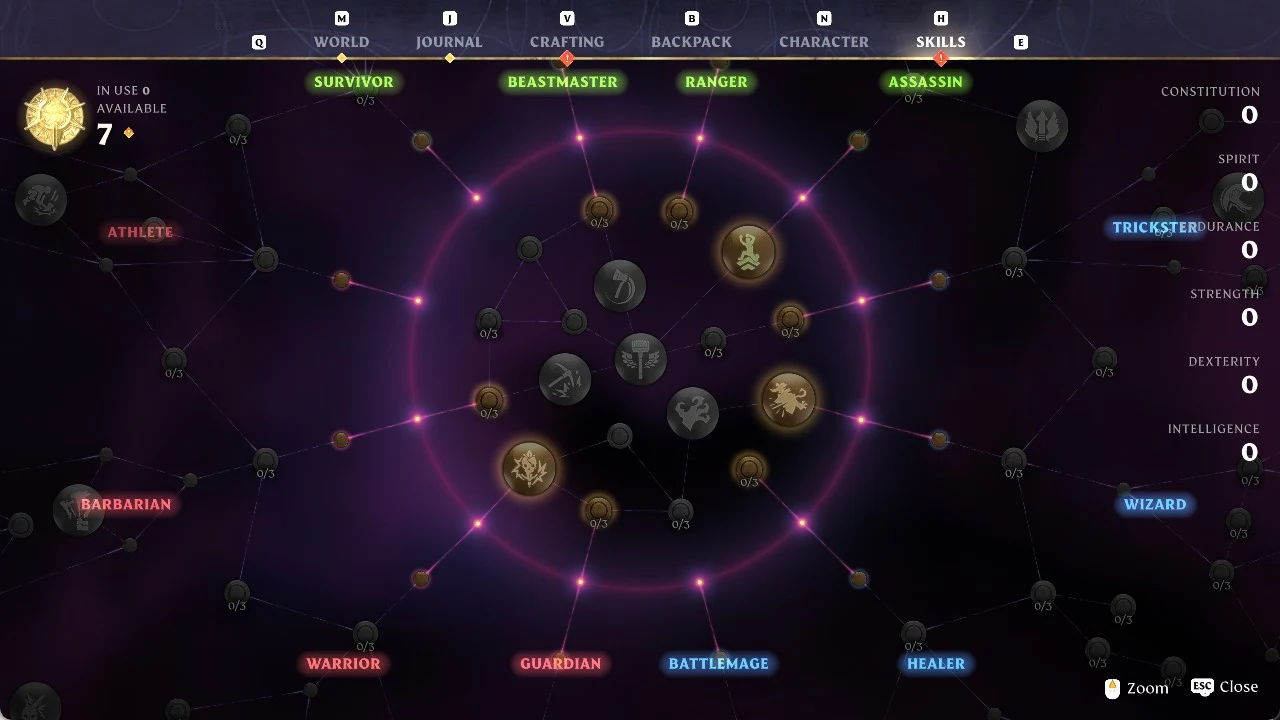
Every 1.0 character started with a full skill tree reset, so older Healer paths no longer line up with the current tree. Healer II and Sun Aura were removed. The Healer node now has three ranks, and each rank costs a single point. The nodes below sit in the blue Mage section of the tree, apart from Saviour, which is in the core.
| Skill | Cost | Ranks | Effect |
|---|---|---|---|
| Healer | 1 per rank | 3 | +15% healing per rank (45% max) |
 Water Aura | 1 per rank | 3 | Heal aura, 5 m radius per rank |
| Waters Of Life | 2 | 1 | Doubles Water Aura healing |
| Healing Revive | 1 per rank | 3 | 8% per rank on revived allies |
| Divine Surge | 4 | 1 | Healing spells can crit |
 Life Essences | 1 per rank | 3 | Max health from Intelligence |
| Saviour | 1 per rank | 3 | Faster ally revives |
Healer is a passive. It raises the health restored by both healing spells and Water Aura, so a single node improves every heal the build casts. Water Aura is the active skill you’ll use the most. It heals you as well as any injured ally inside its radius, and that radius reaches 15 meters at full rank.

Divine Surge lets healing spells land critical strikes, and those crits scale with your Critical Strike Damage. Healing Revive and Saviour both help with downed teammates. One adds healing when an ally is revived, and the other shortens how long the revive takes.
How Water Aura healing scales with Intelligence
For every 2 Intelligence, Water Aura returns 1 Health. Waters Of Life changes that yield to 2 Health for the same 2 Intelligence. Healer’s percentage bonus is applied after that calculation, making Intelligence the build’s primary attribute.
Here is a worked example with 20 Intelligence. The base aura restores 10 Health. Waters Of Life raises that to 20. Healer at 3/3 adds 45%, which brings it to 29. If you gain more Intelligence later, every one of those numbers goes up with it.
Healer skill buy order by level
You earn 2 skill points per level. The order below finishes the core at level 18 using level-up points only. Shroud Roots and Elixir Wells give extra points, so clearing them in each region moves every step earlier.
| Level | Purchase | Points spent |
|---|---|---|
| 2 | +2 Spirit | 2 |
| 4 | Mana Currents 3/3, +1 Spirit | 6 |
| 5 | +1 Intelligence | 7 |
| 6 | Healer 3/3 | 10 |
| 7 | +1 Spirit | 11 |
| 8 | Water Aura 3/3 | 14 |
| 9 | +1 Intelligence | 15 |
| 10 | Waters Of Life | 17 |
| 11 | Life Essences 2/3 | 19 |
| 12 | Healing Revive 3/3 | 22 |
| 13 | +1 Spirit | 23 |
| 15 | Divine Surge | 27 |
| 16 | Righteous Fire 1/3, +1 Intelligence | 30 |
| 17 | Saviour 1/3, +1 Intelligence | 32 |
| 18 | +2 Spirit | 34 |
Mana Currents comes first because it improves your base mana regeneration, and healing burns through mana quickly. Once this core is done, the build holds 7 Spirit and 4 Intelligence from attribute nodes.
Where to spend points after level 18
With the level cap now at 50, you’ll have plenty of points left over. The Blink line gives the Healer the most value next, because staying alive keeps the heals going. Battlemage nodes then cover mana sustain and extra Intelligence.
| Skill | Cost | Effect |
|---|---|---|
 Blink | 4 | Teleport replaces Dodge Roll, 20 Stamina |
| Emergency Blink | 2 | Blink while stunned to break the stun |
| Blink Attack | 2 | Blinking into foes causes a fire blast |
 Unity | 1 per rank (3) | Wand hits: 30% chance to restore 6% max Mana |
| Exalted | 5 | +1 Intelligence per two Flame levels |
Intelligence governs both Blink Attack’s damage and its Mana expenditure, letting it grow more powerful as your healing does. It takes the place of the lateral roll granted by the Ranger skill Strategic Maneuver, so you cannot benefit from both at once.

Healer attribute priority
- Intelligence determines how much health Water Aura restores, while each Attribute Point also grants 5% more magic damage.
- Spirit adds 20 maximum Mana per point, which lets you heal for longer between wand phases.
- Constitution adds 50 maximum health per point. A few points help you survive hits that get past the tank.
- Endurance pays for Blink and gliding. A small amount is enough.
Wands and staves for the Enshrouded Healer
The Healer carries two weapons. A staff casts the healing spells. A wand fills the gaps, chipping at enemies to trigger Unity and refill Mana. Every wand below runs from item level 1 to 55, deals 7 damage at level 1, and attacks every 0.6 seconds.
| Wand | Element | Mana Regen | Key perks |
|---|---|---|---|
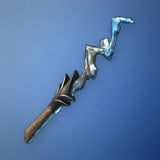 Reaper’s Wand | Lightning | 4 | Crit 4%, Crit Damage 12% |
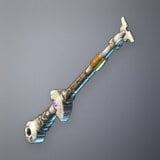 Ancient Drak Wand | Lightning | 14 | Mana Leech 3%, Crit 6%, Ruthless 32% |
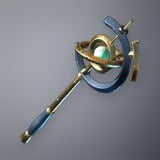 Androme’s Wand | Ice | 16 | Mana Leech 3%, Crit 7% |
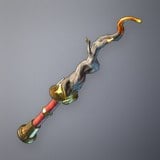 Ashwood Wand | Fire | 16 | Health Leech 9, Crit 7% |
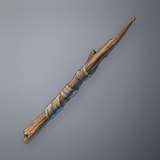 Apprentice Wand | Ice | 4 | Mana Leech 3, Renewal 1 |
Reaper’s Wand is an Epic wand found in the Springlands. After you pick one up, you can craft it at the Alchemist under a roof, with variants unlocking at higher Flame levels. It fires Multishot 1 and has 12% Overcharge.
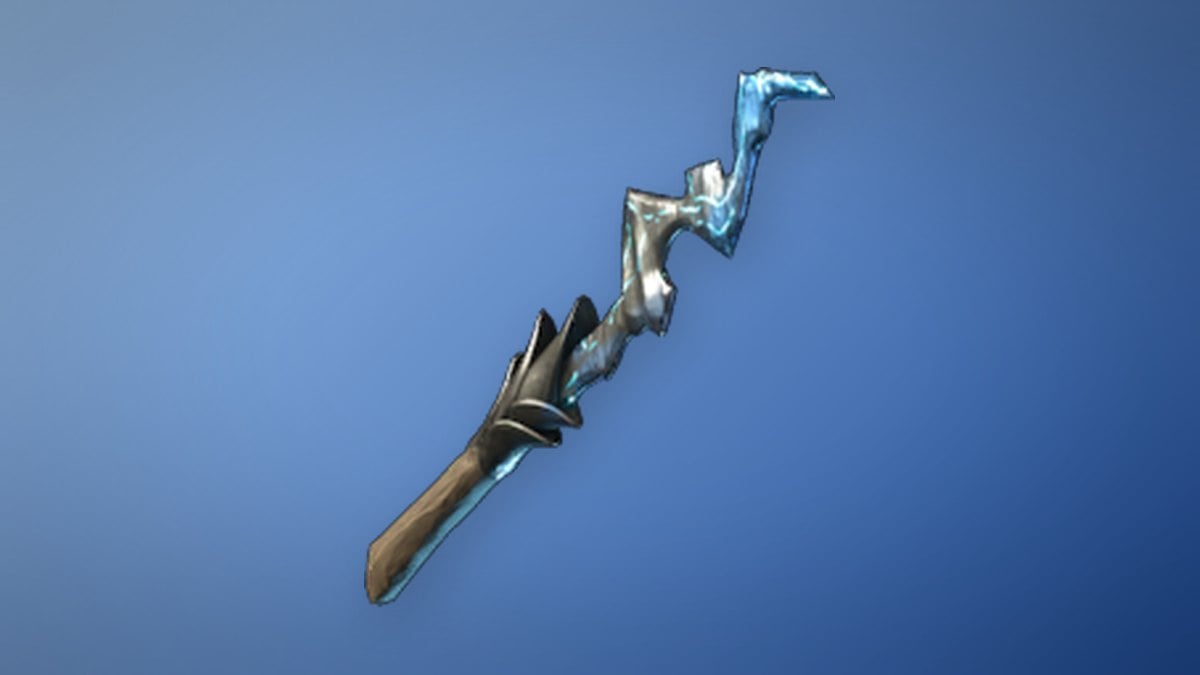
Ancient Drak Wand and Androme’s Wand pair high Mana Regeneration with Mana Leech, and that matters more to a Healer than raw damage. Androme’s Wand has 30% Overcharge and Ancient Drak Wand has 27%. Both fire Multishot 1.
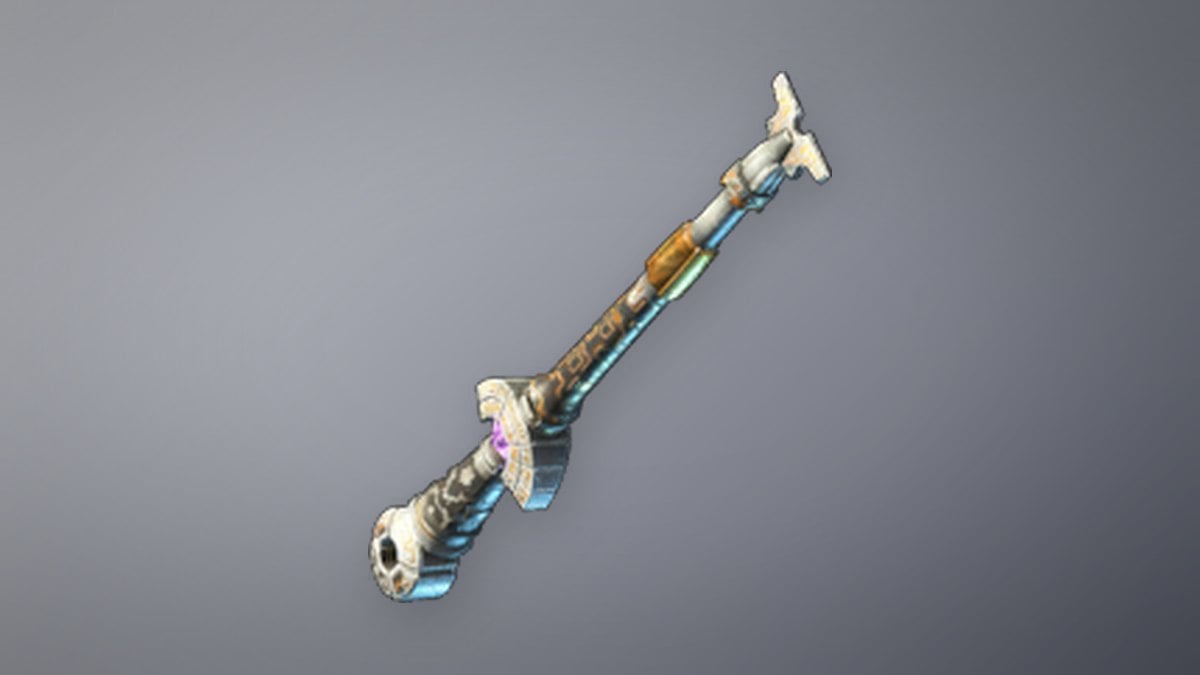
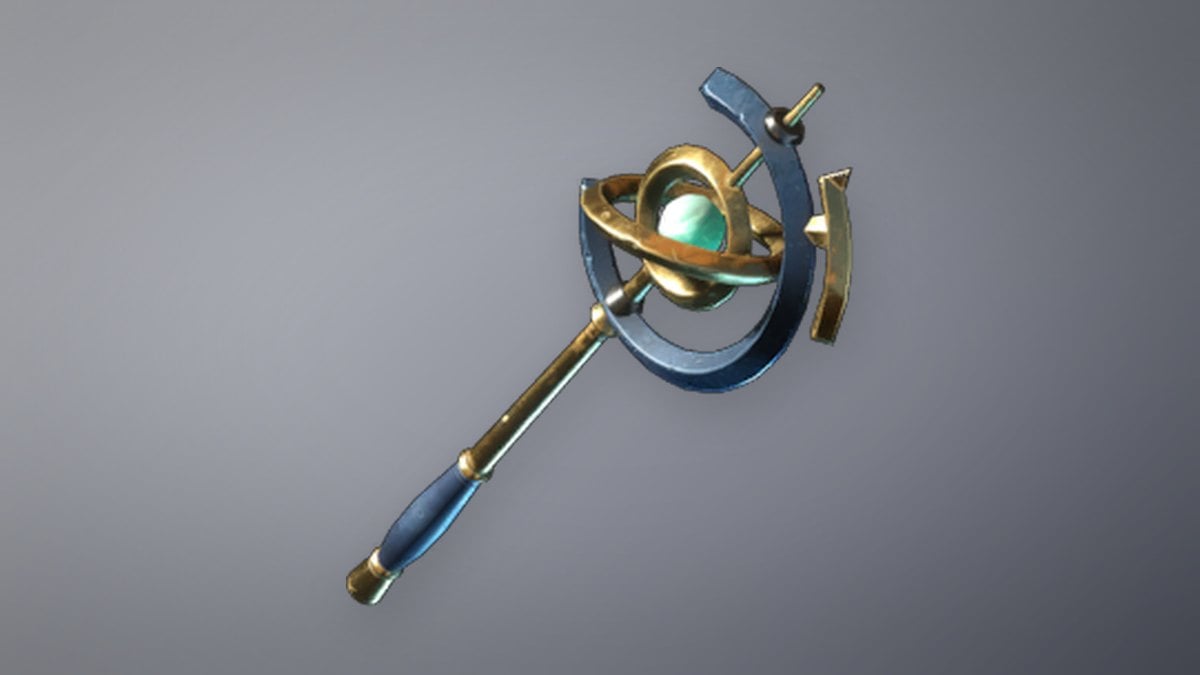
Ashwood Wand trades Mana Leech for Health Leech 9, which gives you some self-healing during wand phases. It also has 30% Overcharge.
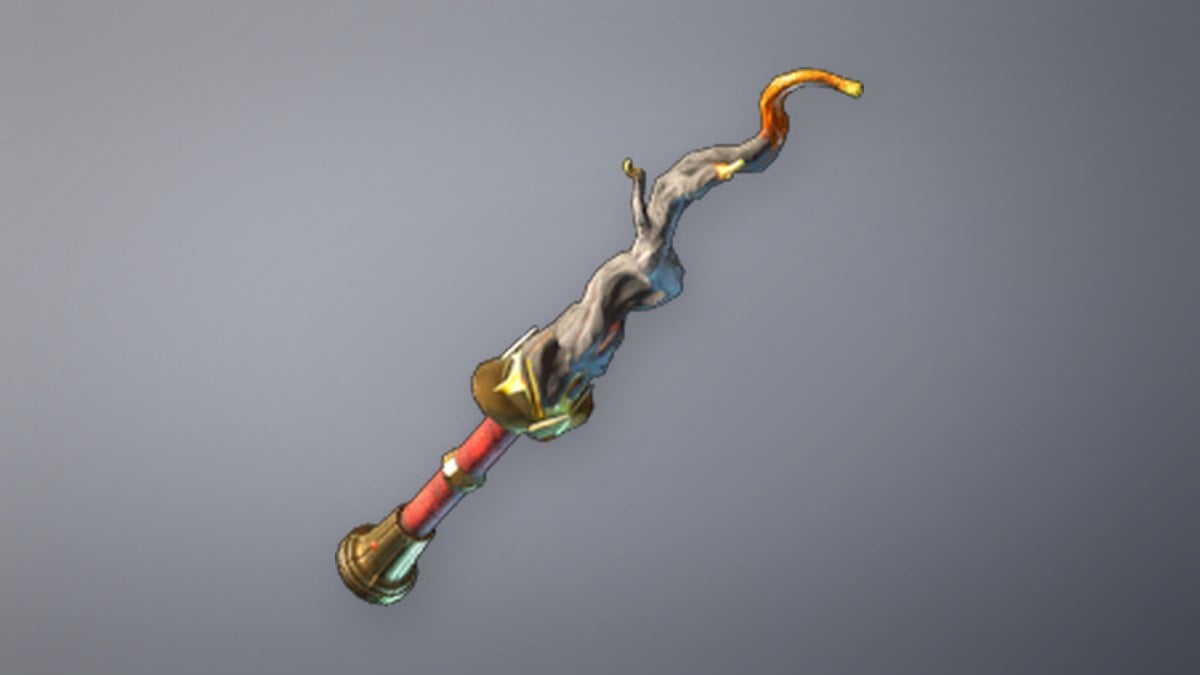
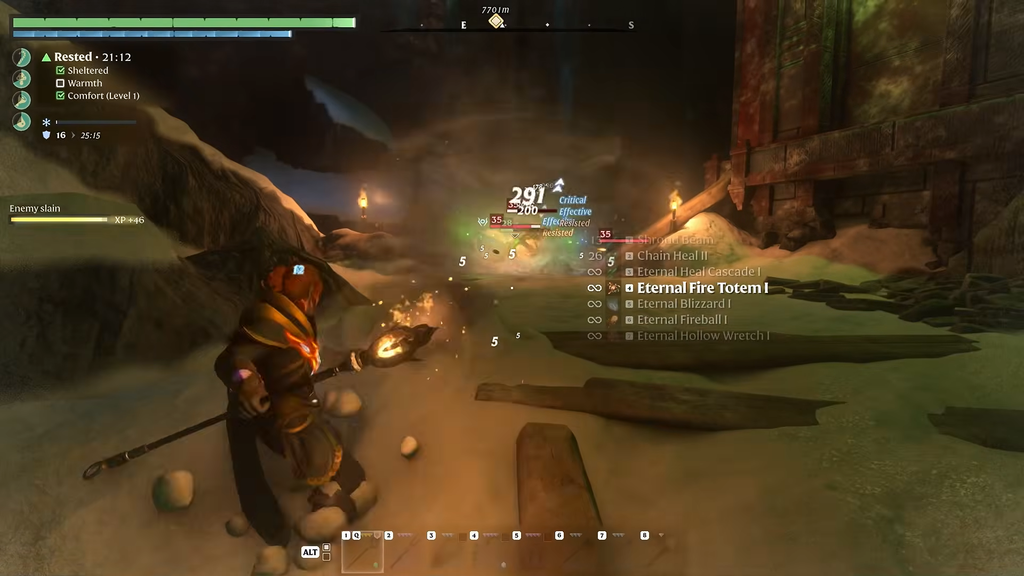
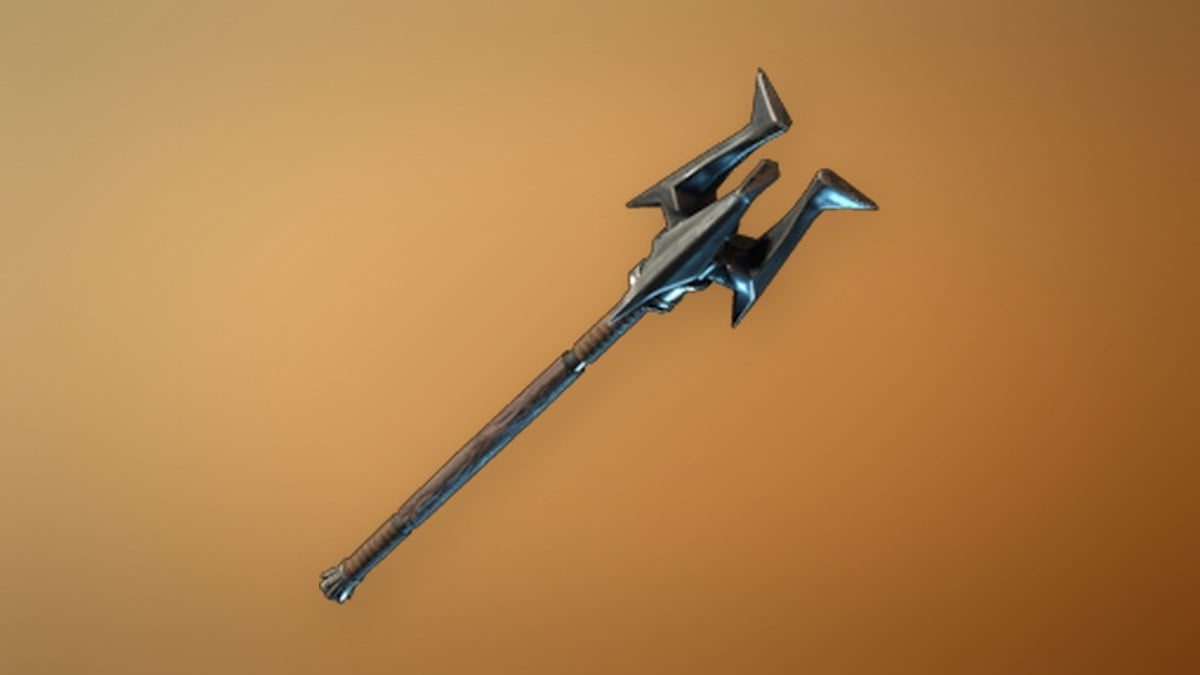
For the staff slot, the Beastmaster Shaman Staff is a Common Mage staff that covers item levels 1 to 55. It carries Healer 2 and Mana Currents 2 as perks, which add extra ranks to the skills this build already uses. It also has 5% Critical Strike Chance and 10% Damage against Wildlife. The Legendary Blackened Staff focuses on offense instead, with Mana Leech 3% and 10% All Magic Shroud Damage.
Chain Heal I and healing spells
Staff spell charges must be loaded before casting. Chain Heal I is the first group-healing skill. It sends out a restorative beam that finds allies nearby on its own, so you needn’t target each teammate individually.
| Chain Heal I | Value |
|---|---|
| Mana cost | 38 |
| Charge time | 1 s |
| Item level | 12 |
| Crafted at | Alchemist, 20 per craft |
| Stack size | 500 |
| Unlock | Pick up Chamomile, craft under a roof |
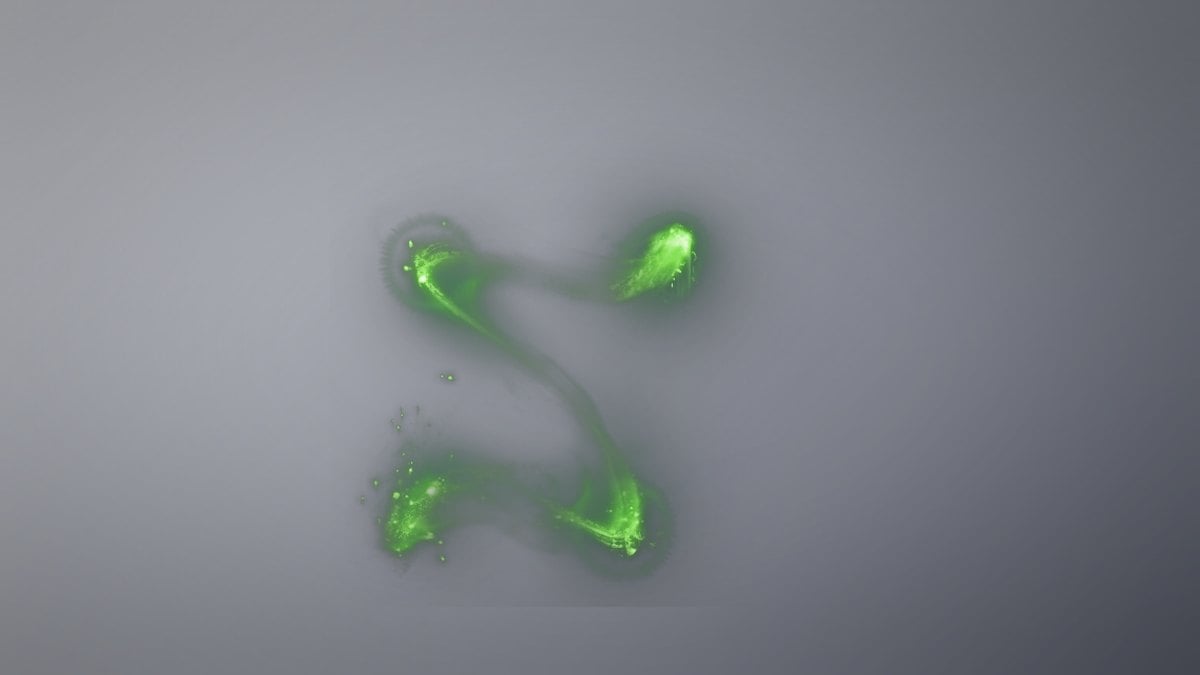
Version 1.0 also added Eternal spells. These don’t use up charges, and you can upgrade them, which removes the need to keep crafting heal stacks once you have them.
Healer armor sets in Enshrouded 1.0
There are two Mage healer sets in 1.0. Wear the Healer Set through the early and mid game. It is a Rare tier-3 set at item level 15, and its head and feet pieces carry Spiritual. Move to the Waveborne Ritualist set later on. It is the tier-6 healer set at item level 40.
Playing the Healer in co-op and solo
Stay behind your tank, and keep the injured players inside Water Aura’s 15-meter radius. Between heals, fire your wand so Unity can trigger and return Mana. Top the group up before a boss starts a big attack instead of reacting after the damage lands. When something reaches you, Blink out, and use Emergency Blink to get free of stuns.
Solo play works, but it’s slow, because almost none of the core adds damage. Since the core costs only 34 points and is finished by level 18, a solo Healer can spend the rest of the climb to level 50 on Battlemage wand skills. That keeps Water Aura and the Healer passive available as self-sustain.