The “Armored Sentinel” hint in Where Winds Meet points to a single, very specific puzzle inside the Jianghu Legacy quest An Unholy Prophecy. It is not a boss you need to kill, but a central suit of armor in the Martial Temple’s underground Arsenal that only opens the way forward once its missing weapons are returned.
Where the Armored Sentinel and Arsenal are located
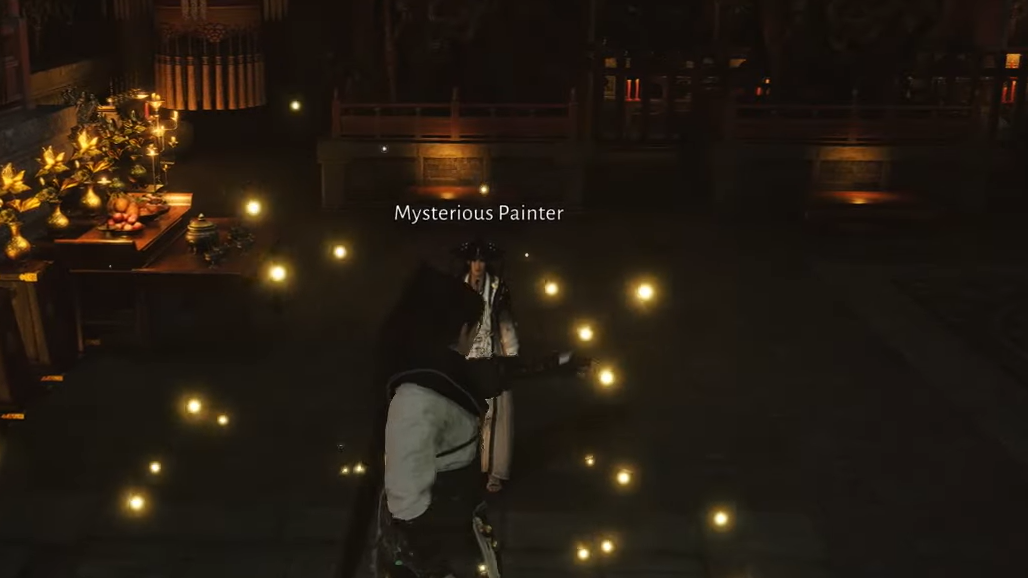
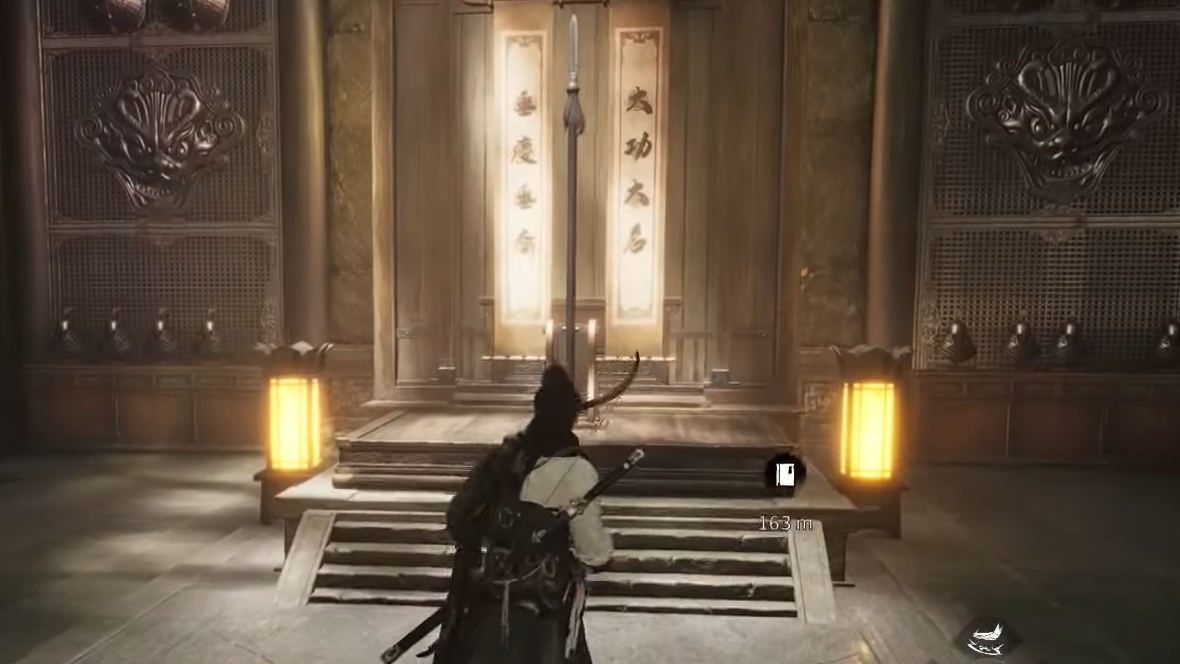
The Armored Sentinel sits in the Grand Arsenal Hall beneath the Martial Temple in Jadewood Court, Kaifeng. You reach this space as part of An Unholy Prophecy, a Legacy quest tied to the Mysterious Painter NPC in the Martial Temple.
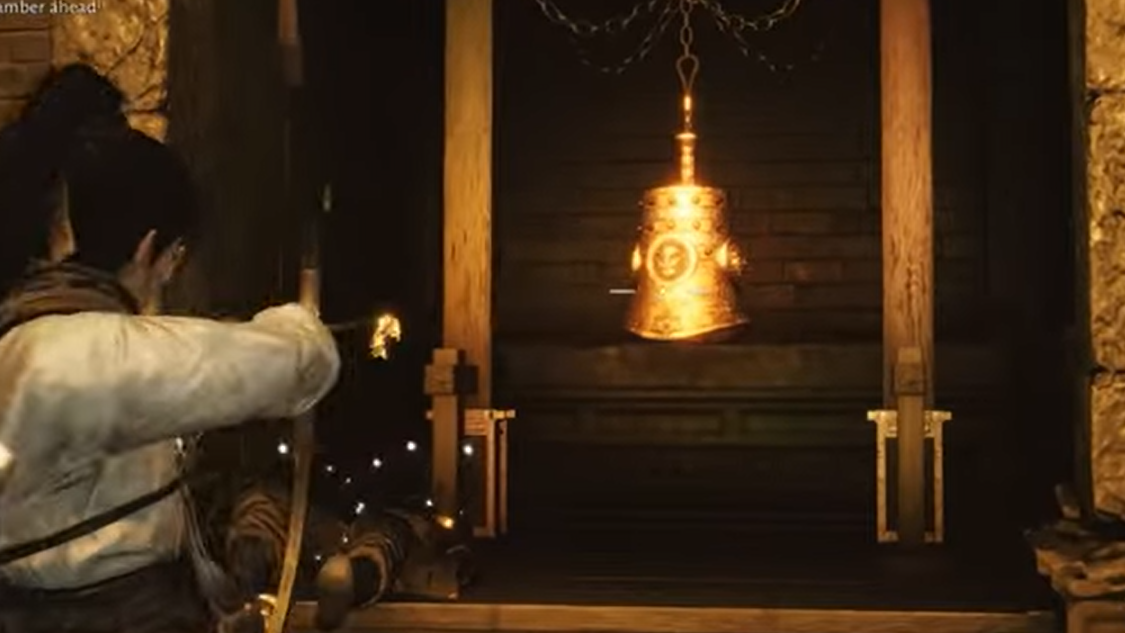
Once you ride the stone platform down from the Painter’s chamber and clear the first bell-and-door mechanism, you step into a wide hall lined with armored displays. One prominent suit of armor in the middle has empty weapon mounts. That weaponless armor is what the quest text calls the Armored Sentinel, and it physically blocks the secret Arsenal entrance until its weapons are restored.
Interacting with this armor updates your objectives to retrieve a long weapon from the left wing and a short weapon from the right wing of the hall. Only when those objectives are satisfied, and the armor is “complete,” does the hidden doorway behind it open.
How to reach the Arsenal section of An Unholy Prophecy
Once this first lock is broken, the route opens into the Grand Arsenal Hall, where the Armored Sentinel puzzle begins in full.
Grand Arsenal Hall and how the Armored Sentinel works
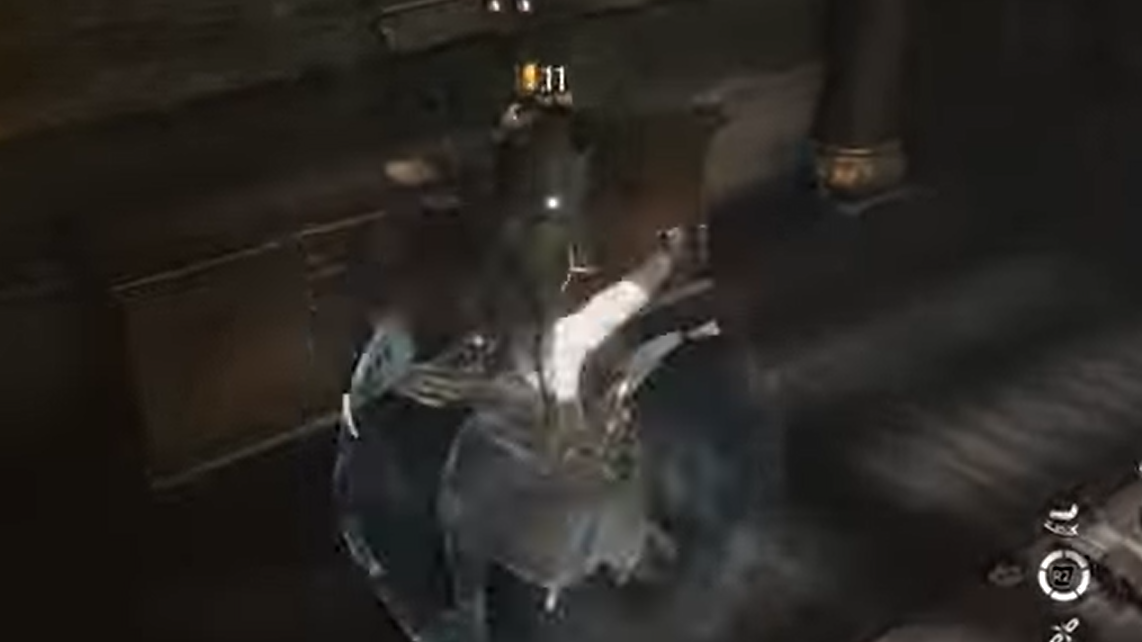
Entering the Grand Arsenal Hall, you face three enemies, including a banner-bearer who provides healing and buffs. Taking down the banner carrier first keeps the fight under control and clears the space for exploration.
With the enemies gone, the key elements of the room are:
- The central weaponless armor: This is the Armored Sentinel itself. Interacting with it exposes the objectives to recover missing long and short weapons.
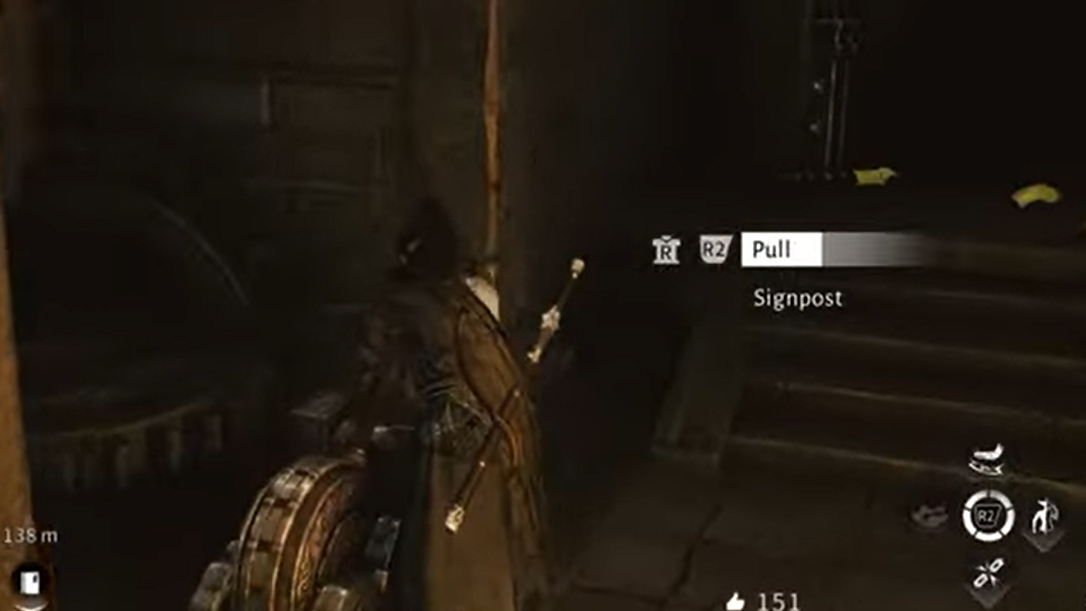
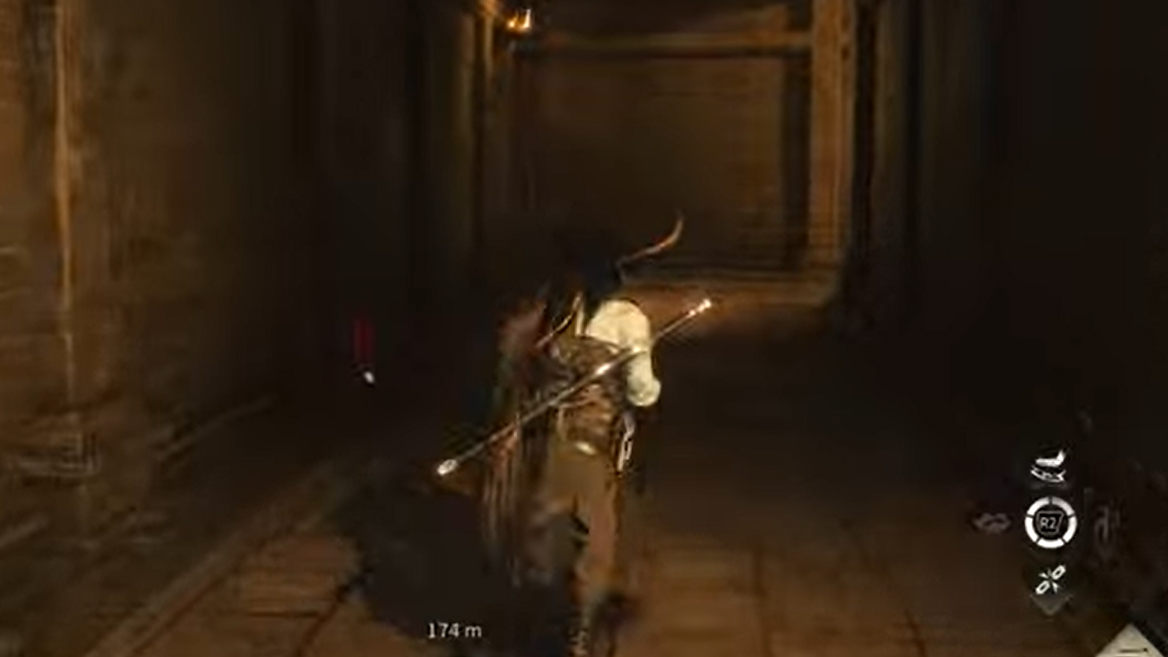
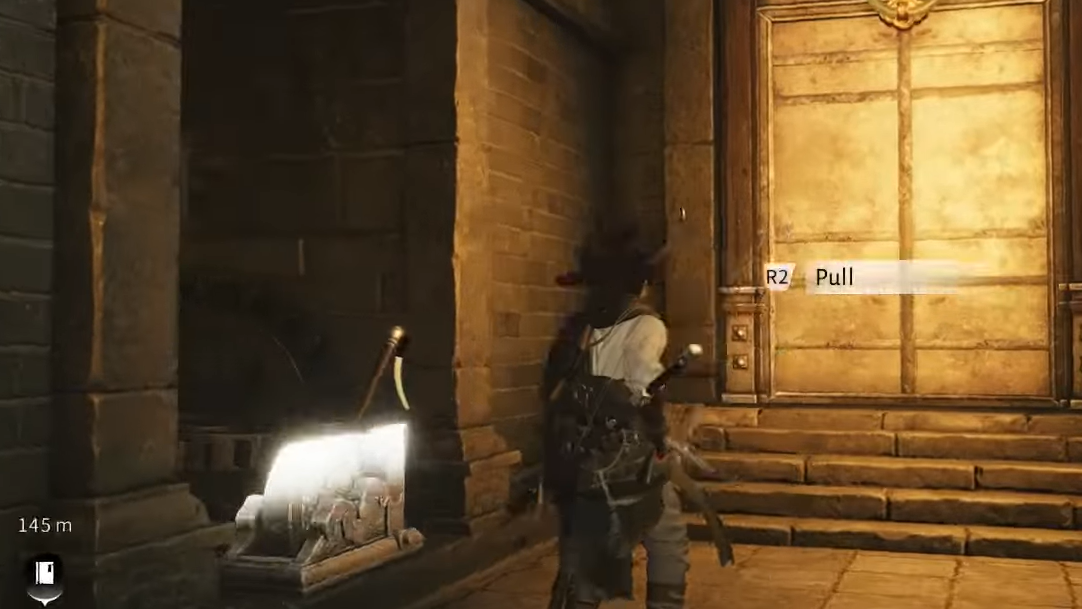
- The left and right wings: Two corridors on either side of the hall lead into trapped wings filled with spike corridors, bells, knockers, and weapon displays.
- Optional vertical route: Ladders and beams above the hall let you climb to unlock the Soaring Spin mystic skill and even skip some trap segments if you prefer.
Functionally, the hall is a hub. The left wing holds long weapons for the Sentinel; the right wing holds short weapons. Completing both sides returns you here, where you formally “slot” those weapons into the armor through interaction prompts.
Long weapon from the left wing (easier side)
Short weapons from the right wing (harder side)
Skipping the spike-wing puzzles with rooftop routes
The left and right wings are designed as trap-filled gauntlets, but the game quietly allows a shortcut that effectively lets you ignore most of the spike corridors.
By climbing the large statue and using the ladders and beams high above the Grand Arsenal Hall, you can traverse overhead and drop directly into the rooms that contain the required long or short weapons. It is the same vertical route used to claim the Soaring Spin mystic skill. If you are comfortable with lightness skills and platforming, this “rafters route” trades timing-based trap runs for careful rooftop jumps.
Using this path does not break the quest. As long as you enter the weapon chambers, pick up the antique weapons tied to the Arsenal, and then interact with the central armor to return them, the game registers the objectives as complete and opens the Armored Sentinel’s doorway.
What opening the Arsenal entrance unlocks
Once the Armored Sentinel is fully armed and the mechanism finishes its animation, a secret passage opens directly behind the armor. Walking through pushes An Unholy Prophecy into its final stretch.
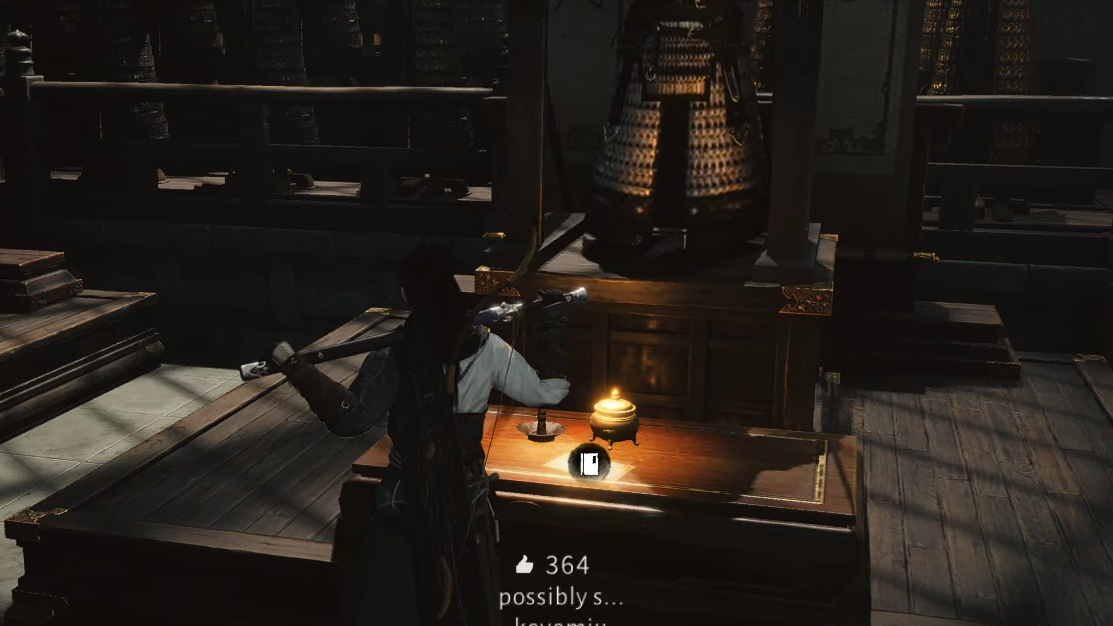
Deeper inside the Arsenal section you encounter:
- A rising spiked floor chamber: A circular pit room where the floor beneath you begins to rise, covered in spikes. You must jump along upper platforms quickly and exit through the far hallway before the spike floor reaches you. Being caught is instant death.
- The Shi Zhen fight: A final arena with a treasure chest and a mini-boss encounter against Shi Zhen and four guards. Clearing the minions first makes the boss easier to manage.
- The hidden exit passage: A route back to the surface, with extra loot such as breakable Dushan Jade and another chest.
After leaving the underground through this hidden passage, you still need to speak to the Mysterious Painter again outside the Martial Temple to fully wrap up An Unholy Prophecy and trigger the quest rewards, which include items like the Fame and Fortune Hanging Scroll, Custom Chests, Echo Jade, Ebon Iron, Enlightenment Points, character experience, coins, and Kaifeng exploration progress.
If you already looted Arsenal weapons before the quest
It is possible to wander into parts of the Martial Temple’s Arsenal before formally starting An Unholy Prophecy and pick up spears or swords from the weapon displays. Those earlier pickups do not replace the specific antique weapons the Armored Sentinel expects.
Even if your inventory already holds similar weapons, the puzzle still requires you to:
- Ride down via the Mysterious Painter’s platform.
- Complete the bell-and-Meridian Touch doors on each wing.
- Enter the correct weapon rooms in the left and right wings.
- Interact with the central armor and explicitly choose the “Long Weapon Returned” and “Short Weapon Returned” options.
Only after those interactions does the game flag the Sentinel as complete and slide open the Arsenal entrance. Treat any weapons you picked up on earlier visits as normal loot; they do not skip the mechanical steps of the quest.
Where “Arsenal” lives in your menus (separate from the dungeon)
Outside of the Martial Temple dungeon, the word “Arsenal” also appears in the broader game systems. Here it refers to your build and gear configuration rather than the Kaifeng underground hall.
If you saw a pop-up about storing your arsenal and missed it due to a crash or skipped tutorial, that message points to the Gear section inside the development menu. That section is where you manage stored weapons, armor sets, and related loadout systems. The in-menu Arsenal and the Martial Temple Arsenal share a name, but they are separate concepts: one is a UI screen, the other is a trapped legacy dungeon behind the Armored Sentinel.
Once you understand that the “Armored Sentinel” is just the central armor display and that its long and short weapon objectives map cleanly onto the left and right wings, the entire Arsenal puzzle becomes much easier to read. The rest is simply staying calm in the spike corridors, hitting each bell timing with Meridian Touch, and remembering to return to the Mysterious Painter at the end to cash in your work.