How to finish Communications Group Hermes in Avatar: Frontiers of Pandora – From The Ashes
Shut down the RDA’s relay network by clearing the Hawk posts, crippling Camp Messenger, and bringing down the Dragon at Fort Hermes.
Shut down the RDA’s relay network by clearing the Hawk posts, crippling Camp Messenger, and bringing down the Dragon at Fort Hermes.
by Pallav Pathak
The Communications Group Hermes mission in the From The Ashes DLC is part of the Sabotage RDA Operations questline. The RDA is building a high-altitude antenna network to boost long-range communications, and your job is to dismantle the entire system by destroying three Hawk posts, sabotaging Camp Messenger, and finally eliminating a Dragon Gunship at Fort Hermes.
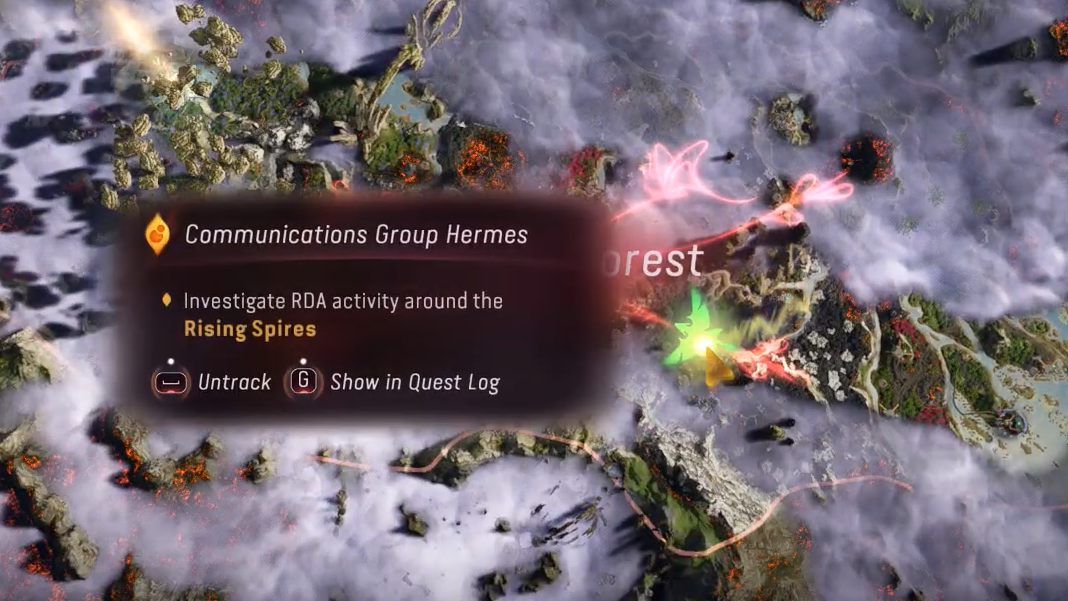
How to start Communications Group Hermes at Rising Spires
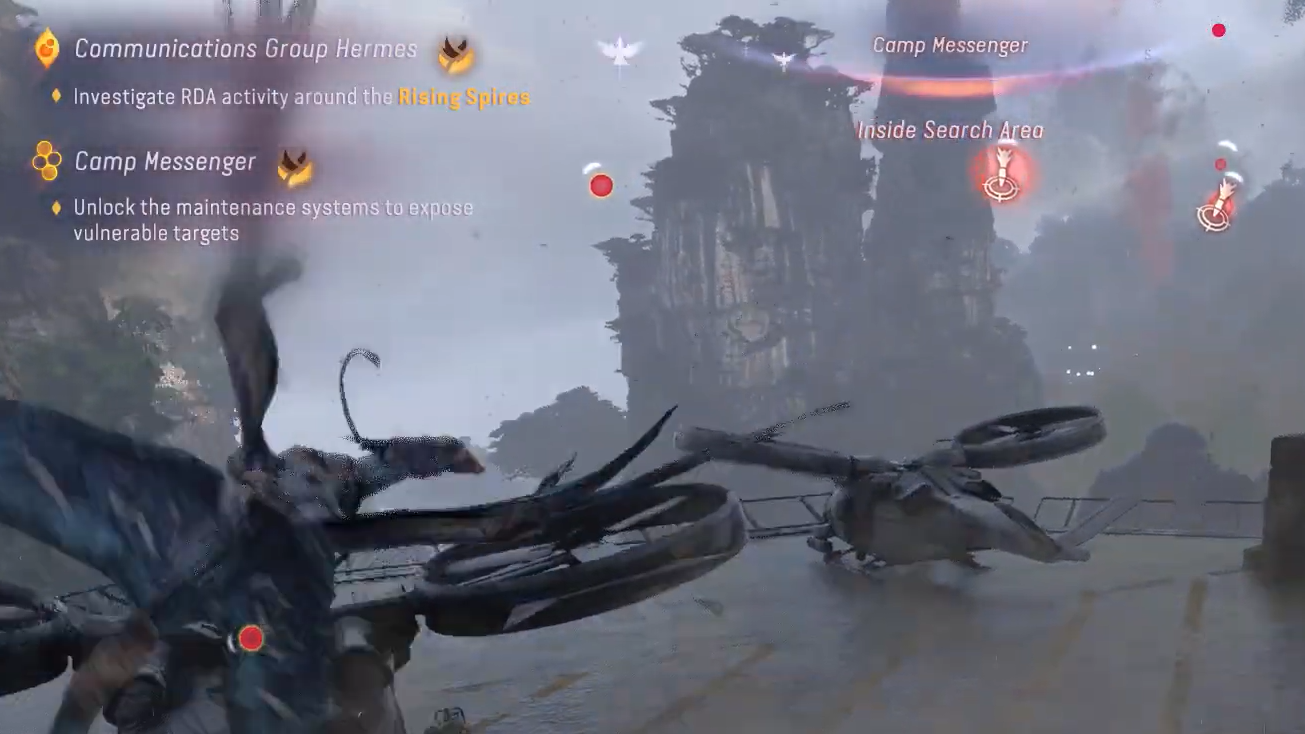
After you arrive, Teylan contacts you and explains that the RDA has set up a relay communications network using a chain of high-altitude antennas. He lays out three objectives: destroy the nearby Hawk posts, take out Camp Messenger, and then assault Fort Hermes.
The Communications Group Hermes mission will trigger automatically once you reach the Rising Spires region | Image credit: Ubisoft (via YouTube/@Gaming Tornedo)
From this point, the quest splits into three major tasks. You can tackle the Hawk posts in any order, but Camp Messenger and Fort Hermes act as the mid- and late-mission anchors.
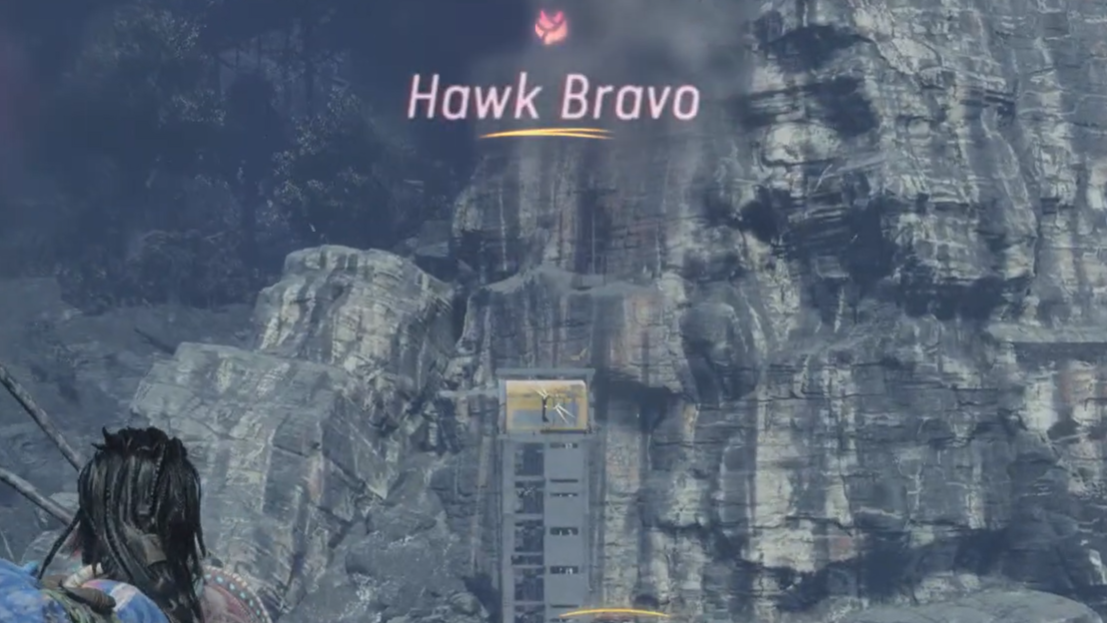
Destroy the three Hawk posts (Hawk Alpha, Bravo, and Charlie)
The first phase focuses on three outlying relay sites: Hawk Alpha, Hawk Bravo, and Hawk Charlie. All three share the same basic structure and objectives, but are heavily defended.
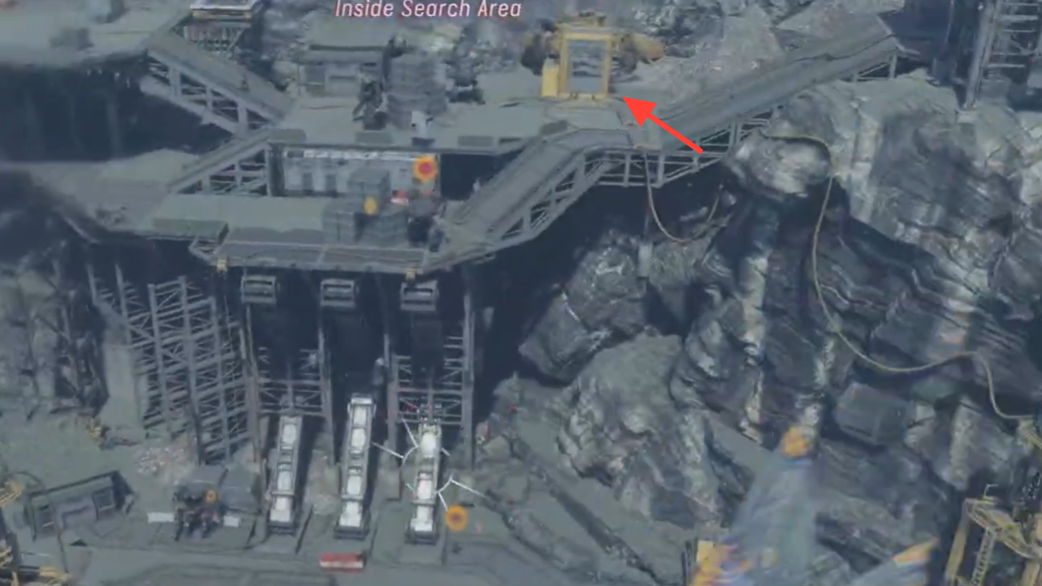
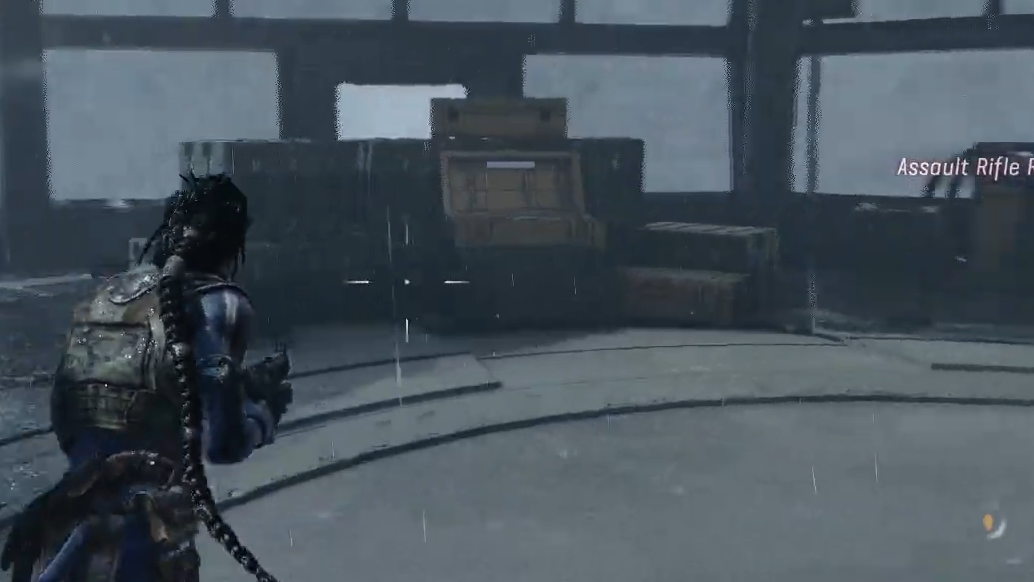
At each Hawk post, use your Na’vi sense to highlight critical machinery if you have trouble spotting it. Your targets are the generator fuse boxes, the maintenance system, and the batteries that keep the antenna infrastructure running.
Destroy the batteries associated with the relay systems. Again, Na’vi sense is useful for picking them out among the clutter of RDA equipment.
Destroy the relay system batteries | Image credit: Ubisoft (via YouTube/@Nim)
When all three conditions are met at a Hawk post, that node of the network goes offline. Repeat the process for Hawk Alpha, Hawk Bravo, and Hawk Charlie. Once all three are disabled, the mission shifts focus to Camp Messenger.
Sabotage Camp Messenger
Camp Messenger is a larger communications hub that coordinates the antenna network. The goal here is to expose and destroy three key antennas and then reboot the system to finish the job.
Travel to Camp Messenger and clear the RDA troops guarding the area. Treat this as a full combat encounter; reinforcements may show up during your sabotage work, so thinning the camp early makes everything easier.
Clear the troops in Camp Messenger | Image credit: Ubisoft (via YouTube/@Gaming Tornedo)
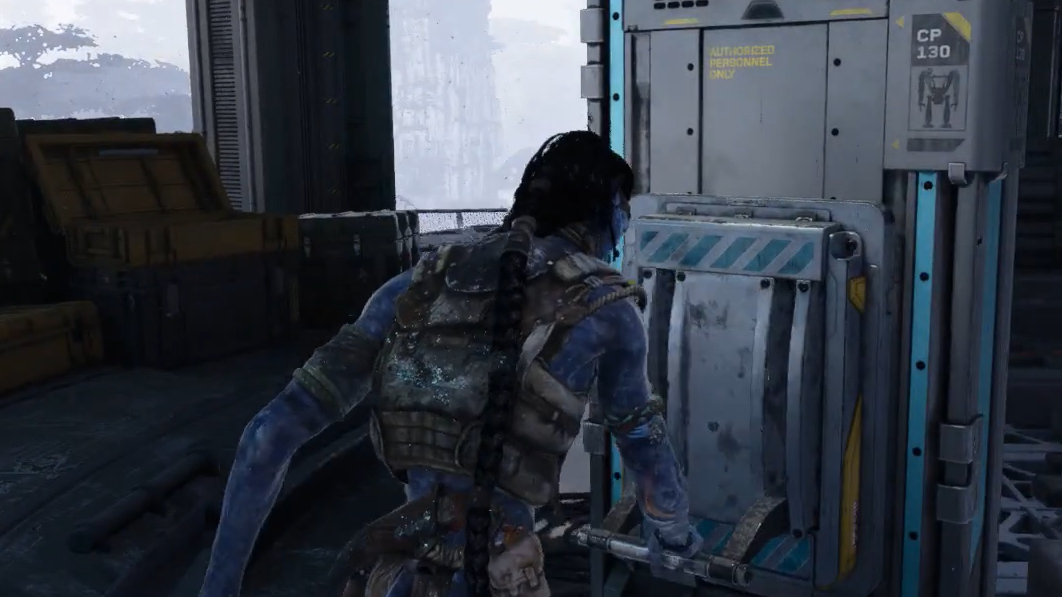
Find the facility’s maintenance system. A switch marked by the quest objective unlocks it. Interact with the switch to expose additional weak points and reveal the antenna-related targets.
Locate the first antenna inside the camp. Use the quest marker to navigate, then use your knife on the control section to overload it. When an antenna goes into overload, the two batteries linked to it become destructible. Destroy both batteries to fully neutralize that antenna.
Destroy the antenna by overloading it | Image credit: Ubisoft (via YouTube/@Gaming Tornedo)
Repeat the process for the second antenna: follow the marker, overload it with your knife, then destroy its two batteries. Expect fresh waves of RDA soldiers while you work; stay mobile and prioritize enemies who can interrupt you at close range.
After two antennas are down, the mission shifts slightly and asks you to reboot the system before you can finish off the last antenna.
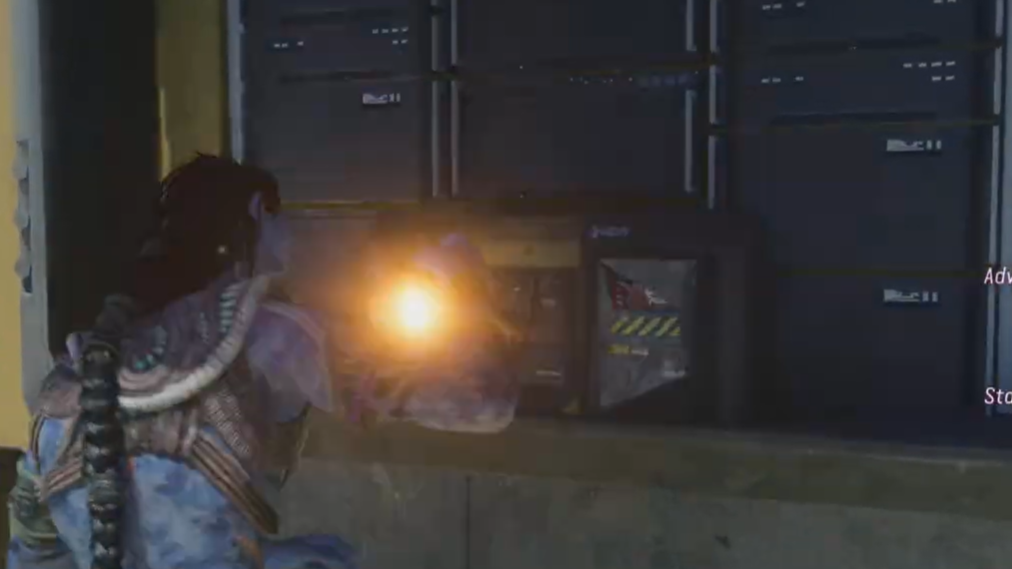
Follow the new quest marker to a small control room where the reboot can be performed. The door to this room is damaged and cannot be opened from the front.
Mount your Ikran and circle the structure from the outside. Use your Na’vi sense to find a fuse box located inside the room but visible through an opening. Shoot this fuse box from outside to unlock the jammed door.
Enter the control room through the now-unlocked door and pull the backup switch to reboot the system. This resets the base’s internal logic and allows you to continue sabotaging the remaining hardware.
Pull the switch to reboot the system | Image credit: Ubisoft (via YouTube/@Gaming Tornedo)
Head to the third and final antenna. Overload it with your knife and destroy its two batteries as before. Once this last antenna is destroyed, Camp Messenger is effectively taken offline, and your focus moves to Fort Hermes.
Attack Fort Hermes and bring down the Dragon Gunship
Fort Hermes is the main relay stronghold and the most complex part of the mission. A Dragon Gunship circles the area and uses navigation beacons to maintain its position in the rough weather, making those beacons your first priority.
Approach Fort Hermes and identify the main control room. A quest marker leads you to a computer terminal outside this room that can expose the navigation beacons used by the Dragon.
Approach Fort Hermes and identify the main control room | Image credit: Ubisoft (via YouTube/@Gaming Tornedo)
Move between the beacon locations and disable the active ones. Only some of the panels will be available at a given time; look for the terminals that are in an active state and use them to disrupt the Dragon’s navigation.
With the beacons disabled, the Dragon’s engines become vulnerable, and you can begin physically dismantling the gunship.
Dismantle the gunship once the beacons are disabled | Image credit: Ubisoft (via YouTube/@Gaming Tornedo)
Expose and destroy all four Dragon engines
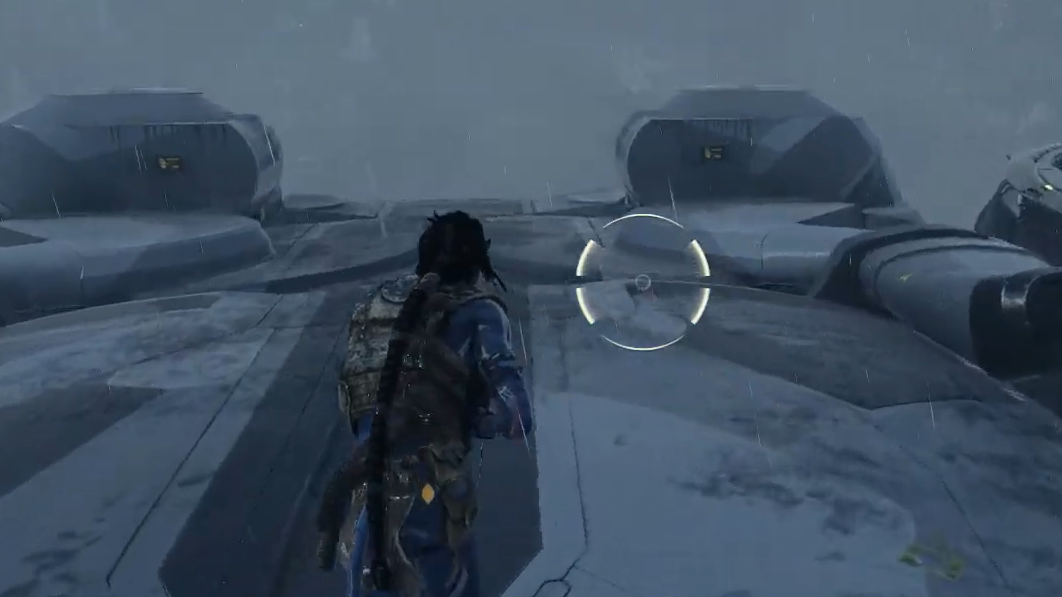
The Dragon has four engines mounted on its frame. Each one must be exposed manually and then destroyed, and each time you succeed the navigation system recovers, forcing you to repeat the beacon process.
Move along the hull until you reach one of the engines. Each engine has a nearby button or panel. Interact with the button to open the engine’s protective housing and expose the weak point.
Return to the fort, disrupt the reactivated navigation beacons again through the marked terminals, then mount your Ikran, jump back on the Dragon, expose the next engine, and destroy it.
Disable the beacons again before destroying the other engines | Image credit: Ubisoft (via YouTube/@Gaming Tornedo)
Repeat this full cycle—disable beacons, board the Dragon, expose an engine, and destroy it—until all four engines are destroyed. Expect heavy anti-air fire and ground resistance while you move between the fort and the gunship.
When the fourth engine is destroyed, a cutscene triggers. The Dragon spirals out of control and crashes into Fort Hermes, wiping out the facility and completing the final objective of Communications Group Hermes.
Rewards and progression after Communications Group Hermes
Finishing Communications Group Hermes removes the last major piece of the RDA relay network in this questline and significantly cuts their communication capabilities in the region. It also contributes to overall mission completion in From The Ashes and pushes forward the broader Sabotage RDA Operations chain.
After the mission ends, check your inventory and quest log for new equipment and story updates linked to the sabotage effort. With Fort Hermes destroyed, you can move on to the remaining side operations and main story quests that build on the fallout from the relay network’s collapse.