In +1 Sukuna Evolution, every finger you eat moves your avatar one form closer to the King of Curses. Each form multiplies the Cursed Energy (CE) you earn, and a few of them add new attack buttons. The forms are gated by trophies, and you earn trophies by clearing combat stages. That makes two ladders that feed each other. Your Sukuna form raises your CE, more CE lets you clear higher combat stages, and higher combat stages pay out the trophies for the next finger.
Quick answer: Earn trophies by clearing combat stages, then open the Sukuna Stages menu and eat the next finger once you meet its trophy requirement. Demon Claws needs 50, Demon Eyes 300, Sukuna Awakens 2K.
Sukuna Stages: every form, multiplier, and trophy requirement
The ladder has 13 forms, from Vessel to King of Curses. Each one sets a flat CE multiplier, and your current form is marked EQUIPPED in the Sukuna Stages menu. The multipliers start small and then jump sharply. Sukuna Awakens gives x7, Stolen Body x32, and King of Curses x2.1K.
| Sukuna stage | CE multiplier | Trophies required | Move unlocked |
|---|---|---|---|
| Vessel | x1 | Starting form | — |
| Cursed Marks | x2 | — | — |
| Demon Claws | x3 | 50 | Dismantle |
| Demon Eyes | x4 | 300 | Cleave |
| Sukuna Awakens | x7 | 2K | Dismantle Barrage |
| Cursed Tattoos | x10 | 15K | — |
| Devourer | x14 | 100K | — |
| Stolen Body | x32 | 500K | — |
| Flame Arrow | x75 | 2M | — |
| King’s Shadow | x170 | 6M | — |
| Ten Shadows | x400 | 15M | — |
| Four-Armed Demon | x900 | 40M | — |
| King of Curses | x2.1K | 100M | — |
The gaps between requirements grow much faster than the gaps between early combat rewards. Demon Claws and Demon Eyes arrive within your first few runs. Sukuna Awakens at 2K trophies is the first form that takes a deliberate farm. Past that point, trophy counts climb by roughly a factor of three to seven per form, so every later finger is a rebirth-and-farm cycle, not a single good run.
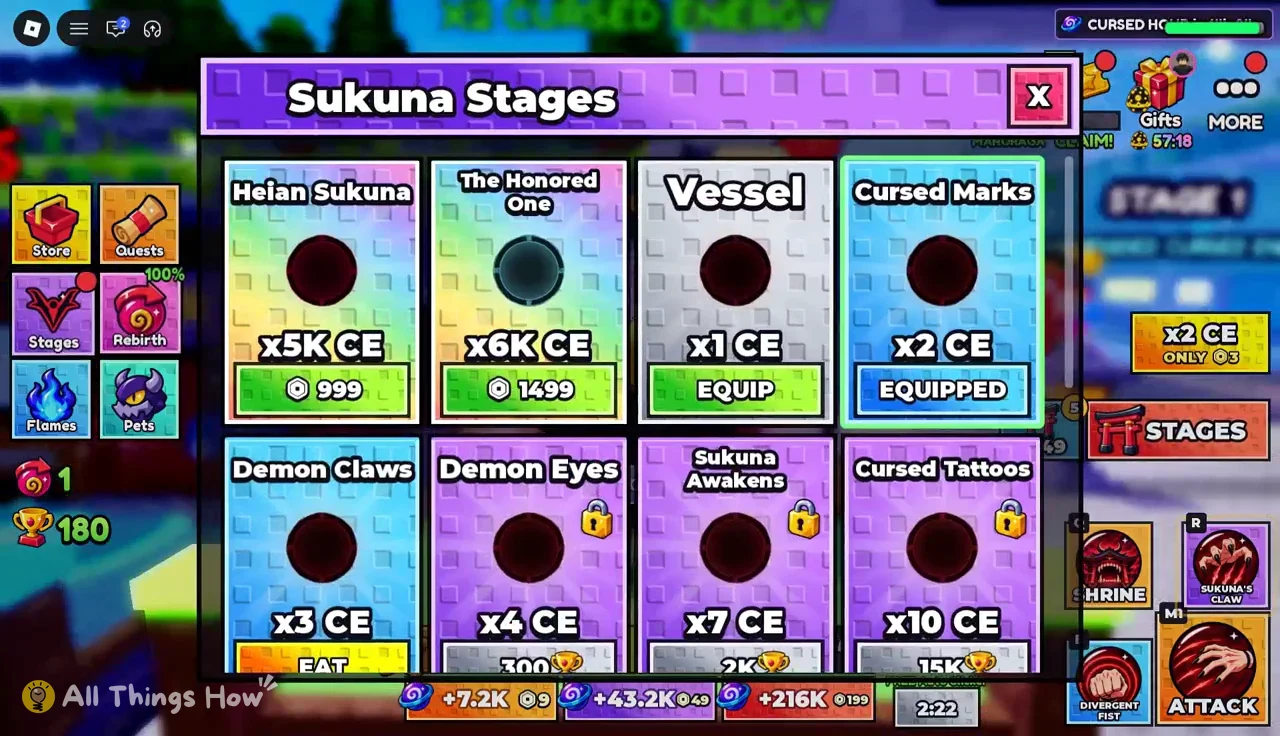
Two more forms sit outside the trophy ladder. Heian Sukuna (x5K CE) costs 999 Robux, and The Honored One (x6K CE) costs 1499 Robux. Both have higher multipliers than King of Curses, so they skip the grind entirely if you choose to pay.
How to eat a finger and unlock the next Sukuna stage
Fingers are consumed from the hub at Sugisawa Third High, between combat runs. You can only move one form at a time, so you cannot jump from Vessel straight to Sukuna Awakens even with 2K trophies in hand. Each form has to be unlocked in order.
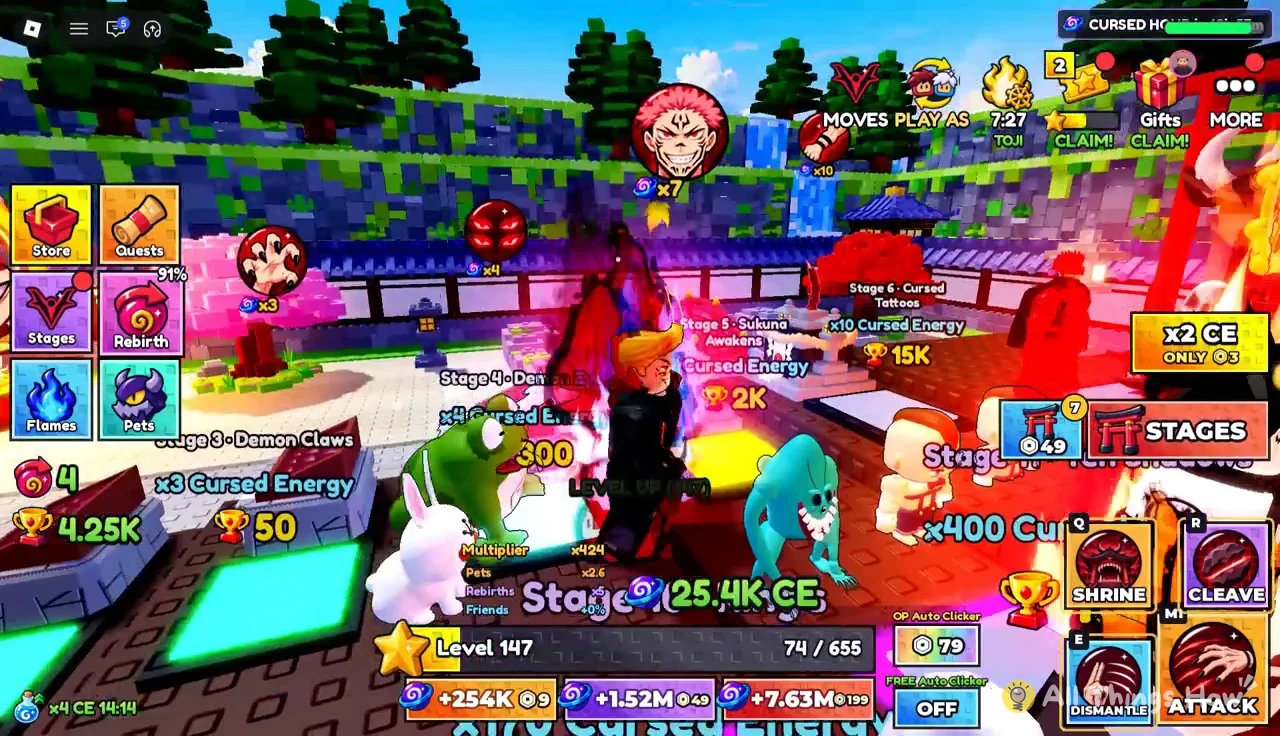
You know it worked when three things change. The new form is tagged EQUIPPED in the Sukuna Stages menu, your CE per hit rises to the new multiplier, and any new move appears as a button next to ATTACK on the combat screen. Demon Claws adds Dismantle, and Demon Eyes adds Cleave.
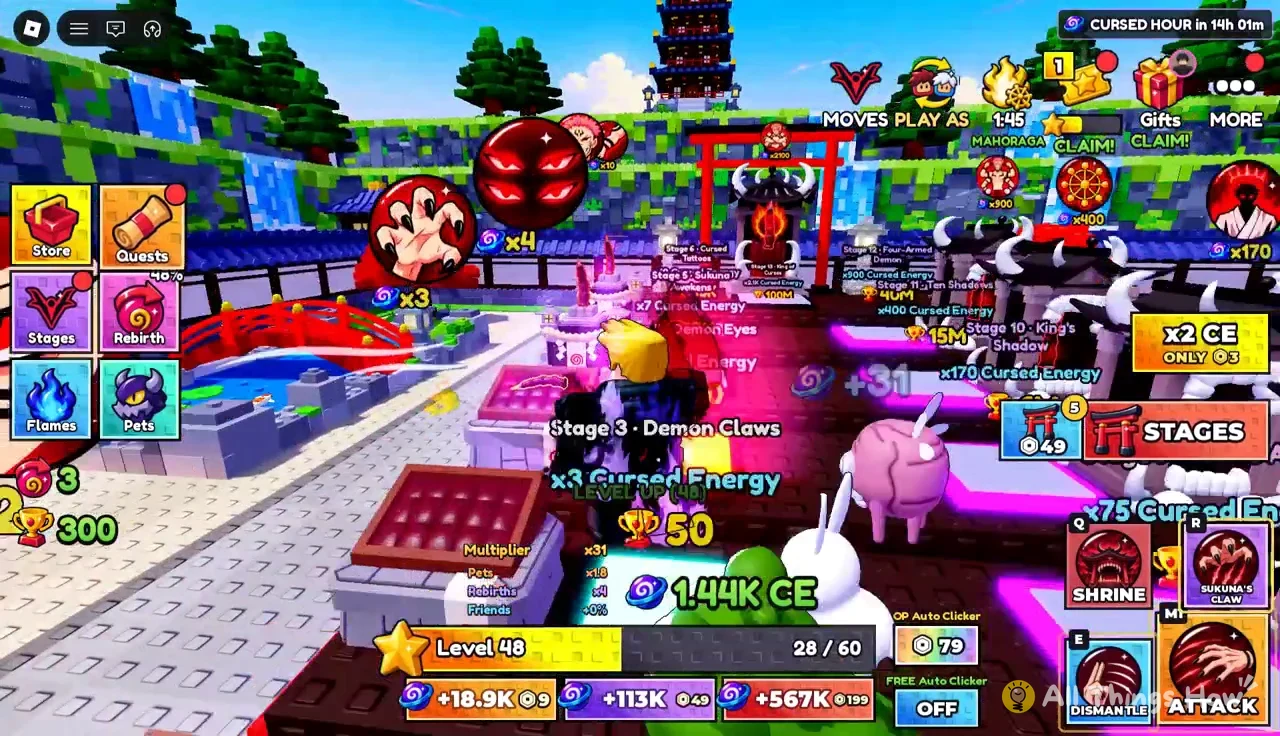
Cleave and Dismantle hit hard enough to clear the first two combat stages in seconds. That speed matters because re-clearing early stages is how you farm trophies for the next finger.
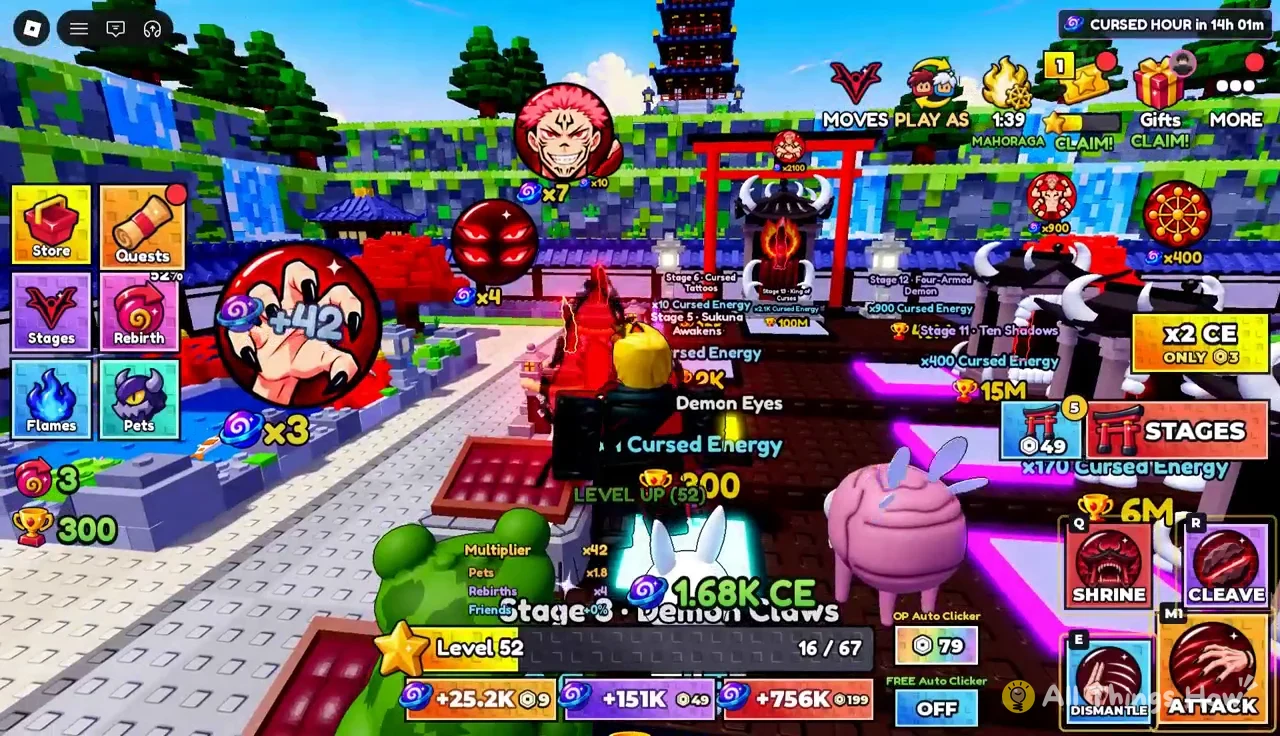
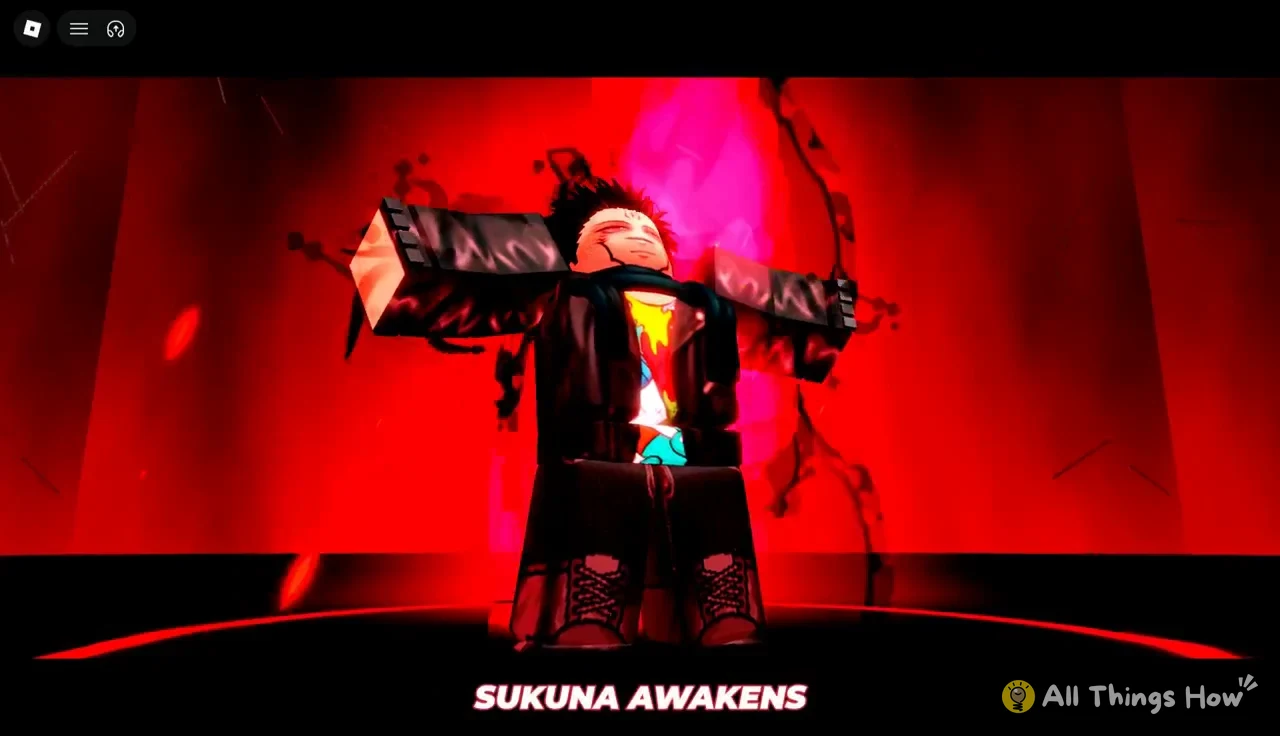
Sukuna Awakens also changes your avatar more visibly than earlier forms do. Your own Roblox avatar gets spiky black hair, full facial markings, and a red aura, and Dismantle Barrage is added to your move set.
Combat stages: where trophies come from
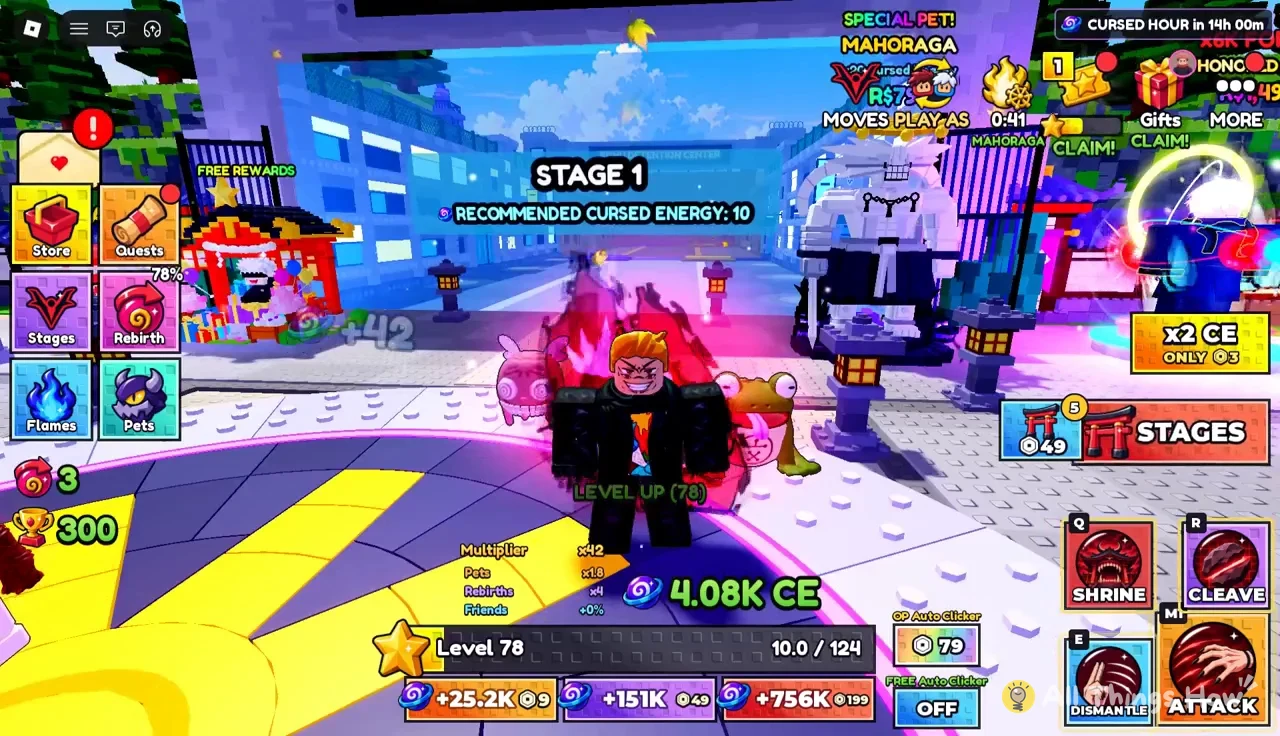
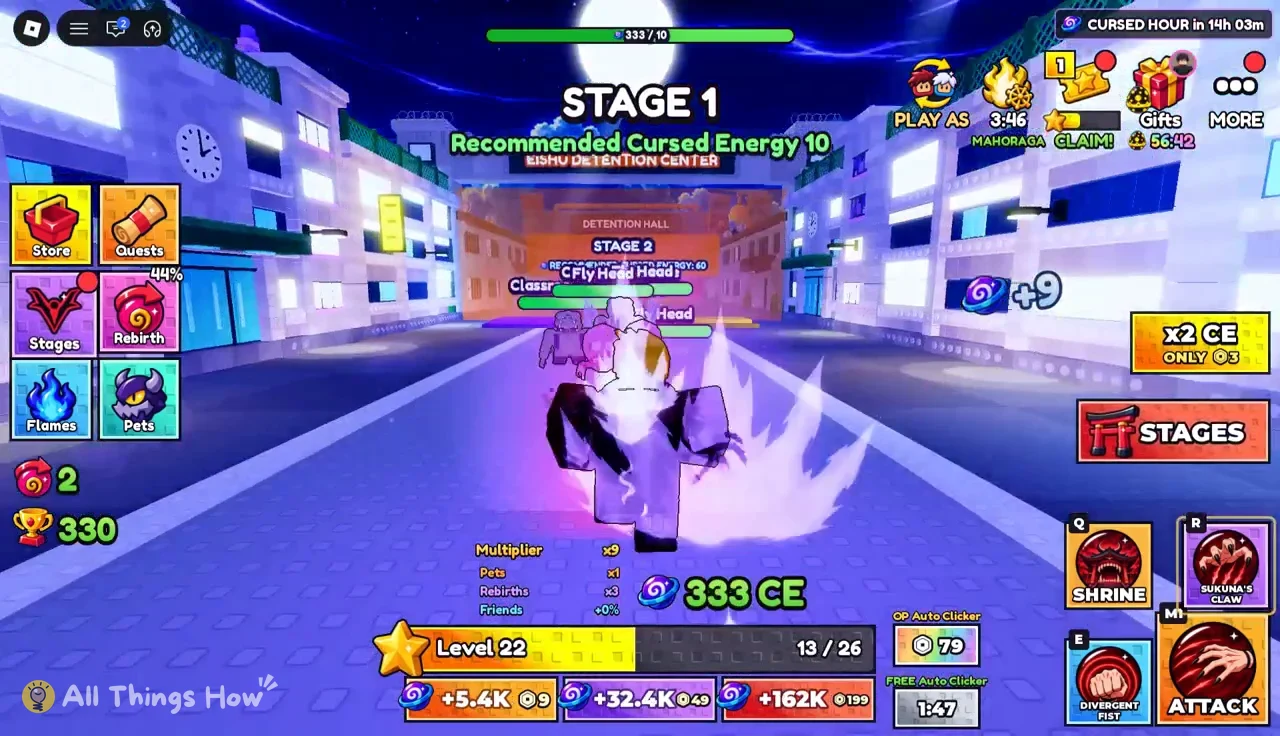
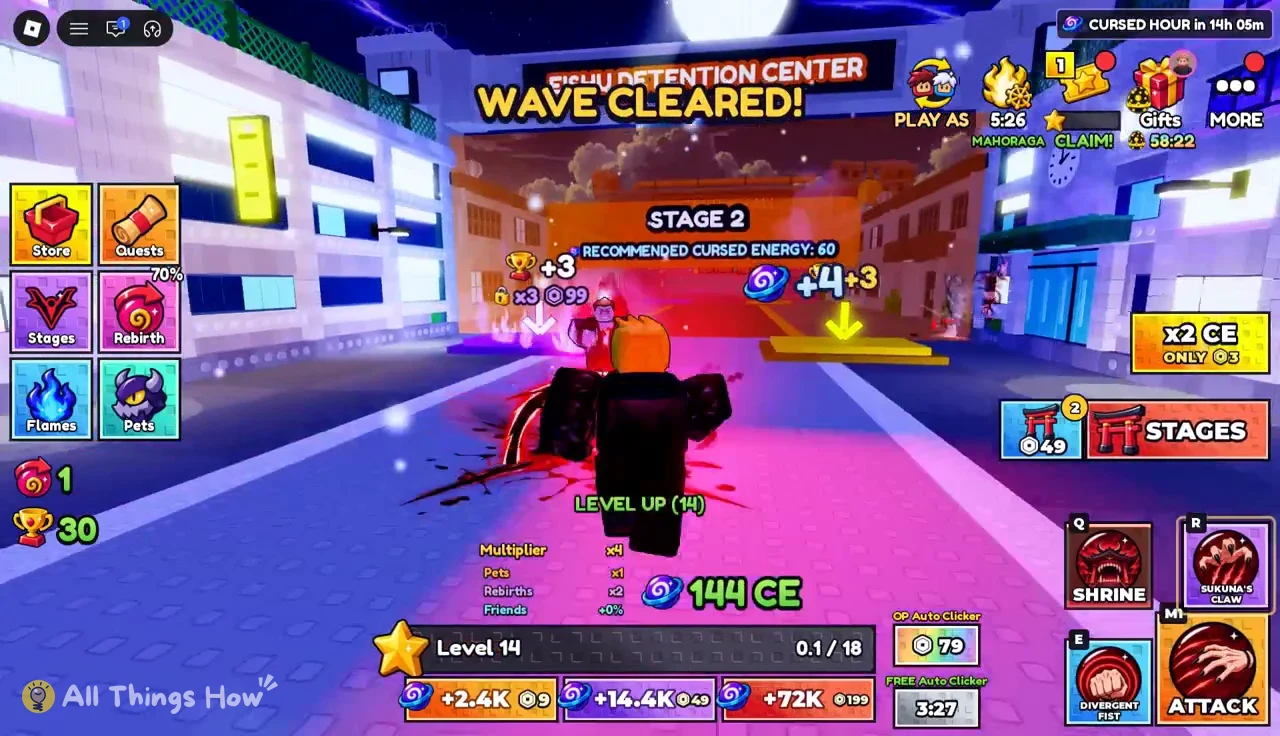
Trophies drop from clearing waves in the combat stages, which run as a chain from the detention center out through Kyoto Goodwill Forest and into Shibuya. Each stage shows a recommended CE on its entrance. Treat that number as the line between a clean clear and a wipe. If your CE is below it, the enemies will outlast you.
| Combat stage | Recommended CE | Enemies | Boss |
|---|---|---|---|
| Stage 1 | 10 | Classroom curses | — |
| Stage 2 | 60 | Fly Heads, Detention Wraiths | — |
| Stage 3 | 400 | Grade 3 Husks | Finger Bearer |
| Stage 4 | 2.5K | Transfigured Humans, Patchwork Sentries | — |
| Stage 5 | 15K | Grade 2 Forest Curses | — |
| Stage 6 | 90K | Cursed Buds | Hanami |
| Stage 7 | 550K | Death Paintings, Bridge Curses | — |
| Stage 8 | 3.3M | Grasshopper Curses, Bridge Curses | — |
Each recommended CE value is about six times the one before it. In practice that means the stage you can farm comfortably is usually one or two below the stage you are trying to push. Bosses show a “BOSS!” banner when they spawn, and a cleared wave shows “WAVE CLEARED!”
Running a stage from the hub
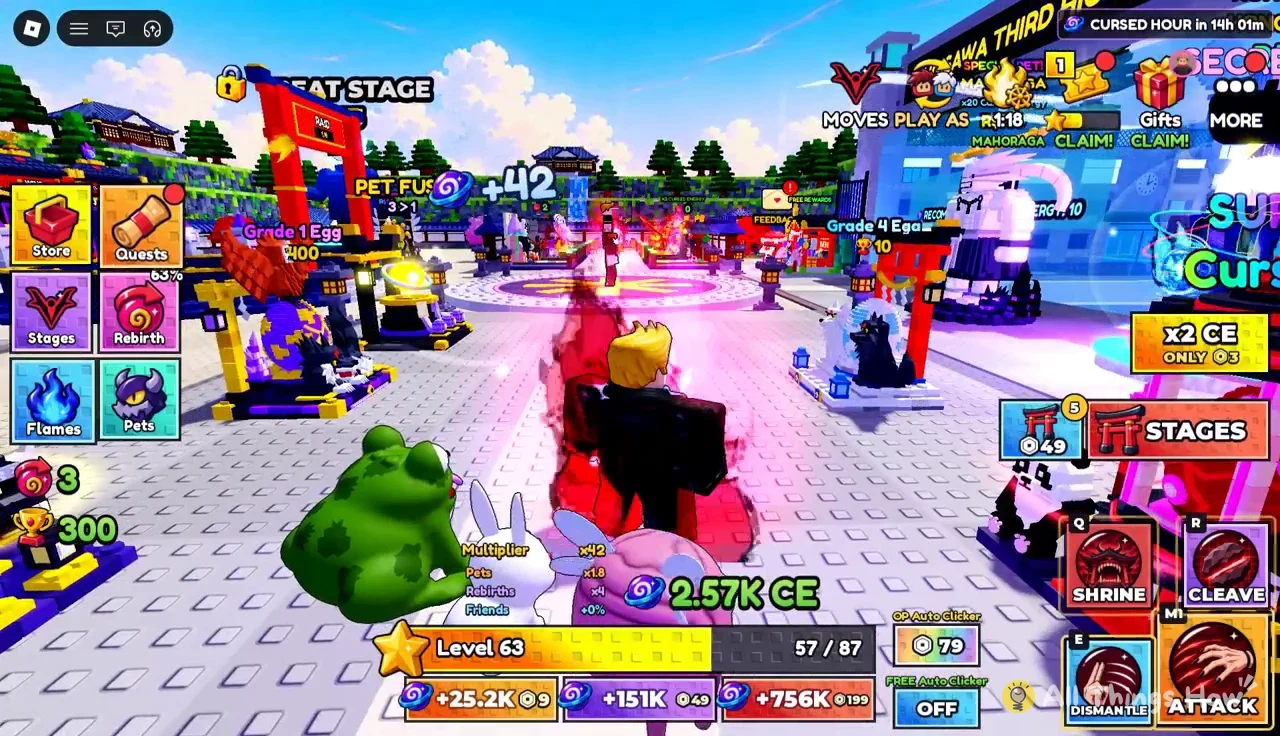
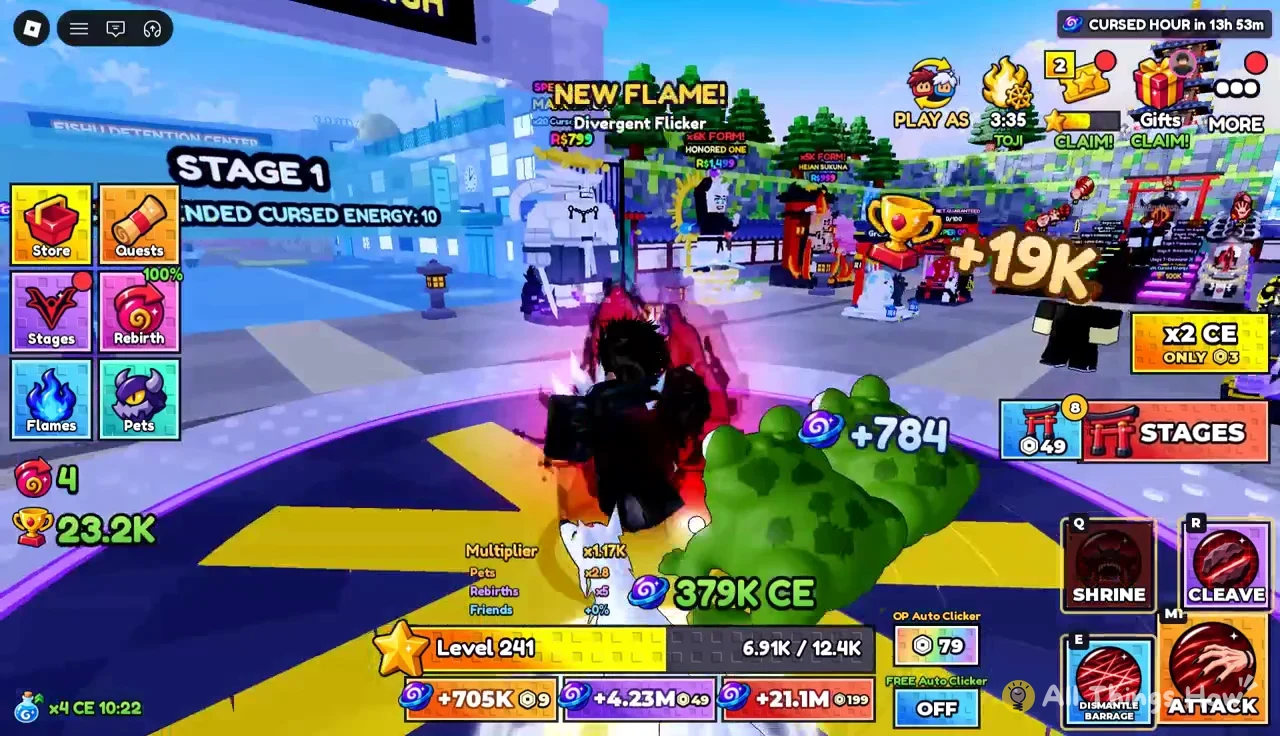
The game is free to join on the official +1 Sukuna Evolution Roblox page. Once you are in the hub, stage selection works the same way every time.
Pushing Stages 4 through 8
Kyoto Goodwill Forest is where the CE wall first shows up. Stage 4 asks for 2.5K and the Stage 5 portal asks for 15K, which is far above what a single unrebirthed run produces. Walking in early is not wasted. Each wave you clear still pays out, but expect to fall partway through.
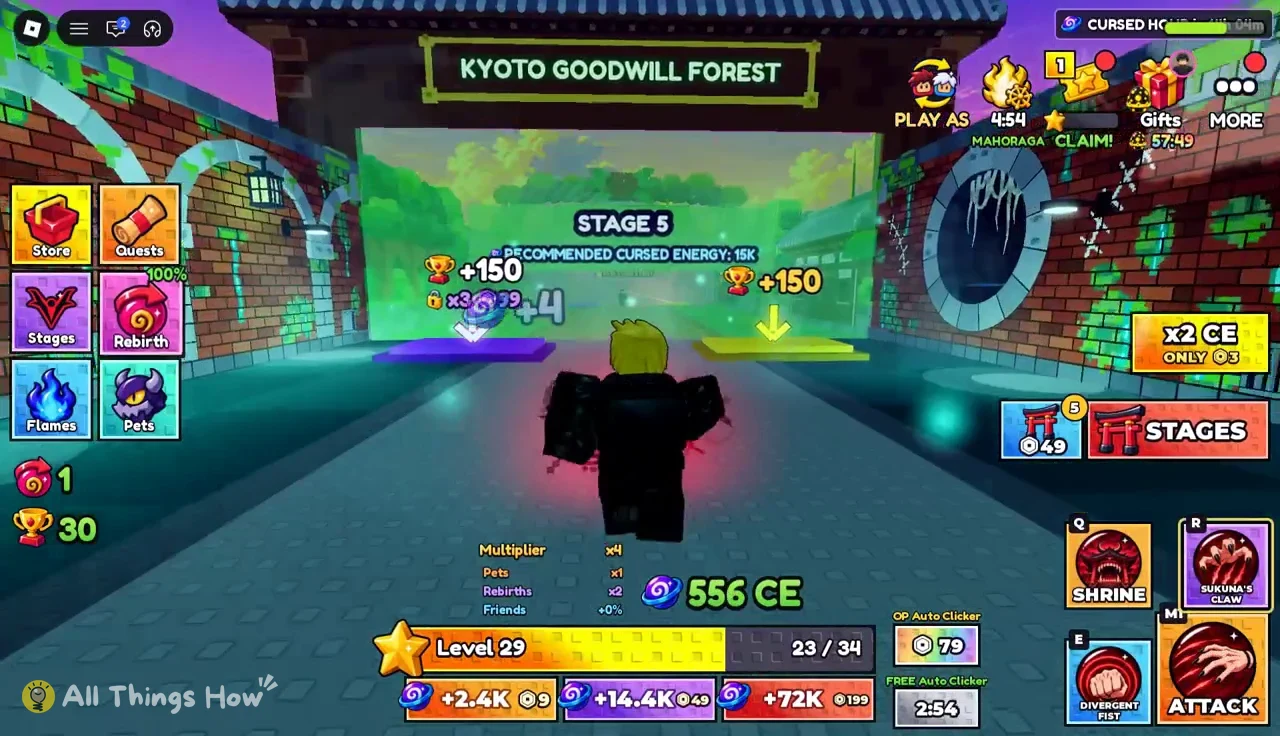
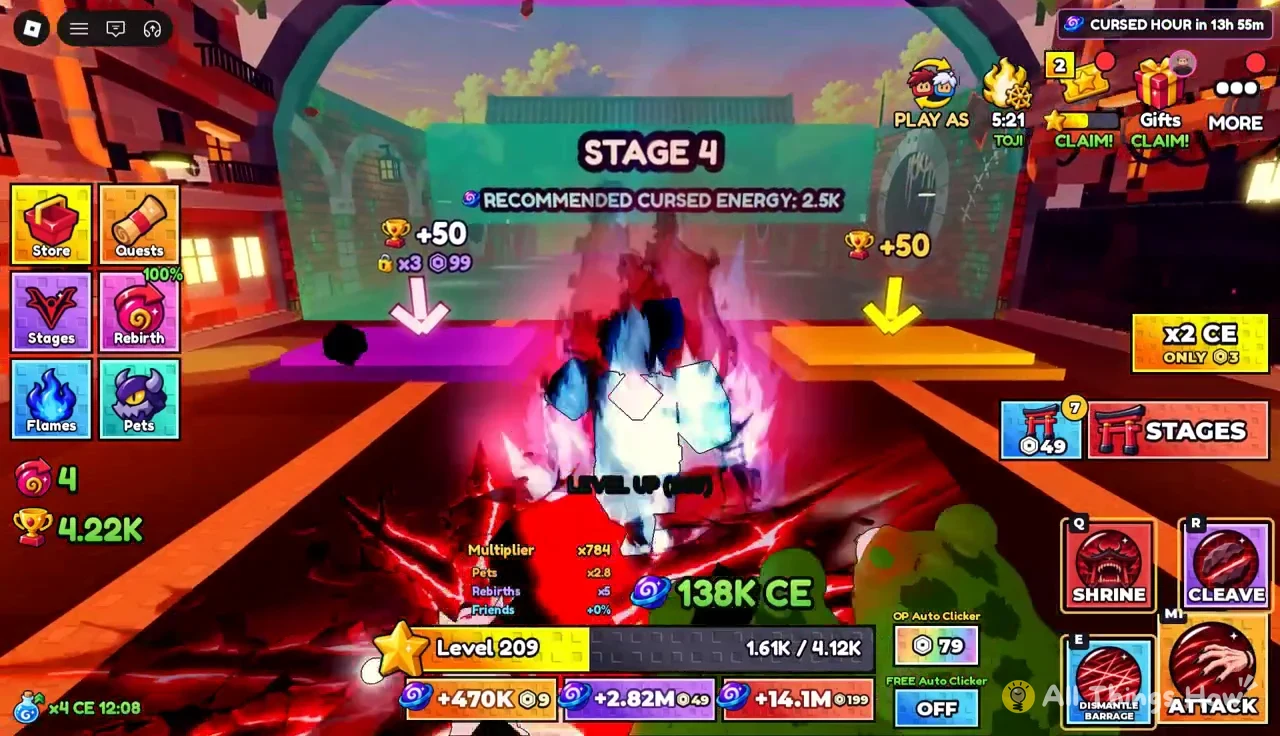
When you lose, the game offers a revive. Declining it sends you back to the hub, which is often the better call if a rebirth or a finger is waiting for you there. Once your multipliers catch up, the same stretch clears in one continuous push toward Stage 6.
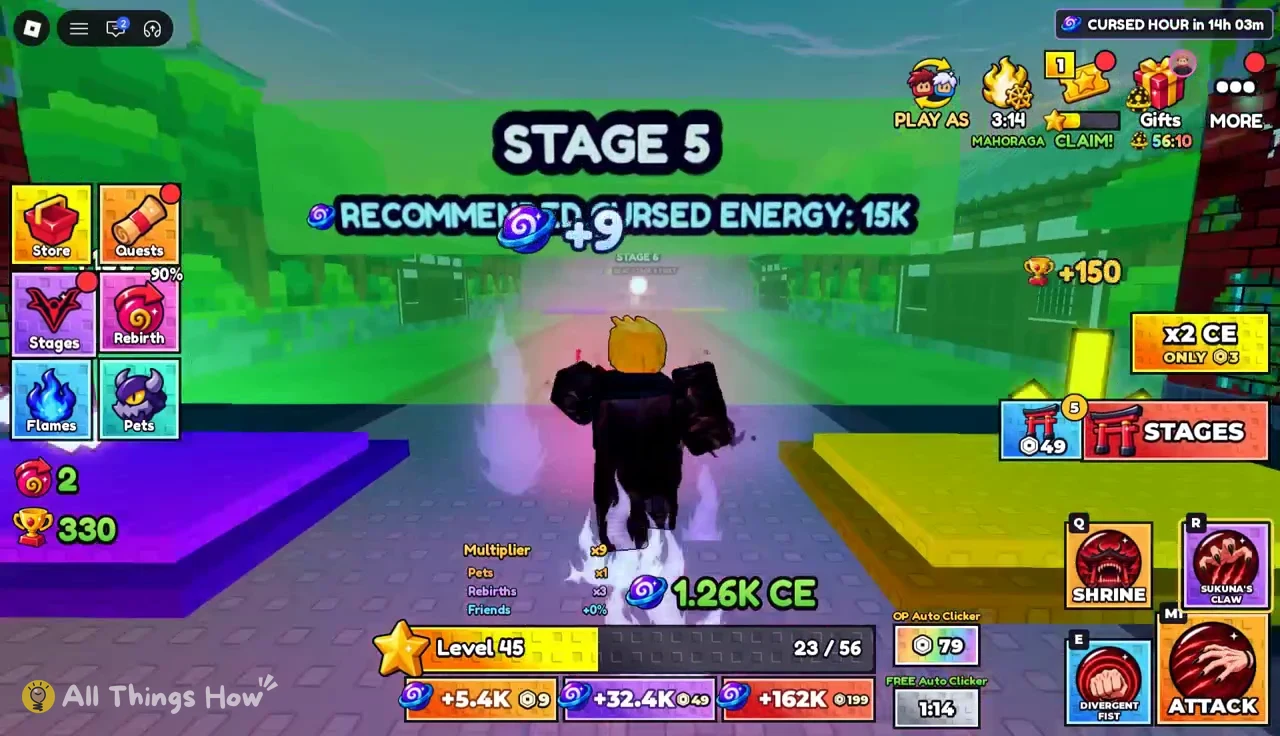
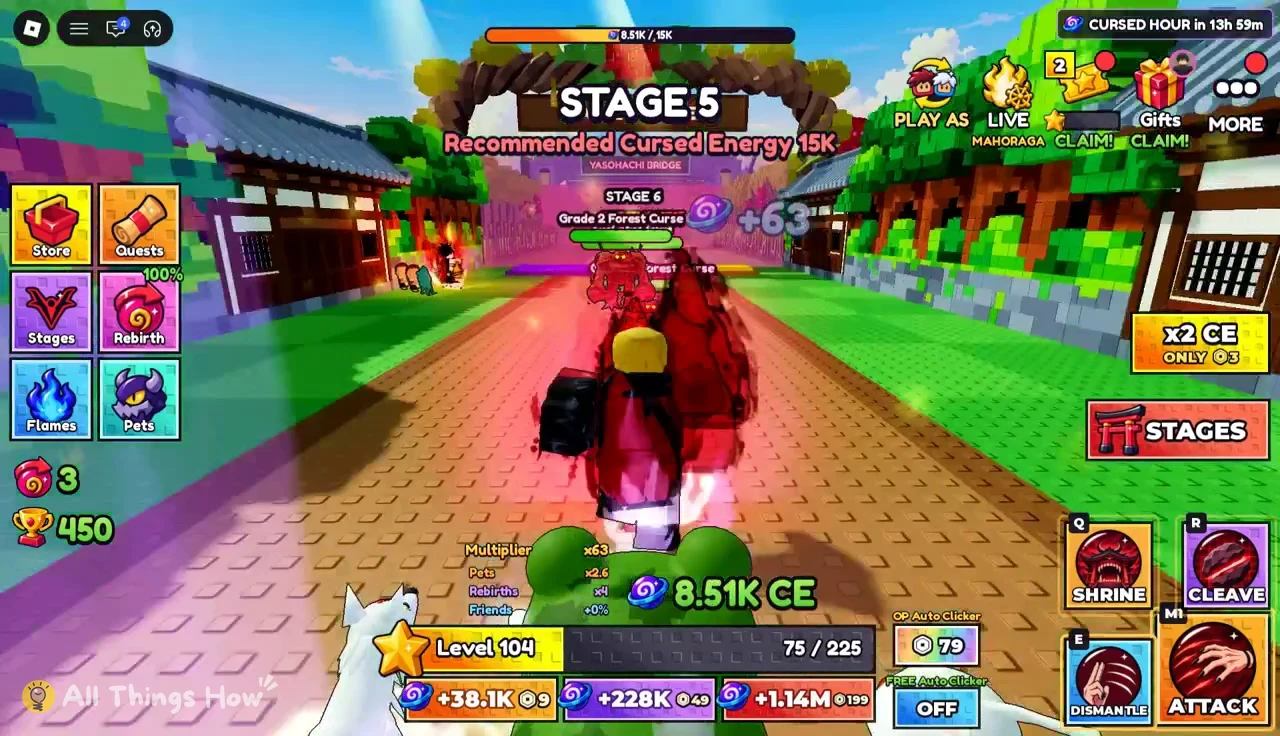
Yasohachi Bridge is home to Hanami, the second boss on the route, and its waves throw heavier enemies at you in quick succession. Keep attacking through the level-ups, since every hit pays CE whether or not the wave goes down.
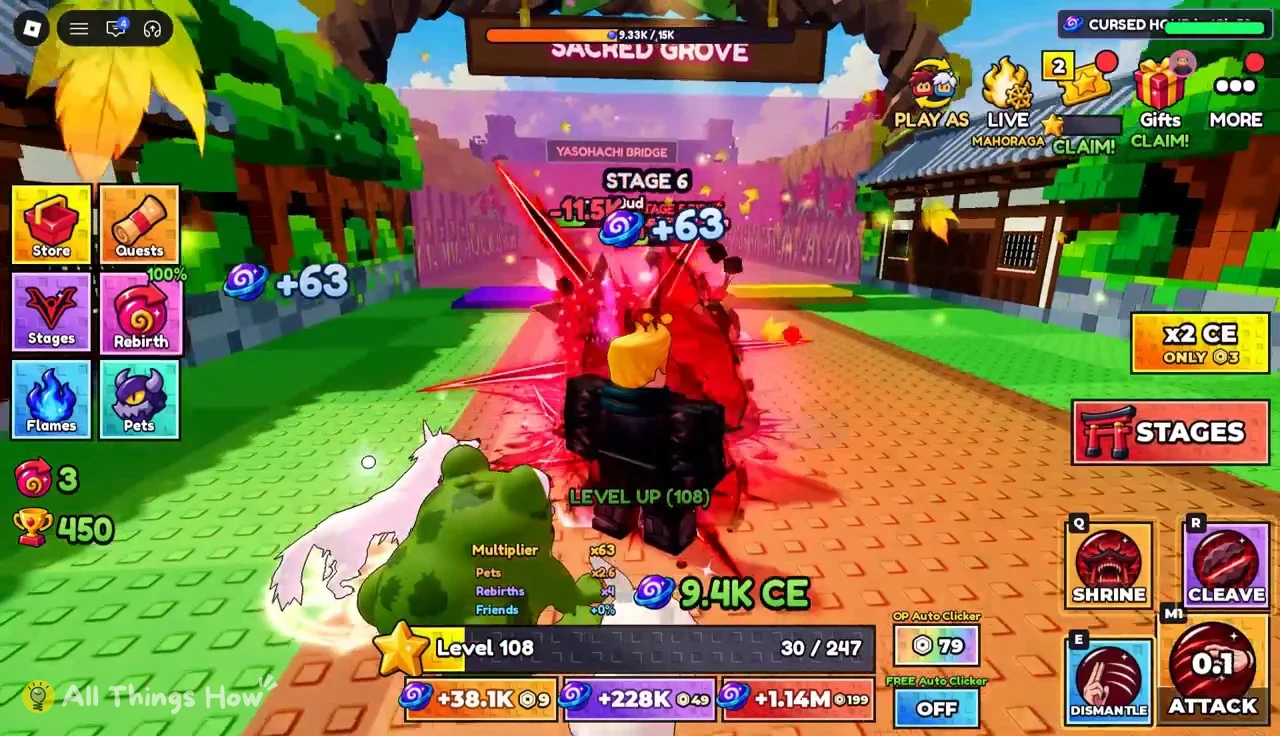
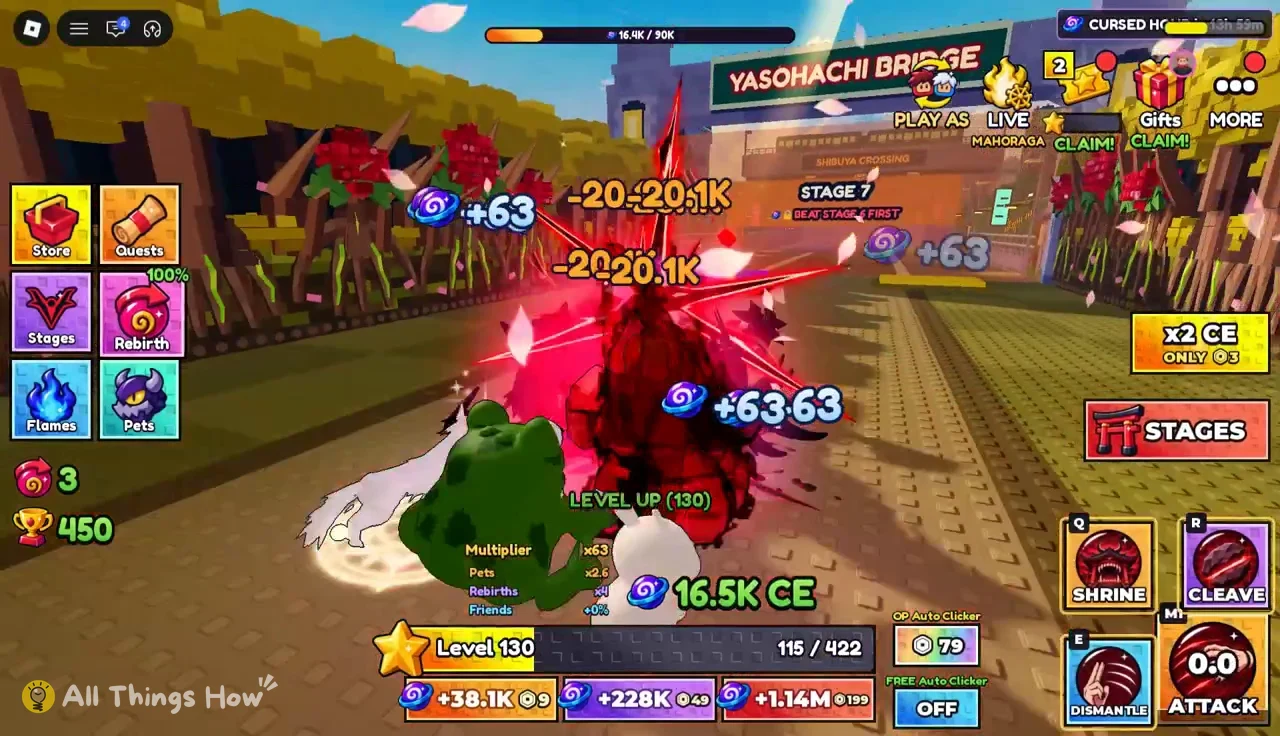
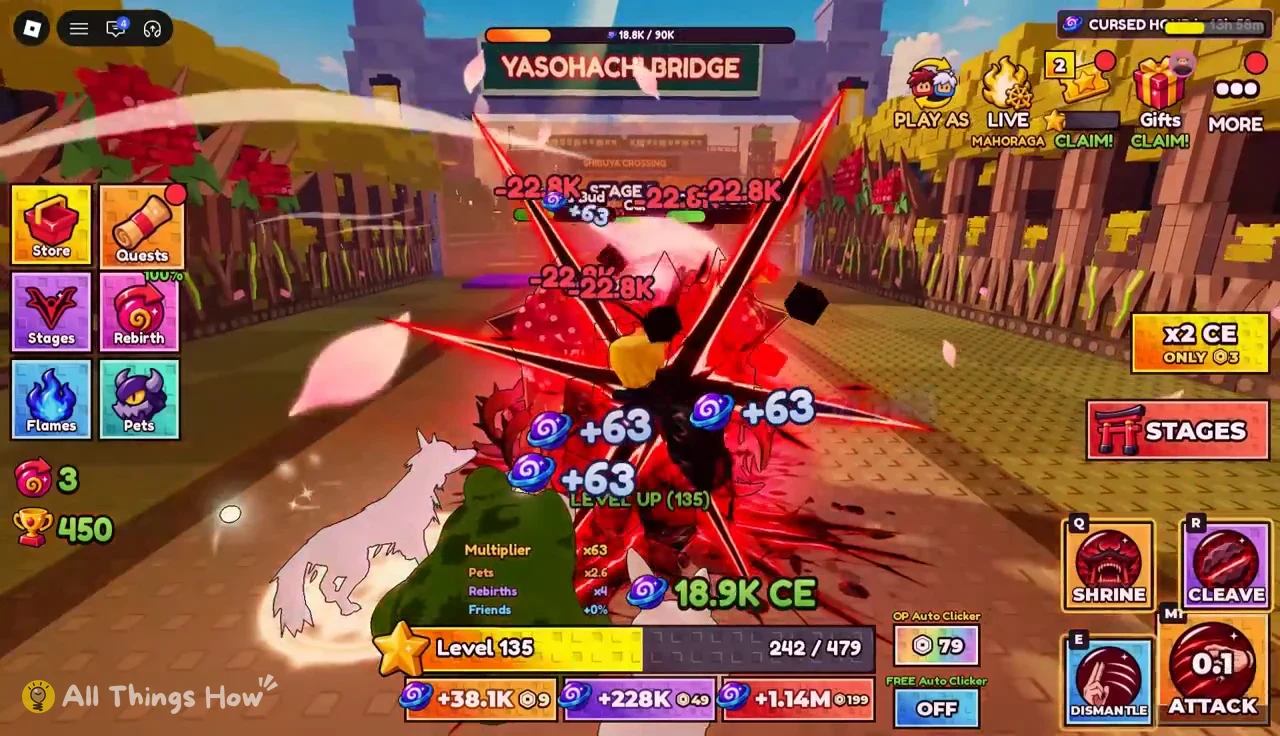
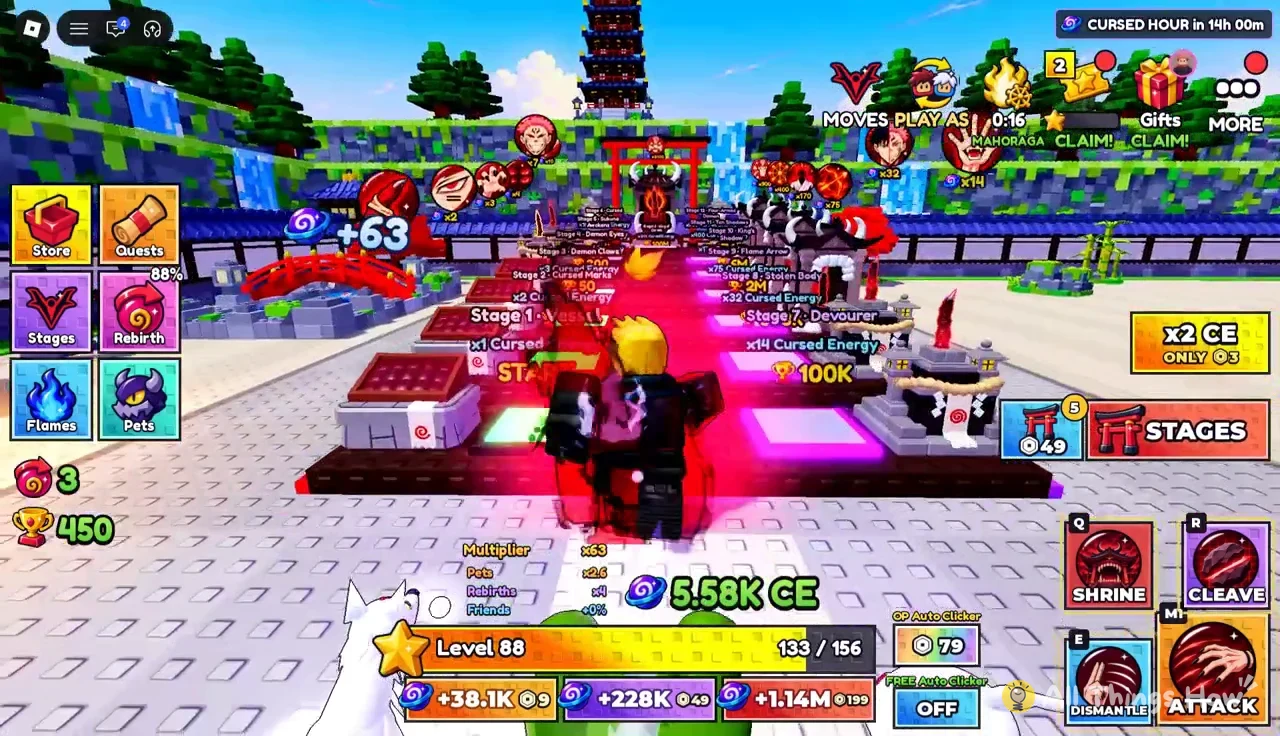
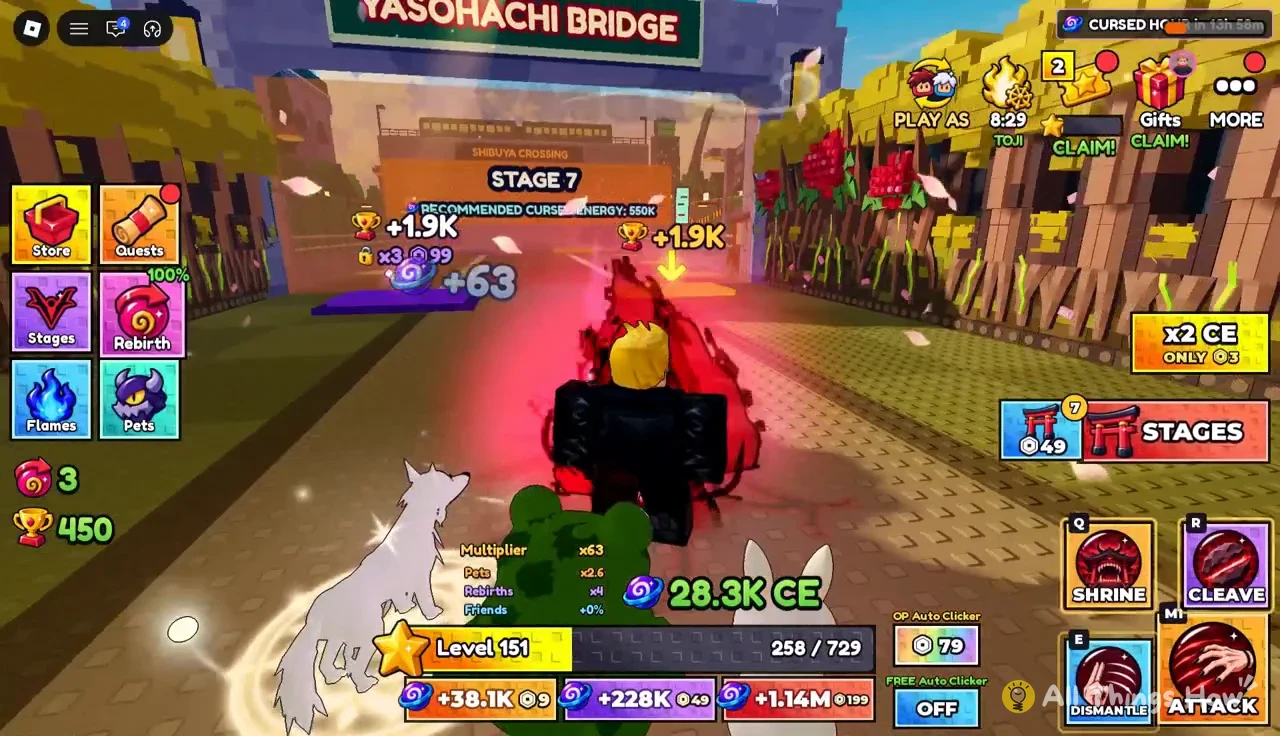
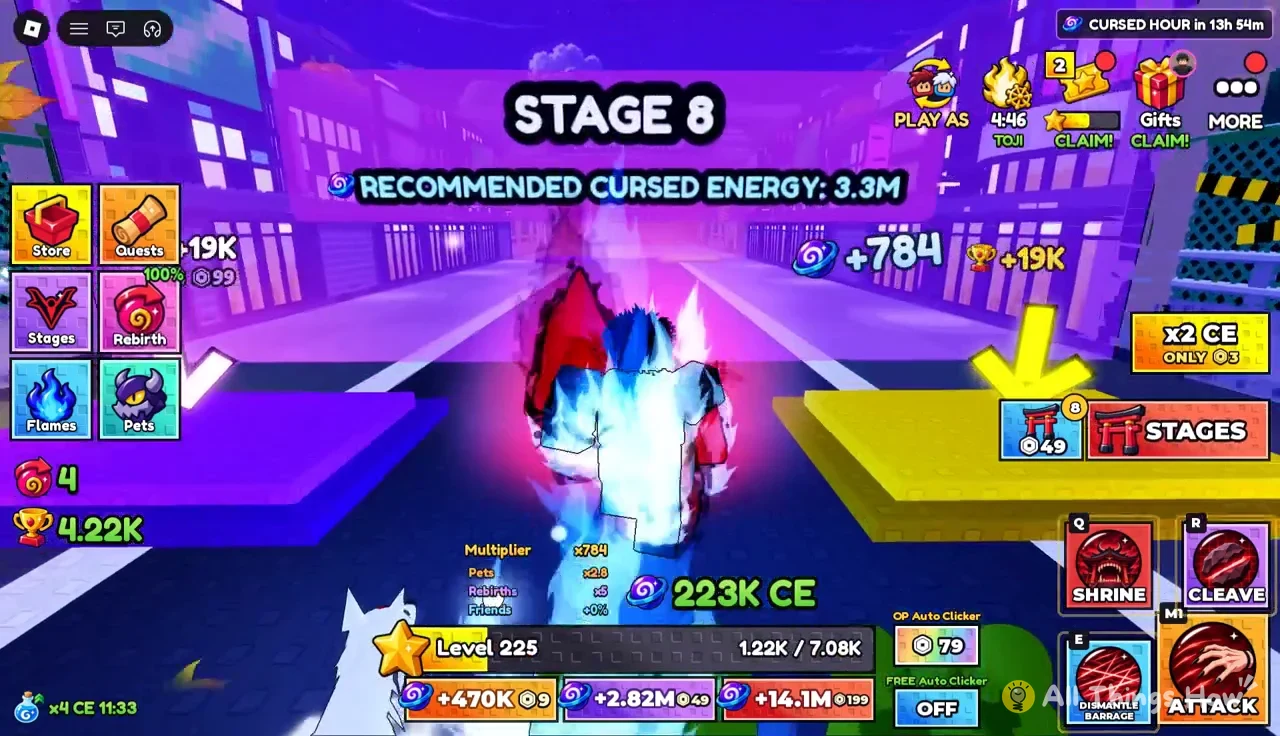
Stage 7 at Shibuya Crossing needs 550K CE, and Stage 8 at Shibuya Station needs 3.3M. Stage 8 is a likely failure point right after Sukuna Awakens. The practical loop at that stage is to re-clear Stages 1 through 7 for trophies, rebirth, and try again.
Raising CE fast enough to reach the next finger
Your Sukuna form is only one of several multipliers on your CE. Rebirths, pets, and cursed flames all stack on top of it. Ignoring them is the most common reason a combat stage refuses to go down, because the recommended CE climbs faster than any single multiplier can keep up with.
Rebirth levels and multipliers
Rebirthing resets your level and CE but permanently raises your CE multiplier. You can rebirth once you hit the level shown below, and you can wait longer if you prefer. Rebirthing well above the minimum is common.
| Rebirth | Level required | CE multiplier |
|---|---|---|
| Rebirth 2 | 20 | x3 |
| Rebirth 3 | 50 | x4 |
| Rebirth 4 | 100 | x5 |
| Rebirth 5 | 160 | x6 |
| Rebirth 6 | 180 | x7 |
After a rebirth you start back at Stage 1, but with a higher multiplier and whatever moves your Sukuna form gives you. Stage 1 then goes down almost instantly, and early stages become fast trophy farms again.
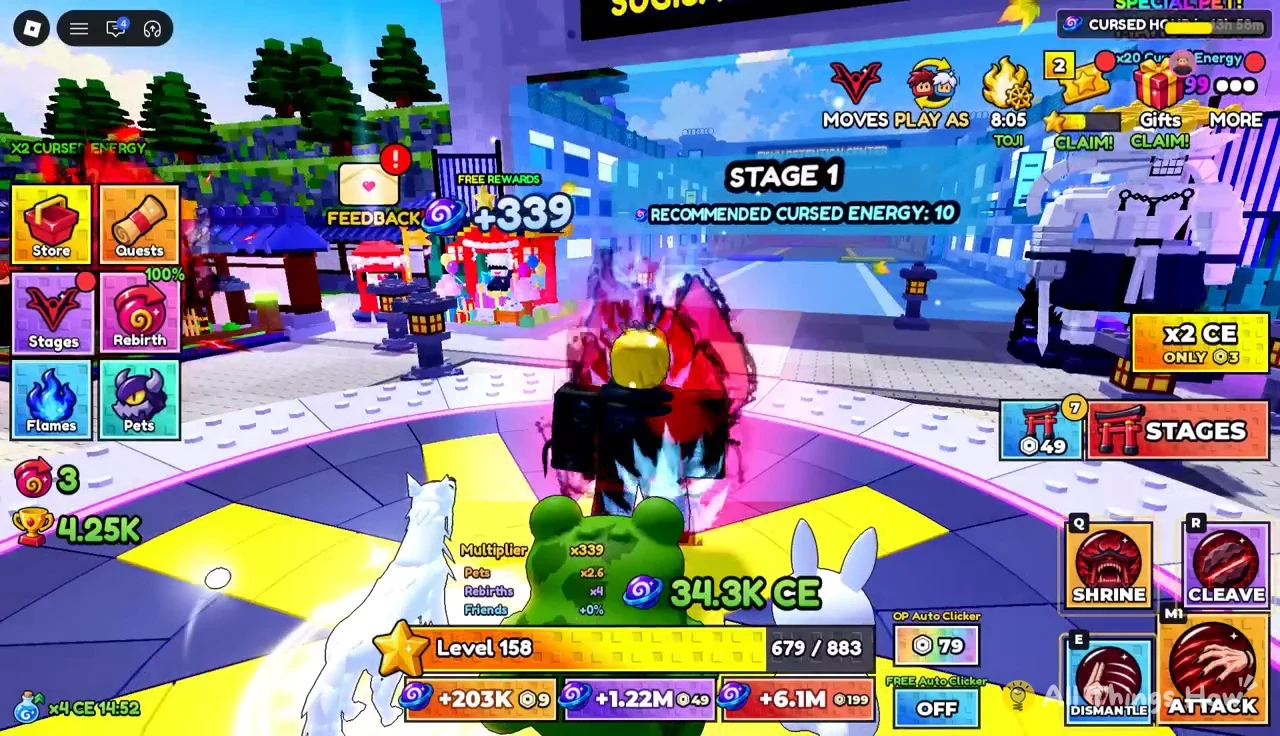
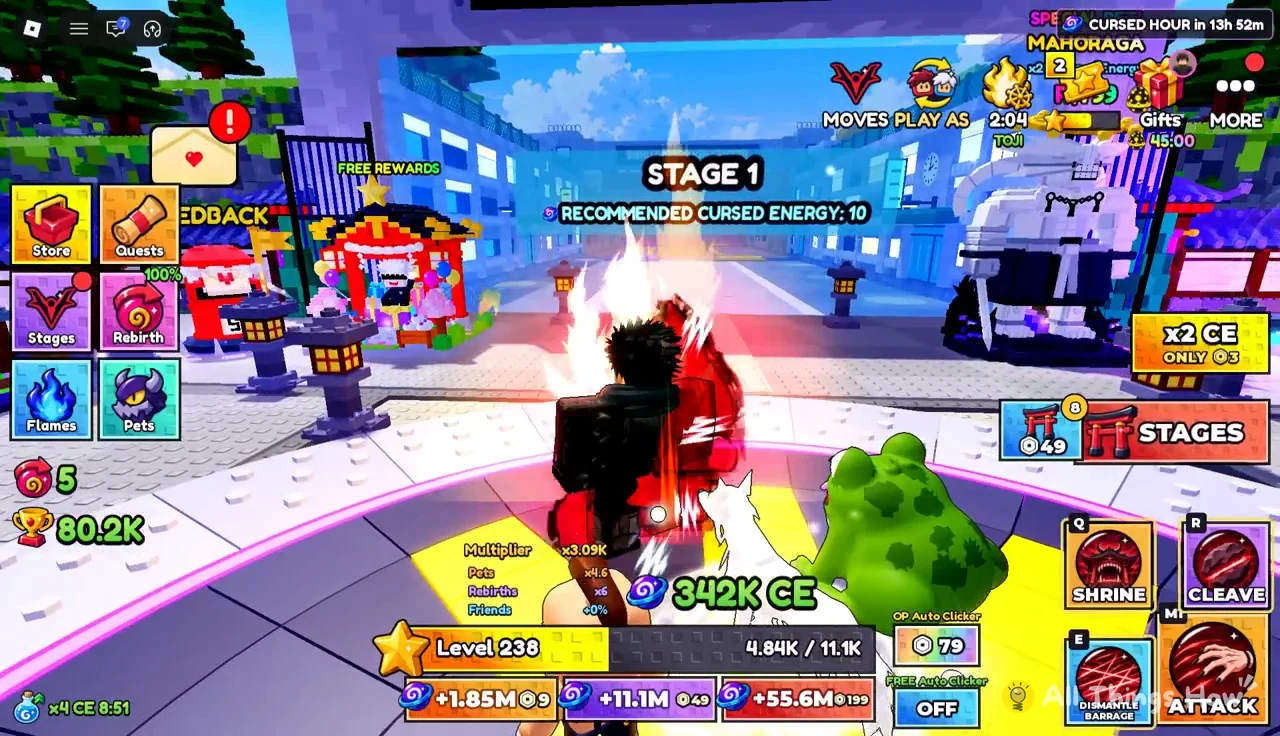
Between runs, the glowing MINIGAMES training pads in the Sugisawa Third High hub also generate CE and levels without a fight. They are a reliable way to reach the next rebirth level when a combat stage is out of reach. A “DON’T LEAVE YET!” pop-up can also appear with “+3 LEVELS! x4 CE 15 MIN”, and claiming it gives a short burst for a push.
Pets and Pet Fuse
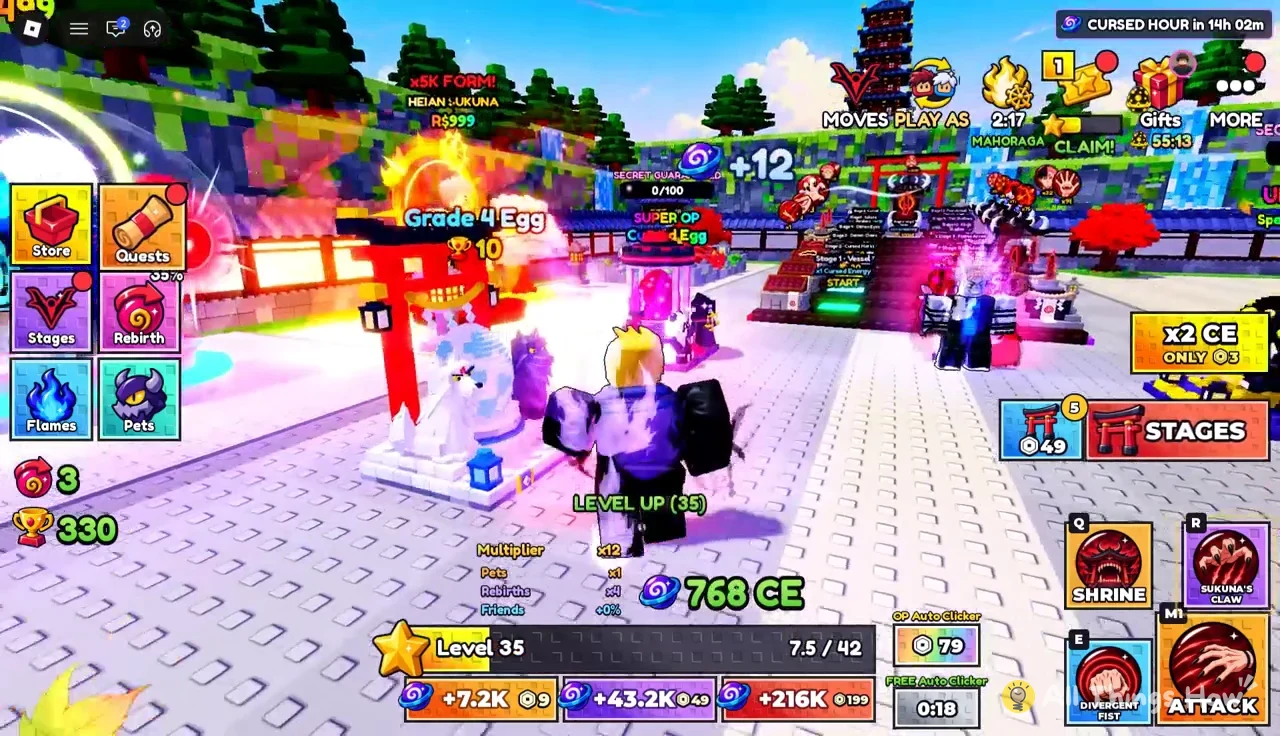
Pets hatch from eggs at the shrine in the hub and add their own CE multiplier once equipped. A Grade 4 Egg costs 10 trophies, so every egg delays your next finger slightly. Early on, a Legendary pet is easily worth the cost.
| Pet | Rarity | CE bonus | Grade 4 Egg odds |
|---|---|---|---|
| Fly Head | Common | x1.1 | 45% |
| Rabbit Escape | Uncommon | x1.25 | 32% |
| Toad | Rare | x1.4 | 16% |
| White Divine Dog | Legendary | x2 | 6% |
| Black Divine Dog | — | — | 1% |
| Eso | Uncommon | x3.2 | Super OP Cursed Egg |
Eso does not come from Grade 4 Eggs. It hatches from the Super OP Cursed Egg, and at x3.2 it outperforms a Legendary White Divine Dog. Free gifts in the hub, which unlock over time and include a roulette spin, can also pay out Grade 4 Eggs, as can completed daily quests.
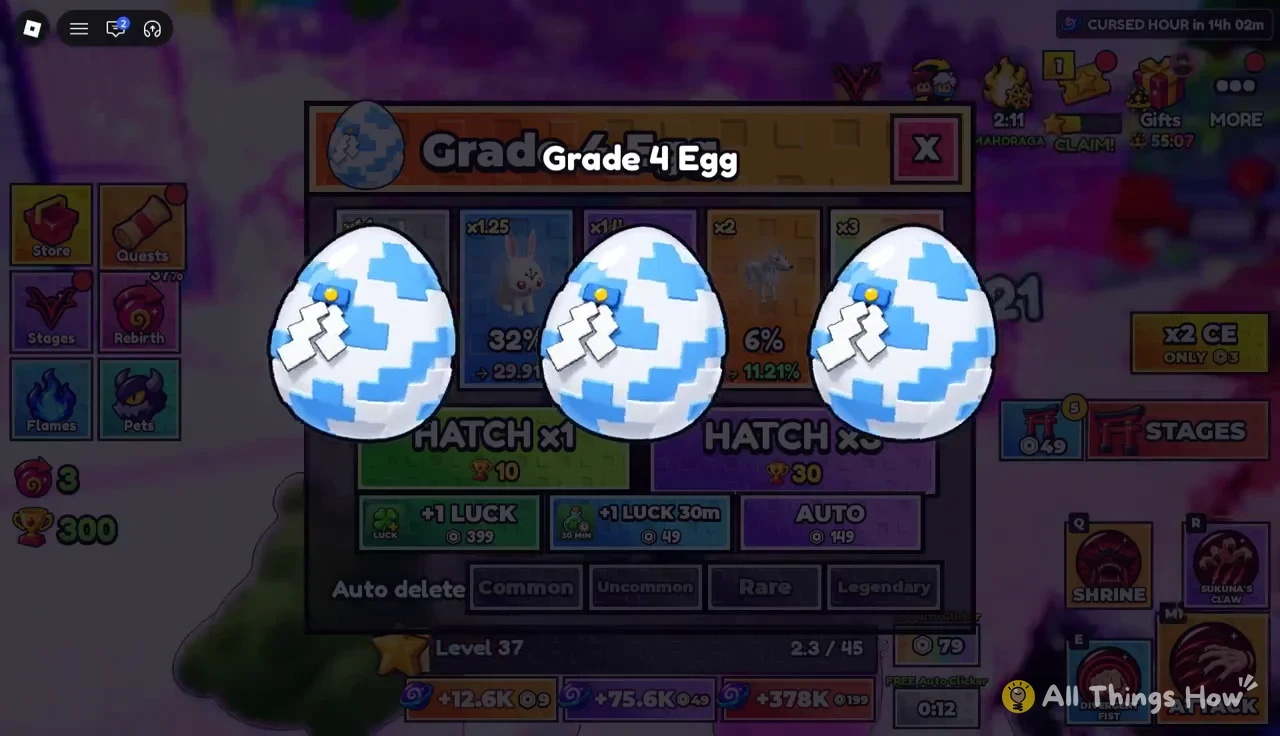
Open your Pets inventory, select a pet, and press Equip to apply its bonus. Duplicates are not dead weight. The PET FUSE 3>1 station in the hub merges them into a Golden version with a higher bonus. Golden Rabbit Escape rises to x1.35, and Golden Fly Head to x1.14.

Cursed flames
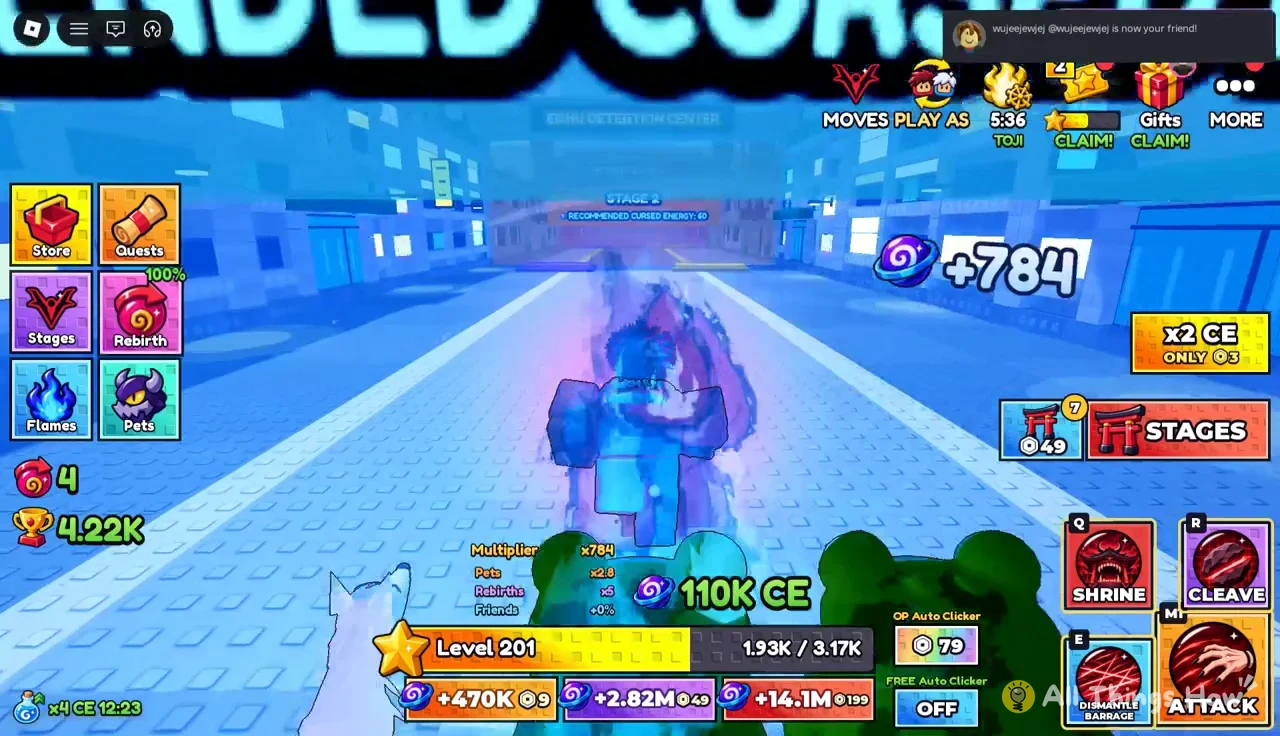
Flames unlock as your trophy total grows, and a “NEW FLAME!” banner appears when you earn one. Equip the strongest one you have from the Cursed Flames menu in the hub.
- Cursed Spark: x1.5, unlocked at 50 trophies
- Cursed Energy Flow becomes available at 500 trophies and gives an x2 multiplier.
- Divergent Flicker becomes available at 5K trophies and gives an x3 multiplier.
Cursed Spark arrives at the same 50-trophy mark as Demon Claws. That means your first finger and your first flame show up together, and they roughly quadruple your early CE between them.
Characters outside the Sukuna Stages ladder
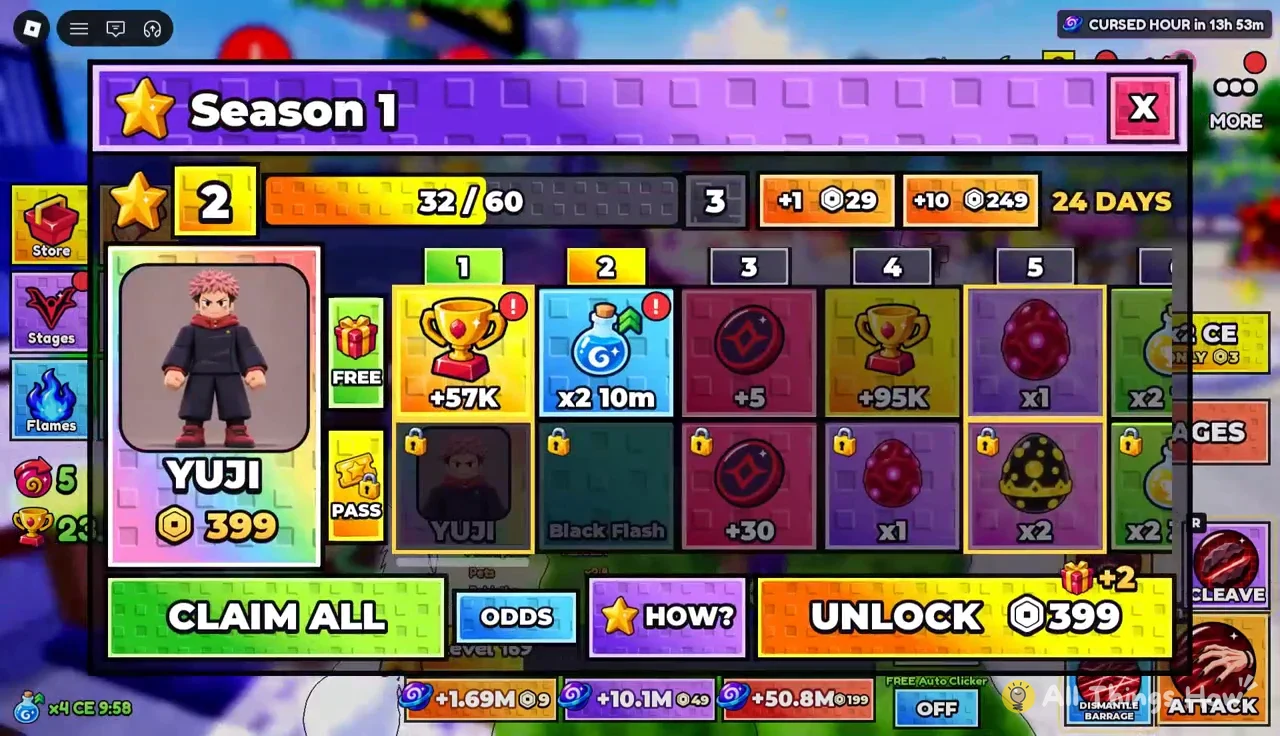
The Play As menu lists Sukuna, Gojo, Yuji, and Toji, but none of them are Sukuna forms, and none of them count toward finger progress. Yuji is tied to the Season 1 pass, which has its own reward track separate from trophies and fingers.
For the Sukuna ladder itself, the loop never changes. Clear the highest stage you can, bank trophies, eat the next finger as soon as you qualify, and rebirth whenever the next combat stage’s recommended CE pulls too far ahead. Each form multiplies everything you do afterward, so eating a finger the moment you qualify is almost always the right call.