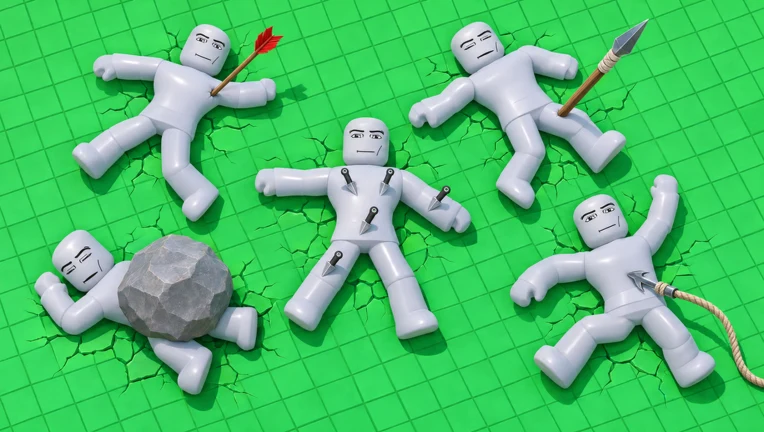
Hyper Realistic Ragdoll drops you into a physics sandbox with a full hotbar, a test range full of labeled dummies, and a town full of bystanders who react to every hit. It has no tutorial, so the fastest way to learn it is to work through the zones in a sensible order. You learn the X-ray scan first, then the Med Kit, then the hazards that do the work for you.
Quick answer: Start at the Ragdoll Test Range, press Z to scan injuries, then use the Med Kit (slot 8) and E to revive anything you break. Save cash for the locked Revolver ($750) and Sniper Rifle ($3,500).
Hyper Realistic Ragdoll controls and keybinds
The HUD lists every shortcut on screen, but it helps to know what each one does before you start swinging. One key does most of the work. E handles every interaction in the map, including spawning vehicles, resetting test rigs, treating patients, and launching carts.
| Key | What it does |
|---|---|
Q | Weapon wheel / Weapons menu |
Z | X-ray / Scan |
V | Change view |
M | Menu |
Ctrl | Free the mouse cursor |
E | Interact, spawn, reset, treat, launch |
1–0 | Select hotbar slots |
Press Ctrl whenever you need to click a menu button. The game otherwise keeps the mouse locked to your aim.
Starting hotbar: what each slot is for
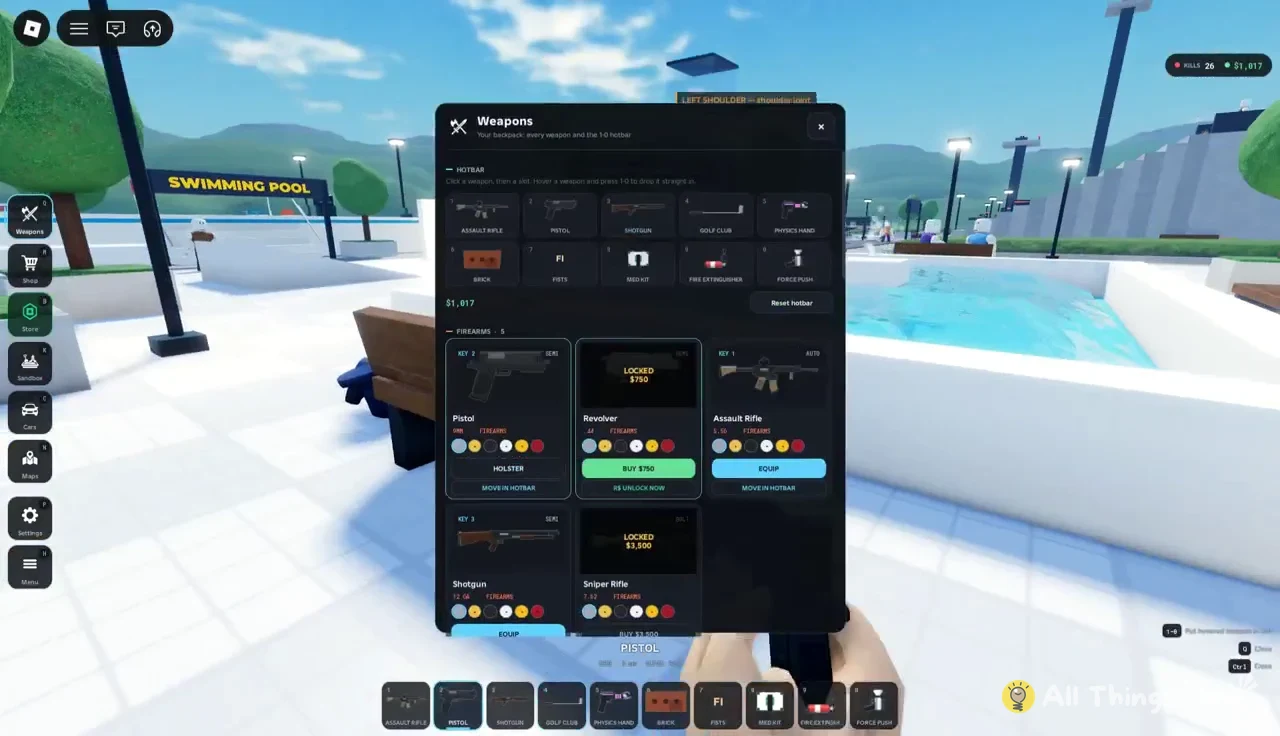
You spawn with ten slots already filled, so there is nothing to buy before you can play. The loadout mixes three firearms with seven tools, and the tools matter as much as the guns. The Med Kit is how you keep targets in play, and Force Push and the Physics Hand are how you move bodies into hazards.
| Slot | Item | Main use |
|---|---|---|
| 1 | ASSAULT RIFLE | Automatic fire, precise hit locations |
| 2 | PISTOL | Semi-auto, chasing runners |
| 3 | SHOTGUN | Spread damage at range |
| 4 | GOLF CLUB | Melee swings |
| 5 | PHYSICS HAND | Grab, lift, toss bodies |
| 6 | BRICK | Thrown knockout |
| 7 | FISTS | Punching |
| 8 | MED KIT | Heal and revive |
| 9 | FIRE EXTINGUISHER | Spray targets |
| 0 | FORCE PUSH | Launch a body away |
The wall-mounted armory rack at the test range shows a wider pool of gear. It holds the Sniper Rifle, Taser, Revolver, Dart Launcher, Throwing Knife, Spear, C4 Charge, Molotov, and Grenade alongside the starting items. Use the rack to swap things into your hotbar, and use Reset hotbar in the Weapons menu to return to the default layout.
Weapons menu: free guns and locked guns
Press Q to open the Weapons menu. Each firearm sits on its own card with its caliber and fire mode. Unlocked guns show an EQUIP button, and locked guns show a price that you can pay in in-game cash or skip with Robux through the “R$ UNLOCK NOW” option.
| Weapon | Caliber | Fire mode | Status |
|---|---|---|---|
| PISTOL | 9MM | SEMI | Unlocked |
| ASSAULT RIFLE | 5.56 MM | AUTO | Unlocked |
| SHOTGUN | 12 GA | SEMI | Unlocked |
| REVOLVER | .44 | SEMI | Locked, $750 |
| SNIPER RIFLE | 7.62 | BOLT | Locked, $3,500 |
Your Cash and Kills counters sit in the top-right corner of the HUD, and both climb as you knock targets down. The Revolver is the first realistic purchase. The Sniper Rifle takes noticeably longer to save for. Two leaderboards, TOP KILLS – ALL TIME and TOP KILLS – TODAY, rank players by that kill count.
A promo board near spawn offers a FREE BOW + $2,500 if you like the game page and join the Eyrie Softworks group. Walk up to the board and press E to claim it. The reward is limited to one per account.
Ragdoll Test Range: learn the dummy types and the Scan
The Ragdoll Test Range is a lane of eight labeled dummies on platforms: STANDARD, HEAVY, LIGHTWEIGHT, STIFF, FLOPPY, GRIPPY, BOUNCY, and STEADY. Each one falls differently under the same shot. Shooting all eight in a row is the quickest way to see how much the physics settings change a body’s reaction. Distance markers on the walls read 10, 20, 30, and 40 STUDS, so you can also test how range affects your accuracy.
1 and aim at the Floppy dummy at the start of the lane. A single burst is enough to get a reaction and a hit label.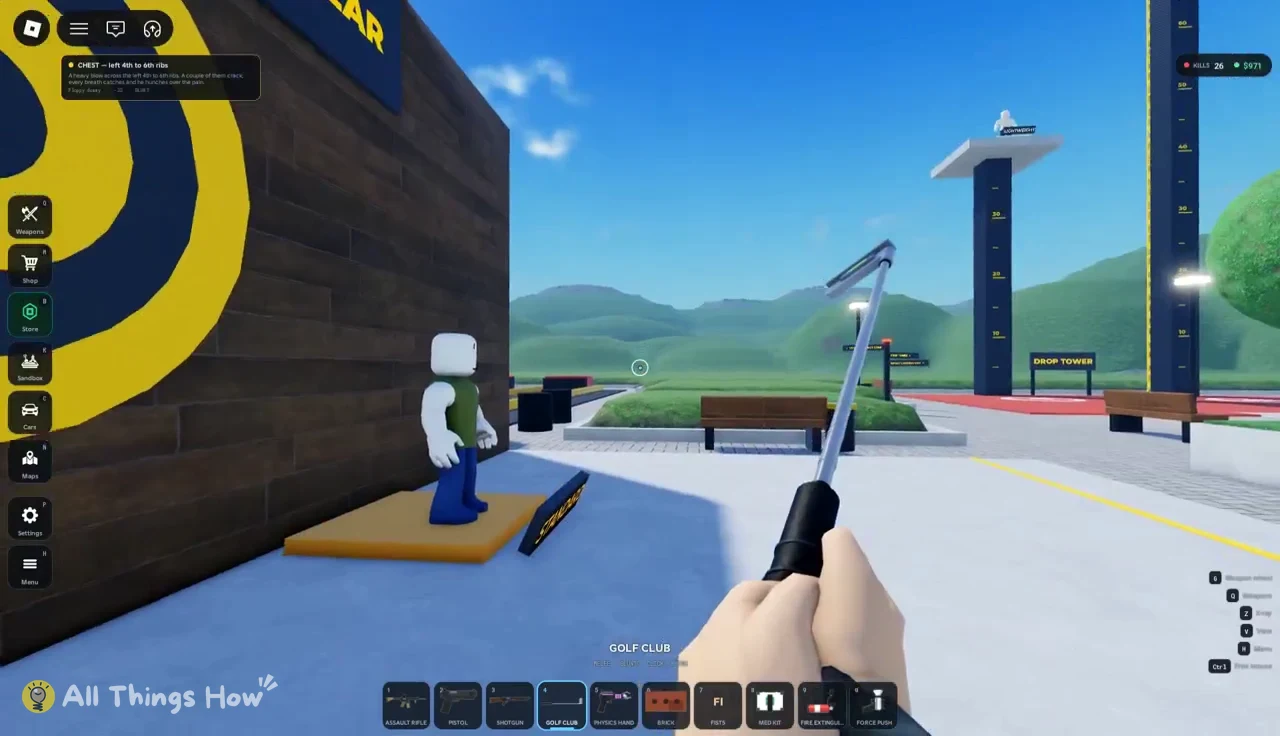
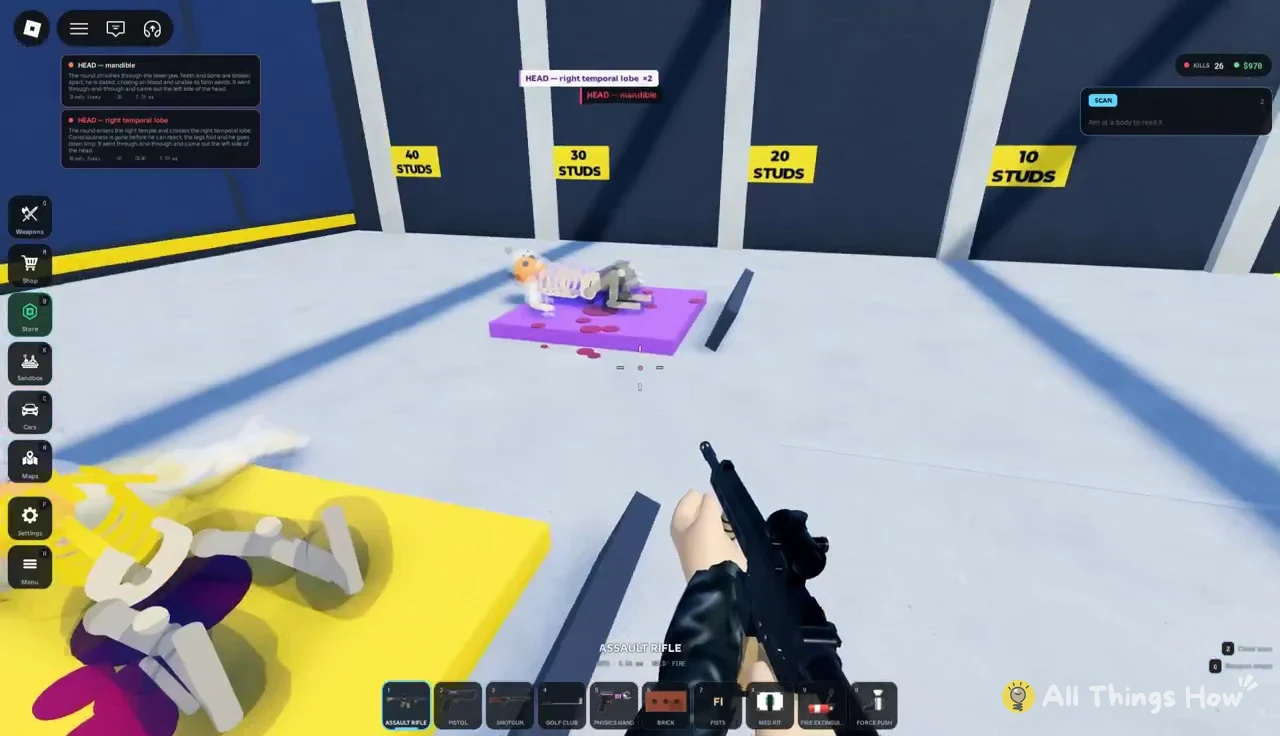
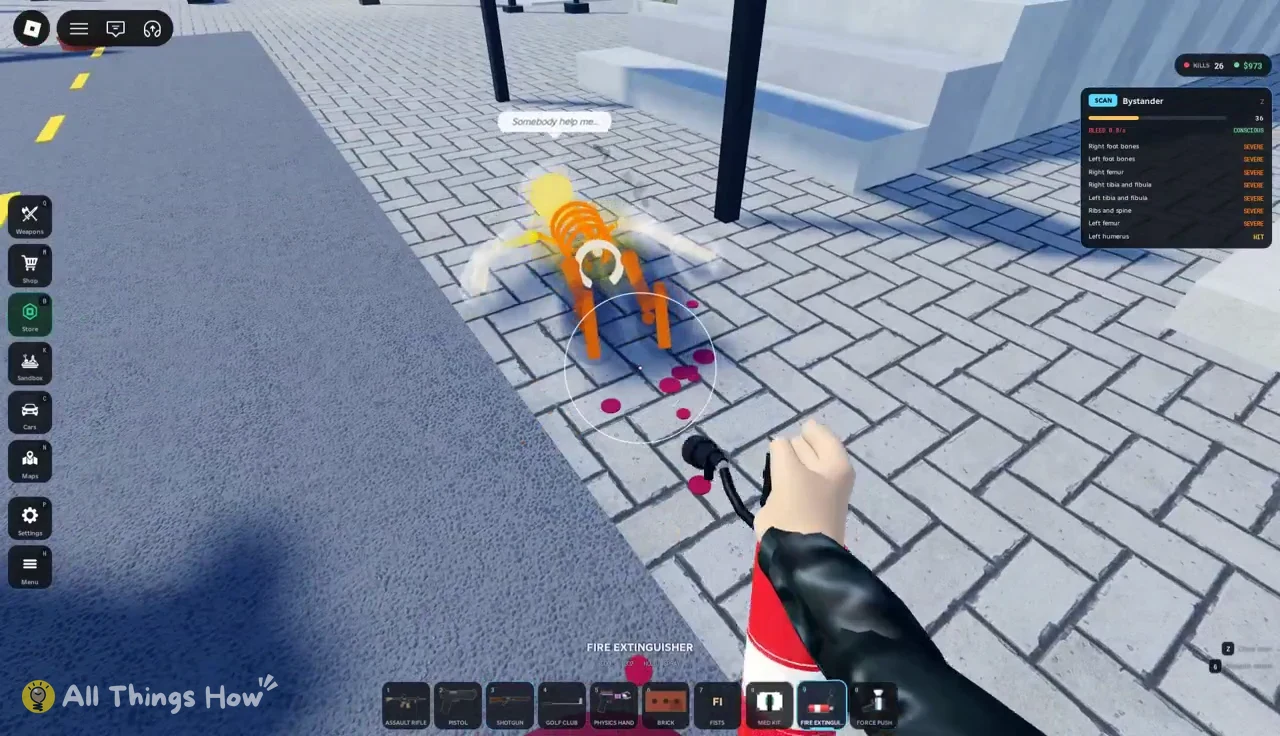
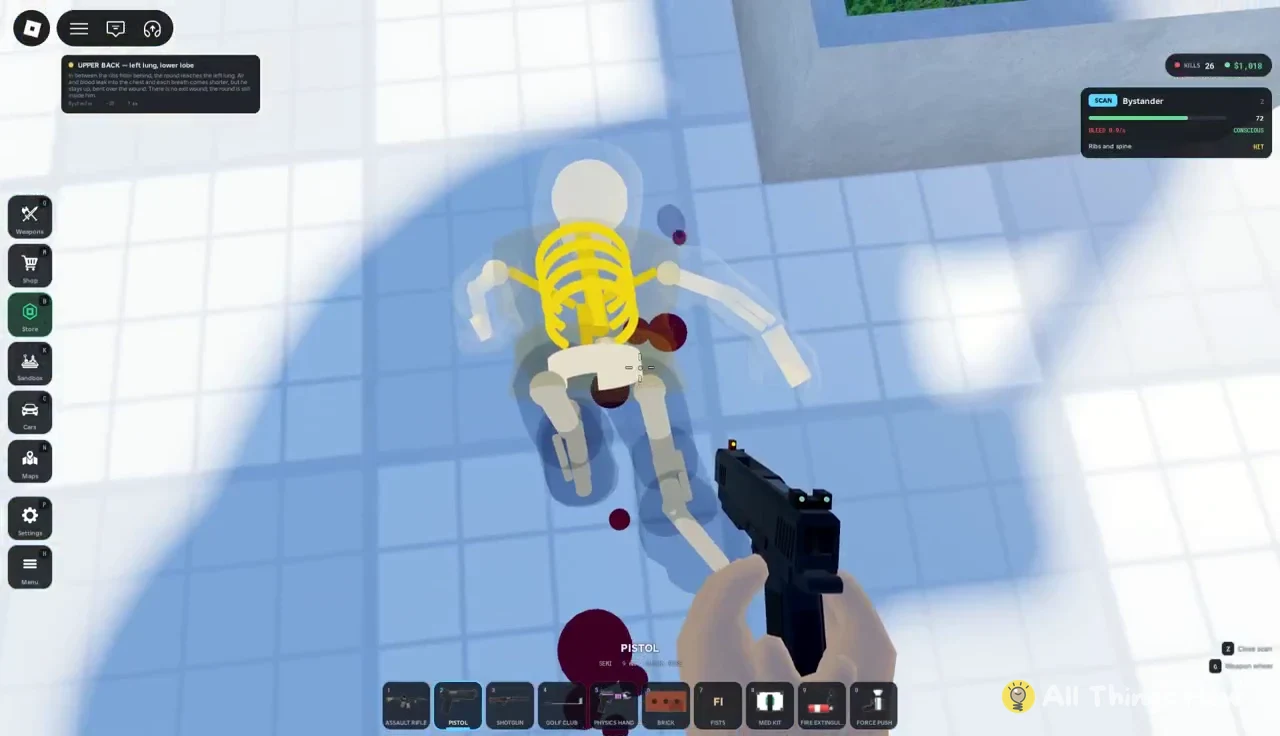
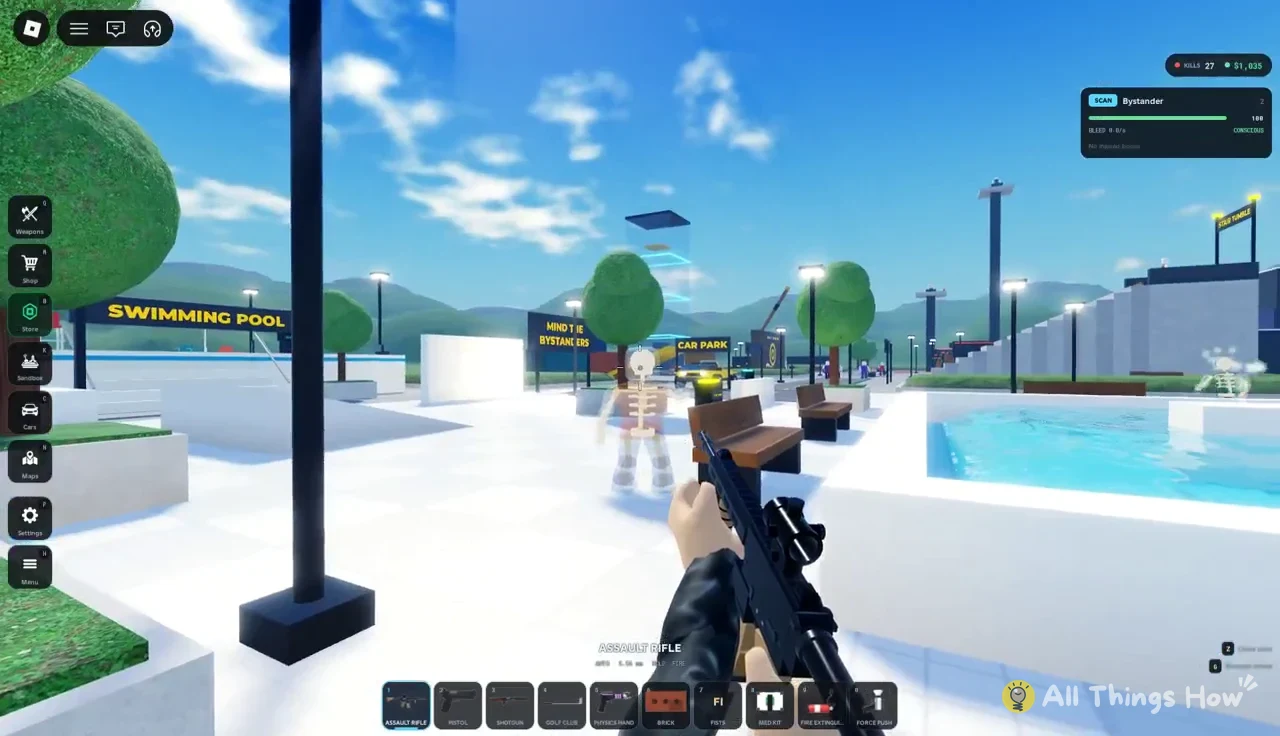
Z while aiming at a downed body to open the Scan. The X-ray view shows the skeleton, colors broken or severed bones orange and yellow, and opens a panel that names the target and its injuries.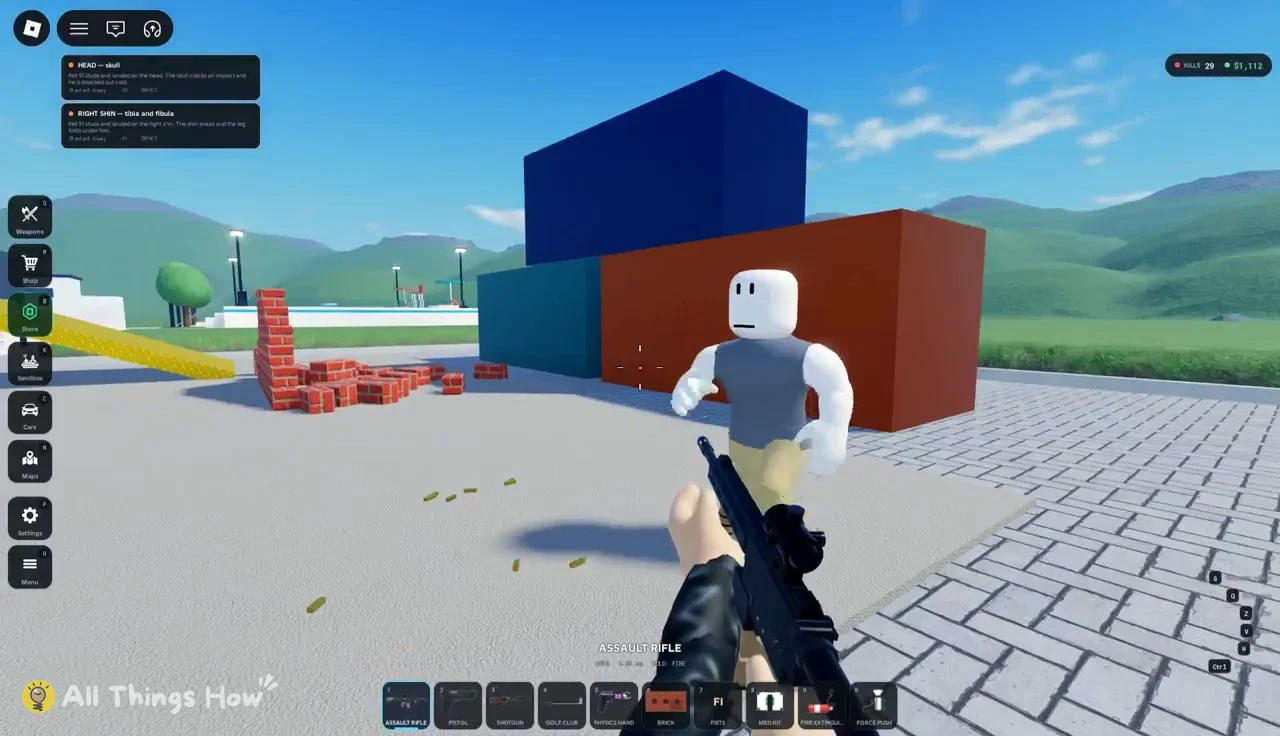
The Scan panel uses a short set of status words that you will see everywhere in the game. SEVERE and HIT describe wound severity. CONSCIOUS, DROWSY, and OUT COLD track awareness, and DEAD means the body needs reviving. A BLEED reading shows blood loss in liters per second, which tells you how urgently a target needs the Med Kit.
Pin Wall: melee and pinning practice
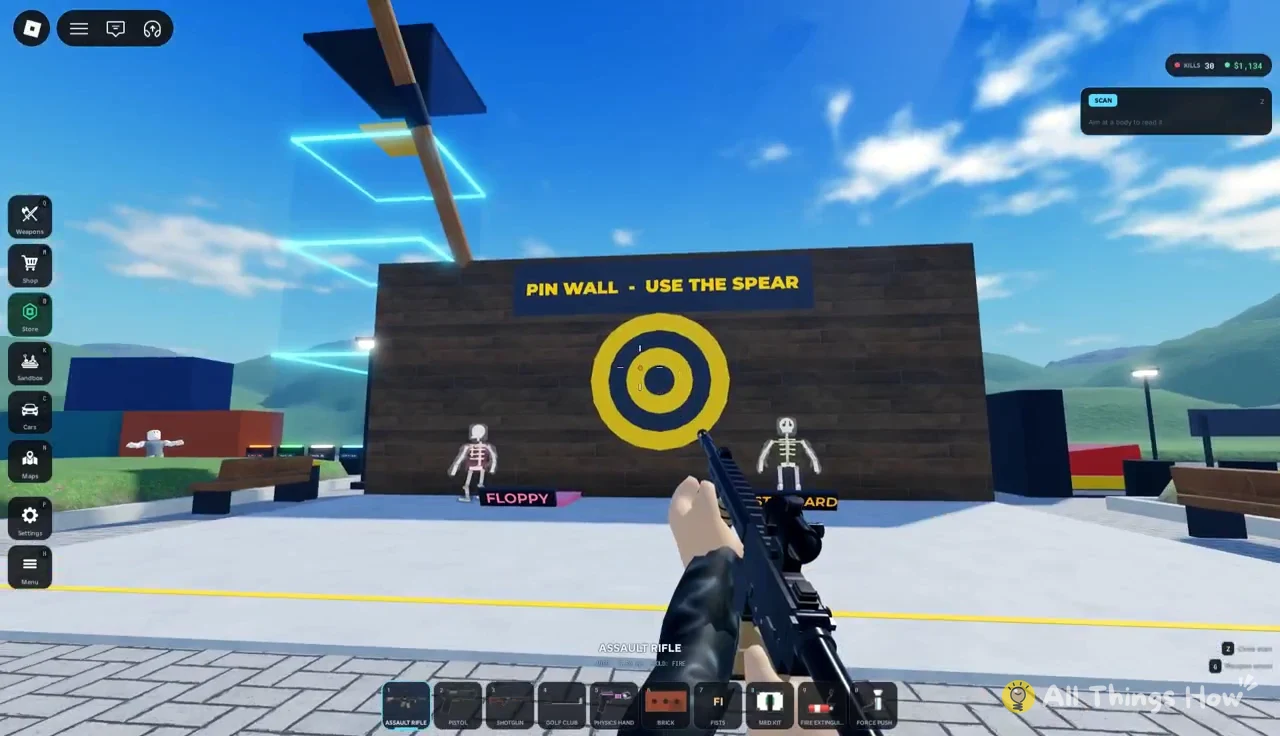
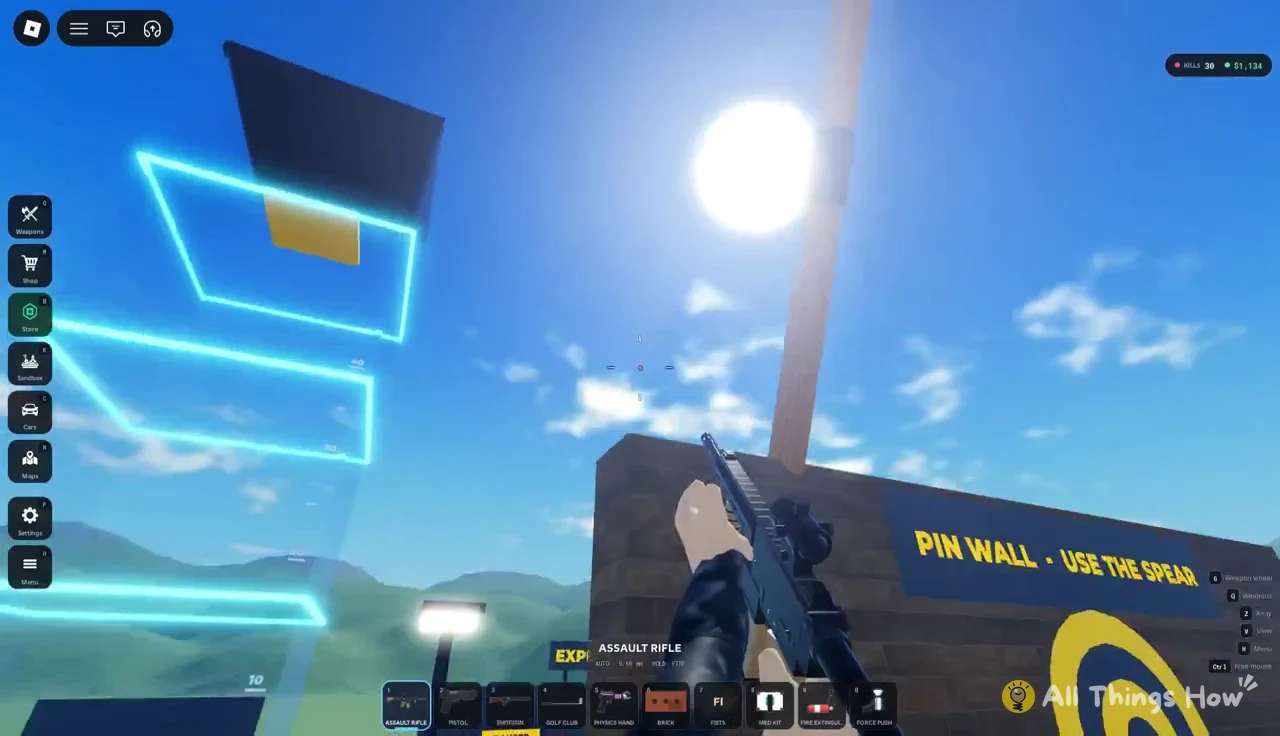
Next to the range is the Pin Wall, a wooden board with target circles and its own Floppy and Standard dummies. The sign reads “PIN WALL – USE THE SPEAR,” because the wall is built for pinning bodies with the Spear from the armory rack. It also works well for testing your starting melee tools. Swing the Golf Club (4) at the Floppy dummy, then switch to the Physics Hand (5) and grab the Standard dummy to knock it over.
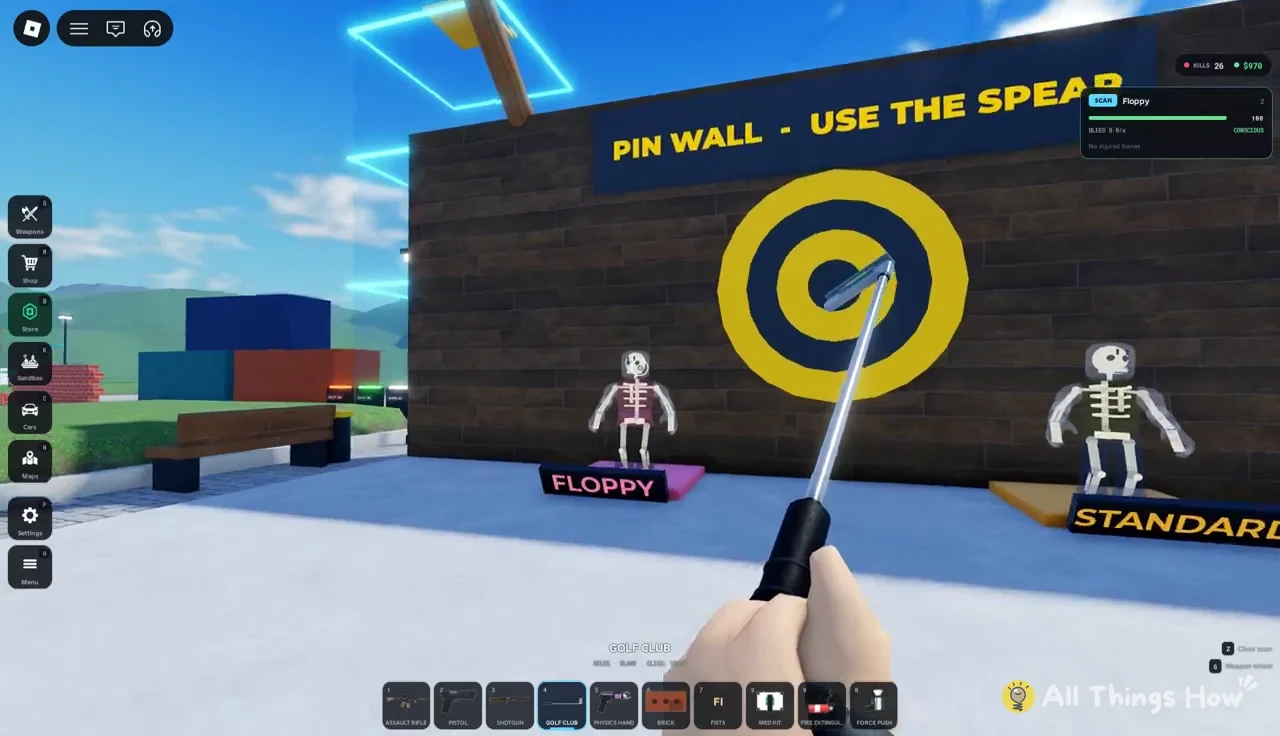
The wooden board itself takes gunfire, so long automatic bursts from the Assault Rifle are a quick way to see how the wall and anything stuck to it react. Bodies left pinned to the wall can still be healed with the Med Kit.
Town Square: how bystanders react
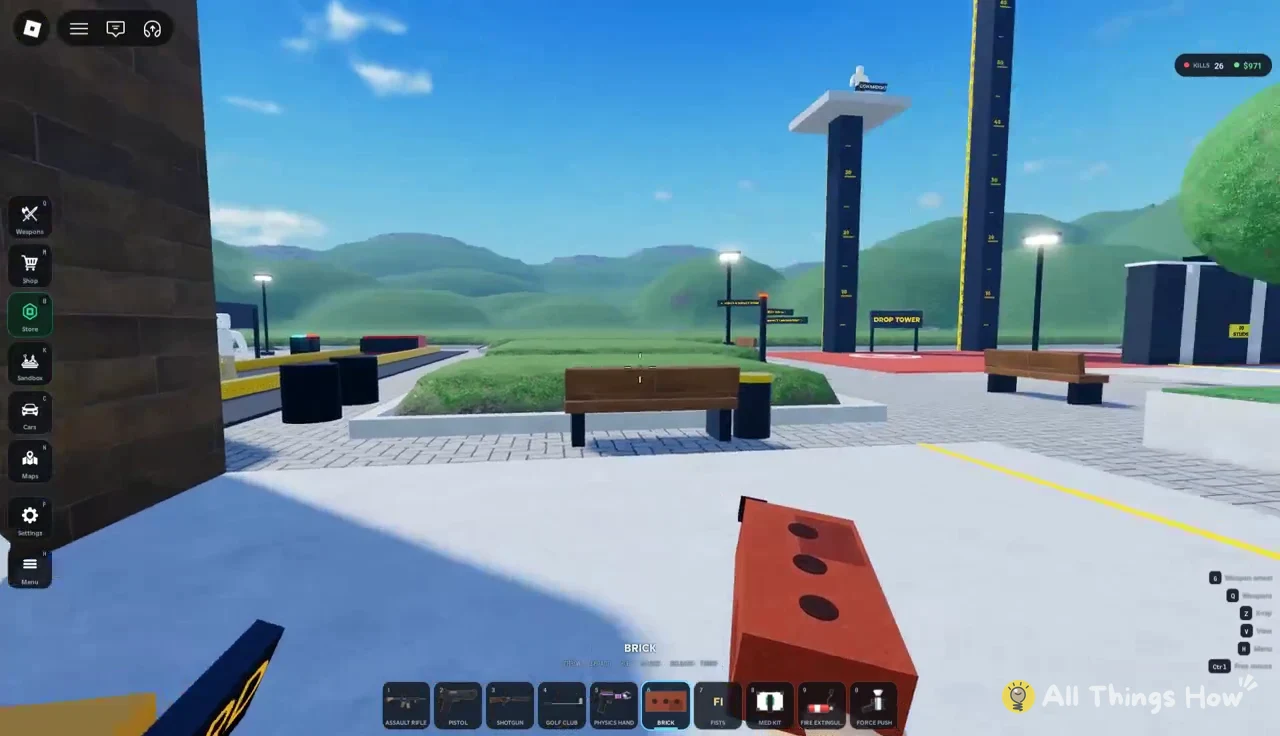
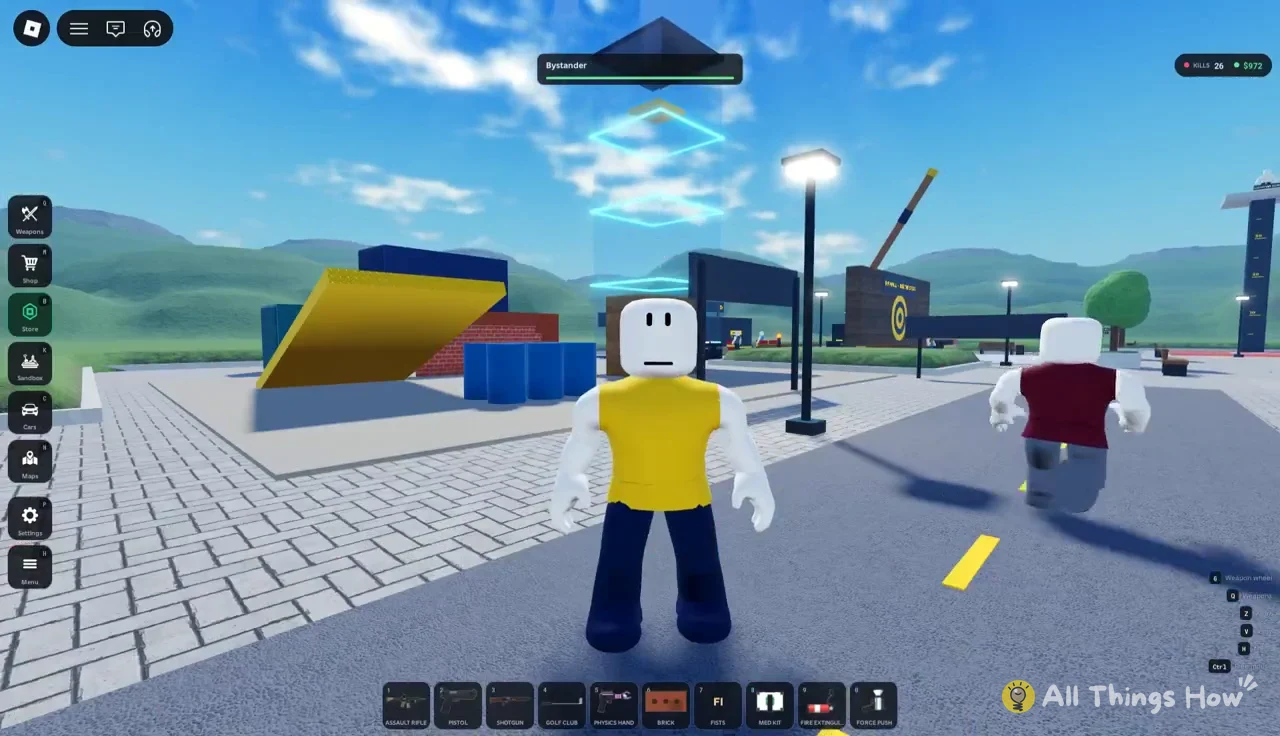
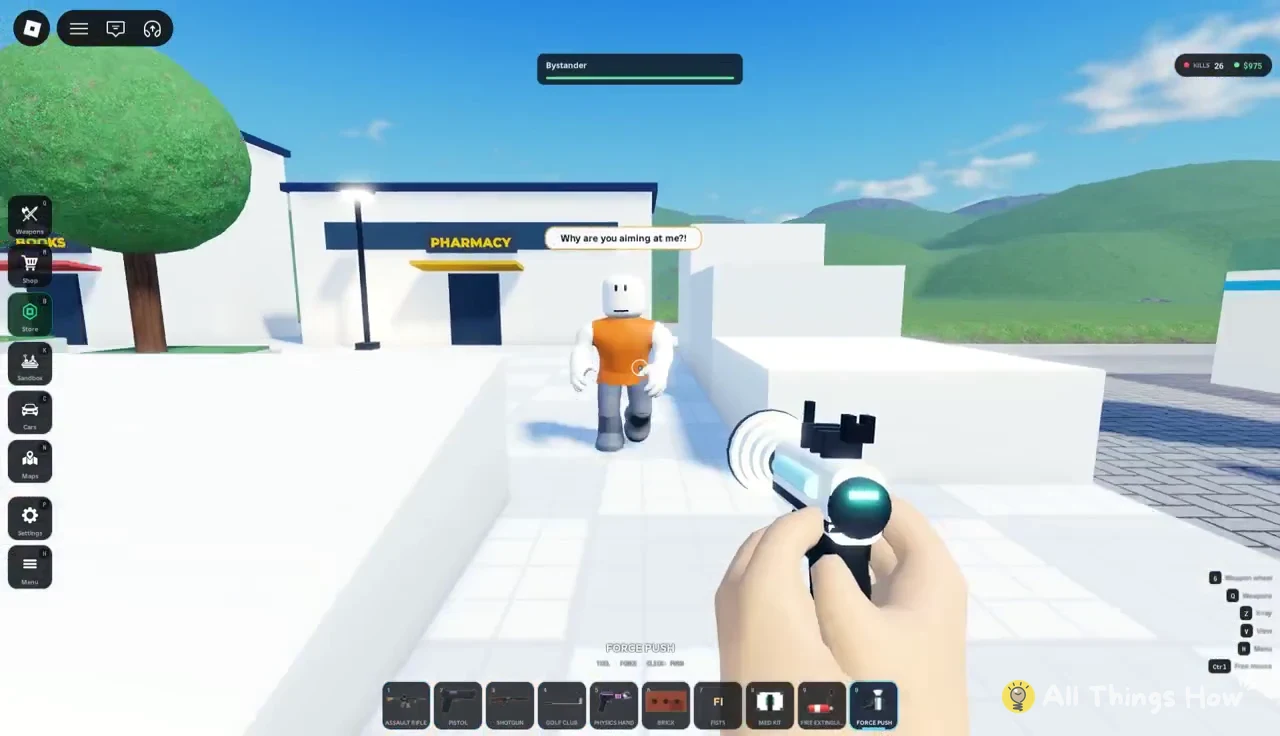
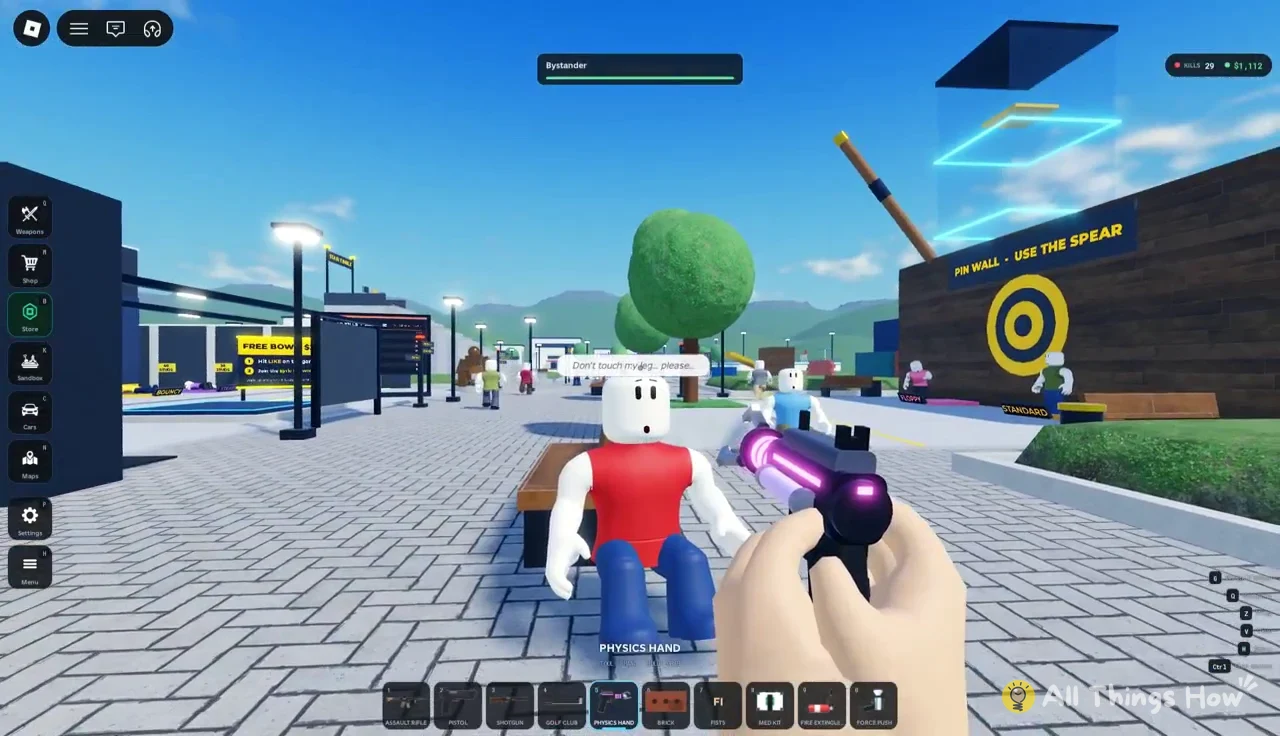
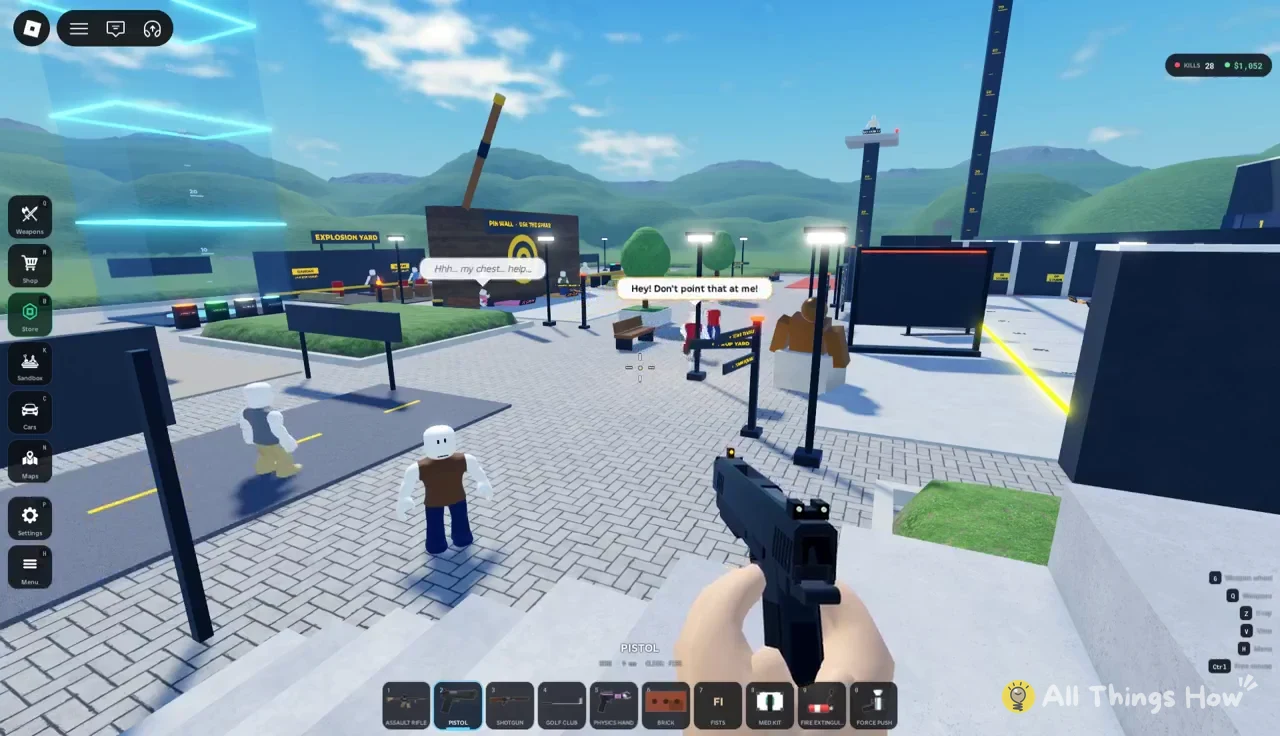
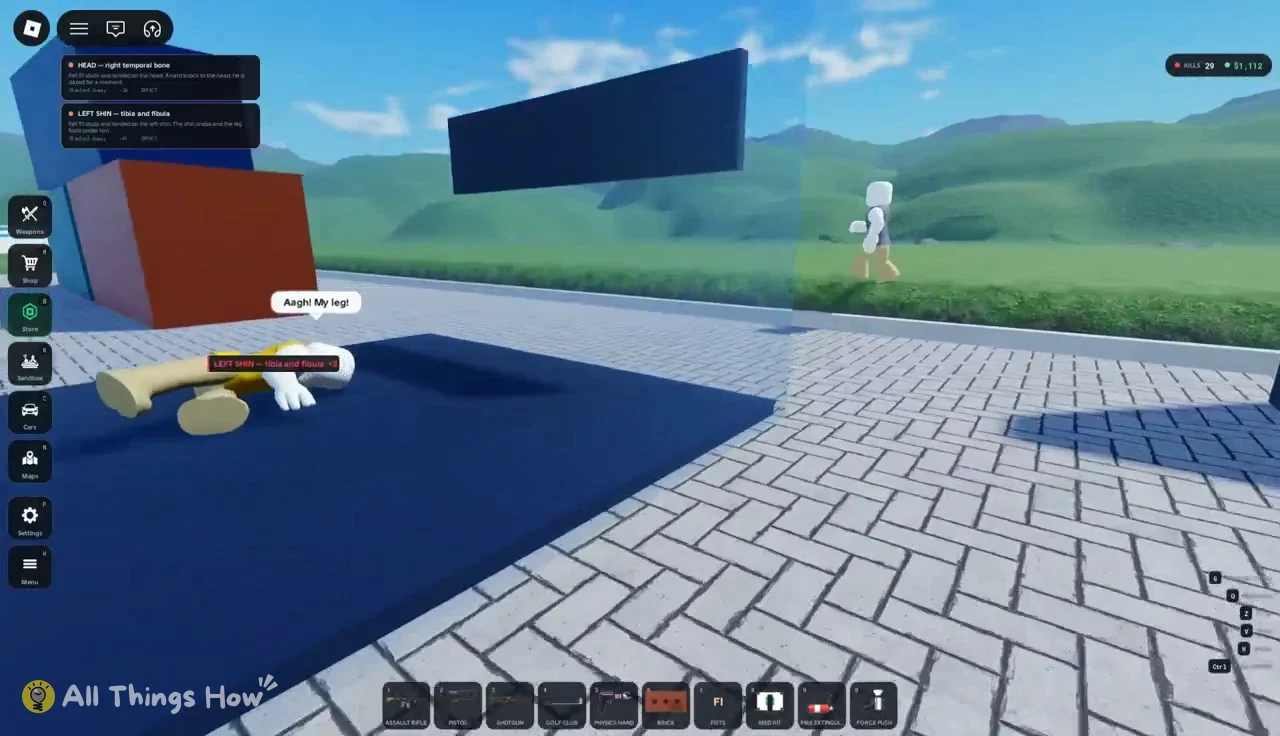
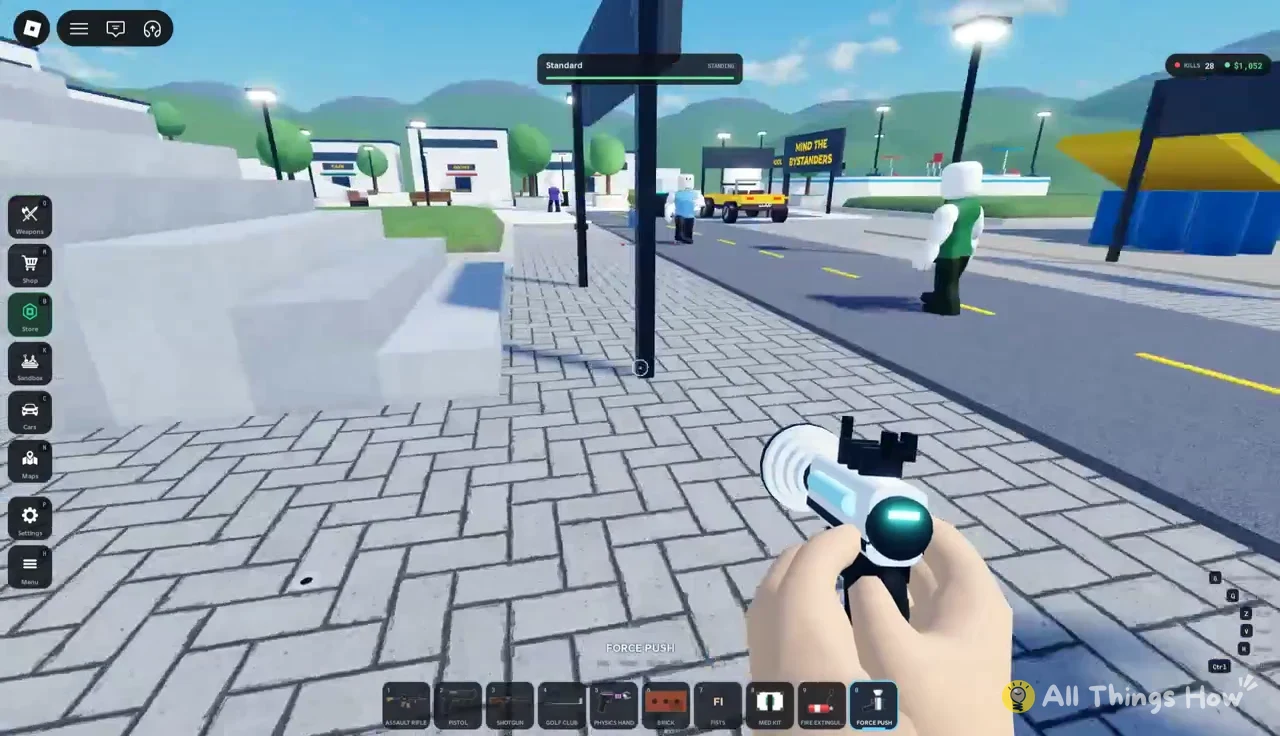
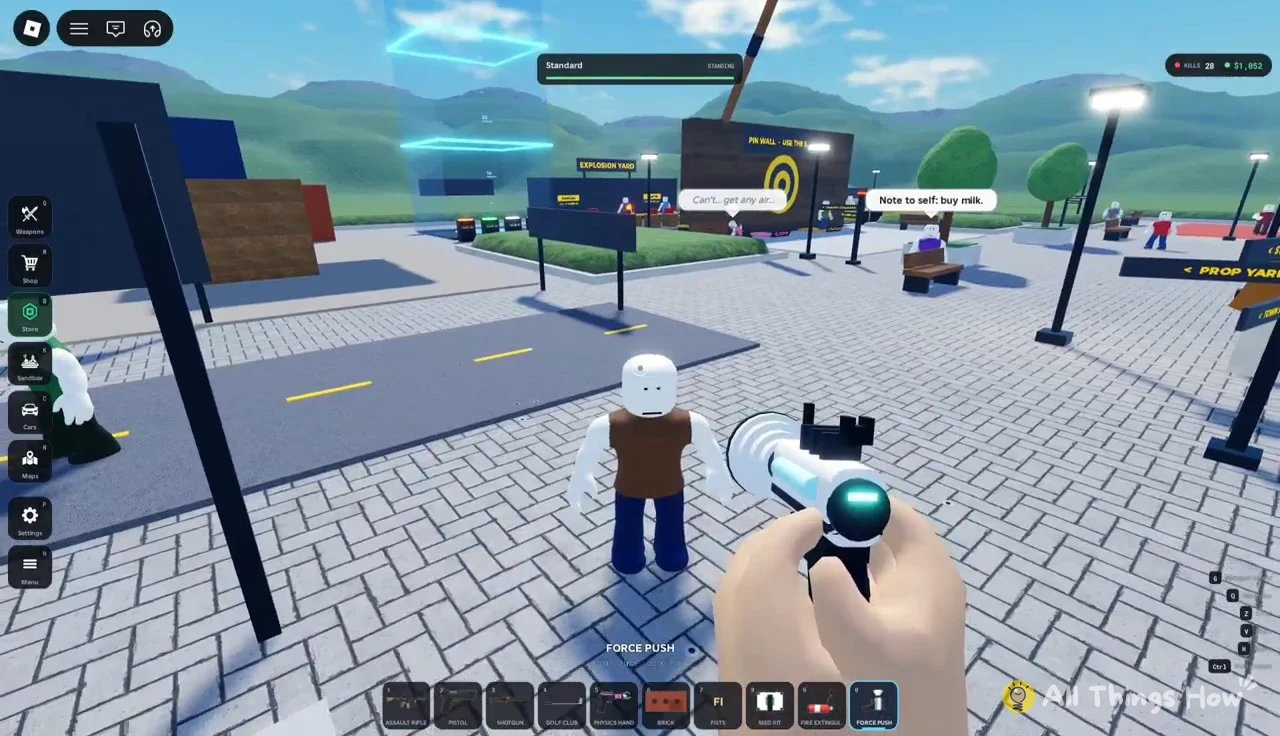
Follow the “TOWN SQUARE >>>” sign down the road to reach the plaza. It has a Pharmacy, a Cafe, and a Books shop, and it is full of people walking around. Bystanders chat until you start something (“Lovely day for it,” “Note to self: buy milk”). Once you attack, they panic. Some run, some beg (“Why are you aiming at me?!”), and some pull out phones to call 911 or the police. Injured ones describe their wounds out loud, so “Augh, my leg!” or “Can’t… get any air…” tells you where the damage is without opening the Scan.
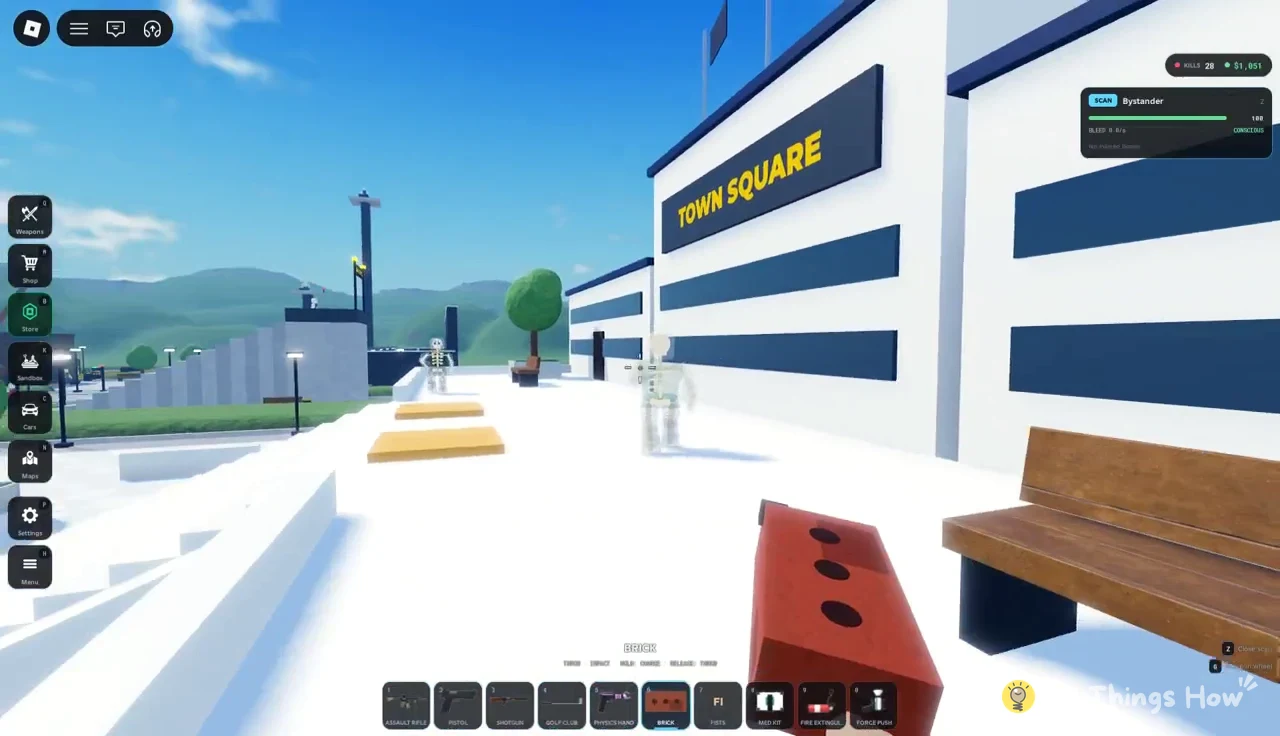
A thrown Brick (6) is enough to knock a bystander unconscious. Select it before you walk down, aim, and throw from a distance.
Close-range tools on bystanders
Fists (7) will punch a bystander out cold with enough hits. The Fire Extinguisher (9) sprays a target at short range, and Force Push (0) launches them away. These three chain together well: punch, spray, then push the body down the street.
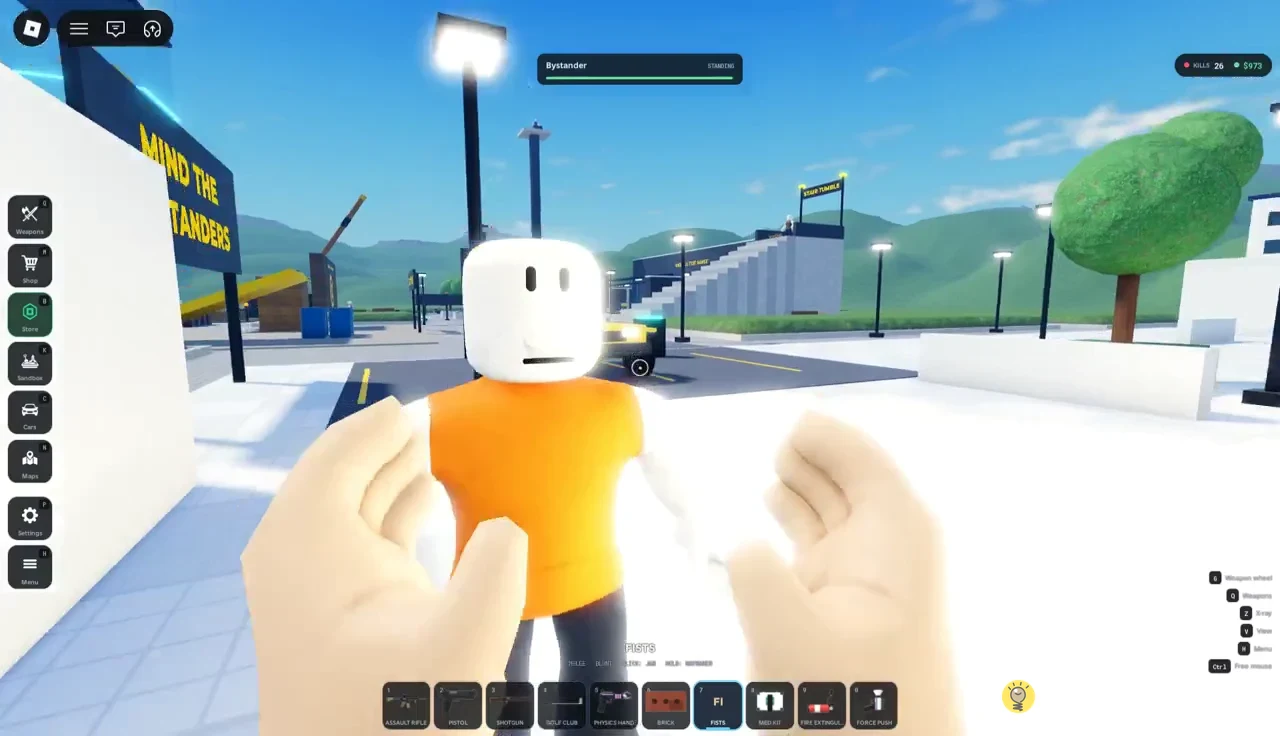
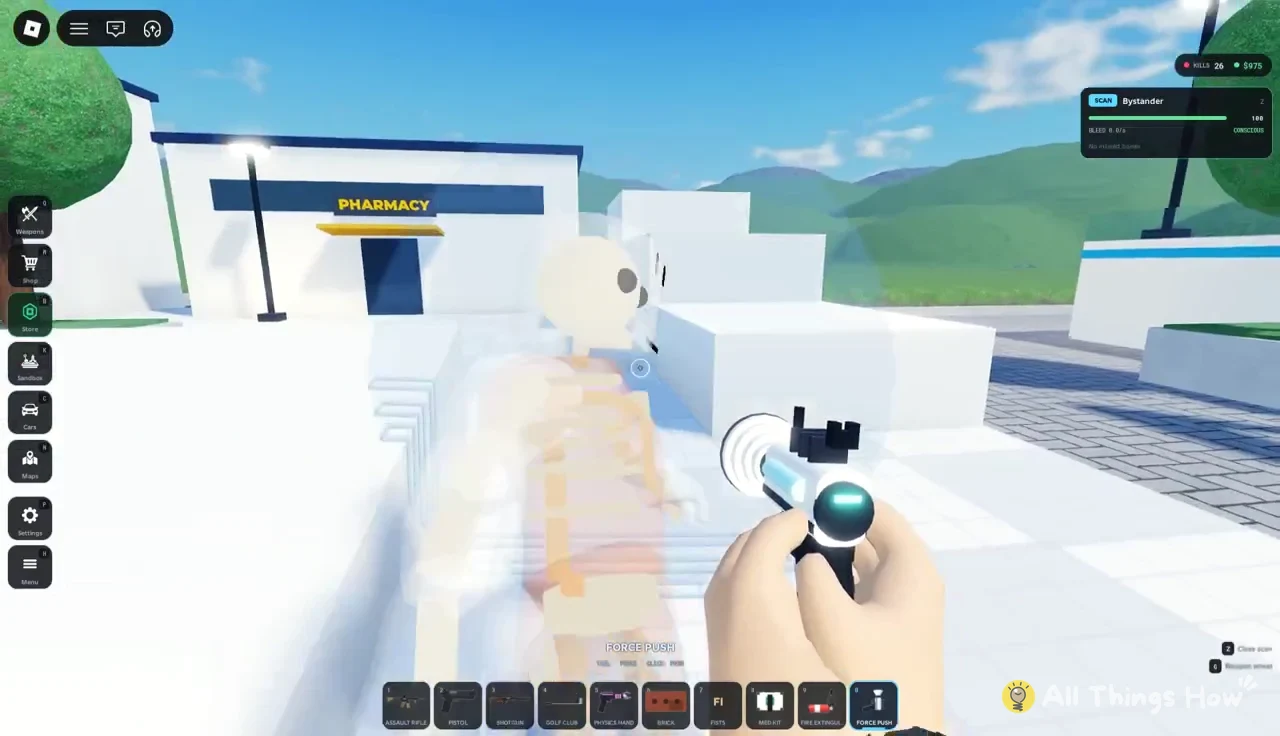
The Physics Hand lets you pick up a body that is sitting or lying down, carry it, and toss it. It works on anyone, including bystanders resting on the square’s benches.
Firearms in the square
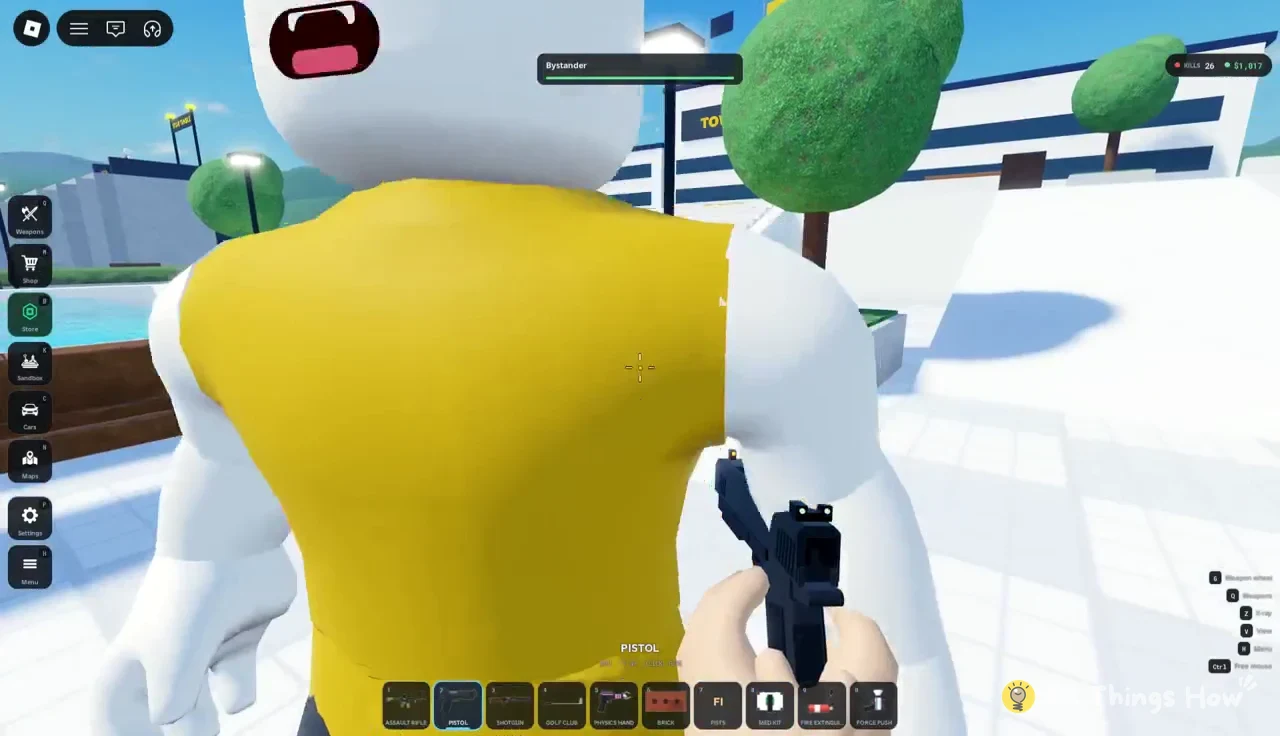
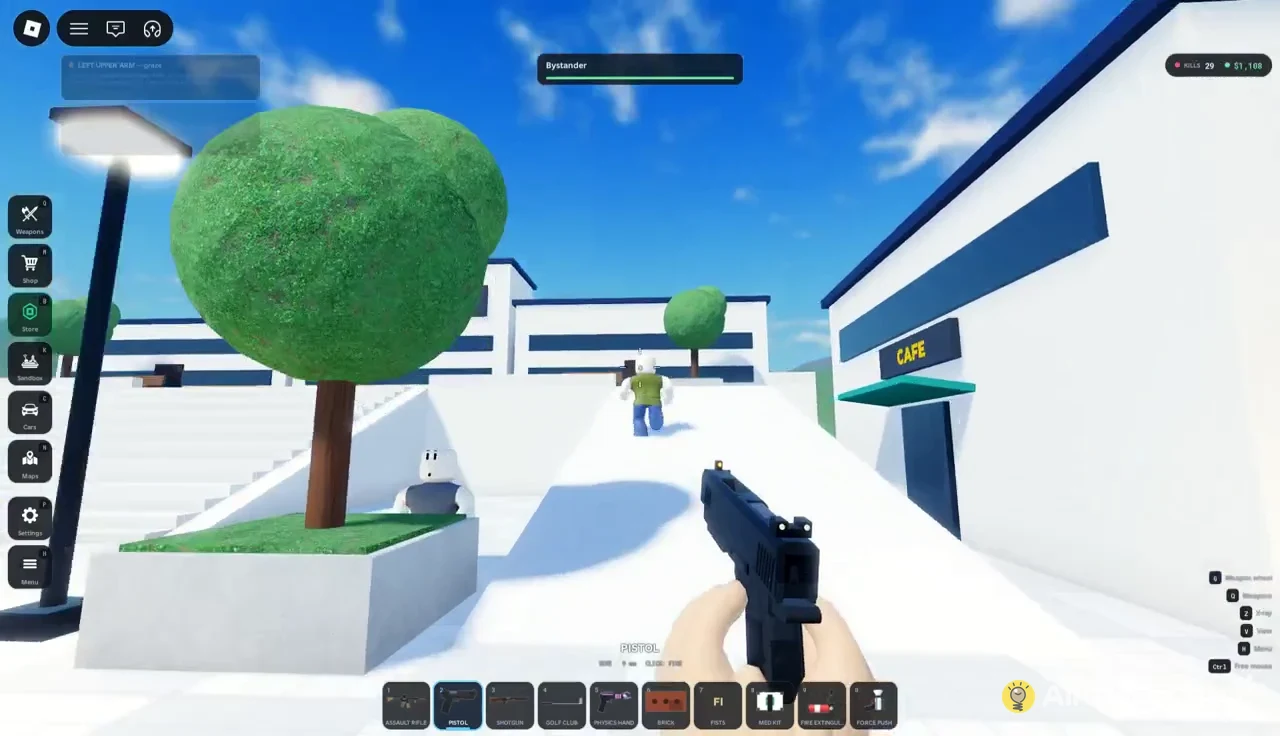
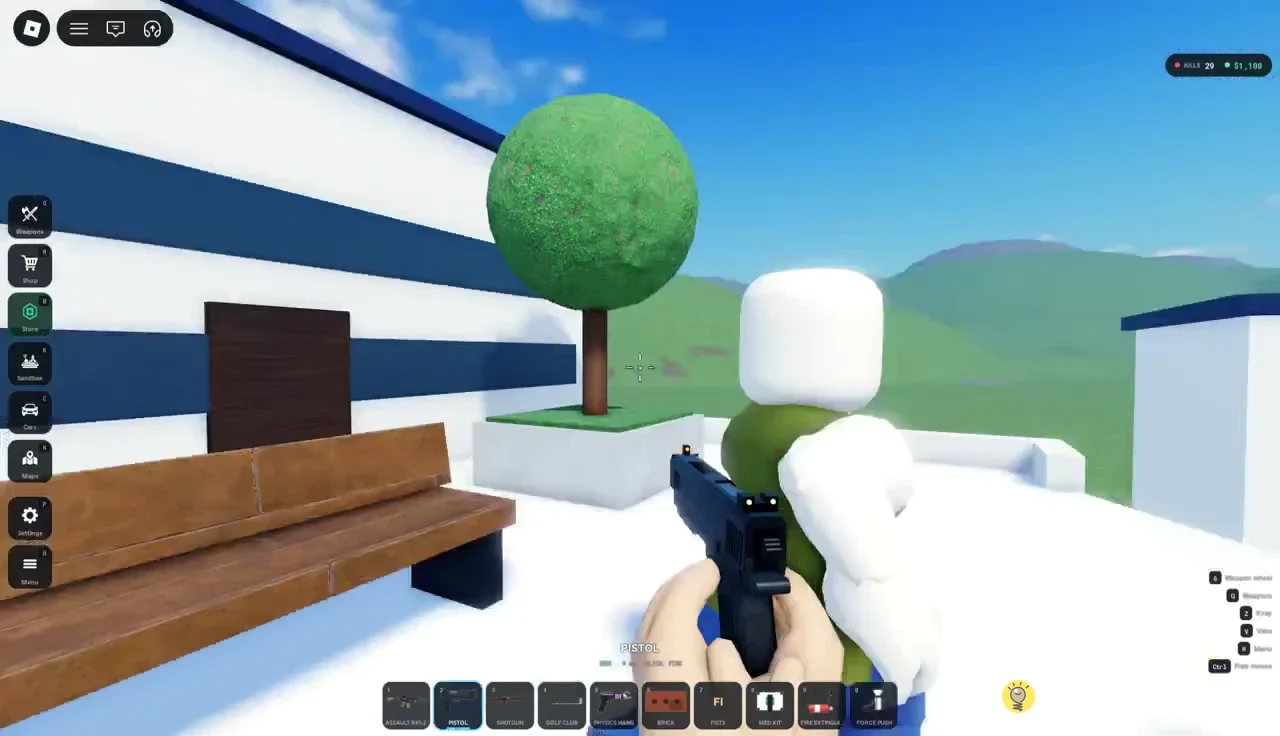
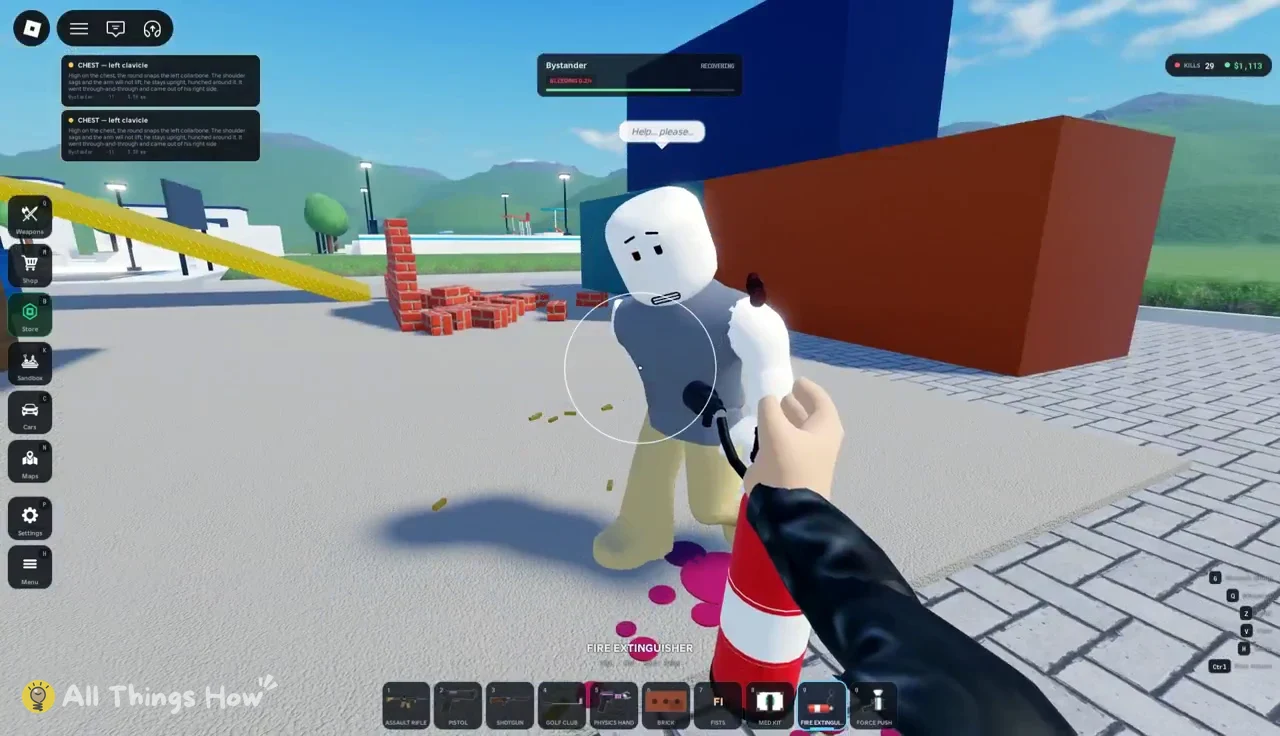
Once shooting starts, bystanders scatter through the Cafe and Books plaza and down the road. The Pistol is the easiest gun for picking off runners one at a time. The Assault Rifle gives you precise hit labels: a leg shot reads differently from a clavicle shot, and the Scan shows the matching bone damage.
How to use the Med Kit to heal and revive
Nobody stays down for good. The Med Kit restores consciousness, repairs broken bones, and revives bodies the Scan marks as DEAD. That lets you keep testing the same target instead of hunting for a new one. It works on test dummies, Town Square bystanders, bodies pinned to the Pin Wall, and victims who have lost limbs in the Explosion Yard.
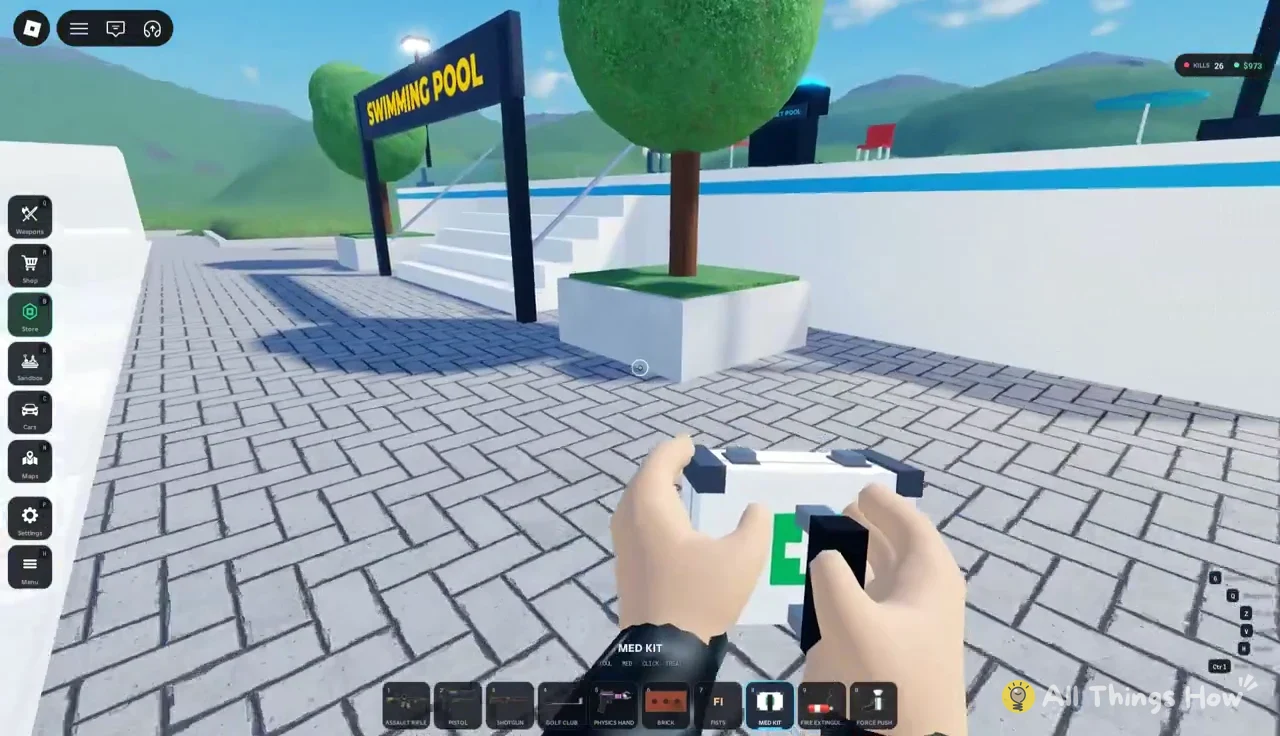
Z first shows you what is broken, so you can confirm the treatment worked afterward.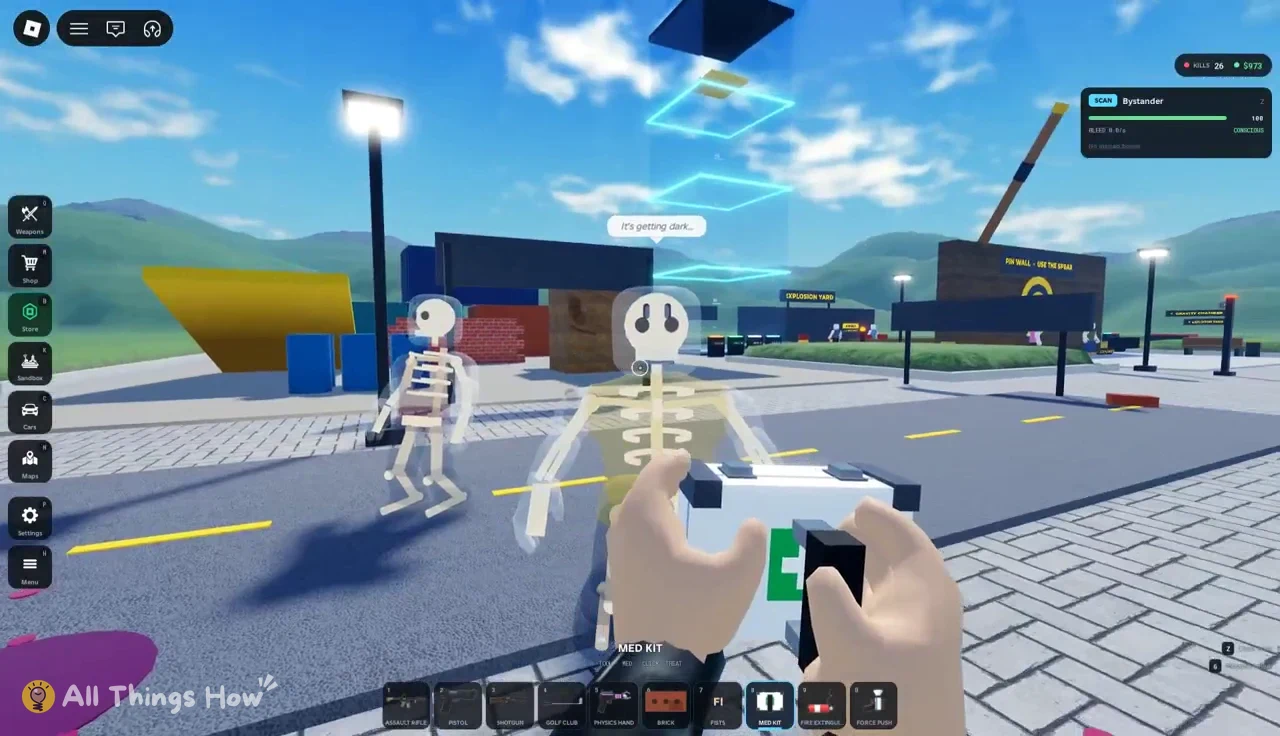
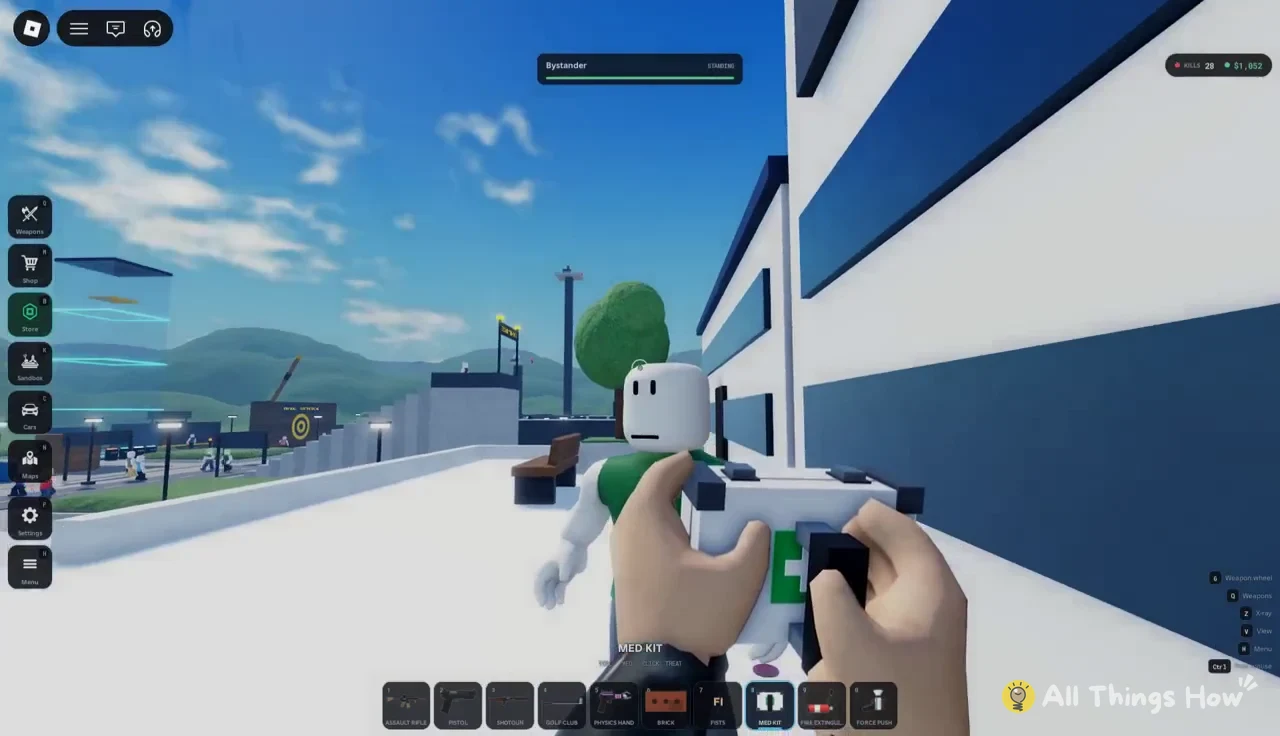
E to treat. Heavily wounded targets may need several treatments in a row before every injury clears.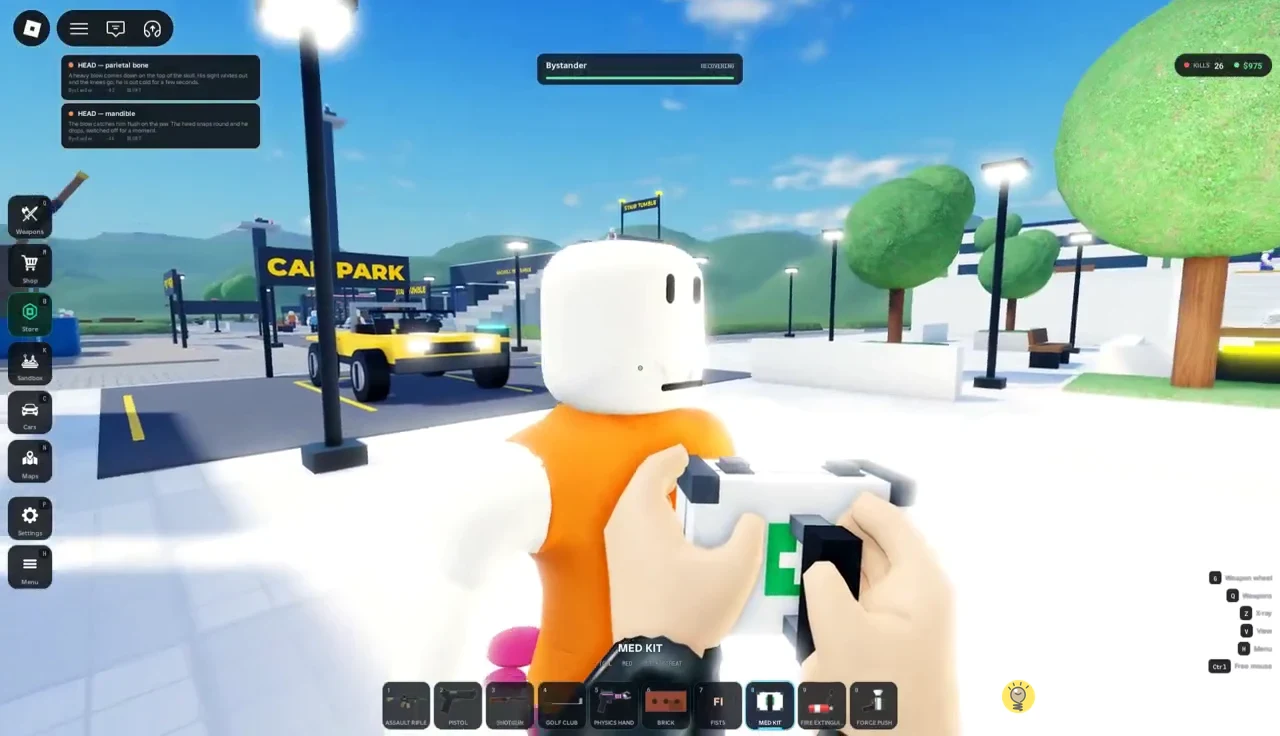
Hazard zones that do the damage for you
Signposts around the map point to the purpose-built zones, including the DROP TOWER, GRAVITY CHAMBER, and IMPACT LABORATORY. Each one tests a different kind of physics, and most are triggered by walking up to a console and pressing E.
Swimming Pool
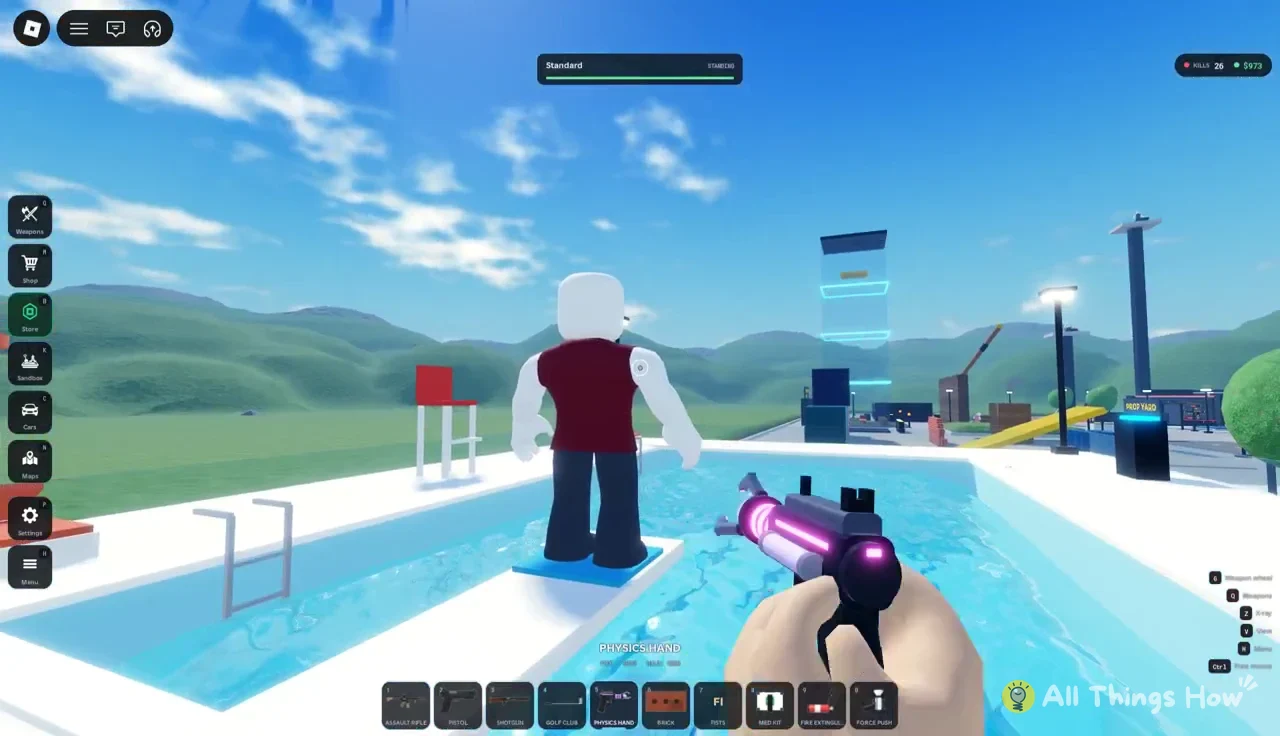
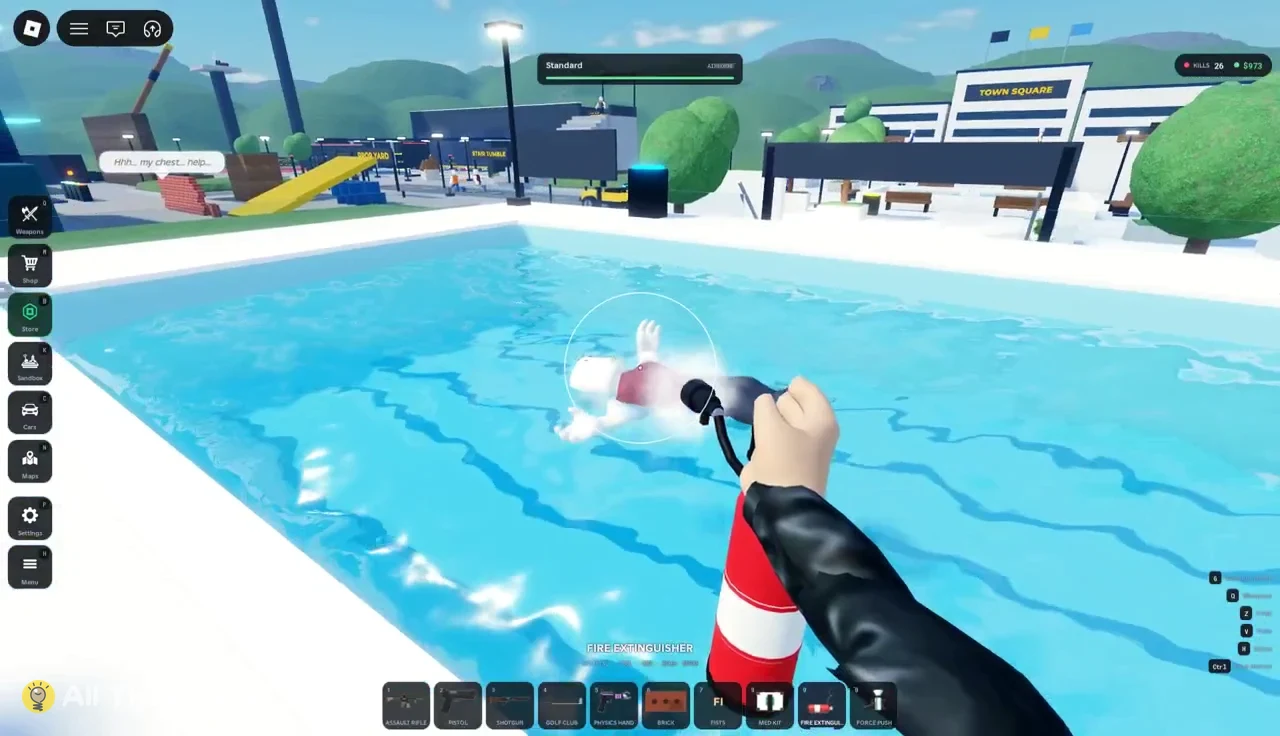
Push or carry a body into the Swimming Pool and it will either sink or float, depending on its condition. Use Force Push or the Physics Hand to get a bystander over the edge, then watch the body drift. You can still hit floating bodies with the Fire Extinguisher.
Stair Tumble
The Stair Tumble is a tall staircase built for falls. Climb to the top, aim Force Push at a dummy or bystander, and send them rolling down. Repeated pushes keep a body tumbling step by step, and the top of the stairs also gives you a long view down the road for Shotgun shots.
Gravity Chamber
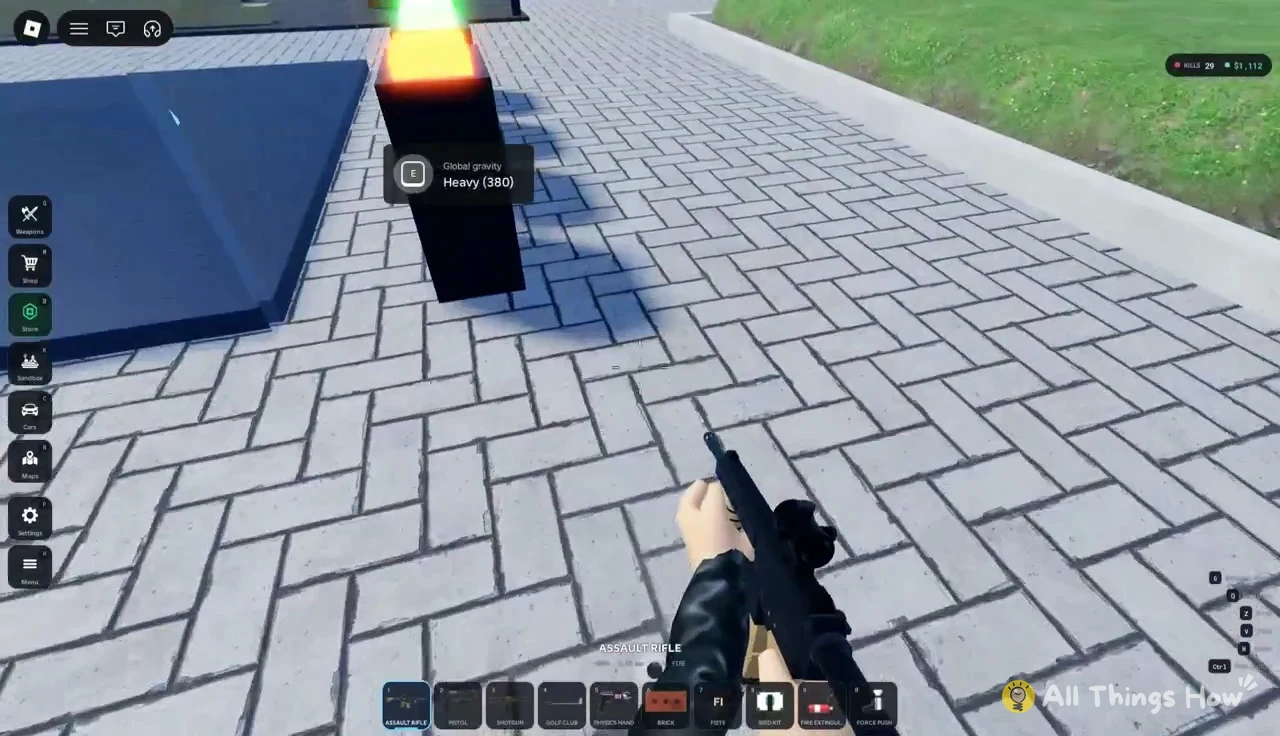
The Gravity Chamber is a glass-walled room with glowing pedestals that switch the global gravity. Use each pedestal with E, then use the DROP DUMMY control to drop a dummy from 50 studs and see how the fall changes.
| Pedestal | Gravity value |
|---|---|
| Heavy | 380 |
| Earth | 196 |
| Moon | 32 |
Earth (196) is the normal setting. Heavy makes drops hit hard and fast, while Moon turns them into slow, floaty arcs. The prompt reads “Global gravity,” so switch back to Earth when you are done if you want the rest of the map to behave normally.
Explosion Yard
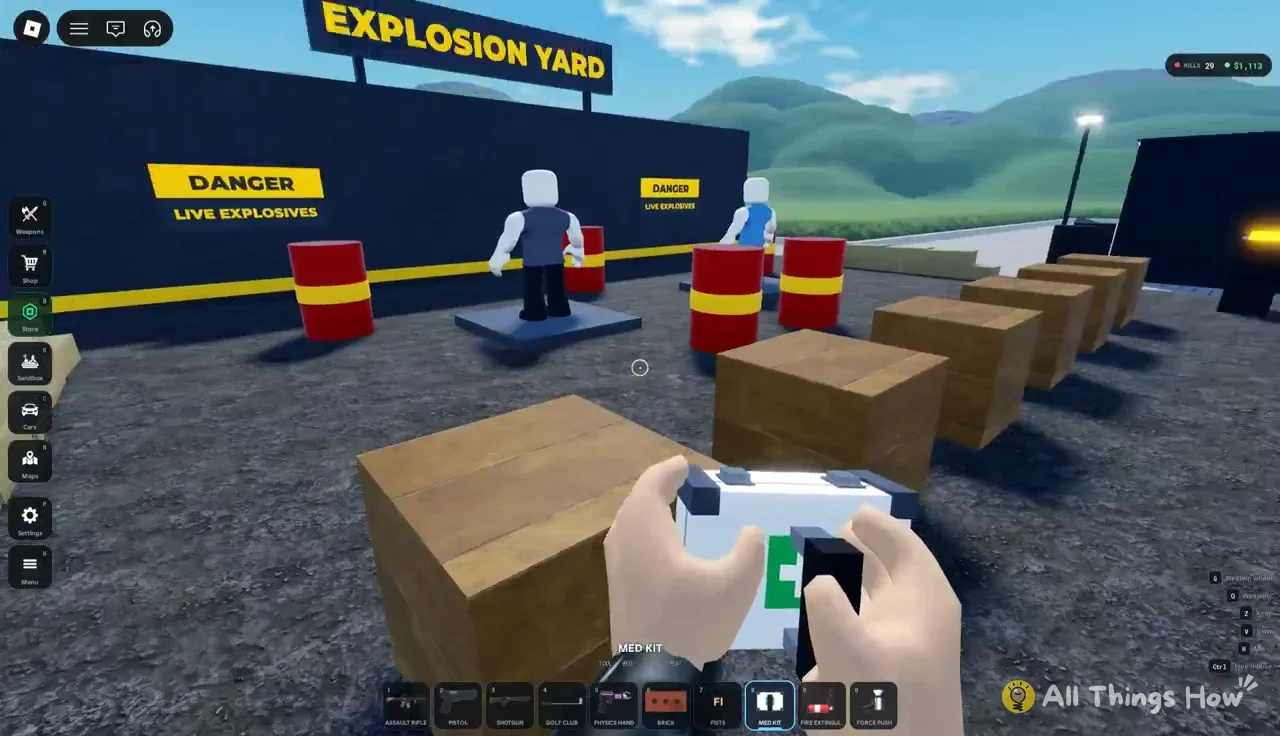
The Explosion Yard, marked “DANGER LIVE EXPLOSIVES,” is scattered with red barrels and test dummies. Shoot a barrel to set it off. Nearby bodies get labels such as “BLAST – blast concussion,” “BLAST – shockwave,” and “traumatic amputation” on wrists and ankles. Even dummies that have lost limbs can be treated with the Med Kit afterward.
Vehicle Impact Zone and Car Park
The Vehicle Impact Zone runs a ram cart down a track into a line of dummies standing against a wall. Press E on the LAUNCH CART console to fire the cart, then use RESET DUMMIES to stand everyone back up for another run. Crushed dummies can be scanned and healed like any other target.
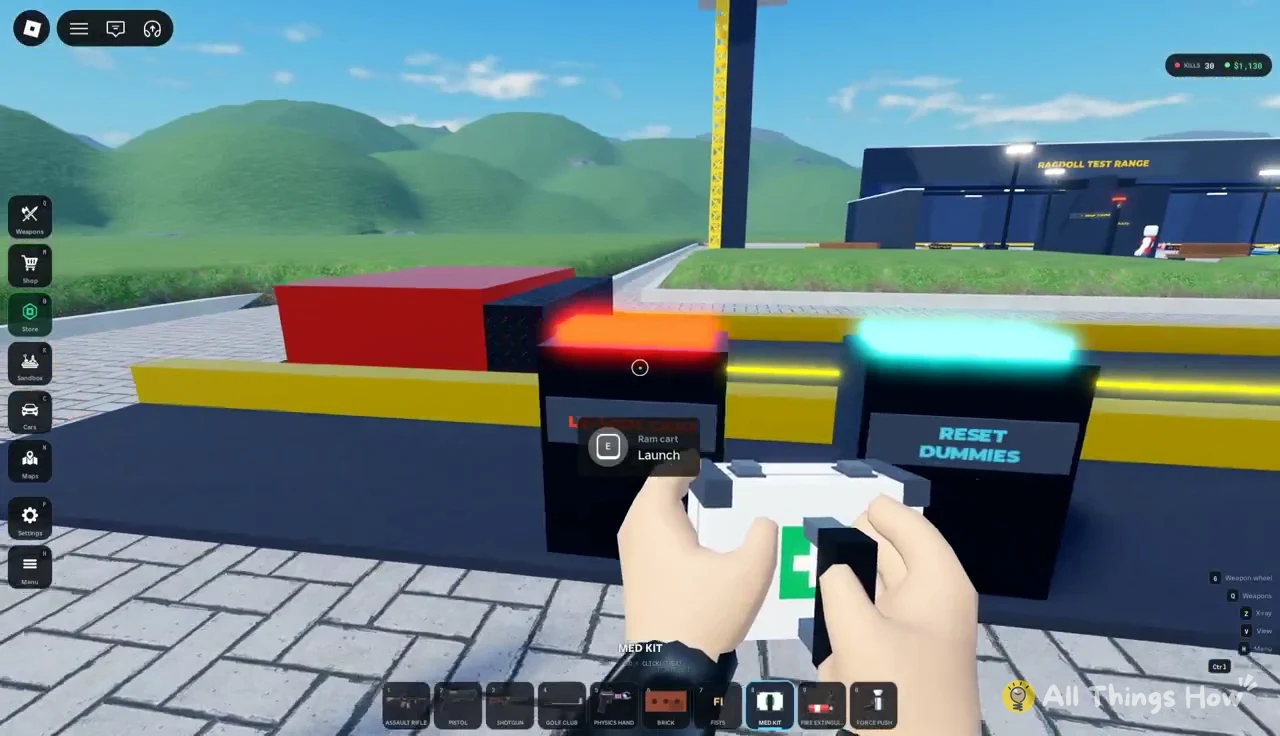
To drive the car yourself, go to the Car Park and use the “Roadster – Spawn / reset” terminal. That spawns a Roadster, and you can press it again to reset the car if it gets stuck or wrecked. Once you have the Med Kit, Scan, and Force Push down, every zone on the map turns into a repeatable test you can run as many times as you like.