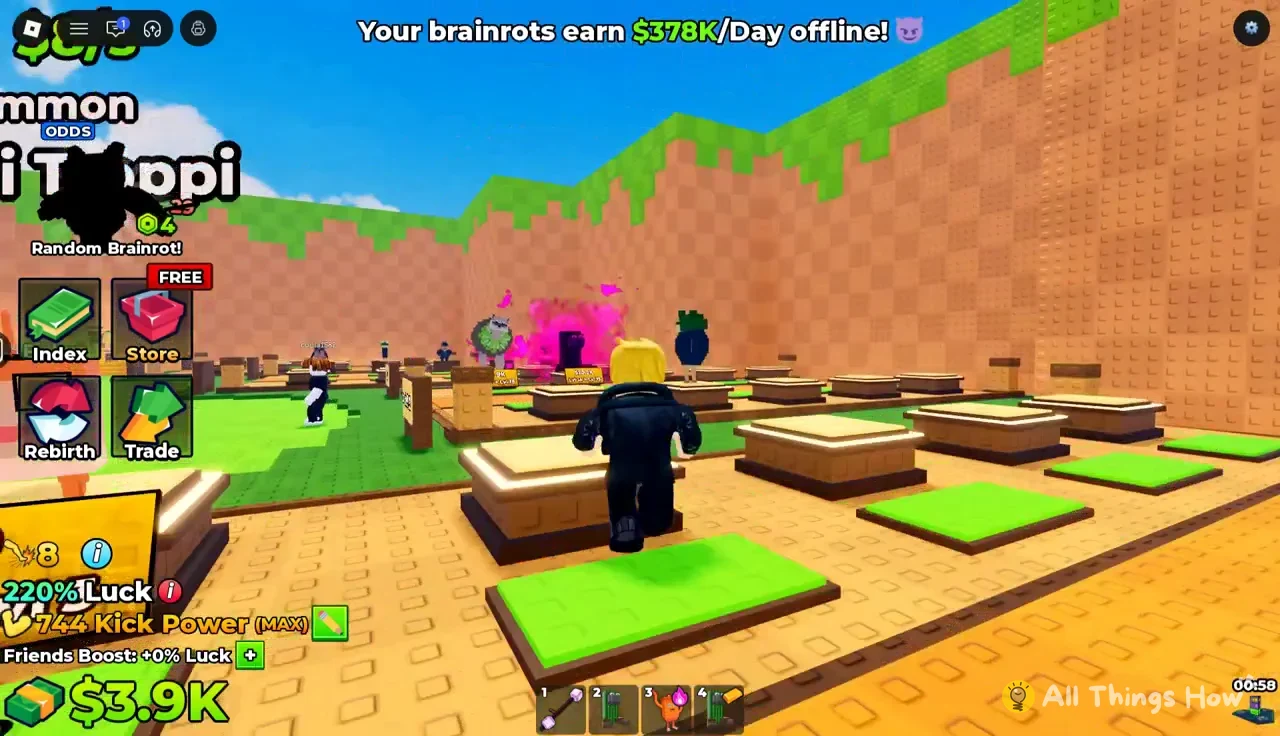
In Kick a Lucky Block, upgrades come from a handful of stalls in town. Run Speed lets you outrun hatched brainrots on the way back to the safe zone, weights add power, and a base slot expansion makes room for more income. All of them are paid for with cash that your placed brainrots generate. The early prices are low enough to buy a few in your first session, and the costs climb quickly after that.
Quick answer: Buy Run Speed at the Run Upgrades stall (+4 Speed costs $380), then buy the Bone Barbell at the Weights Shop for $7.5K once the “NEW WEIGHT!” prompt appears.
Kick a Lucky Block upgrade costs
The game has three cash upgrades that change how much you can earn. You start with a Run Speed of 18 and the Wooden Stick equipped. Everything below is bought with in-game cash. No upgrade on this list needs Robux.
| Upgrade | Where | Cost | Result |
|---|---|---|---|
| +4 Speed | Run Upgrades | $380 | Run Speed 18 → 22 |
| +6 Speed | Run Upgrades | $4K | Run Speed 22 → 28 |
| Bone Barbell | Weights Shop | $7.5K | Power: 5 |
| Stone Block | Weights Shop | $75K | Power: 10 |
| Copper Plate | Weights Shop | $500K | Power: 50 |
| Base slot expansion | Sign at your base | $5M | More pedestal space |
The Speed Upgrades window does not have a fixed menu. It offers a rotating set of boosts from +1 Speed up to +9 Speed, and the prices range from $50 into the thousands. Bigger boosts cost more, so check the window each time you visit instead of assuming a price.
Earning cash for upgrades: the kick loop
Every upgrade is paid for by brainrots sitting on your plot, so the loop that produces them matters more than any single purchase. Each kick gives you one brainrot. Each brainrot you place adds a fixed amount of cash per second.
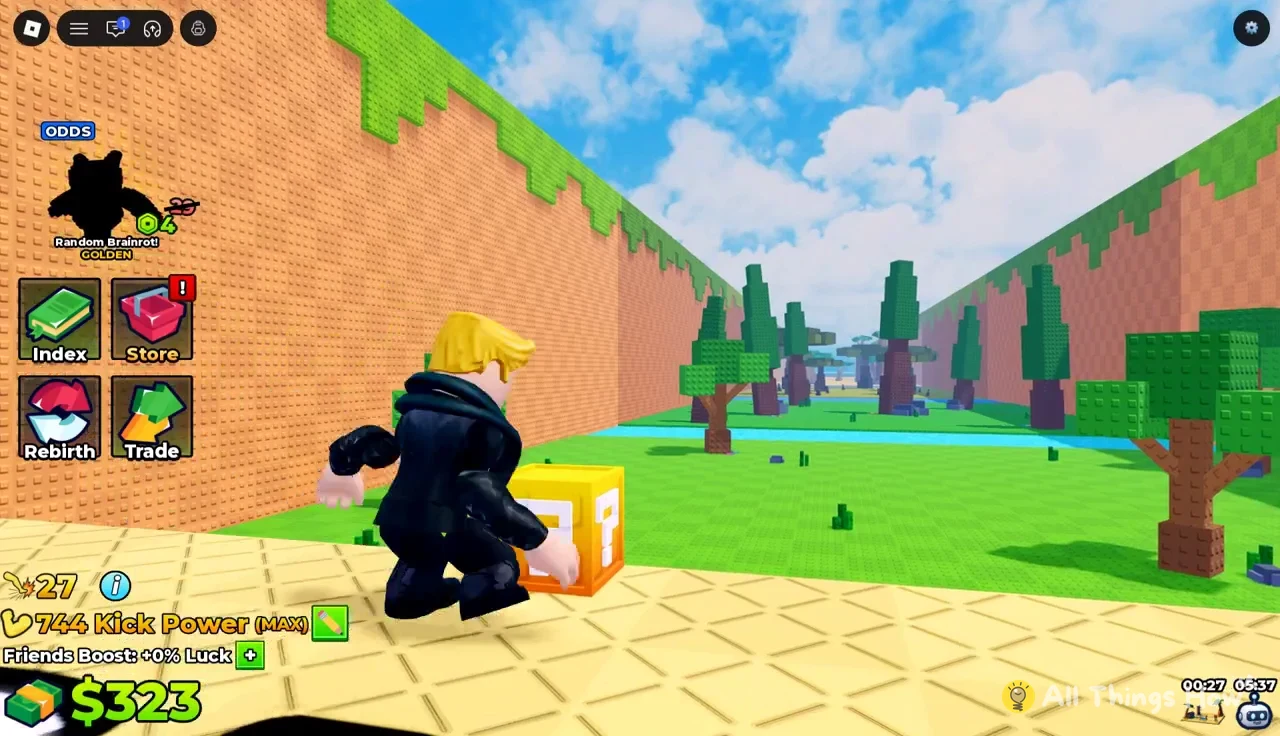
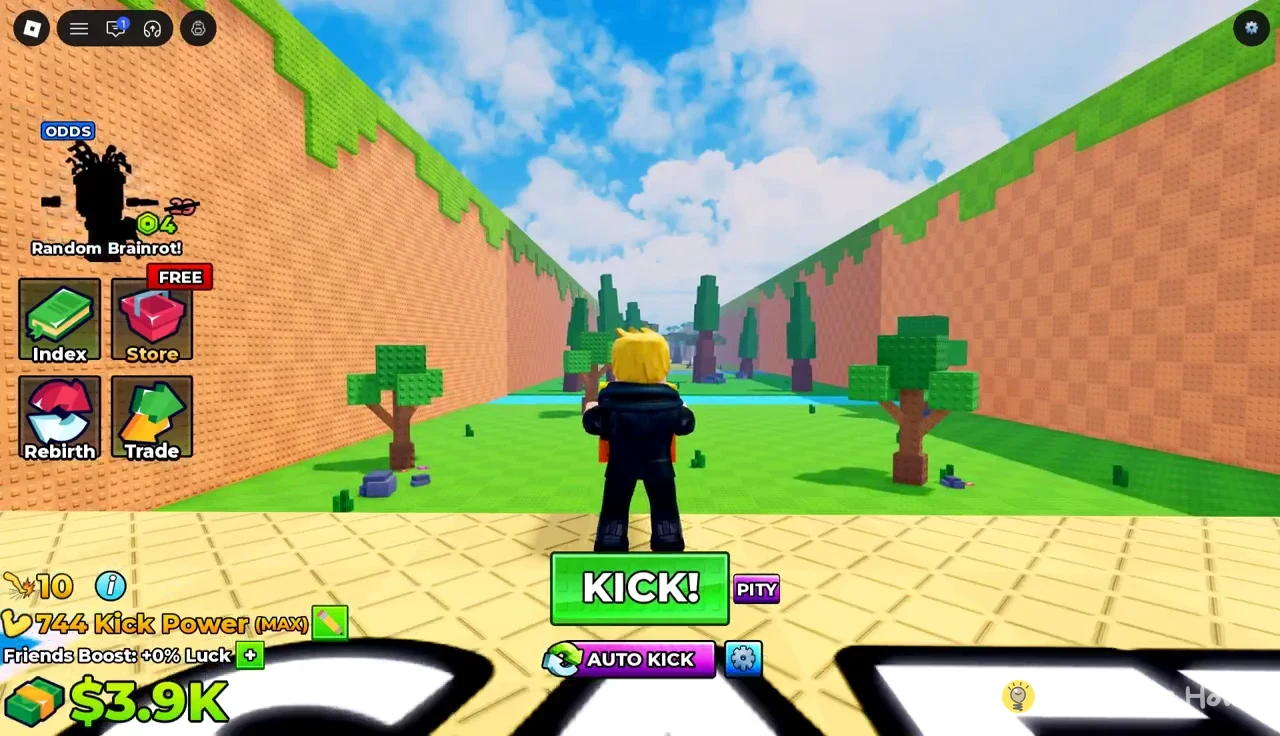
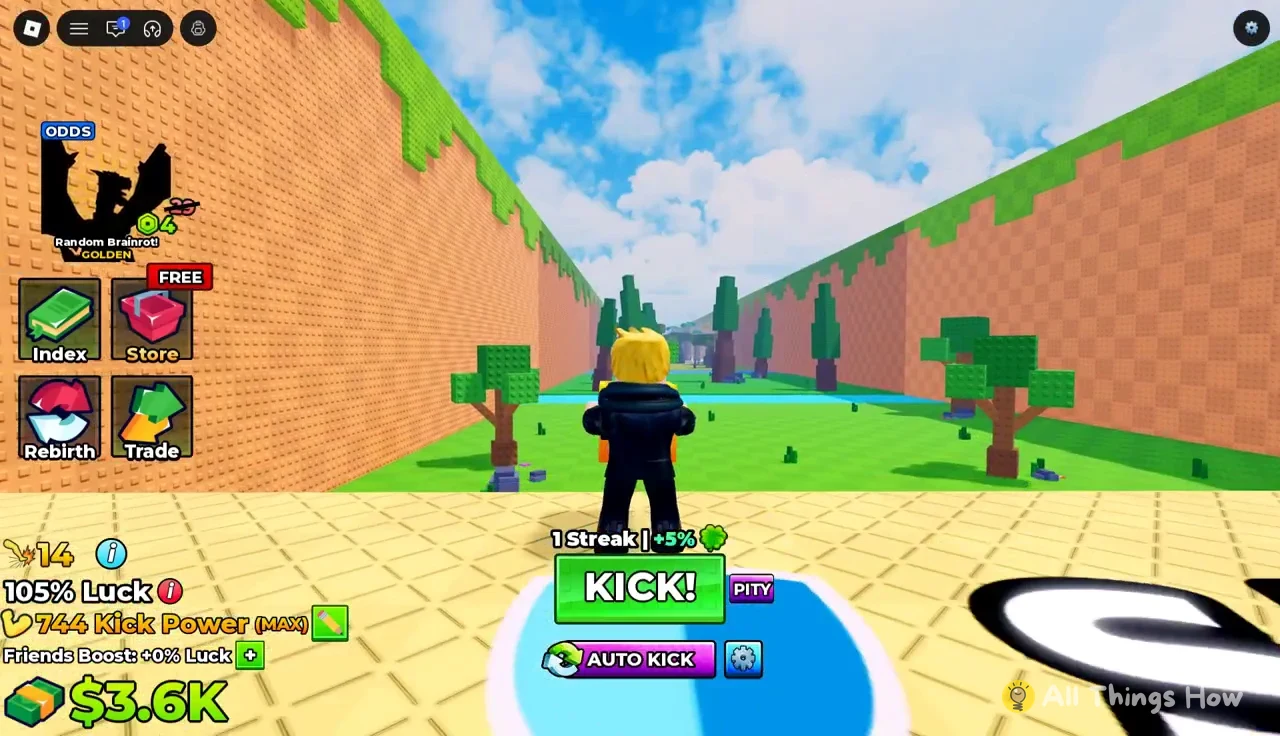
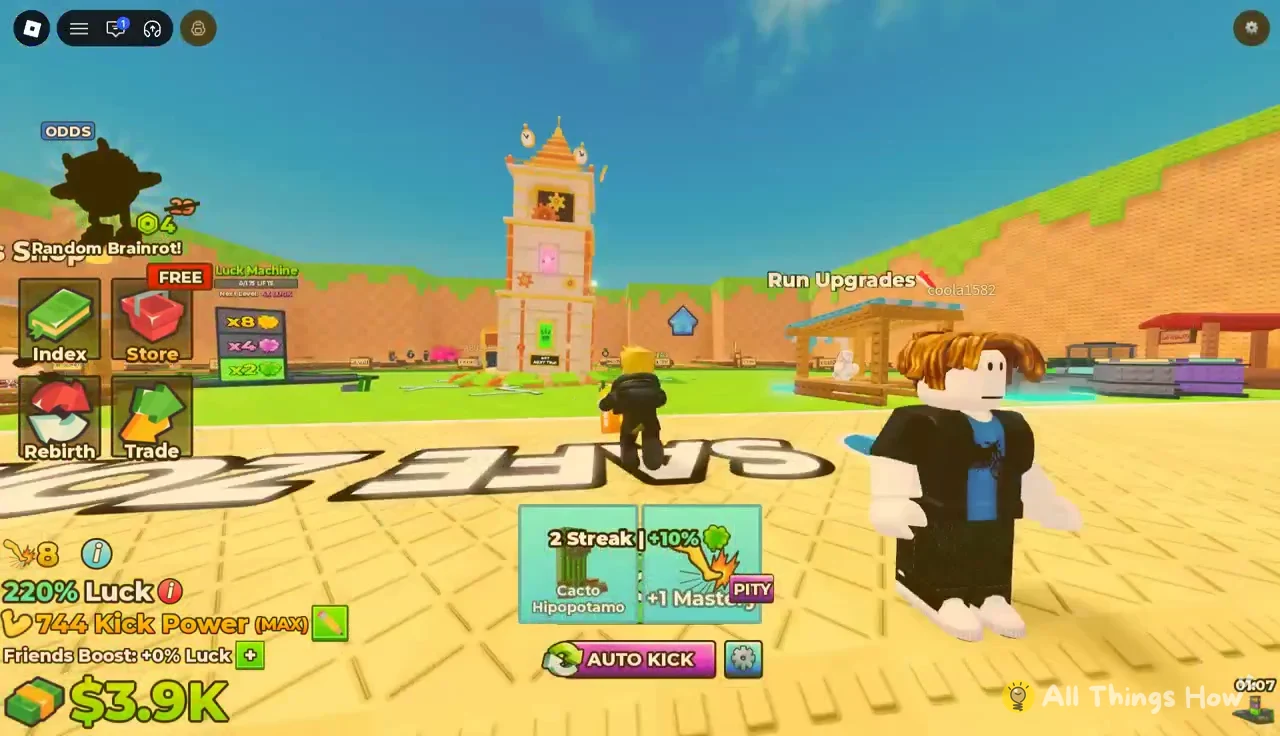
Good kicks in a row build a streak, and each streak adds a percentage bonus. One streak shows “+5%” and two show “+10%.” Miss the window and the game flashes “Streak lost,” which resets the bonus.
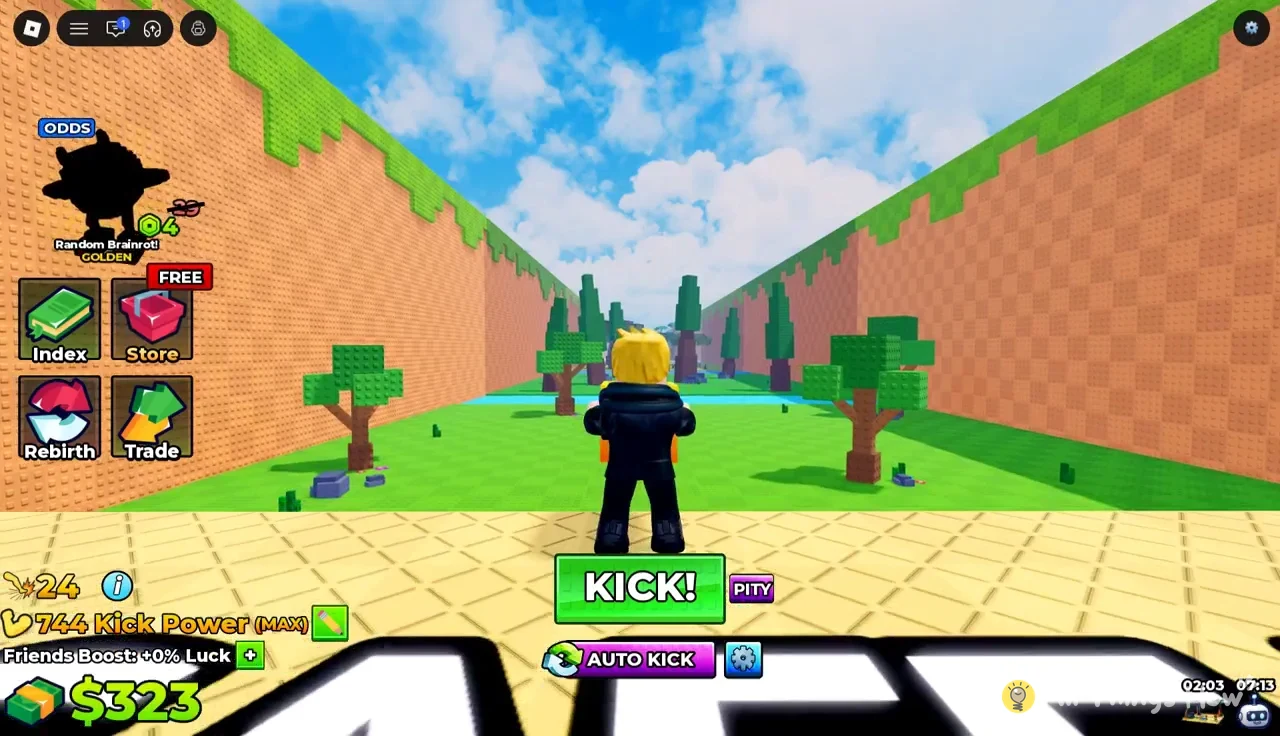
An AUTO KICK button also sits at the bottom of the screen. It handles the kick for you if you don’t want to time the meter yourself.
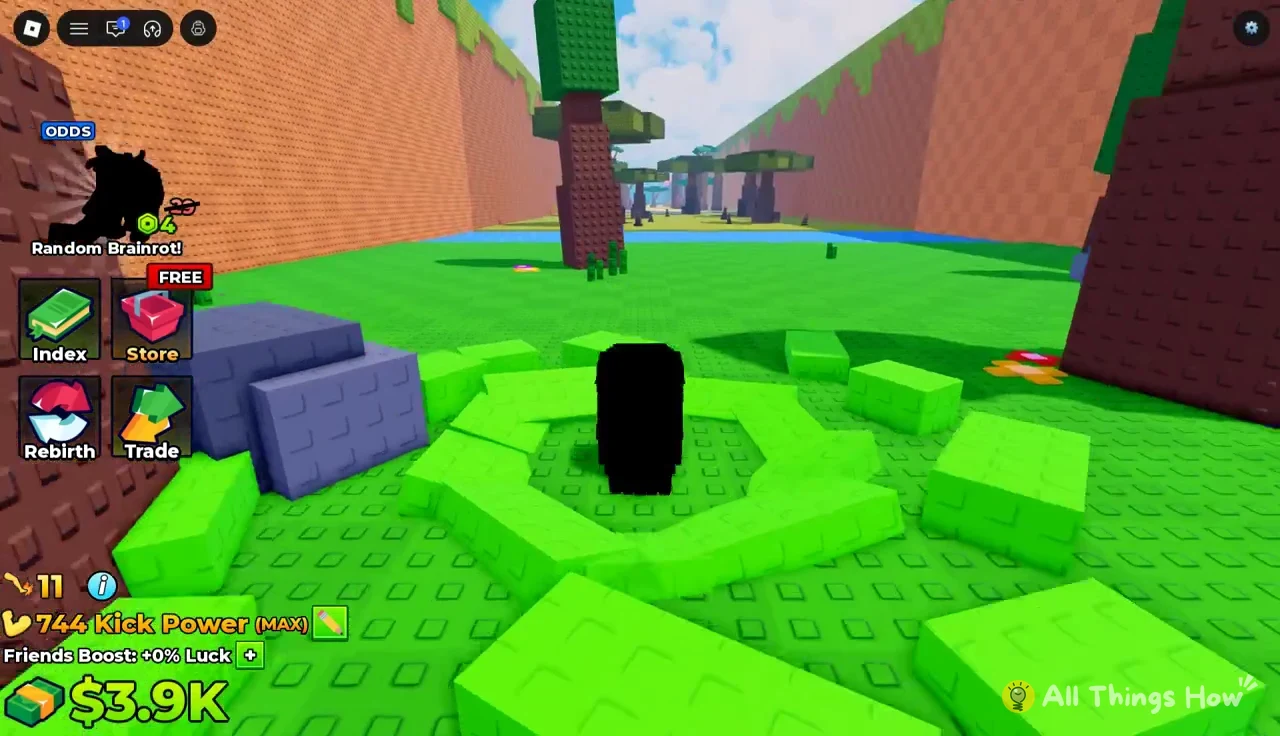
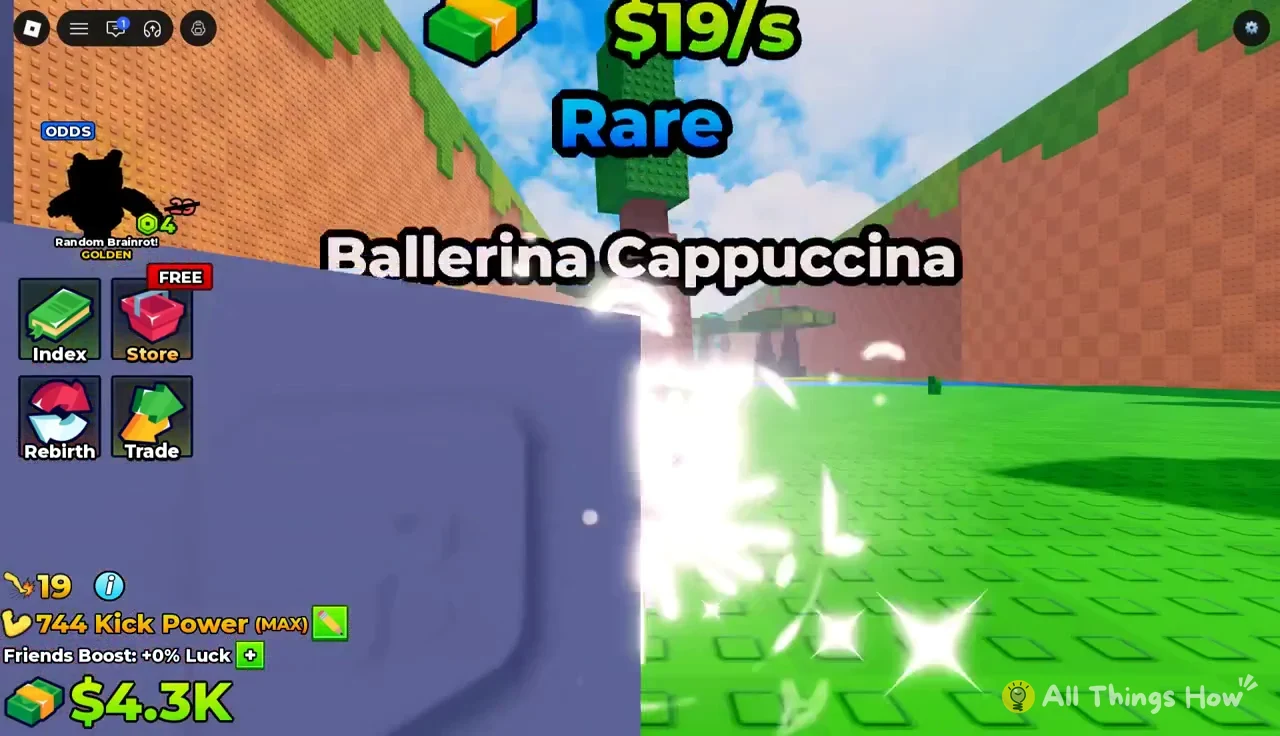
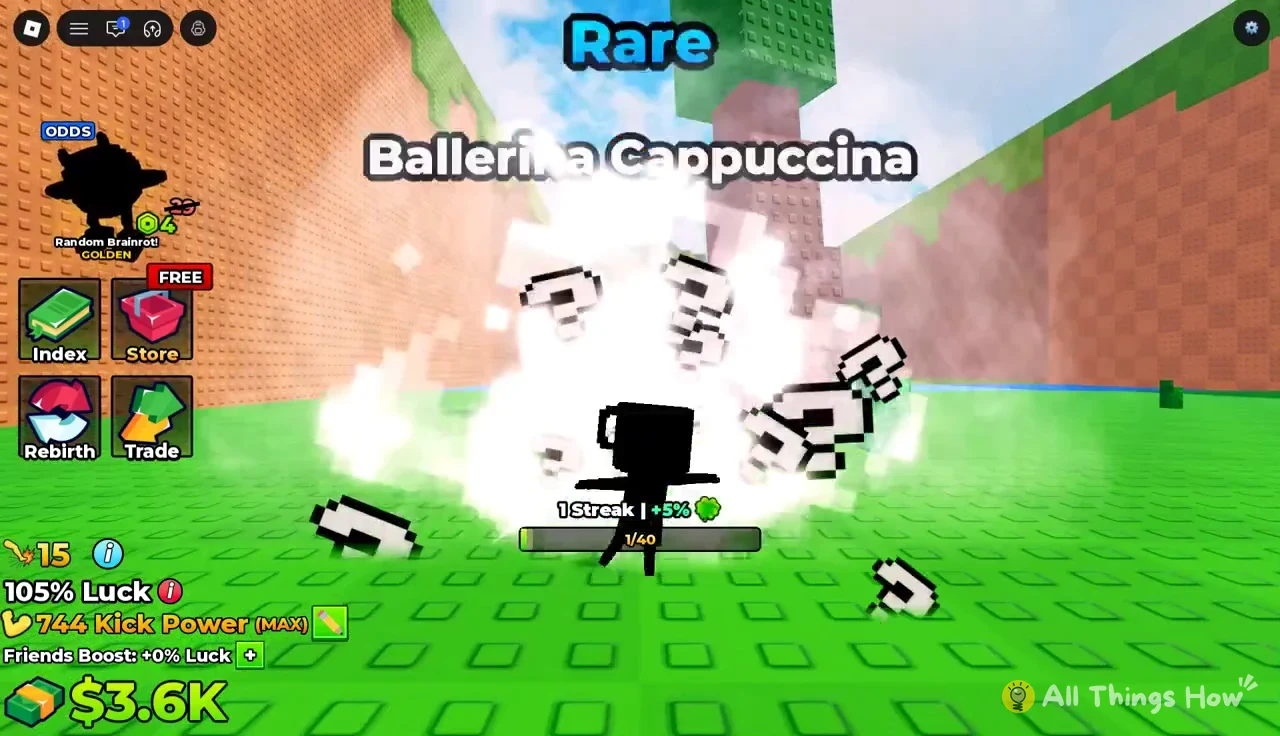
The hatch reveals the brainrot’s name, rarity, and income per second. The rarity ladder runs Common, Rare, Epic, Legend, Mythic, Godly, Secret, Divine, Hacked, OG, and Celestial. A PITY counter also tracks your rolls toward a guaranteed result.
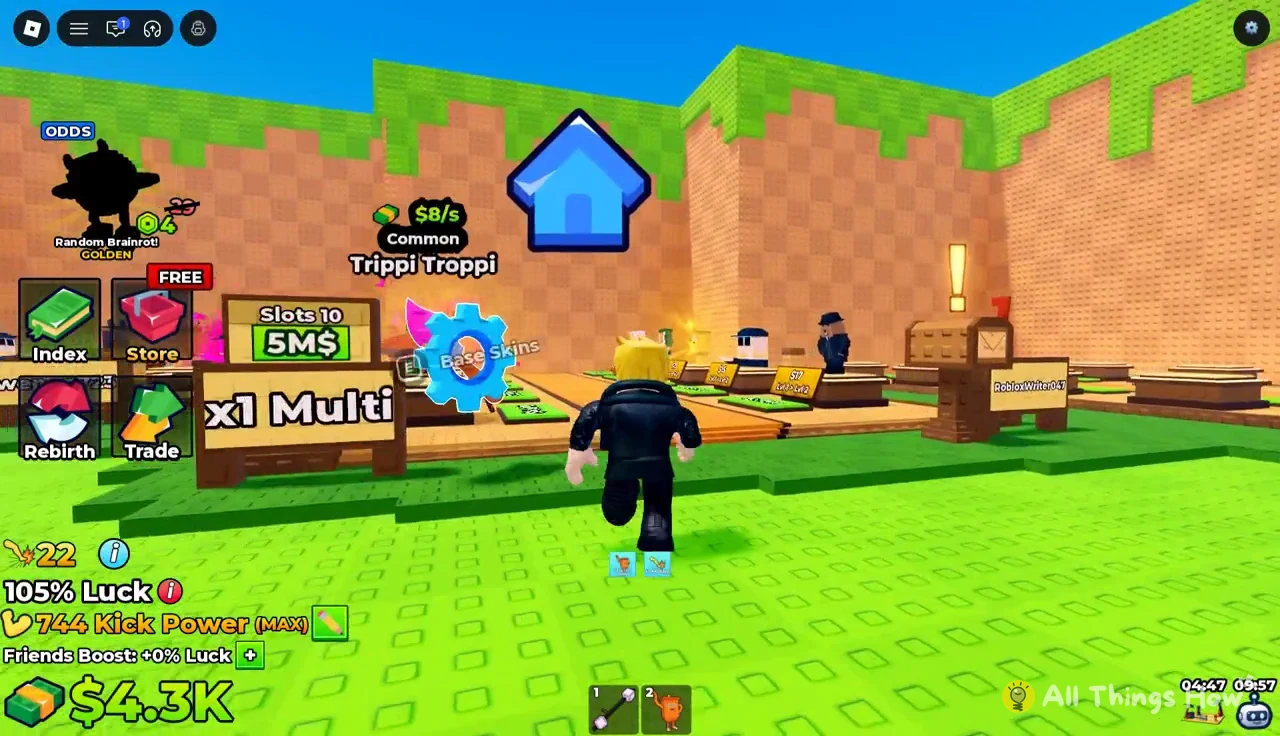
Early Rare brainrots each earn a modest amount, but a full row of them adds up. Golden versions earn more than the standard ones. Cacto Hipopotamo, for example, appears at both $26/s and $39/s.
| Brainrot | Rarity | Income |
|---|---|---|
| Brr Brr Patapim | Rare | $22/s |
| Ballerina Cappuccina | Rare | $19/s |
| Ta Ta Ta Ta Sahur | Rare | $18/s |
| Bobrito Bandito | Rare | $17/s |
| Gangster Footera | Rare | $15/s |
| Trippi Troppi | — | $8/s |
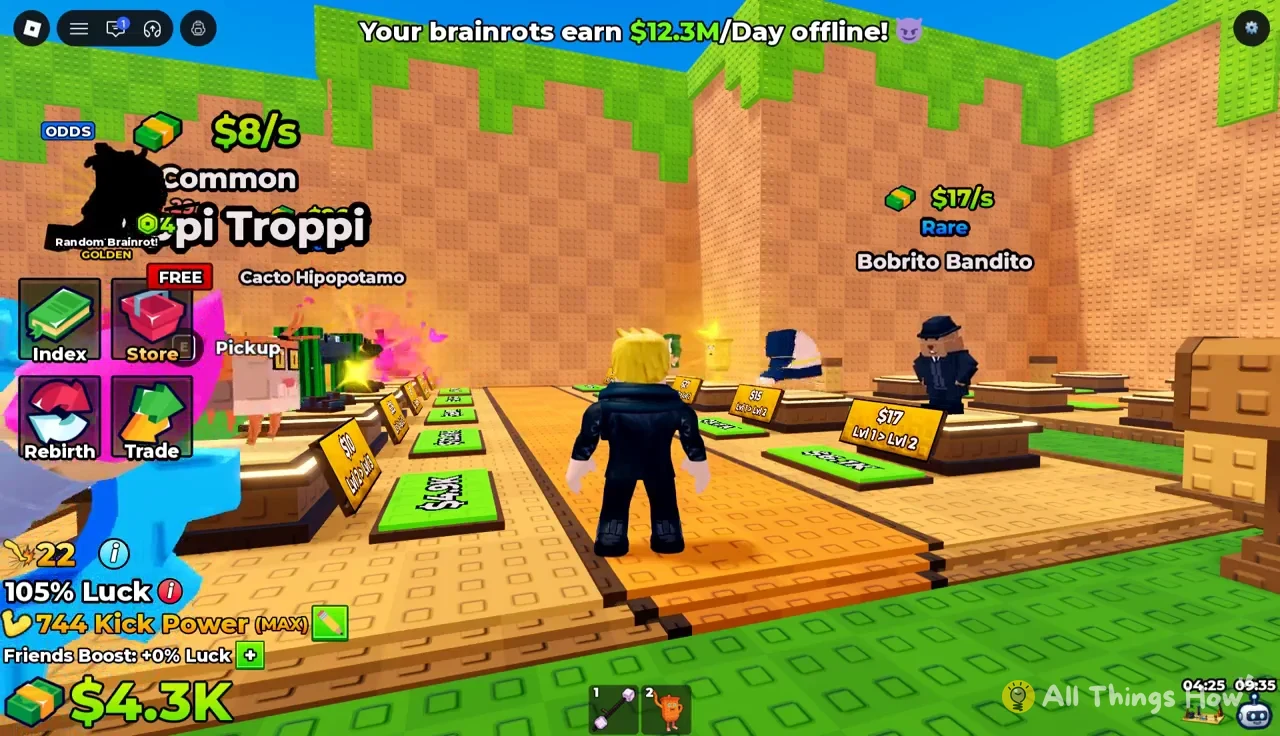
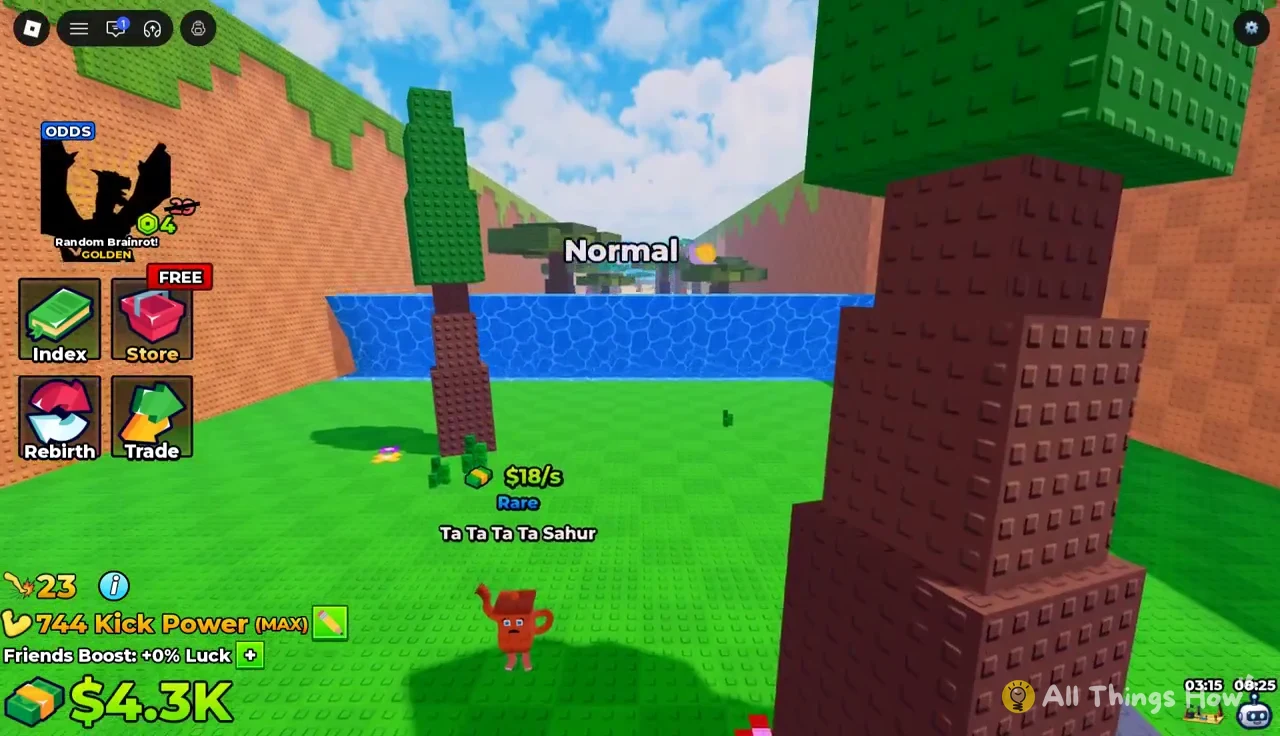
Repeat the loop until you have enough cash for the next purchase. With a plot full of Rares, the cash for the first Speed boost comes in within a few kicks.
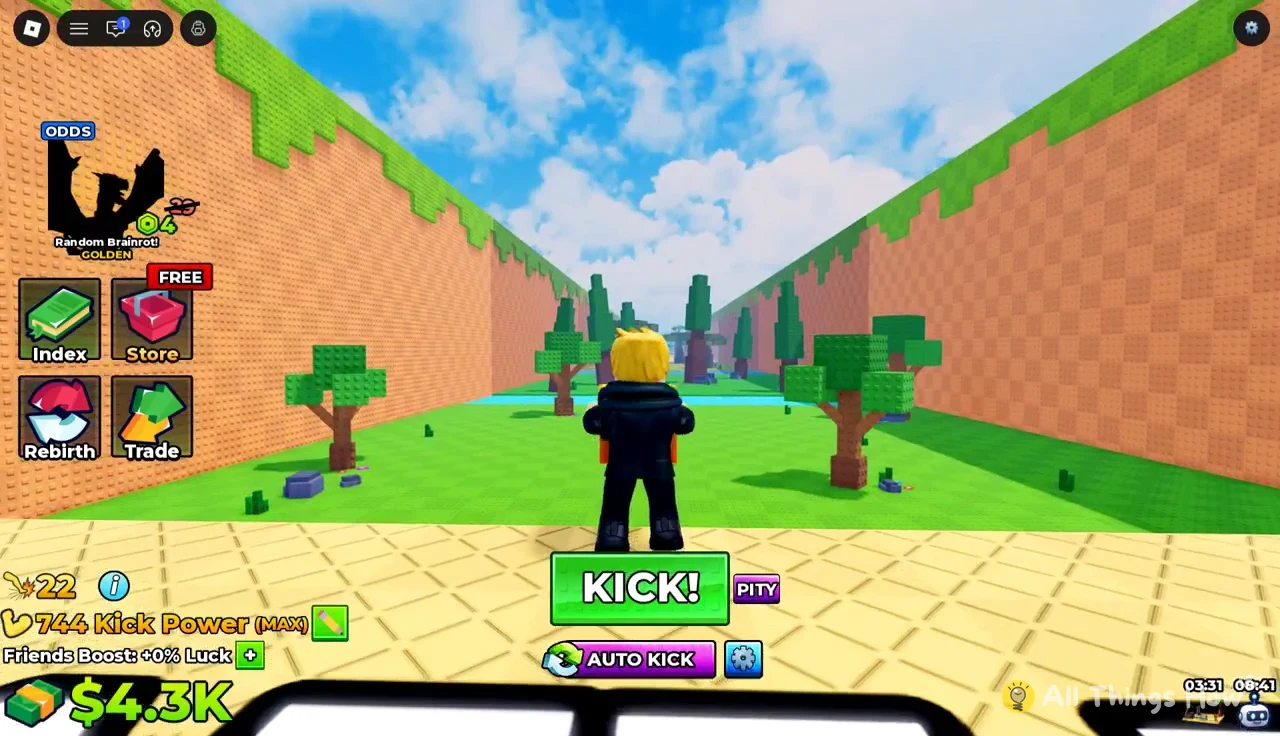
How to buy Run Speed at the Run Upgrades stall
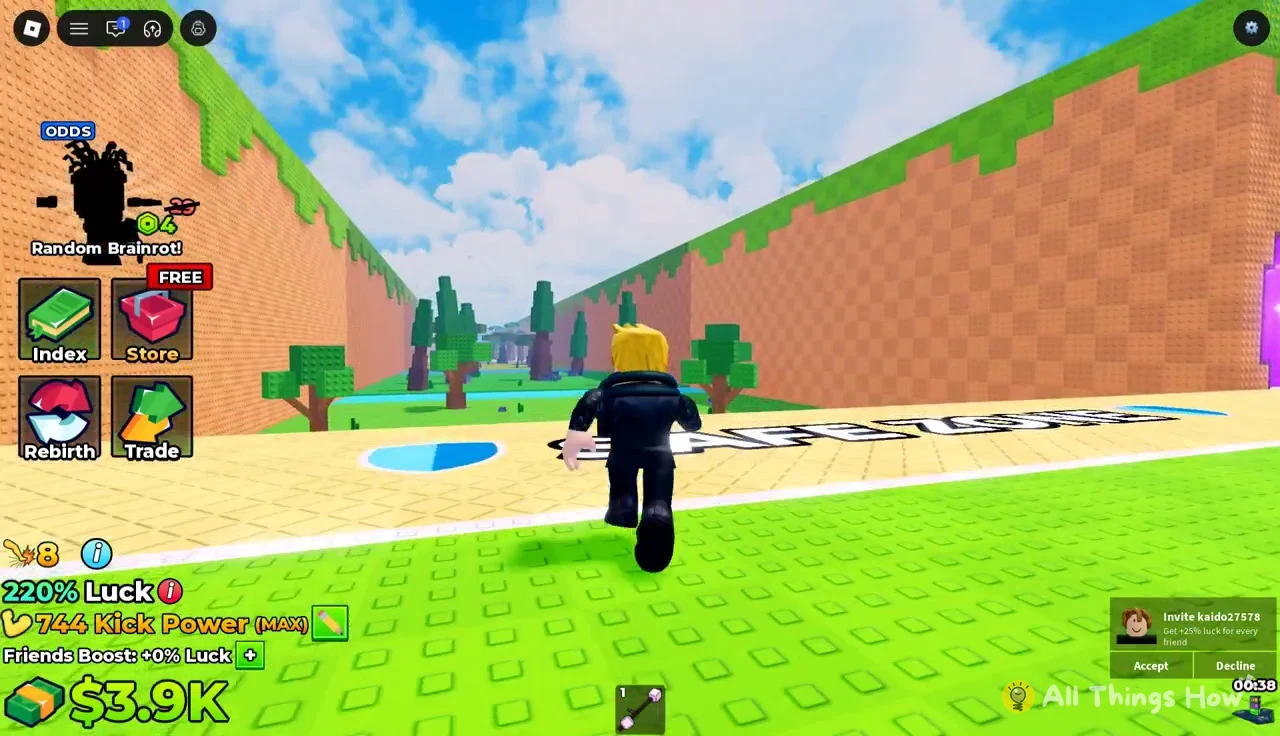
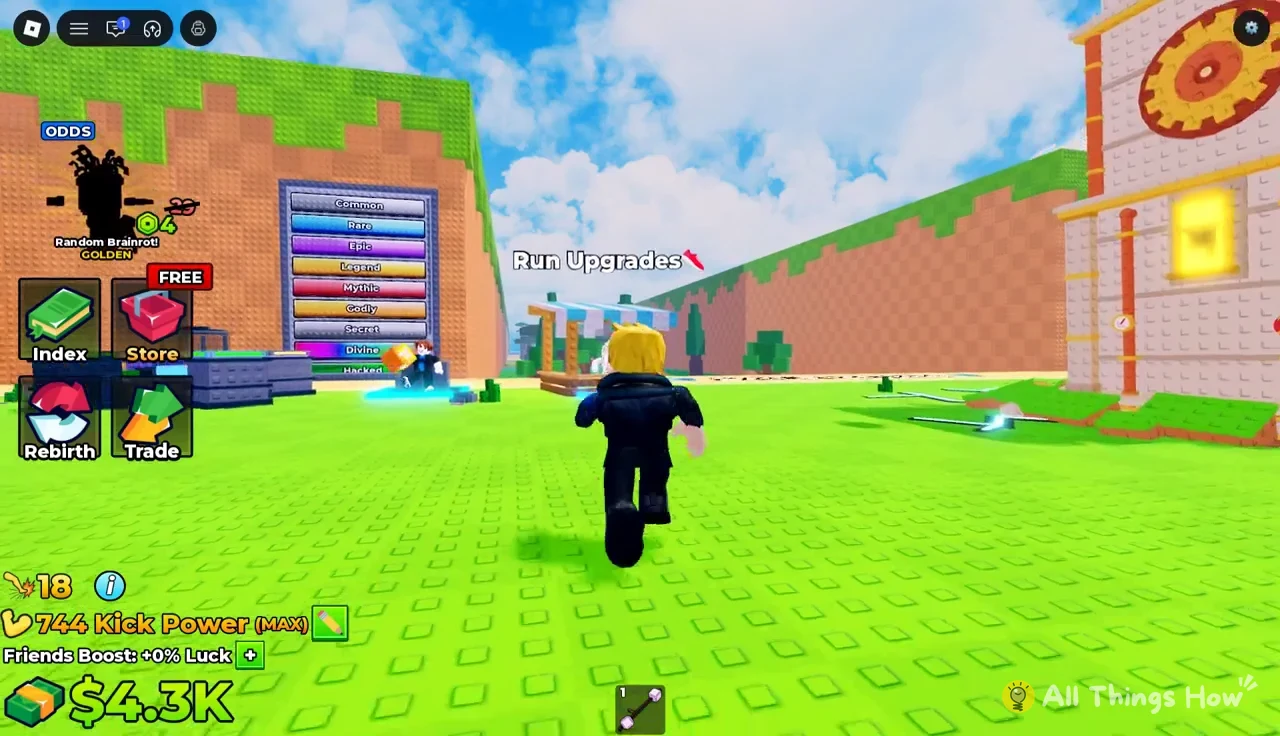
Run Speed controls how fast you get back to the safe zone with a brainrot chasing you. It’s the cheapest upgrade in the game, so it’s the right first purchase.
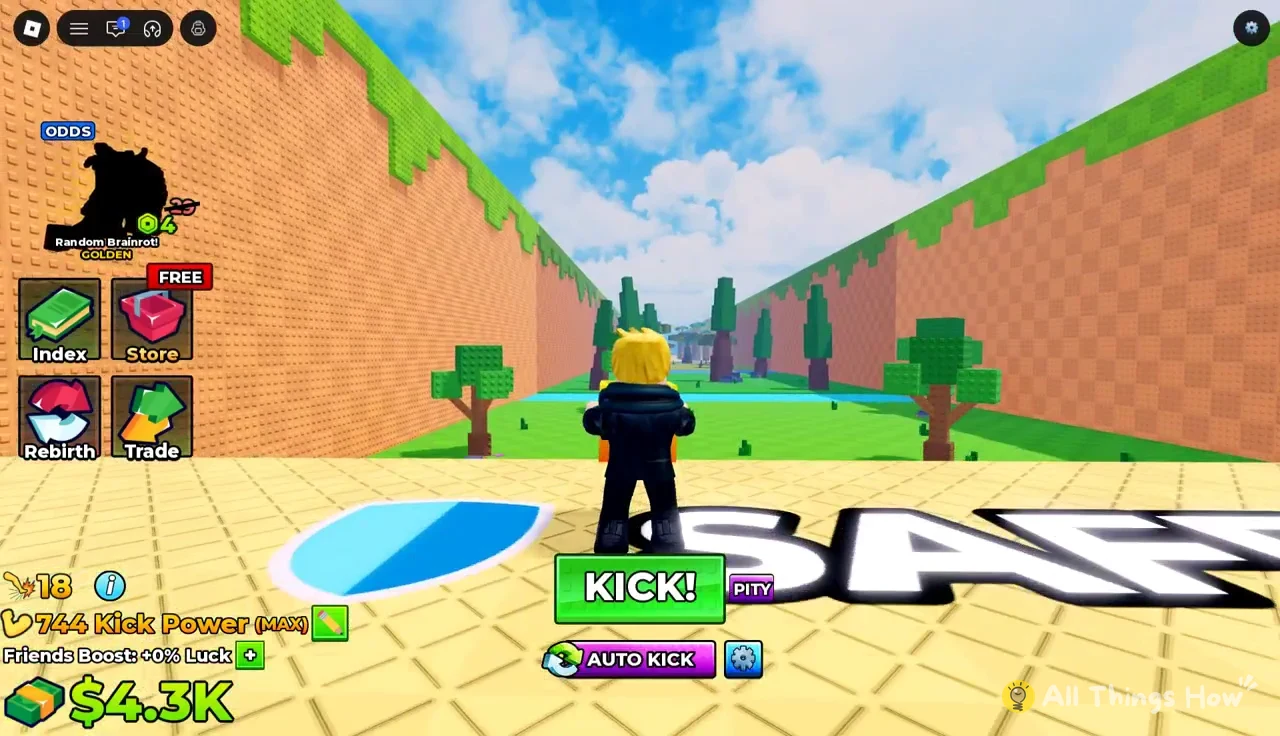
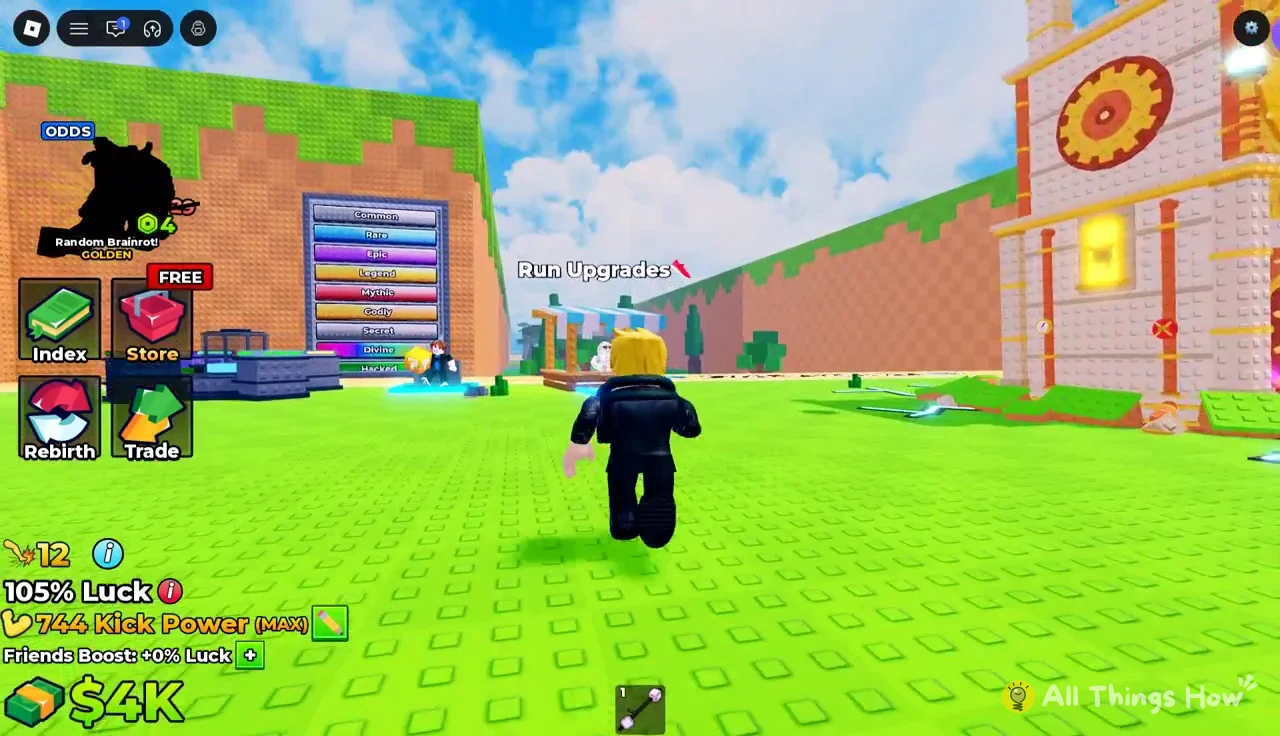
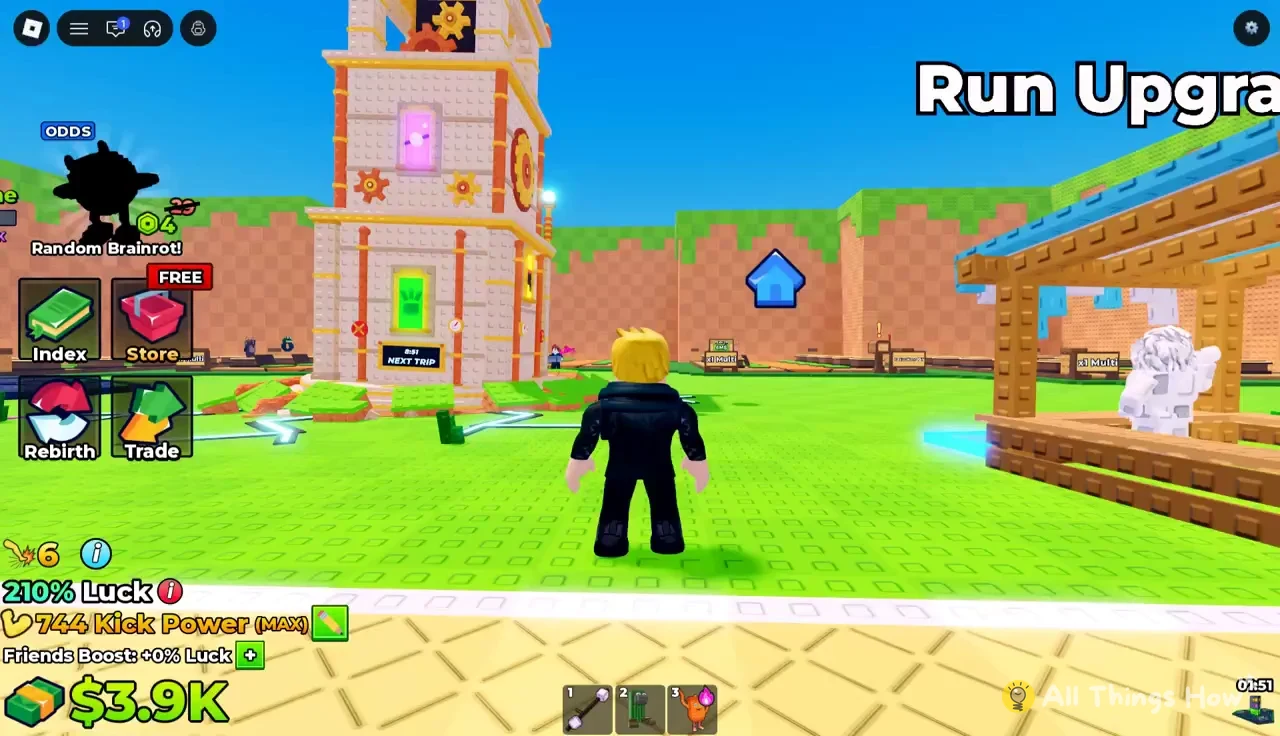
Come back between kicking sessions, since new offers rotate into the window. The second purchase above came after several more brainrots were placed, which shows how quickly the price of each boost goes up.
How to buy weights at the Weights Shop
Weights add power, which pushes your kicks farther down the track. You start with the Wooden Stick already equipped. Each later weight lists its mass, its power, and its price on its shop card.
| Weight | Mass | Power | Cost |
|---|---|---|---|
| Wooden Stick | 5 lbs | 2 | Equipped |
| Bone Barbell | 10 lbs | 5 | $7.5K |
| Stone Block | 45 lbs | 10 | $75K |
| Copper Plate | 135 lbs | 50 | $500K |
Look at the jumps between them. The Bone Barbell more than doubles the Wooden Stick’s power for $7.5K. The Stone Block costs ten times as much but only doubles power again. The Copper Plate gives five times the Stone Block’s power for under seven times its price. If your income can get you to $500K without much trouble, saving past the Stone Block gets you more power per dollar.
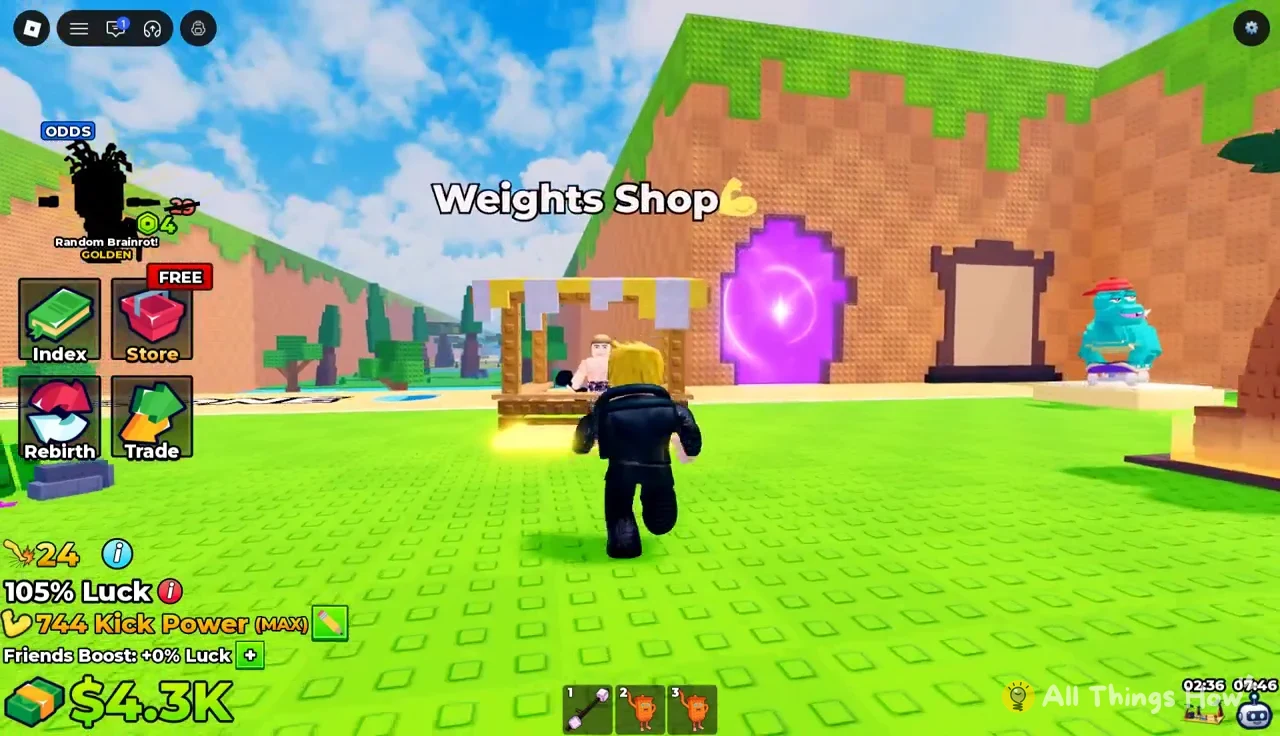
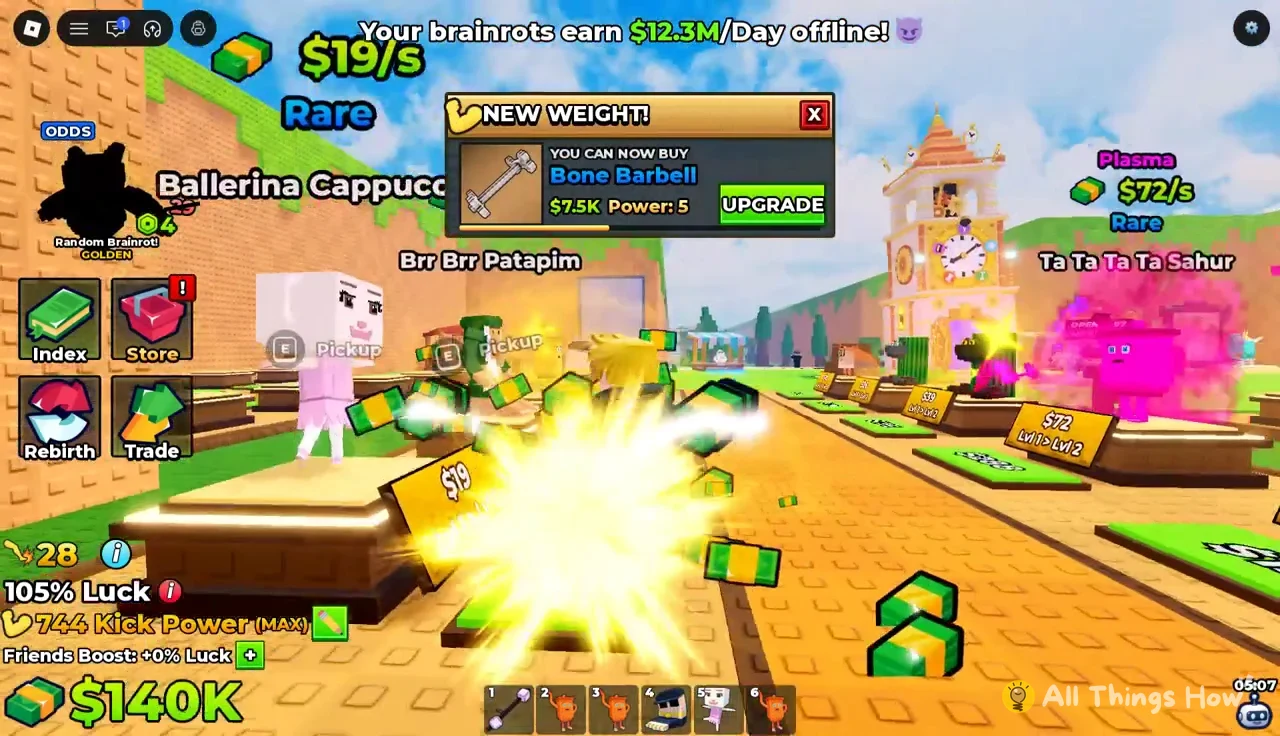
The banner is the quickest way to know a weight is affordable. Rather than checking the shop after every kick, keep running the loop until it appears.
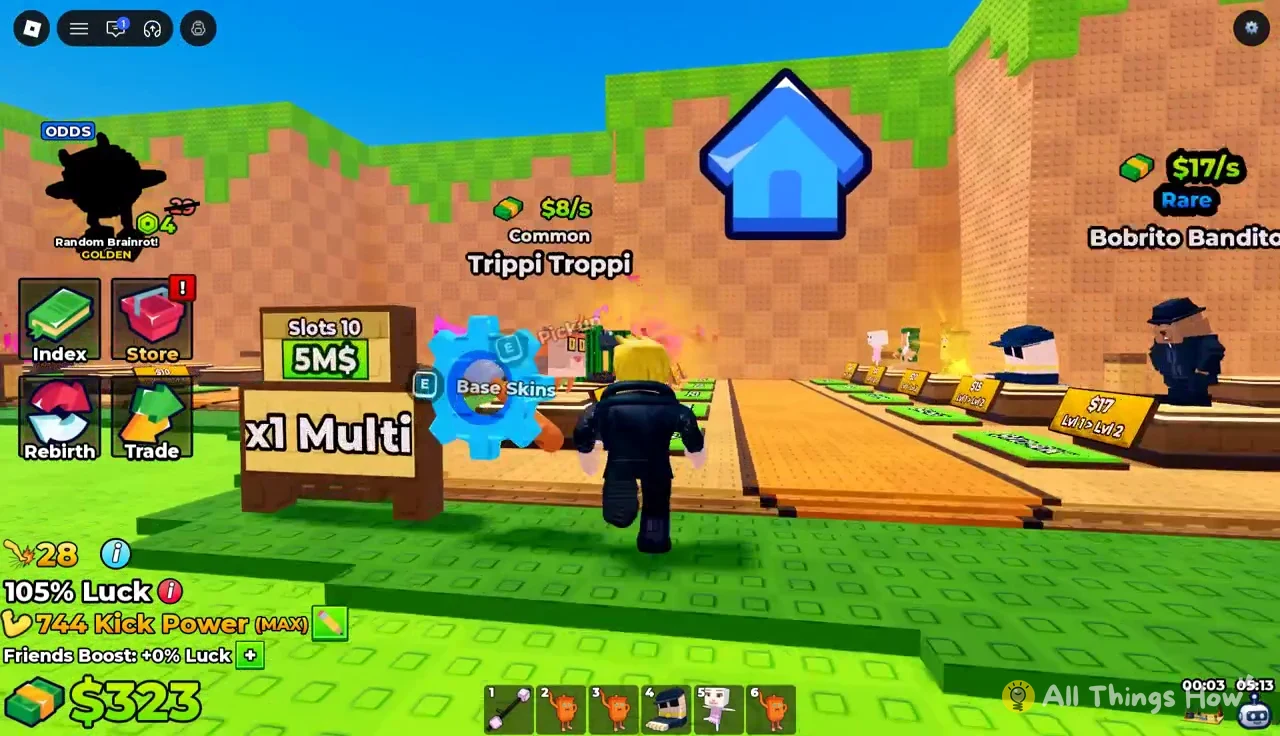
Base slot expansion ($5M)
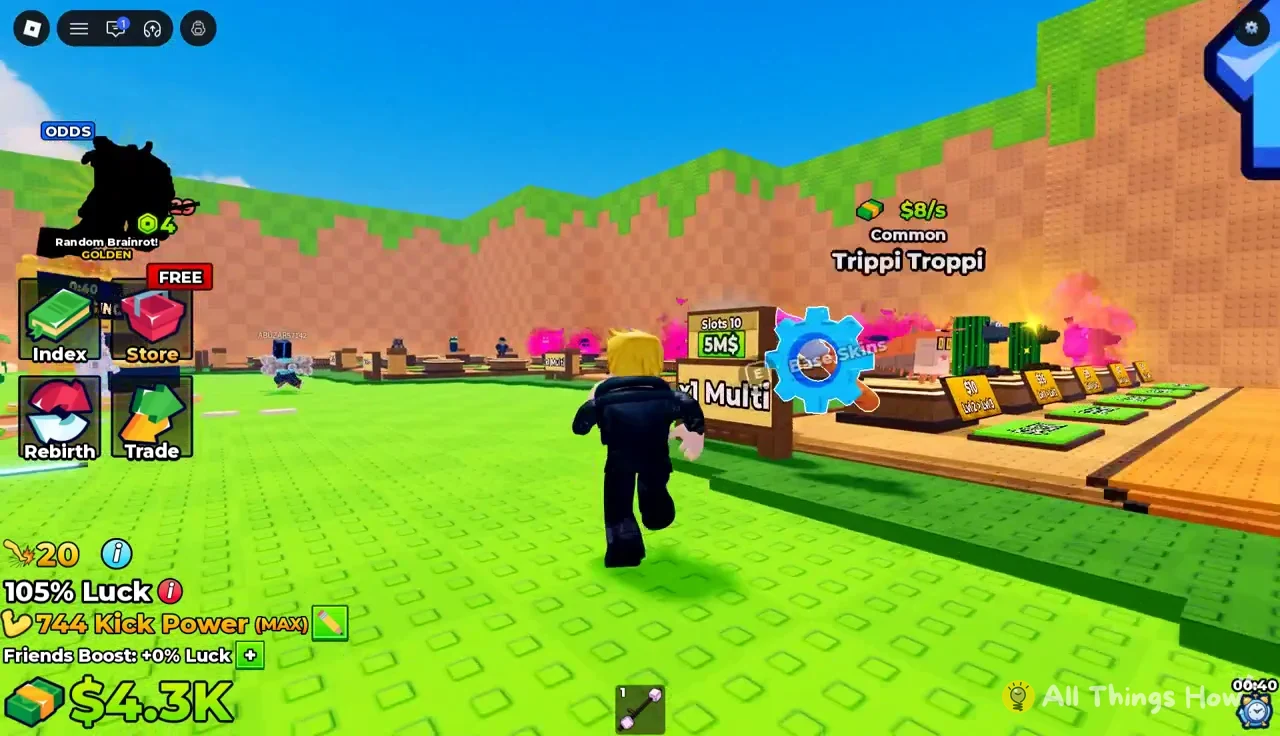
Your plot only has so many pedestals, and once they’re all full, extra brainrots add nothing to your income. A sign at your base sells a slot upgrade for $5M. If you try to buy it without enough money, the game shows “Insufficient cash” and nothing changes, so save up before you walk over. When the purchase goes through, you’ll have more pedestals and your offline earnings rate will keep climbing as you fill them.
Free brainrots that speed up upgrades
Two free brainrots add income without costing you a kick. Both are worth claiming before you start saving for anything.
- Capi Taco ($150/s) comes from the FREE GIFT podium. To claim it, complete “Like The Game!”, “Favorite The Game!”, and “Join The Community!”, then press Claim.
- Gangster Footera is listed as a “FREE BRAINROT!” in the in-game Store menu and can be claimed from there.
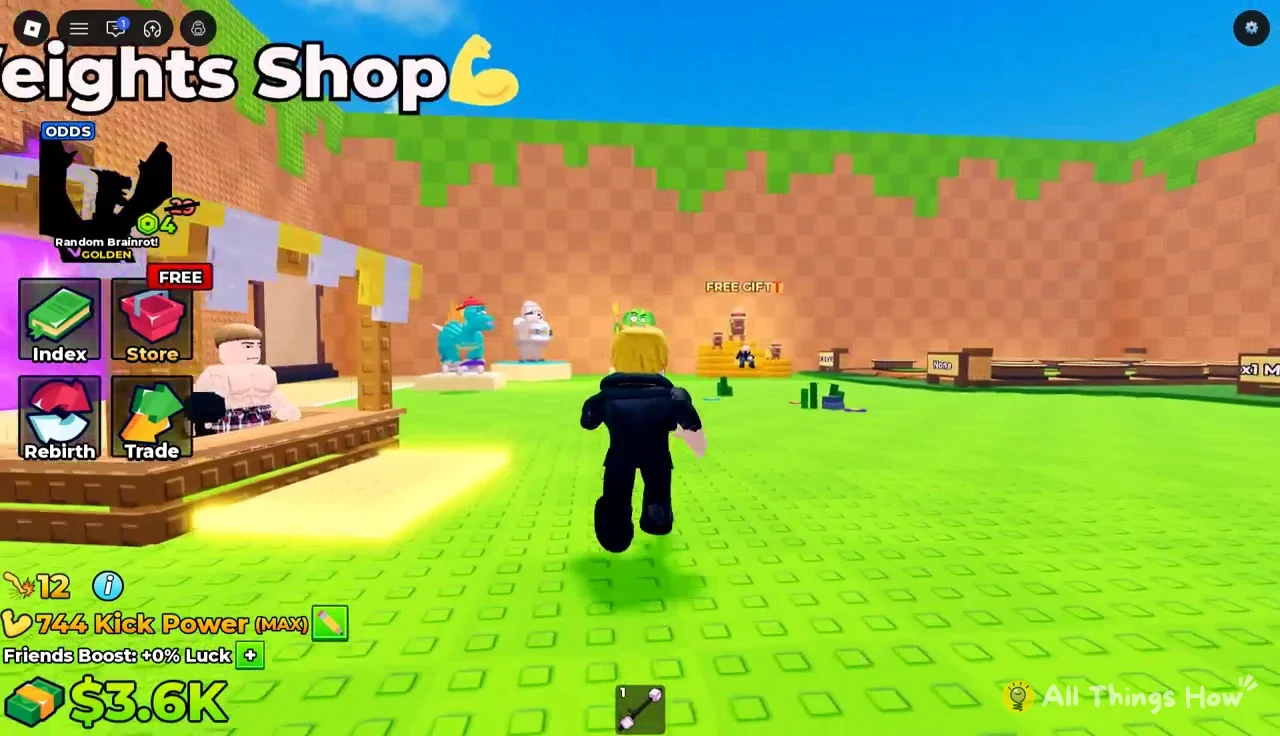
Capi Taco earns $150/s, which is more than several early Rares put together. Put it on a pedestal as soon as you claim it. Then open the Store to grab Gangster Footera before your next kick.
Other stalls near the upgrade shops
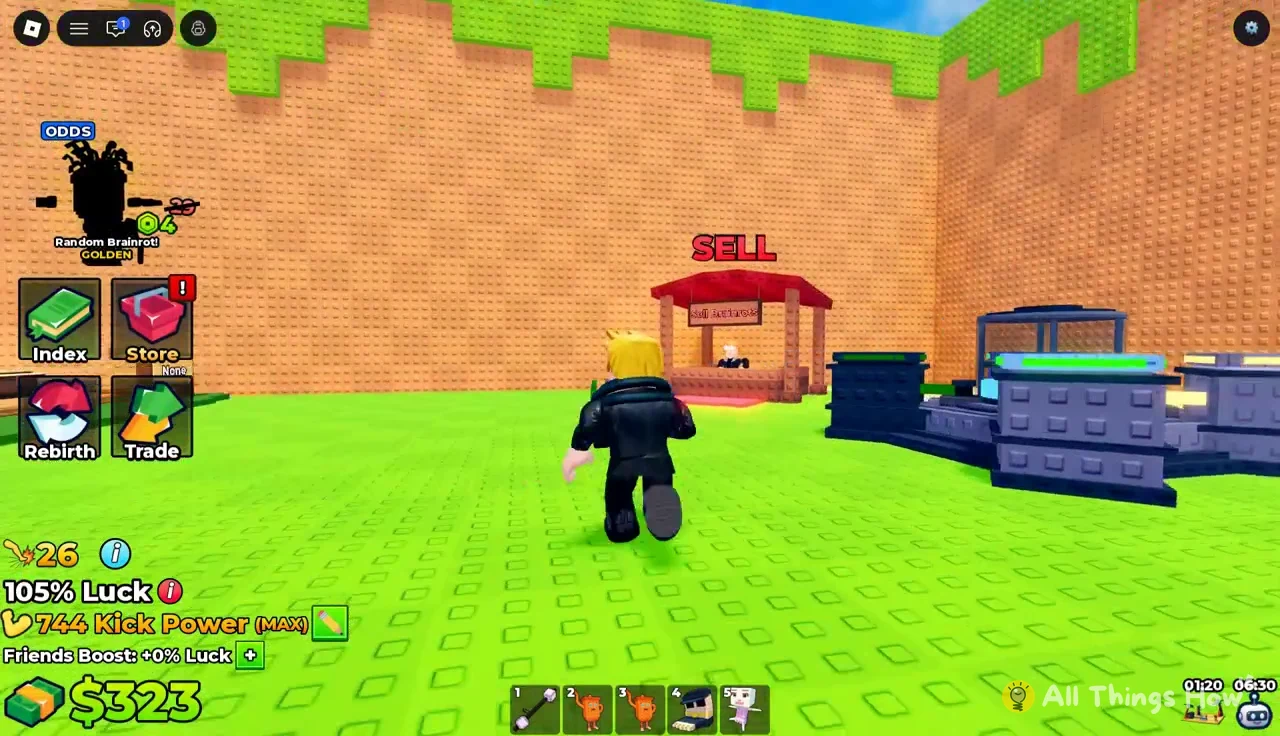
Sell Brainrots
The Buyer NPC at the Sell Brainrots booth turns brainrots back into cash. Its dialog has four options: “Sell all my brainrots,” “Sell this brainrot,” “What’s this brainrot’s value?” and “Sell all by rarity.” Check a brainrot’s value first. A spare low-income brainrot that won’t fit on a pedestal can help cover the gap to your next upgrade.
Base Skins
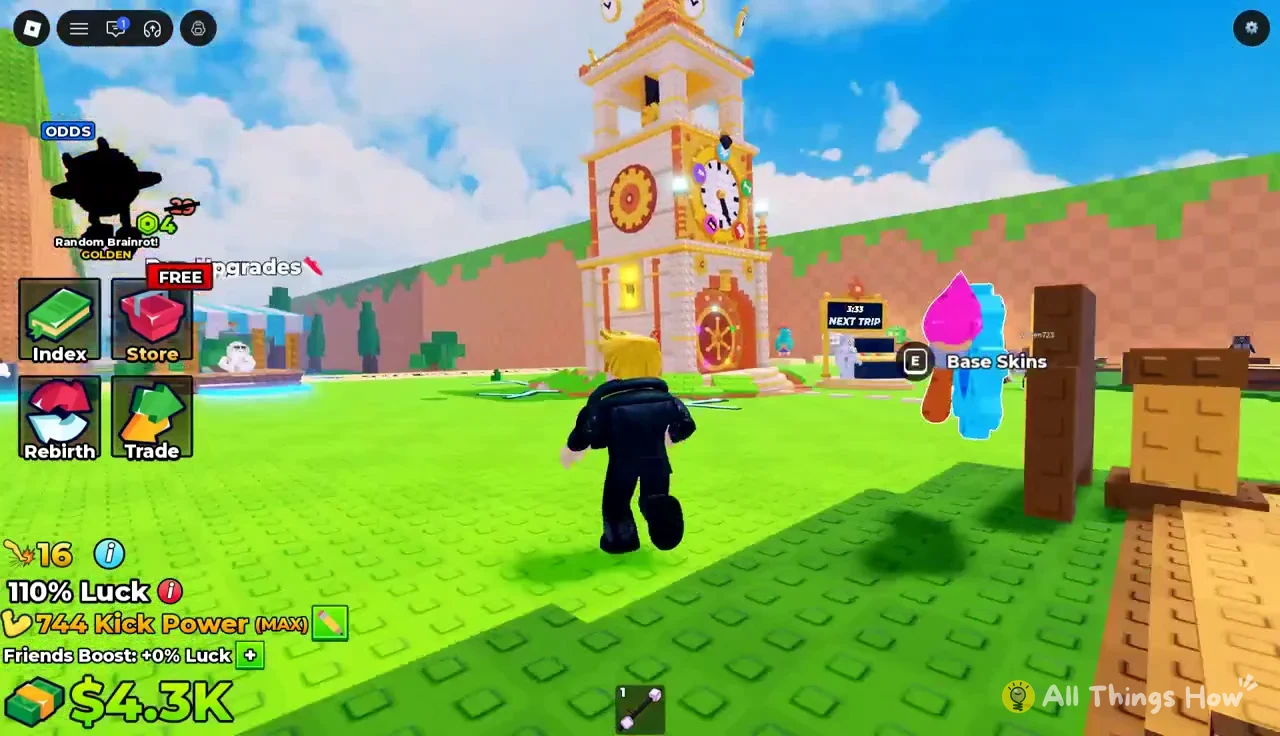
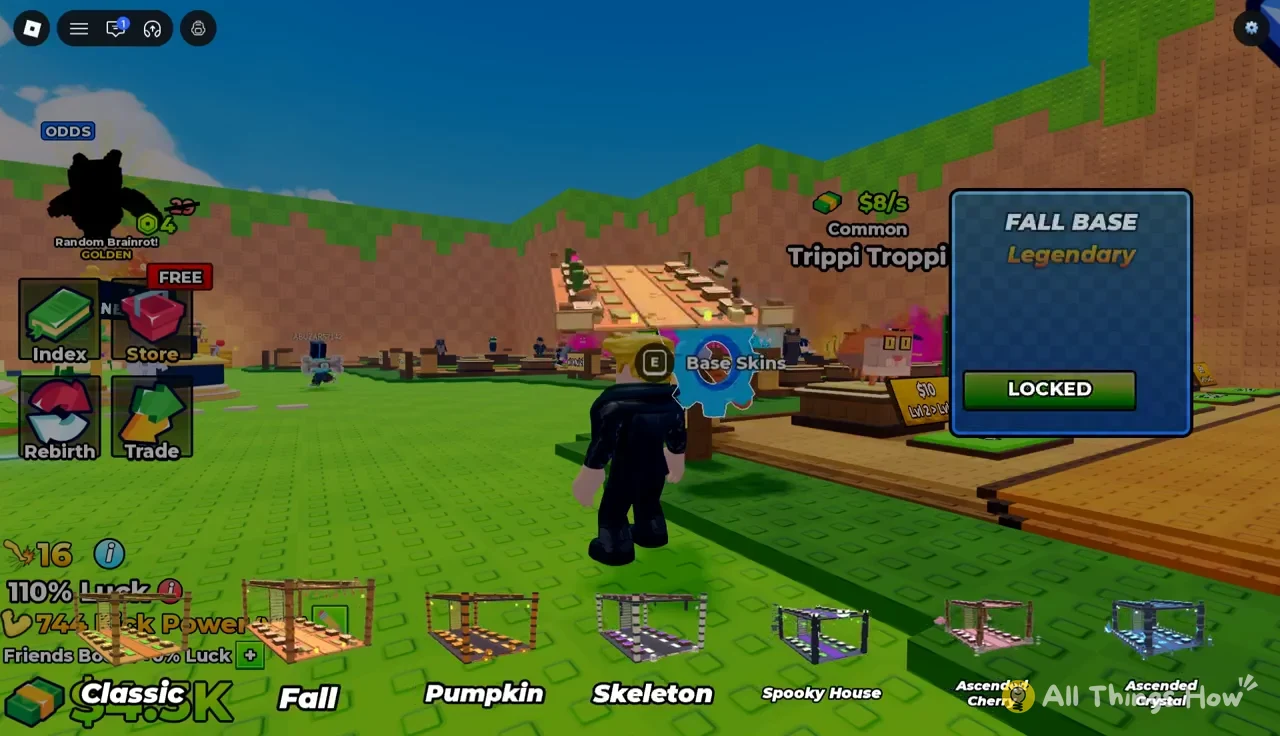
The Base Skins station opens with the E key. It changes how your plot looks: Classic, Fall, Pumpkin, Skeleton, Spooky House, Ascended Cherry, and Ascended Crystal. Locked skins appear in the menu but can’t be applied. Skins only change appearance, so they won’t help you reach a weight or Speed boost any faster.
Bacon Kicker and Mail
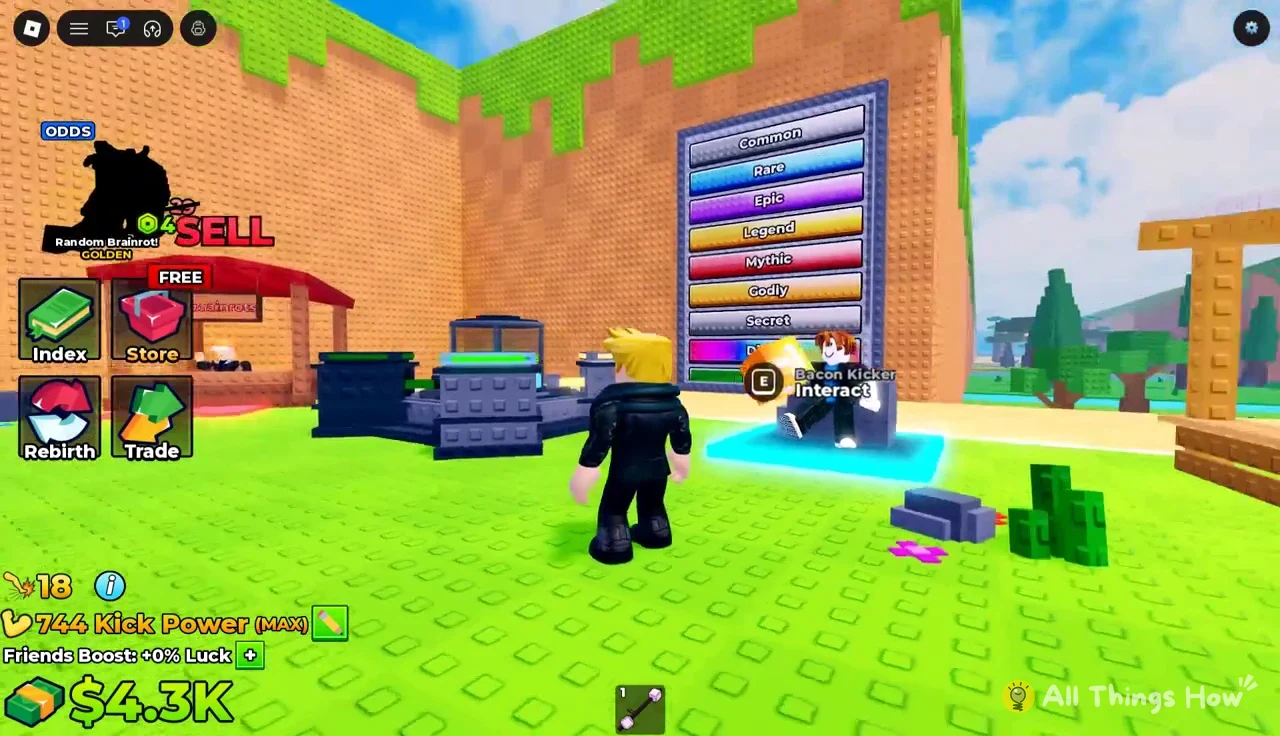
The Bacon Kicker sits next to a rarity board that lists every tier from Common through Divine, and you open it with E. The Mail menu holds the game’s updates and patch notes. Check it when prices or stalls look different from what you remember.
Upgrade order for a fresh base
Claim Capi Taco and Gangster Footera first, since they’re free income. Next, buy the first Speed boost, which costs a few hundred dollars and makes every run back safer. Fill your pedestals and keep kicking until the “NEW WEIGHT!” banner offers the Bone Barbell for $7.5K. After that, take the next Speed boost when it rotates in, and save toward the Copper Plate and the $5M slot expansion. Each step is easy to confirm. The Run Speed number rises, the weight card shows “Equipped,” and the offline earnings line at the top of the HUD goes up.