Rebirth in Ant Evolution trades your fully grown ant for a fresh egg and a Power multiplier that never goes away. You can’t do it early. The Rebirth panel only lets you confirm once you’ve climbed all 16 forms of the starting ladder and filled the last form’s bar, so most of the work is the climb itself.
Quick answer: Evolve to Cosmic Ant (16/16), fill its bar to 1,080,000 Power, open Rebirth, press REBIRTH X1.25, then tap again to confirm.
Ant Evolution first rebirth requirements
You don’t need any item, pass or currency to rebirth for the first time. The panel checks two things:
- Your current form is
COSMIC ANT 16/16, the last stage before rebirth. - Your Power bar is at or above 1,080,000.
- The panel reads
READY TO REBIRTH!with your Power shown against the target, for example 1,095,670 / 1,080,000.
Going over the target is fine. You can keep fighting and collecting as a Cosmic Ant past 1.1 million Power, and the button stays ready.
Ant Evolution evolution ladder to Cosmic Ant
Every form has its own growth bar. When the bar fills, the Evolve button lights up and you can press it to move to the next form, or keep eating first. Power over the target carries into the next bar, so a Carpenter Ant sitting at 467/408 starts its Leafcutter bar with a head start. New moves go on Q.
| Stage | Form | New move (Q) | Bar target |
|---|---|---|---|
| 1 | Ant Egg | — | — |
| 2 | Larva | — | — |
| 3 | Baby Ant | — | — |
| 4 | Worker Ant | — | — |
| 5 | Carpenter Ant | Leaf Shield | 408 |
| 6 | Leafcutter Ant | — | 850 |
| 7 | Soldier Ant | Charge | — |
| 8 | Trap-Jaw Ant | Jaw Snap | — |
| 9 | Bullet Ant | Sting | — |
| 10 | Army Ant | Swarm | — |
| 11 | Bulldog Ant | — | — |
| 12 | Siafu Warlord | — | 43.2K |
| 13 | Titan Ant | — | 174K |
| 14 | Ant Queen | — | — |
| 15 | Emperor Ant | — | — |
| 16 | Cosmic Ant | — | 1,080,000 (rebirth) |
Roll and Pounce also show up as new Q moves later in the climb. Each evolve pops a banner with the form name and its stage number, like TRAP-JAW ANT 8/16, which is the easiest way to check where you are.
Carpenter Ant to Soldier Ant
The early bars are small enough to fill by running along the dirt paths and picking up glowing Power orbs in Mushroom Hollow and Grass Meadow. A Carpenter Ant needs 408 Power to evolve into a Leafcutter Ant.
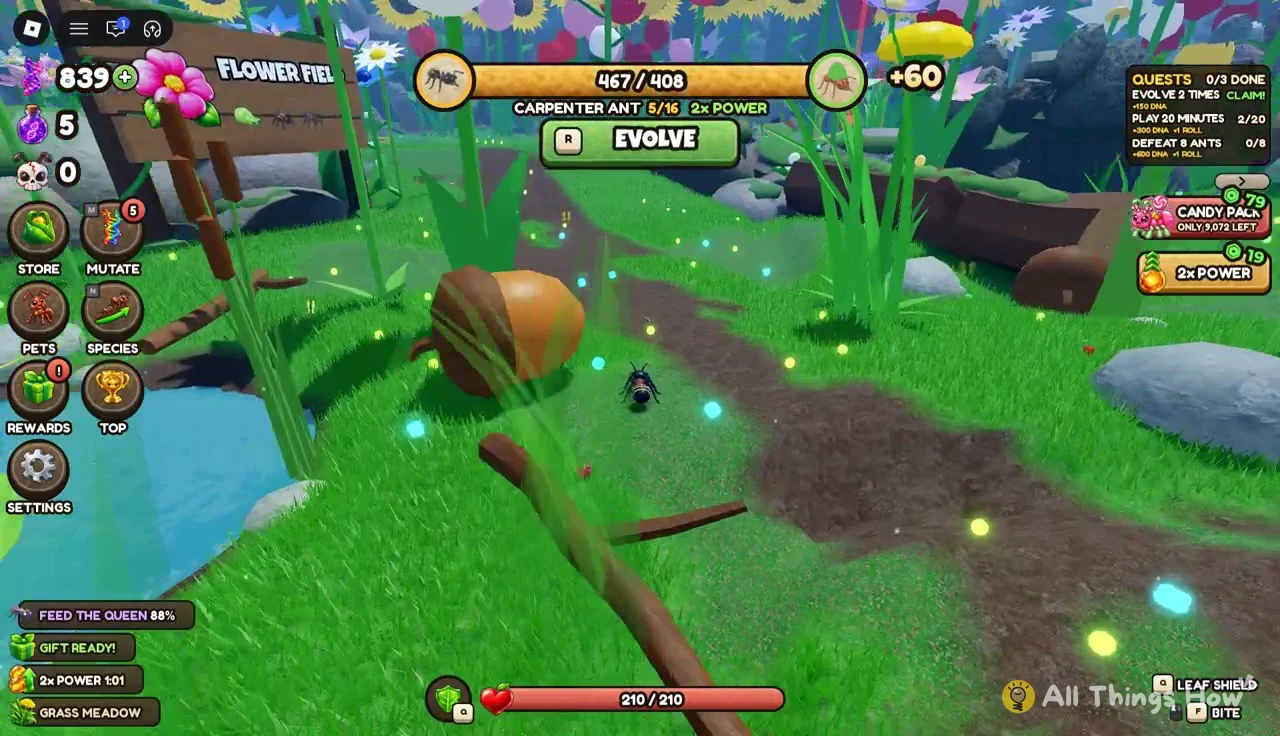
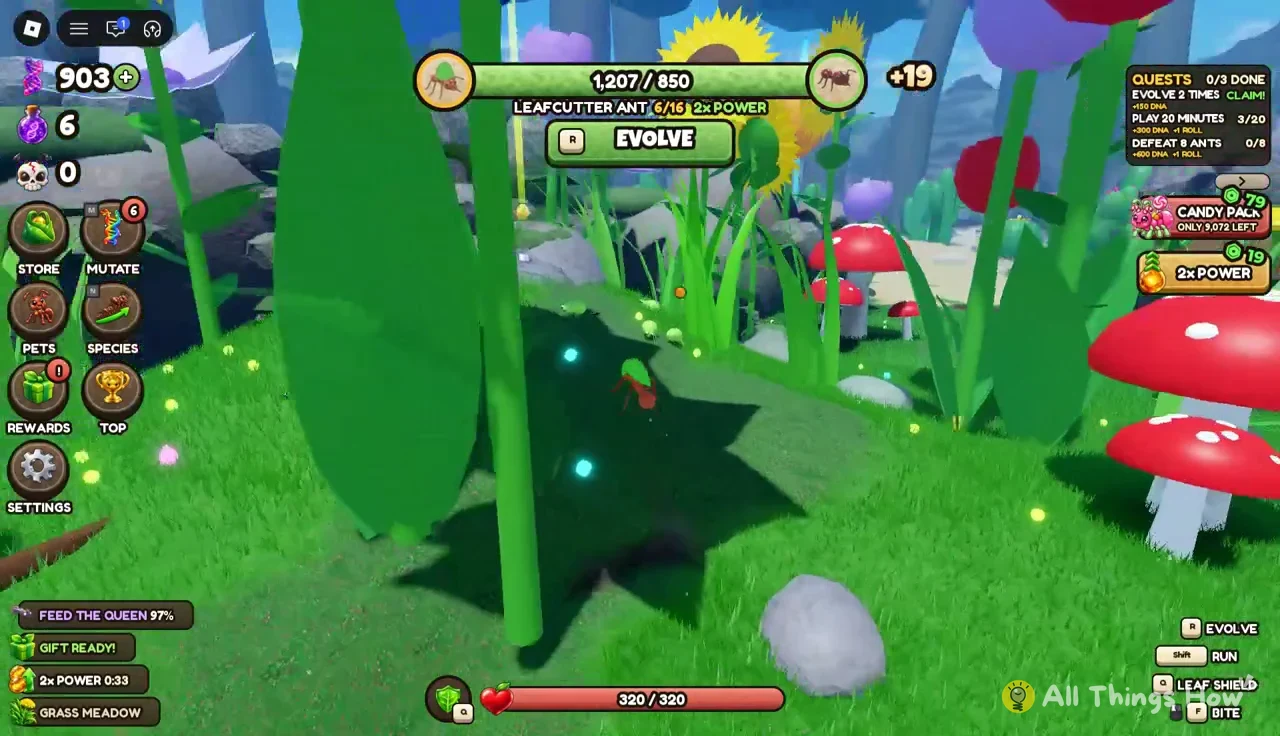
The Leafcutter bar jumps to 850. Any active Power boost, shown as 2× Power at the top of the screen, doubles what each orb gives you and makes this part go much faster.
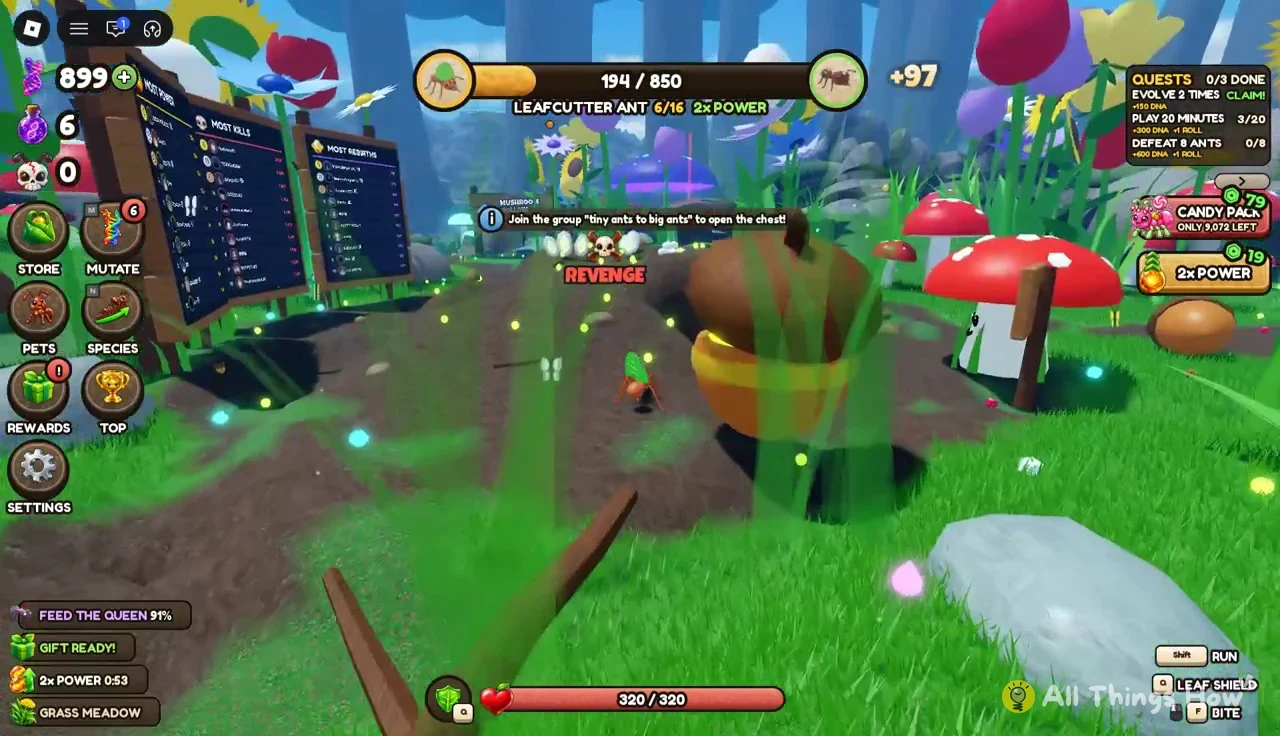
Once the Leafcutter bar goes past 850, press Evolve to become a Soldier Ant and unlock Charge.
Soldier Ant to Siafu Warlord
From Soldier Ant on, you get a combat move at almost every stage: Jaw Snap at Trap-Jaw Ant, Sting at Bullet Ant and Swarm at Army Ant. Bullet Ant and Army Ant come quickly one after the other, since excess Power spills straight into the next bar. A Trap-Jaw Ant reached at around 1,863 Power can start trading bites with other players using F to bite and Q for Jaw Snap.
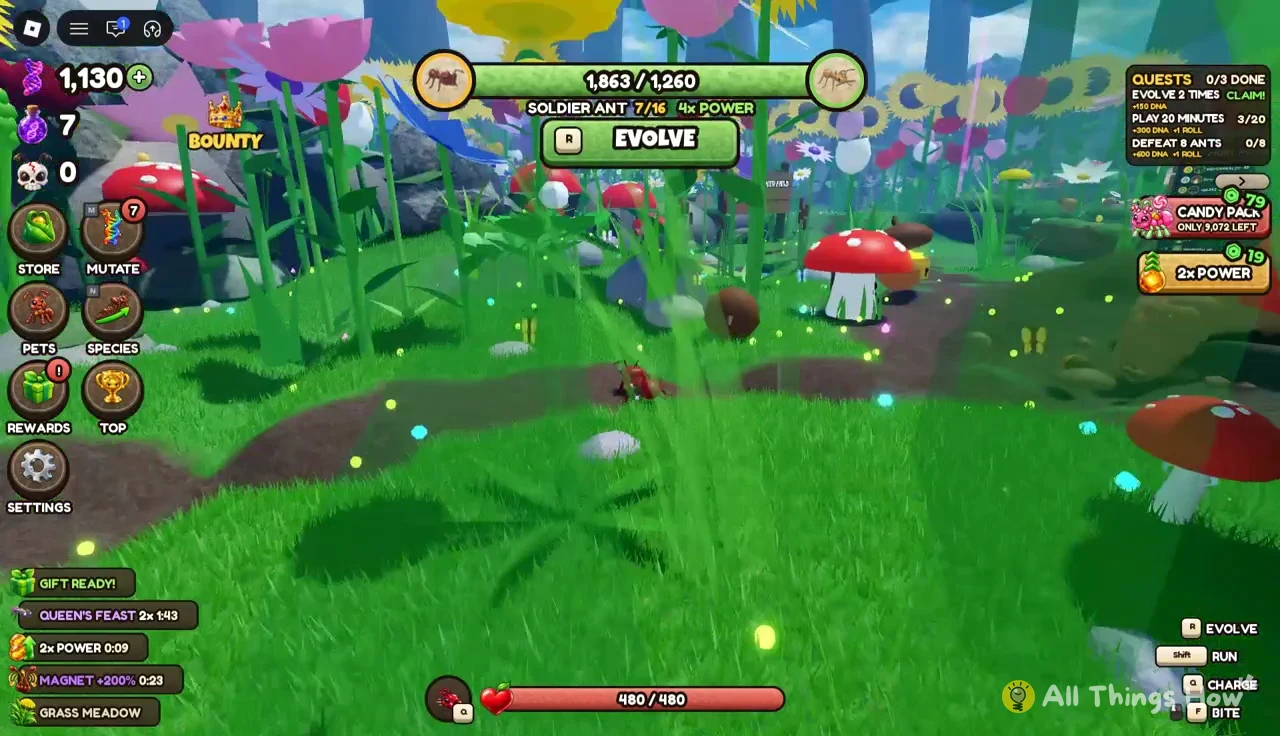
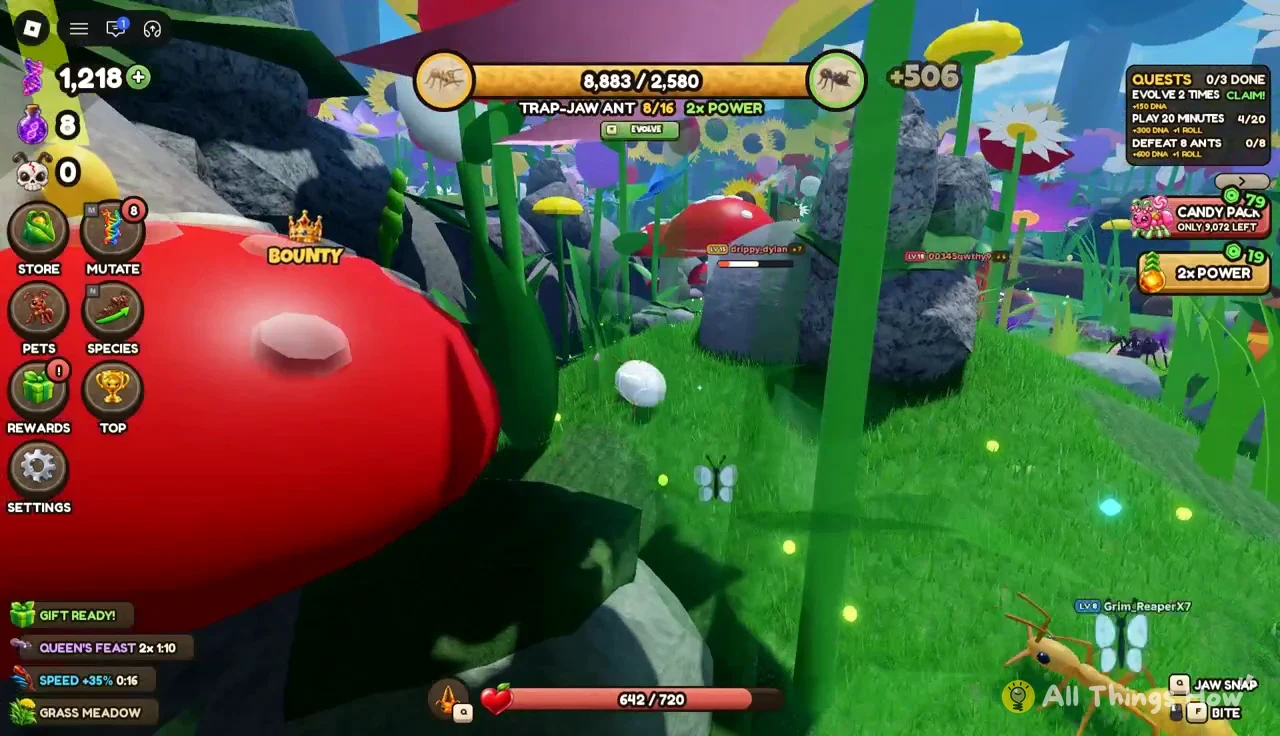
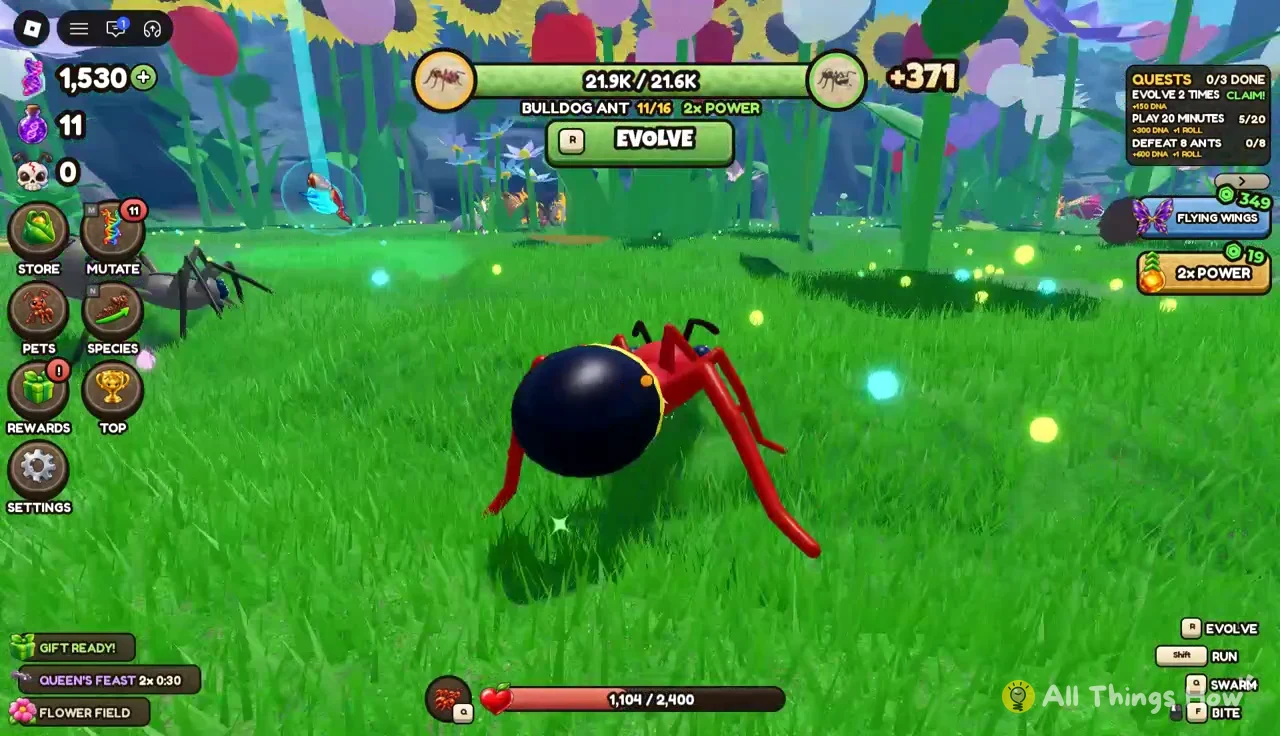
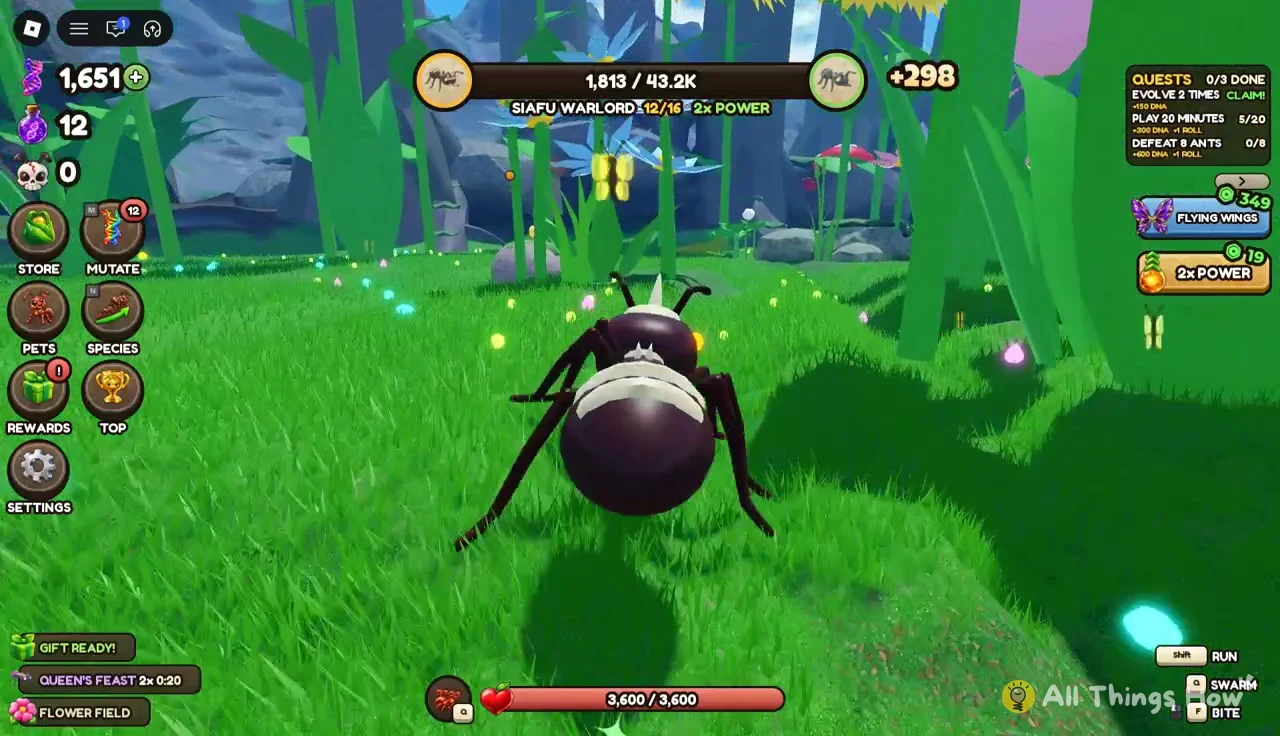
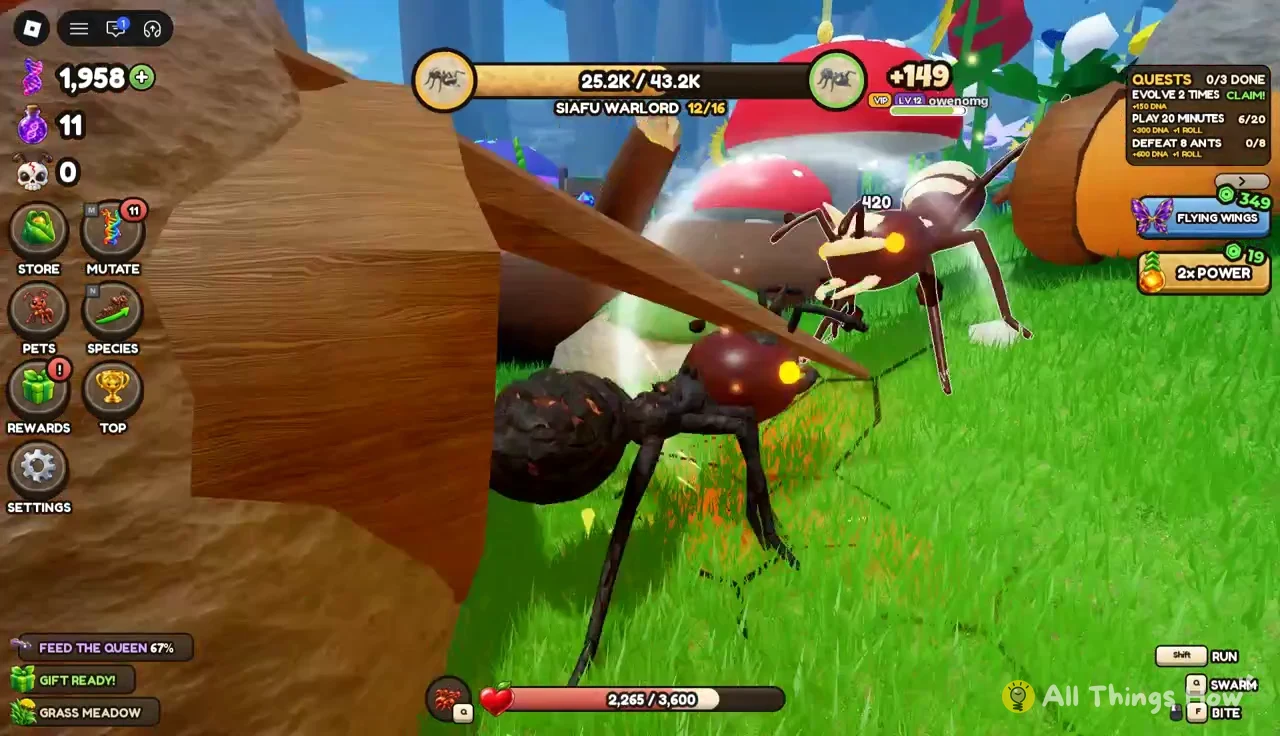
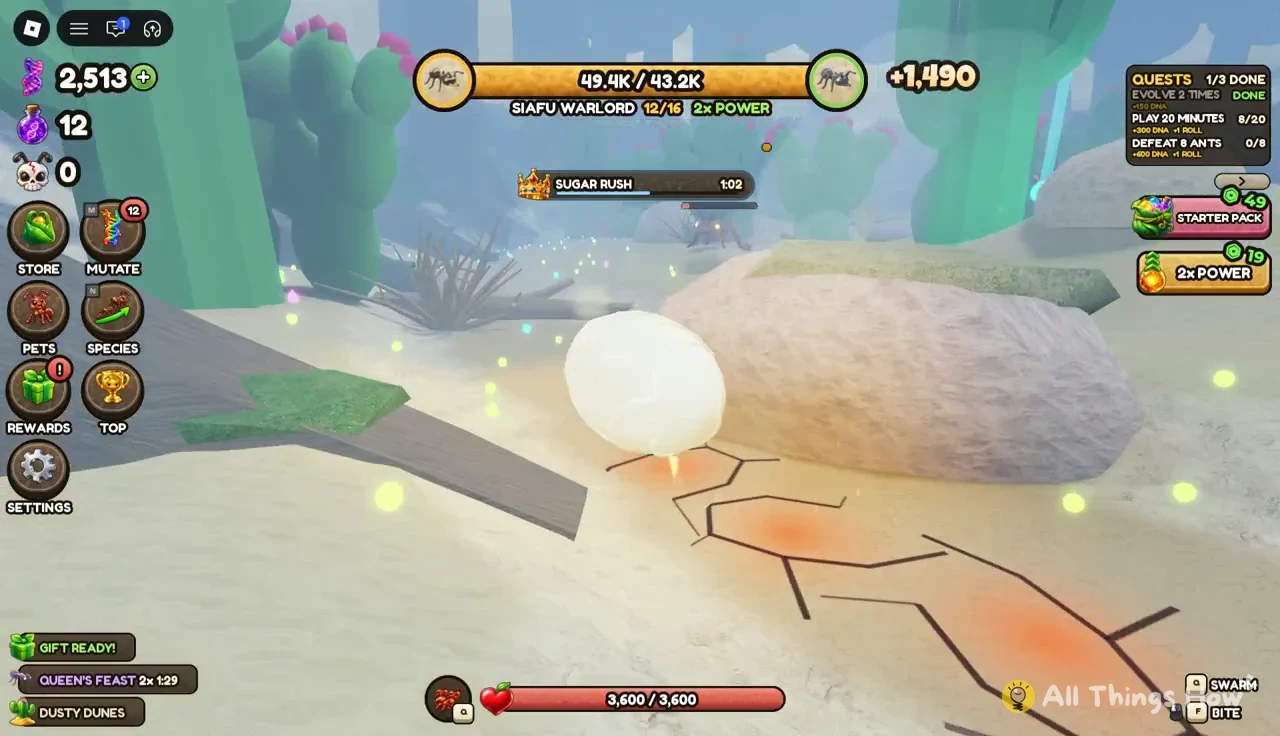
Bulldog Ant shows up at around 20.5K Power, and its bar leads into Siafu Warlord at stage 12. The Siafu Warlord bar is 43.2K, which is the first one that takes real time to fill.
Titan Ant to Cosmic Ant
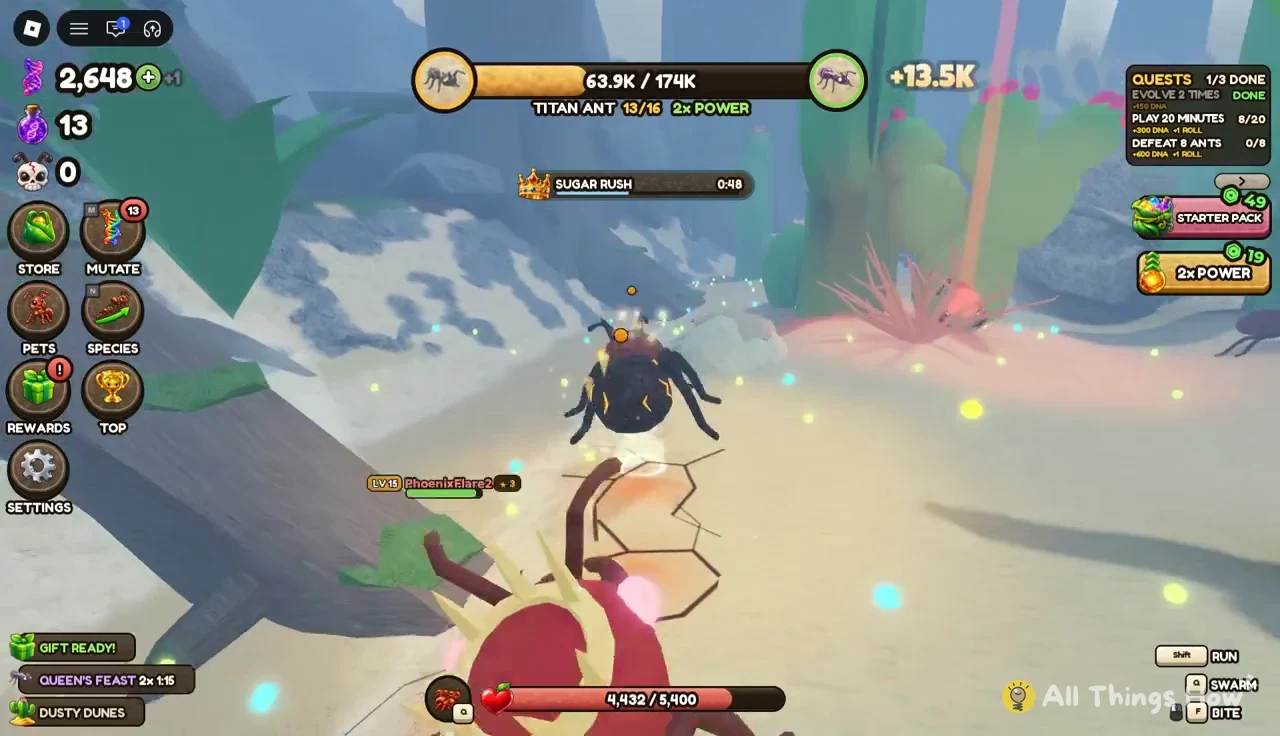
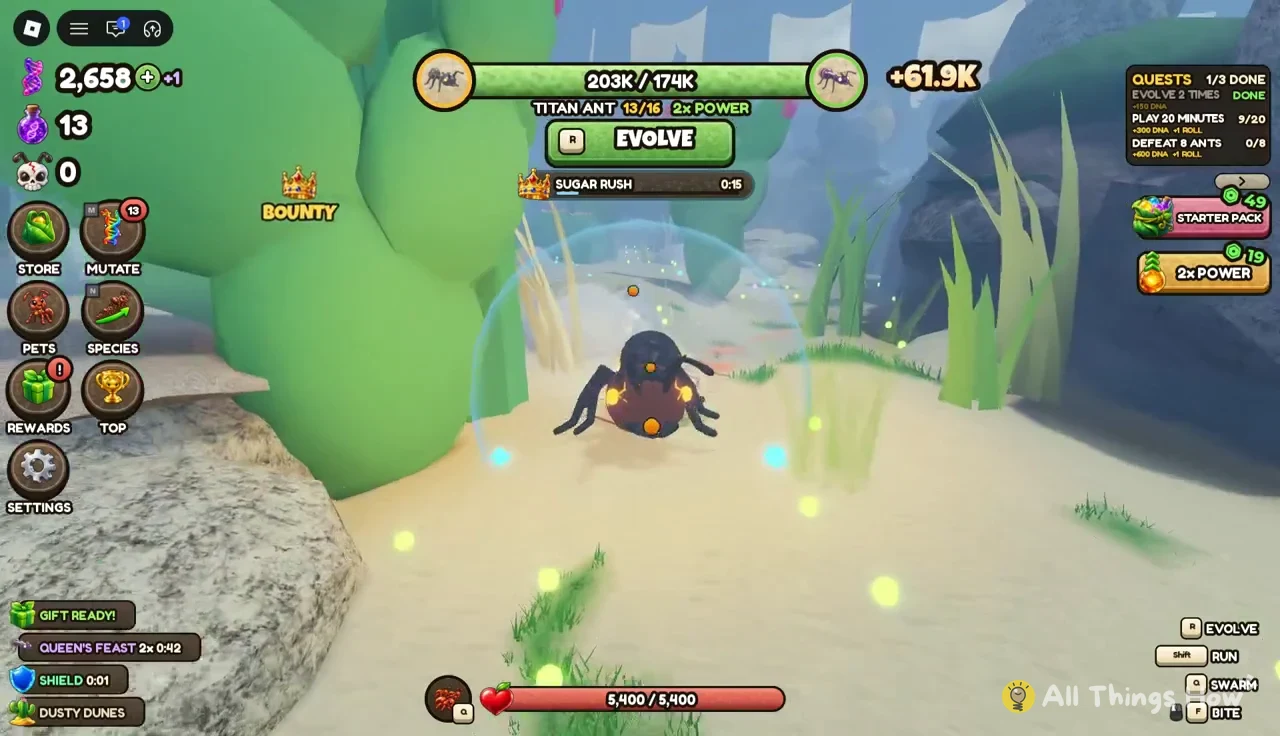
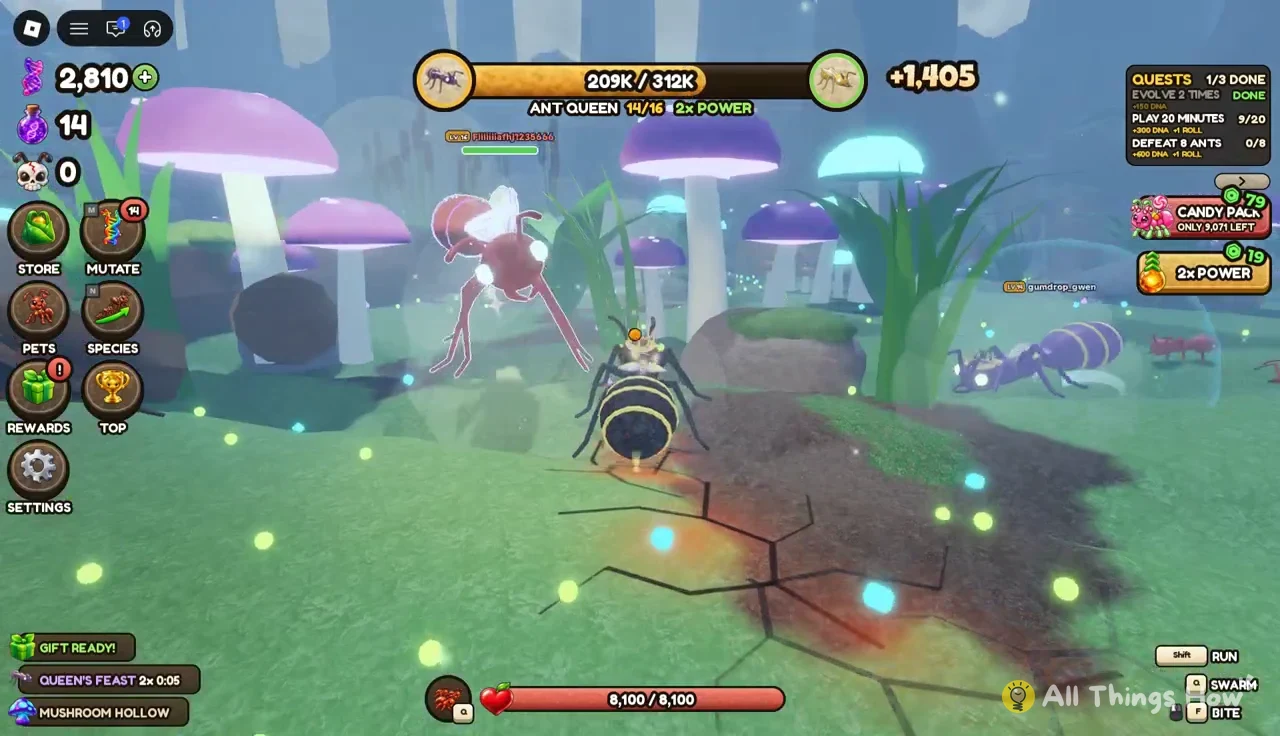
Titan Ant’s bar is 174K. Ant Queen arrives once you cross about 207K total, Emperor Ant at about 318K, and Cosmic Ant comes soon after. These later forms are big enough to bite almost anything on the map, and their bars fill fastest when you chain orbs, aphids and kills together.
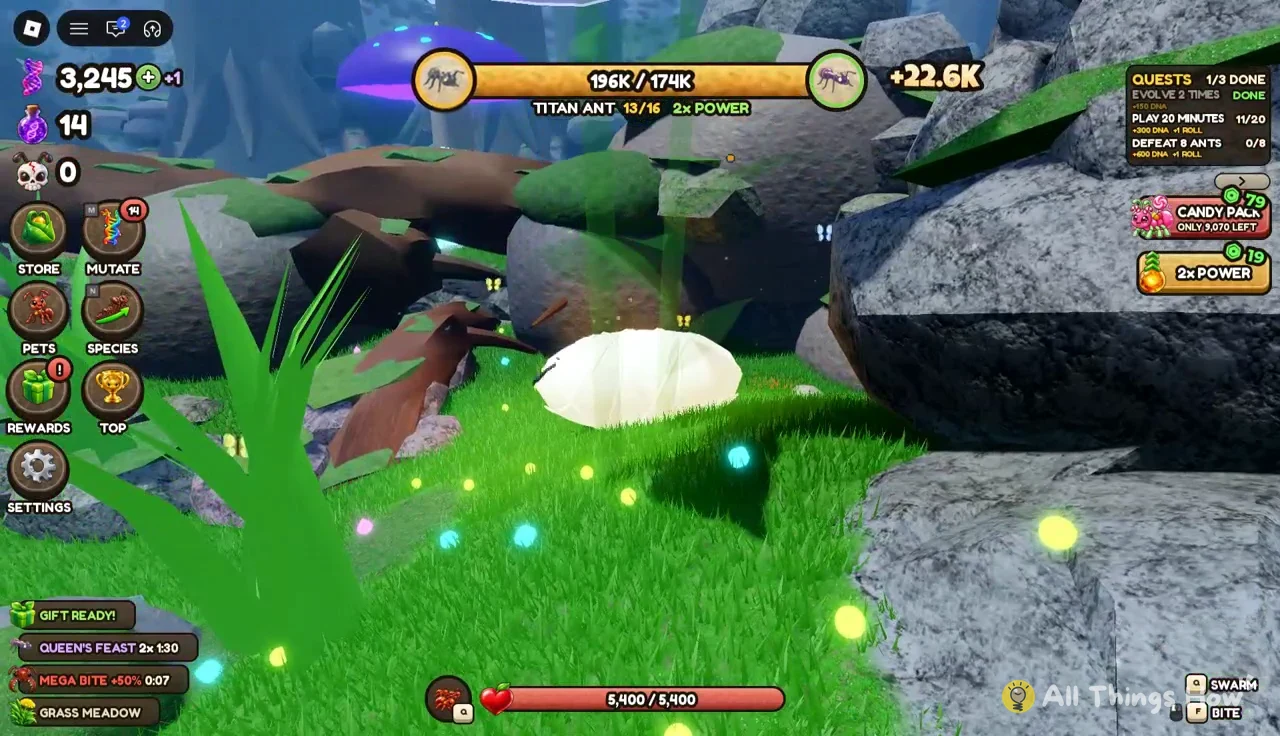
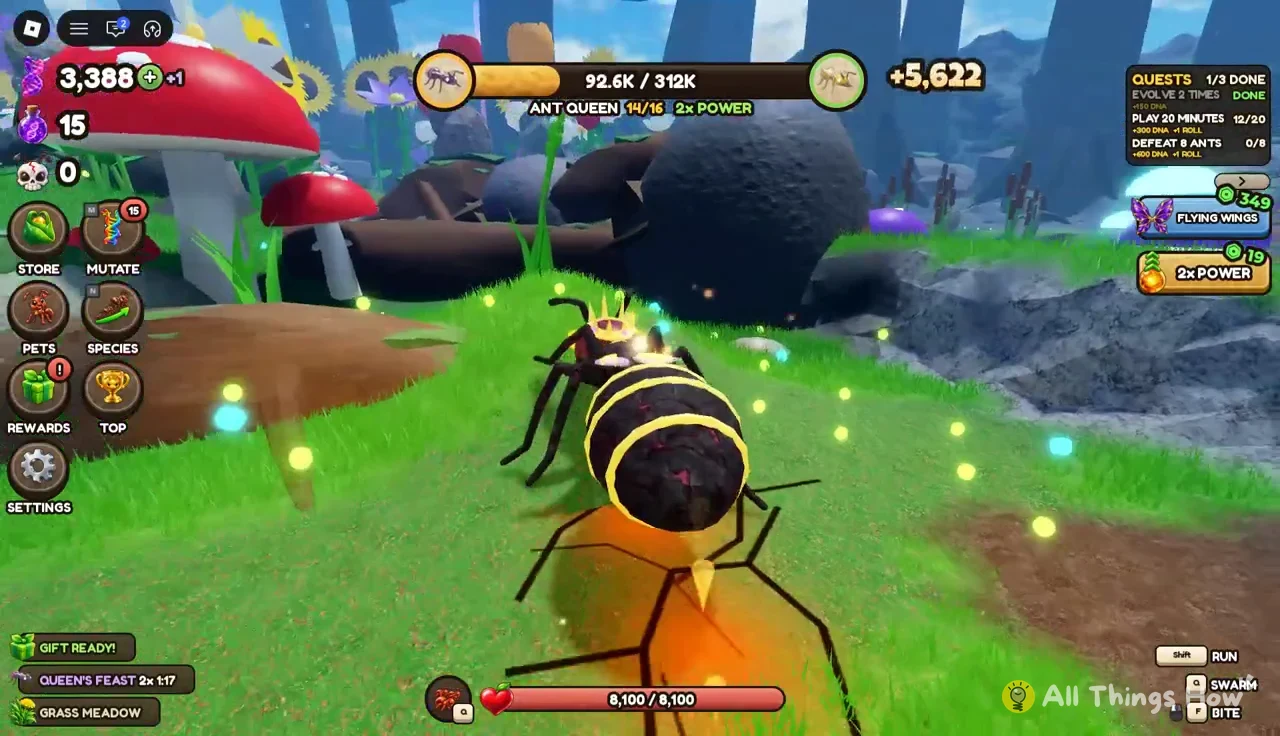
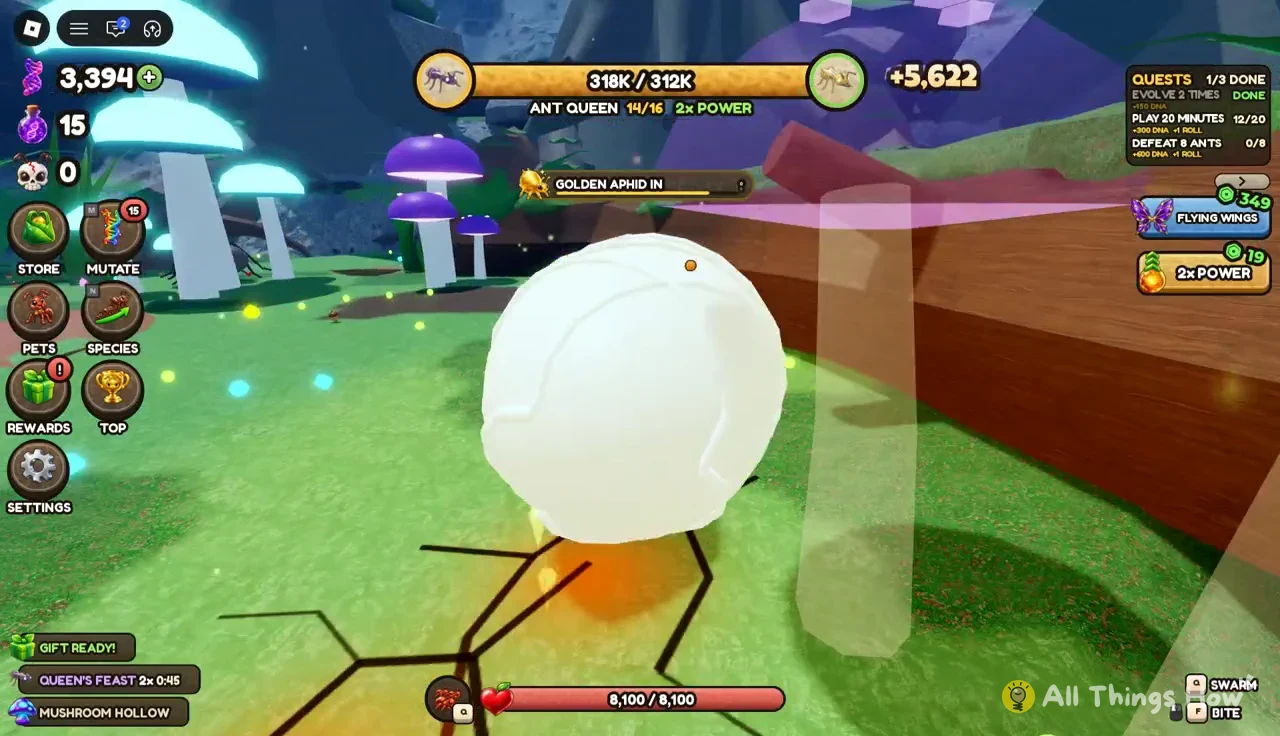
As a Cosmic Ant, fill the bar to 1,080,000 by fighting other high-level ants and collecting everything in reach. Mushroom Hollow works well here, and a Golden Aphid spawning nearby is worth chasing.
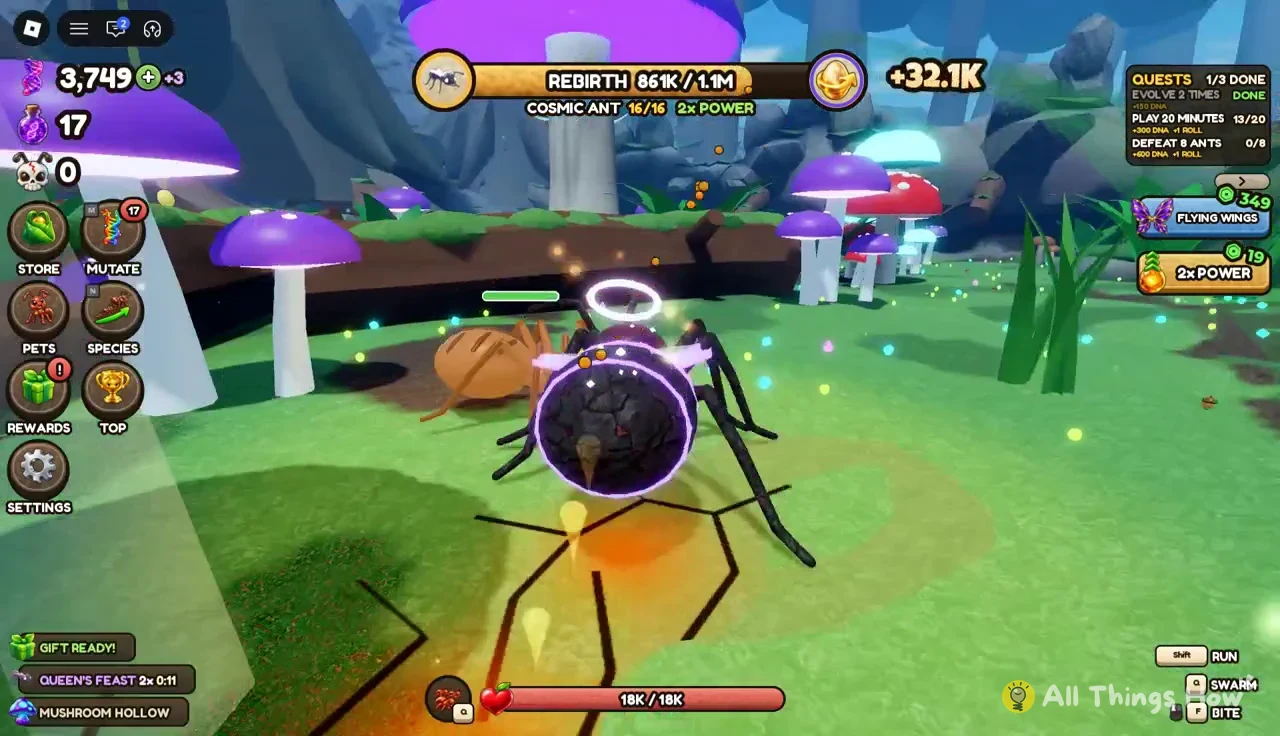
Faster Power and DNA before your first rebirth
Server events speed up the climb, and the DNA you earn along the way survives the rebirth, so it’s worth grabbing.
| Source | What you do | Reward |
|---|---|---|
| Feed the Queen | Bring food until the meter fills | x2 Power for everyone for 2 min, plus DNA (+151, +240) |
| Sugar Rush | Stay inside the giant sugar cube’s ring | Top 3 players win big |
| Golden Aphid | Catch it | A large reward |
| Lost Egg | Find one of 20 hidden eggs | +150 DNA each |
| Day 1 Daily Reward | Claim in Rewards | +300 DNA |
| Evolve 2 Times quest | Claim in the Quests tab | +150 DNA |
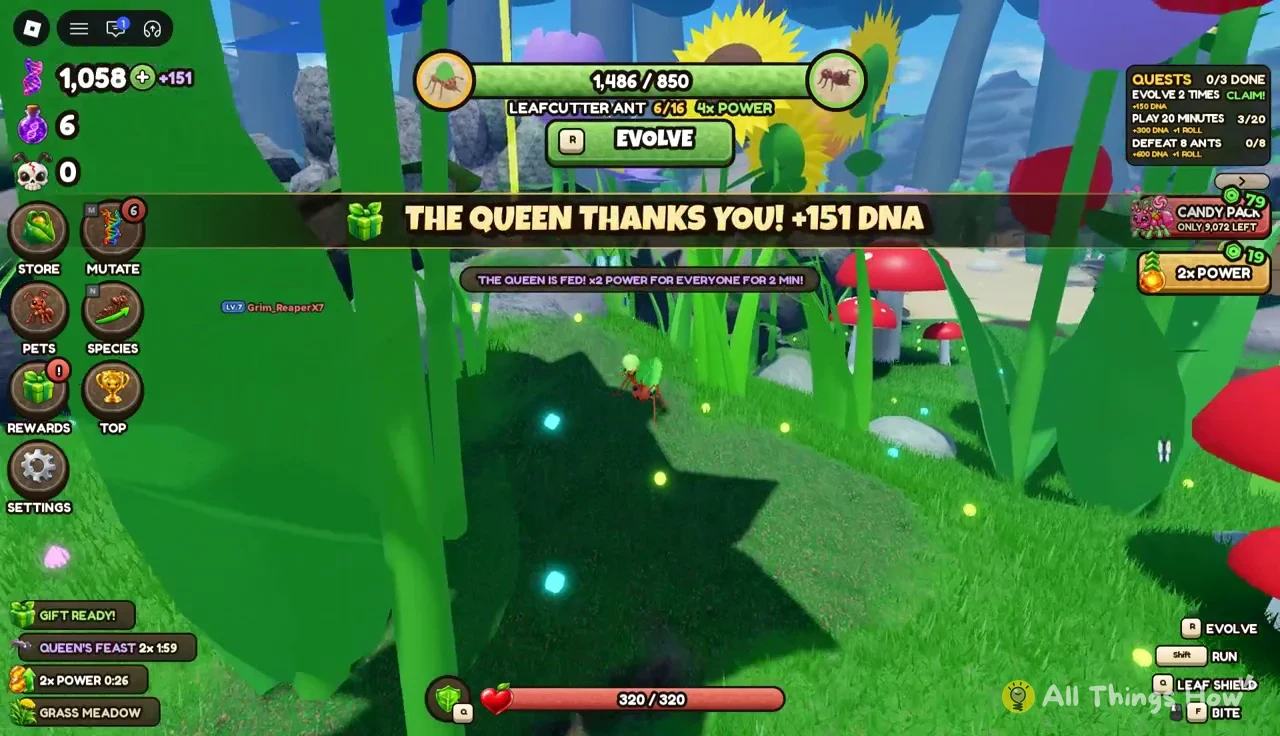
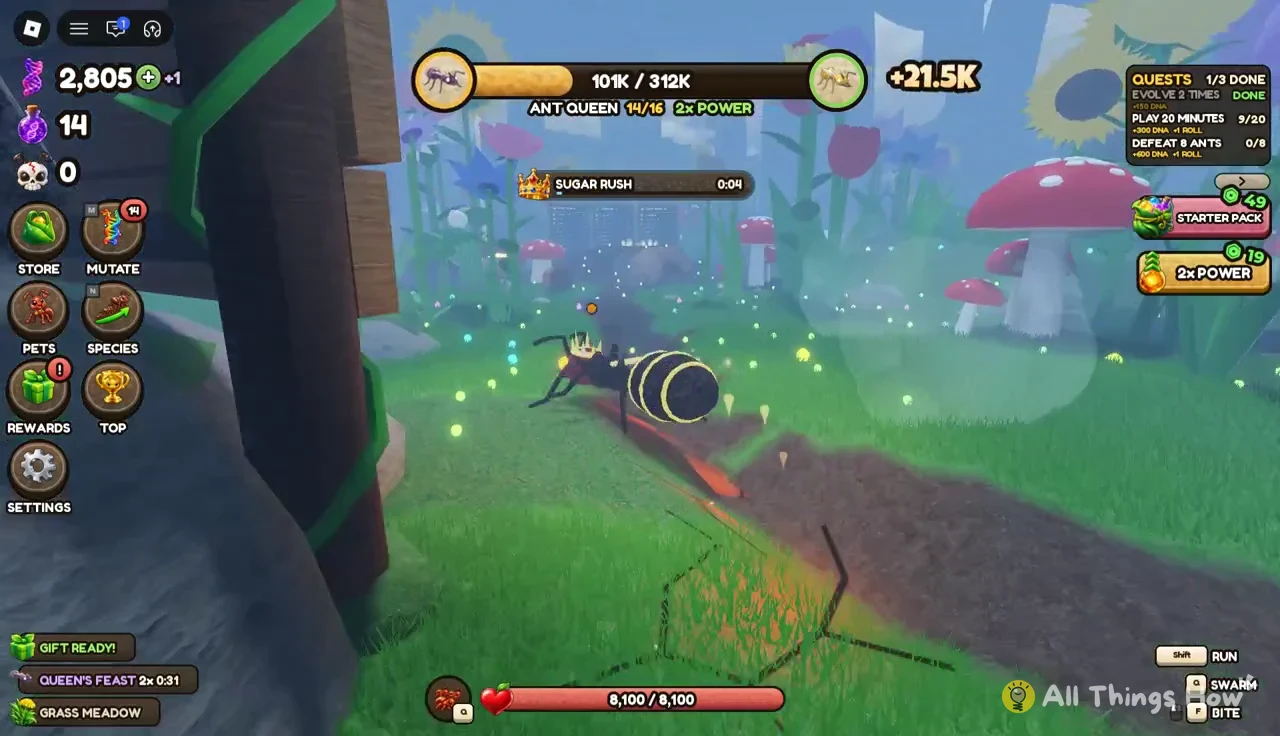
The Feed the Queen meter is shared, so everyone on the server is pushing it toward 100% at the same time. When it fills, the game shows THE QUEEN IS FED! x2 POWER FOR EVERYONE FOR 2 MIN! and thanks contributors with DNA.
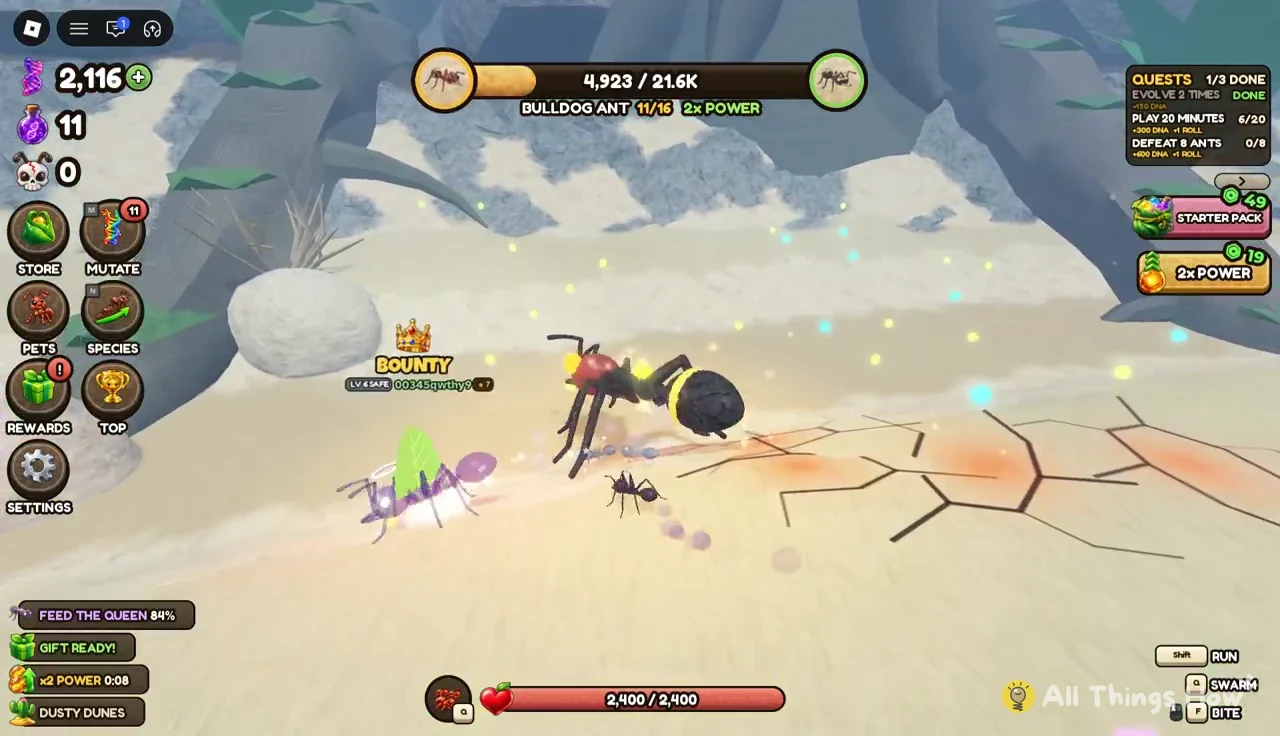
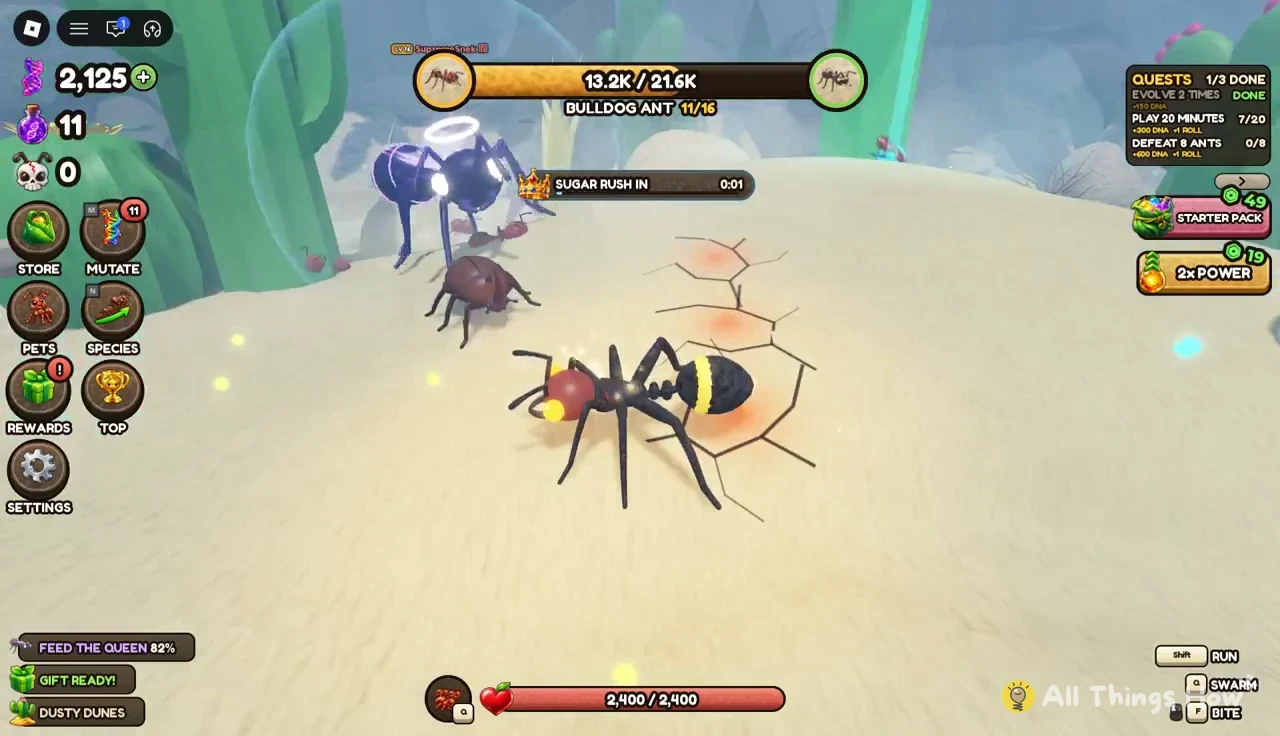
Sugar Rush starts with a countdown when a giant sugar cube lands. Get inside its ring before the timer runs out and stay there to score.
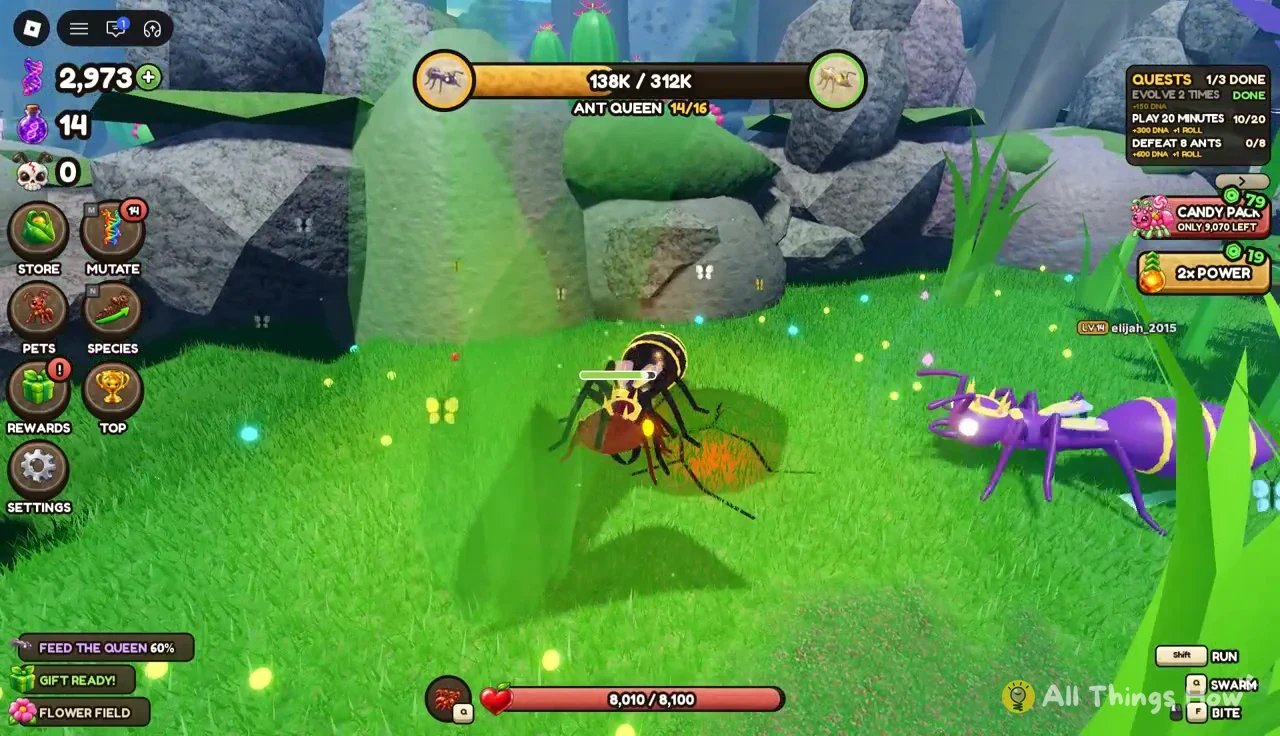
Collecting a Lost Egg reveals a clue to the next one. The first is perched on a Flower Field rock, and its clue points to Flower Field: On a mossy log.
Mutations for the climb
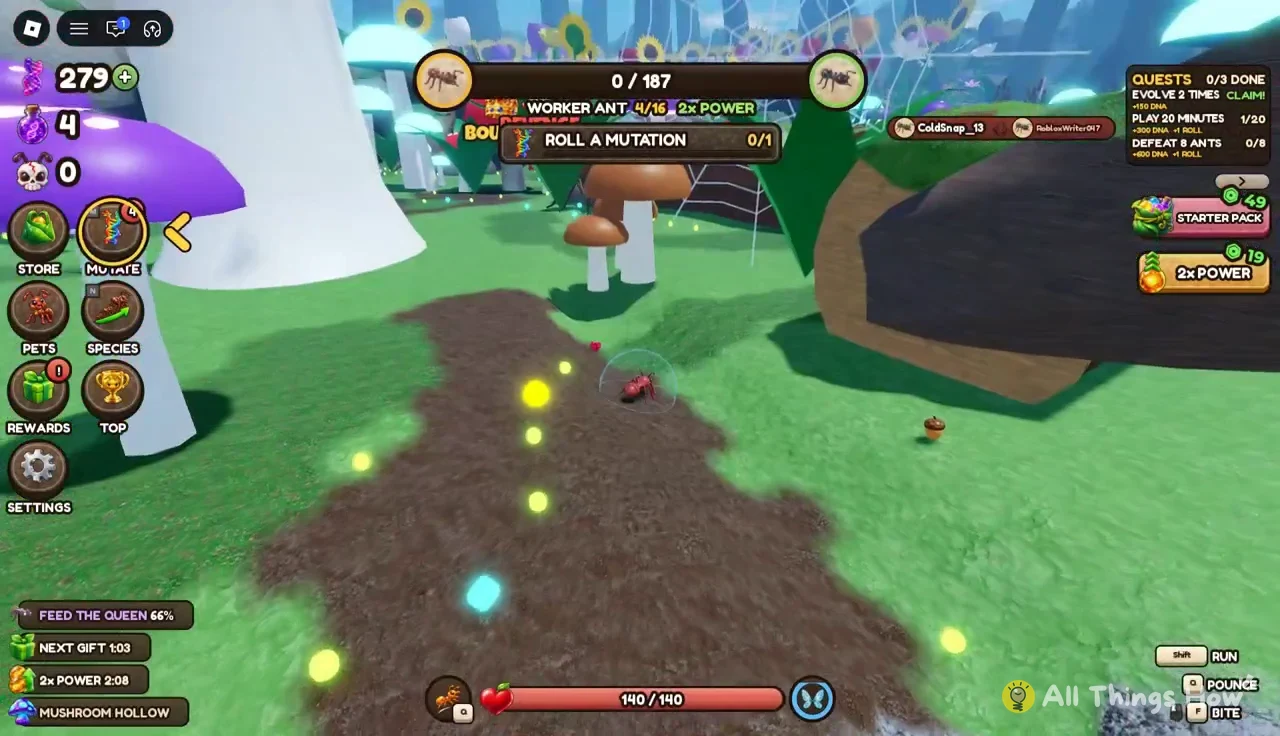
Mutations come from the Mutate menu, where each roll uses a token. The Epic+ guarantee lands within 25 rolls and Legendary+ within 100. Mutations carry over through rebirth, so anything you roll now keeps working afterward.
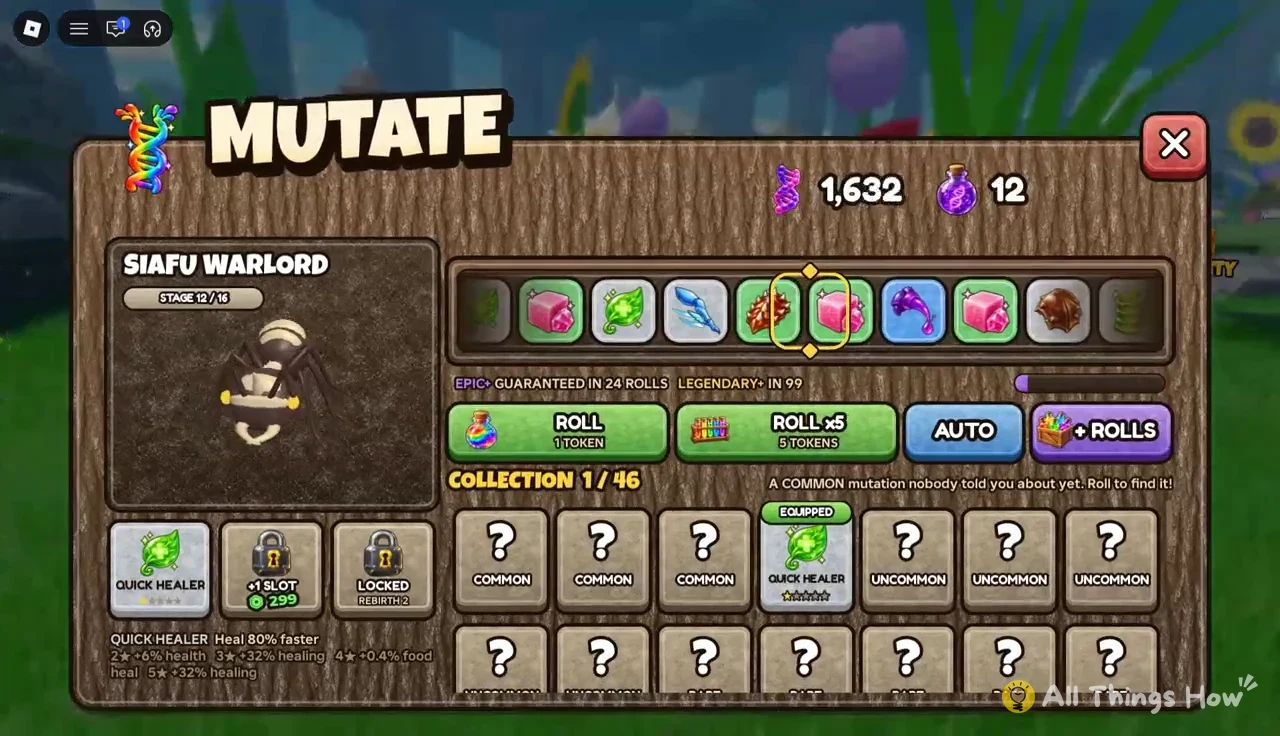
| Mutation | Rarity | Effect |
|---|---|---|
| Quick Healer | Common | Heal 80% faster |
| Spiky Shell | Uncommon | Biters take 20% of their bite back |
| Molten Ant | Legendary | Burning lava footprints that scorch enemies |
What getting eaten costs on the way to rebirth
When another player eats you, you drop one evolution stage and lose the Power you’d built up. That can mean a few hundred Power early on (a Carpenter Ant lost 237 and fell back to Worker Ant) or a huge chunk late in the climb, where one Ant Queen death cost 209,410 Power. Rivals with a crown over their head carry a bounty, and a skull marks someone you can take revenge on.
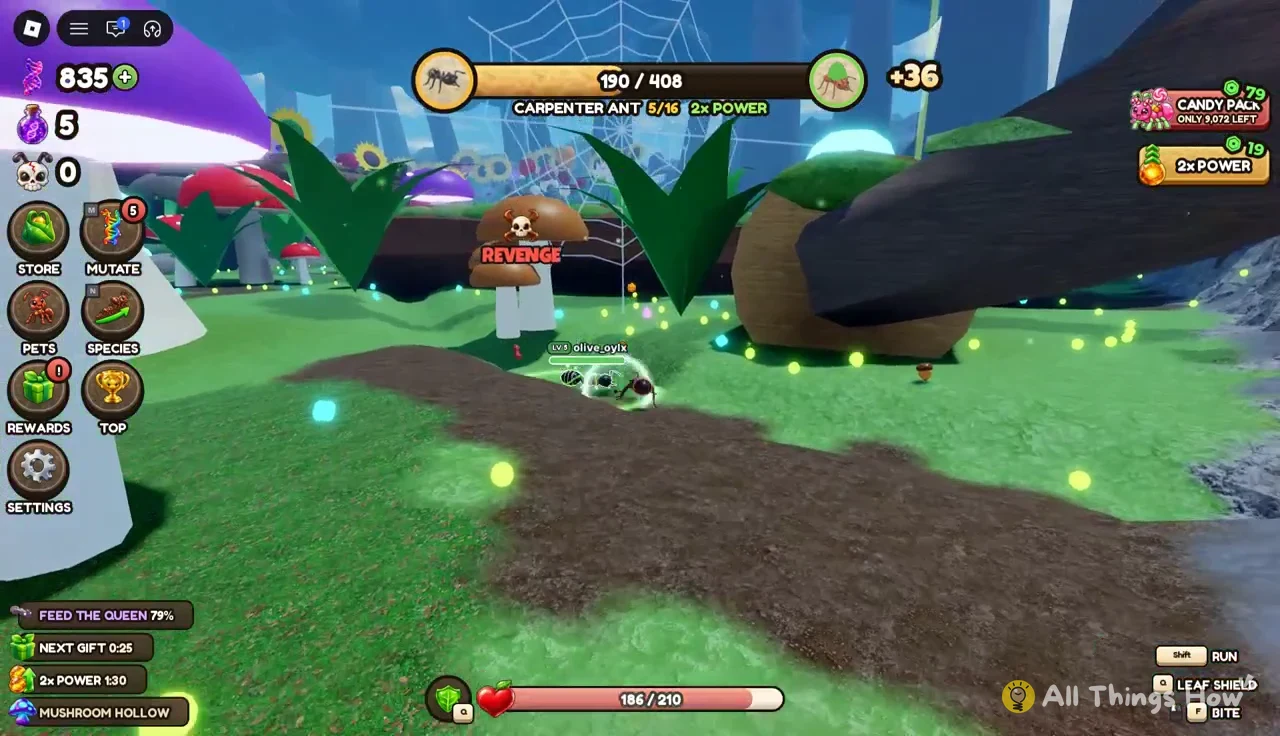
After a demotion you respawn in one of the zones and rebuild the same bar again. A Siafu Warlord eaten twice in a row ends up as a Bulldog Ant (11/16) in Dusty Dunes, refilling the Bulldog bar before going back to Siafu.
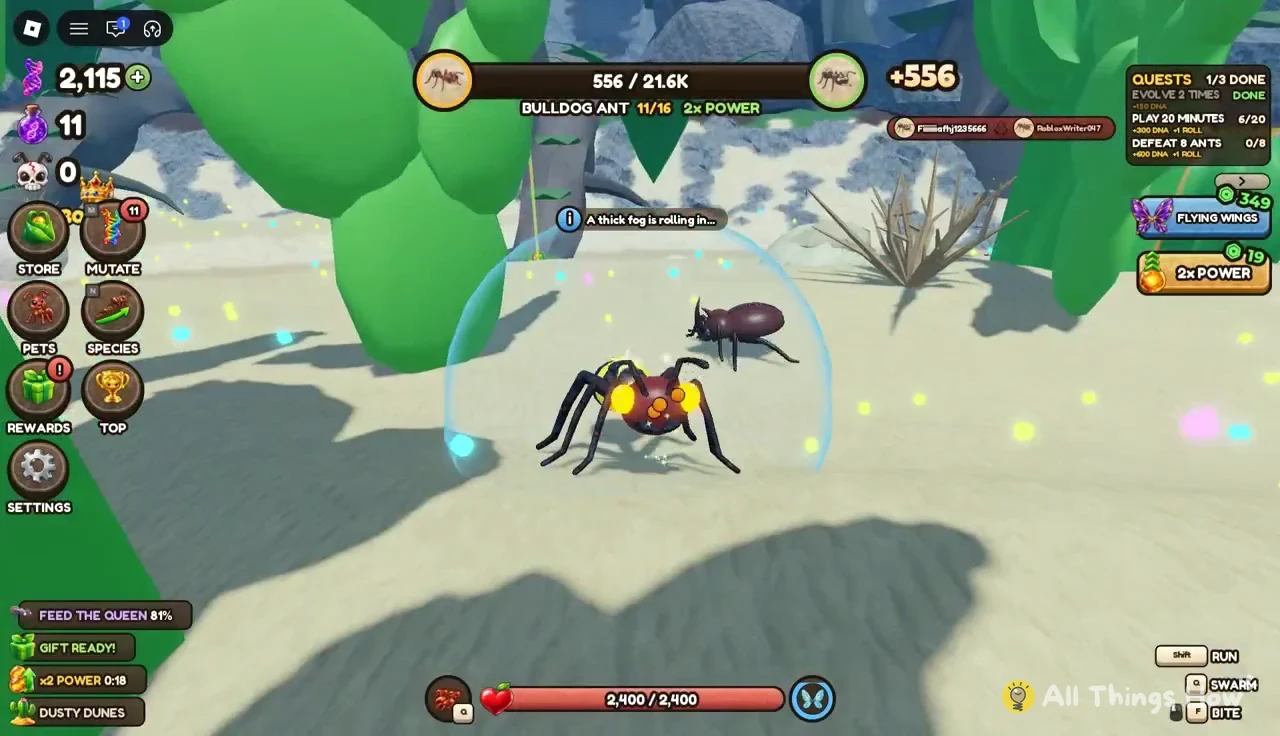
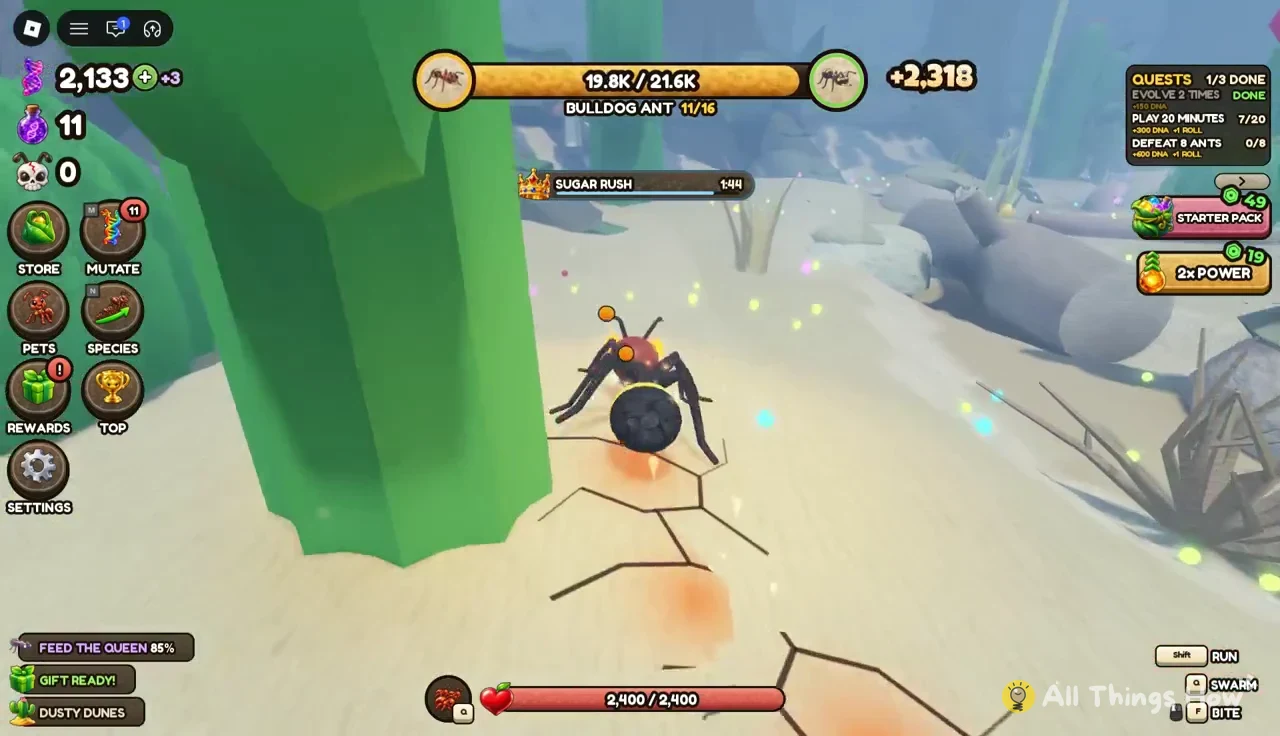
The higher you are, the more a death hurts, so as an Ant Queen or Emperor Ant it pays to watch for red-outlined ants and bigger players before you commit to a path.
How to rebirth in Ant Evolution
0 REBIRTHS, the multiplier change X1 >> X1.25, the rewards, and two lists of what you keep and what resets, with READY TO REBIRTH! over your Power total.TAP AGAIN TO REBIRTH!, which is your chance to back out by closing the panel.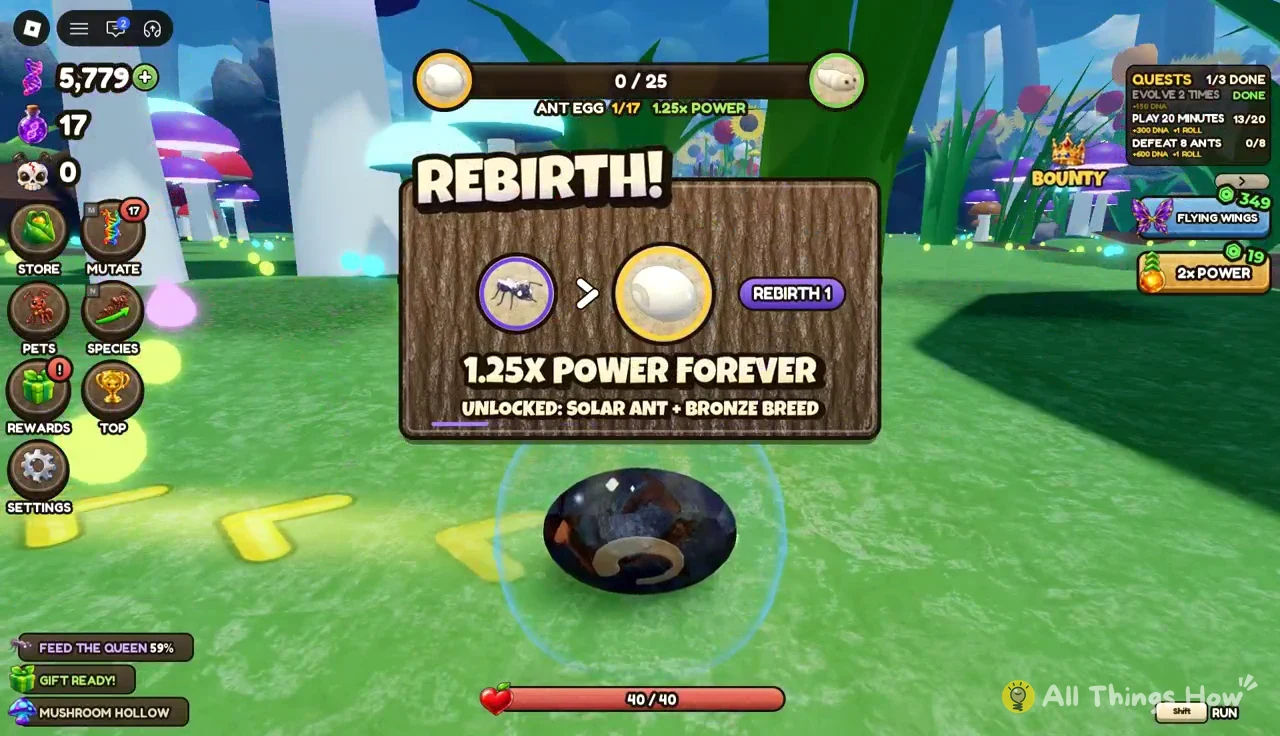
You’ll know it worked when the banner REBIRTH! 1.25X POWER FOREVER UNLOCKED: SOLAR ANT + BRONZE BREED appears and your stage reads ANT EGG 1/17 with 1.25x Power shown. A star also appears next to your name.
Rebirth 1 rewards, what you keep and what resets
| Category | Details |
|---|---|
| Rewards | 1.25x Power forever, Solar Ant, Bronze Breed, +2,000 DNA, a star on your name |
| You keep | DNA, Mutations, Pets, Breeds, Passes, Ladders, Codex |
| Resets | Back to an egg, Power bar back to 0 |
The multiplier stacks with temporary boosts. With a 2× Power event running after Rebirth 1, the status at the top of the screen shows 2.5x Power instead of 2×.
After Rebirth 1: The 17-stage ladder and Solar Ant
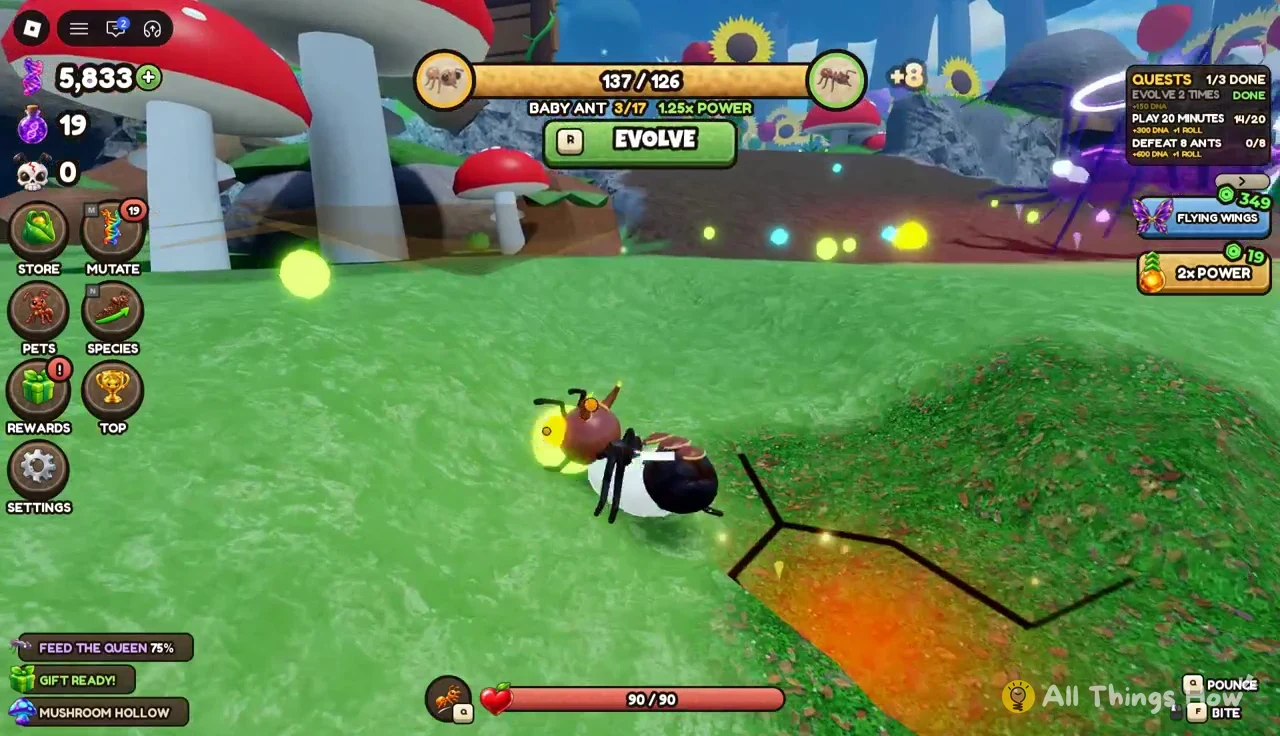
Your ladder now has 17 stages instead of 16, because Solar Ant is added as stage 17 above Cosmic Ant. The early forms come back fast. The egg hatches into a Larva at about 25 Power, and the forms run Larva (2/17), Baby Ant (3/17), Worker Ant (4/17) and Carpenter Ant (5/17) in a couple of minutes. Bar targets change on the new ladder too: Baby Ant needs 126 to evolve, for example.
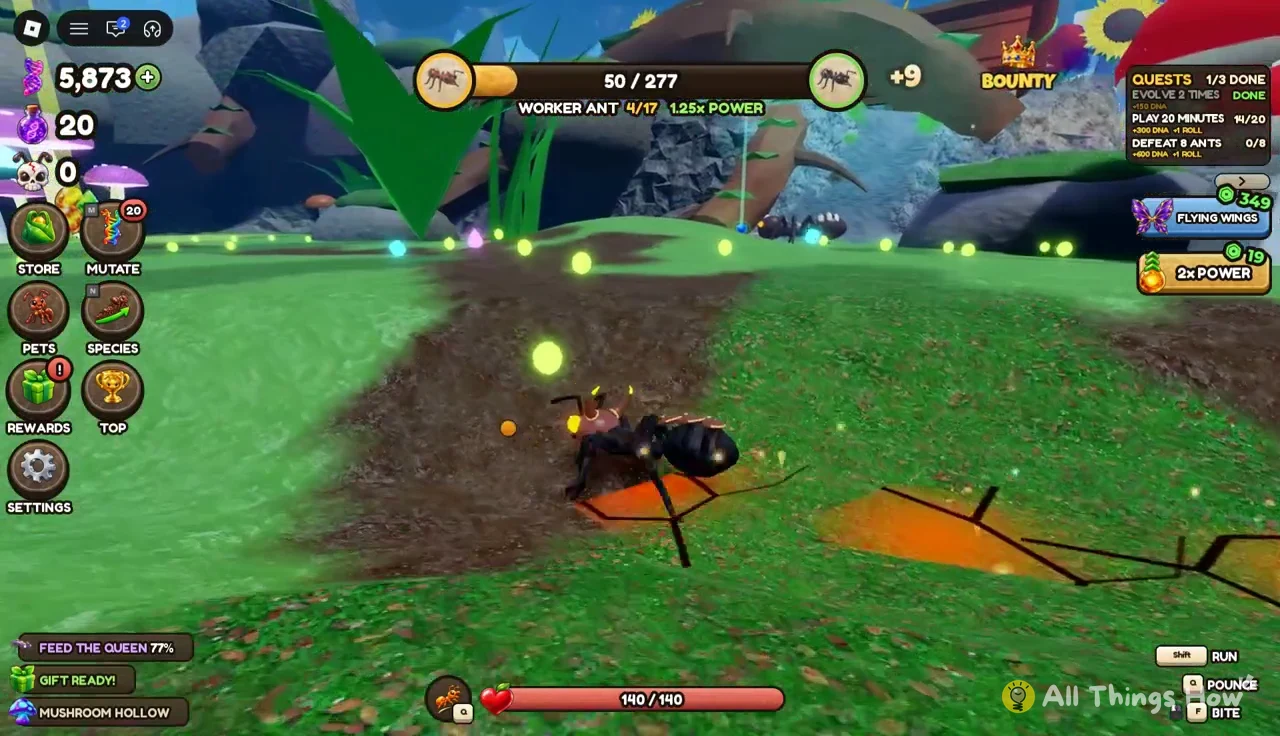
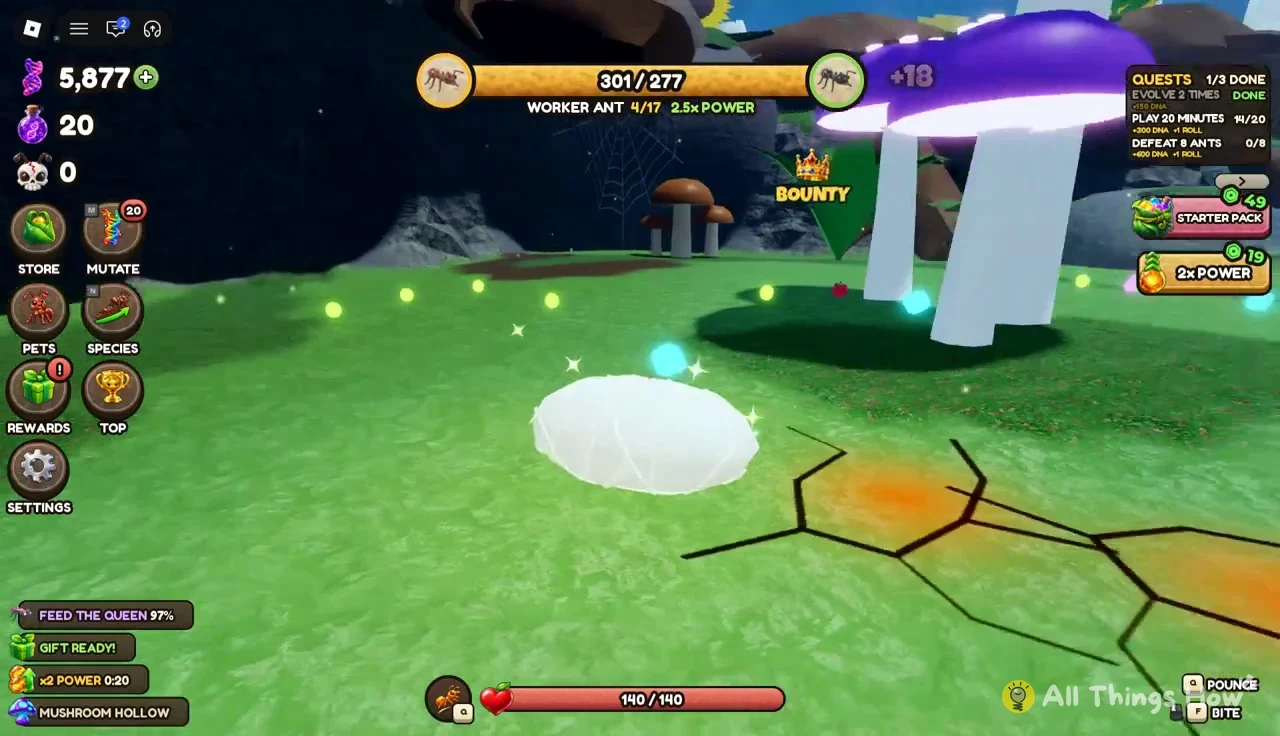
The same death rule still applies, so a Carpenter Ant that gets eaten on the new run drops back to Worker Ant and has to refill the bar (290 Power is enough to evolve again).
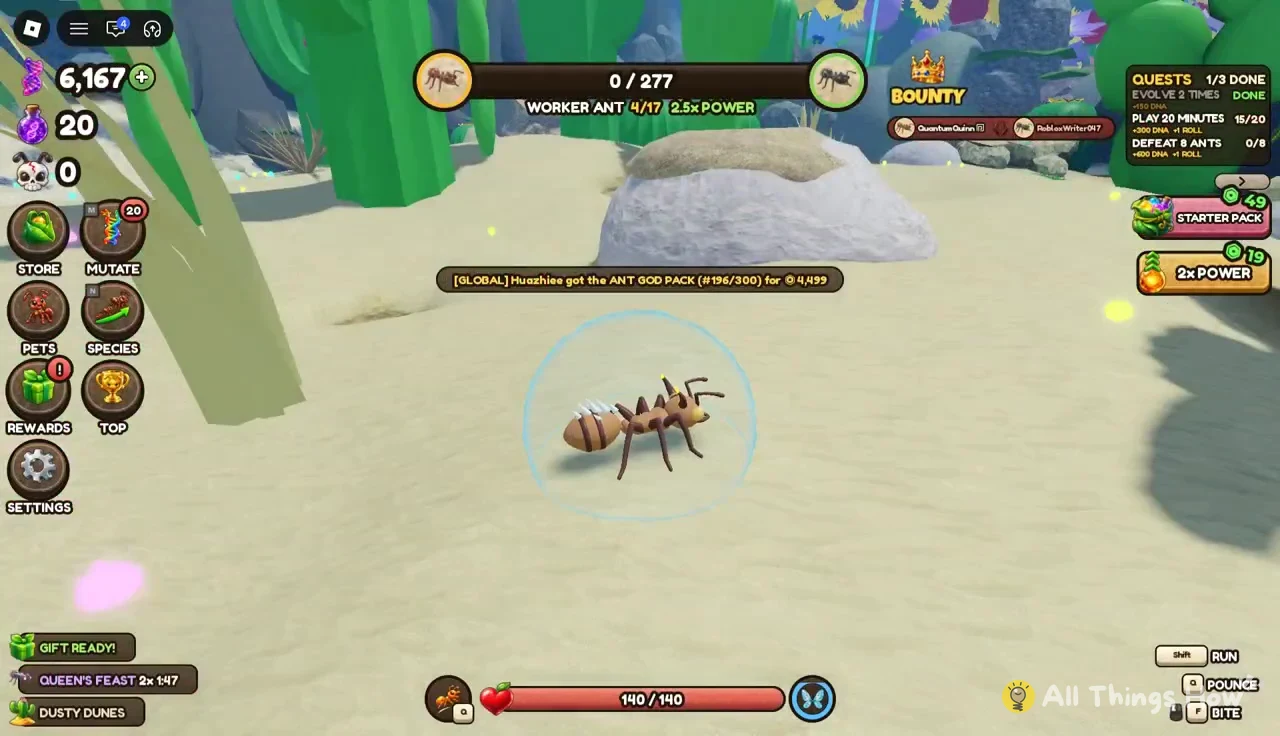
If you open Rebirth again, the panel shows NOT READY YET along with the next requirement, REACH THE SOLAR ANT AND FILL ITS BAR. The second rebirth works the same way, just one stage higher: climb all 17 forms, fill the Solar Ant bar, and confirm on the panel.