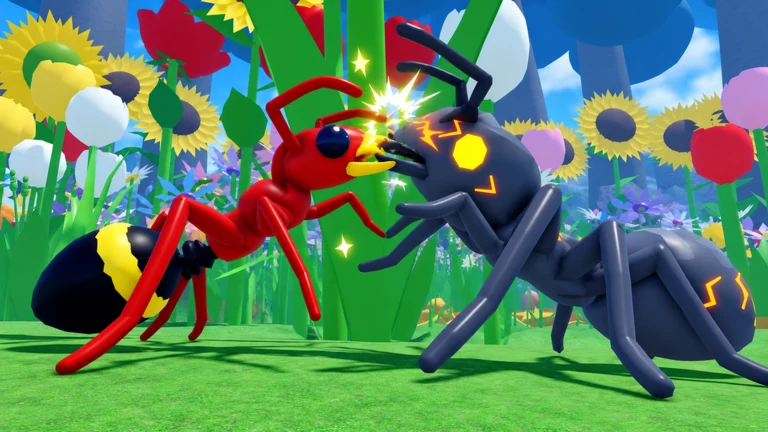
Fighting in Ant Evolution runs on three keys and one rule about size. You bite with F, fire your form’s special move with Q, and evolve with R the moment your power bar fills. Any ant three or more stages smaller than you can’t be attacked at all. Servers hold 10 players, so you’ll usually share Mushroom Hollow with ants both much bigger and much smaller than you. If one of the bigger ones eats you, you drop back down the ladder.
Quick answer: Bite with F, use your stage’s move with Q, and run with Shift. Only ants within two stages of you can fight you. Getting eaten knocks you down tiers, so evolve with R as soon as your bar fills.
Ant Evolution combat controls
The control strip at the bottom of the screen changes as you evolve, but the keys stay the same. Bite is your basic attack at every stage. The Q slot holds whatever move your current form unlocked, and the label updates on its own when you evolve.
| Key | Action | When it’s used |
|---|---|---|
| F | Bite | Basic attack on bugs and ants |
| Q | Stage move | Roll, Pounce, Charge, Swarm and others |
| Shift | Run | Closing distance or getting away |
| R | Hatch, Evolve, Rebirth | When the prompt shows on your bar |
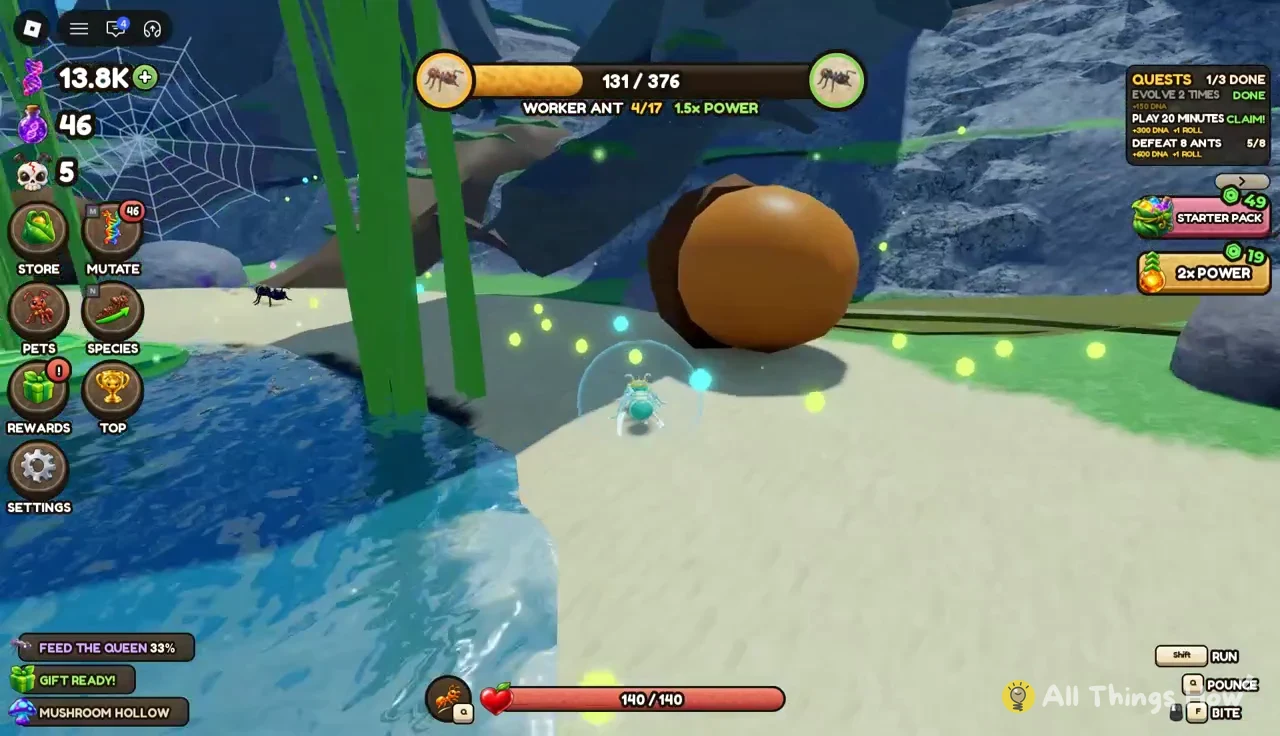
Early on, the Worker Ant’s strip shows Run, Pounce and Bite. Pounce comes from Baby Ant, and you keep it until a new form puts its own move in the Q slot.
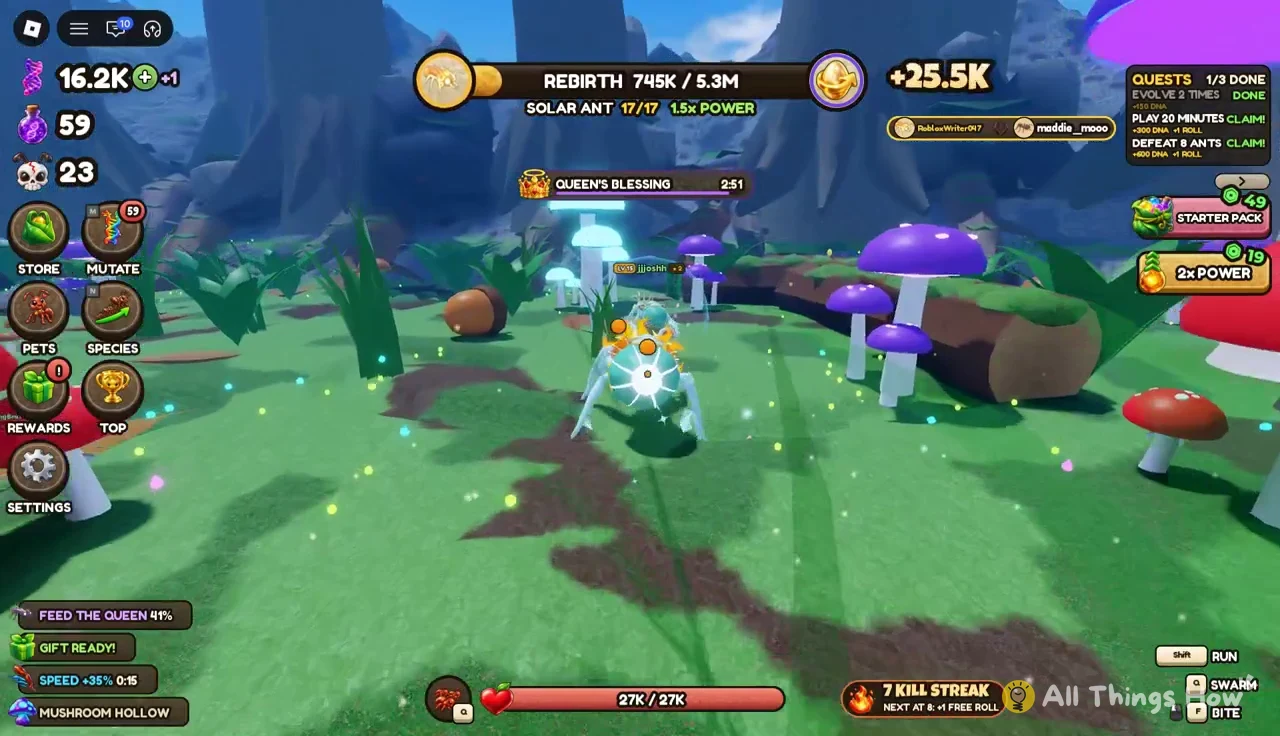
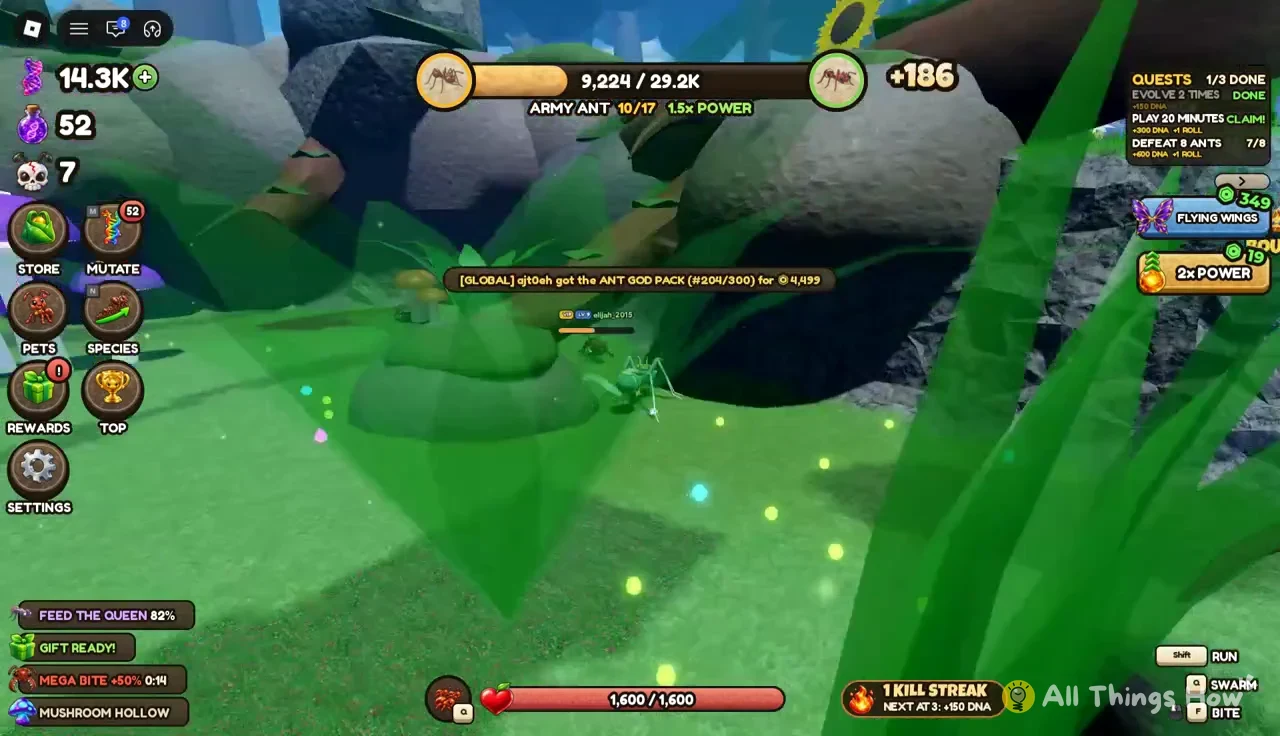
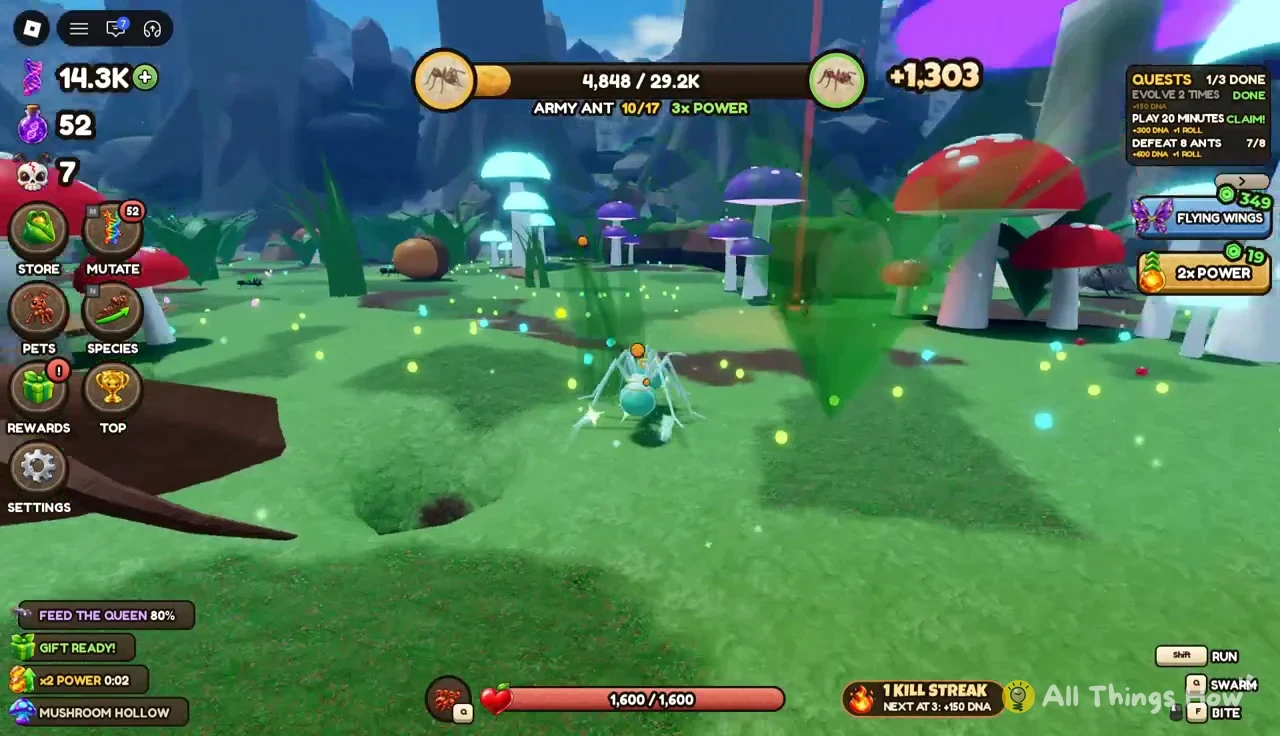
Later forms show the same layout with a different Q move. When Army Ant unlocks Swarm, the strip reads Shift for Run, Q for Swarm and F for Bite, and it stays that way through the bigger forms that follow.
Bite is a close-range attack, so you need to be right up against your target. The F prompt shows whenever something you can hit is in front of you, whether that’s a small bug or another player’s ant.
Who you can attack: The three-stage protection rule
Ant Evolution blocks fights between ants that are too far apart on the ladder. If you try to go after an ant that’s three or more stages smaller than you, the game shows “Too small to fight! Ants 3+ stages smaller than you are protected.” and the attack doesn’t land. That protection works in both directions. A Titan Ant can’t hunt a Baby Ant, and a Baby Ant can’t chip at a Titan.
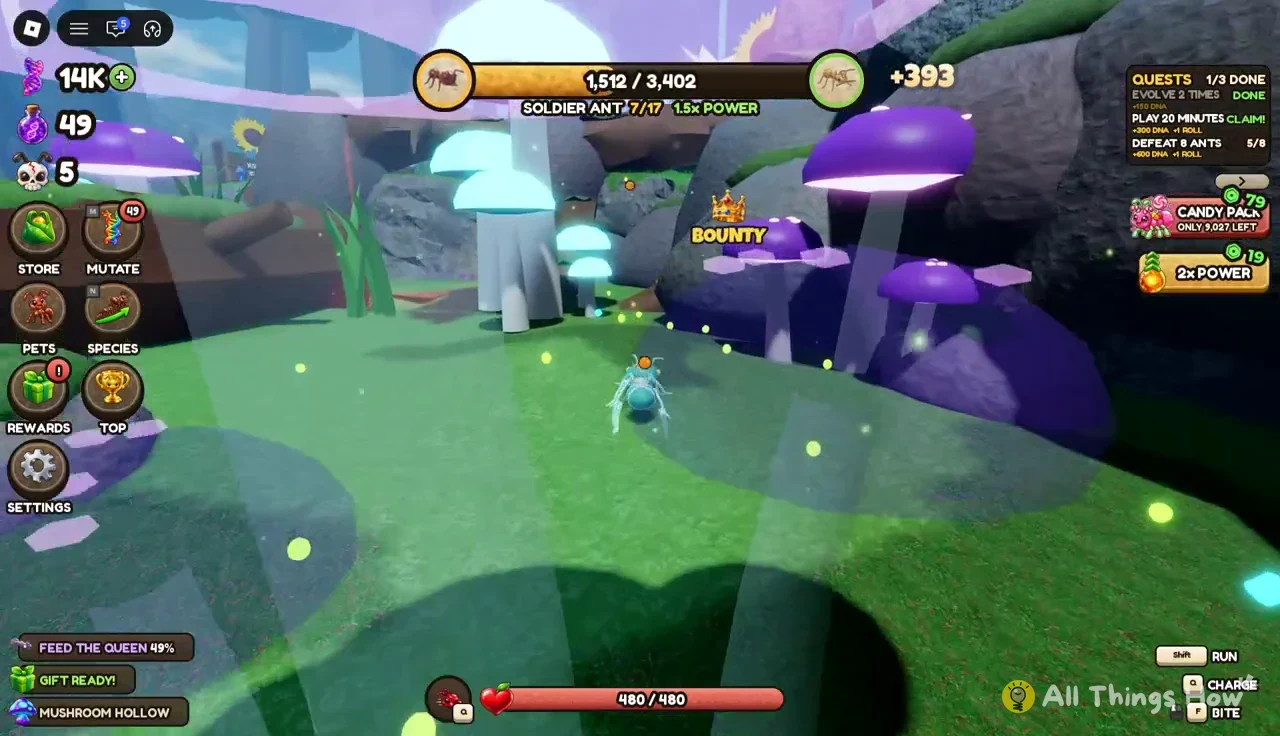
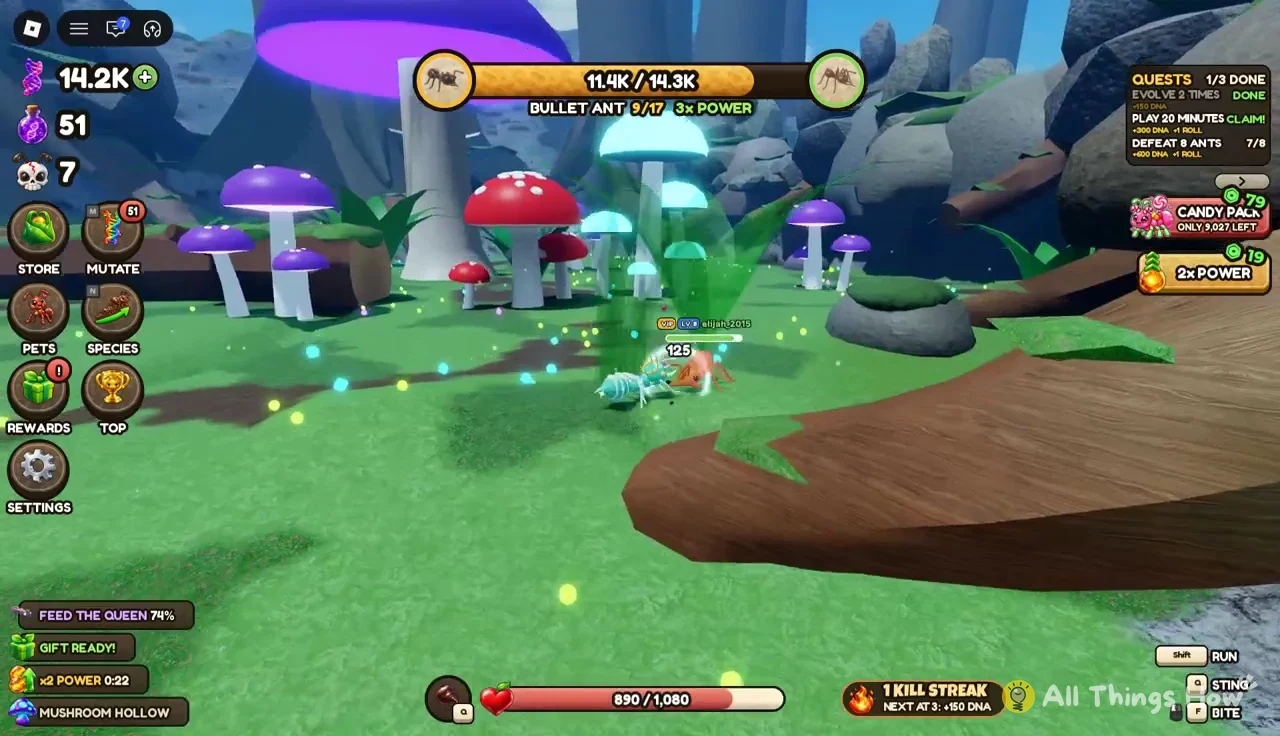
In practice, your real threats are ants within two stages of you, including the ones one or two stages ahead. Your stage number sits on the top bar next to your form’s name (for example, “SOLDIER ANT 7/17”), and each ant has an overhead nameplate, so you can check how close a rival is before you commit to a fight. Ants also show blue circular shields around them, and red rings mark bigger bug targets.
Watching the stage counter matters most right after you evolve, because the jump can push small ants you were fighting out of your reach and pull bigger ants into range.
Combat moves unlocked at each evolution stage
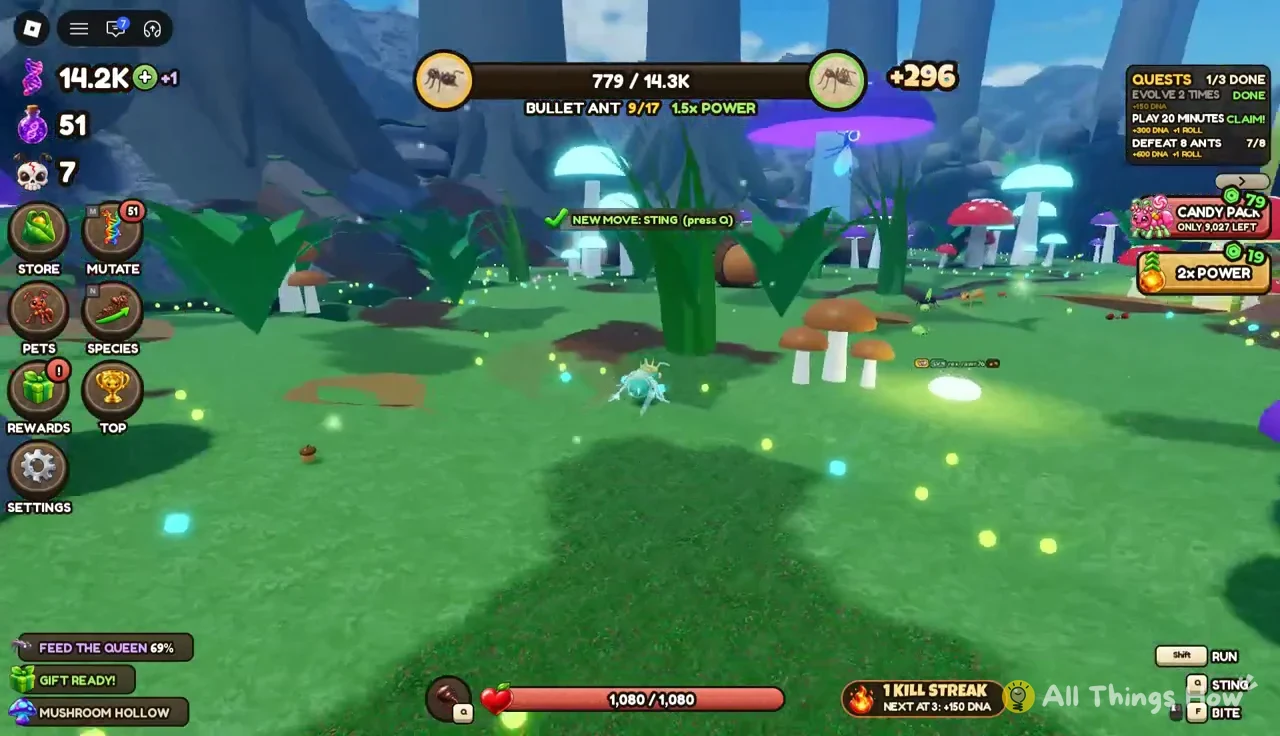
Before your first rebirth there are 17 stages, and after rebirth there are 18. Each new form has more health and a bigger body, and several of them swap in a new Q move. The game announces each one with a “NEW MOVE: [name] (press Q)” banner as soon as you evolve.
| Stage | Form | Q move |
|---|---|---|
| 1 | Ant Egg | None |
| 2 | Larva | Roll |
| 3 | Baby Ant | Pounce |
| 4 | Worker Ant | Pounce (kept) |
| 5 | Carpenter Ant | Leaf Shield |
| 6 | Leafcutter Ant | Leaf Shield |
| 7 | Soldier Ant | Charge |
| 8 | Trap-Jaw Ant | Jaw Snap |
| 9 | Bullet Ant | Sting |
| 10 | Army Ant | Swarm |
| 11 | Bulldog Ant | Swarm (kept) |
| 12–17 | Siafu Warlord to Solar Ant | Bigger bites and size |
Baby Ant to Leafcutter Ant
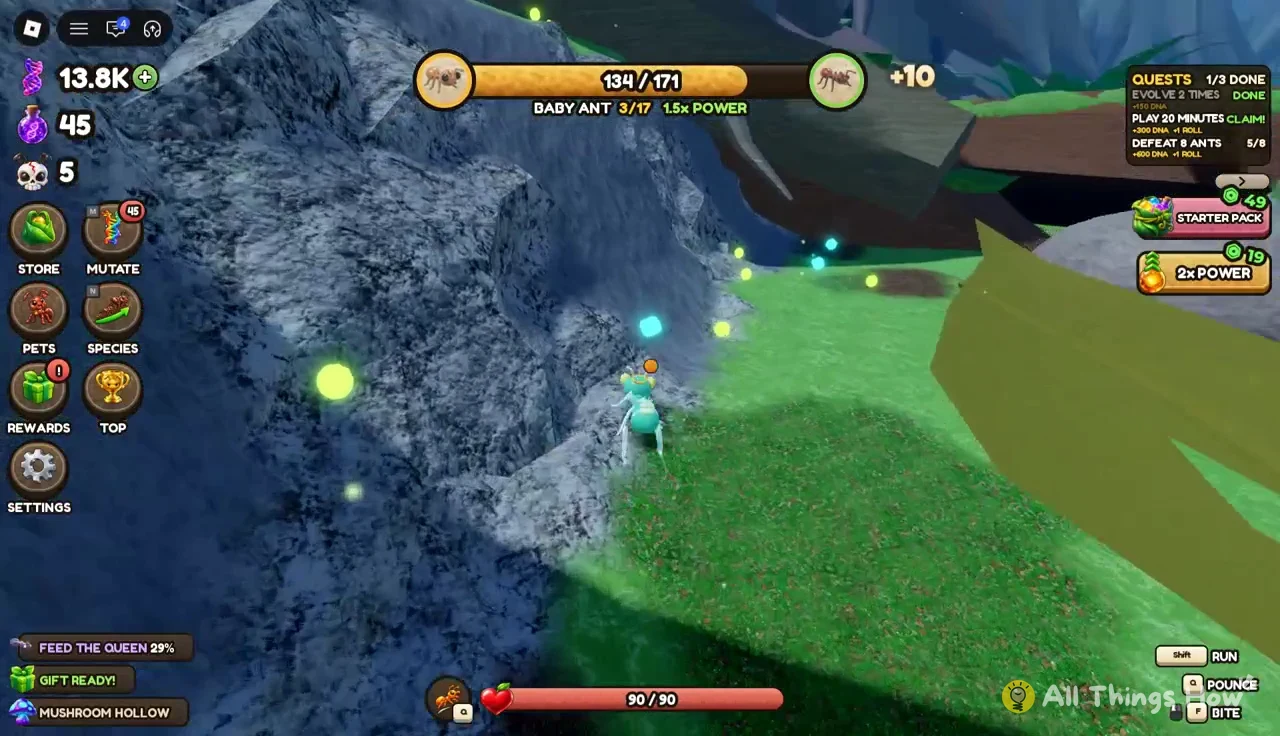
The early forms spend most of their time eating. Glowing orbs in green, blue, yellow and pink are spread around Mushroom Hollow, and each one adds to your power bar. Baby Ant brings Pounce, which you’ll use to jump onto food and onto small ants close to your size.
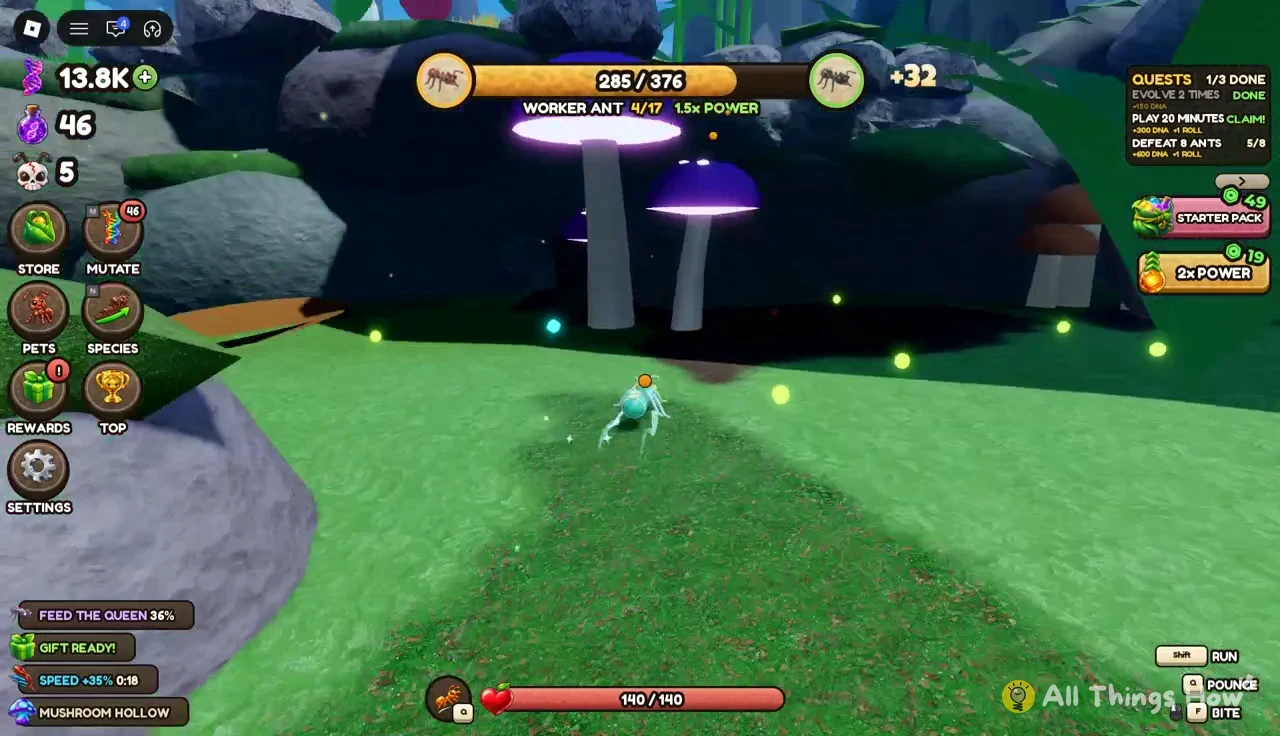
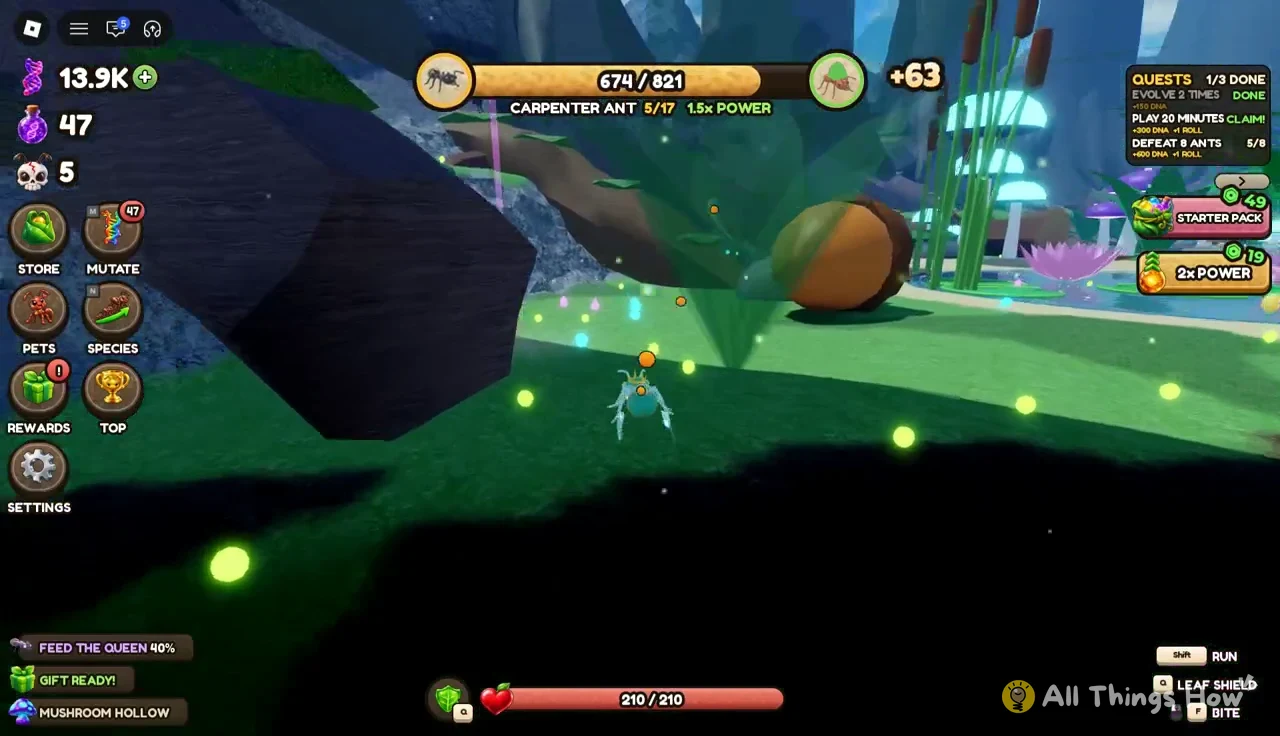
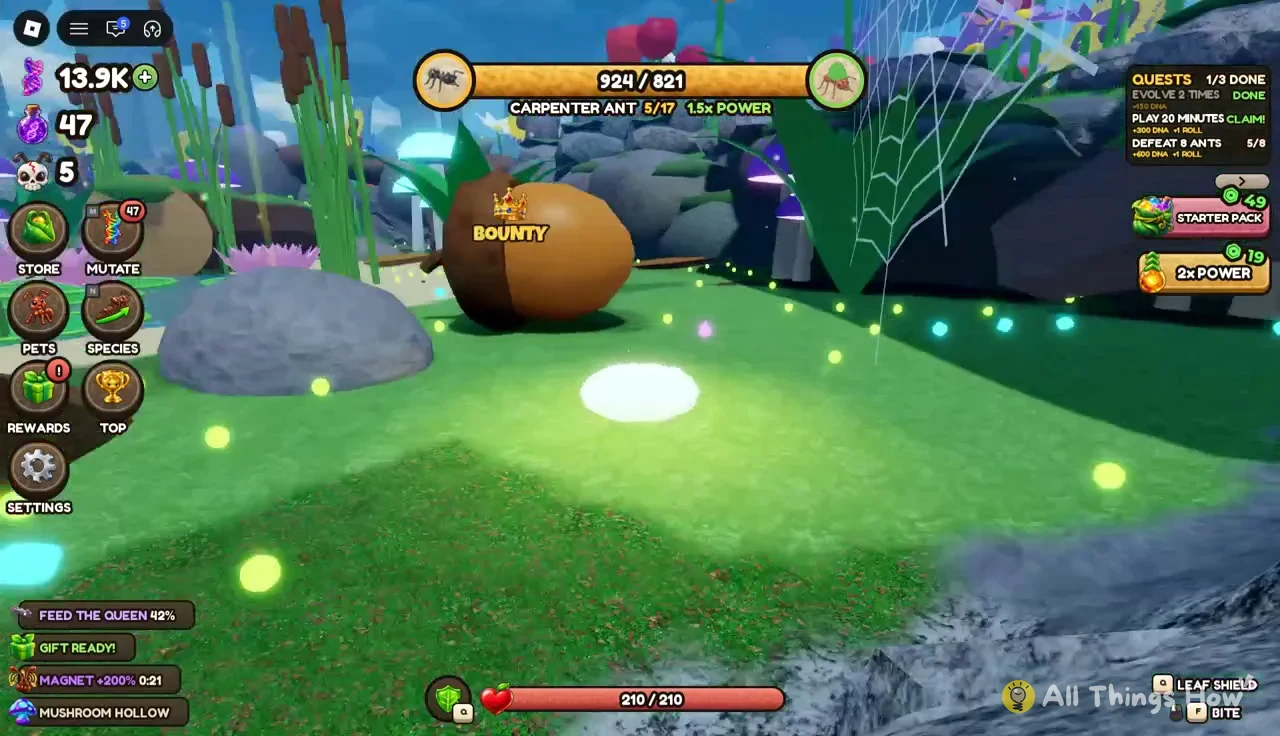
Carpenter Ant swaps Pounce for Leaf Shield, the first defensive move on the ladder, and Leafcutter Ant keeps it. These two forms are where other players start picking fights, so Leaf Shield is the move to use when a slightly bigger ant comes at you while you’re farming. A Bounty marker also shows up in the hollow around this point, and you’ll see it hanging over targets on the map.
Soldier Ant to Bullet Ant
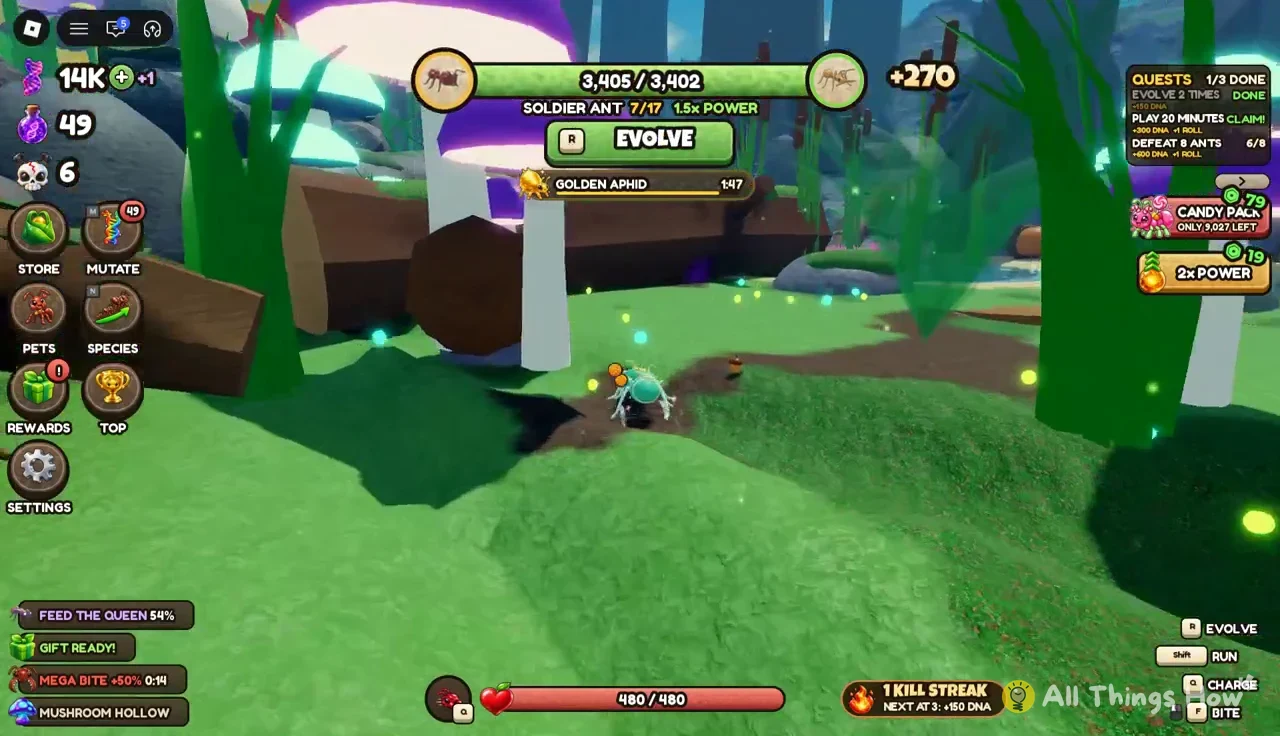
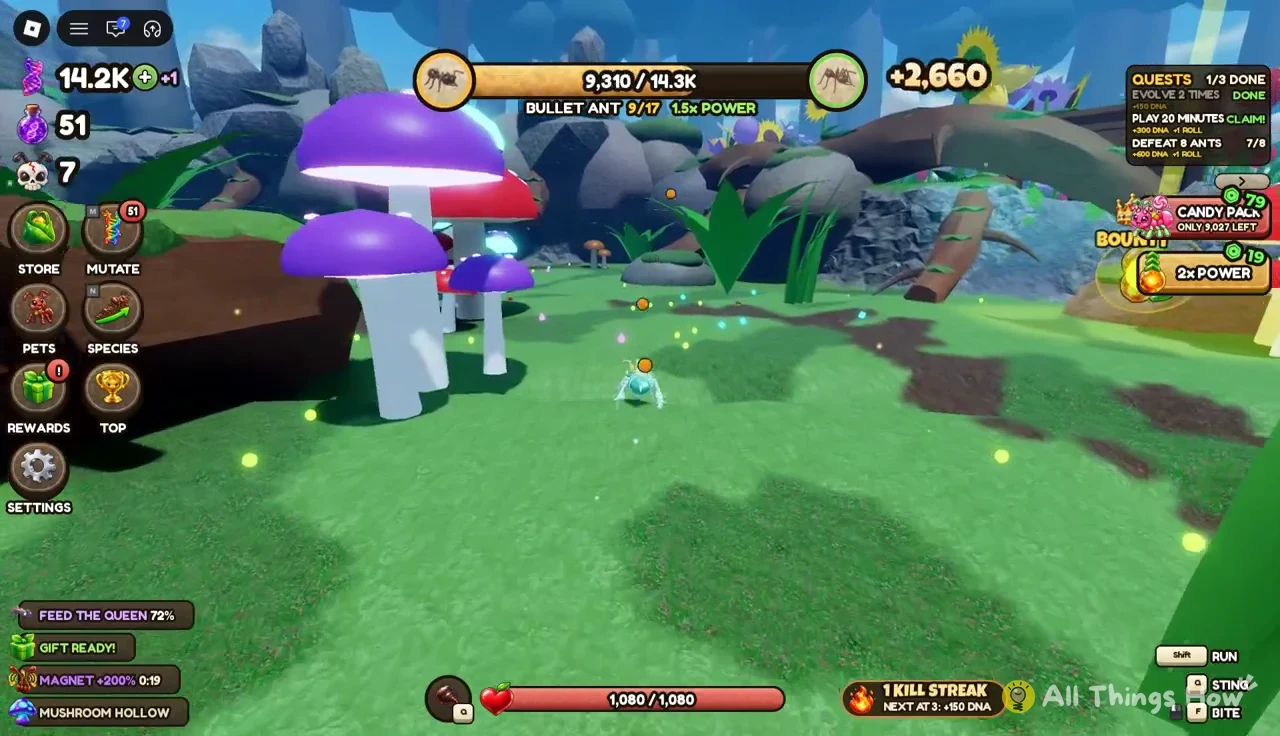
Soldier Ant is where Ant Evolution’s combat really opens up. Charge sends you forward at your target, which is how you close the gap on ants trying to run away and how you get into green bugs before they wander off.
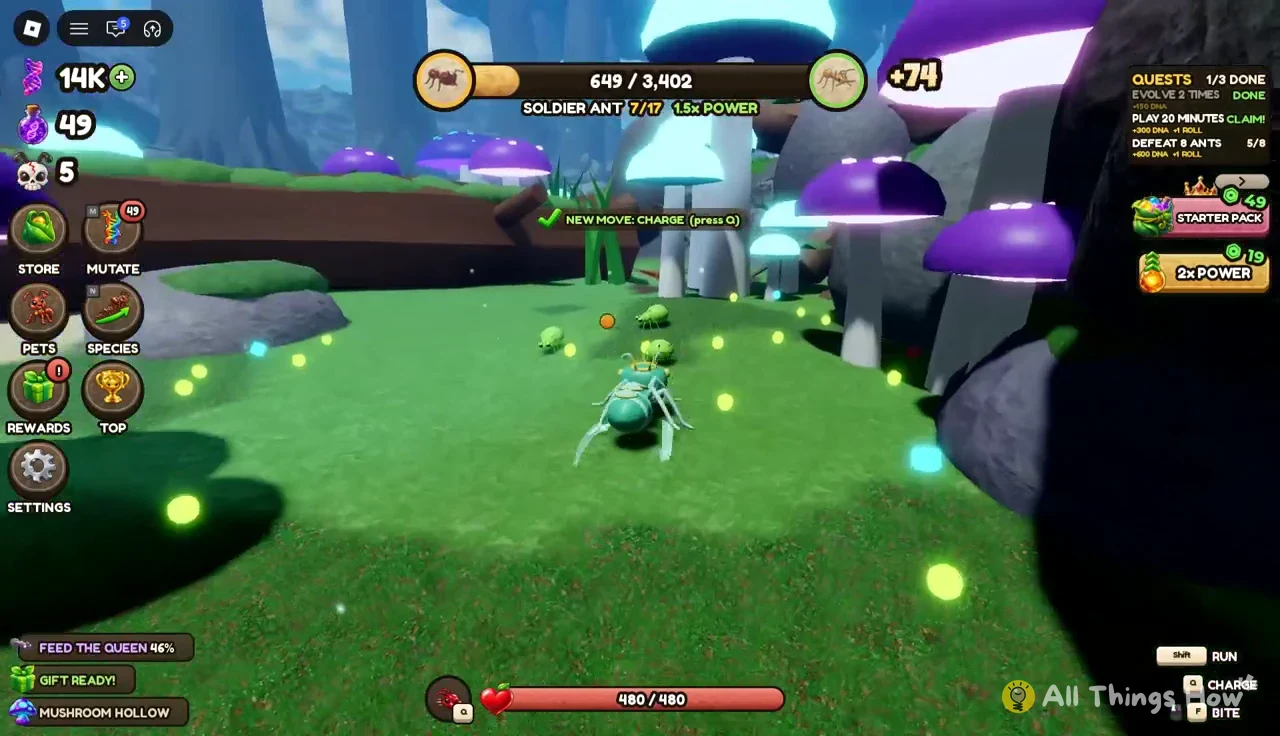
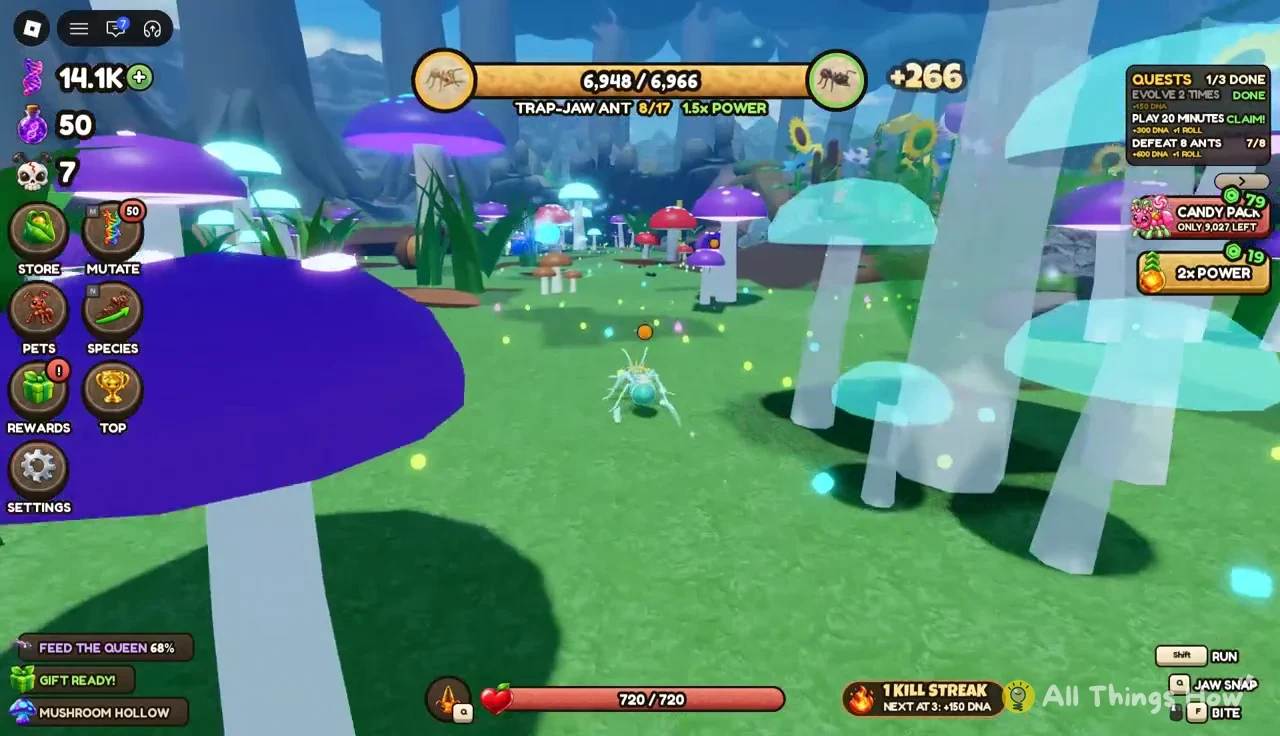
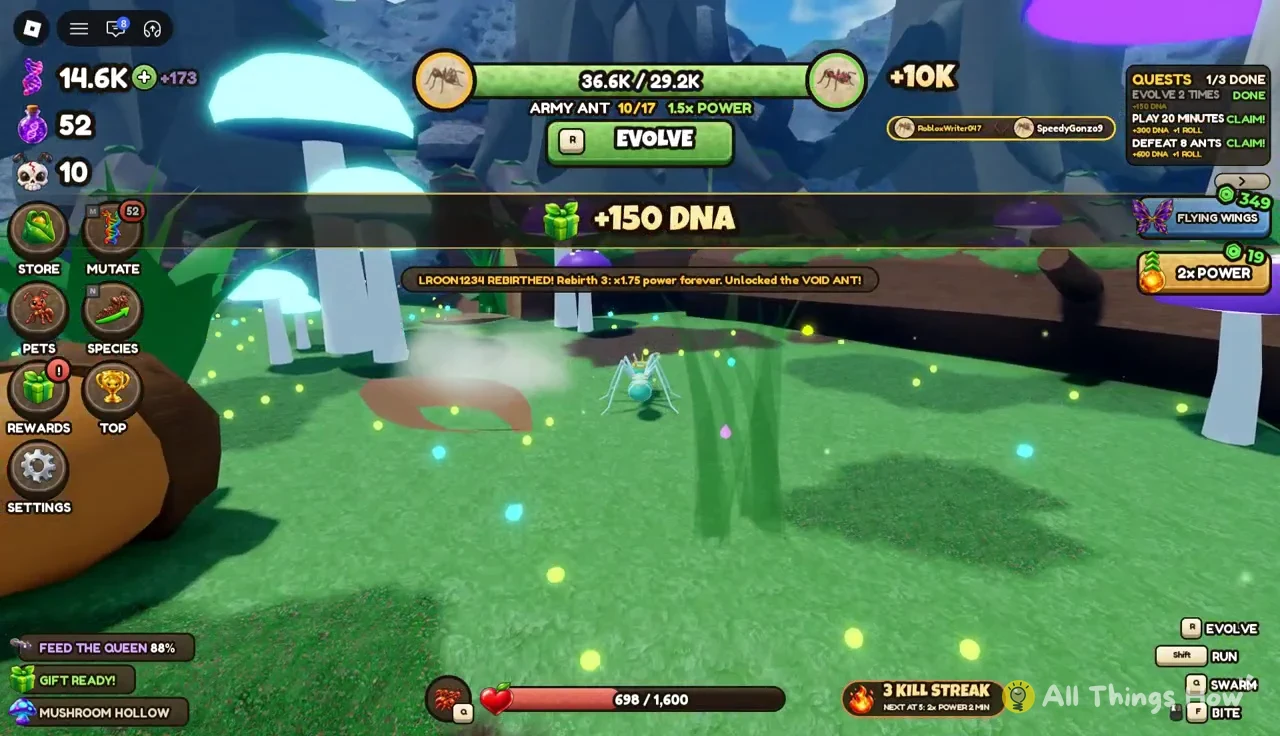
When your bar goes past its target, the evolve panel shows a green Evolve button and R starts the evolution. Trap-Jaw Ant brings Jaw Snap, and Bullet Ant follows with Sting. Both are hard-hitting moves you’ll use on bugs and ants close to your size.
Army Ant and Bulldog Ant
Army Ant unlocks Swarm, and Bulldog Ant keeps it in the Q slot. Swarm is the move for fights with several ants at once, and it’s the stage where kill streaks start stacking up. Each kill in a row adds to your streak, and the streak pays out bonuses as it grows. Quests that count kills, like “Defeat 8 Ants,” track your progress on the left side of the screen.
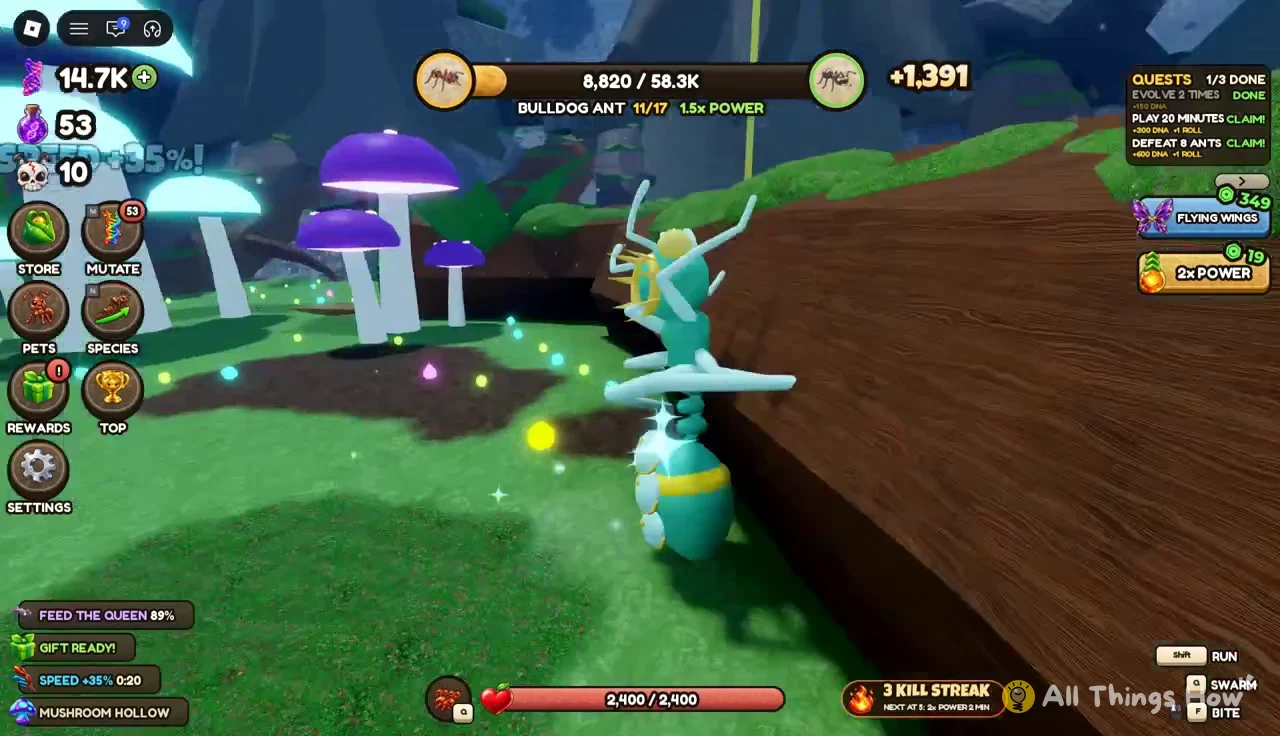
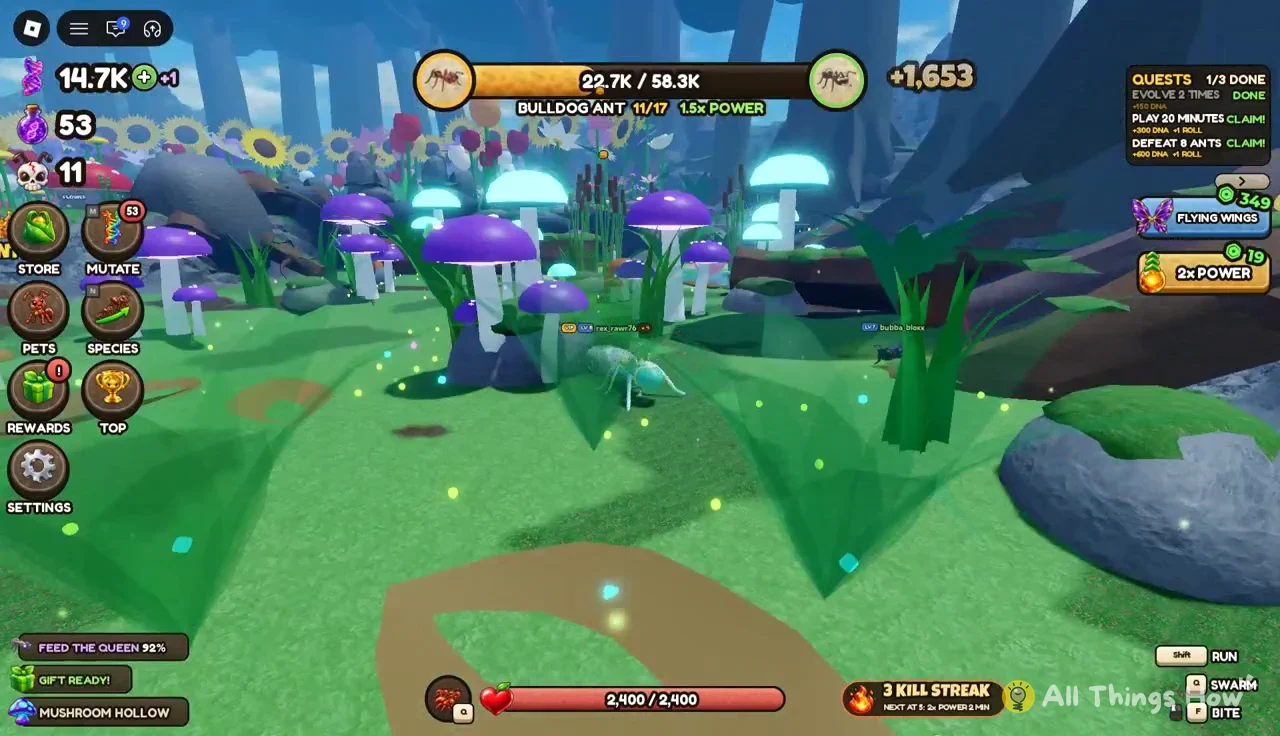
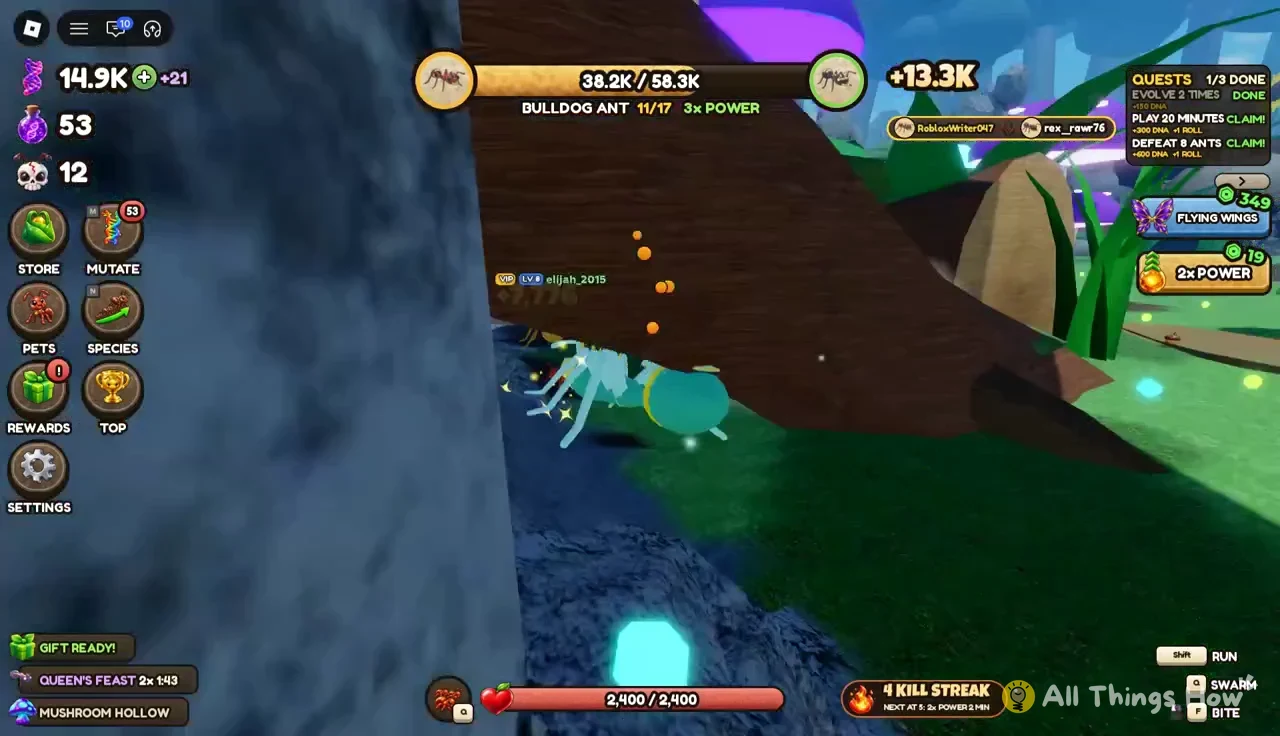
Bulldog Ant fights mostly happen down among the giant tree roots. The numbers get big here, with single kills and pickups adding over a thousand power, and Bulldog-sized rivals carry health pools in the tens of thousands, so expect fights to take several bites.
Siafu Warlord to Solar Ant
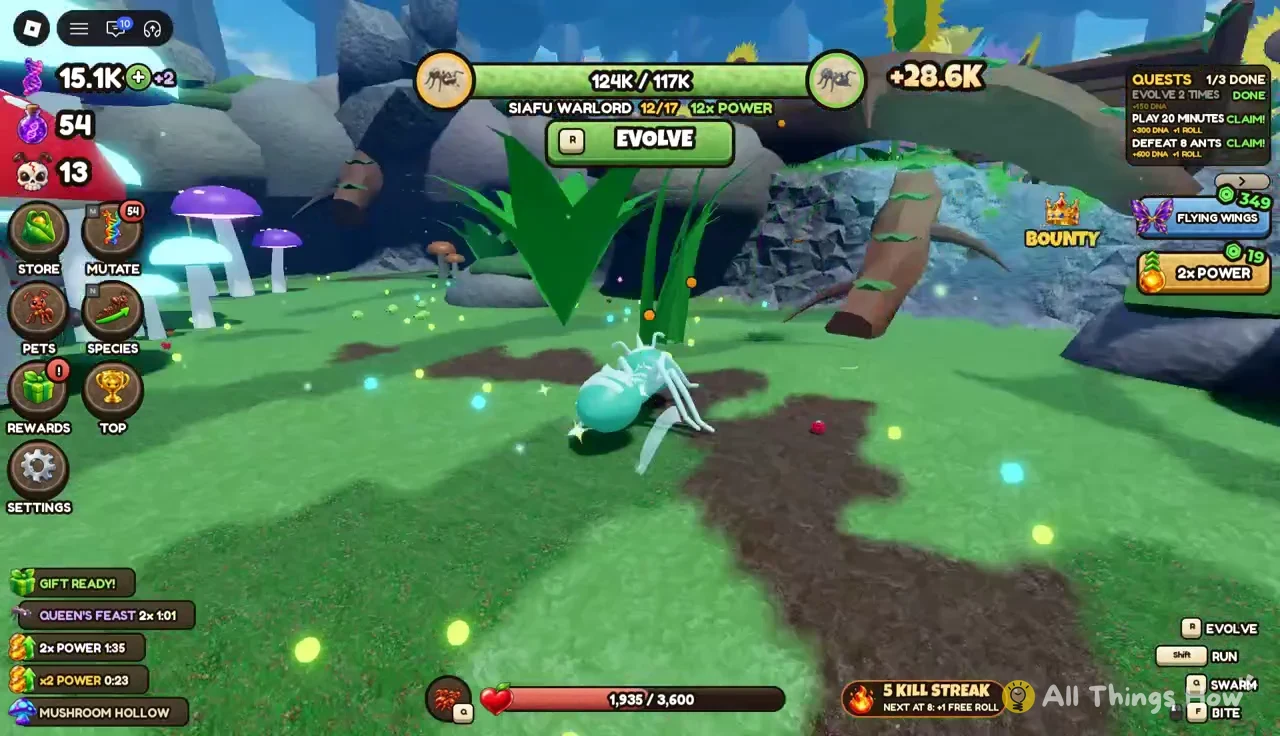
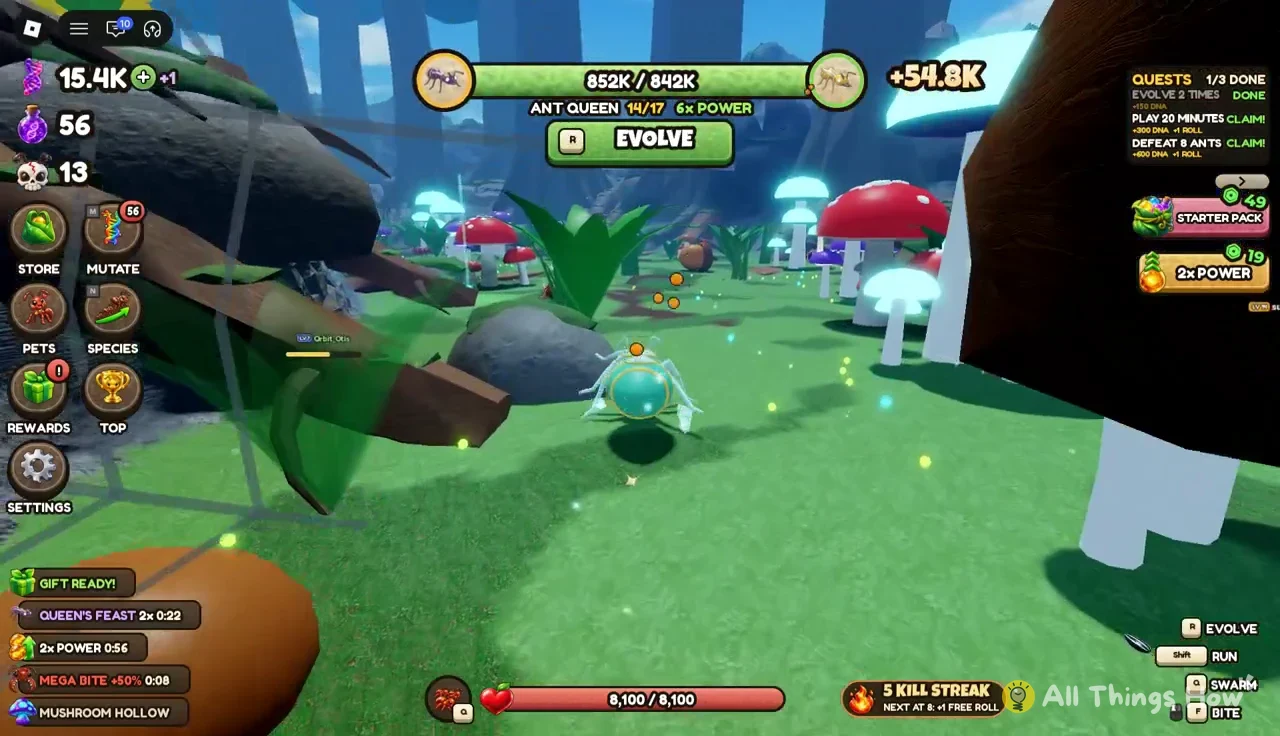
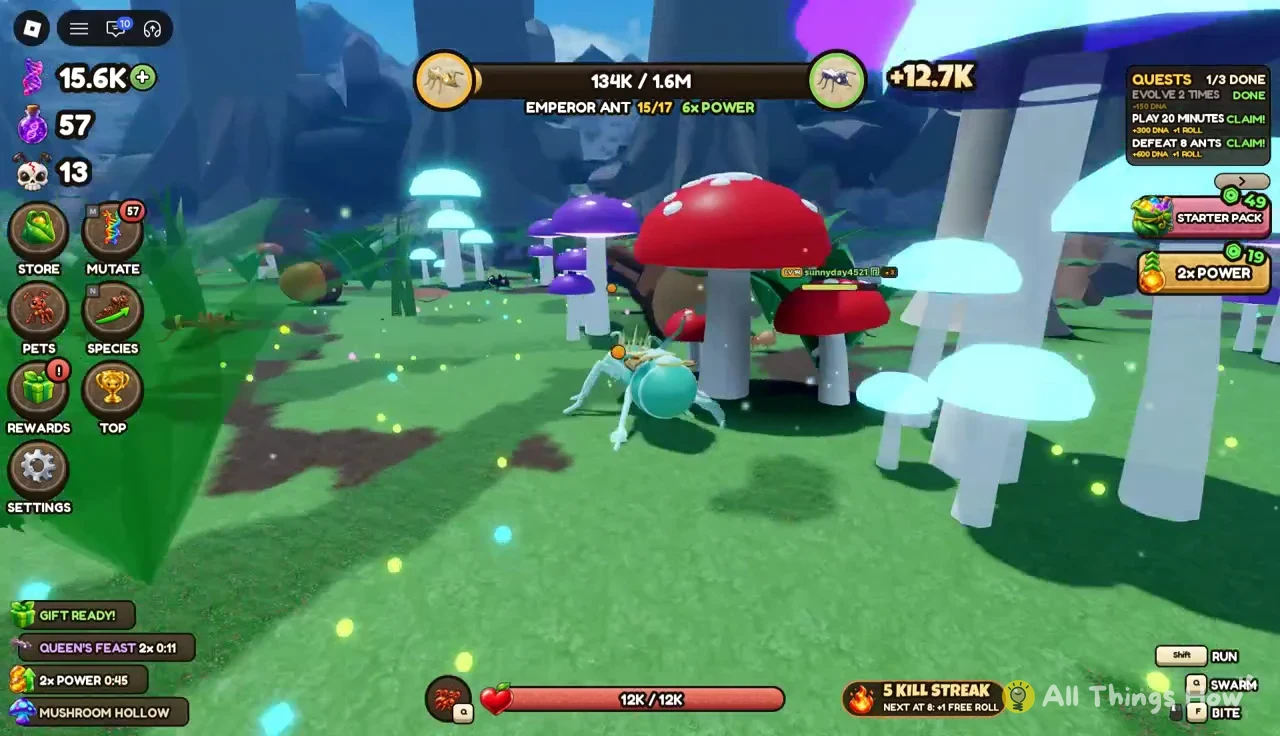
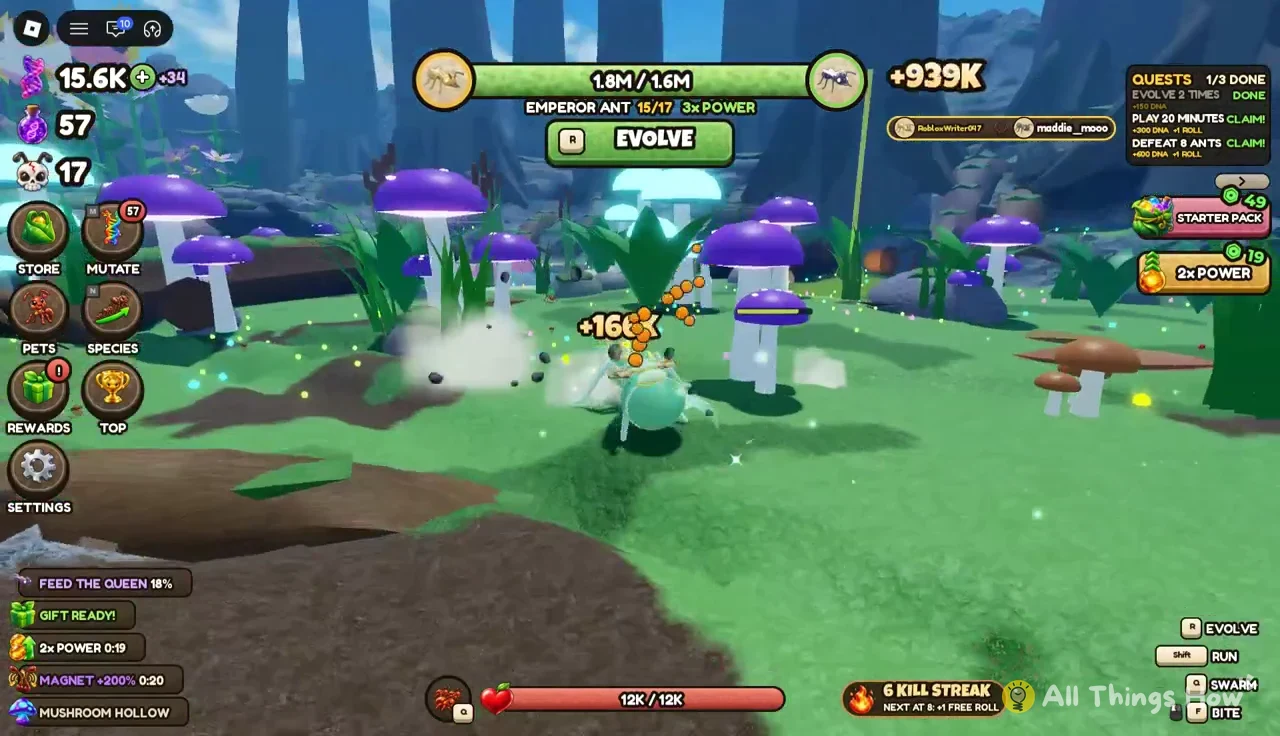
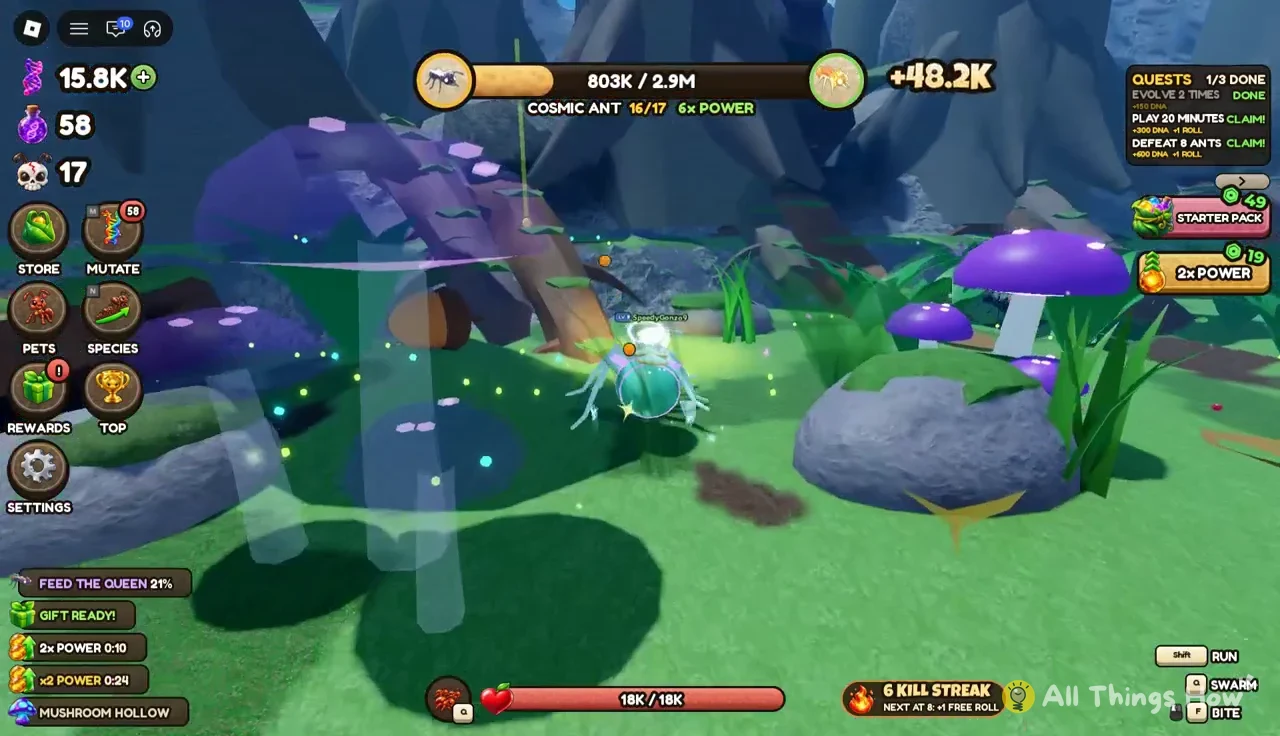
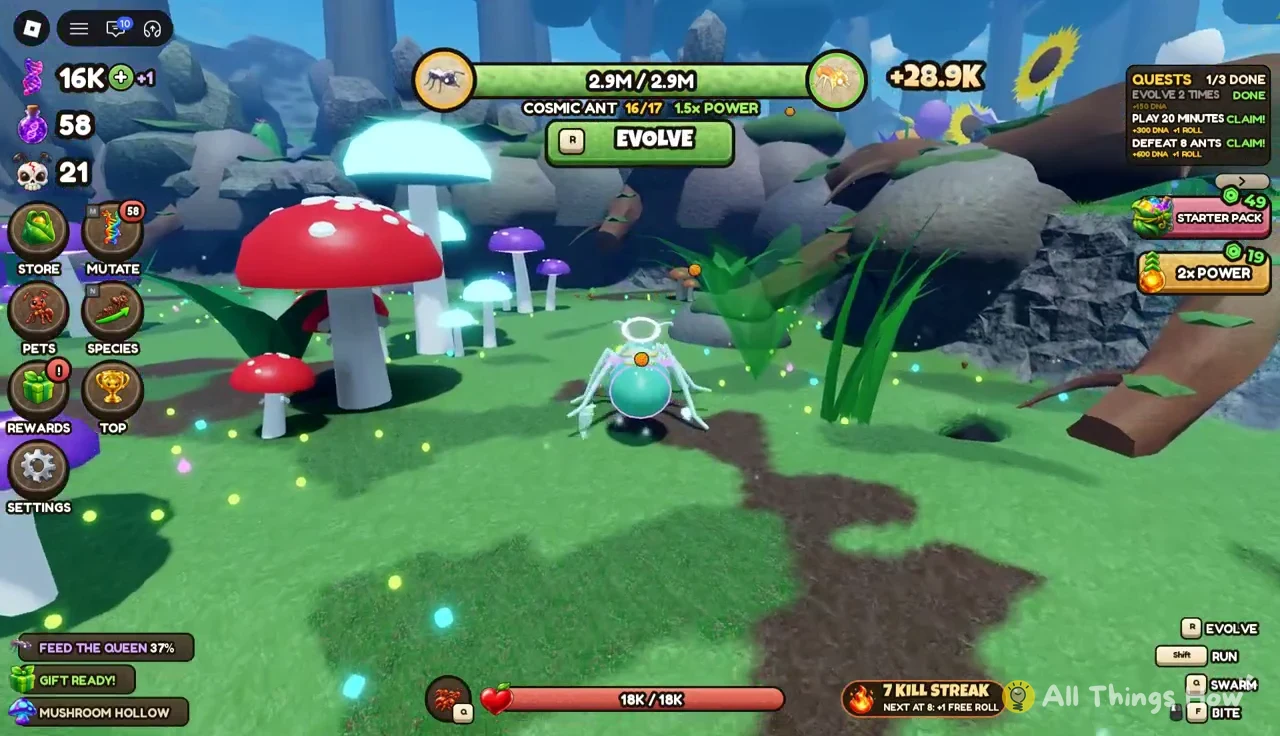
From Siafu Warlord onward, the ladder goes Titan Ant, Ant Queen, Emperor Ant, Cosmic Ant and Solar Ant, the 17th and final stage before rebirth. These forms grow huge, and fights turn into group brawls between several big ants at once. Ant Queen’s bites cover a wide area, so you can hit more than one rival with a single attack. Power targets here run into the millions, with Emperor Ant needing 1.6M and Cosmic Ant 2.9M to evolve.
Buffs and server events that change a fight
Temporary power-ups sit around the map like food, and you grab one by running into it. A banner at the top of the screen tells you which one you picked up.
| Pickup | Banner | Effect |
|---|---|---|
| Speed | SPEED +35%! | Faster movement |
| Magnet | MAGNET +200%! | Wider food pull range |
| Mega Bite | MEGA BITE +50%! | Stronger bites |
| 2x Power | X2 POWER! | Doubles power gain |
Power boosts stack, and the multiplier next to your form’s name shows the total. With 1.5x as the base, one 2x effect takes it to 3x, a second takes it to 6x, and a third puts it at 12x. Those boosts are timed, so the number drops back as each one runs out.
Three server-wide events also show up, and each one changes who has the edge:
- Golden Aphid: “A Golden Aphid is loose! Catch it for a HUGE reward!” Every ant on the server goes after the same target.
- Queen’s Feast: When players fill the Feed the Queen meter, everyone gets x2 Power for 2 minutes, and helping feed her pays +240 DNA.
- Queen’s Blessing: Small ants get x3 power while it’s active, which helps freshly hatched or freshly eaten players catch up.
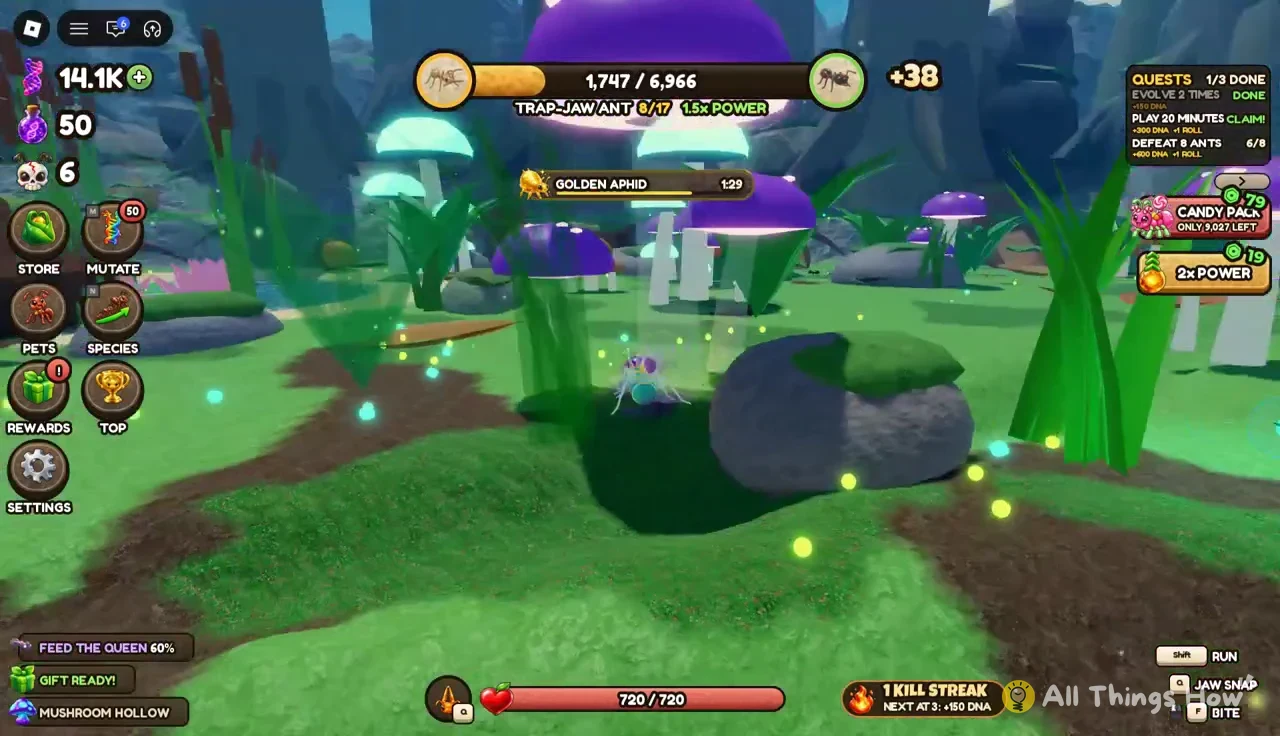
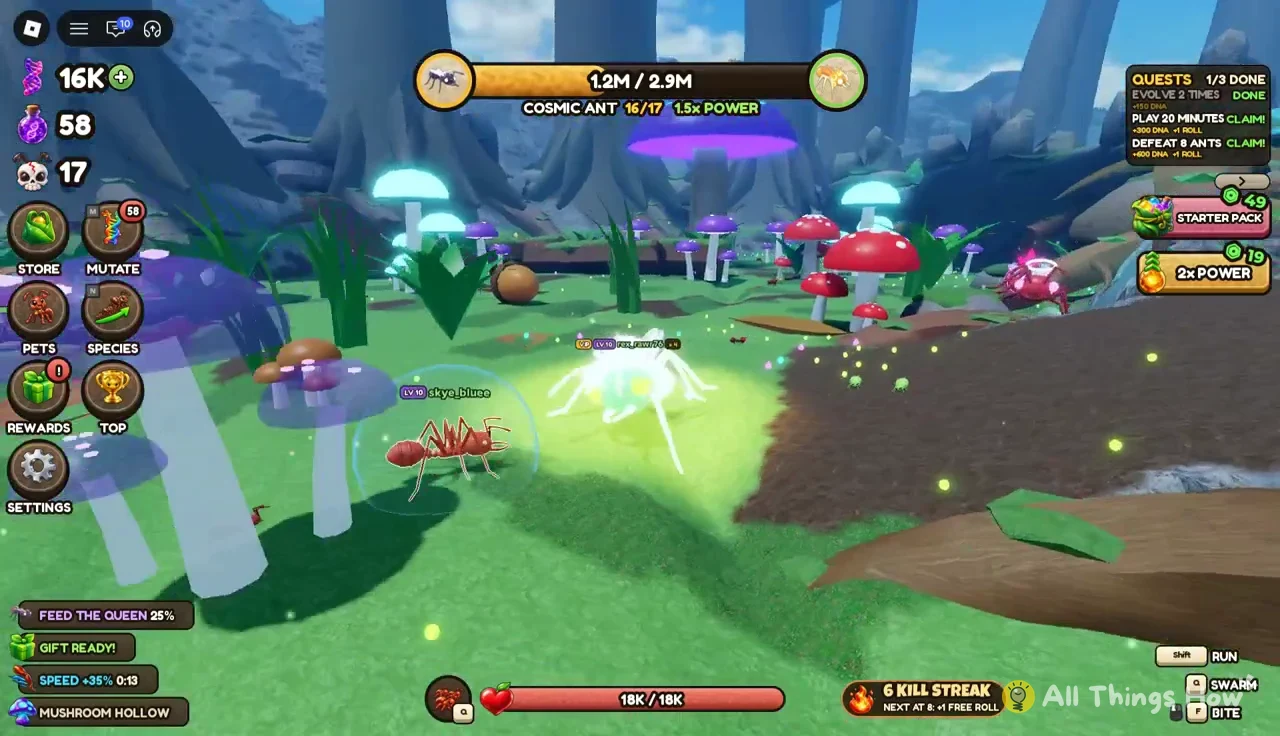
Beyond player ants, your bite targets include aphids, green bugs and the Golden Aphid. The game also has a Giant Mantis boss to take down. Bugs are a lower-risk way to keep your bar climbing when the bigger ants on the server are grouped up.
What happens when you get eaten
Losing a fight to another ant doesn’t just send you back to spawn. The game shows “EATEN!” along with the player who got you and the form you’ve dropped to, in the format “EATEN BY [player] DOWN TO SOLDIER.” You lose stages, not just health, and you either wait out a respawn countdown or take the paid revive prompt.
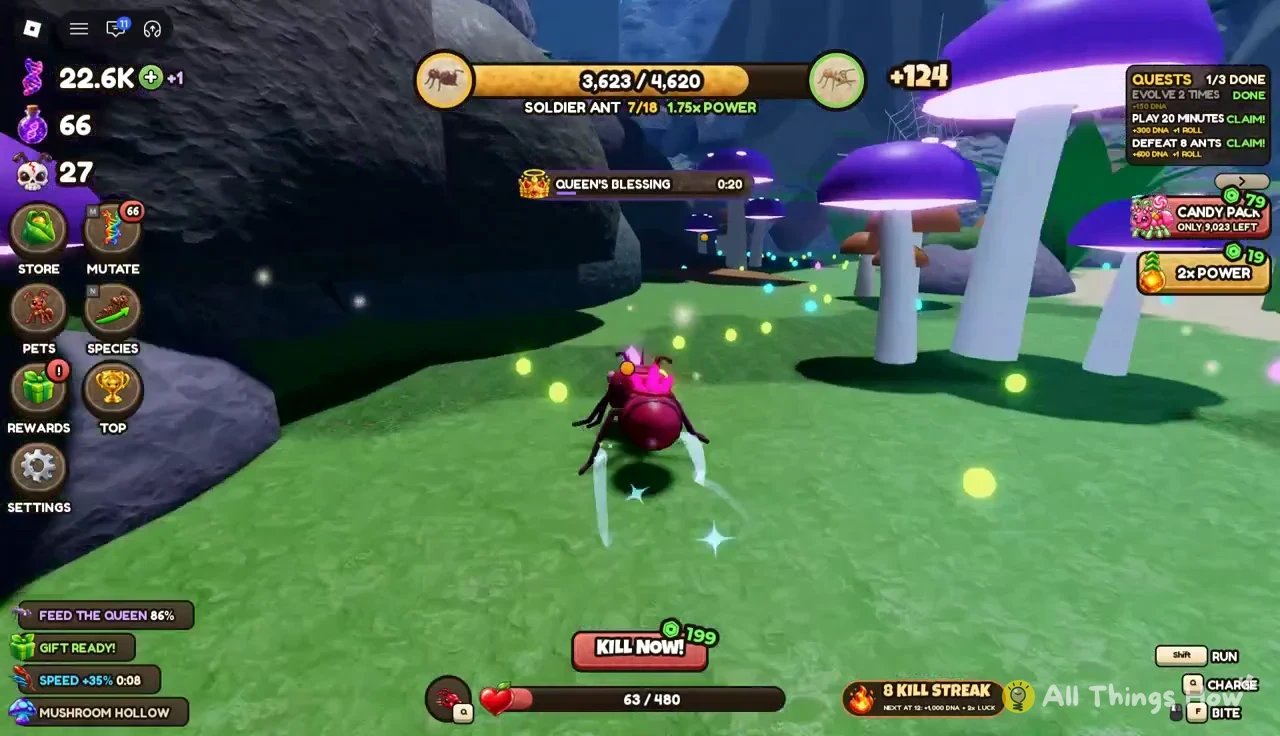
Your bar for the form you drop to also starts low. After a respawn as Soldier Ant, the bar sits at 344 out of 4,620, so you’re rebuilding that stage almost from scratch. The quickest way back is to farm orbs and bugs away from the crowd. You can also head out of Mushroom Hollow into Grass Meadow, Flower Field or Dusty Dunes, then retake Trap-Jaw Ant and Bullet Ant before going back to fight.
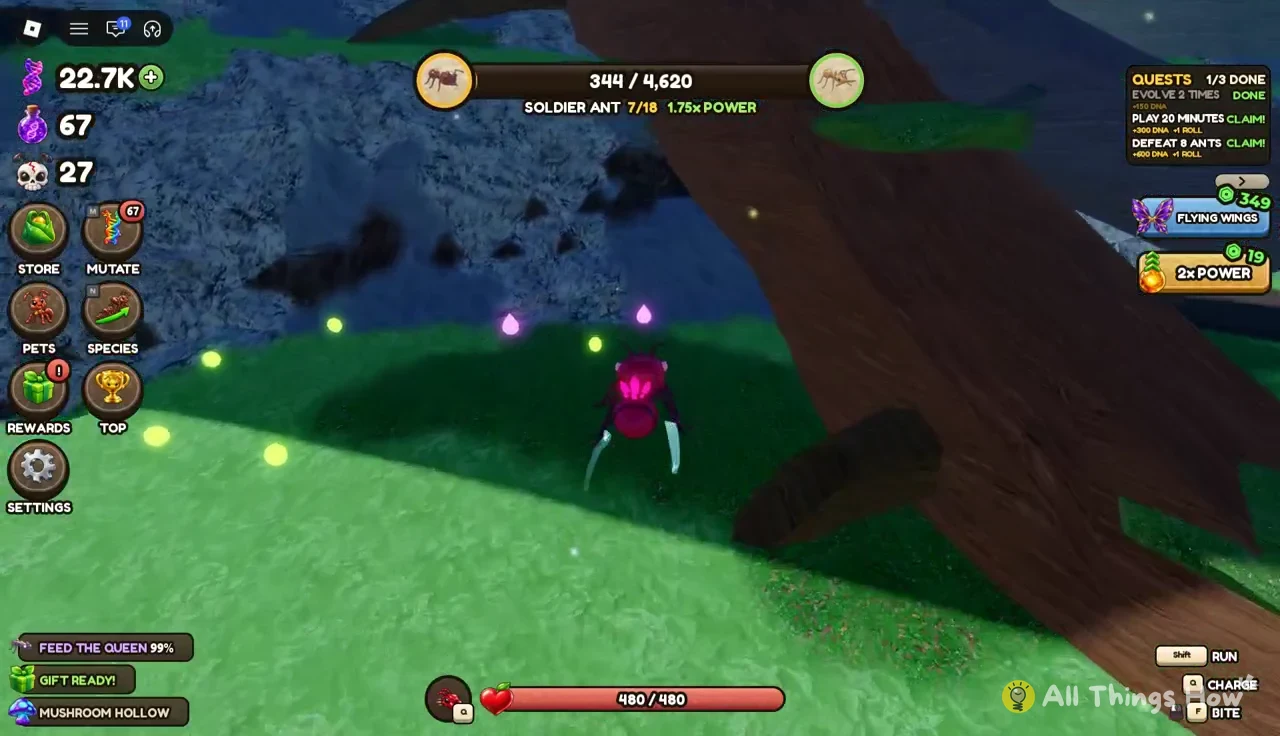
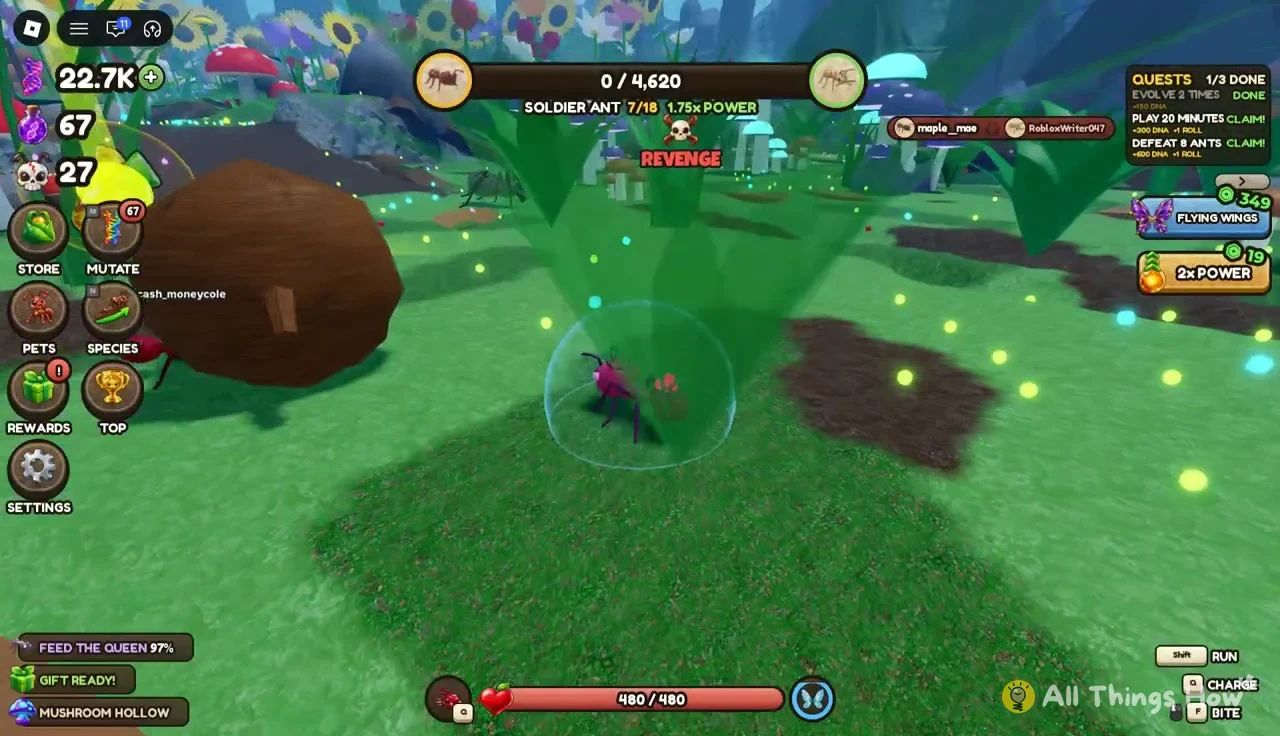
The demotion hits hardest when your bar is full and you haven’t evolved yet. Press R as soon as the Evolve prompt shows instead of carrying a full bar into a fight.
How to rebirth at Solar Ant for permanent combat power
Rebirth is how your base power keeps growing between runs, and it’s open once you reach Solar Ant, stage 17 of 17, and fill the total power requirement. For a third rebirth, that requirement is 5,346,000 power. The panel tells you when you’re there with “READY TO REBIRTH!” and your current total next to the target.
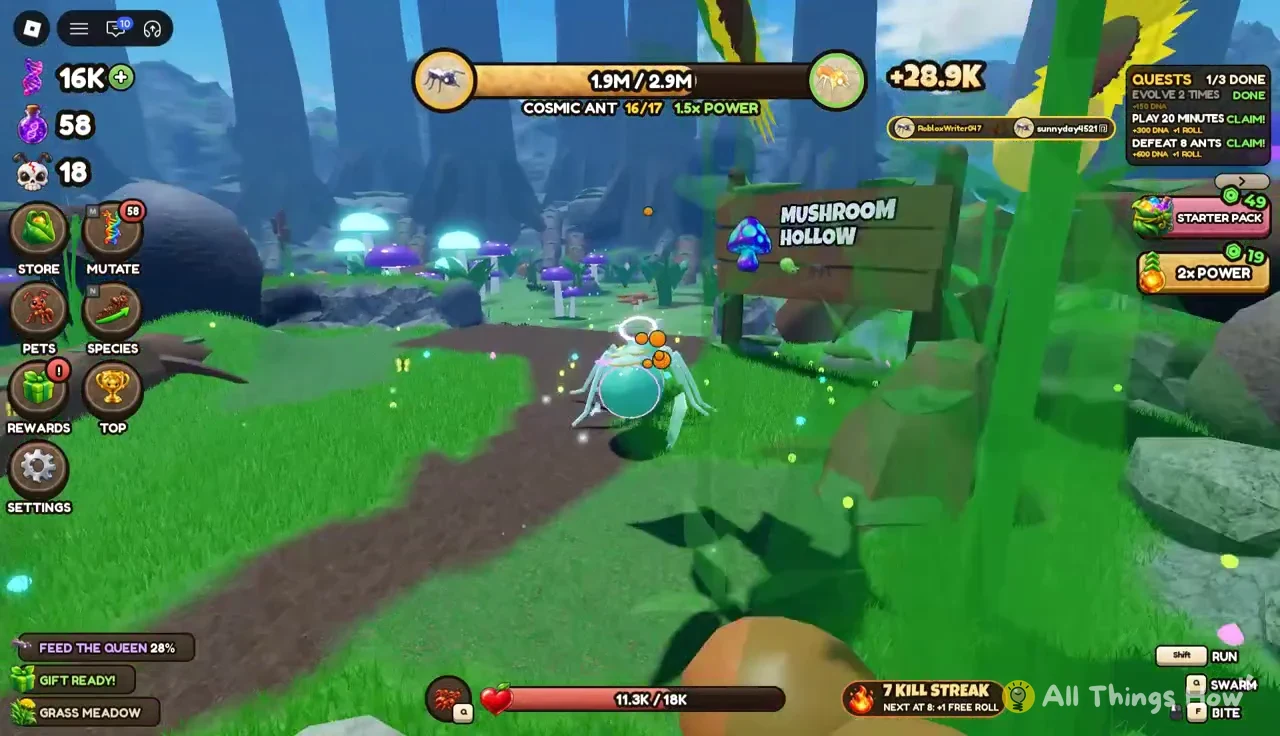
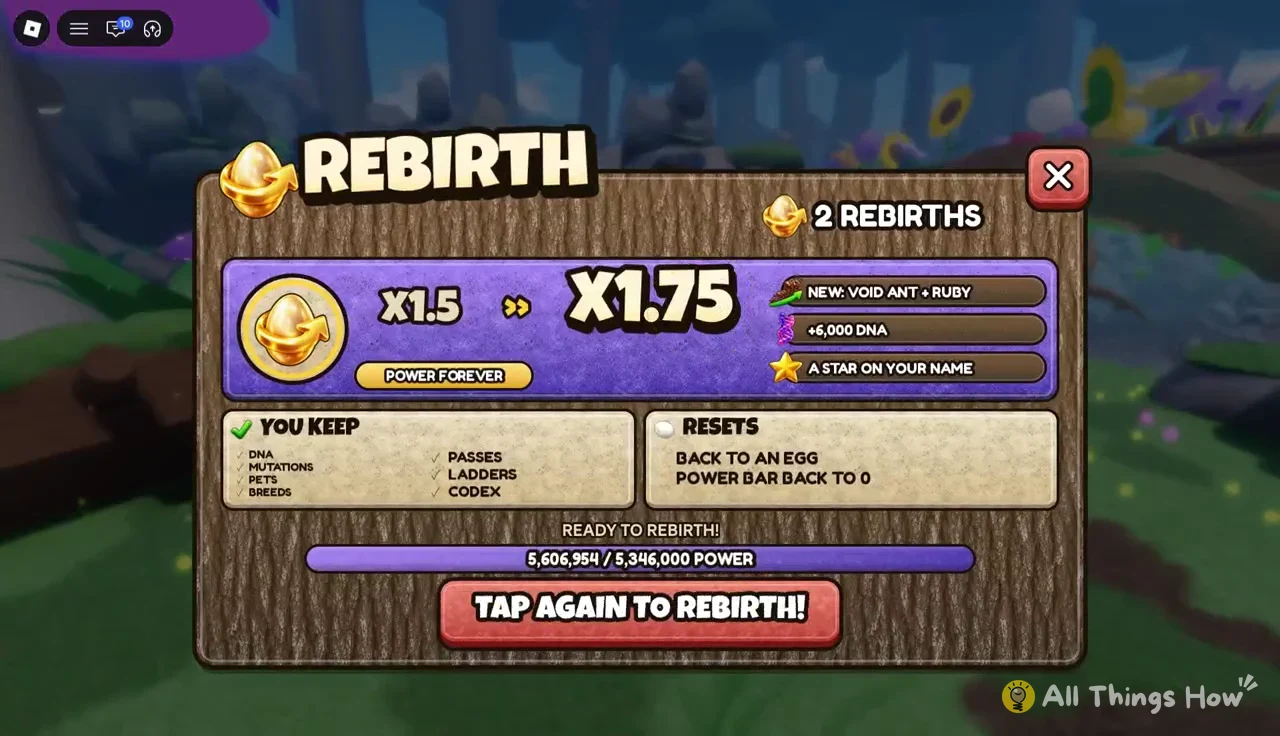
You’ll know it worked when the banner reads “REBIRTH! 1.75X POWER FOREVER UNLOCKED: VOID ANT + RUBY BREED” and your top bar shows “ANT EGG 1/18.” The ladder now has 18 stages, and the new form hatches in the Ruby colors, red and pink with crystal spikes. Rebirth keeps your DNA, mutations, pets, breeds, passes, ladders and codex, so the only things you lose are your current form and your power bar.
The fresh run also climbs fast with Queen’s Blessing on. The early forms show 5.25x power, which is the 1.75x rebirth bonus with the Blessing’s x3 for small ants on top. Once you reach Soldier Ant, the number drops back to 1.75x, and the Blessing timer keeps counting down in the corner.