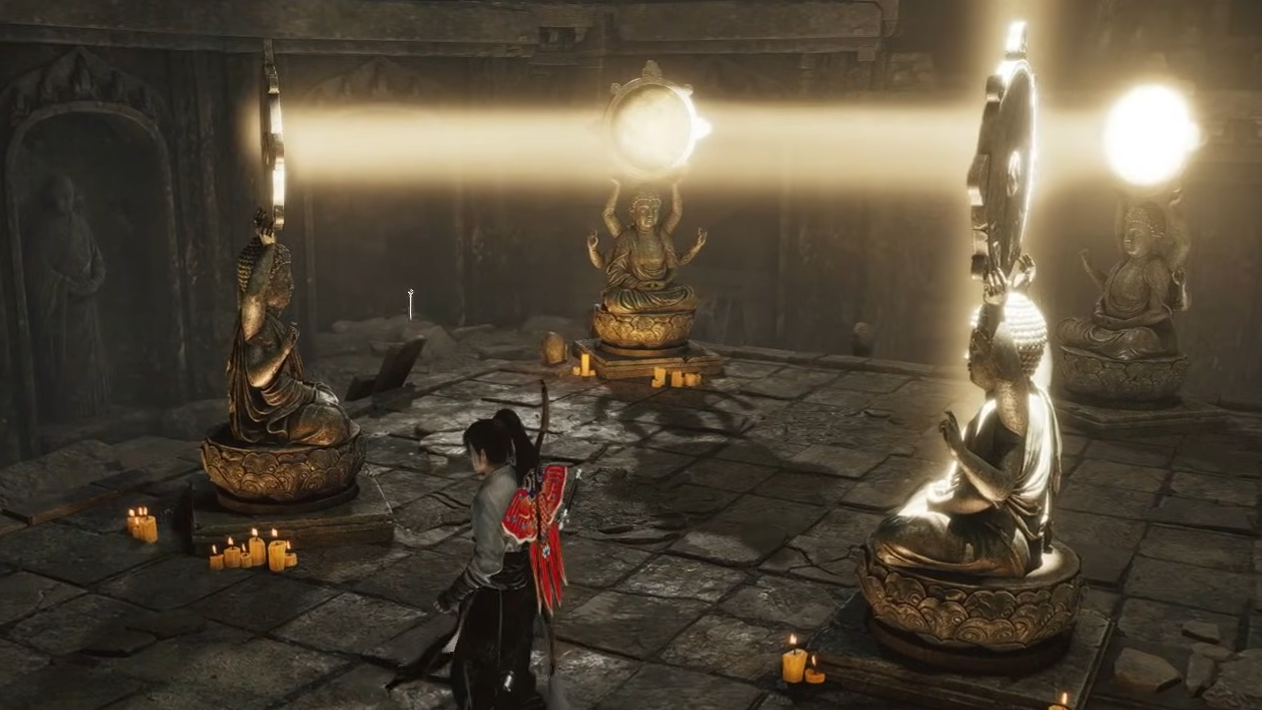
The Bronze Mirror Contraption appears early in The Promised Light Lost Chapter in Where Winds Meet, inside the Buddha’s Light Pagoda beneath Halo Peak. The puzzle uses a line of Buddha statues fitted with bronze mirrors to bounce a beam of light around the room and into a target symbol. Progress is locked until the beam reaches that symbol, so correct statue rotation is essential.
Where the Bronze Mirror Contraption fits in The Promised Light
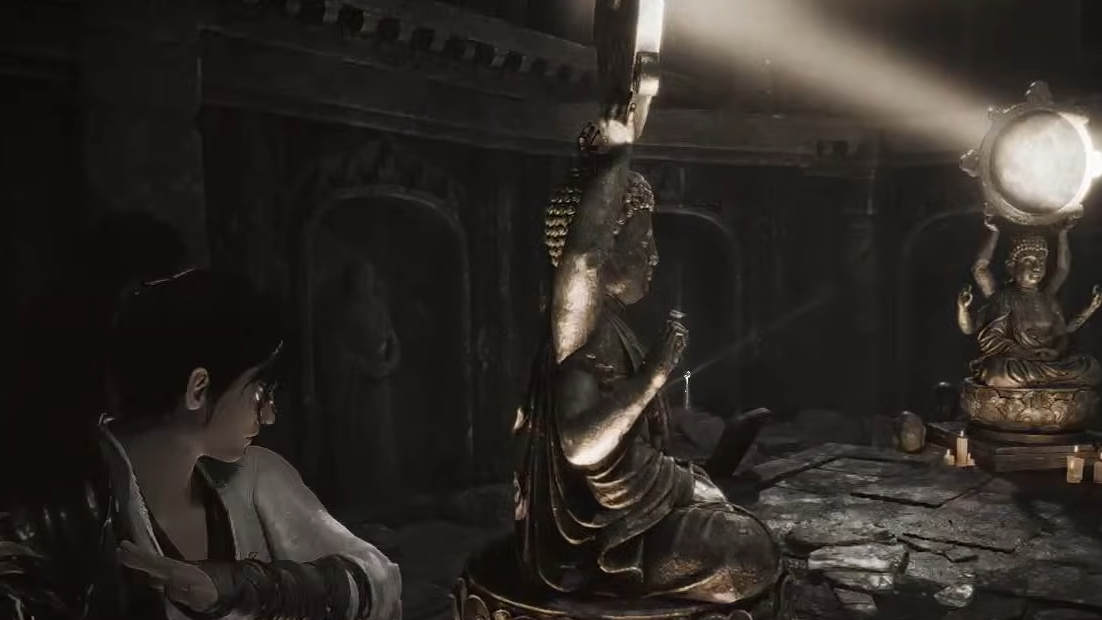
After placing the Buddha’s Light Jade on top of the Buddha’s Light Pagoda during Wu hour and opening the pagoda, you descend into a hidden dungeon. The first light puzzle involves a single movable statue directing light from the ceiling onto a symbol to open a door. Passing through that door leads into a chamber with several Buddha statues carrying bronze mirrors.
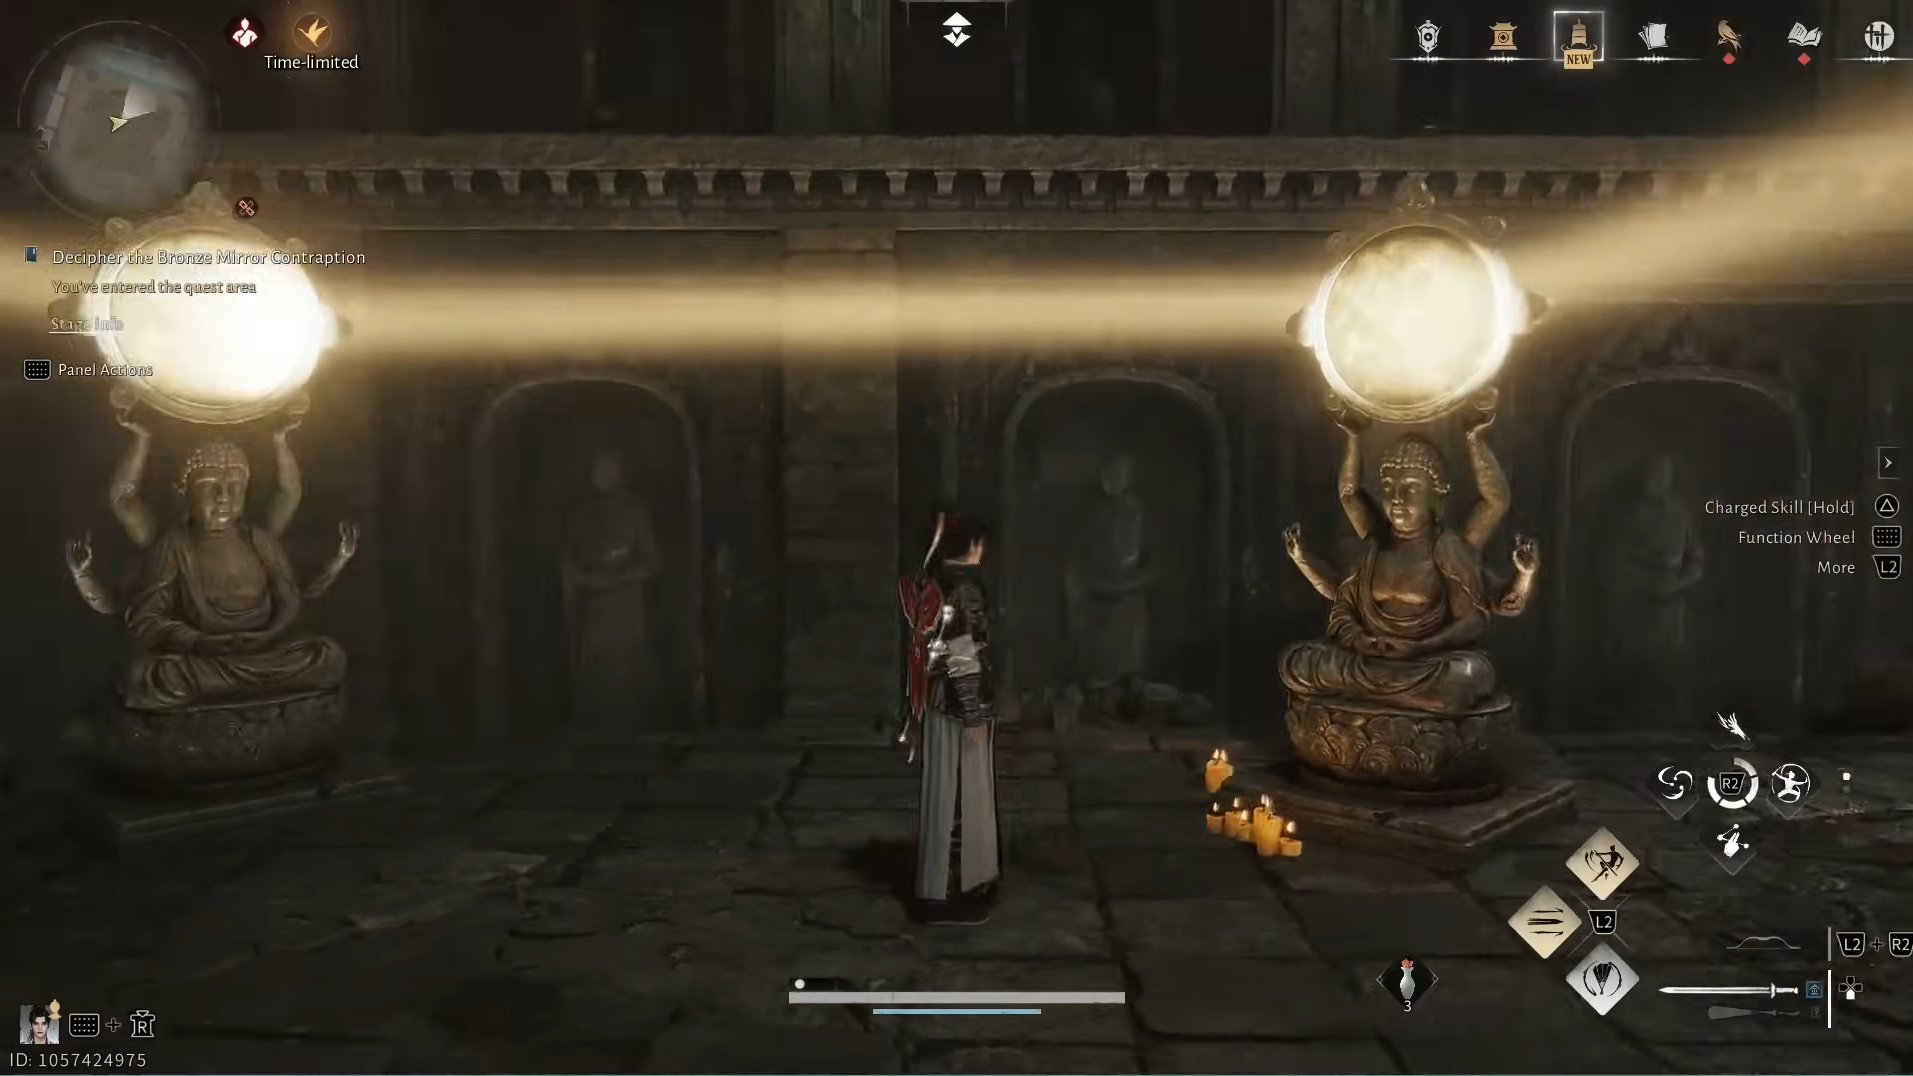
Your task here is summarized in the quest objective “Decipher the Bronze Mirror Contraption.” The goal is simple: make the continuous light beam strike a specific circular symbol on the wall above a Buddha statue’s head. The execution is less obvious because multiple statues can turn, and each rotation changes the path of the beam.
Basic controls for rotating the bronze mirror statues
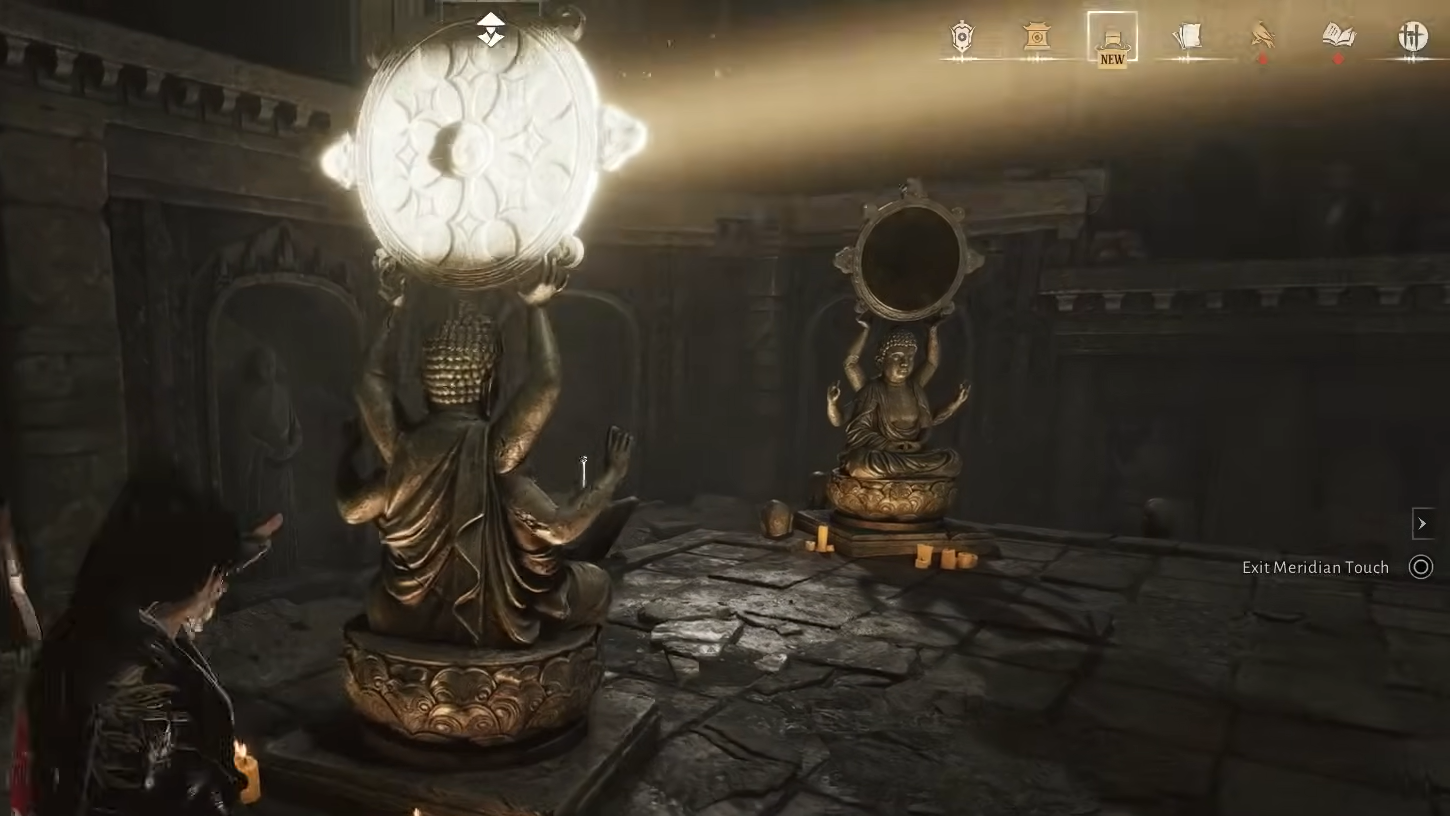
The statues in this room respond to Meridian Touch rather than standard interaction. Each one can pivot in fixed increments, which changes the direction of the light it reflects.
Each mirror statue redirects the beam along the new line it faces. Small adjustments often cause big changes later in the chain, so it helps to think of the room as a circuit you are closing rather than a set of isolated switches.
Bronze Mirror Contraption solution using numbered statues
The most straightforward way to handle this puzzle is to treat the statues as numbered positions. Standing at the entrance and looking into the room, the statues are often referred to as #1 through #5 in order. That layout lets you apply a repeatable sequence of rotations that always lands the beam on the correct symbol.
Use the following rotations once you have line-of-sight to all five key statues:
Once the last rotation is correct, the beam will land squarely on the marked symbol, and a hidden door or passage opens, allowing you to continue deeper under the pagoda.
Bronze Mirror Contraption solution using visual cues
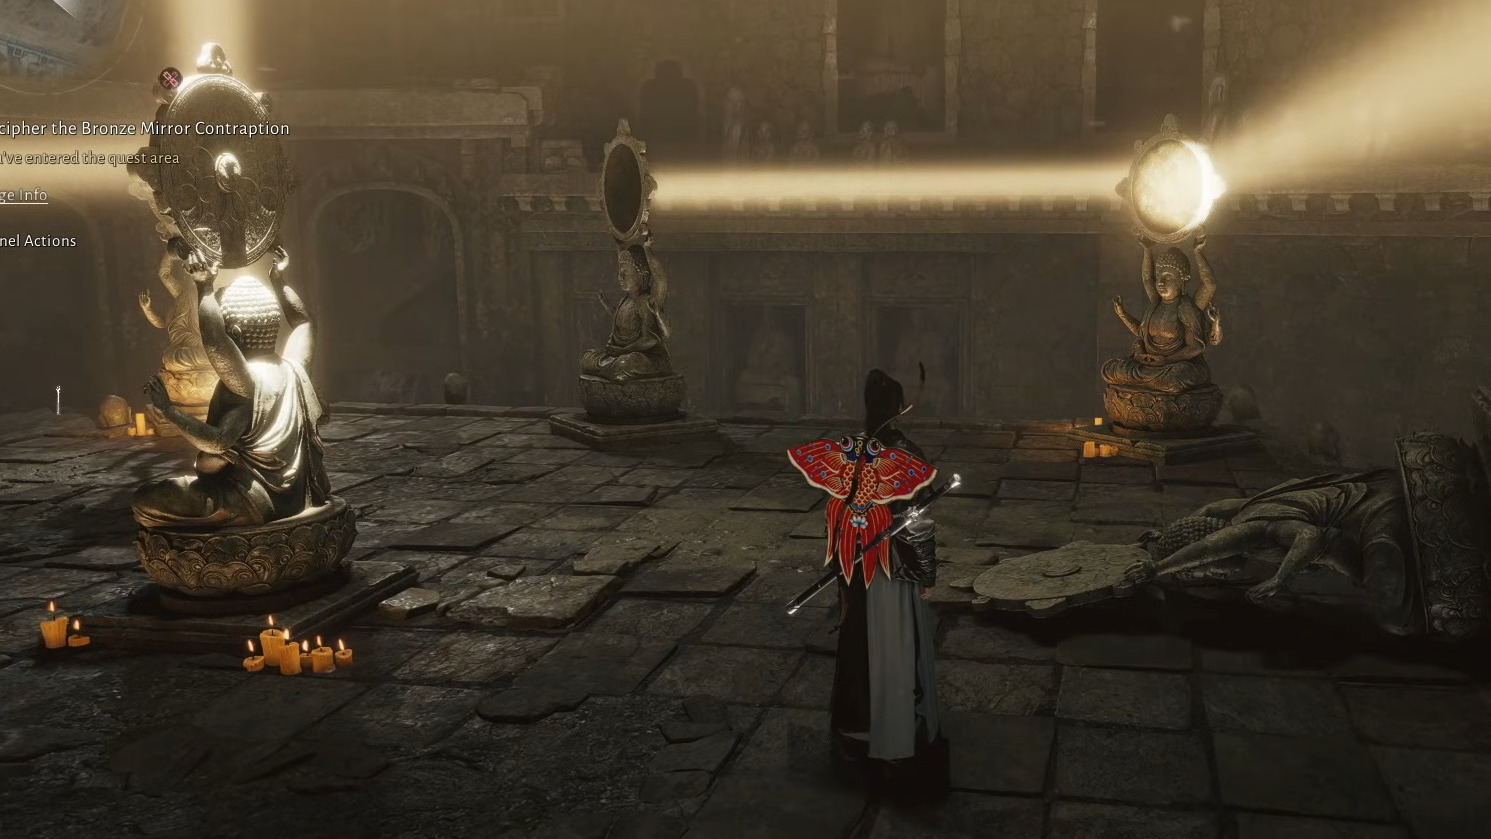
If you prefer to solve the puzzle using what you see in front of you instead of thinking in numbered positions, the same logic still applies. The beam must form a loop that runs around the room and closes at the symbol above the final statue.
The key is that every mirror must pass the light onward; any statue sending the beam into bare stone breaks the chain and must be adjusted. Once all statues are feeding the next one in line, the final adjustment to the last statue completes the circuit.
Using Wind Sense alongside the mirror puzzle
Wind Sense remains useful even in the mirror chamber. It highlights important interactable symbols and can make it easier to see where the light should end up.
Wind Sense is not mandatory, but it reduces guesswork in a room where tiny 45° changes can be hard to track by eye, especially on lower brightness settings or from oblique angles.
What happens after solving the Bronze Mirror Contraption
Once the Bronze Mirror Contraption is aligned and the beam hits the correct symbol, the hidden mechanism in the room responds. A new opening appears, usually in the wall behind the symbol, leading into a tight passage where you must crouch to proceed.
Advancing through that cramped tunnel ends with the floor collapsing, dropping you into a chamber filled with motionless bronze figures called Halo Peak Residents. Interacting with a nearby corpse triggers an ambush: the bronze statues animate and attack, but can only be damaged by parrying their strikes. Defeating them yields the Arhat Hall Key, which opens the door out of the room and moves you further along The Promised Light’s sequence of objectives.
Completing this mirror puzzle, therefore, does more than tick off a single objective. It unlocks the route into the combat-heavy core of the dungeon beneath the Buddha’s Light Pagoda and keeps you on track toward the later sections in the Mural Corridor, the Thousand-Buddha Cavern, and ultimately the boss battle against Tian Ying.
The Bronze Mirror Contraption looks complex at first glance, but it follows consistent rules: every statue reflects the light in 45° steps, and the beam must reach the marked symbol without being wasted on bare walls. Once you know how to rotate each Buddha and think of the room as a closed loop of mirrors, the puzzle turns into a short sequence of deliberate adjustments rather than random trial and error.