The Brotherhood’s Plan opens Chapter 2 of Gothic 1 Remake, and it is less a single task than a long chain of jobs for the Swamp Camp. It only appears as a main quest if you joined the Old Camp or the New Camp. Join the Swamp Camp instead, and you skip straight to The Lost Apprentice after speaking with Cor Kalom.
Quick answer: Talk to Raven (Old Camp) or Lares (New Camp) to start the quest, head to the Swamp Camp to find Caine through Cor Kalom, then work through Y’berion, The Focus Stone, The Almanac, The Minecrawler’s Nest, The Great Awakening, and the Orc Cemetery before reporting back to your faction to close the chain.
How to start The Brotherhood’s Plan (Old Camp and New Camp)
The starting point depends on which faction you picked at the end of Chapter 1. Both routes send you to the Swamp Camp, which sits southeast of the Old Camp, but the framing differs.
| Route | Quest giver | What you’re told |
|---|---|---|
| Old Camp | Raven (inside Gomez’s tower) | Find the Shadow mole Caine at the Swamp Camp and collect his intel on the Brotherhood of the Sleeper. |
| New Camp | Lares | Reach Caine at the Swamp Camp and make him keep the strong herb rolls away from the New Camp. |
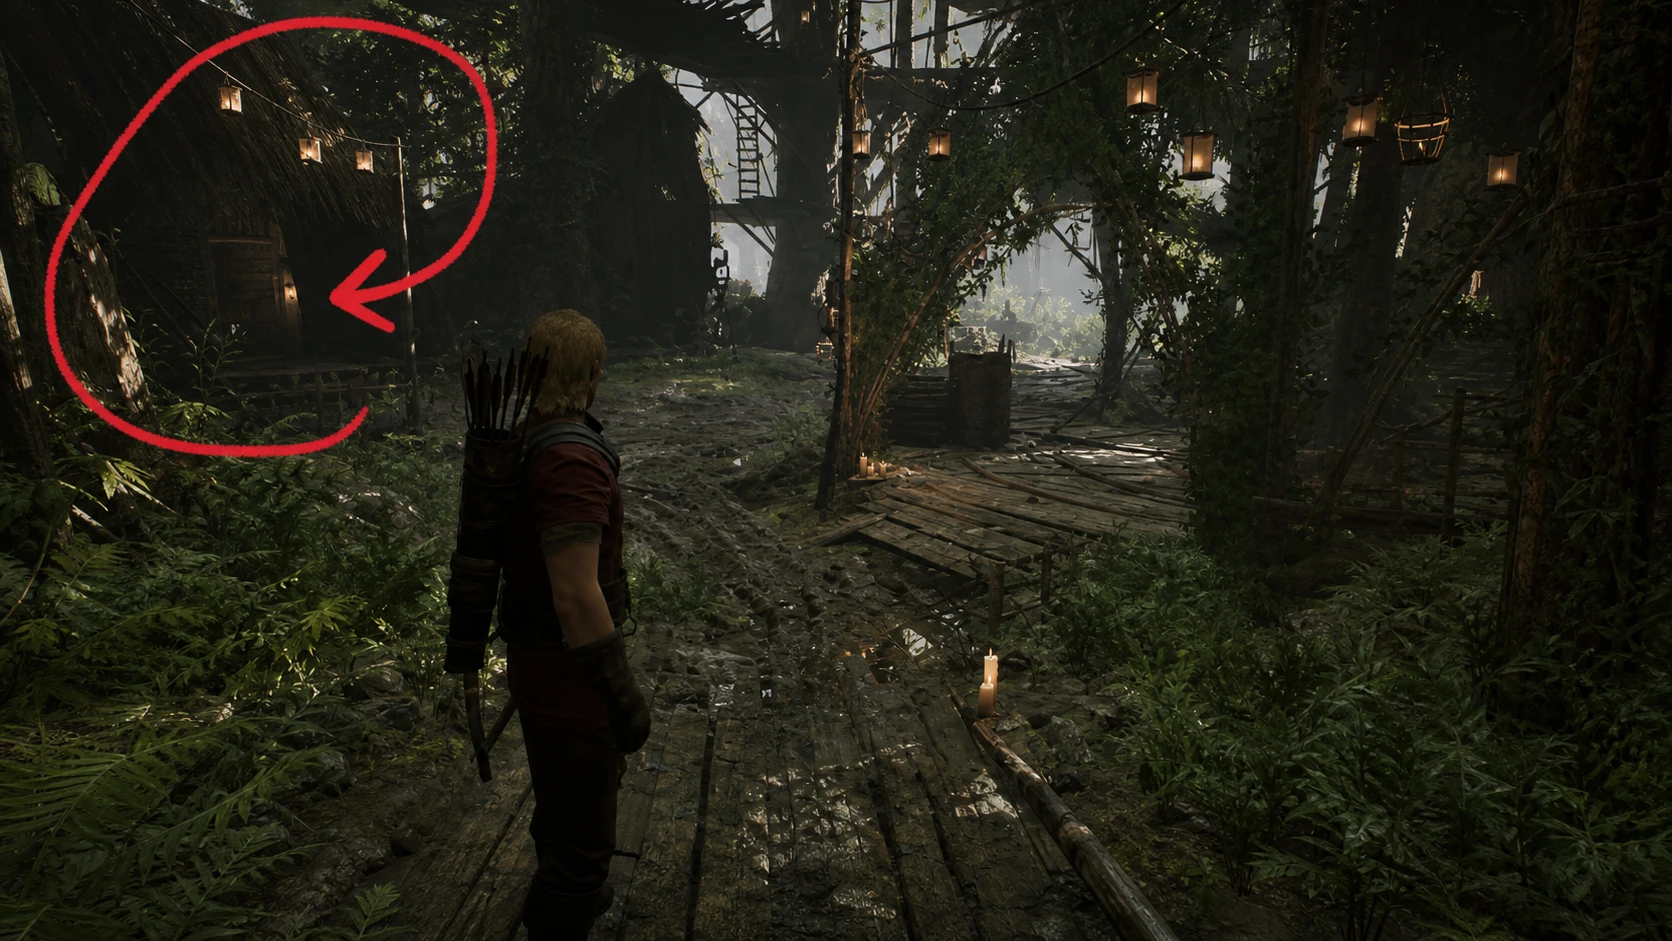
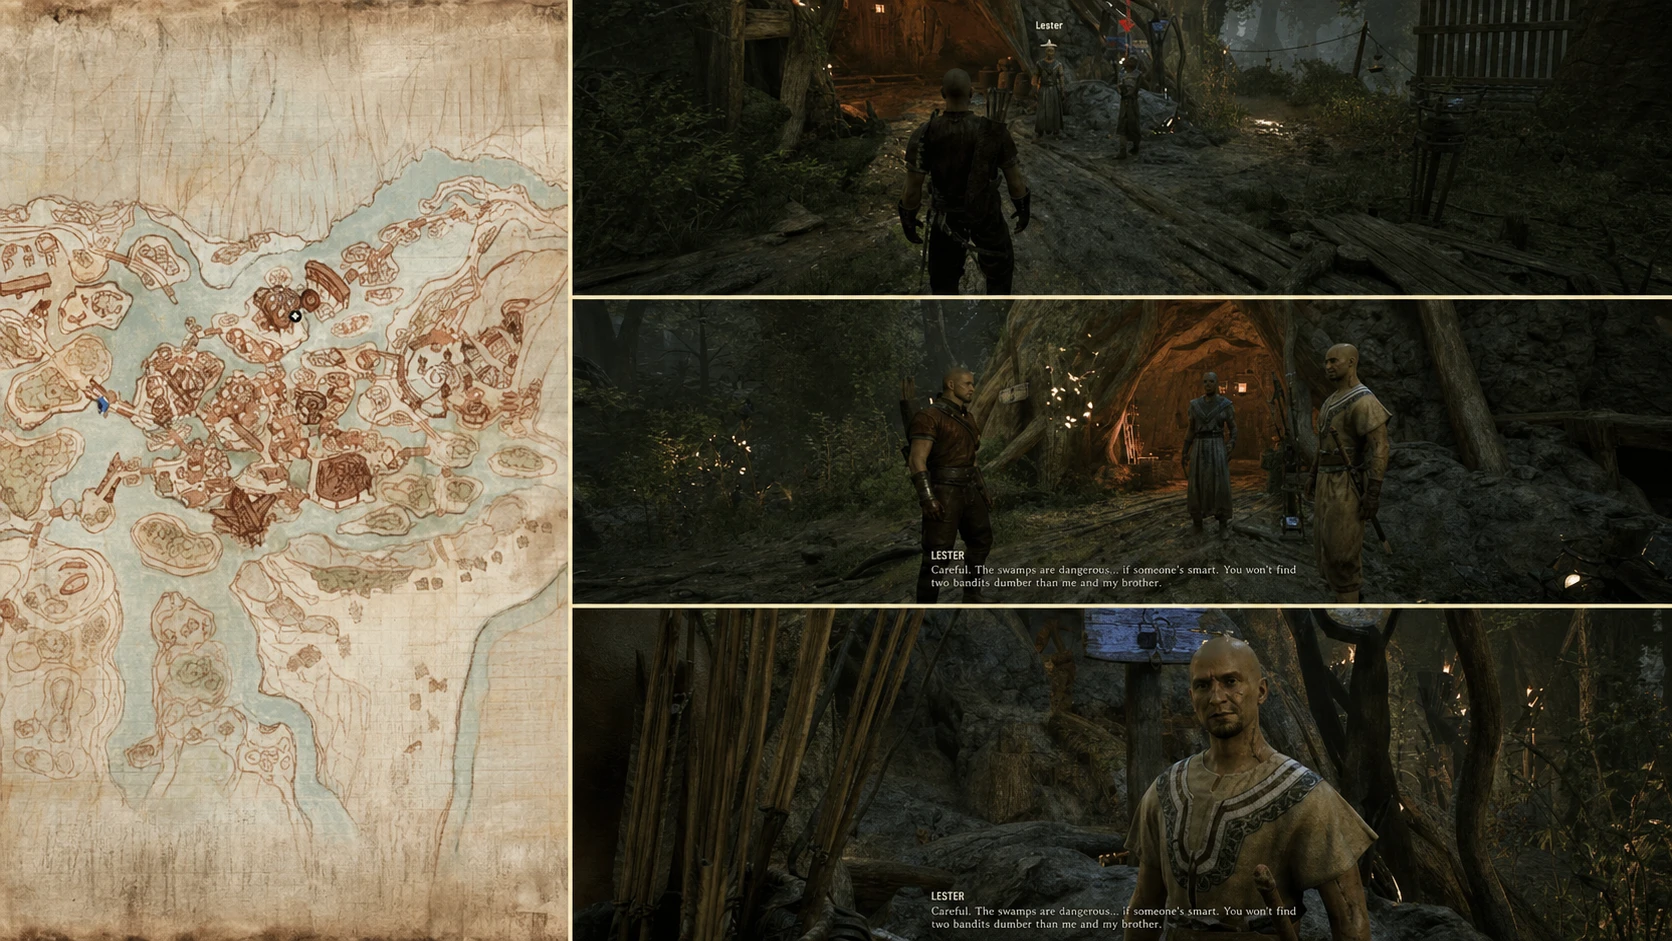
When you arrive at the Swamp Camp, head left, then left again, and follow the path past the people sitting by the tree. Curve right, then right once more, and you will reach the staircase up to the Alchemy Laboratory. If you get lost, find a Novice with the “I’m looking for…” option, mention the alchemy laboratory, and follow them in.
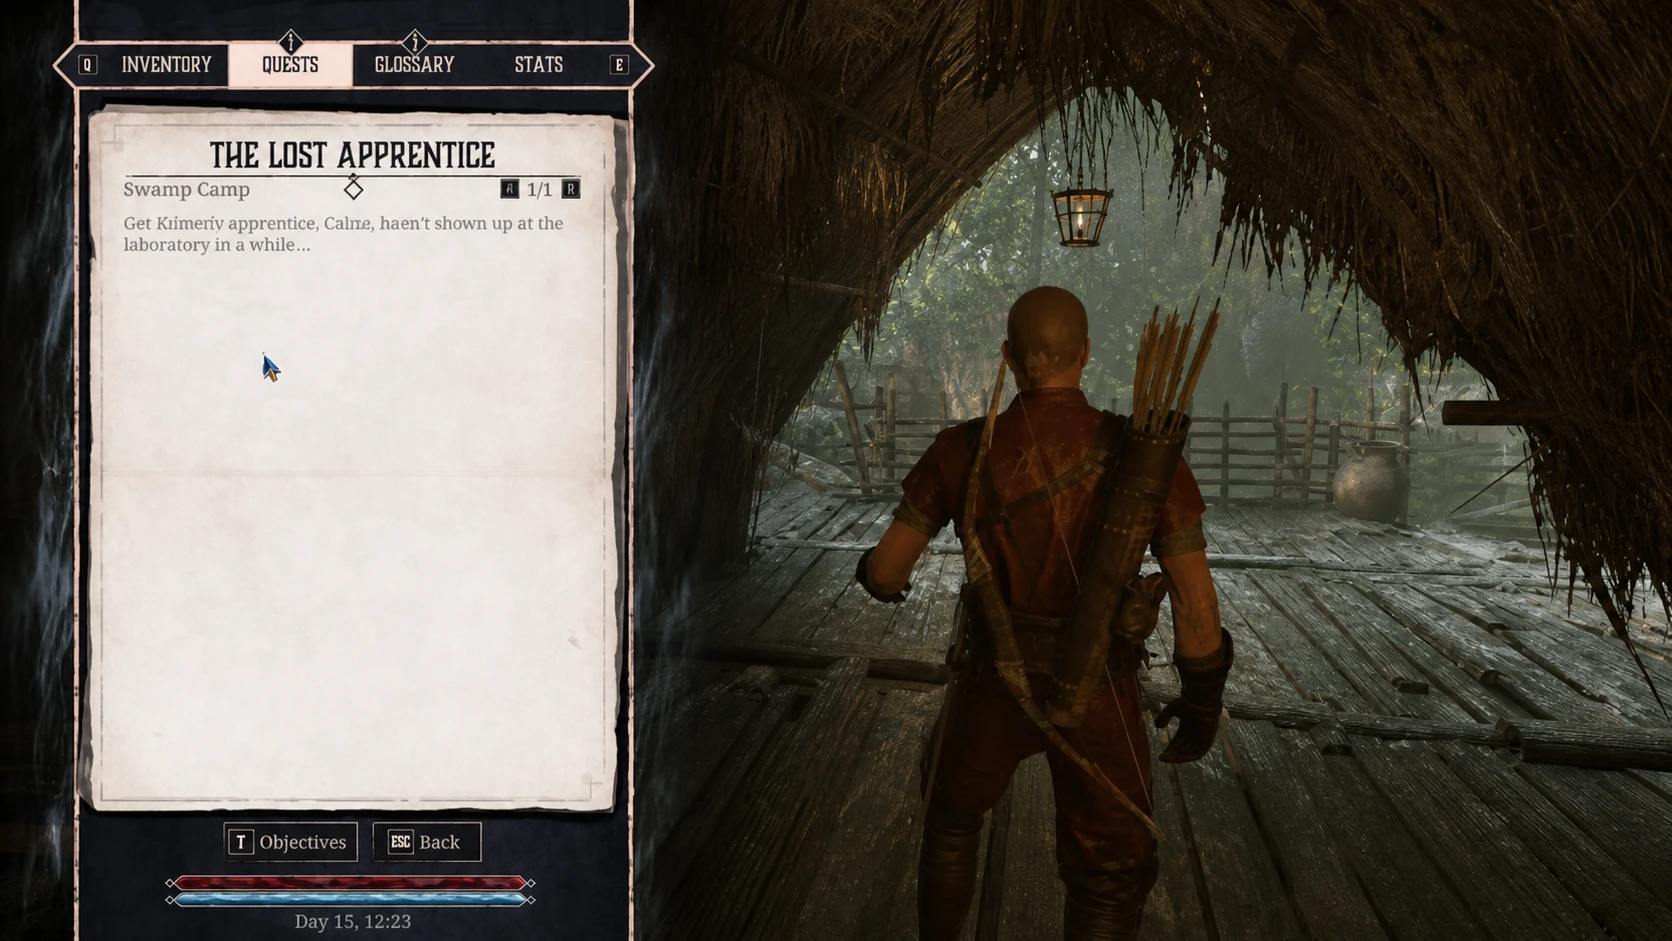
Before climbing the stairs, it is worth speaking with Fortuno, a Swamp Camp merchant who sells Dreamcall. That item can later bypass a guard during the chain. A Templar blocks the top of the stairs; say you know Caine from the outside to get inside, then speak with Cor Kalom. He doesn’t know where Caine is either, which begins The Lost Apprentice.
The Lost Apprentice: Find Caine in the flooded mine
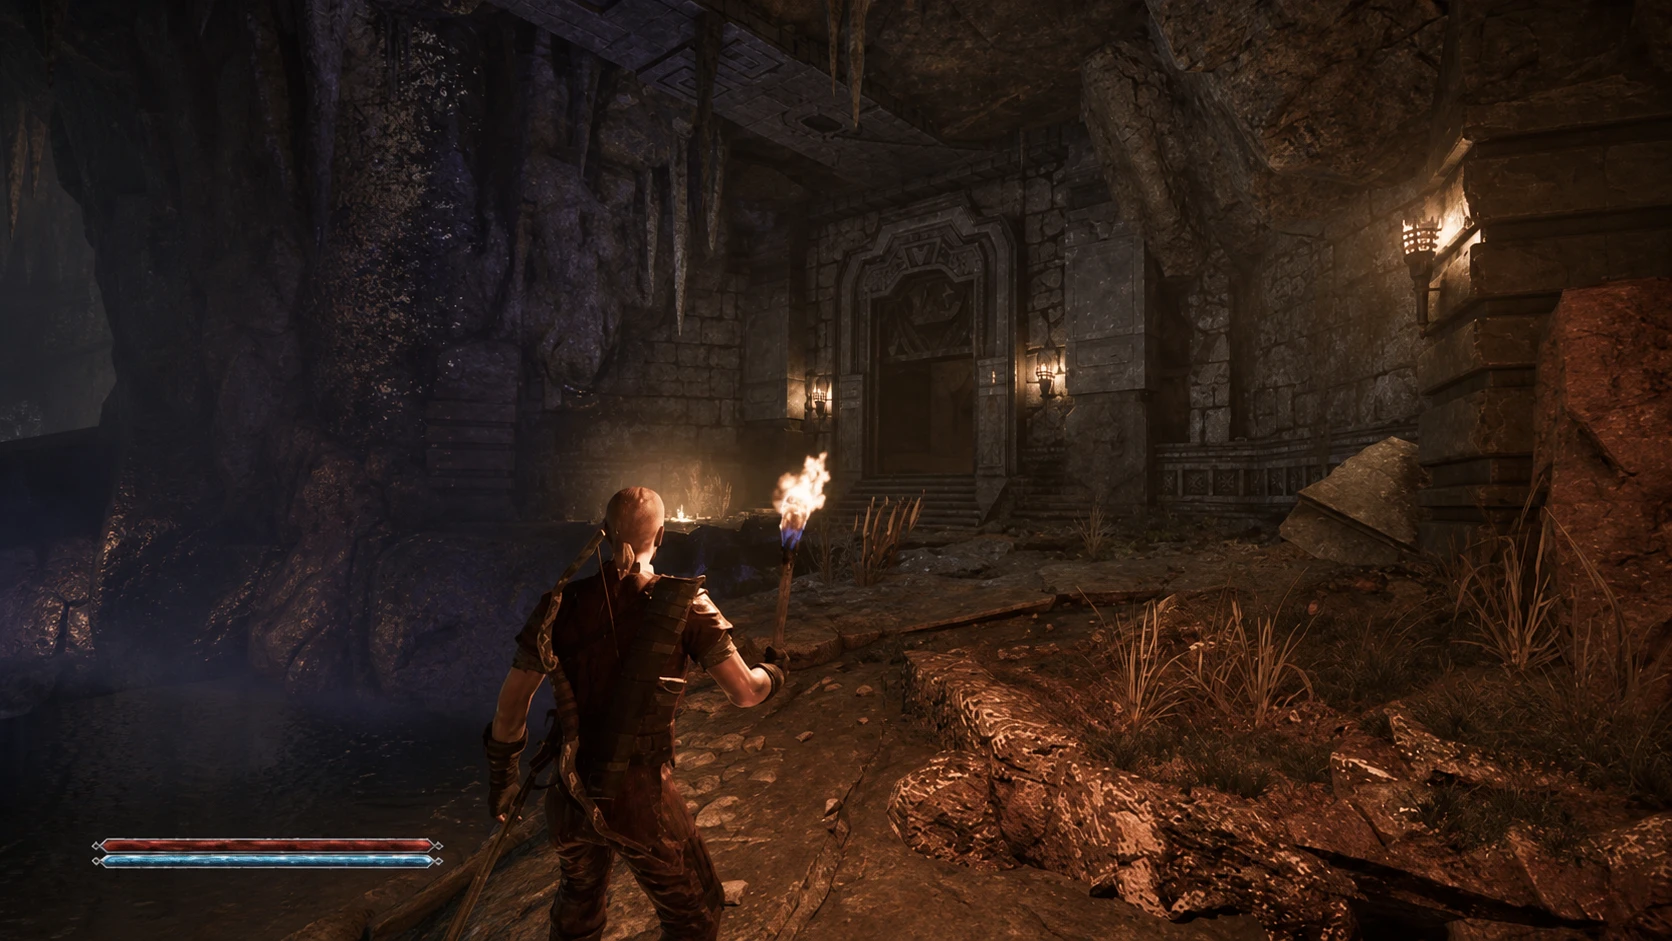
Cor Kalom sends you to Y’berion, the Swamp Camp’s leader, in the inner sanctum of the temple. After you describe Caine and show the amulet, Y’berion theorizes it is the key to destroying the barrier and tasks you with using it to obtain a Focus Stone.
The Focus Stone: Follow Nyras and recover the stone
Follow Nyras, one of the novices, to the Focus Stone’s location. Your hero uses the amulet to break the barrier around it, which knocks him down. Nyras then falls into a trance and tries to steal the stone.
Defeat Nyras, but do not kill him. Once he is beaten, return to Y’berion, hand over the Focus Stone, and tell him what happened with Nyras.
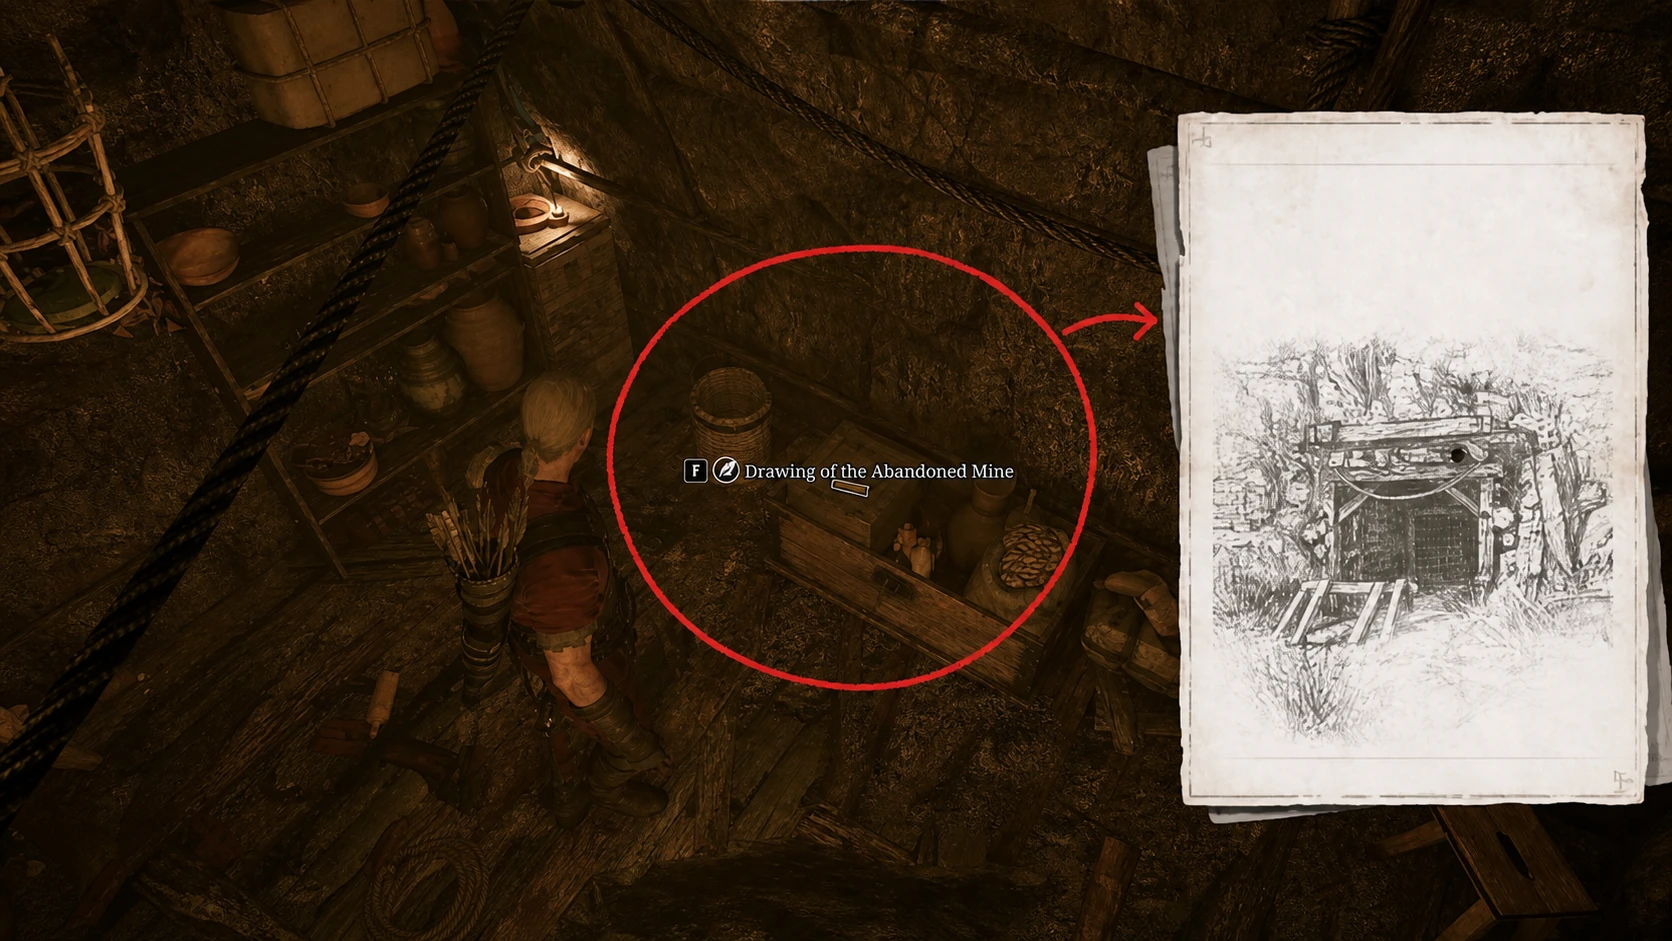
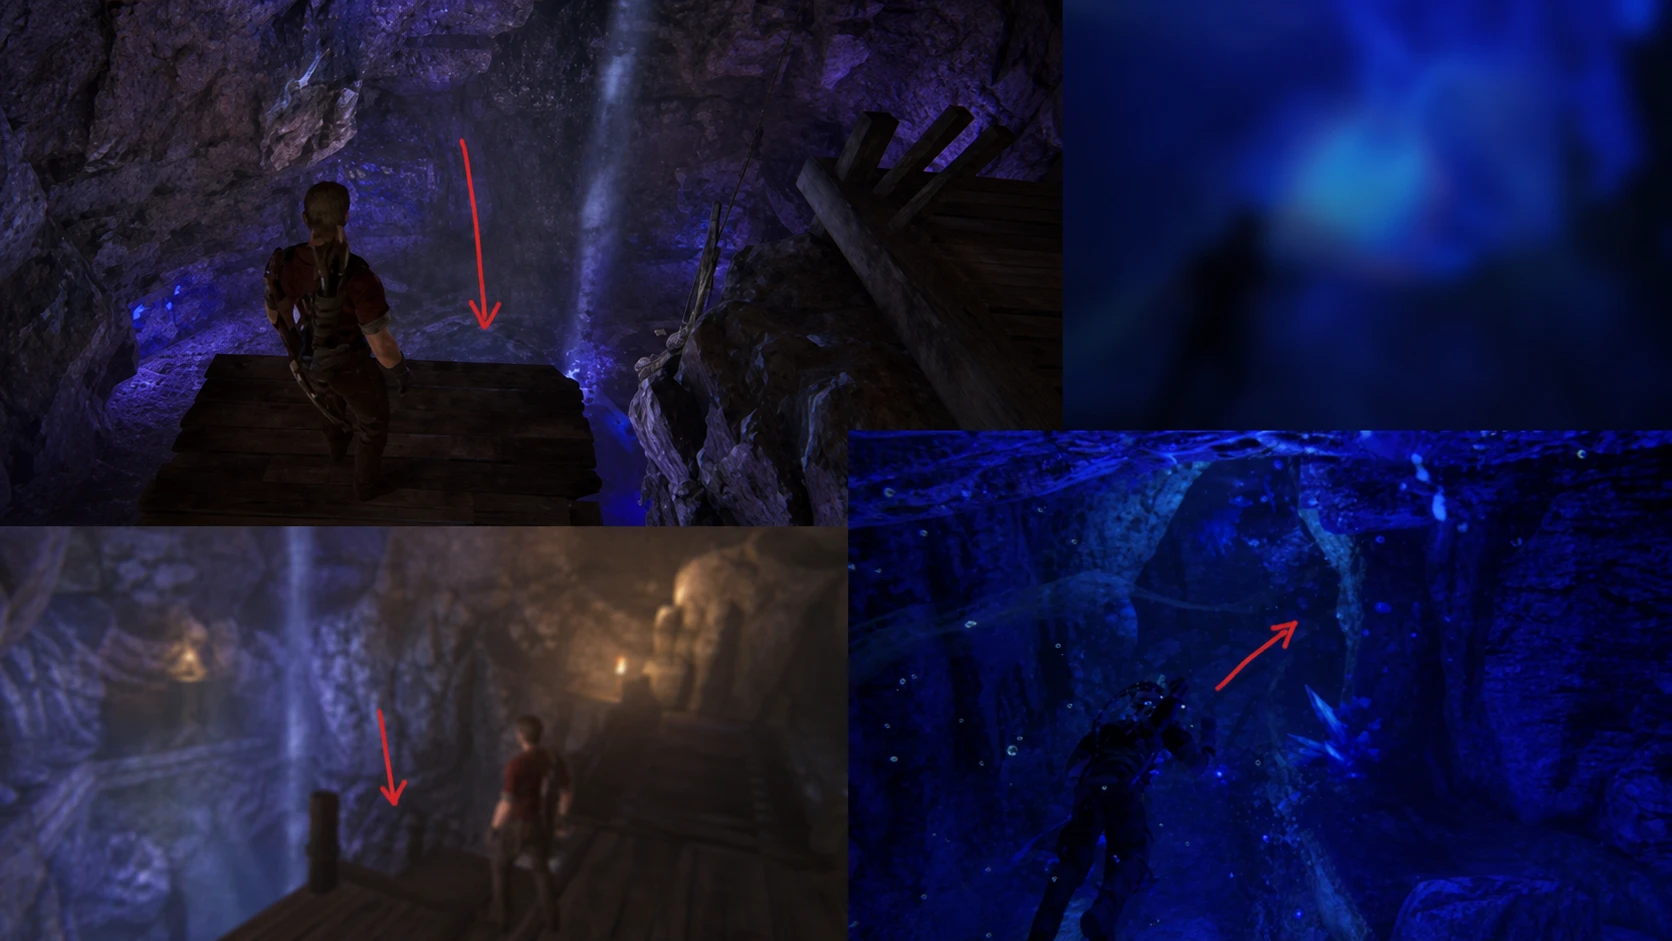
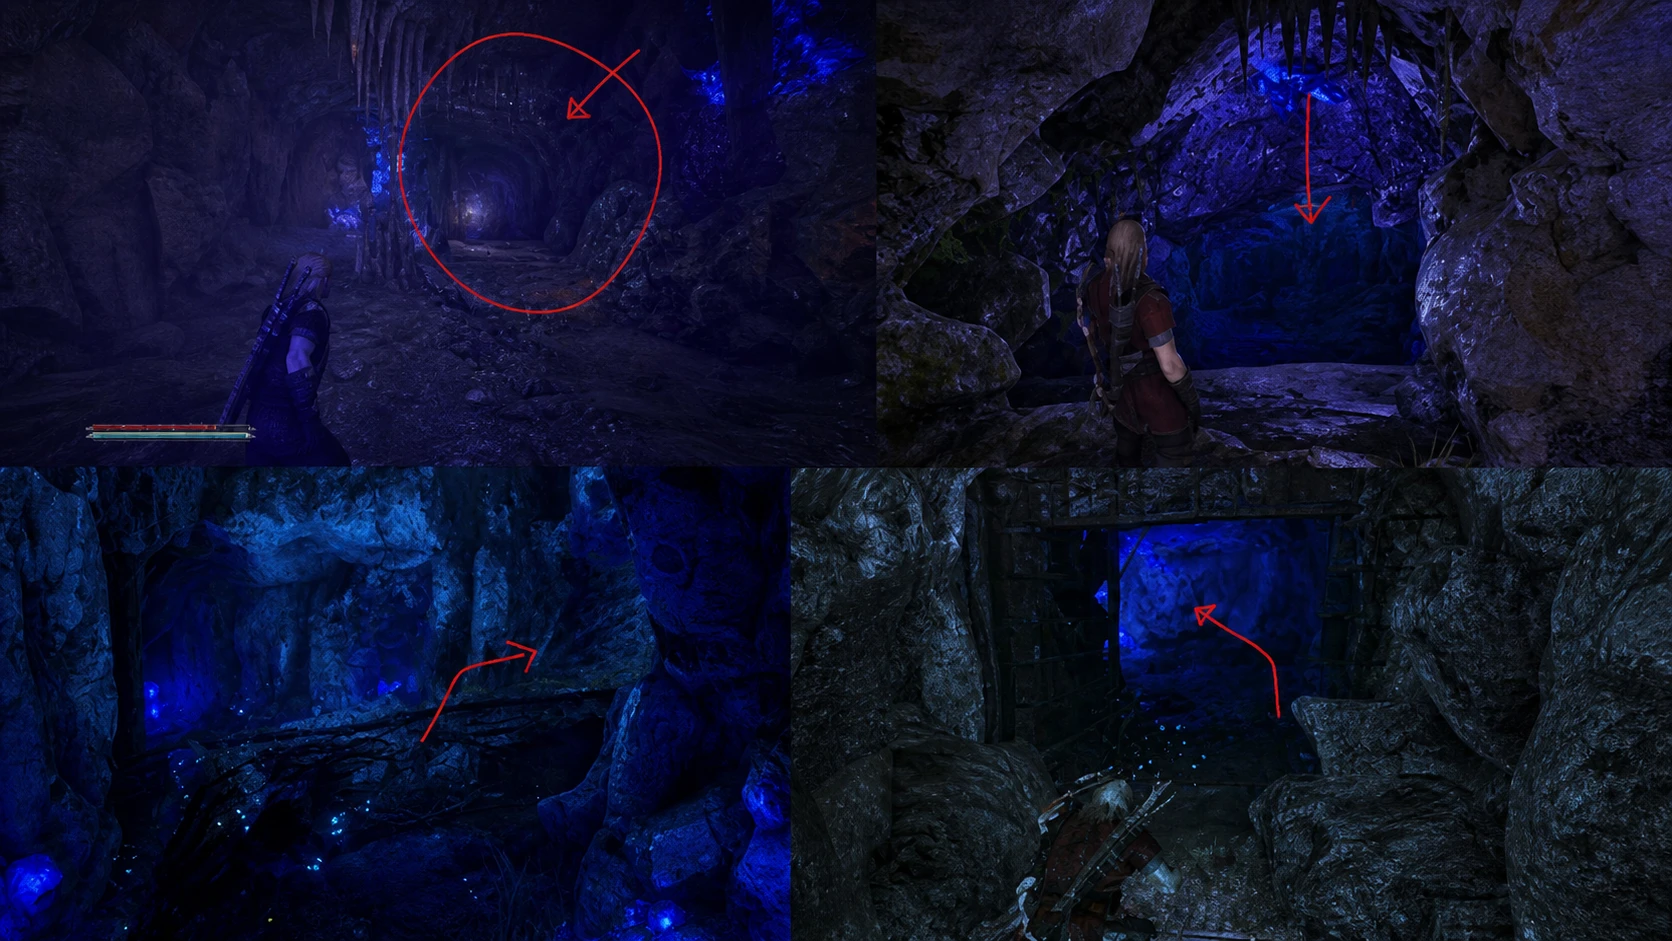
The Almanac: Clear the Black Goblin cave
This stage punishes weak defense, so upgrade your armor before starting. At the Old Camp you will find Talas near the castle entrance beside Thoros; he was denied entry for showing up late. Inside the castle, speak to Milten the fire mage, who explains he lost the book to Black Goblins in the forest.
Return to Talas and relay what you learned. He leads you to the Black Goblin cave, located opposite a waterfall. The cave holds more than 20 Black Goblins that swarm and throw rocks, so come prepared.
- Light Scroll to keep visibility high without a torch.
- Health Potions, since the goblins’ maces hit hard.
- Fire or lightning magic items to hit grouped enemies.
The tome sits in a chest behind a wooden door on the left side of the large room at the end of the cave. After grabbing it, take the opening to the right to drop back near the entrance. Return the book to Y’berion for an Amulet of Flames, then visit Cor Kalom to start the next stage.
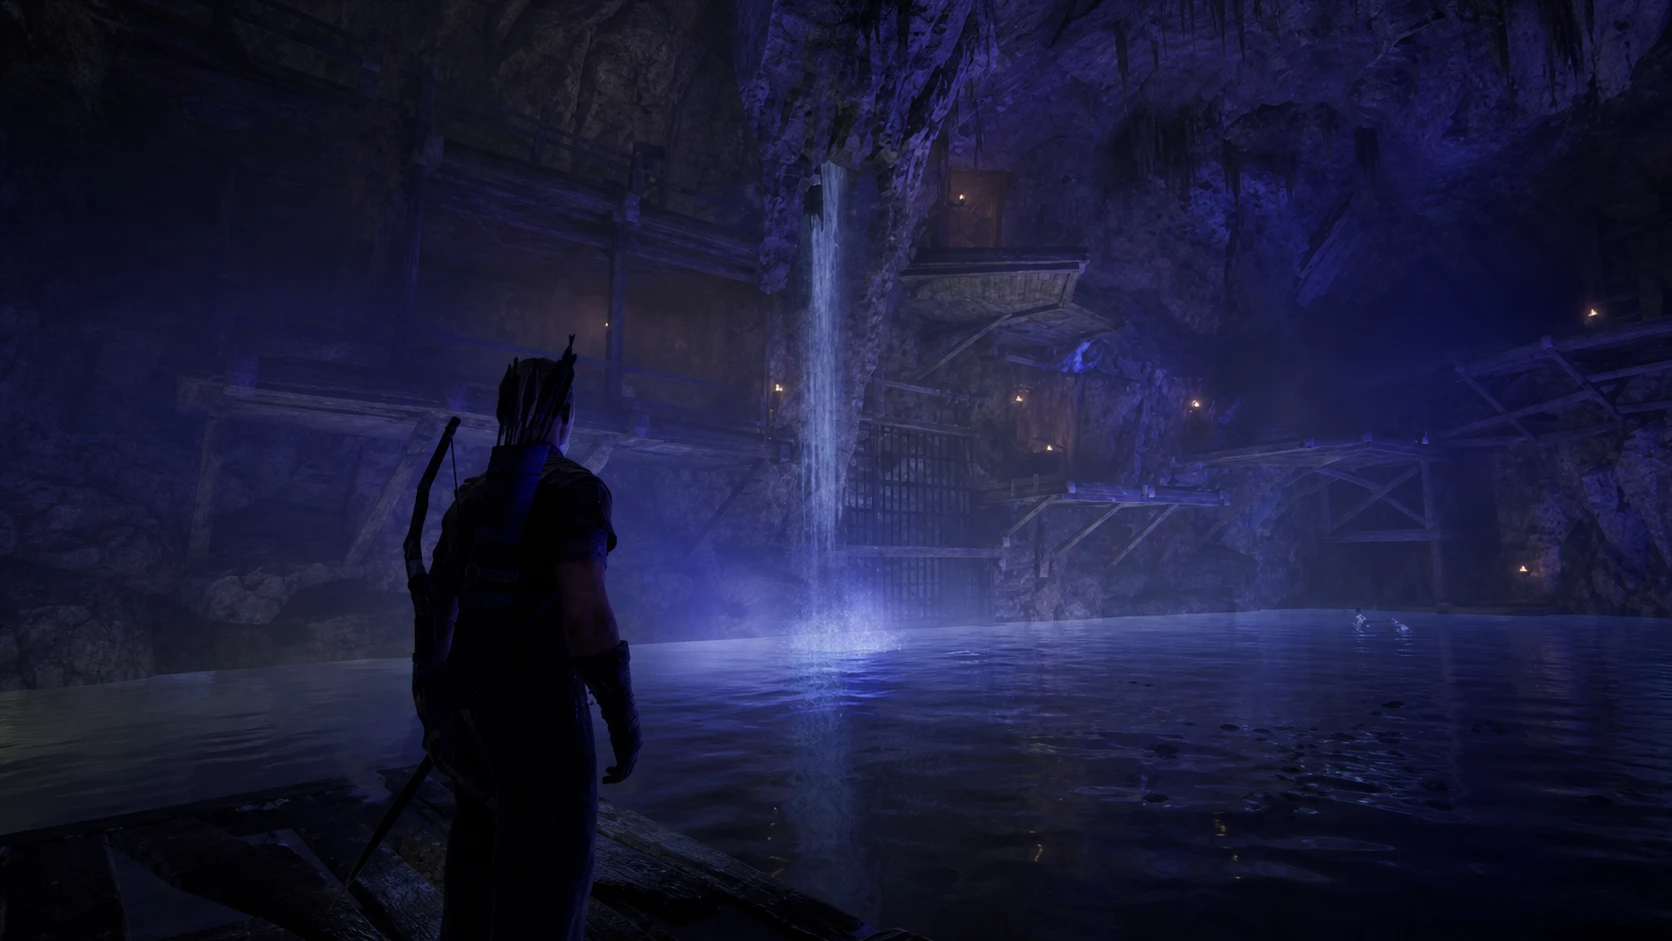
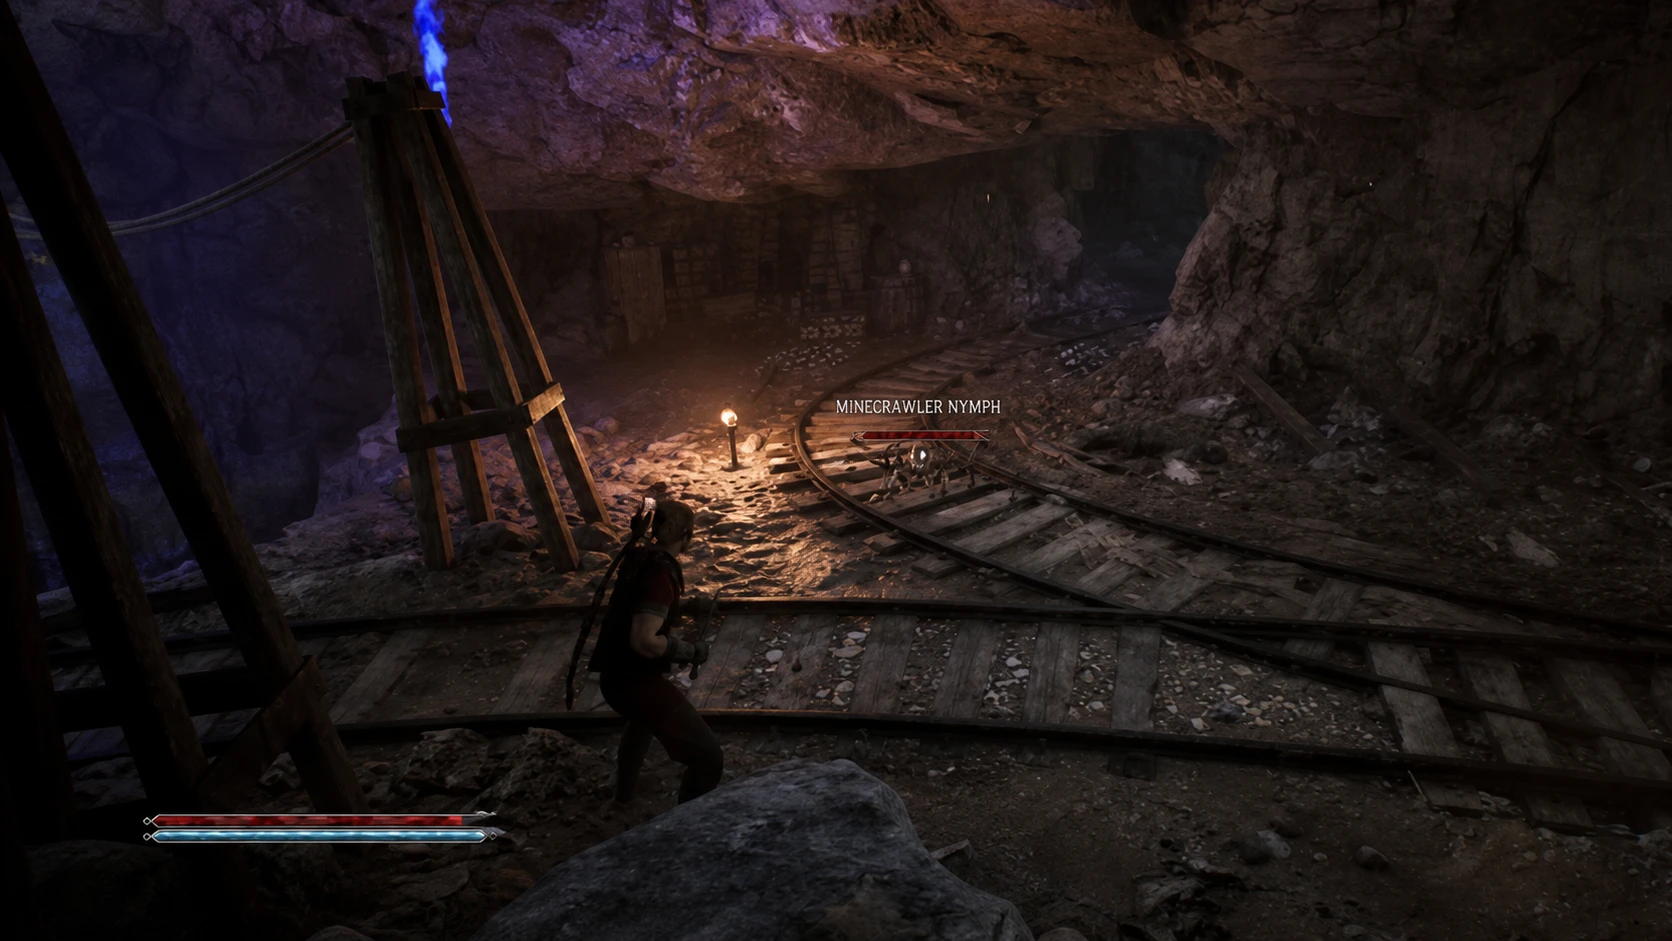
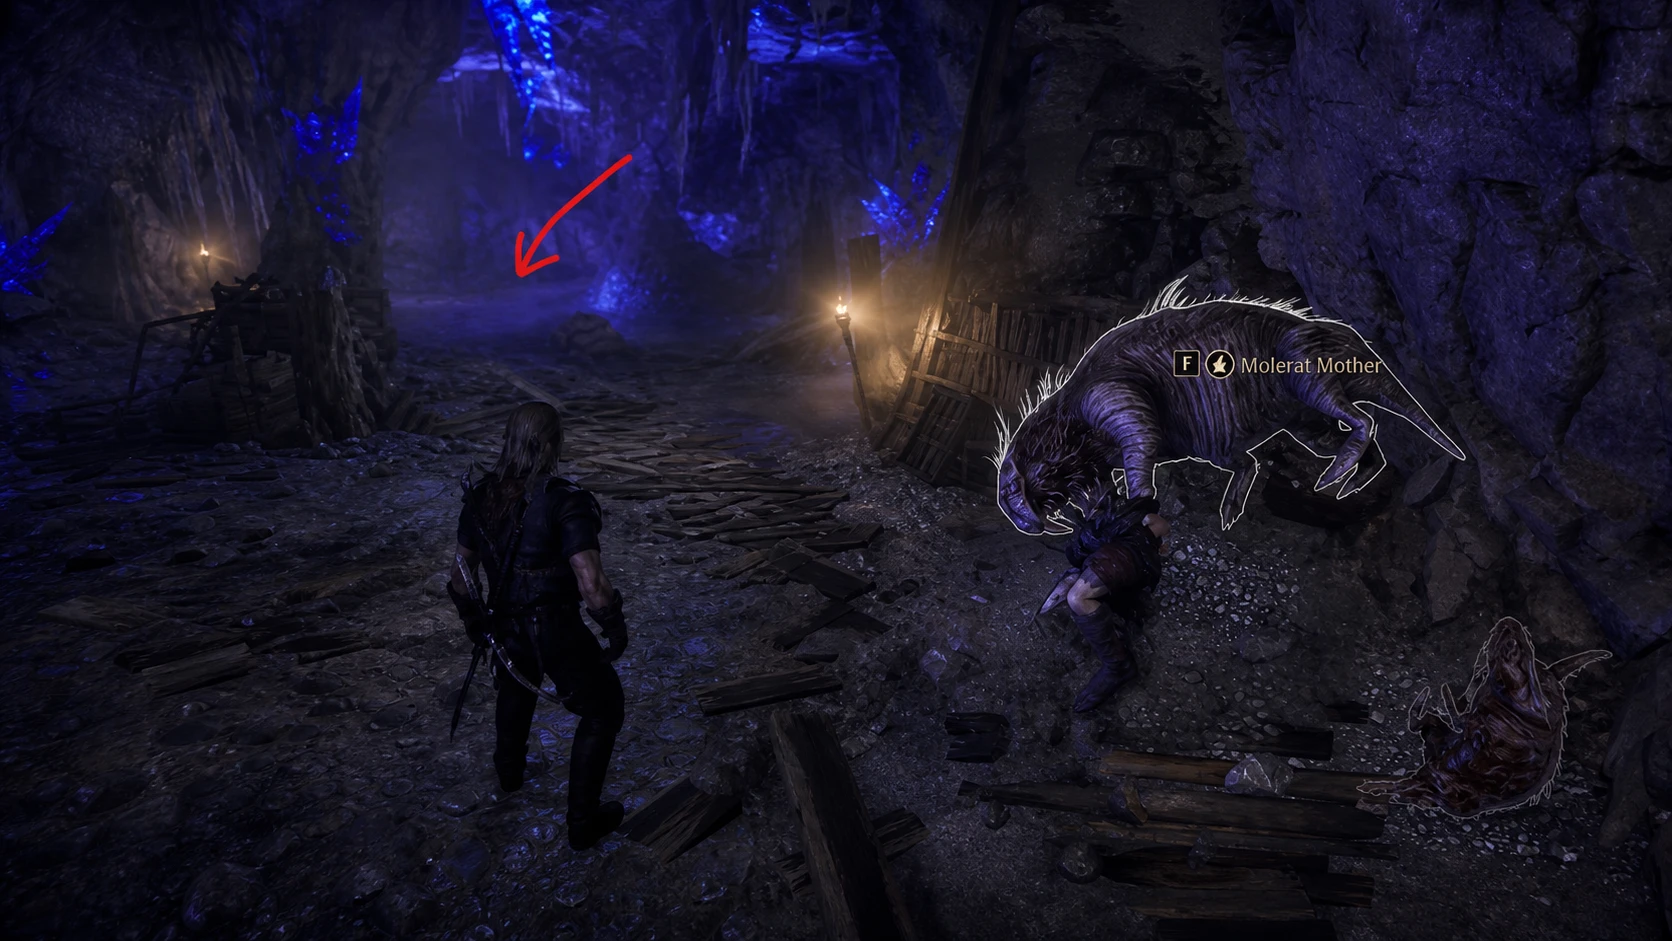
The Minecrawler’s Nest: Gather Templars and kill the queen
| Templar | Location | Condition to join |
|---|---|---|
| Gor Na Bar | Upper area near a mine entrance, a few floors below Ian | Defeat four Minecrawlers and collect their mandibles |
| Gor Na Kosh | Bottom section of the mine | Joins with no requirement |
| Gor Na Vid | Near the cauldron on the bottom floor | Give him a few Swampweed Rolls |
Looting the queen gives a Queen’s Pheromone Gland and a Minecrawler’s Egg. Return to Cor Kalom and deliver the egg to wrap up this stage.
The Great Awakening: Attend the failed ceremony
Y’berion wants you present at the Awakening ceremony. Rest until nightfall at the cabin in the Swamp Camp, then go to the temple to trigger the cutscene. The summoning goes badly wrong, and afterward you must speak with both Cor Angar and Cor Kalom to receive the final stage of the chain.
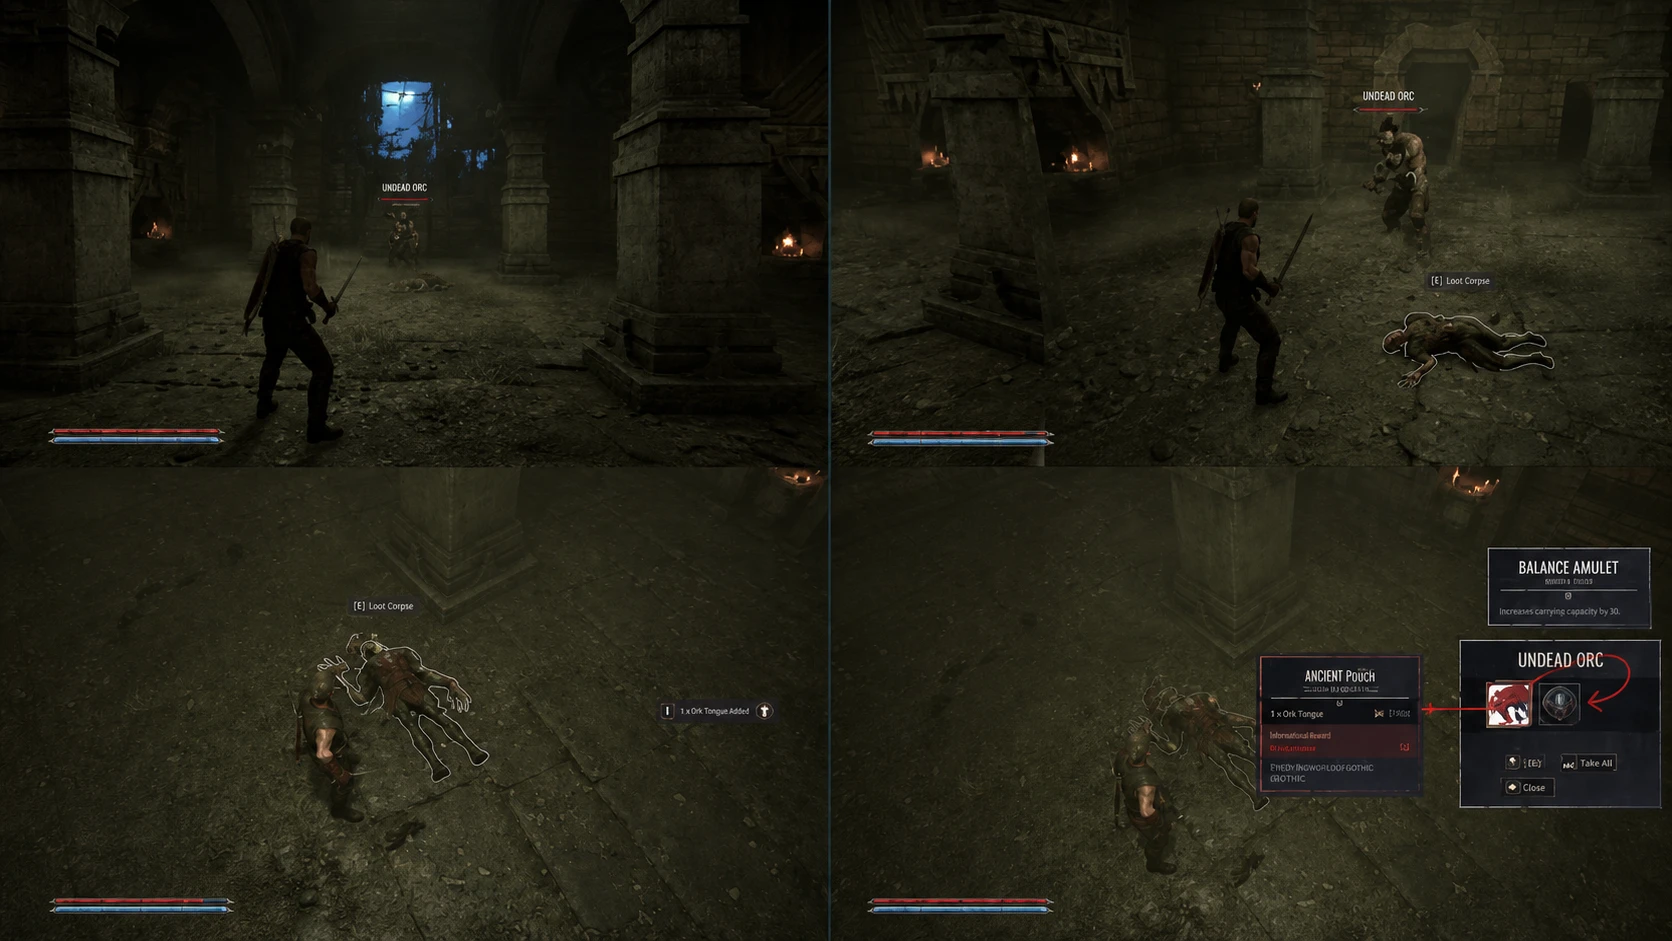
Orc Cemetery: Find the key and survive Baal Lukor
Speak with Cor Angar inside the temple and he sends you to meet his crew at the Orc Cemetery. It sits at higher elevation on the left side of the main path once you leave the Swamp Camp. Expect Biters, Bloodhounds, and Orcs here. To open the entrance, shoot down the counterweights on both sides of the cave mouth.
Report back to close The Brotherhood’s Plan
Once the Orc Cemetery is done, return to your faction. New Camp players report to Lares; Old Camp players head back to Raven. At the Old Camp, Thorus offers to make you a Warder, and you can choose either Warder or Mage, so decide carefully before going in.
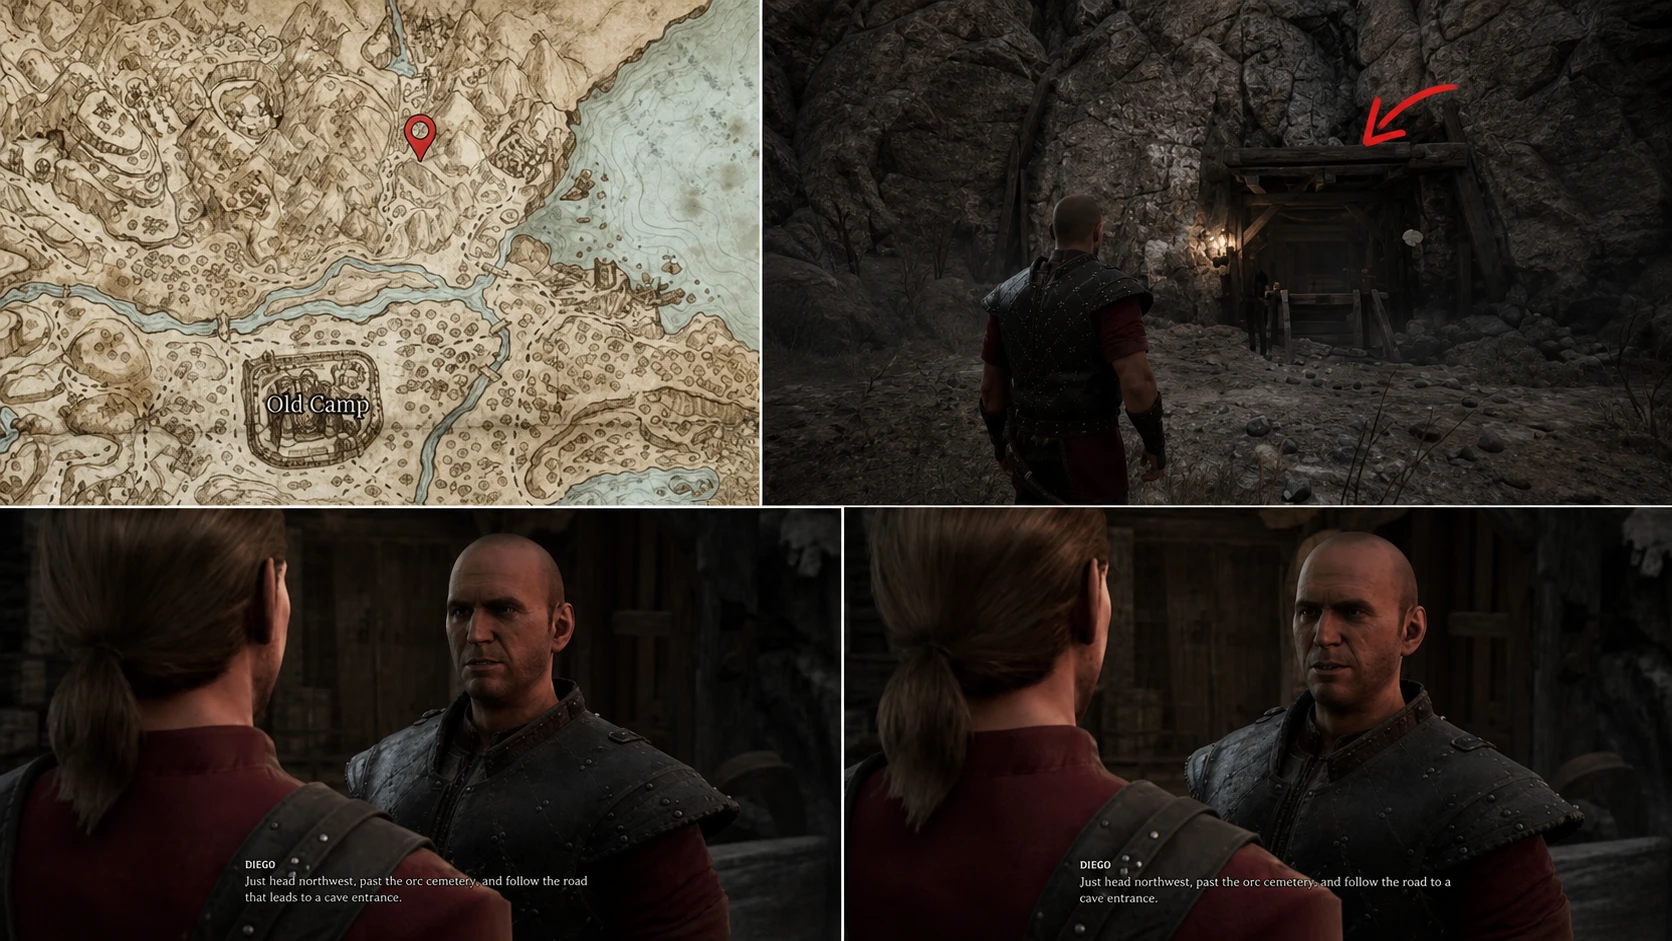
Reporting to Raven after the chain rewards you with 500 experience and 50 Ore Nuggets, and he directs you to find Diego at the market near Fisk, toward the south part of the Old Camp on the map. Diego sits by the campfire near Fisk; speaking to him starts The Water Mages’ Plan, the first quest of Chapter 3. You will know The Brotherhood’s Plan is finished when that report wraps and the journal moves you on to Diego.