The prologue of Echoes of Aincrad sends you from character creation straight into a chain of story bosses, ending with a fight you cannot walk away from once it starts. Clearing it cleanly comes down to managing two combat resources, picking the right partner, and refilling your supplies before each boss room. The demo runs on PS5, Xbox Series X|S, and PC, with the full game arriving on July 10, 2026.
Quick answer: Before every boss door, return to a Safety Area to refill Healing Crystals, spend unused Growth Points on the stat that matches your weapon’s scaling, restock consumables, and choose a partner. The prologue runs through the Sentry Golem, Illfang the Kobold Lord, the Snowcap Boar, two Glenspore Grizzly fights, the Dire Stife Wolf, and the Wrathful Shreman.
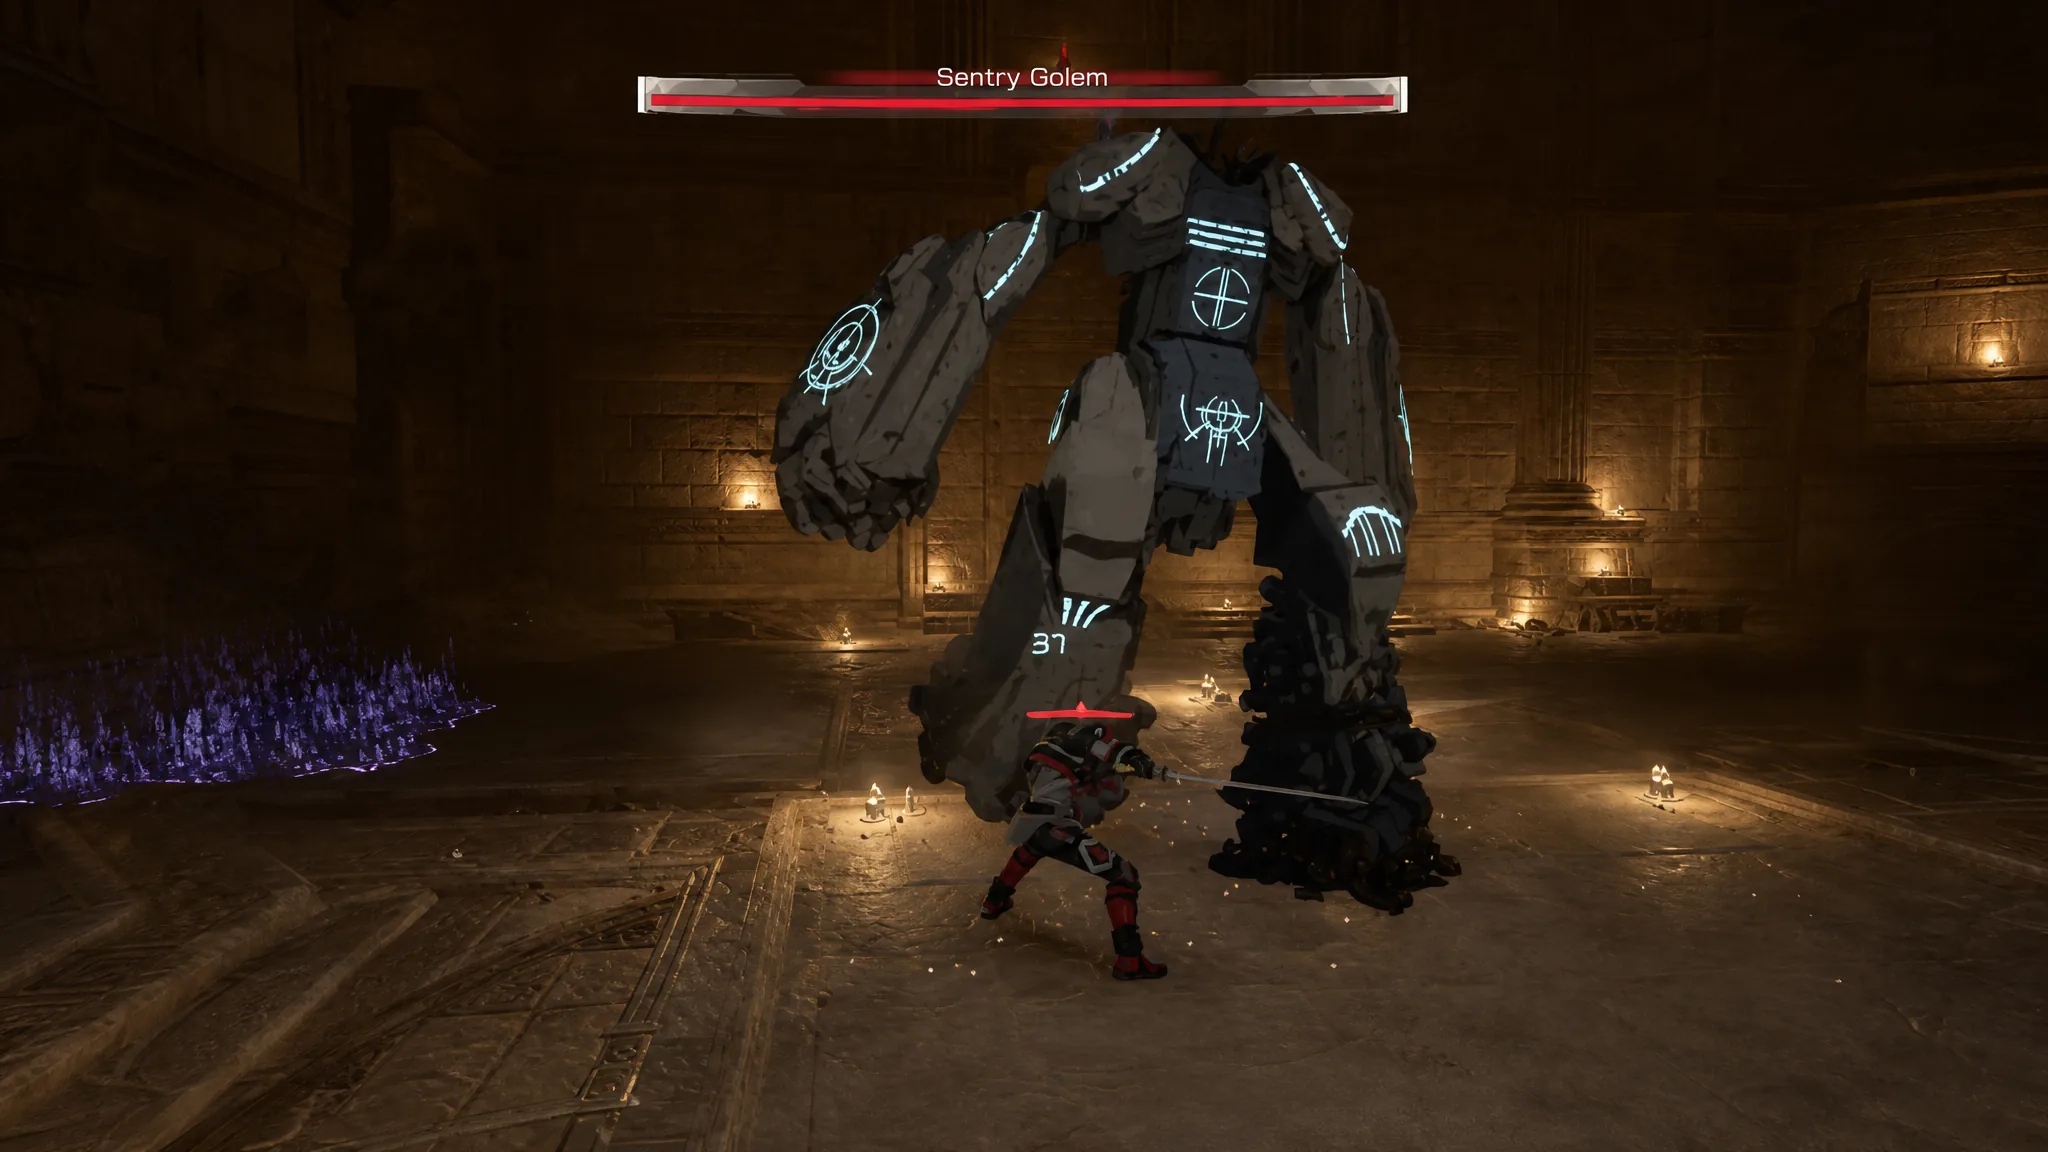
Echoes of Aincrad prologue boss order
The prologue features seven major encounters. They appear in a set order, and each one acts as a checkpoint in your run toward the floors of Aincrad.
| # | Boss |
|---|---|
| 1 | Sentry Golem |
| 2 | Illfang the Kobold Lord |
| 3 | Snowcap Boar |
| 4 | Glenspore Grizzly #1 |
| 5 | Dire Stife Wolf |
| 6 | Glenspore Grizzly #2 |
| 7 | Wrathful Shreman |
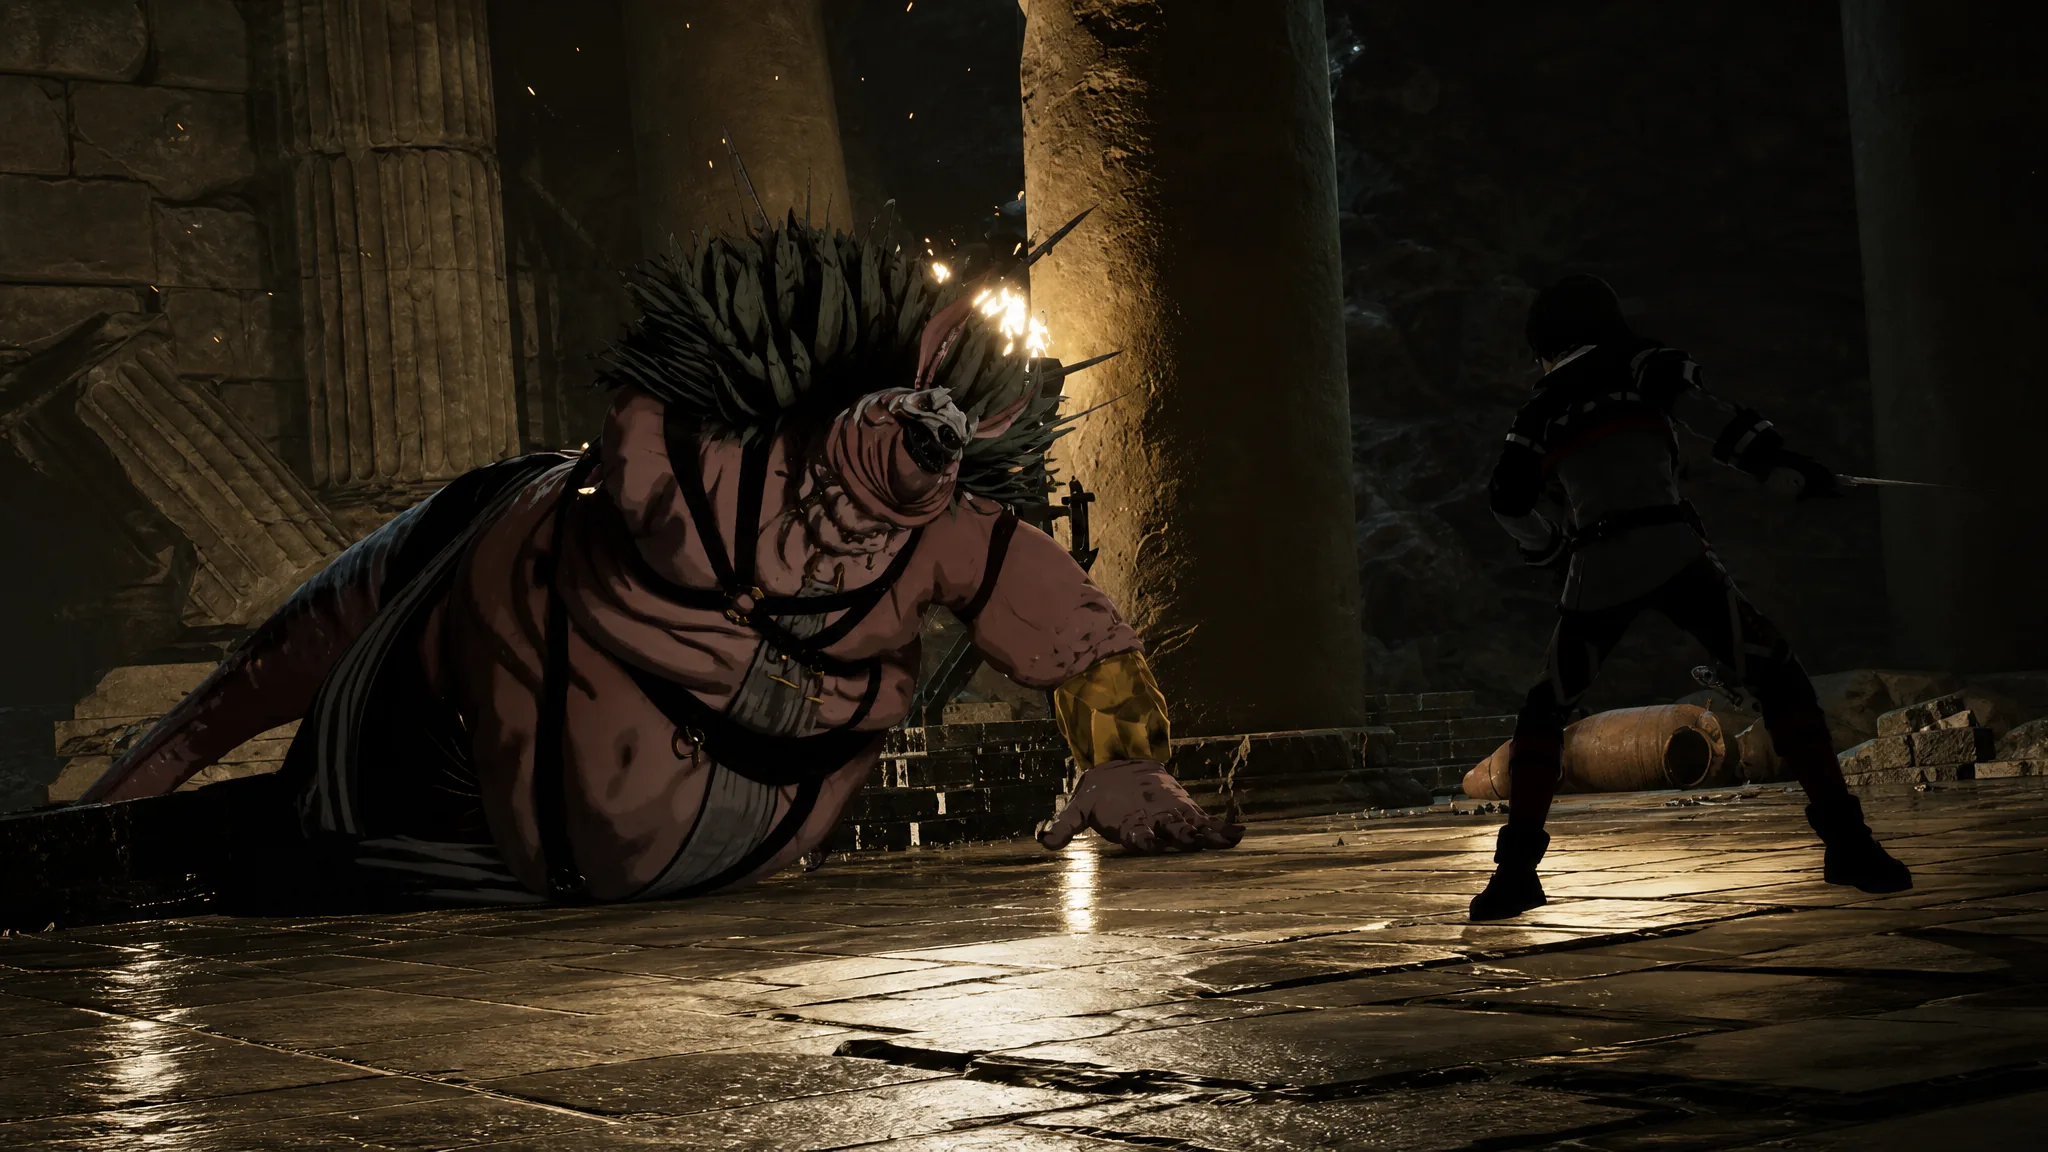
Manage Stamina and SP in every fight
Combat runs on two separate meters, and the prologue bosses punish you for ignoring either one. Stamina covers your survival actions, while SP fuels your strongest attacks.
Normal attacks, dodges, sprinting, shield guards, and most combat moves all drain Stamina. If it hits zero, you lose the ability to dodge or block reliably, which is when boss combos kill you. Keep a reserve so you can always react to a dangerous swing.
Sword Skills hit hard but burn through SP fast. Spending it all early leaves you with nothing for the back half of a long boss fight. Save these skills for openings, weakened targets, and combination attacks with your partner rather than firing them on cooldown.
For healing, Healing Crystals restore health instantly and refill at Safety Areas. Pair them with healing potions and other recovery items so you have a steady supply for the longer encounters near the end of the prologue.
Pick a weapon and support items that fit the bosses
There are six weapon types, and your choice changes how you should approach a boss room. Two of them set the baseline for how much defense you trade for damage.
| Weapon | Playstyle |
|---|---|
| Sword and shield | Balanced offense and defense, can block, forgiving for new players |
| Two-handed axe | No shield, high raw damage, relies on dodging and positioning |
Support items round out your kit. Mines can chip a boss before the fight begins, explosive stones help against grouped enemies, and debuff items weaken tougher targets. Timing these tools well turns a hard fight into a manageable one.
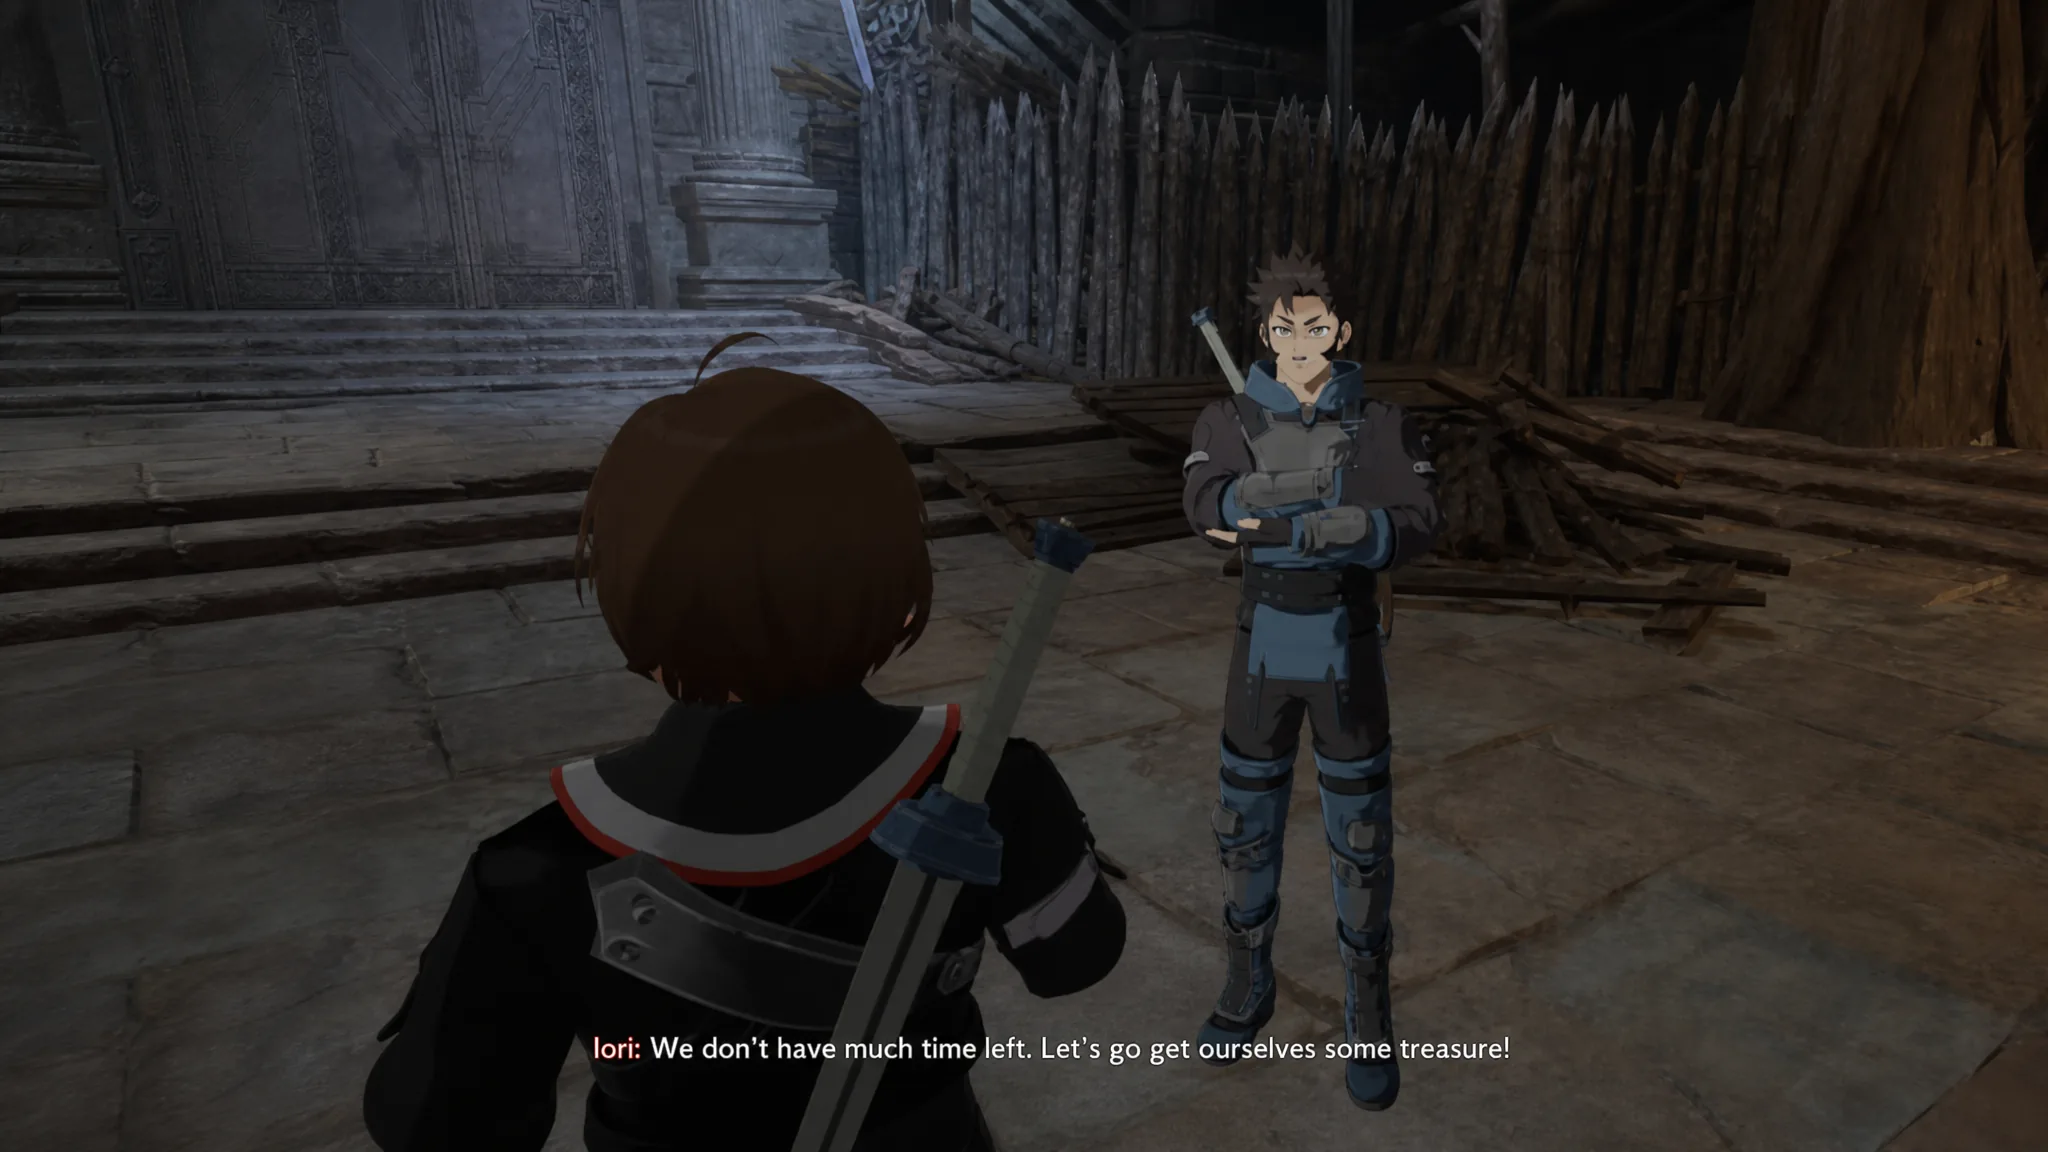
Use partners, Switch Mode, and Free Mode against bosses
Each quest lets you bring one partner, and the right pick matters as much as your weapon. Partners add Support Skills and Combination Skills that change how a fight plays out, not just extra damage.
Switch Mode splits a boss’s attention between you and your partner. Use it to heal, reposition, or attack from a safer angle while pressure is off you. It is most valuable during the elite and boss encounters in the prologue.
Free Mode lets you stack attacks on a single target or break off to clear smaller enemies. You can swap between the two modes instantly, so experienced players shift on the fly as a boss changes patterns.
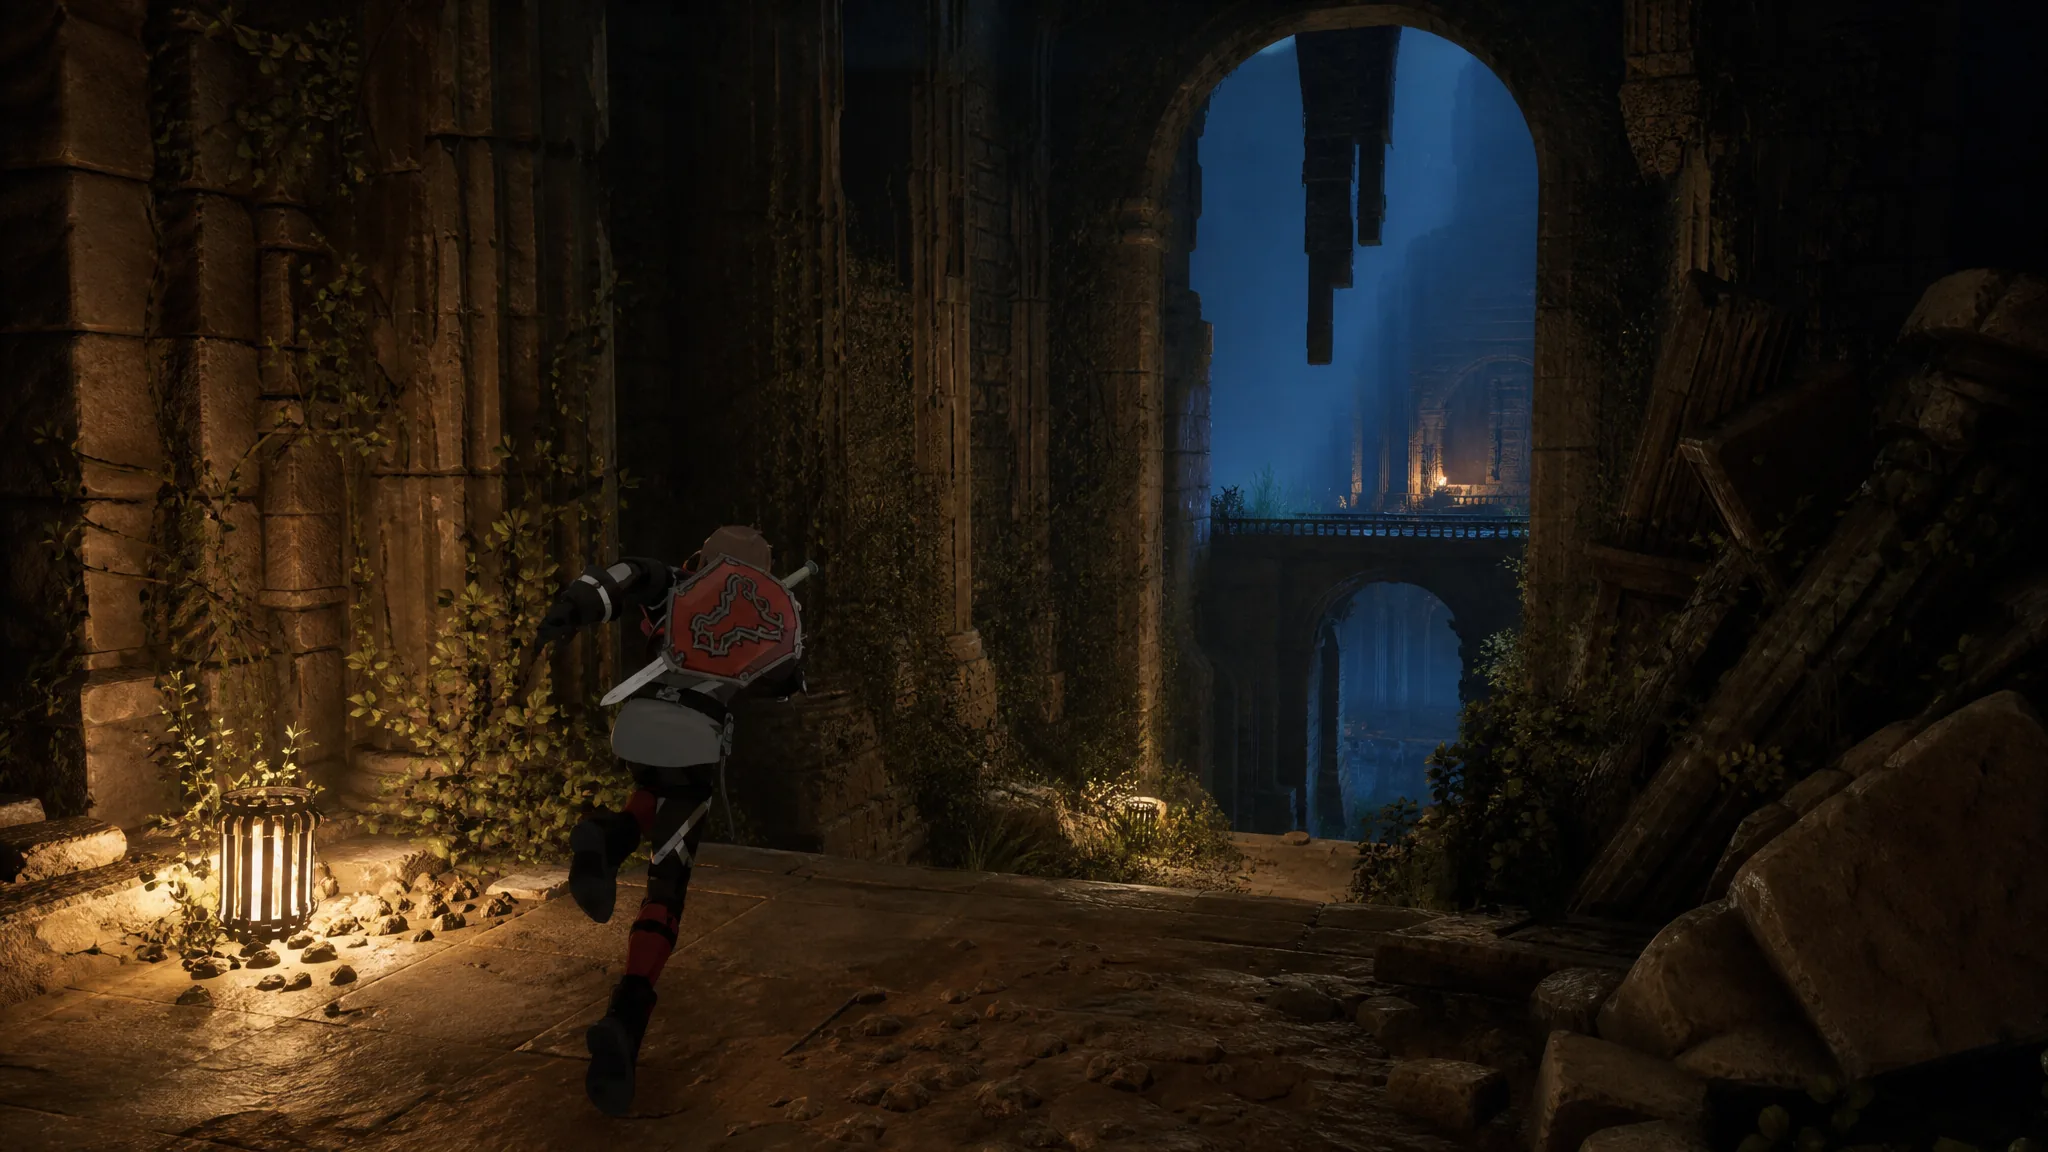
Prepare before each boss room
Once a boss battle begins, you cannot retreat. That single rule is why the minutes before the door matter more than anything you do inside it. Run this checklist at the base before you commit.
Tip: Against the bosses themselves, combine parries, dodges, and the Reversal Slash to open windows for your strongest attacks. These are the same fundamentals that carry you from the Sentry Golem all the way to the Wrathful Shreman.
Build your character at the Town of Beginnings
Base towns such as the Town of Beginnings act as your safe hub between prologue bosses. At the inn’s Chest Orb, you manage equipment and adjust your character’s progression.
Merchants sell potions, crafting materials, and utility items for Col earned on your travels. You can also craft consumables from materials gathered while exploring, which keeps your supplies stocked without leaning entirely on shops. Activating checkpoints out in the field reveals the local map, including treasure chests and hidden shortcuts that feed those materials back to you.

You will know the prologue is done when you finish the Wrathful Shreman, the last of the seven story bosses. Keep cycling through the base before each new boss room, match your stat points to your weapon, and the prologue holds together as a steady test of resource management rather than raw reflexes.