Assassin’s Creed Shadows: Lost and Found Animus Rift Walkthrough and Rewards
Find the rift entrance, clear every form-swap puzzle, beat Sentinel B-Ser.0197, and claim two legendary weapons.
Find the rift entrance, clear every form-swap puzzle, beat Sentinel B-Ser.0197, and claim two legendary weapons.
by Pallav Pathak
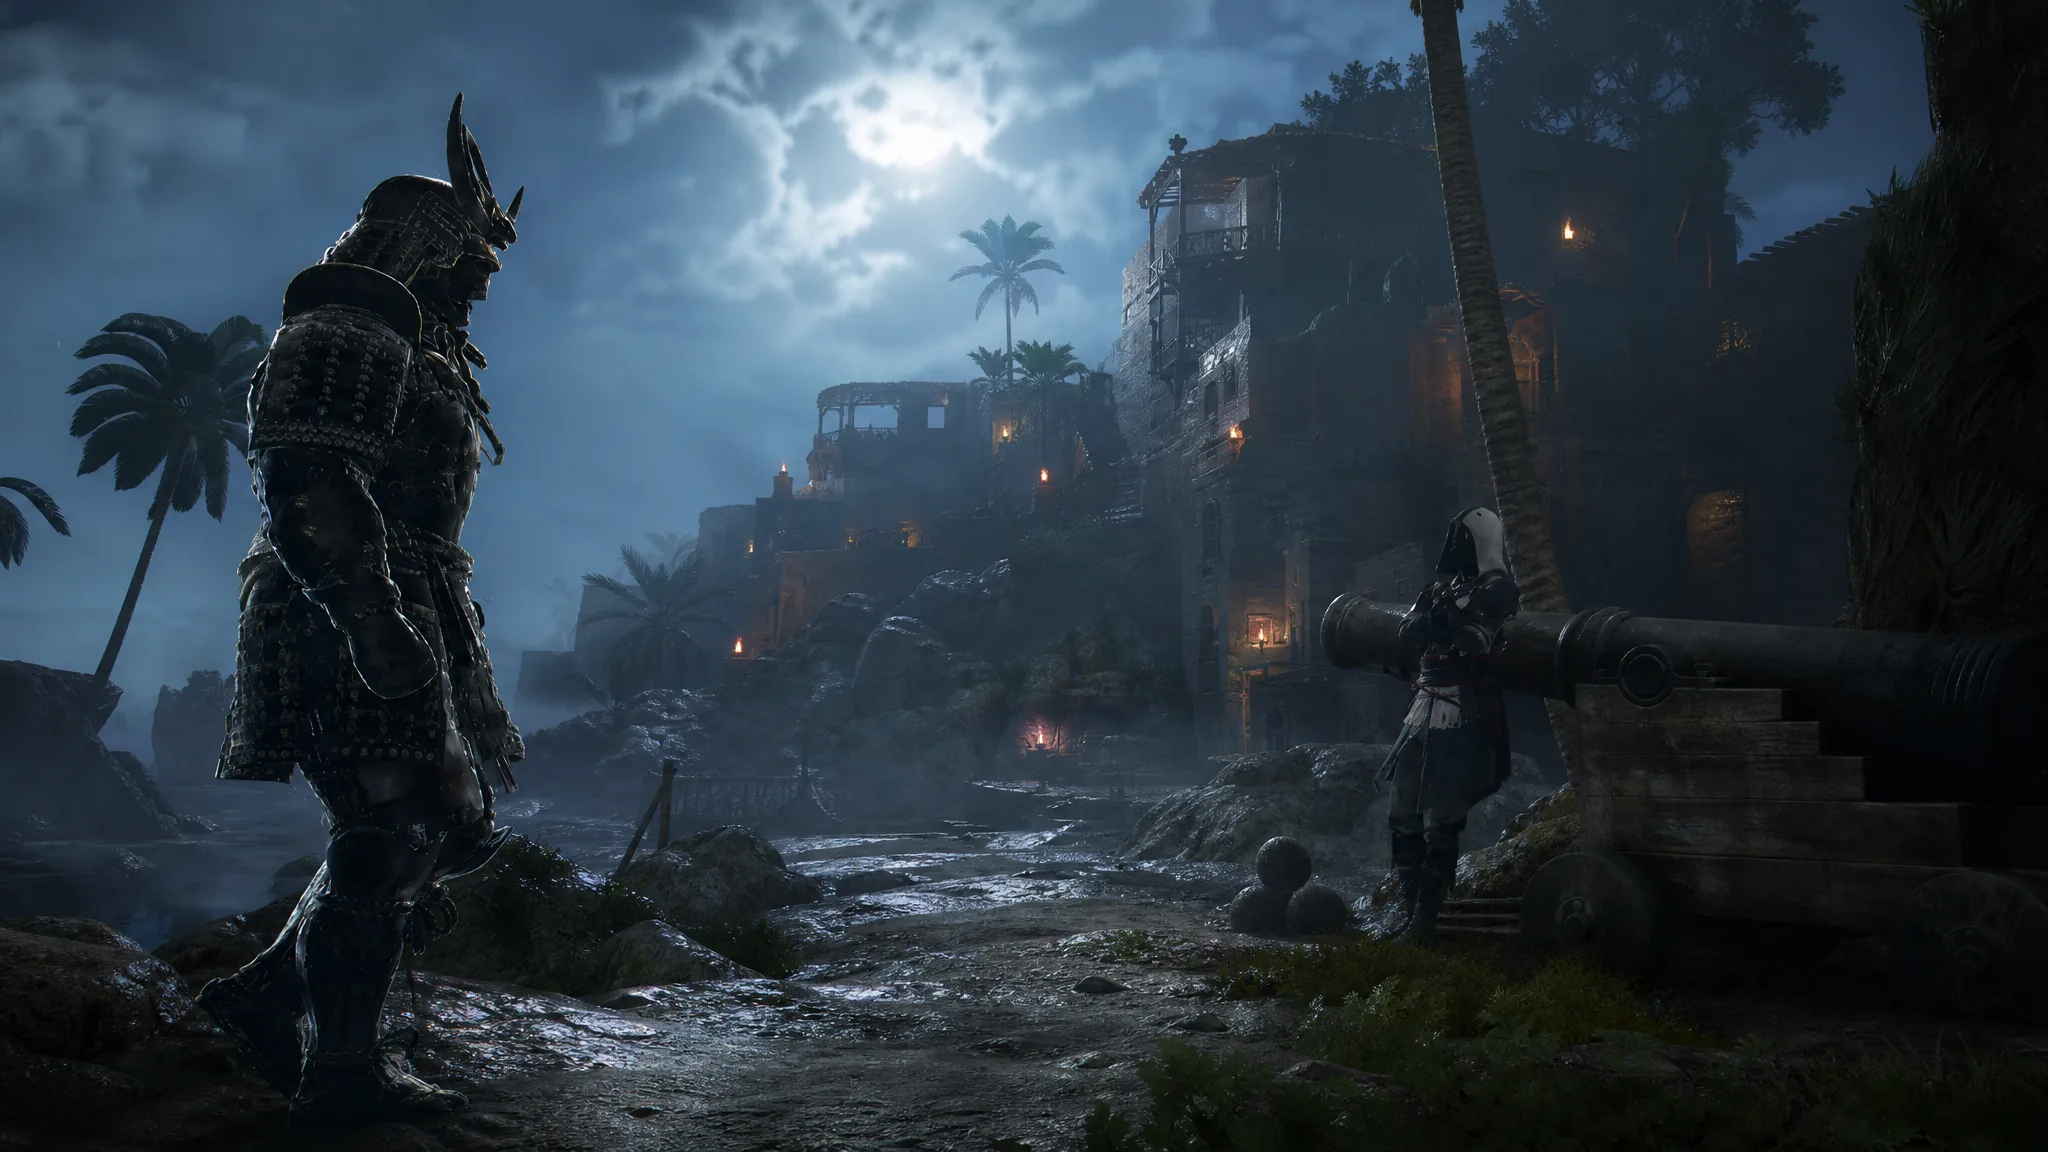
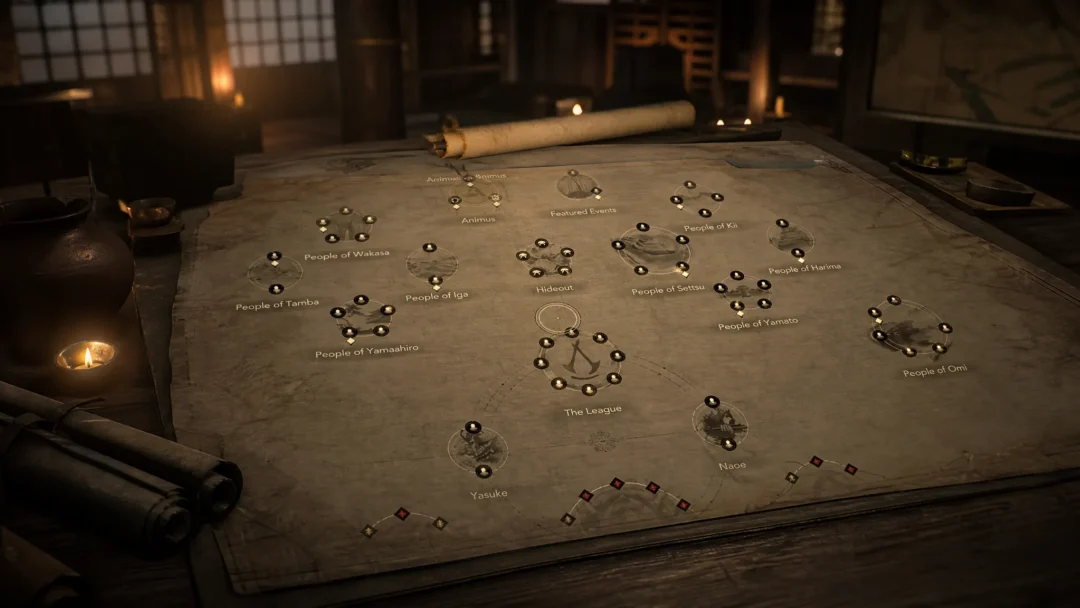
Lost and Found is an Animus Rift quest in Assassin’s Creed Shadows that arrived with Title Update 1.1.7. The Eagle leads you through a fractured rift, you swap between Naoe and Yasuke to clear obstacles and enemies, and the run ends with a fight against a teleporting machine boss. Finishing it hands you two legendary weapons plus a pair of engravings.
Quick answer: Travel to Little Leaf Glade in Yamashiro, go northwest of the Deserted Outpost fast travel point, interact with the glitch, and choose “Leap.” Work through the rift by cleansing characters and swapping forms, defeat Sentinel B-Ser.0197, then chase and assassinate him to complete the quest.
Requirements to unlock Lost and Found
The quest only appears on the objective board once two conditions are met. Without both, you will not see the rift marker or be able to enter the new area.
Requirement
Detail
Title Update
Install Title Update 1.1.7 before launching the game.
Previous rifts
Complete the earlier Animus Rift quests so Lost and Found becomes available.
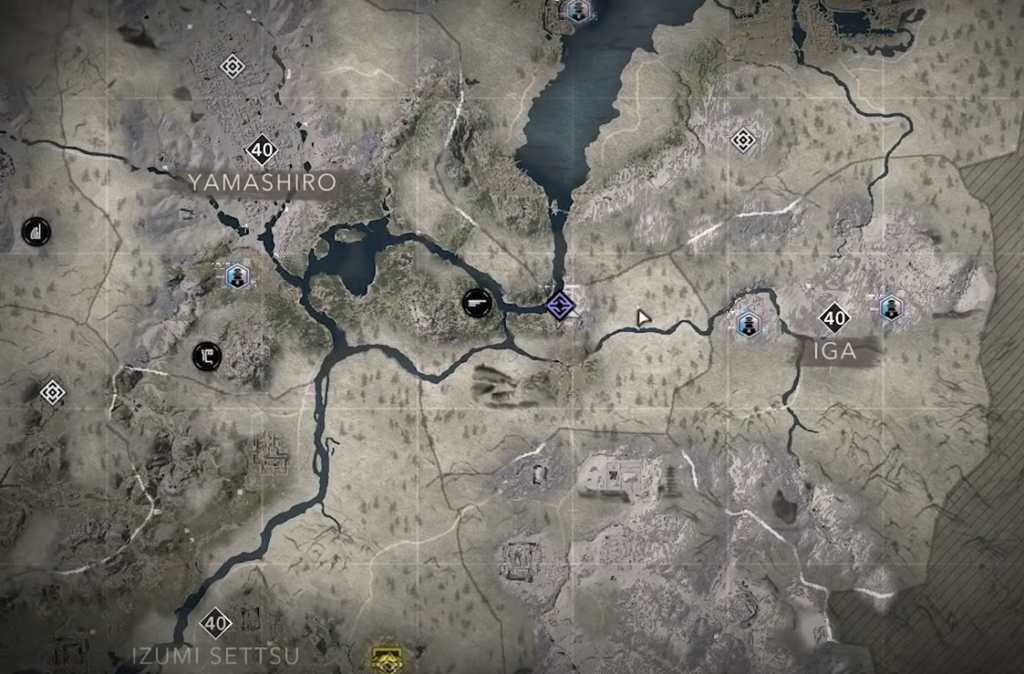
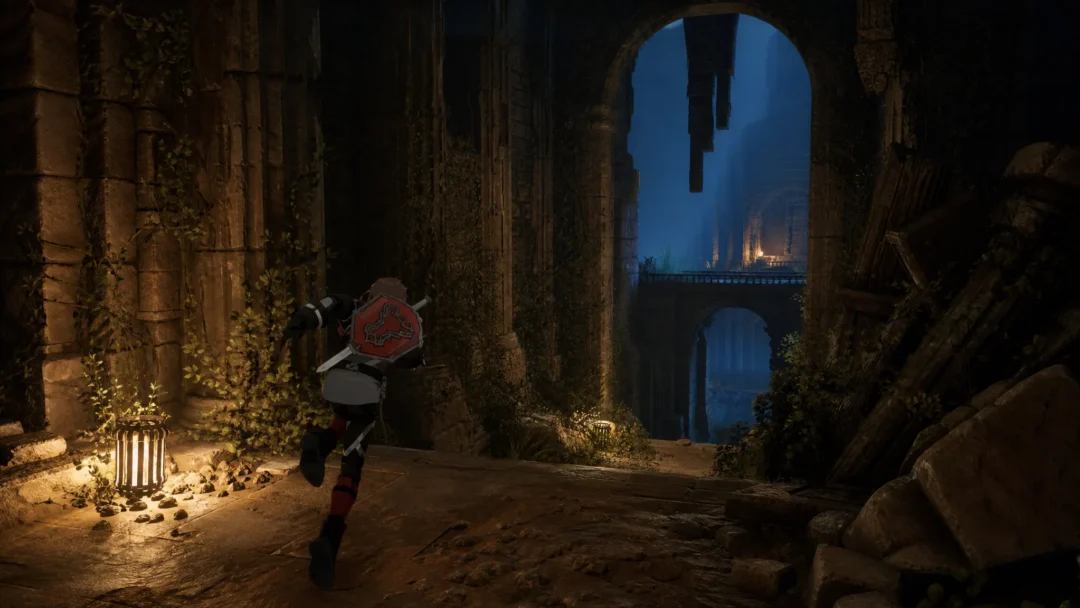
Lost and Found rift entrance location
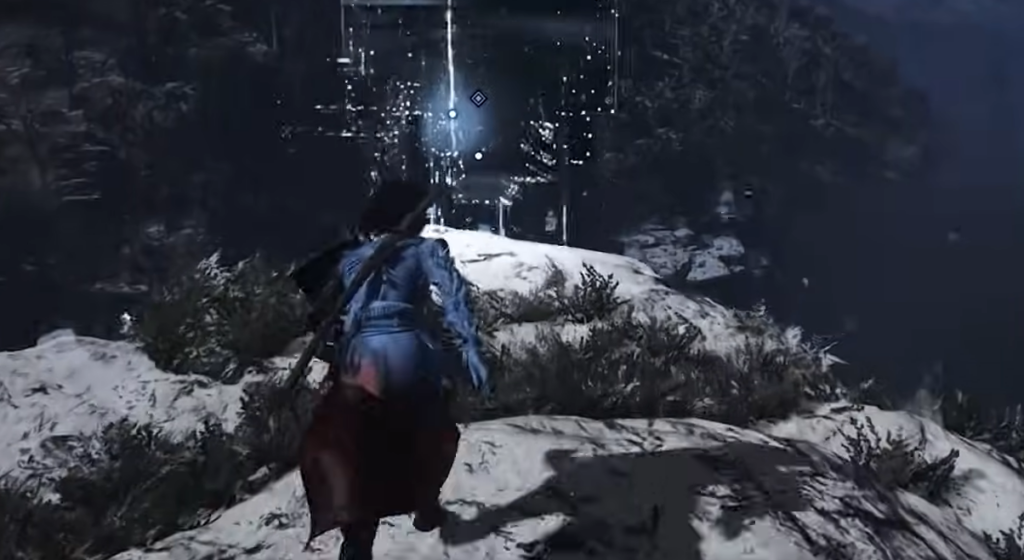
The starting point sits in the Little Leaf Glade area of the Yamashiro region. Head to the Deserted Outpost fast travel point and move northwest to reach the newly opened rift. Interact with the glitch and select “Leap” to drop in and begin the quest.
Interact with the glitch and select “Leap” to drop in and begin the quest.
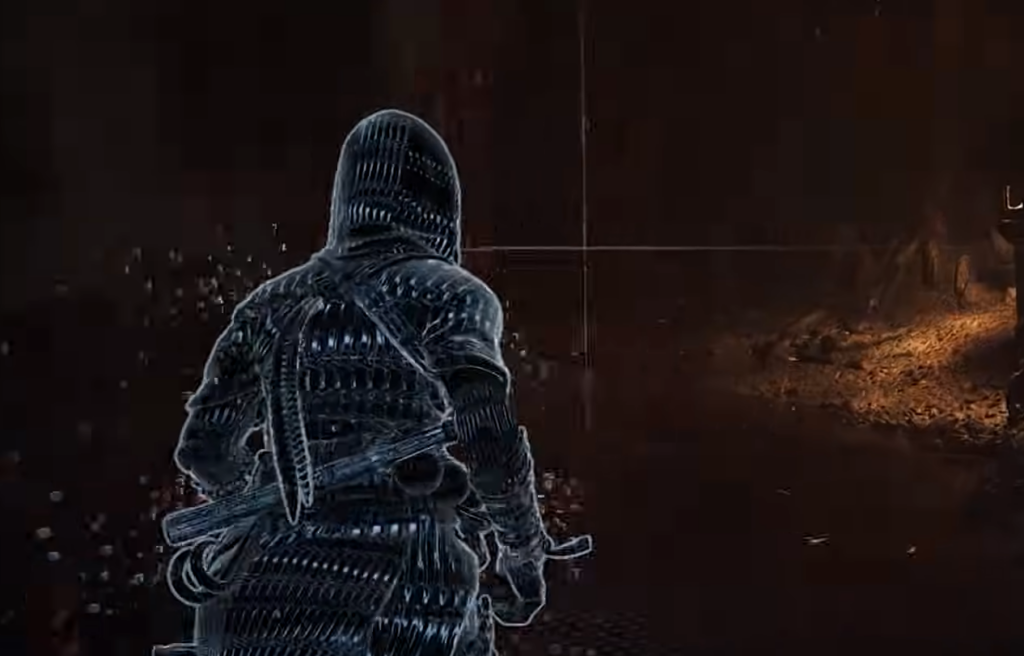
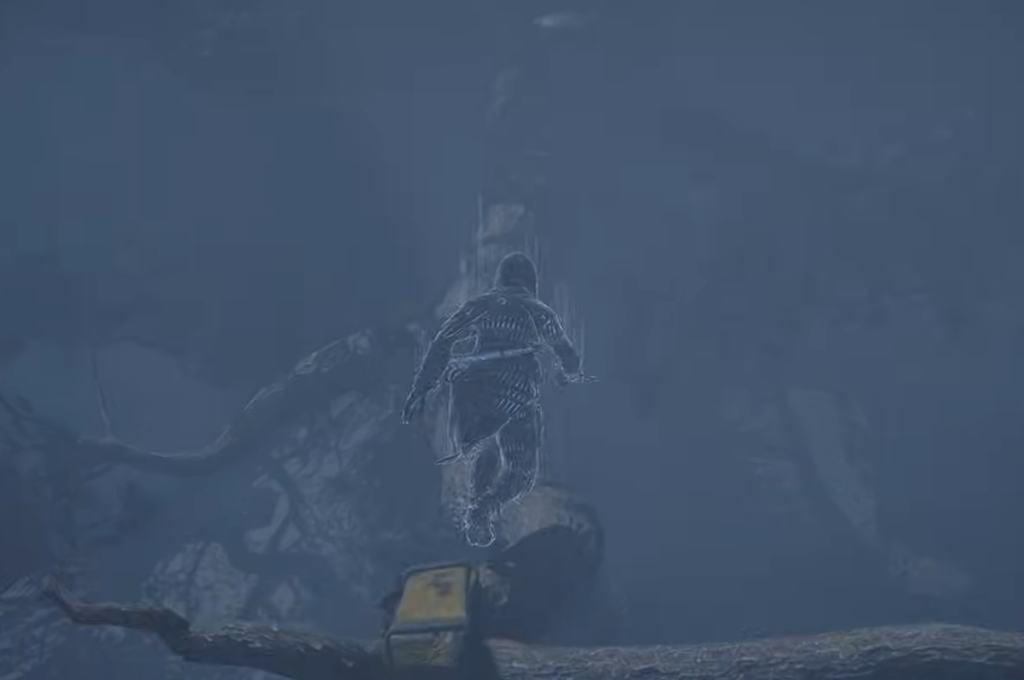
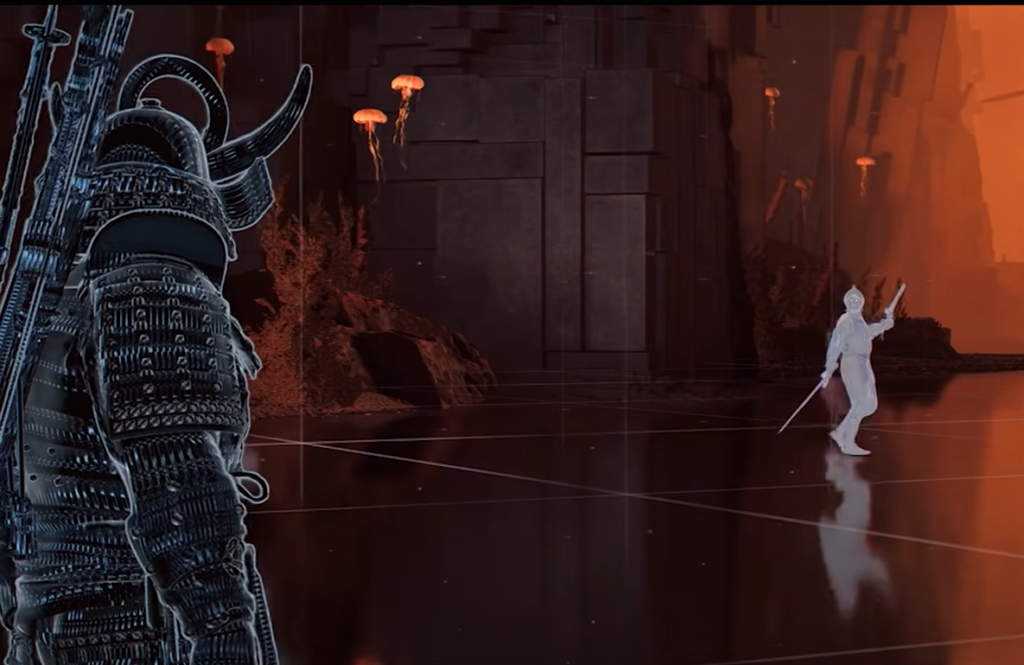
Once you land inside, walk to the edge of the broken bridge and jump down to perform a Leap of Faith. Continue along the path until you reach a person, then press and hold “Cleanse” to turn into Naoe.
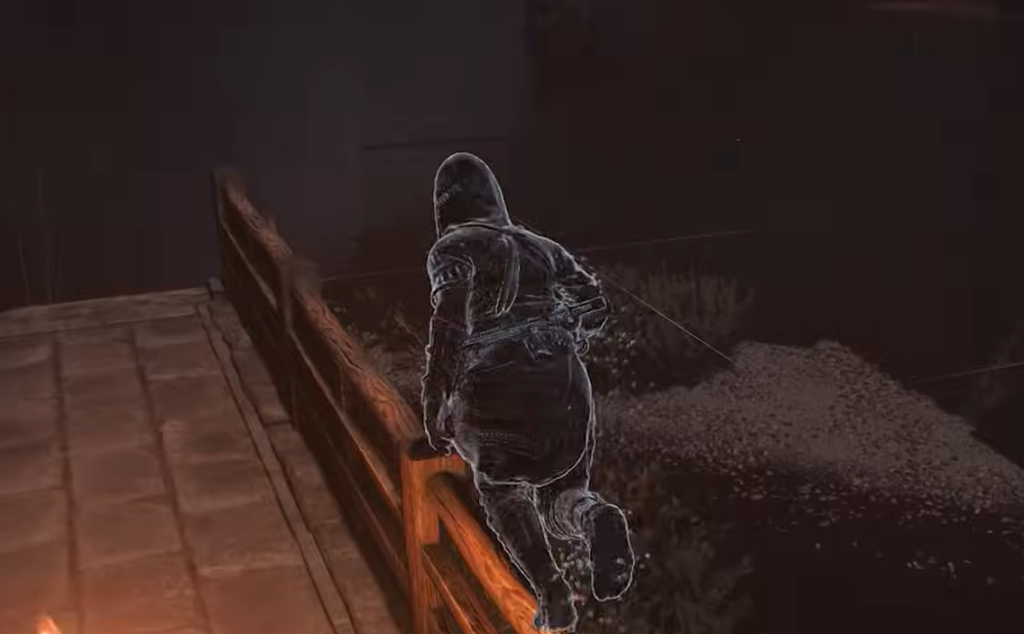
Squeeze through the gap in the wall and move ahead to reach the nearby rooftop. Use the connecting ropes to cross to the next roof, where tree branches let you keep moving forward.
Stay in Naoe’s form, slip through the gap, and take out the enemies from behind. A cube sits in this space, so interact with it to switch to Yasuke and clear the rest of the foes.
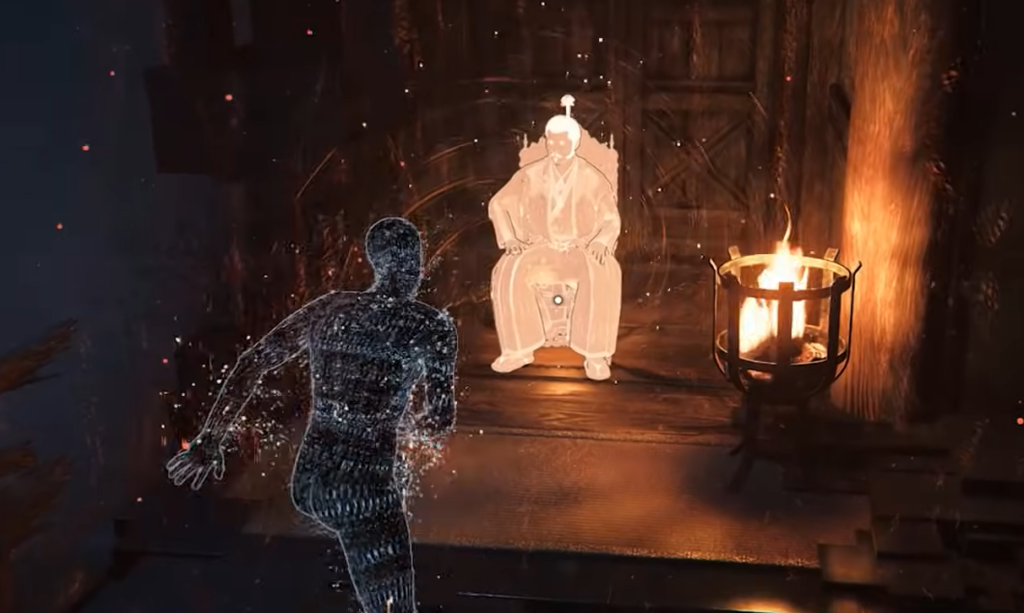
Head upstairs to the blocked door. Detonate the explosive beside it using Naoe’s throwables or Yasuke’s ranged weapons, push forward, and select “Cleanse” by interacting with Oda Nobunaga.
Select “Cleanse” by interacting with Oda Nobunaga.
On the far side, walk to the edge and use Naoe’s grappling hook to travel to another location with the Eagle’s help. Move forward, take Yasuke’s form, head downstairs, and kill every enemy there before crossing to the staircase on the other side that leads to an upper platform.
Move forward, take Yasuke’s form, head downstairs, and kill every enemy there.
Go up and interact with Oda Nobunaga again to “Cleanse,” then move right to find a ladder. Climb it, use the cube to turn into Yasuke, and sprint at the blocked door to smash it open.
Go left and climb the small wooden ladder to the upper platform while the patrolling enemy faces the other way. Do not rush the enemies in front directly. Instead, use Naoe’s or Yasuke’s ranged attacks to set off the explosive and wipe them out from a safe distance.
Once they are down, move ahead and interact with Junjiro to “Cleanse.” Take Yasuke’s form, finish off the remaining enemies, and break the wooden door by sprinting into it or by triggering the explosive.
Climb the ladder to the next area and defeat the foes there with Yasuke. Walk to the edge and use Naoe’s grappling hook to let the Eagle carry you to the next location, which sits close to the portal.
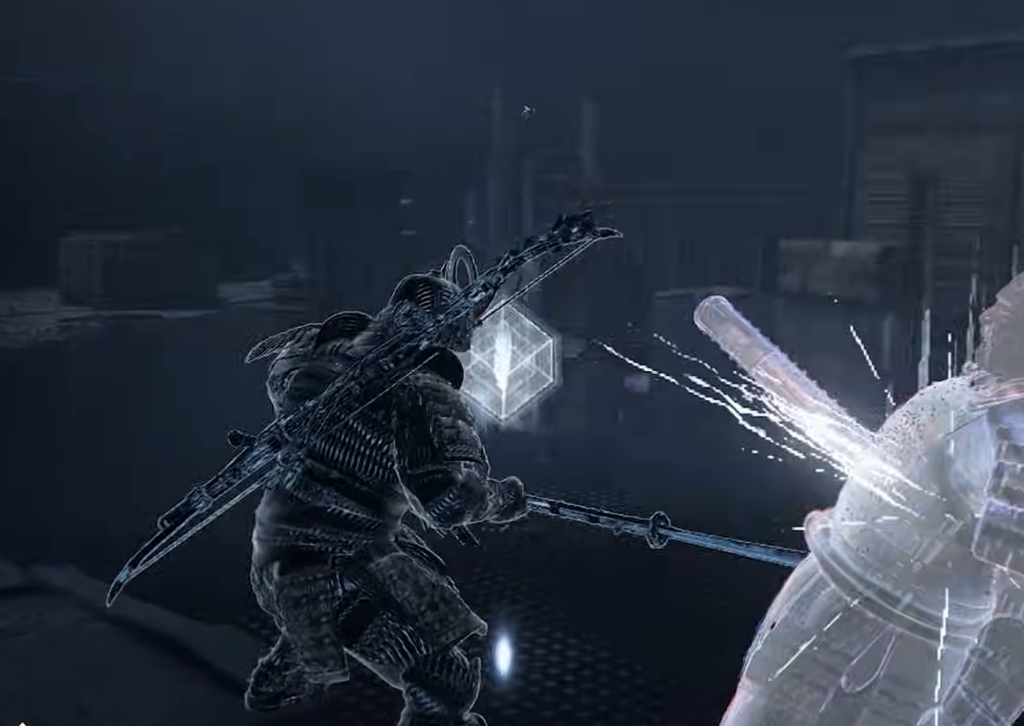
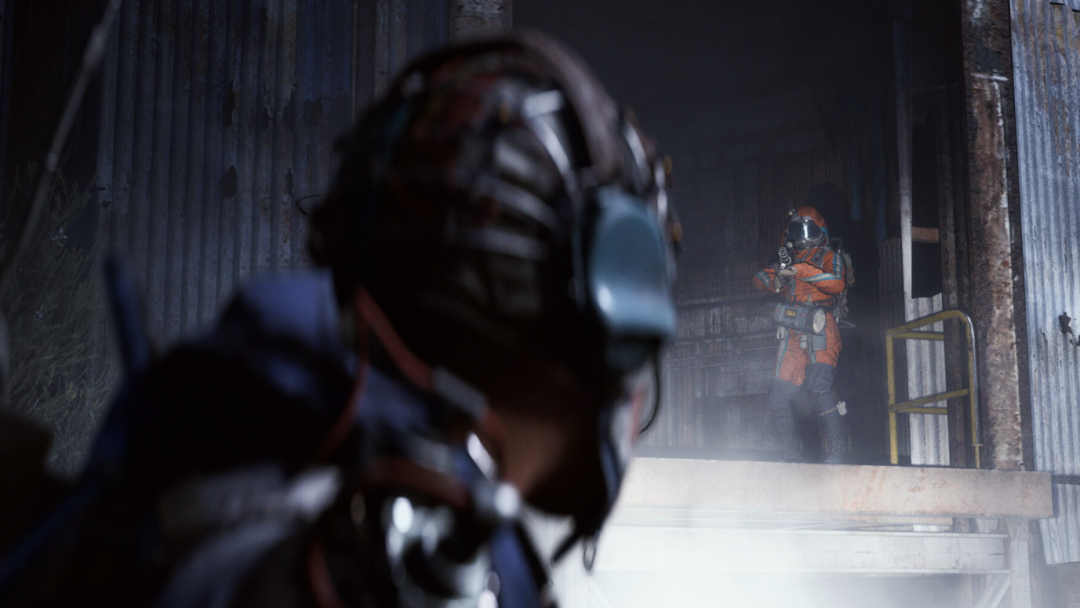
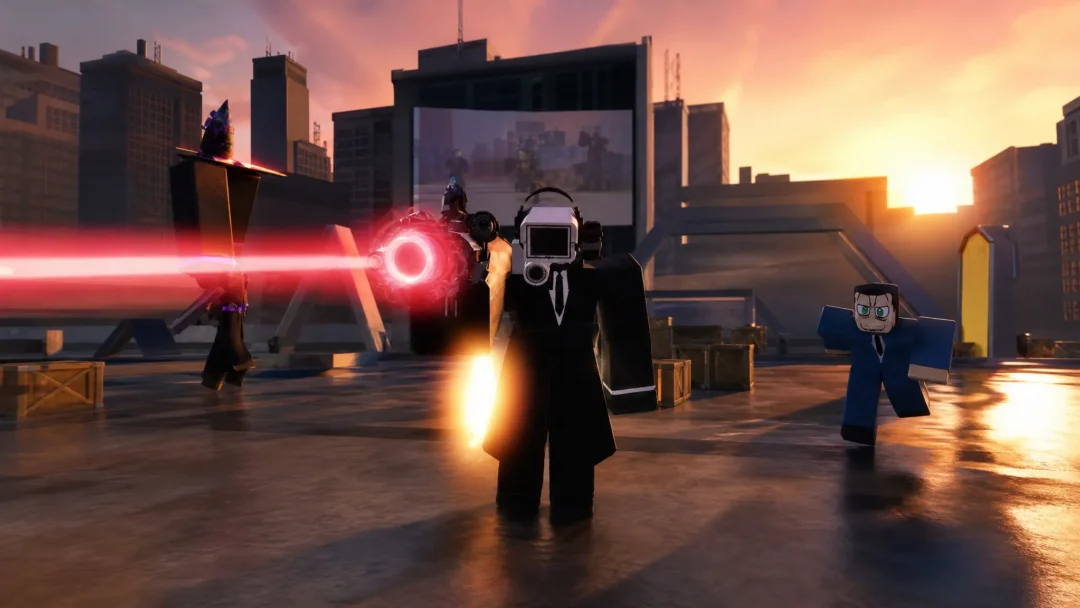
Sentinel B-Ser.0197 boss fight
Near the portal, you face Sentinel B-Ser.0197. This boss relies on ranged pressure and teleportation rather than standing toe to toe, so reading his tells matters more than raw aggression. Knowing each attack ahead of time keeps you from getting cornered.
Attack
How to avoid it
Ranged ground attack
Dodge quickly to the side.
Teleport plus gun shot with mirror images
Side-step the shot as the copies fire together.
Ground attack with red glow
Move away from him and keep dodging away from the red marks on the floor.
Punish the boss between his attacks and lean on Yasuke’s abilities to push his health down. If you take too many hits, you lose Yasuke’s form, but a cube nearby lets you switch back and keep the pressure on.
Dodge his attacks, parkour forward, and climb the platform on the right. Use the grappling hook to reach the next platform, cross the gaps, and take the rope over to the platform on the left.
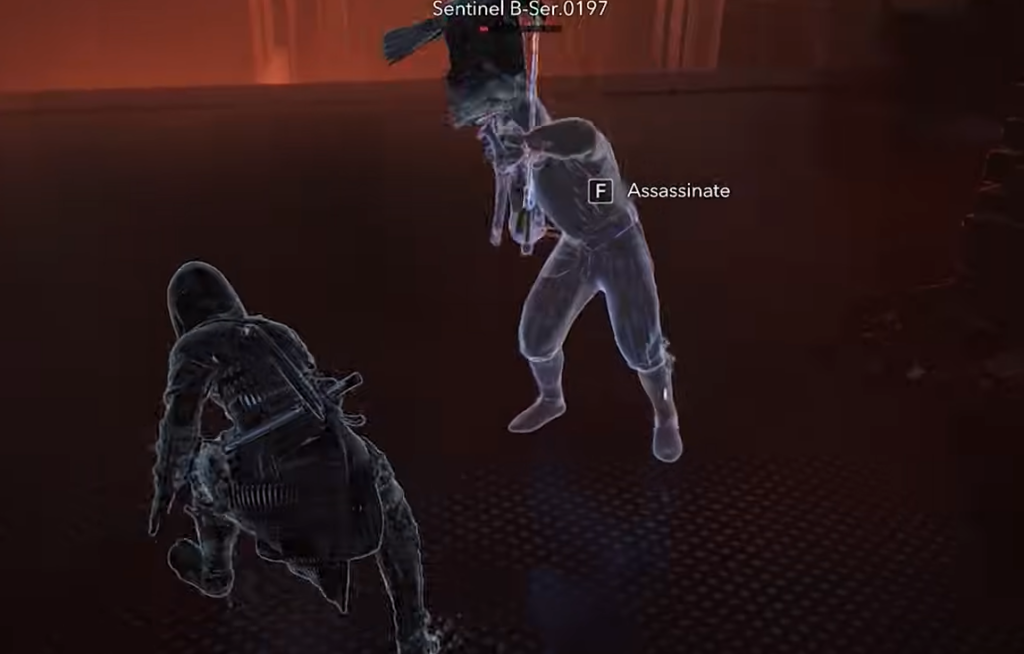
Line up the final blow and assassinate Sentinel B-Ser.0197 from above, then move forward. The objective board updates to mark Lost and Found as complete once the kill lands.
Assassinate Sentinel B-Ser.0197.
Lost and Found quest rewards
Reward
Type
Dark Strand
Legendary Bo
Dark Encryption
Legendary Kanabo
Hurtful Criticals
Engraving
Painful Power
Engraving
Both legendary weapons cover Naoe and Yasuke, with the Bo suiting Naoe and the Kanabo built for Yasuke. The two engravings can be applied to gear afterward, so the run pays off across both characters once the rift closes behind you.