Animal Hospital rewards players who understand its quieter rules, not just the obvious ones. Most deaths in a shift come from Sanity draining to zero, and a lot of that damage is avoidable once you know how anomalies, cameras, and enemies actually behave. The game released on Roblox on May 10, 2026, and its systems are deterministic enough that you can play around them cleanly.
Quick answer: You can execute a missed anomaly for free by feeding it the wrong item in a treatment room; several Sanity attacks (camera zoom, cursed photos, Don’t Look Up, the Stalker) are only triggered by looking at them; and most enemies are countered with items like Maple Syrup or Coffee rather than weapons.
Kill missed anomalies for free inside treatment rooms
The main way to handle an anomaly is at the front desk. When you spot the warning signs, press the Shutters button on the left side of your desk. The Shutters lower, the “patient” leaves, and your anomaly counter goes up at the end of the shift for a higher score and more cash.
The less obvious mechanic matters when one slips past check-in. Anomalies do not cost you points when they die during treatment, while a normal patient does. So if a checked-in patient turns out to be an anomaly, you can take it into a Basic Medical room and administer the wrong item on purpose. It dies, you lose nothing, and you have cleared the threat without a fight.
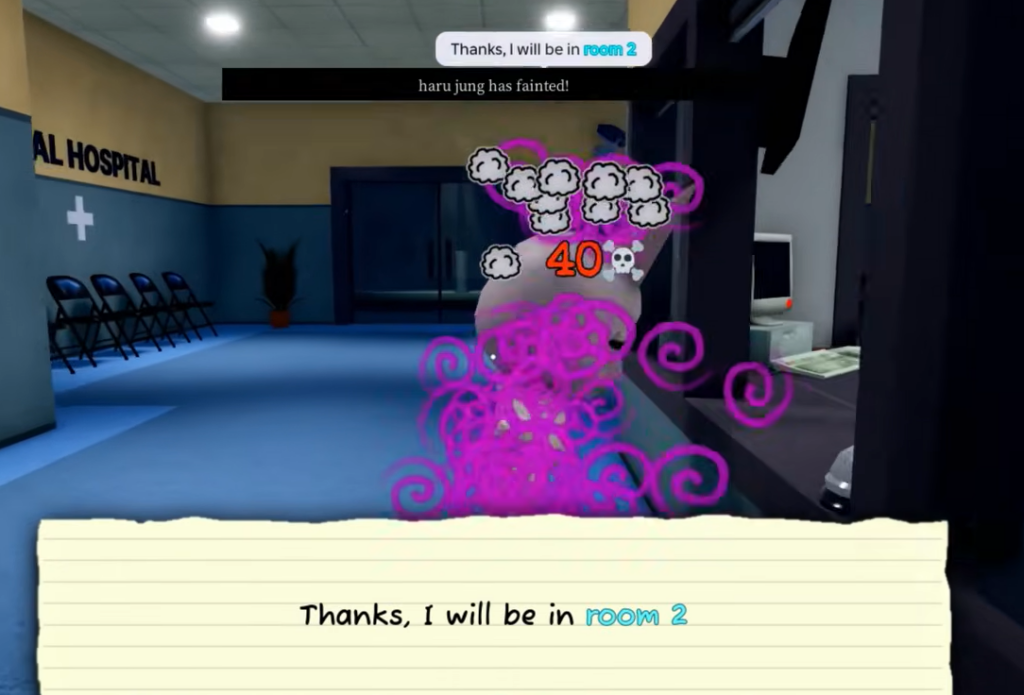
Tip: If an anomaly has already awakened into a Skinwalker and is attacking a patient, hold E from behind it to take it down without Sanity damage. Fighting one that is on you (repeated E, or an M1 weapon like a taser or gun) works too, but costs Sanity.
Sanity drains you trigger by looking
Several of the nastiest threats only hurt you because you are watching them. Break the line of sight and the damage stops. This is the single most useful habit for surviving long shifts.
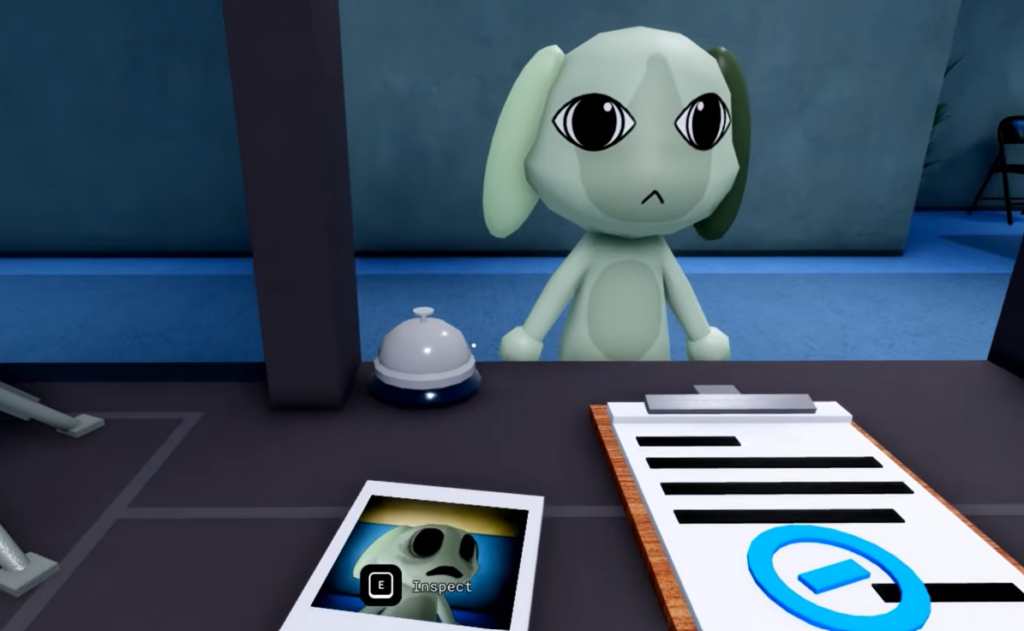
The camera anomaly is the dangerous one. If a camera starts zooming toward a dark figure, it drains Sanity and is fatal if you keep looking. Stop viewing that camera immediately. Cursed Photos are different because their Sanity damage is unavoidable once you take the shot, so if you have already confirmed an in-person visual sign, reject the patient with the Shutters and never bother taking the photo.
| Threat | What triggers the damage | Safe response |
|---|---|---|
| Camera zoom to dark figure | Keeping the camera view on it (fatal) | Look away from that camera at once |
| Cursed Photo | Looking at a photo with bloodshot eyes and a grin | Reject on visual signs first; skip the photo |
| Don’t Look Up | Looking up at the ceiling of a medical room | Keep your camera down and finish the task; it leaves |
| Stalker | Looking directly at it around corners | Watch from a distance; never make eye contact |
Enemies need items, not weapons
Tasers and guns only work on Skinwalkers. Every other enemy and environmental hazard ignores weapons and expects a specific counter. Using force in the wrong spot can backfire, most severely during surgery.
| Enemy / hazard | Correct counter |
|---|---|
| Green Sludge/Slime | Hold E to clear the terrain hazard |
| Bed Monster (under beds) | Approach with Maple Syrup so it disappears; without it, you get grabbed for Sanity damage |
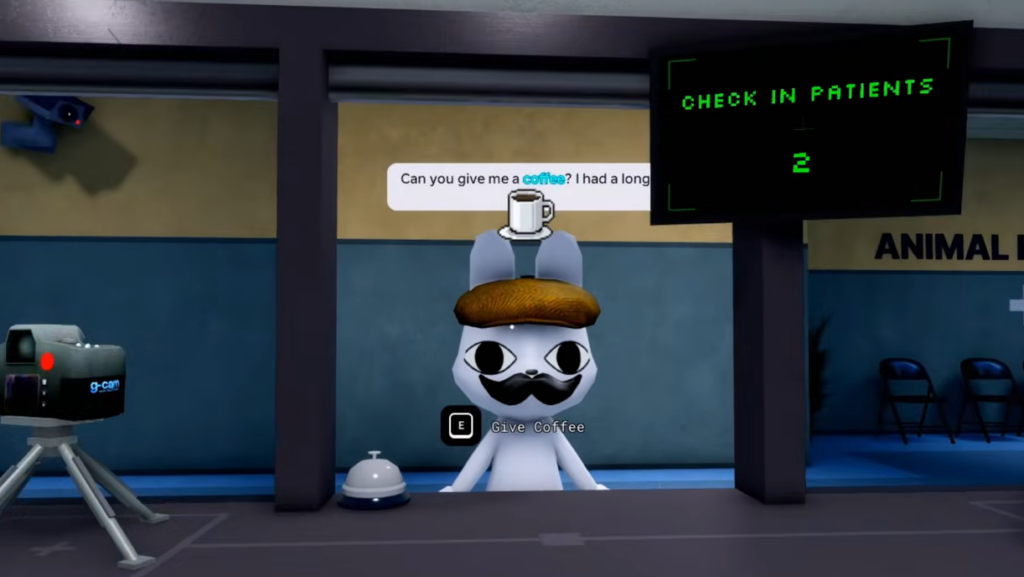
| Wall Bangers (on the glass) | Approach with Coffee or food and interact; asking them to leave with none costs heavy Sanity |
| Wall Anomaly | Aggro it, then run away so it despawns; it steals items and hits you if close |
| Surgery Tentacles (Room 8) | Just finish the surgery mini-game and avoid it; never shoot or taze it or the patient dies |
| Skinwalker | Hold E from behind while it attacks a patient, or use a weapon/E while it is on you |
Wall Bangers deserve extra attention because they block the glass and stop you from rejecting anomaly patients. Keep Coffee on hand so you can clear one quickly instead of eating the Sanity hit from forcing it out.
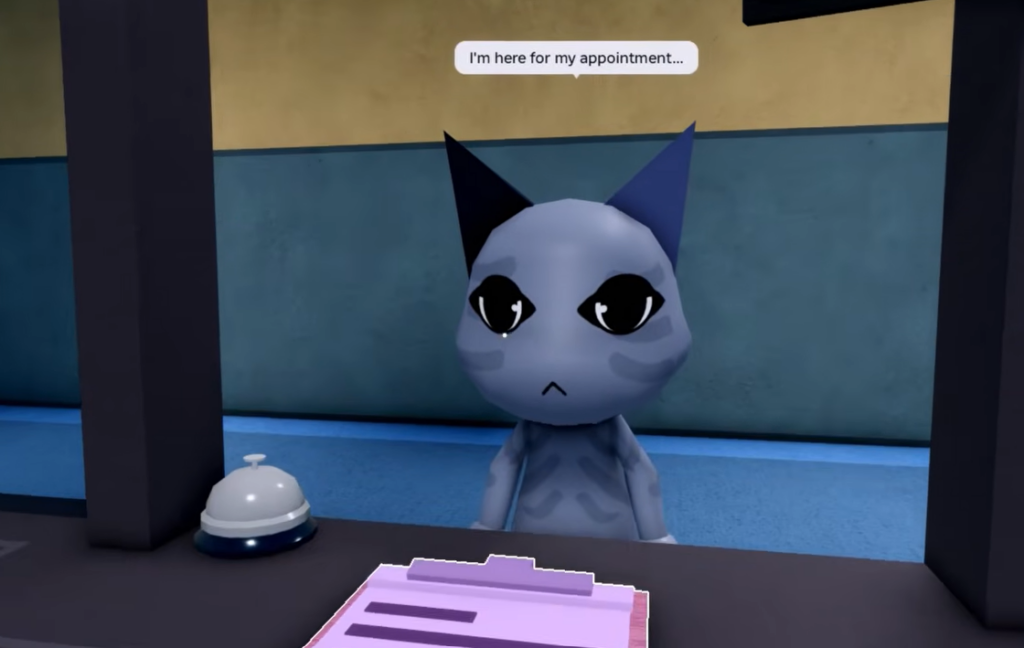
How to confirm an anomaly before you reject it
Rejecting a real patient wastes a treatment, so run the three-layer check in order. Each layer catches signs the previous one might miss.
You know a rejection worked when the leaving dialogue prompt appears and the anomaly tally increases at the end of the shift. The most common reasons a threat still hurts you are looking too long at a fatal camera, taking a cursed photo after a visual sign was already visible, or attacking Surgery Tentacles instead of finishing the operation. Keep your Sanity topped up with Coffee and food from the shop, and each shift becomes far easier to clear.