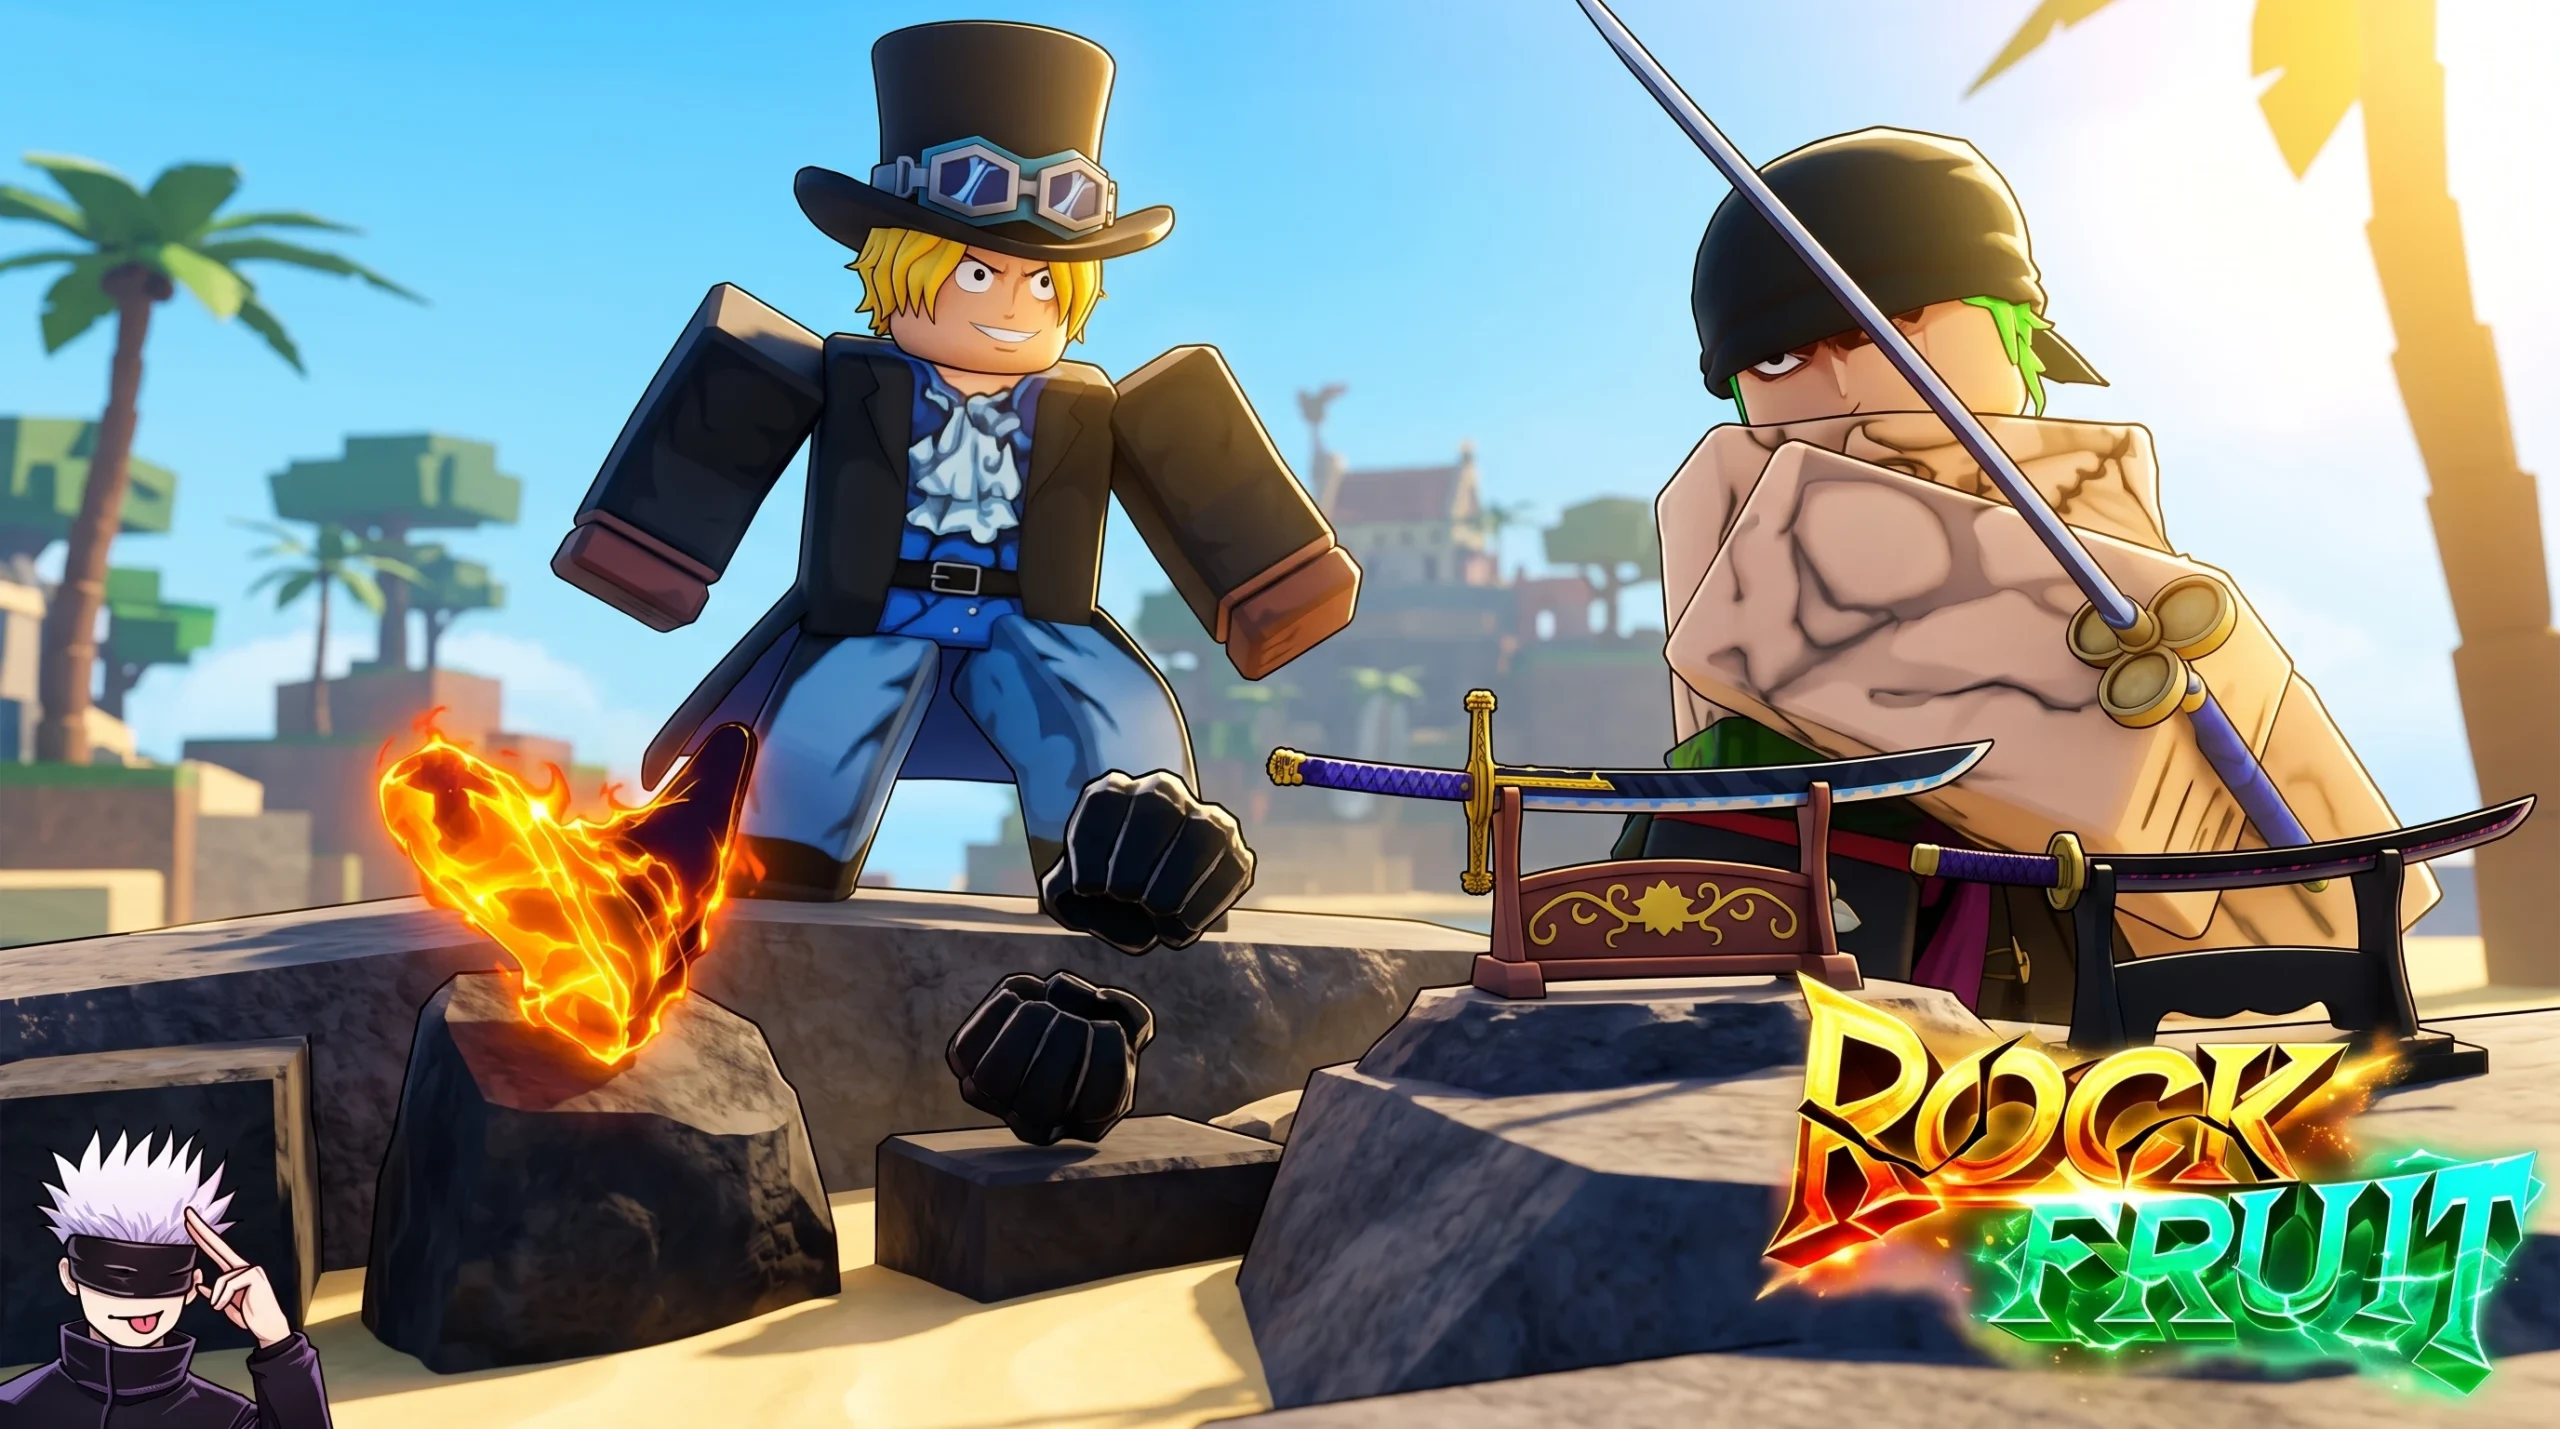
Combat in Rock Fruit runs on three weapon families that you stack together. Swords are your primary damage, specials (Specs) add a stronger hit, and Fruits layer on ability moves. Across the 22 islands of Sea 1 there are dozens of swords to grind, buy, or craft, and each one is tied to a specific island’s mobs, currency, or crafting materials.
Quick answer: To hit the hardest in Sea 1, pair a strong sword with a special and a high-DPS Fruit, and pour stat points into DevilFruit so your Fruit moves scale up. Chase Yoru first from Starter Island, then grind a Fruit like Rumble from the Gacha chest.
How combat works in Rock Fruit
Your loadout combines a sword, a special, and a Fruit. Swords and specials carry the bulk of your damage, while Fruits are a supporting tool that shines most in the early game. Fruit damage is not fixed. It scales with the DevilFruit stat, so putting points into that stat directly raises how much your Fruit moves hit for.
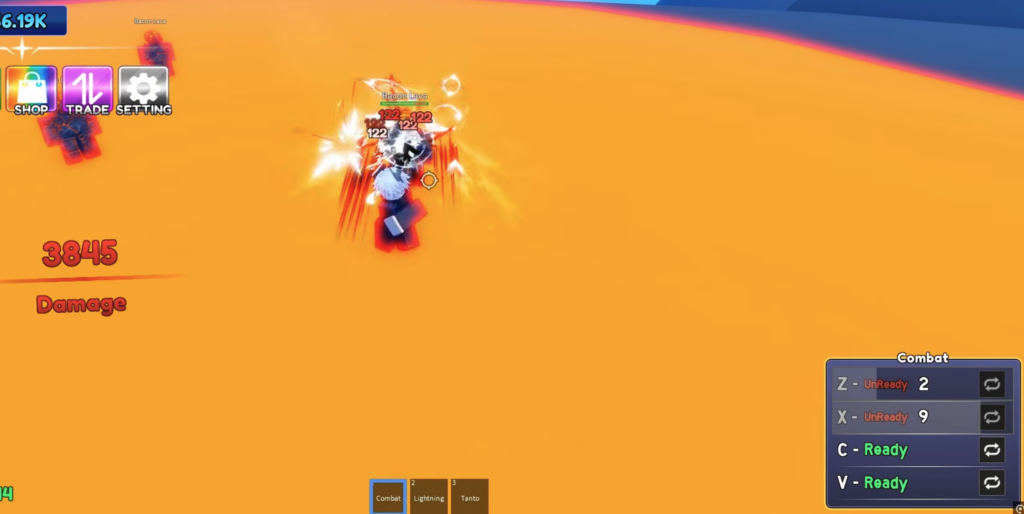
Almost every rare Fruit has five ability moves mapped to Z, X, C, V, and F. Less rare Fruits only have four (Z, X, C, V). You can only have one Fruit equipped at a time, and eating a new Fruit permanently removes the one you were holding, so commit carefully. Unlike many One Piece style games, eating a Fruit in Rock Fruit does not hurt you in water.
Starter Island weapons and exact costs
Starter Island is where most players build their first real loadout. Its mobs (Bacon, Bacon Red, Bacon Blue) drop Bacon and Rot Sausage, which you sell at the “Give Me Your BaCon, Rot Sausage” NPC for Beil. The island’s weapon costs are the clearest in Sea 1.
| Weapon | Requirements |
|---|---|
| Katana Wooden | 2,500 Beil |
| Katana (Yoru) | Cat, Rock, Banana, Clown Mask, Orb Blue, 25,000,000 Beil |
| Christmas Sword | All Gift Boxes, 750,000,000 Beil |
| Xmas Gift | All Gift Boxes, 750,000,000 Beil, 250 Candy |
| Washing Machine | Laundry Basket, 15,000,000,000 Beil |
The Yoru requirements pull materials from several islands, so it doubles as a natural early goal that forces you to explore. Squid Game and Rayleigh are also available from Starter Island NPCs. Use the Guaranteed Crafting NPC to build items, and test the chest Gacha for extra requirement drops.
Every Sea 1 weapon by island
Each island holds its own swords, styles, and specials, and most are tied to that island’s mob drops. Use the table to find where a weapon lives and what you farm nearby to progress toward it.
| Island | Weapons / Items | Mob drops nearby |
|---|---|---|
| Jungle Island | Gryphon, Wukong | Bananas, Rotten Bananas, Shiny Bananas |
| Clown Island | After Dark (special) | Clown Masks |
| Desert Island | Puthai | Sand, Cats |
| Skull Island | DarkKatana, Busoshoku Haki, T-Pose V2, Muhahaha, Eminence in Shadow | Bananas, Rocks |
| Wado Island | Wado Ichimonji | Orb White |
| Graveyard Island | Shusui, T-Pose | Orb Black, Orb Dark, Scarfs |
| Neo City | Otaku (special) | Goku Manga, Naruto Manga |
| City Island | Stylish Hangman | Crowbars |
| Marine Ford Island | HeavenKatana | Tissues, Orb Purple |
| Skull Dragon Island | Katana Dragon, Wing Chun V1 | Orb Dragon |
| Beach Island | Muay Thai V1, Muay Thai V2 | Banana Stem |
| Hell Island | Katana Gravity | Orb Demon |
| Dojo Island | DualKatana, Tanjiro V1 | Rust Blade, Orb Yellow, Orb Water |
| Sausage Island | Sausage Sword | Rot Sausage |
| Slum Island | Smelly (style), Plunger | Garbage Bags/Cash, Toilet |
A few islands are support hubs rather than weapon farms. Koma, Shibuya, Farmer, Event, and Rerun Islands feed into crafting, questing, and events instead of dropping their own signature blades. Boss Island lets you summon bosses like Vasto Hollow, Phoenix Man, Spongebob, and Ghost Gojo through the “Summon Boss!” NPC, which drop Orb Demon and Bananas.
Note: Skull Island also holds the Cidbeta NPC and a chance at the Cloak Shadow, which is worth checking while you farm Rocks for Yoru.
Best combat Fruits and where they rank
Fruits round out your combat kit, and their value comes down to DPS, range, area coverage, and crowd control. Rumble stands above the rest for farming, raids, and PvP thanks to strong damage and multiple stuns. Ice trades DPS for heavy freeze control, which pairs well with a high-damage sword or special.
| Tier | Fruits | Why |
|---|---|---|
| S | Rumble | Meta DPS with stuns, good range and area, strong in all content |
| A | Rubber, Gura, Smoke, Ice | Top-end DPS or heavy crowd control; Smoke is a strong mid-game pick |
| B | RockMan, Dark, Flame | Solid damage; RockMan can fly, Dark is a good hold before Rumble |
| C | Light, Sand, Bomb | Low DPS; useful early or for utility like teleport or HP regen |
You get Fruits two ways. Roll the Gacha chest inside the tavern on Starter Island for 50 Diamonds per roll, or find a random Fruit spawning under a Colorful Tree, which can appear every five minutes anywhere in the world. Walk over the Fruit under the tree to pick it up. Fruits can also be traded or dropped for other players.
Fastest combat progression through Sea 1
You will know a weapon is ready when it appears in your inventory and can be equipped from your loadout. If a purchase or craft does not go through, the usual cause is a missing material or not enough Beil, Diamonds, or Candy for that item’s exact requirement. Cross-check the numbers above before you grind more.
Sea 1 packs a lot of weapons into a small space, but the pattern is consistent. Match a sword to the island you are farming, add a special when one is available, and let a high-DPS Fruit close the gap while your DevilFruit stat climbs.